Special Farewell to the Adorable Forest Friends
I had big plans for the Happy Forest Friends Suite when I purchased it in March. Unfortunately, I forgot to account for the possibility that it would retire at the end of April!
The “out-with-the-old” phase of the new catalogue is always a difficult time for me. Not only because I lose the use of some of my favourite products for my business, but also because it can be difficult to navigate what is still available for my customers to purchase, what to feature in my classes, and the awkwardness of having to let customers know that the product they want has sold out.
It can be frustrating, to say the least.
The only thing that makes it all okay is knowing that the “in-with-the-new” phase is just around the corner!! Change can be difficult, but it can also be incredibly exciting!! I look forward to playing with the new colours, discovering my new favourite products, and the security of knowing that a new annual catalogue ensures that these items will be around for an entire year!! THIS is the time for me to make grand plans with a product suite!
I still have big plans for the suite. The designer series paper, the stamp set and dies, and the ribbon will all play a part in making mini baby albums that I can sell or give as gifts. My original plan was to offer a class so others could make albums with me. I’ll simply have to create an album class with a different, and equally amazing, suite of products from Stampin’ Up!©️
Forest Friends Baby Card
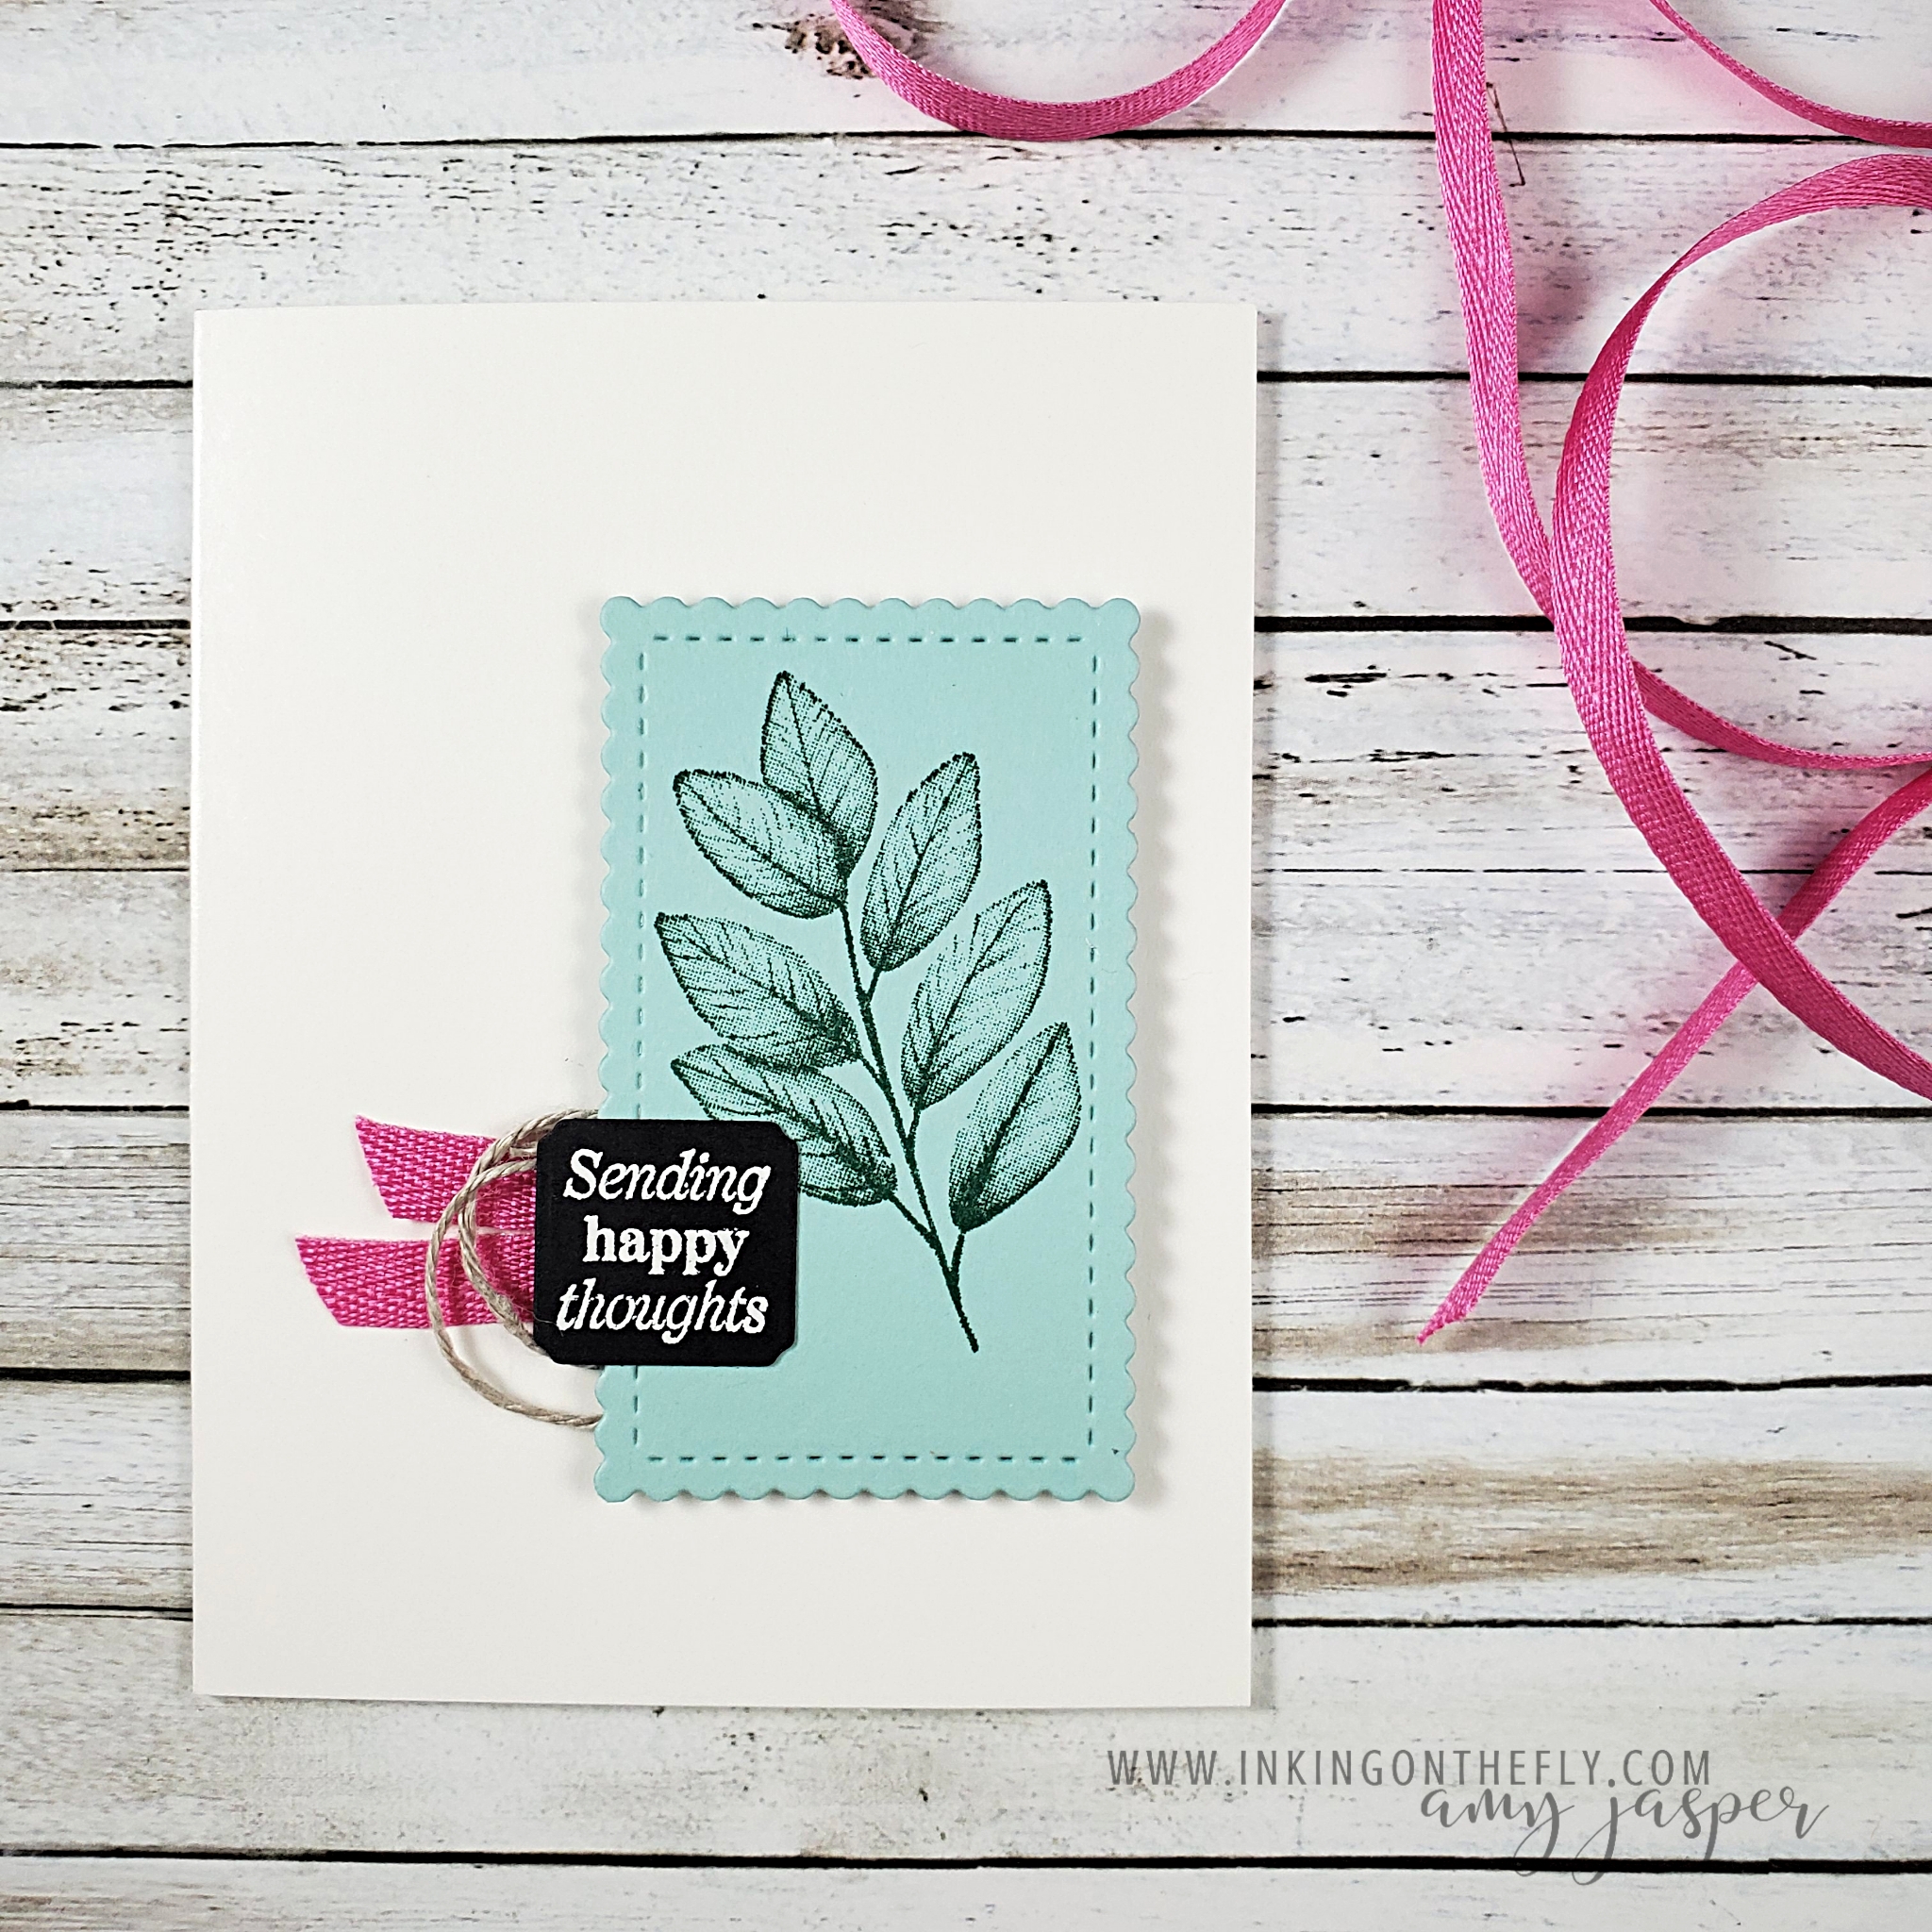
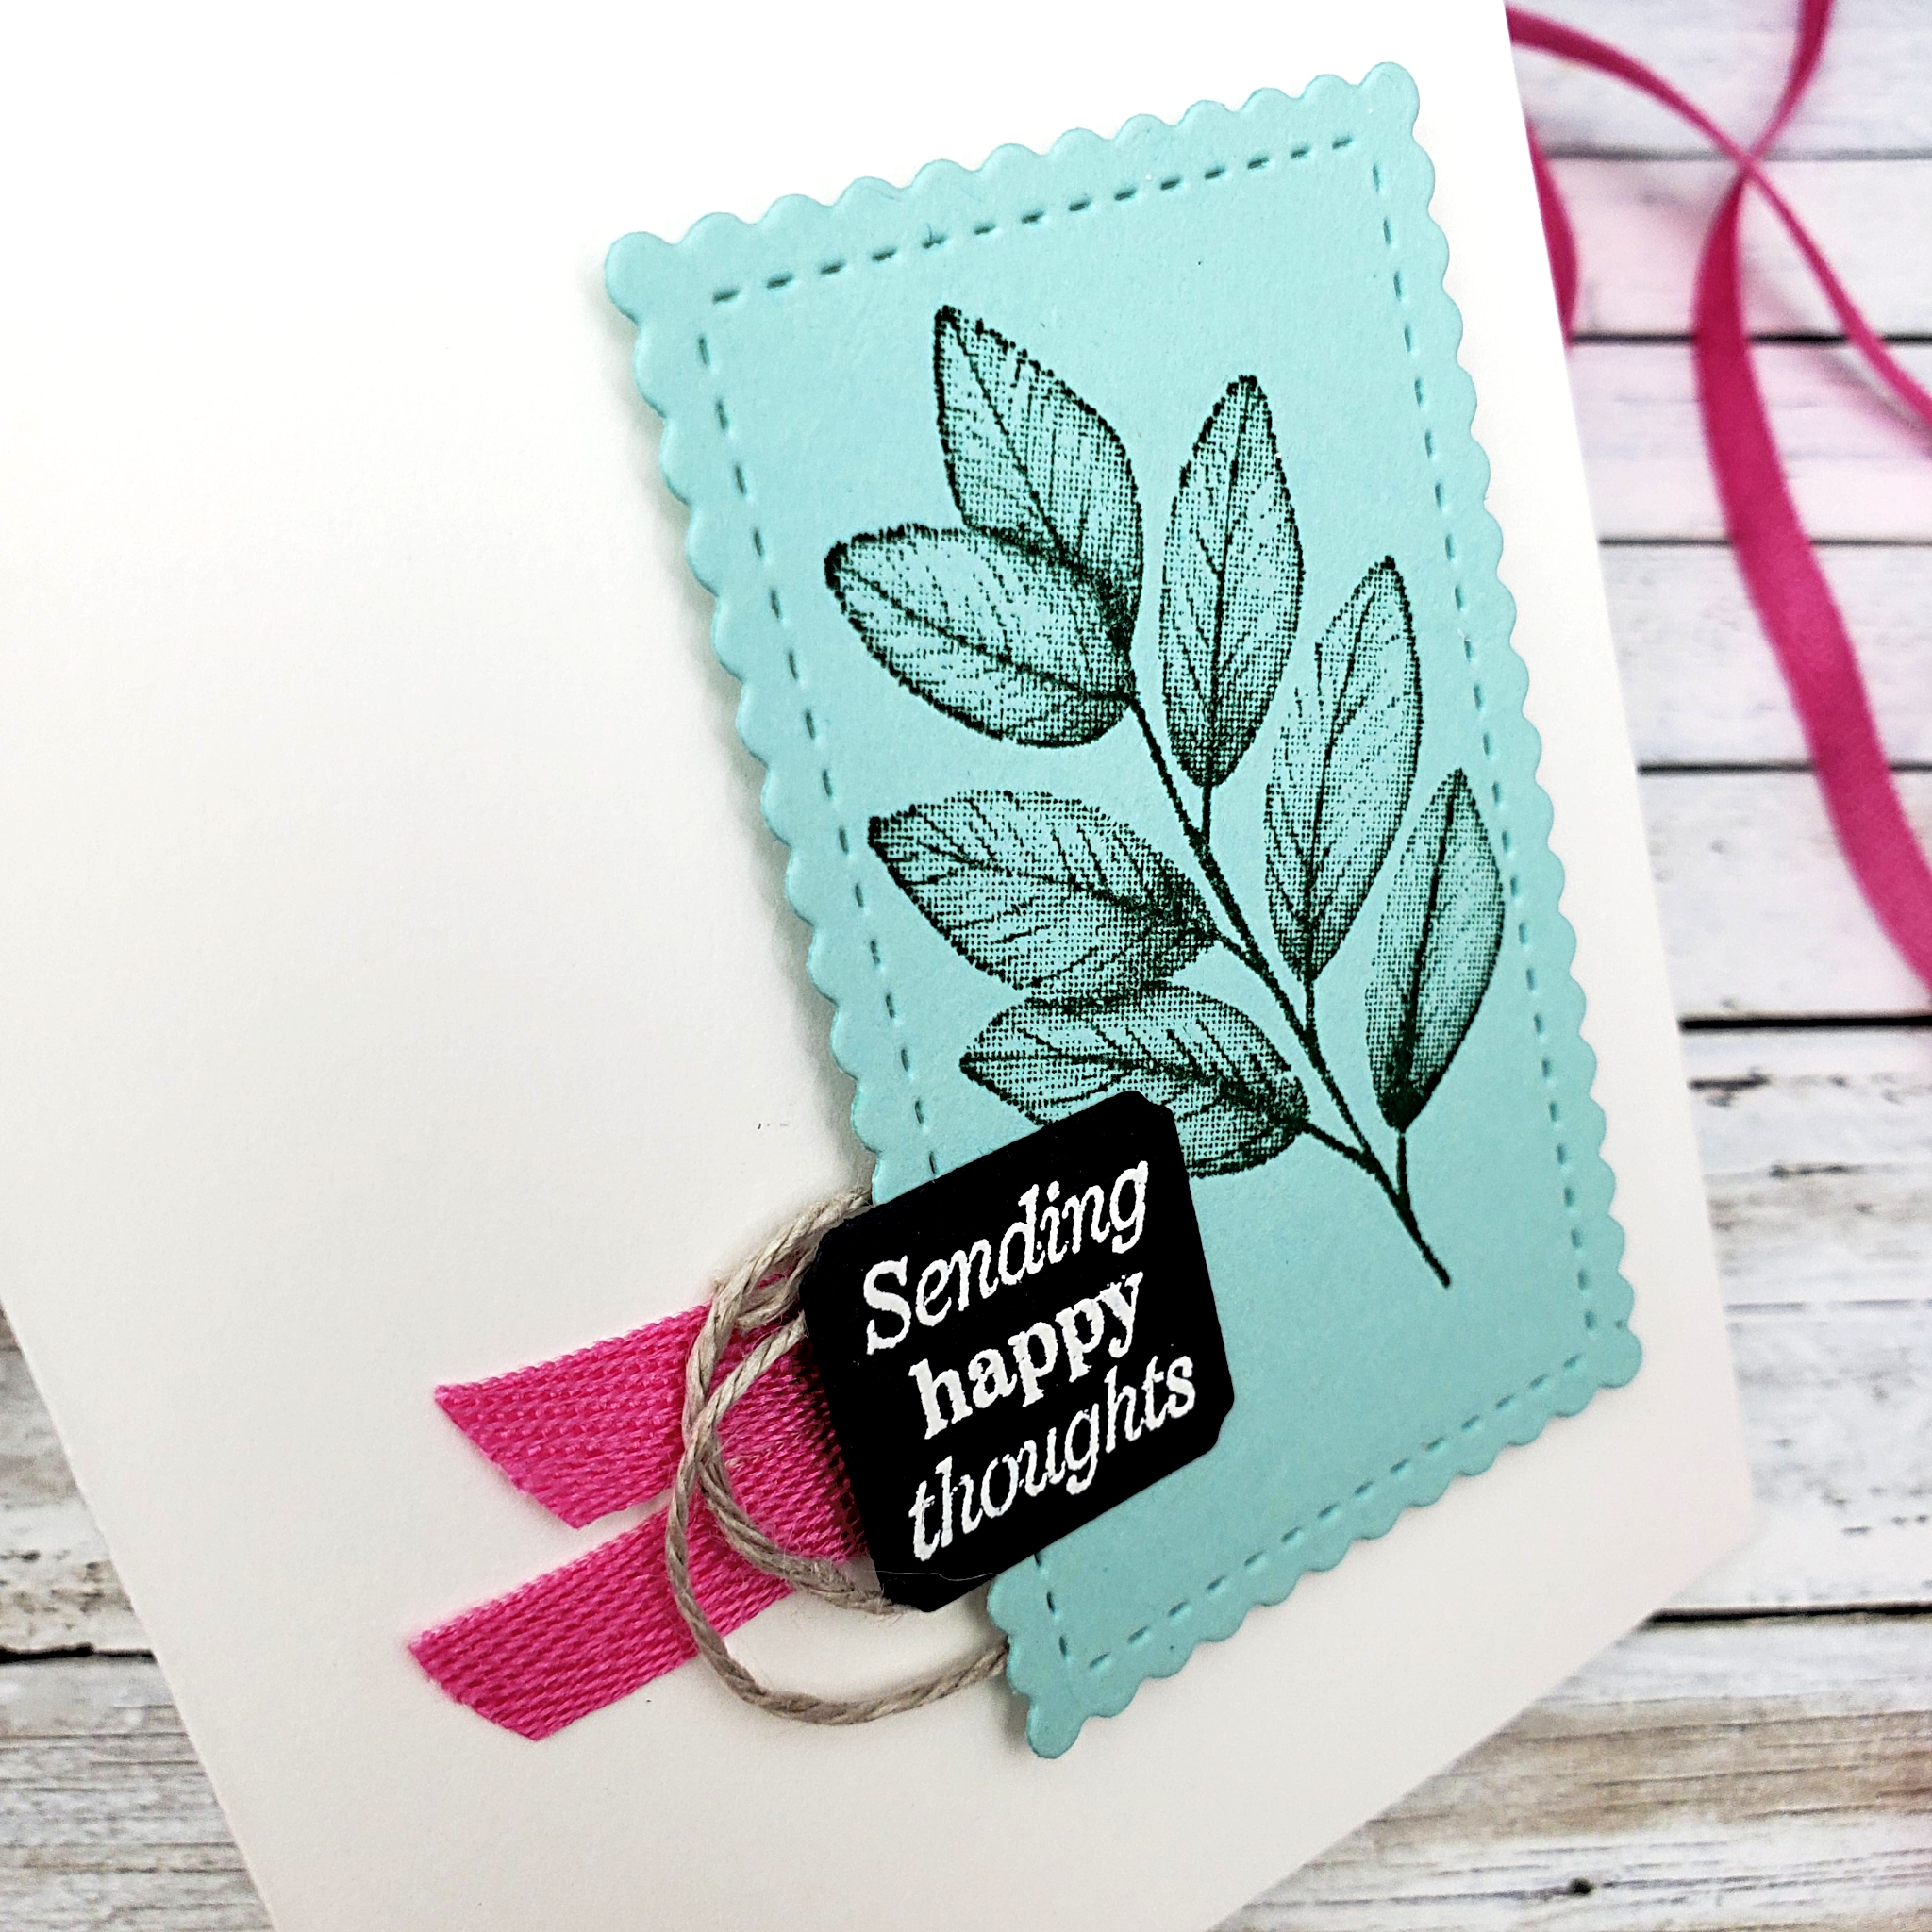
The first thing I made with the Happier Than Happy stamp set and the coordinating dies was this sweet little baby card.
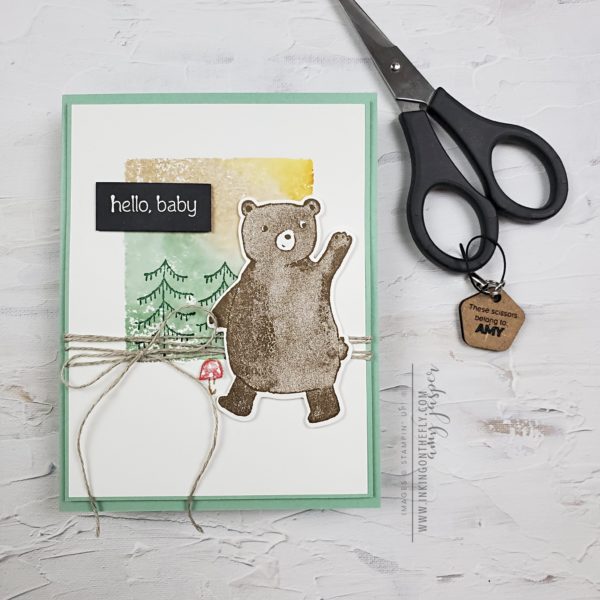
This design features a simple acrylic block stamping technique. To accomplish this, you apply ink to the acrylic block (for this card, I used Mint Macaron, Soft Suede, and Crushed Curry), then spritz the block with a water and rubbing alcohol solution using the Stampin’ Up! Spritzer. Adding alcohol to the water helps it to dry more quicky on the Basic White cardstock.
Spritz two or three times onto the block until the ink begins to puddle. Then press the ink side of the block to your Basic White cardstock. Voila! You have a funky background!
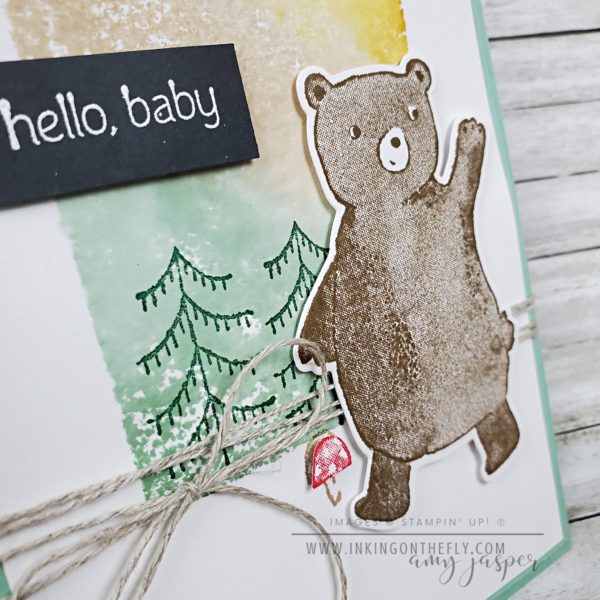
I let it dry a little bit before stamping the little trees with Shaded Spruce ink. The bear is stamped with Soft Suede ink. Sweet Sorbet ink and Crumb Cake ink are used for the mushroom.
Mint Macaron delicately frames the stamped Basic White layer. This combo is then wrapped a couple times with Linen Thread that ties in a whimsical little bow.
(Have I told you lately how very much I LOVE Linen Thread?)
The layers are attached to the Mint Macaron cardbase with Stampin’ Dimensionals.
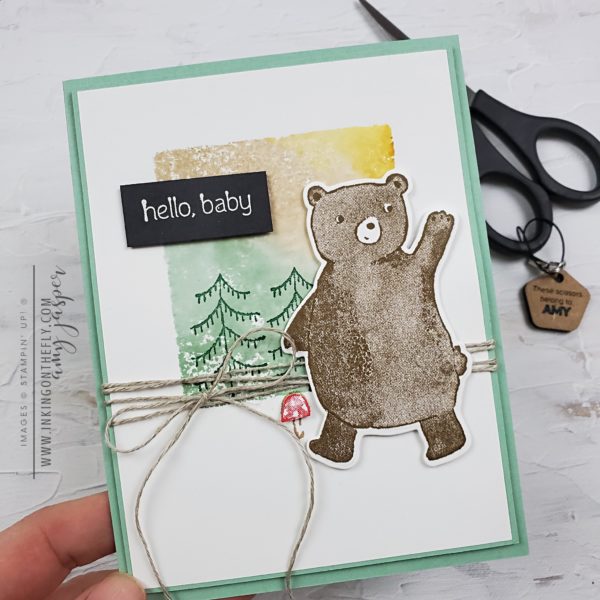
Finally, the sentiment is stamped on Basic Black cardstock with Versamark ink, then heat embossed with White Embossing Powder and the Heat Tool. This, along with the bear and the top of the mushroom, is attached to the card front with Stampin’ Dimensionals.
It’s so freakin’ CUTE!
If you like this card and want to see it being made, go to my Facebook Page and find the live video. Feel free to skip ahead to the best parts!
Sadly, Mint Macaron and Soft Suede are both retiring colours. Make sure you check out my ONLINE STORE for the most up-to-date availability of retiring products and get ’em before they’re gone!