Posts by Amy Jasper:

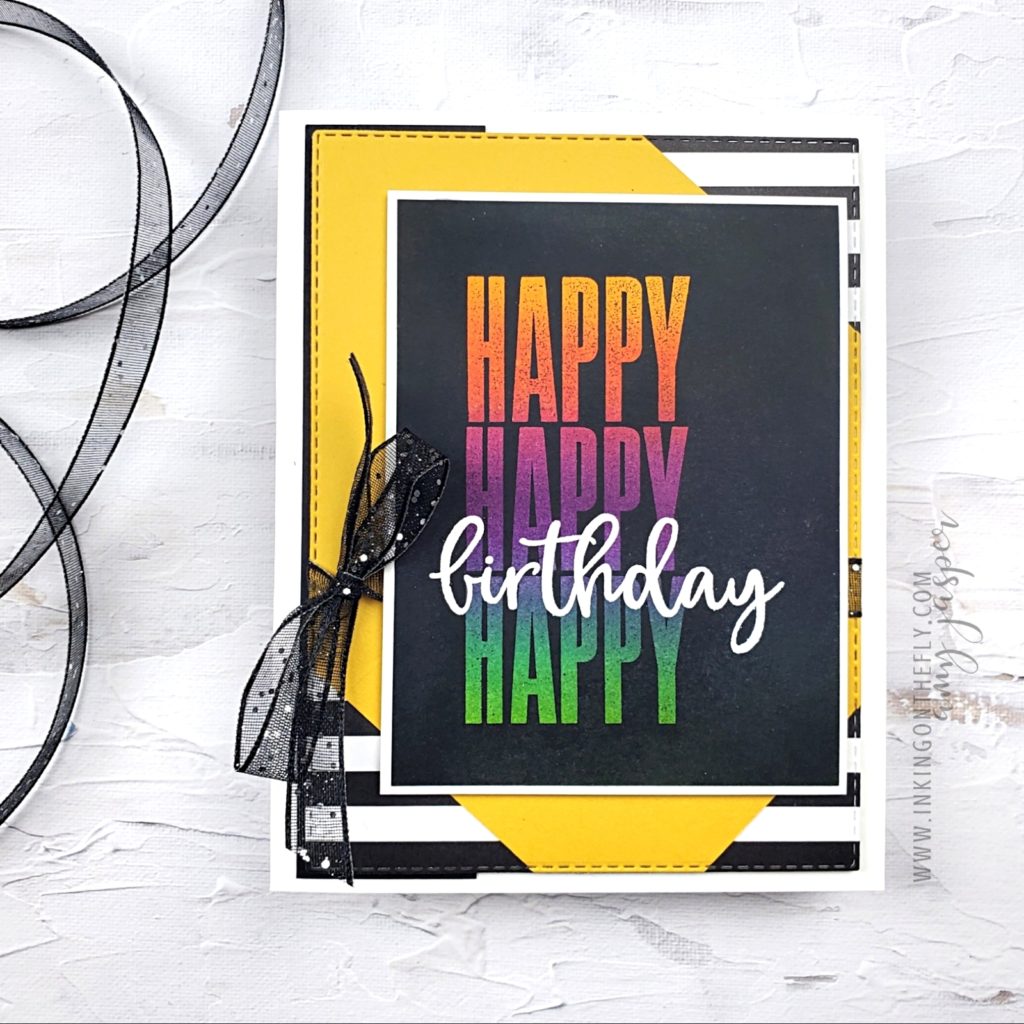
Make your design POP! with embossed layers

You can layer heat-embossed images with the right tools and a little bit of patience.

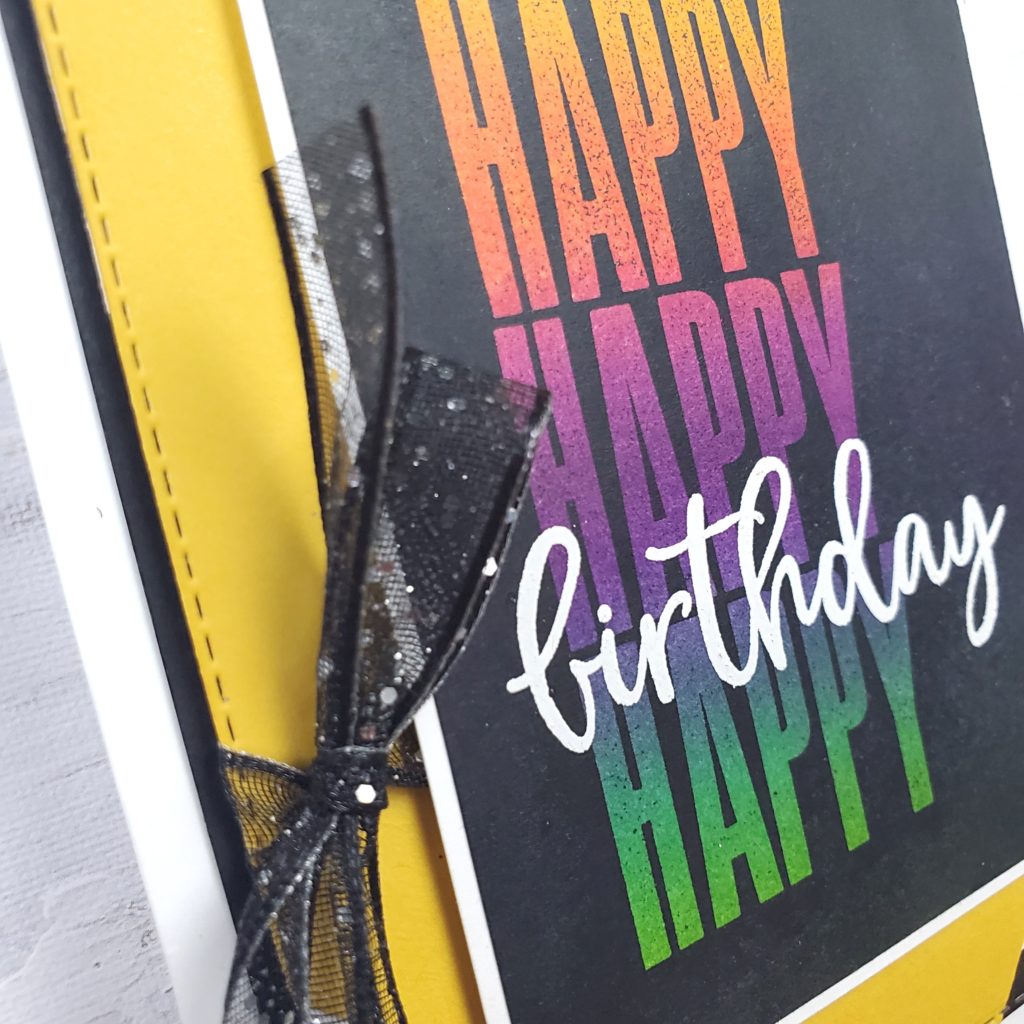
This is so cool! Watch the video below to find out exactly how I created this colourful sentiment on the black background.

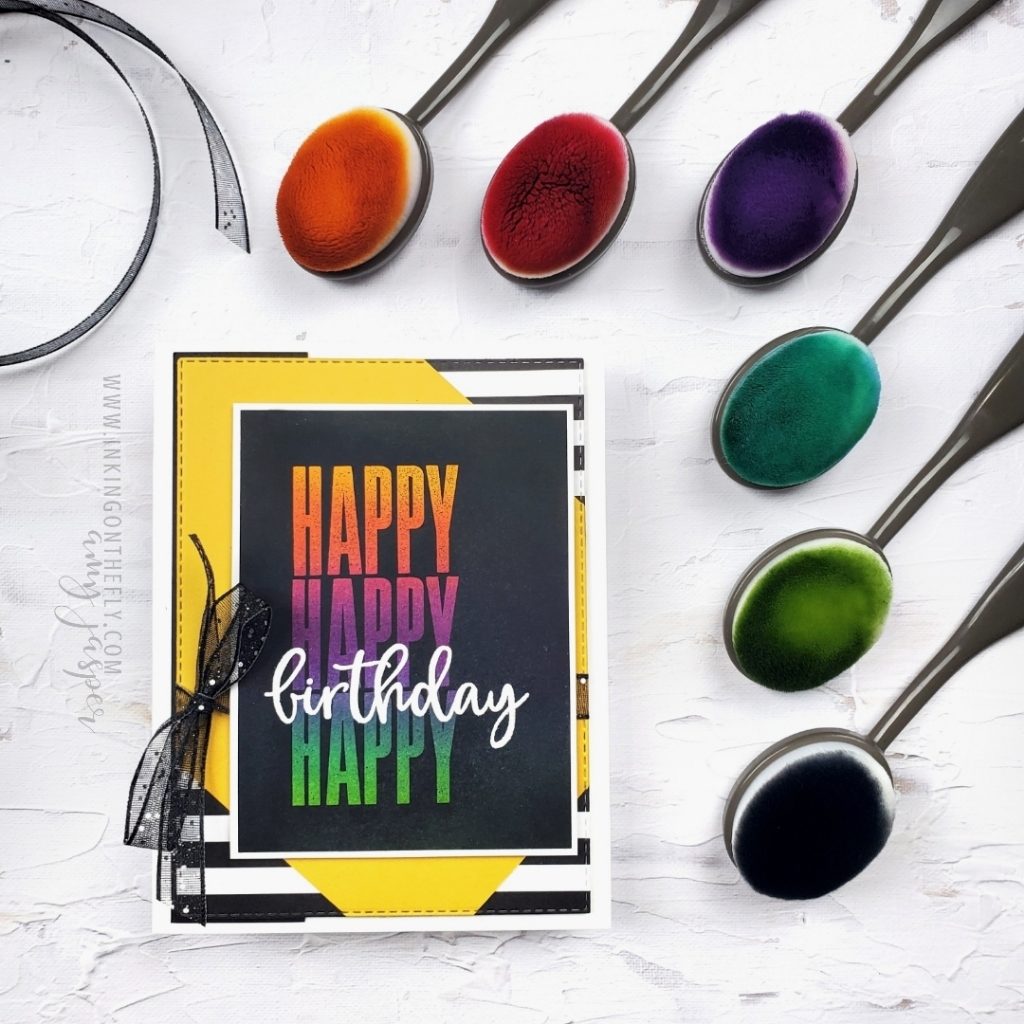
It starts with a Joseph’s Coat technique

  1. Sponge multiple ink colours on cardstock.
  2. When completely dry, stamp bold image with Versamark ink
  3. Apply clear embossing powder and heat set until glossy.
  4. Apply Tuxedo Black Momento ink to completely cover cardstock. The embossing will resist the ink.
  5. Gently wipe ink residue off of embossed image to reveal all the glorious color!

Then the magic happens!

The next step is to carefully heat the embossed image and remove the embossing powder while it’s warm and melted. In my video, I used a heat and wipe technique with my heat tool and paper towel. This is a bit time consuming and requires moving quickly.

Another option is to take out your ironing board! Place the following layers on the ironing board: computer paper, embossed cardstock, paper towel, and a piece of computer paper on top. Use your iron on a low heat setting (without steam!) and apply to the layers. The embossing will melt and the paper towel will absorb it.

With both methods, it’s important to be careful that you don’t burn the paper.

Supplies used for this card

Watch my video to see this technique in action!

An excellent time to share a rainbow card

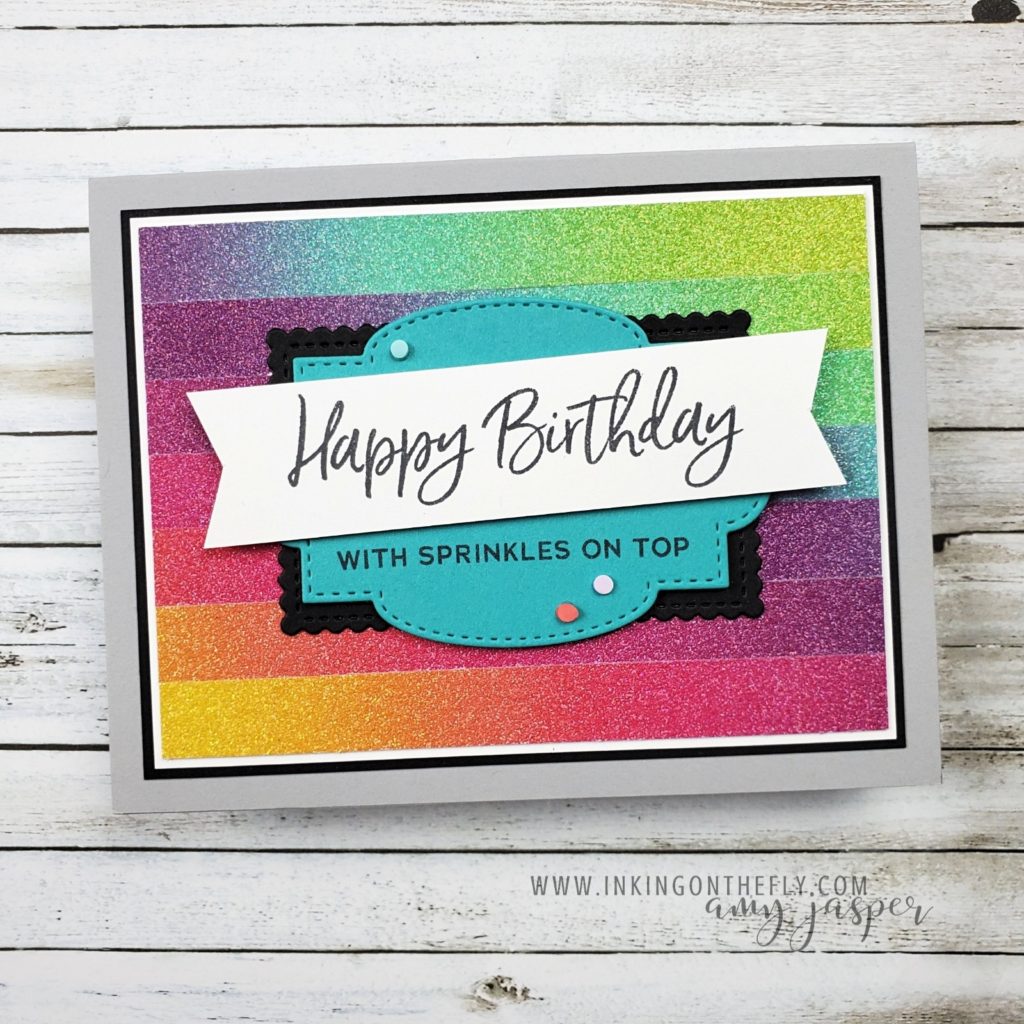
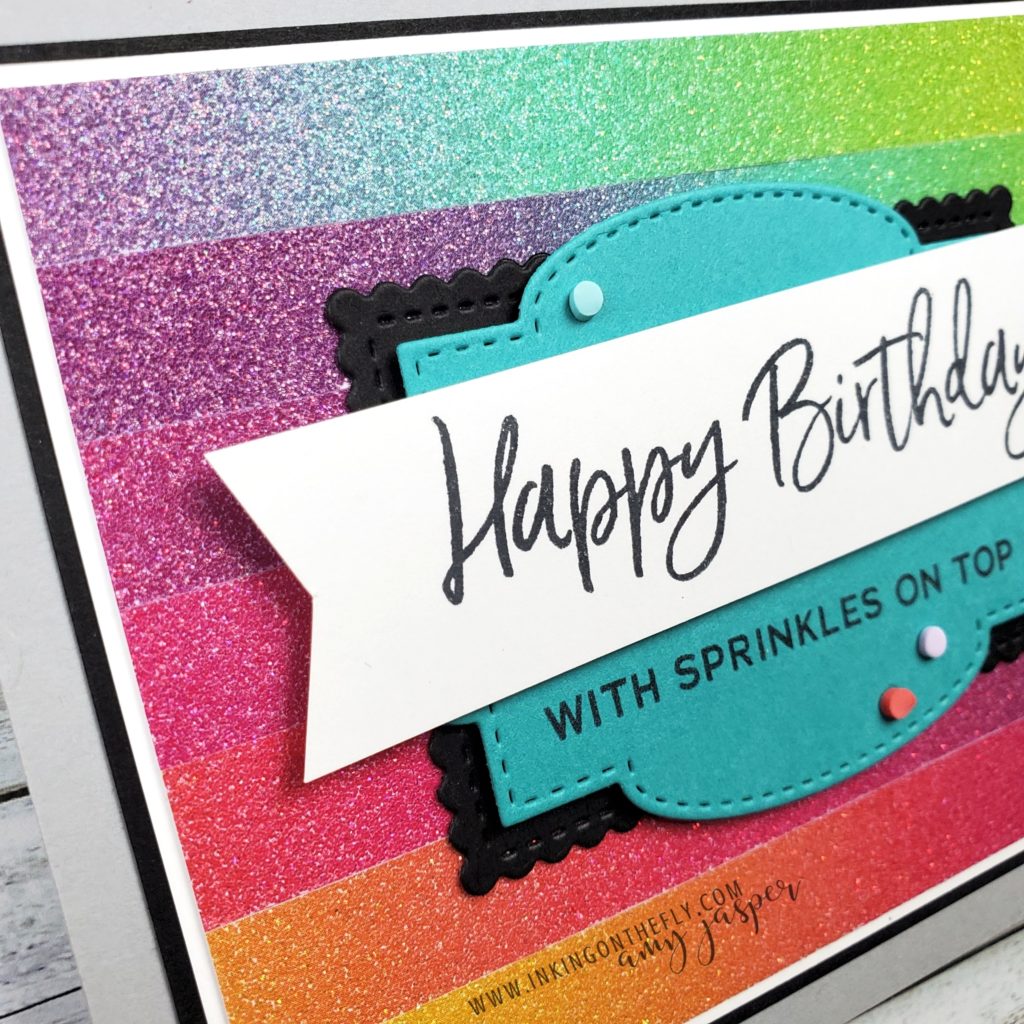
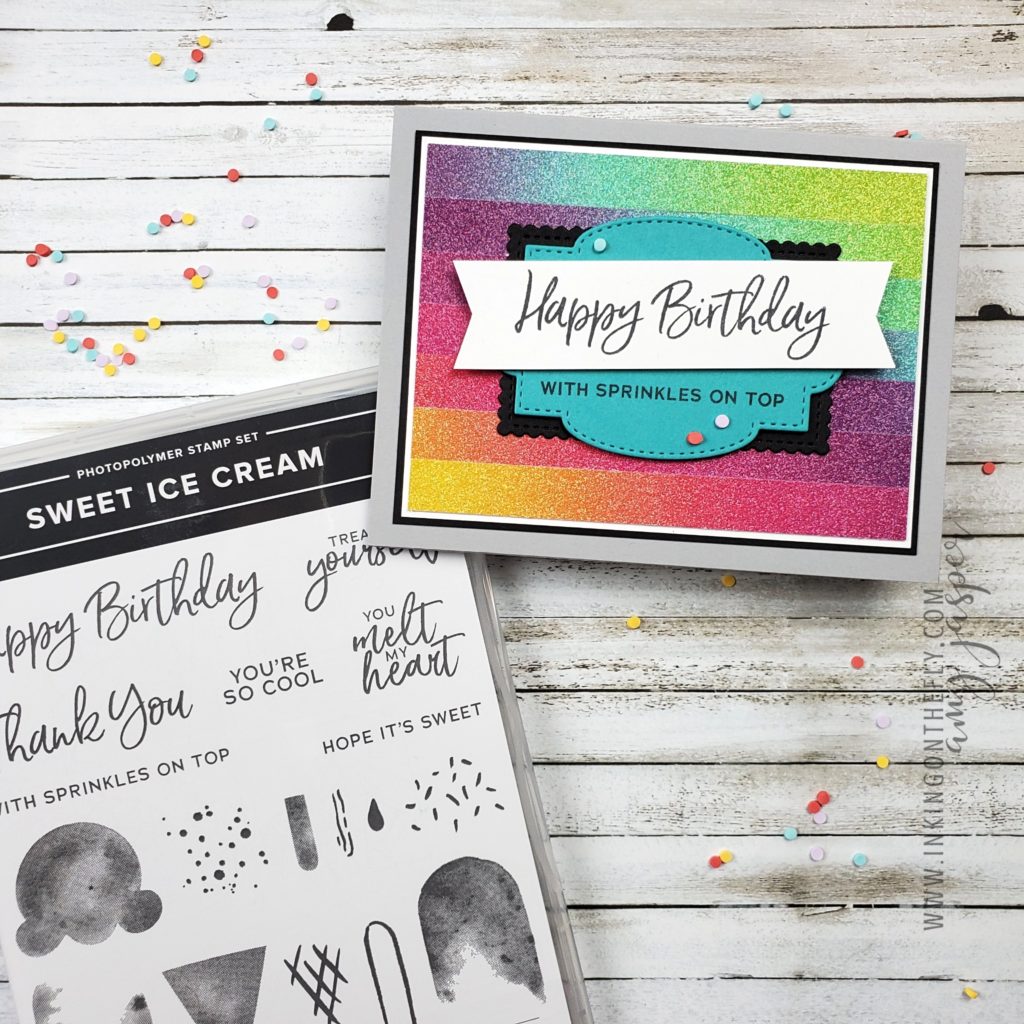
This rainbow glimmer card was inspired by a card I saw online a while back. It uses strips of the Rainbow Glimmer Paper in such a way that you get to show off the entire colour spectrum of the paper.

I made this card as one of the projects offered at a Stamp Camp event a few months ago. The Ice Cream Corner Sprinkles are retiring at the end of this month, so if you like those sweet little candy dots, make sure you go and grab them before their gone.

Did you know that June is Pride Month! What a perfect time to share this rainbow card!

How it’s done.

You need to cut 7 strips of the Rainbow Glimmer Paper to make this background. Each strip needs to have the full spectrum of colour and be 12″ long and ½” wide. I used my Multipurpose Liquid Glue to adhere the Rainbow Glimmer strips to a 3 ½” 4 ¾” piece of Basic White cardstock. It can be very helpful to lay out your strips how you want them before committing them to the paper with your glue.

The first strip is adhered so that the yellow end is flush with the bottom left corner of the Basic White. Don’t worry about the long section of the strip on the right that isn’t attached to your paper. You’ll trim off the excess after all the strips are applied.

The second Strip is attached so that it’s flush against the upper edge of the first strip, but the yellow end is approximately 1 ⅛” (or more) to the left of the yellow end of the first strip. Continue to adhere each strip 1 ⅛” or so to the left of the previously applied strip, until you adhere the last strip so that the green end is flush with the upper right corner of the 3 ½” x 4 ¾” Basic White piece.

The white piece of cardstock will be completely covered with Glimmer Paper with loose ends sticking out on both sides at varying lengths. Trim off the excess Rainbow Glimmer from the 3 ½” x 4 ¾” Basic White with your paper trimmer. I find it helpful to turn the paper and use the white paper as a visual edge to line up in my trimmer. Trim it down to the size of the white cardstock.

Save the removed pieces for another project!

Supplies for This Card:

Dads Make Everything Better

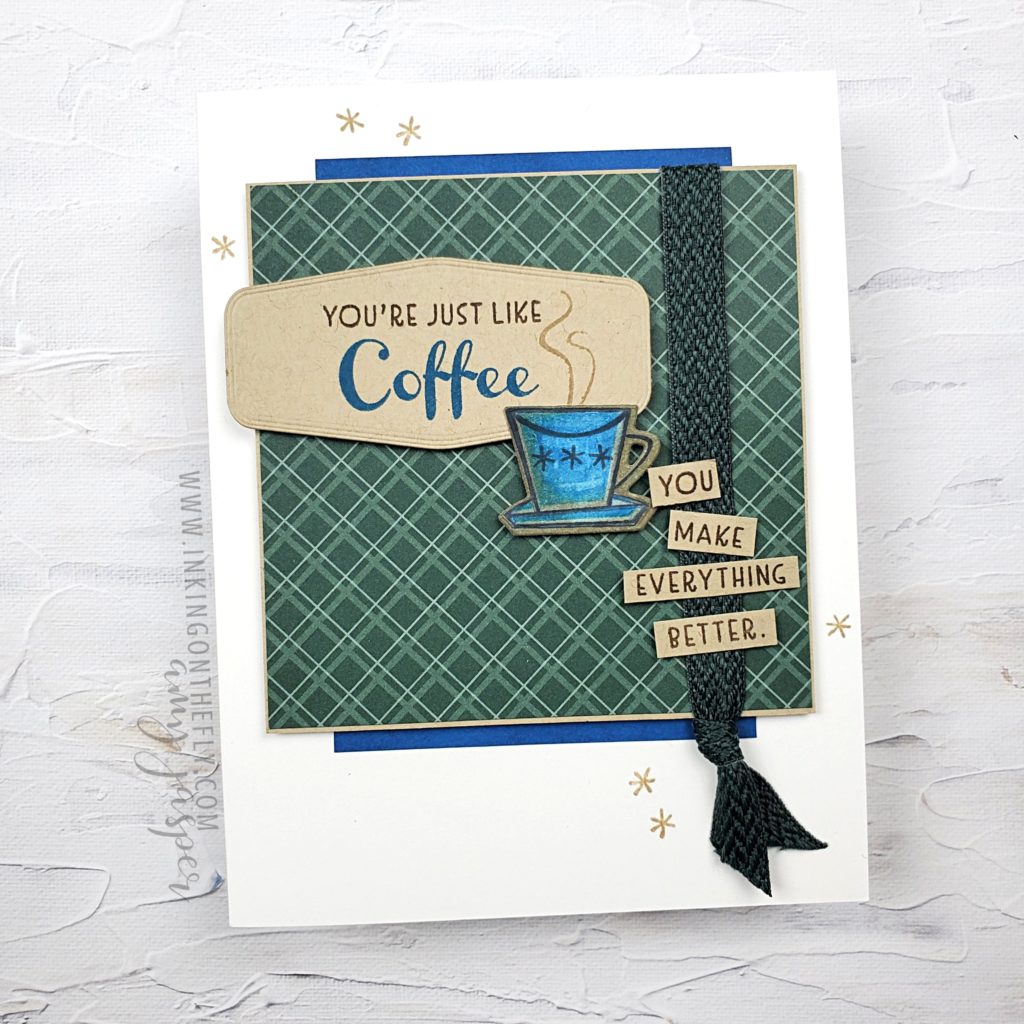
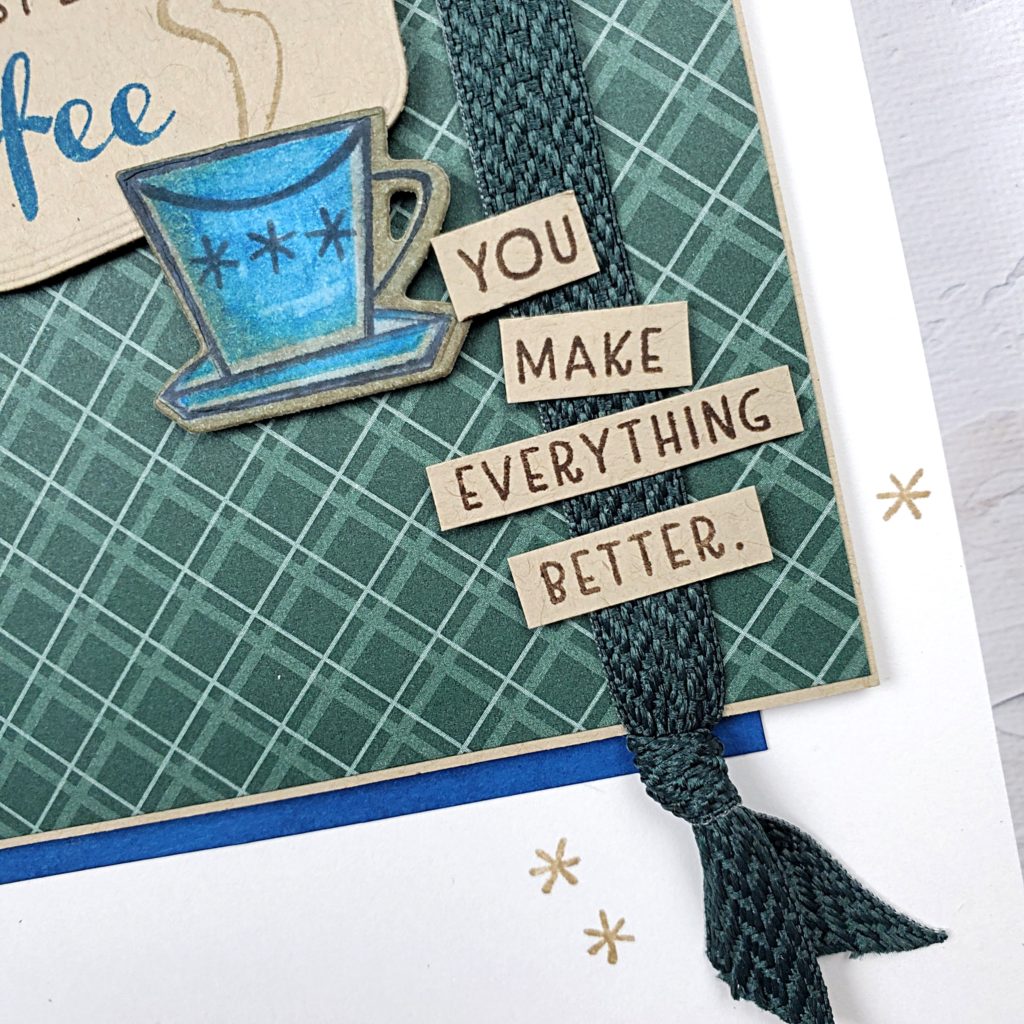
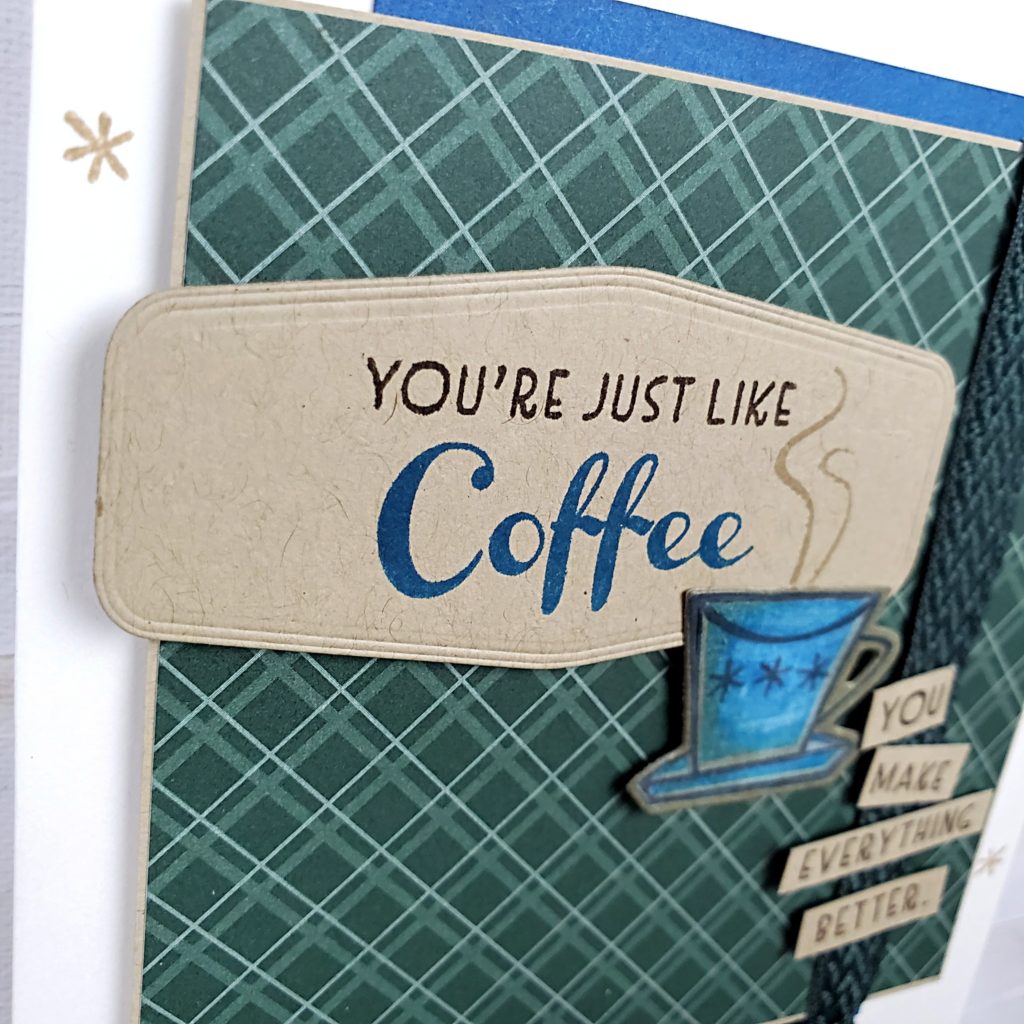
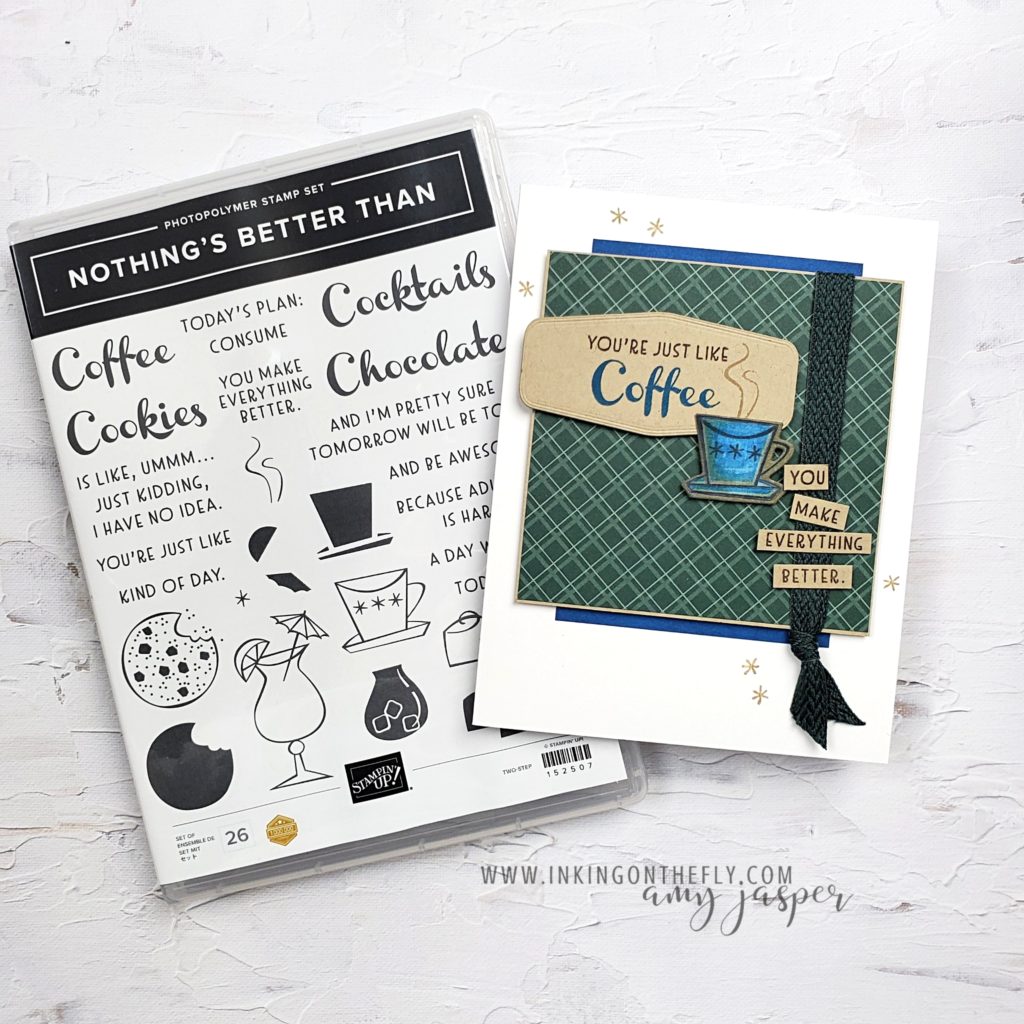
What do dads and coffee have in common? Okay, I know that not all dads are like coffee, but the dads in my life definitely make everything better – just like coffee does!

As mentioned in my previous post, I’m experiencing a lot of pain in my left shoulder. This is making typing more difficult as the position seems to aggravate my injury. I am typing with both hands at the moment (YAY!), but I can feel the tendons in my shoulder complaining more and more, as each minute passes.

I will have to keep this brief.

Today’s masculine-themed card was created for the As You See It Challenge blog.

The Evening Evergreen patterned paper from the In Color Designer Series Paper was the start of my design. I paired it with some Crumb Cake and used a Basic White cardstock base to prevent the entire design from ending up overly dark.

The Pacific Point cardstock and ink also brightens the design. I did end up using a Blending Brush with a wee bit of Misty Moonlight ink on the Pacific Point cardstock just to soften the intensity of the colour. This allowed it to match the stamped and coloured imaged on the card, as the colour is not as true when stamped on Crumb Cake cardstock.

Product List

  • Nothing’s Better Than stamp set
  • Pacific Point ink
  • Early Espresso ink
  • Crumb Cake ink
  • Basic White cardstock for the coffee cup
  • Crumb Cake Blends Markers for shading on the coffee cup
  • Tuxedo Black Momento Ink for the coffee cup outline
  • Stampin’ Dimensionals and Mini Glue Dots

Go to my online store anytime to order supplies in Canada. Leave a comment for me if you have any questions regarding this project. You are always welcome to send me an email or connect with me through my Facebook page as well. I love hearing from you!

I have started physio treatment for my shoulder and am hoping to get back to normal daily function. Being able to sleep through the night without being woken up every couple hours from the pain will make a huge difference to my ability to handle the day. I’m going to take after my dad and be a good patient and do all the exercises, stretches and other things that my physiotherapist prescribes. My dad is a great source of inspiration for a lot of things.

Kind of like coffee.