The weeks just fly by with my goals for things-to-complete left far far behind! I bought a magnet for my fridge that says this:
So, maybe I didn’t get my craft room cleaned up. Maybe I didn’t get around to getting ahead on any craft projects. Maybe next week will be better … or maybe it won’t. But, you know what? The world keeps turning, which means I get another chance to get those things done.
1. Set a goal
2. Don’t reach goal
3. Revise goal
4. Repeat as needed
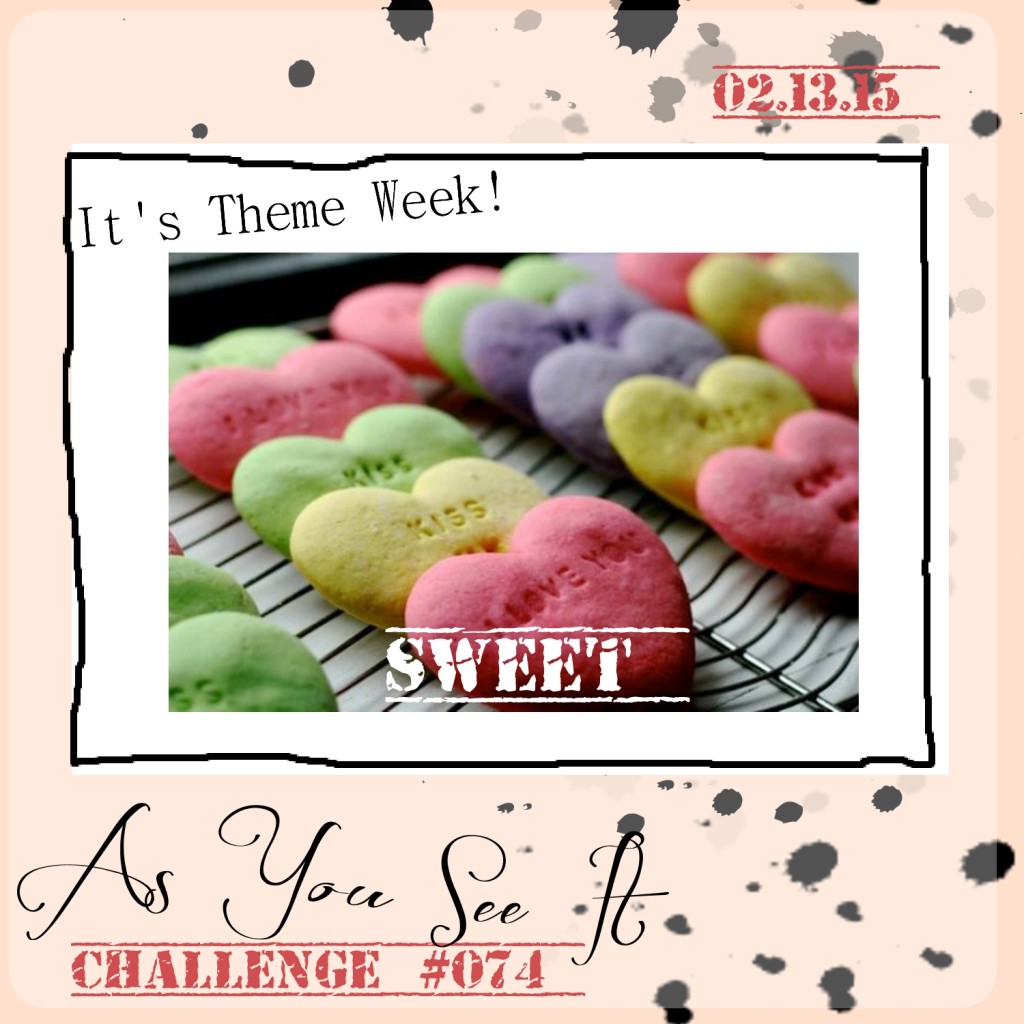
Here’s a simple and appropriate theme challenge in the week with Valentine’s Day:
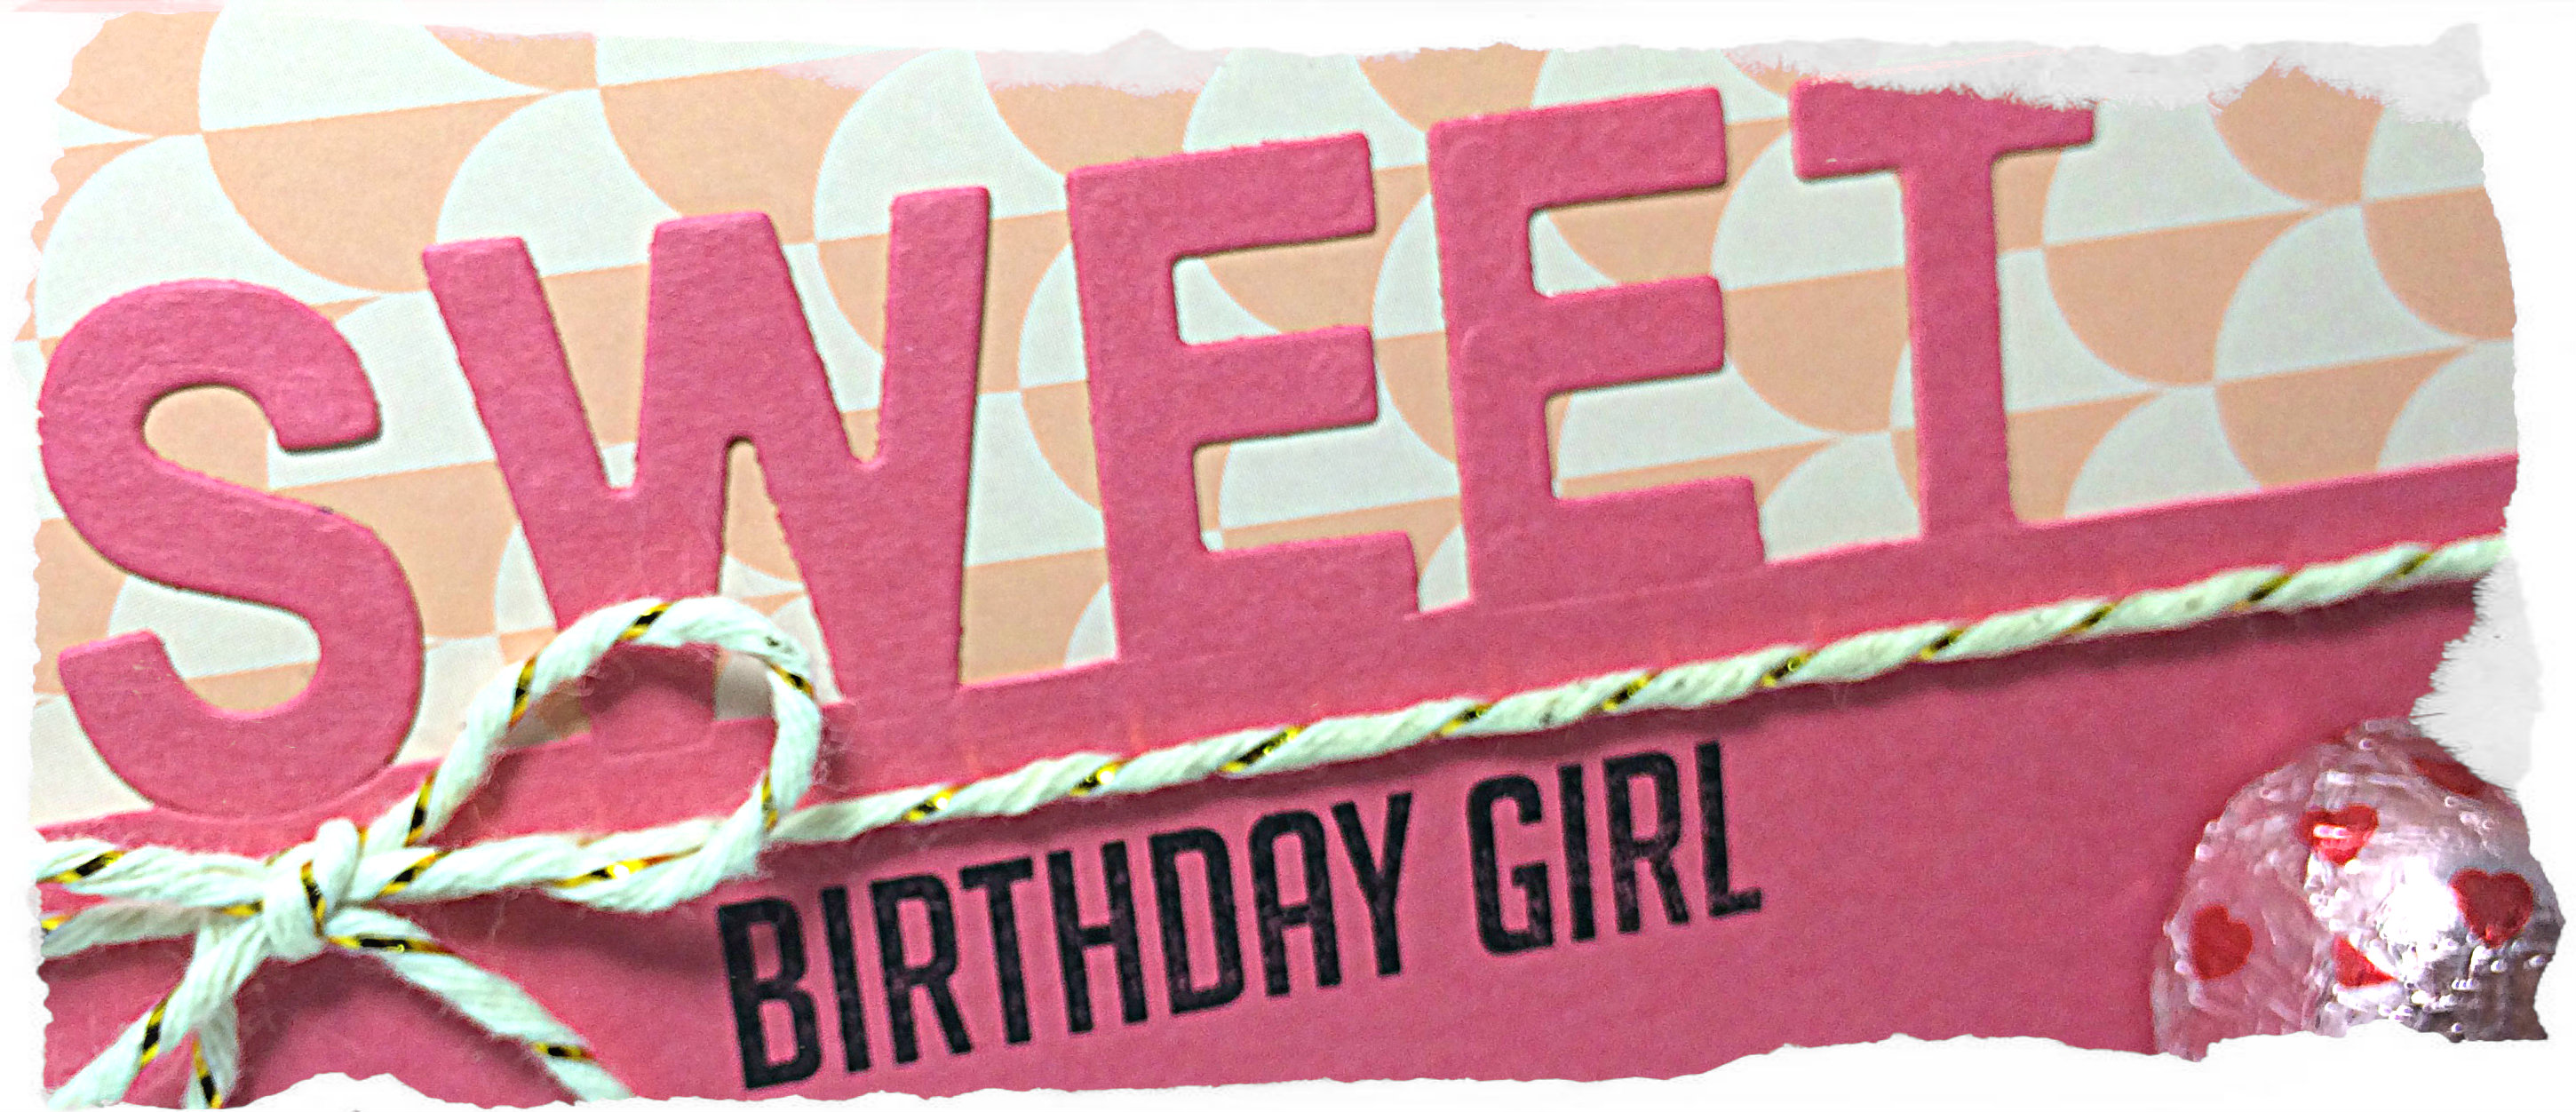
My card is simple, but uses a technique that I saw shared by Jennifer Timko. I have her adorable project pinned on my Papercrafting Ideas Pinterest board HERE. She has a tutorial video to help you create the look with the letters as I have done in my card for the challenge.
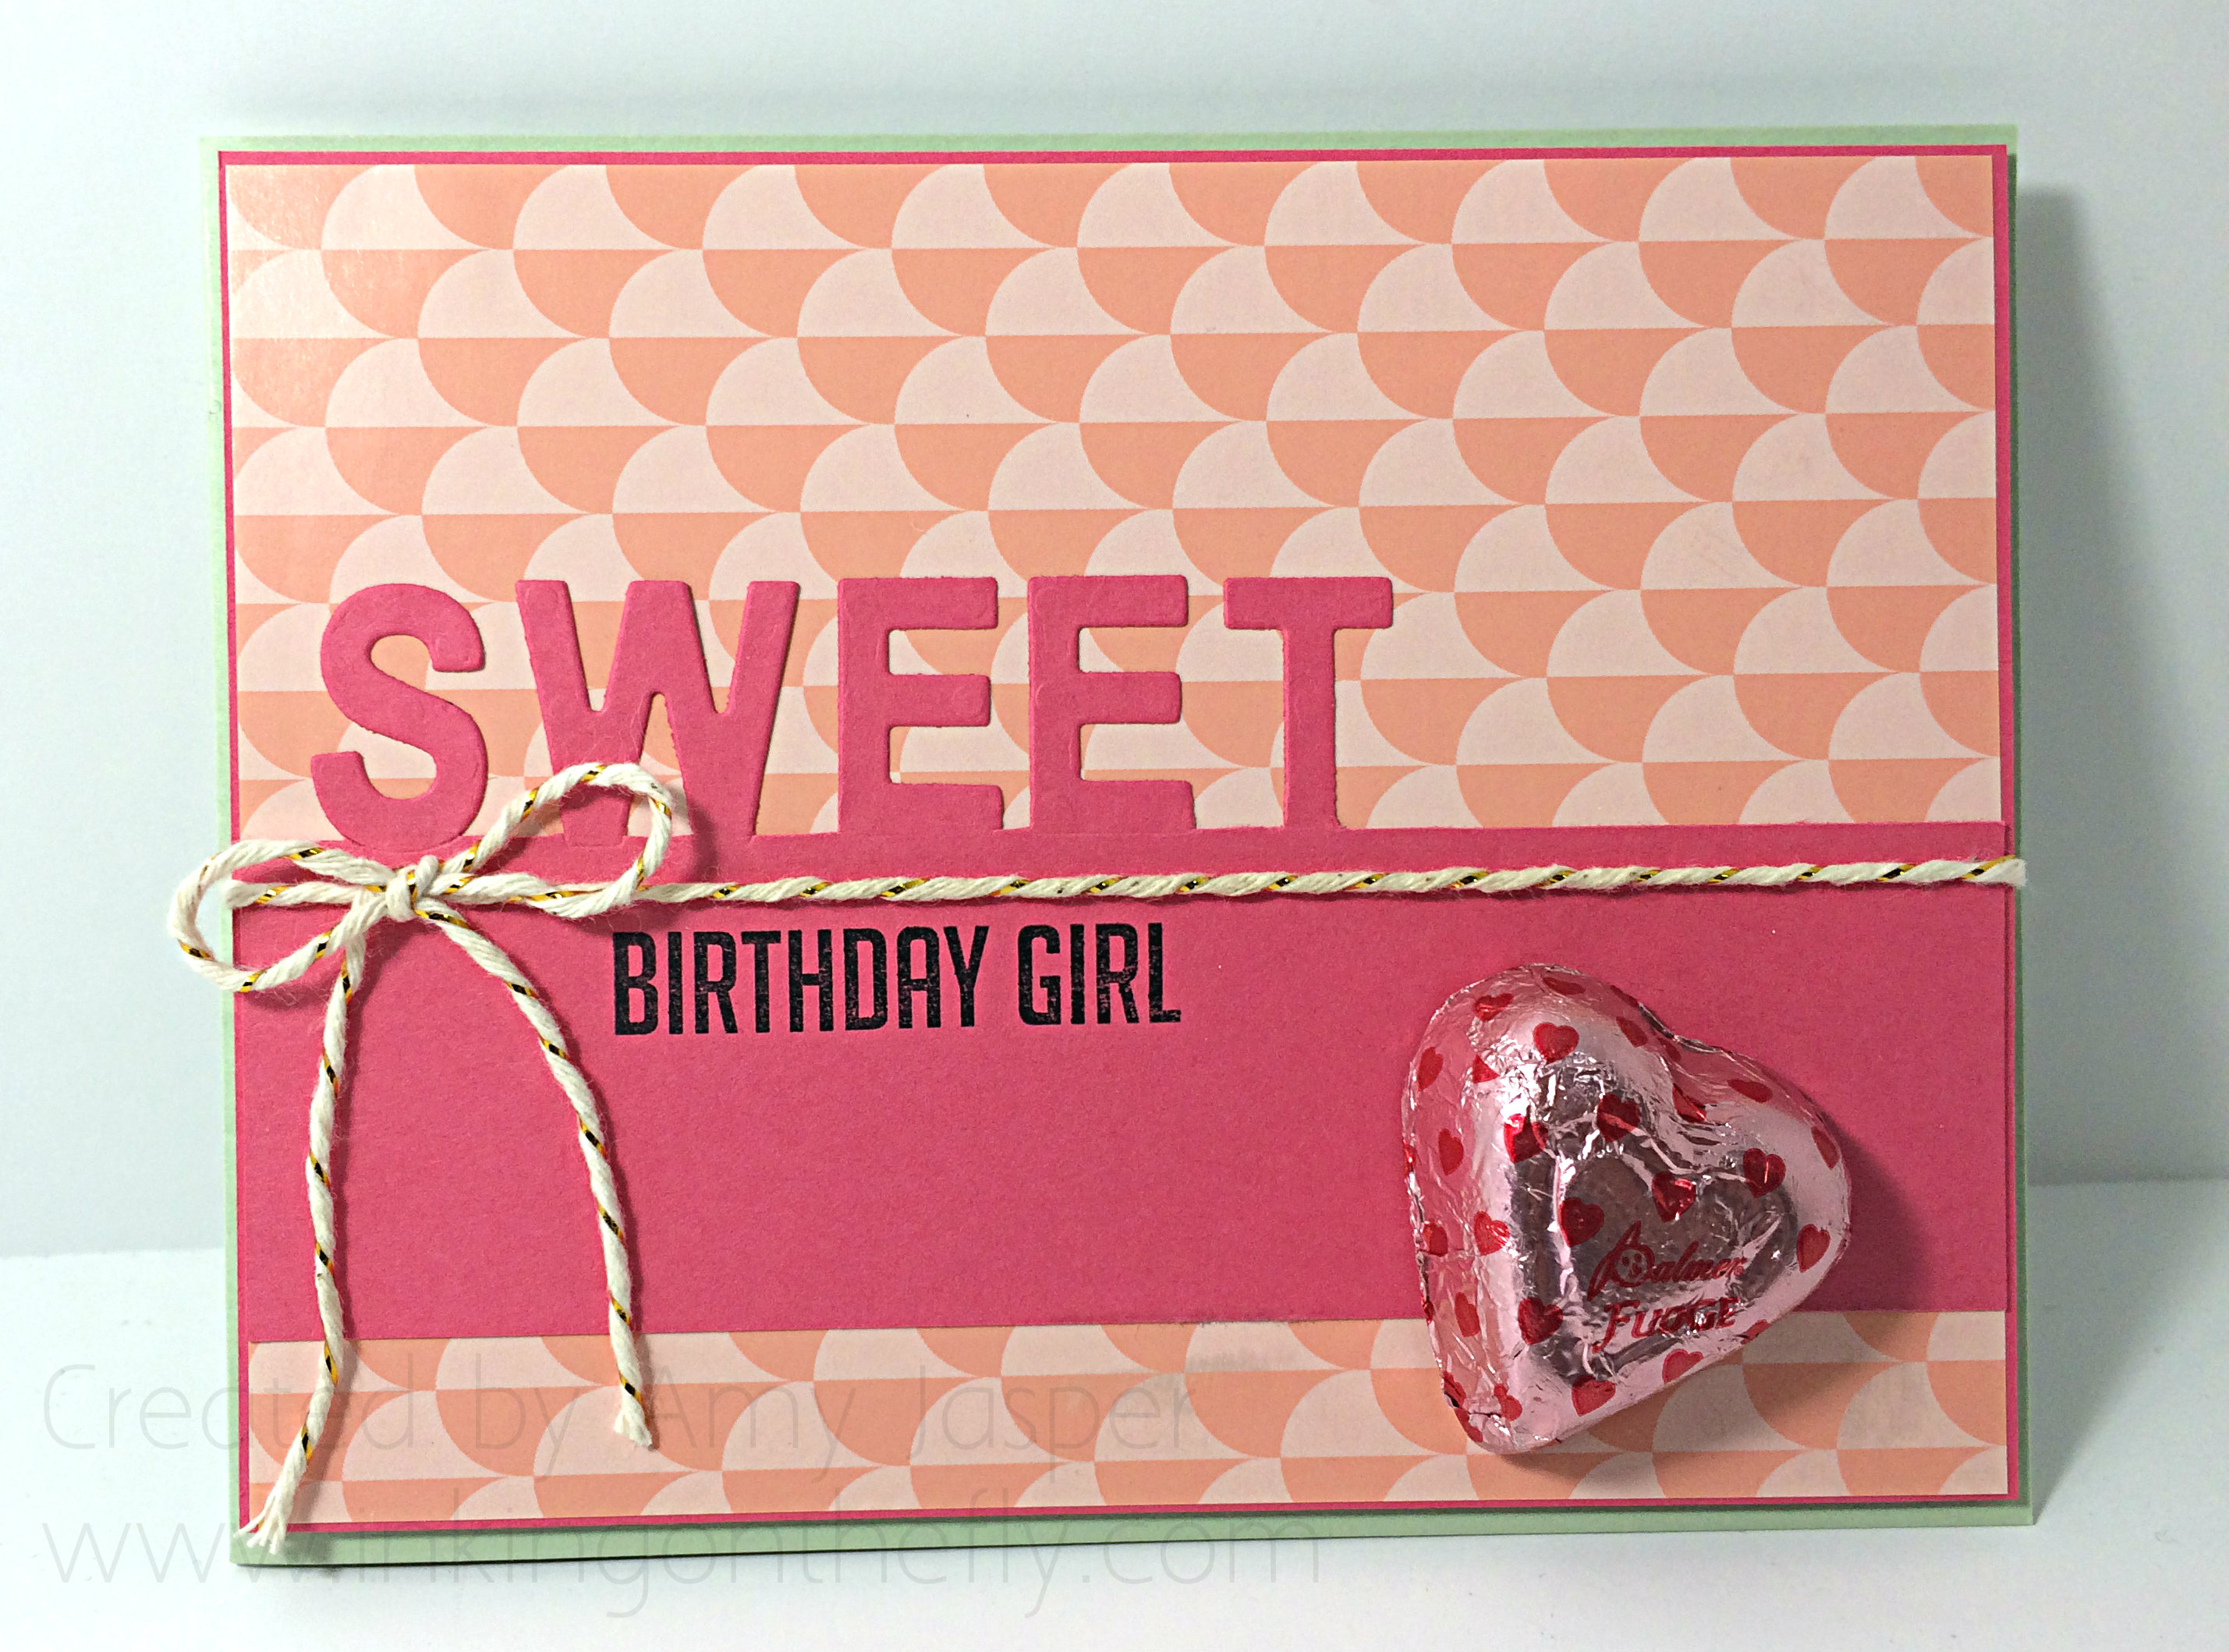
I have to admit, that the big chocolate on the front of this card made it off-balance and impossible to stand on its own. In hindsight, I would have used my 1-3/4″ circle punch on the front of the card to allow the chocolate to be adhered inside the card in such a way that it would peek-a-boo through the circle. Then the weight would be more centered in the card base.
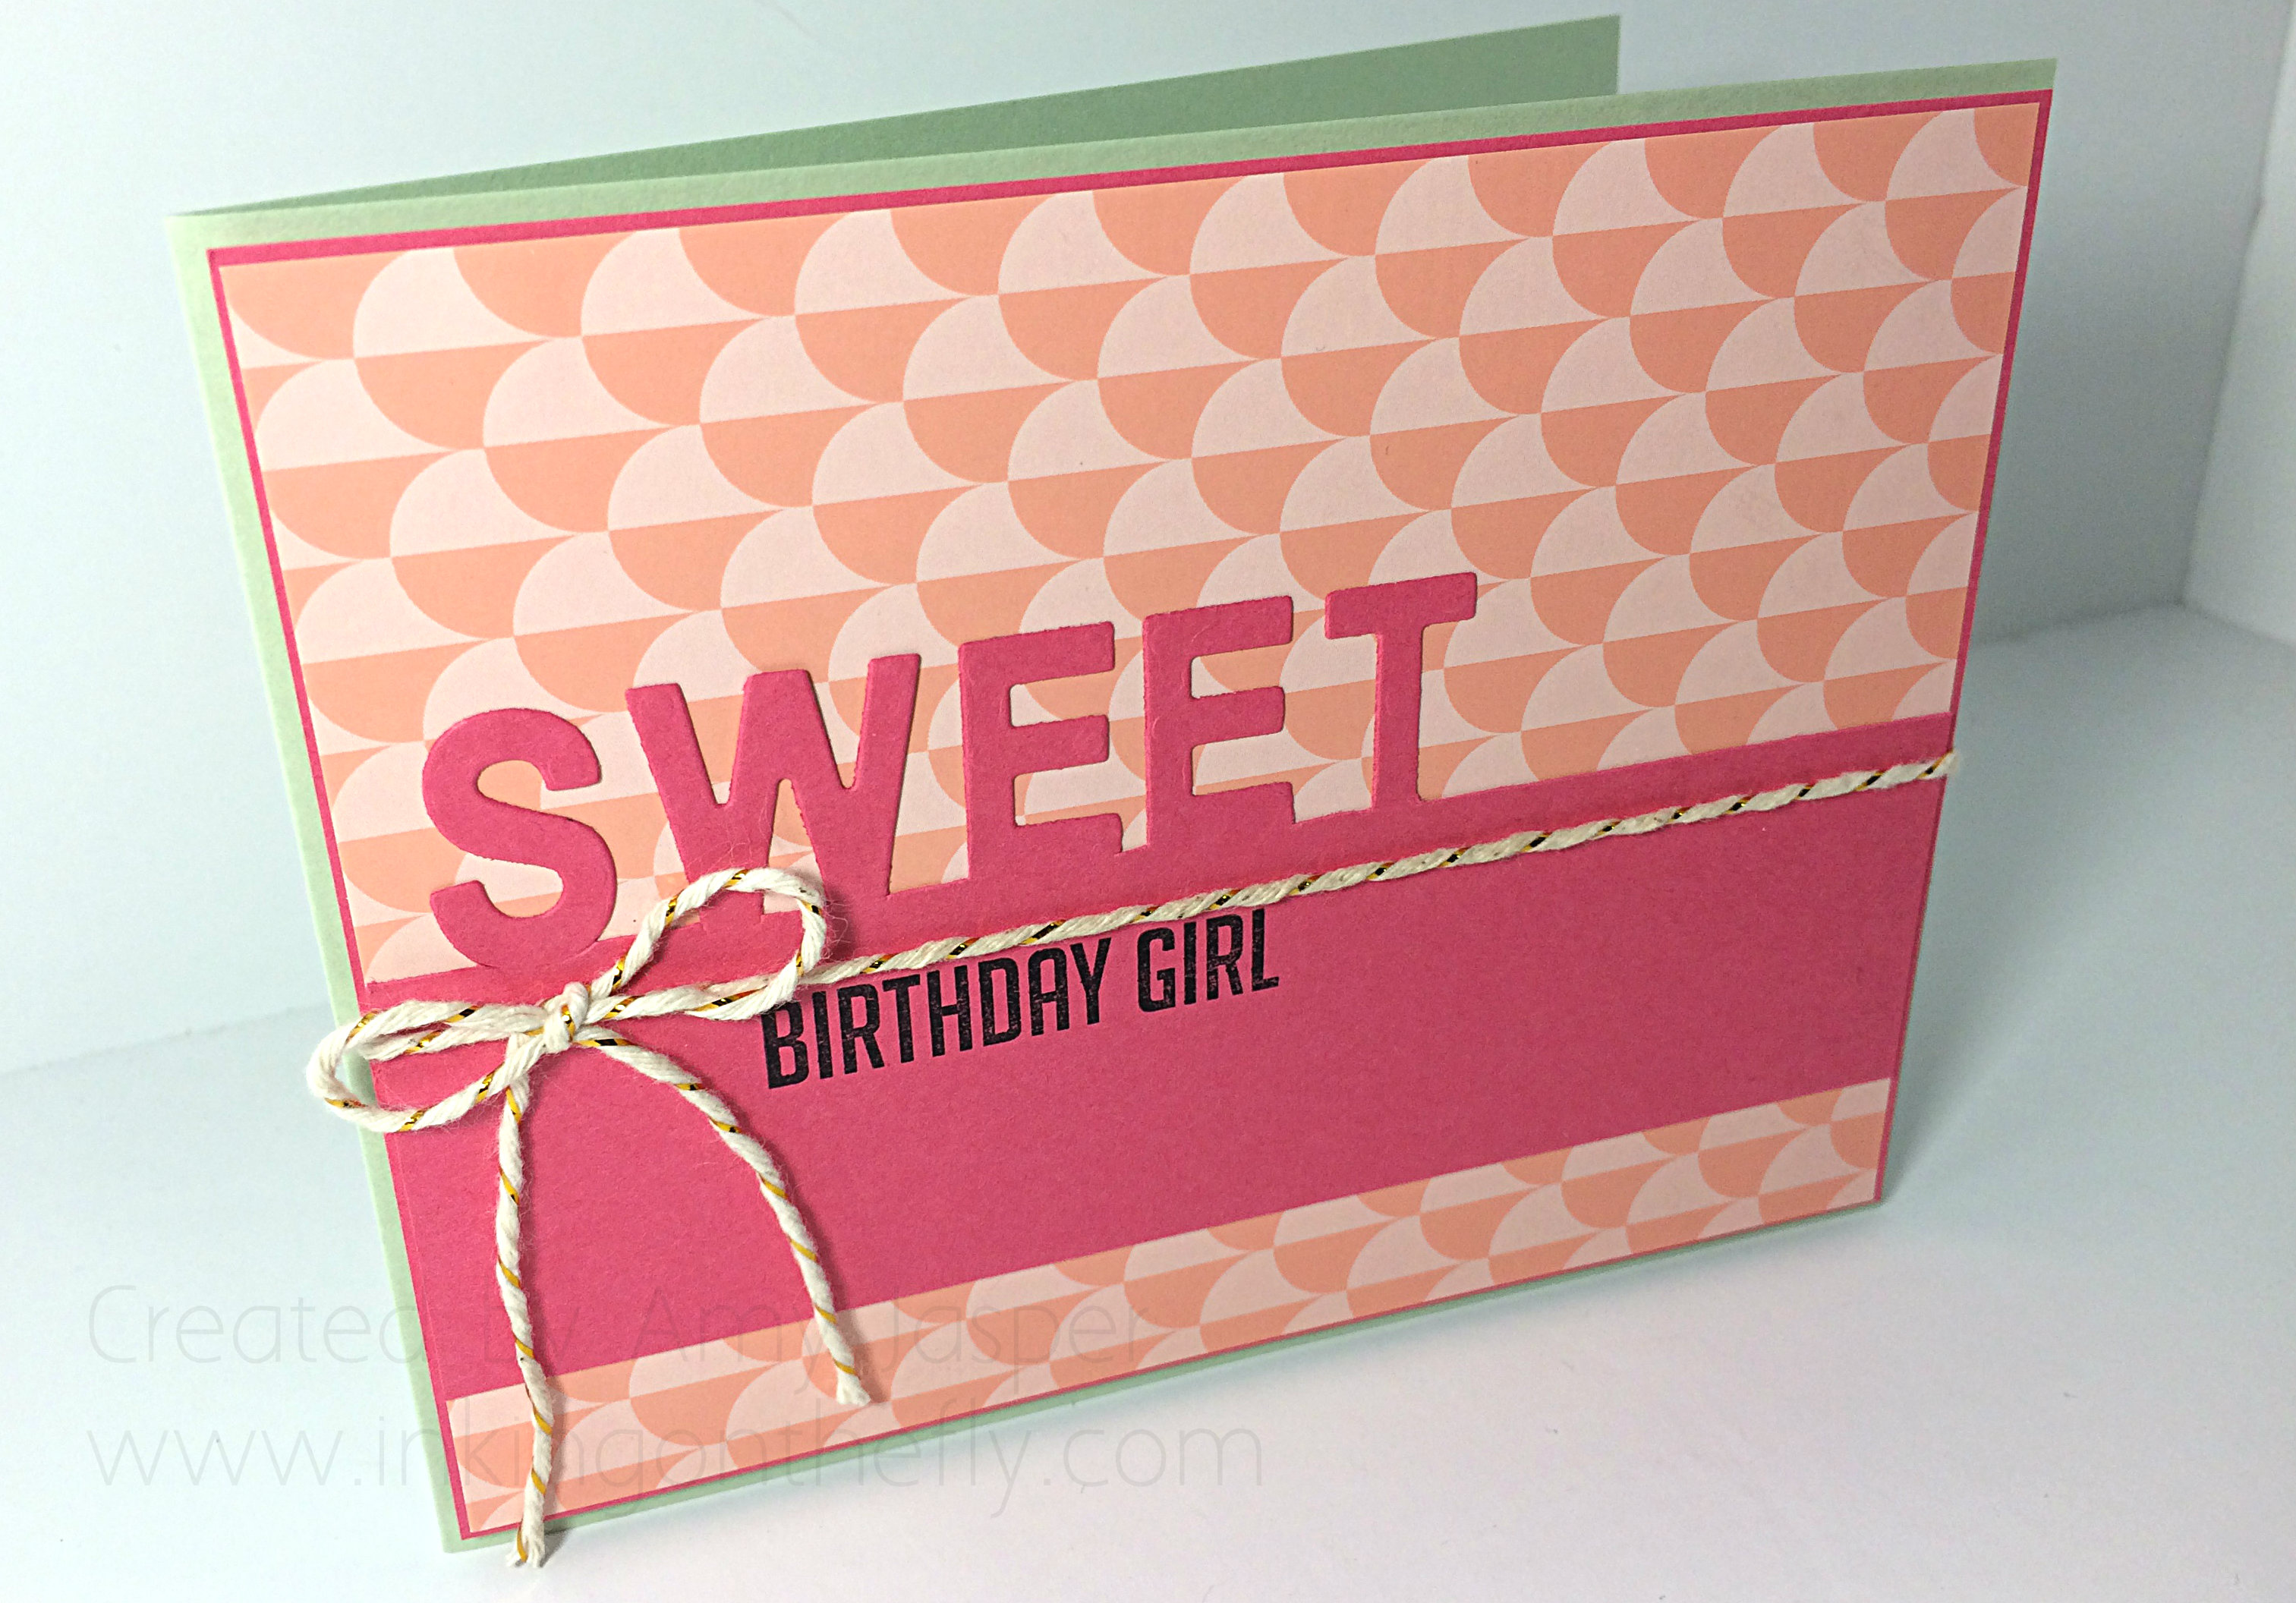
Here’s the card without the chocolate heart. Still cute.
I used Pistachio Pudding cardstock for the card base, then there is a thin matt layer of Strawberry Slush cardstock. The patterned paper is a sheet from the Gold Soiree Specialty Designer Series paper. This paper has a unique, almost plastic or magazine glossy finish to it, giving it a wonderful, professional finish for your projects. The Little Letter thinlits were partially cut from the Strawberry Slush cardstock top layer that was stamped with the “birthday girl” image from the Hooray It’s Your Day photopolymer stamp set.
The Gold Bakers Twine is wrapped and tied around the three top layers before they were adhered to the card base with Stampin’ Up Dimensionals. The candy heart was attached with many Glue Dots to make sure it was secured well to the card.
I hope you try this theme challenge over at As You See It this week. So many ways to interpret themes! You could do a card, a 3D project, home decor, or anything to do with “sweet”. Babies are sweet. Success is sweet. Cupcakes are sweet. So many paper-crafting possibilities!!
Oh, how I missed you last week. How’ve you been? I was away at the Leadership Conference for Stampin’ Up! down in Orlando, Florida. The time change was harder for me than ever! But I learned so much and have a lot to work on to improve my business and my home life! I was especially touched and inspired by what our keynote speaker had to say about the power and significance of handwritten notes and letters in this world of emails, texts and Social Media updates. His words and the stories that he shared of people reading messages from loved ones who have passed on, sparked a flame in me to change my ways – just a little bit.
I love making cards. Really love it. And I love showing others how to make cards. But do you think I can get myself to send a card? To remember to send one before the birthday or event for which that card is intended? No. I am TERRIBLE at that! I have an ever-growing collection of hand-made cards that have been mailed to NO ONE!!
So, this week, I decided to share the inspiration with my Monthly Stampers group. I gave them each an envelope with a postage stamp and encouraged them to use one of the cards that we finished in our class that day to mail to a loved one. To write the address on the envelope right then and there. To write in the card, and mail it on their way home. I did this for them, yes, but I did this for me. My card will go to my Granny, whom I seldom see, and it seems as though she is a world away. I have written in my card. I have addressed the envelope. It has been mailed. My hope is that lives will be touched by our hand-written notes of love and gratitude. The notes and cards that share a bit of us. Our hand-writing is only ours. These notes are not about the words on the page so much as they are about the hand that wrote them. Hand-written notes have a personal touch, and therefore, a personal and relational connection, that typed messages will never carry.
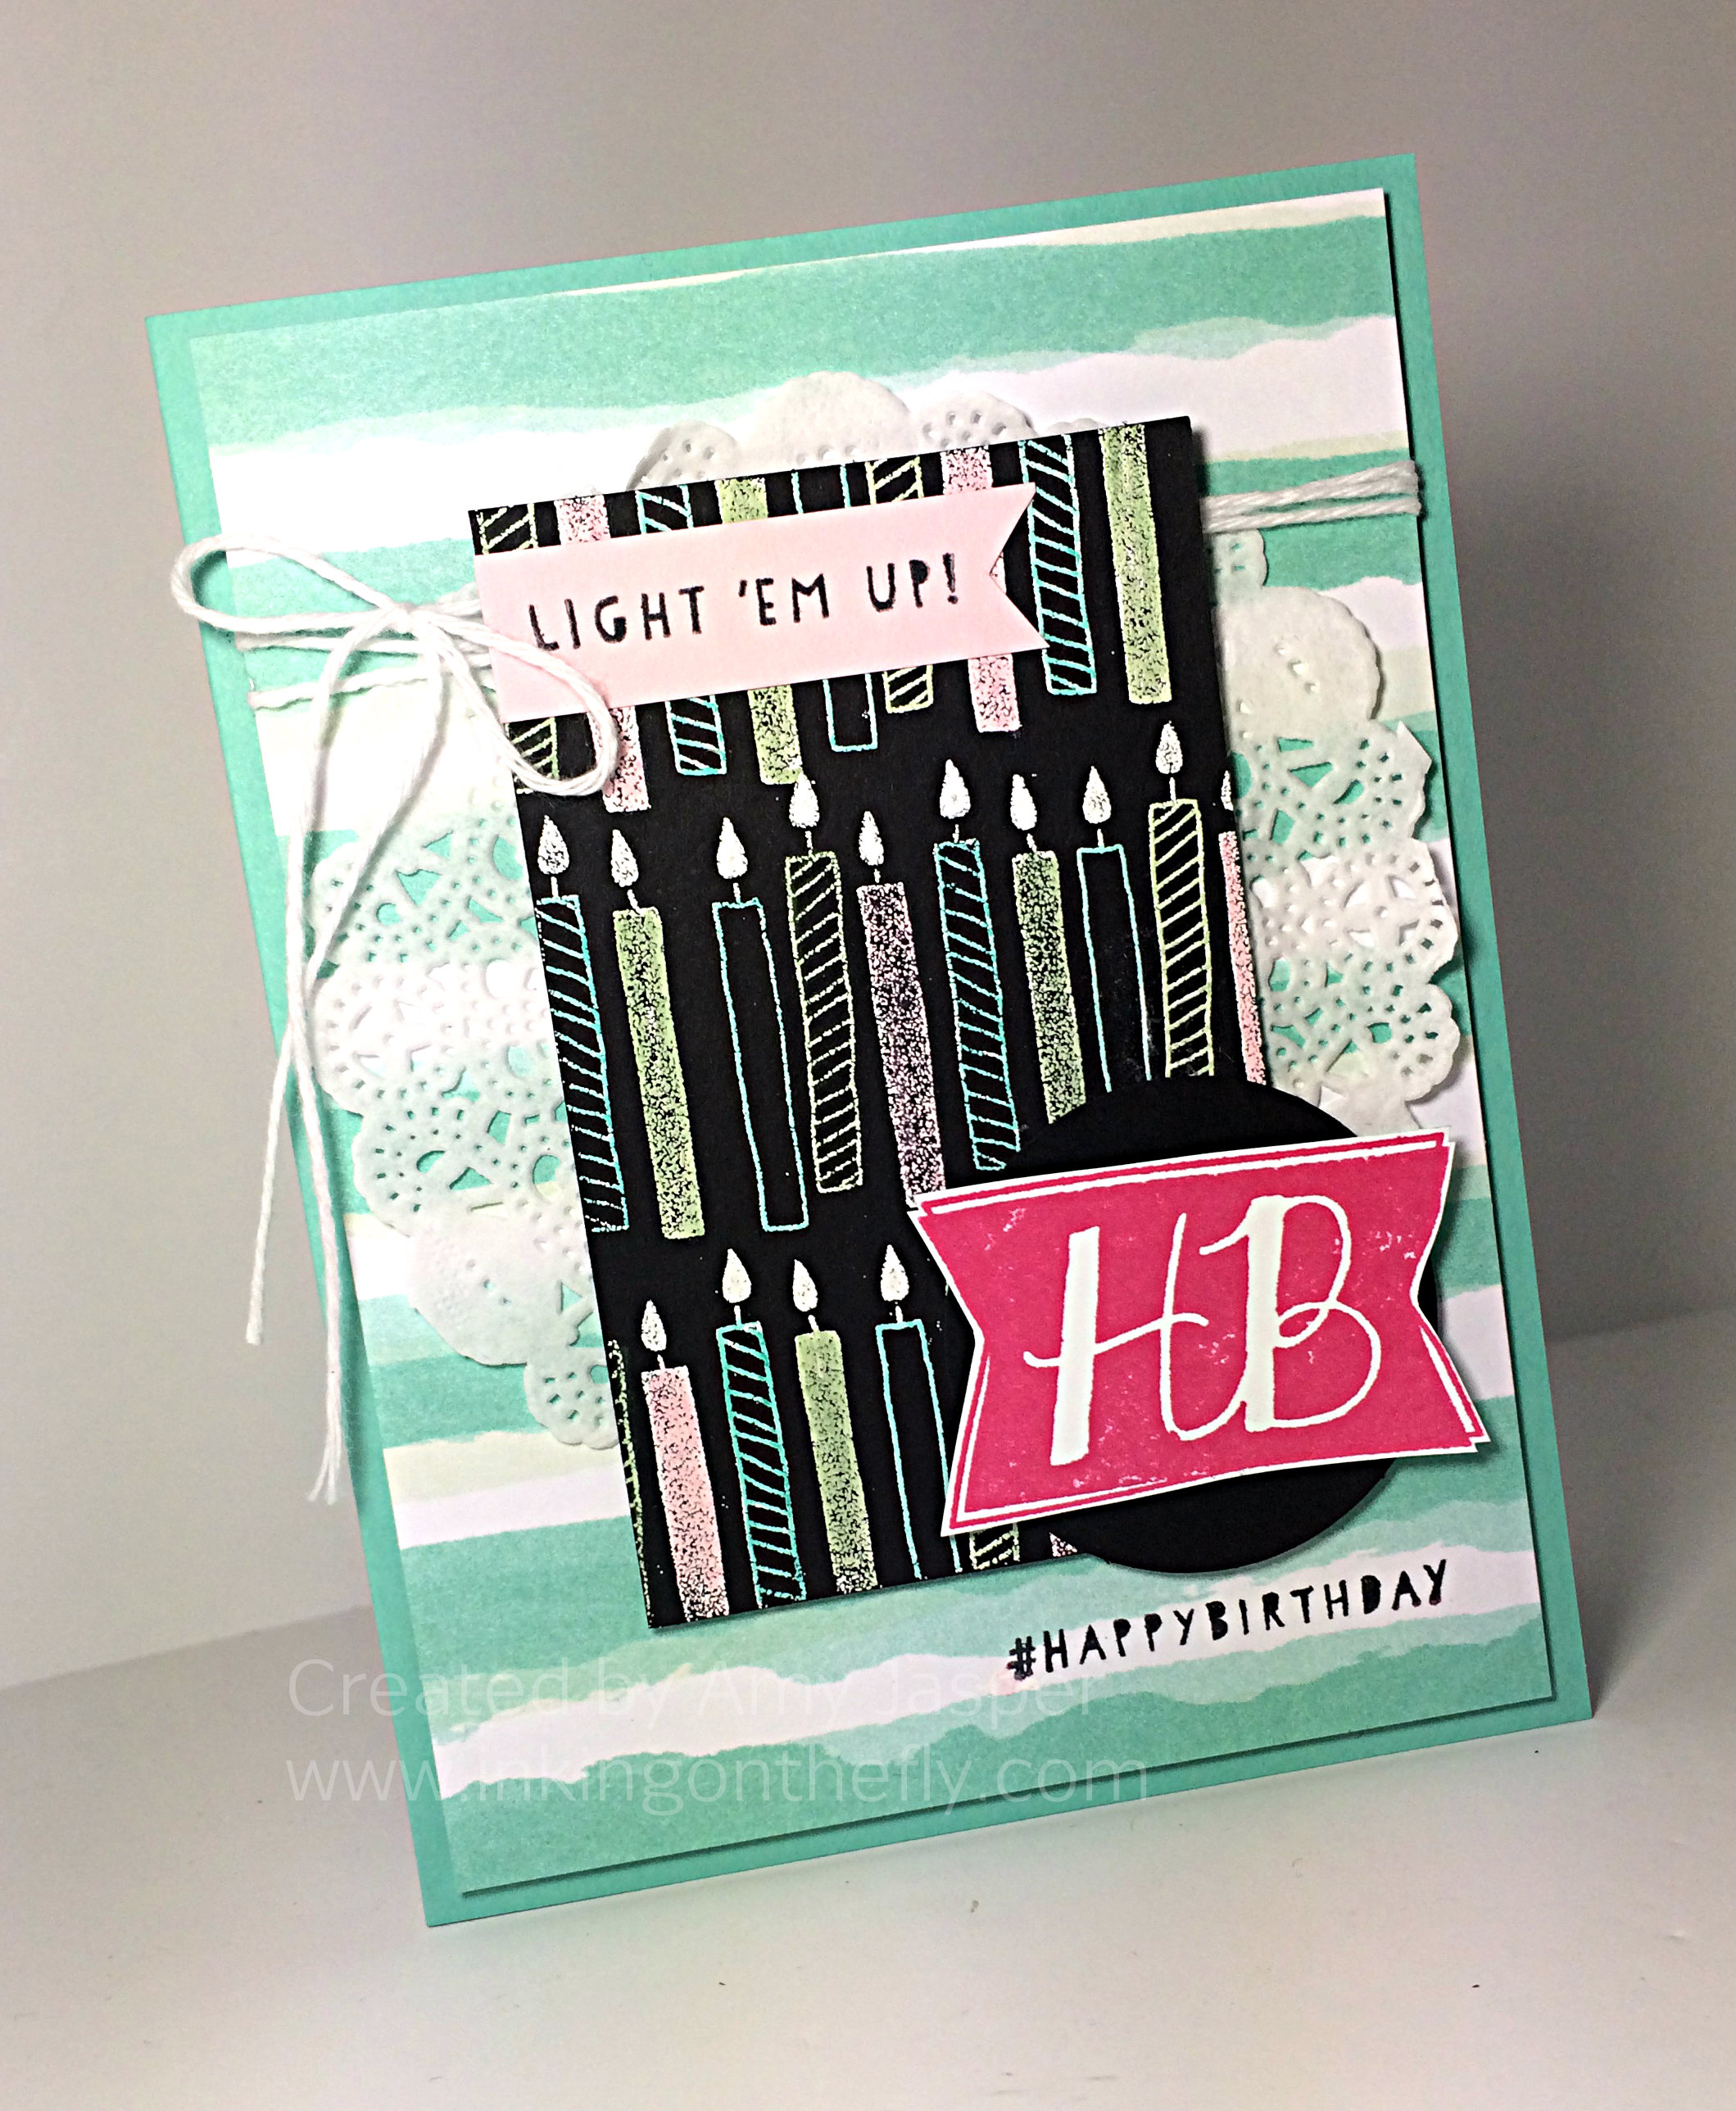
This card kinda makes me smile. I can’t say that it’s my favourite, but the colours are happy and fun. It’s playful.
I started with the Coastal Cabana card base and added the piece of Best Year Ever Designer Series Paper (only available for FREE through the Sale-a-bration promotion). I adhered that piece with Stampin’ Up Dimensionals simply because I have the added bulk of the Baker’s Twine around it, making it lumpy if I were to adhere it flat to the card base. I have a White Paper Doily behind the Basic Black piece of cardstock. That piece is where the real fun began!!
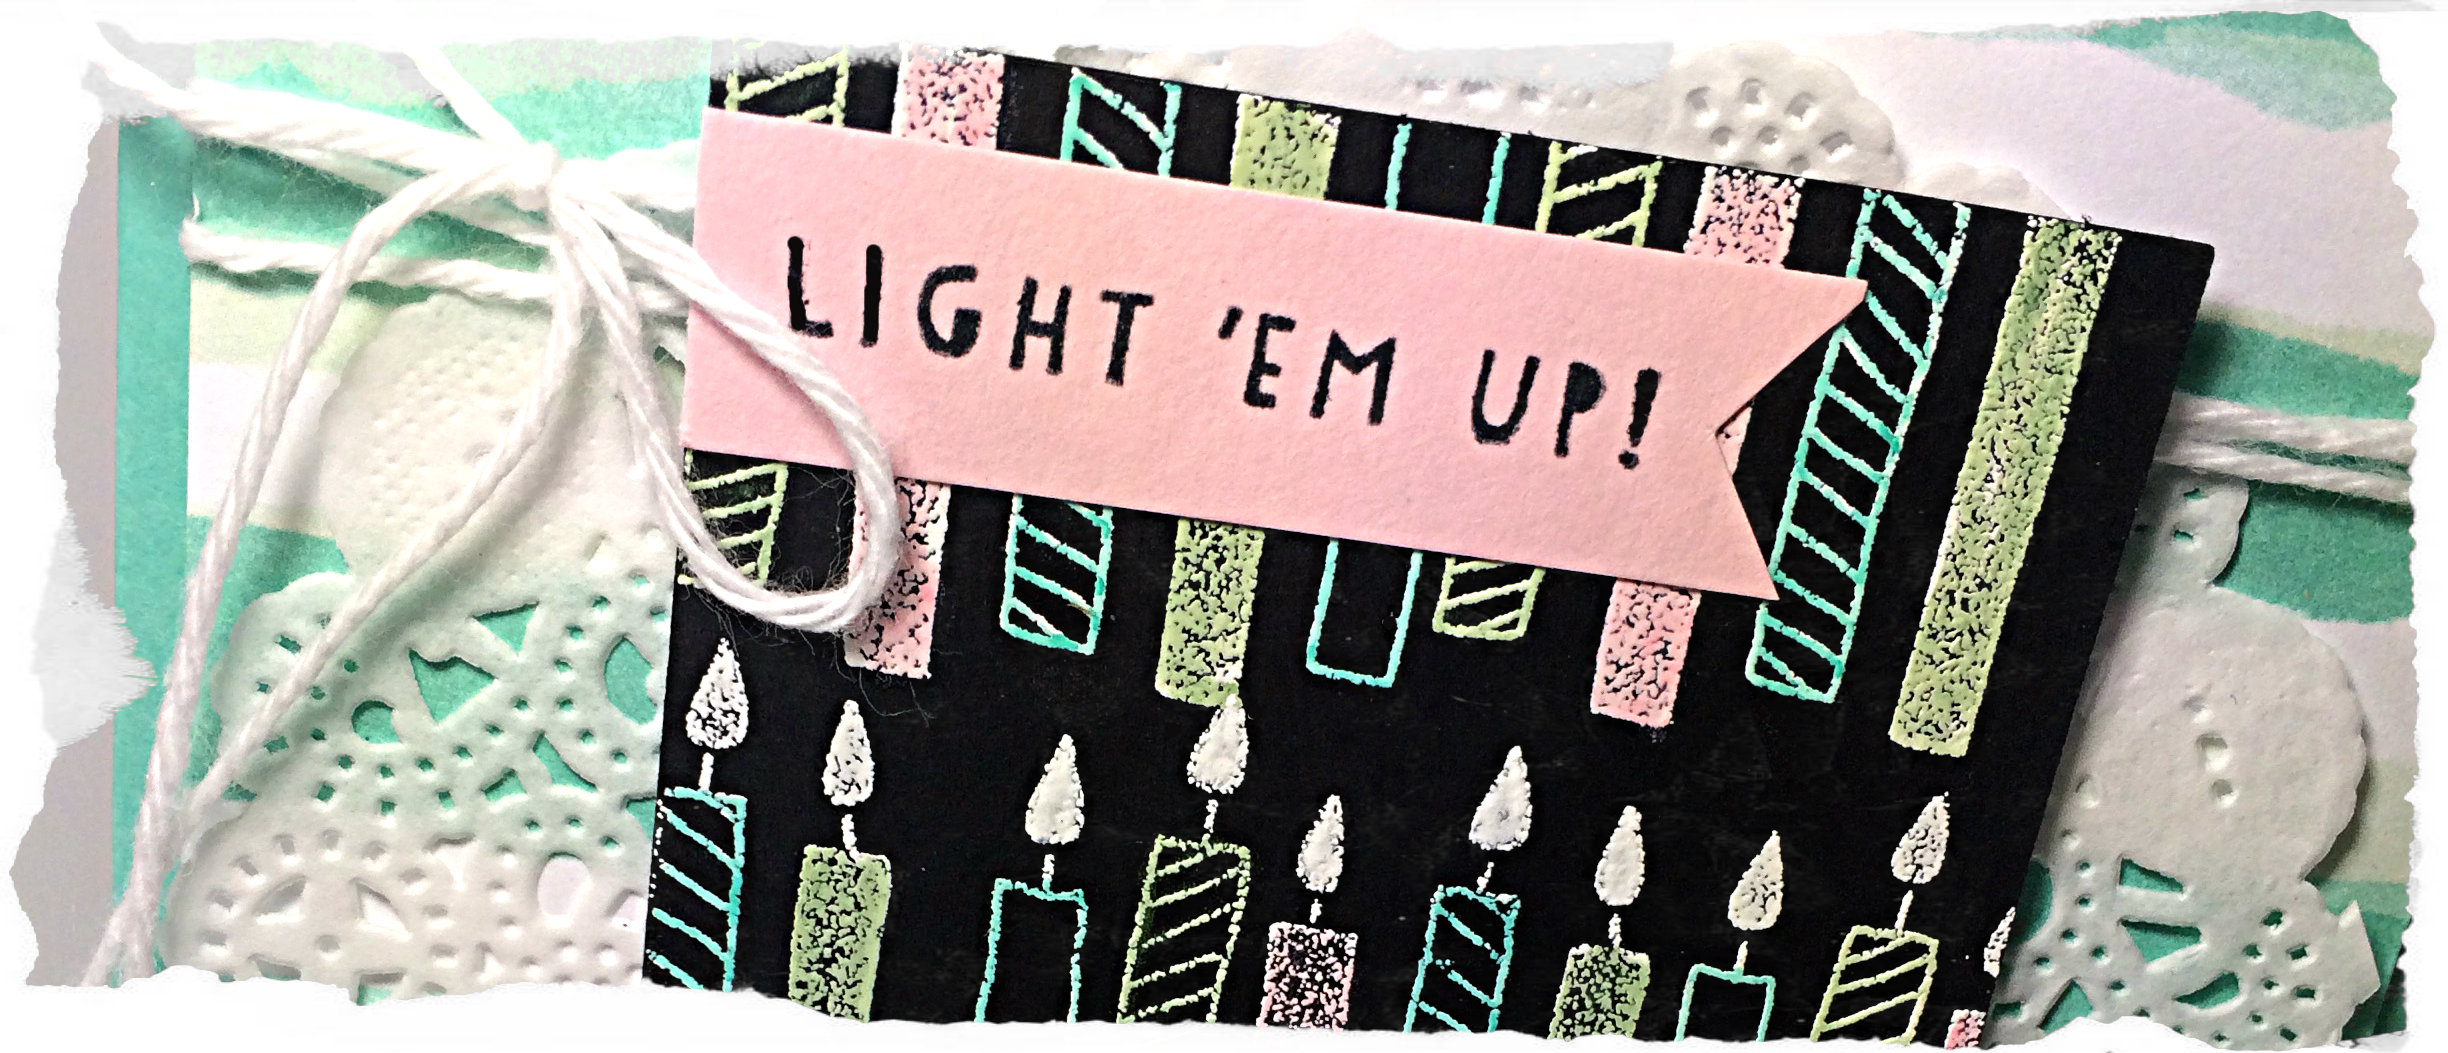
I used one of my free stamps from Leadership, out of the Balloon Bash stamp set, and inked it up with the clear Versamark ink, stamping it on the Basic Black cardstock and heat setting some White embossing powder on it. I stamped it multiple times over the cardstock, being careful to mask off the words under the candles on this particular image. Then I used my Blendability markers (I received 4 new colours from Prize Patrol at Leadership!) over the embossed candles. It makes them so fun and colourful! I love this technique!!
The Basic Black embossed piece was attached to the card with Stampin’ Up Dimensionals. That same stamp, from which I masked off the words, I now masked off the image and used the words with Tuxedo Black Momento ink on the Pink Pirouette banner. The HB image was inked with Melon Mambo ink, stamped on Whisper White cardstock, and hand-cut to apply (yes, with Dimensionals again!) to the 1-3/4″ circle punch of Basic Black cardstock.
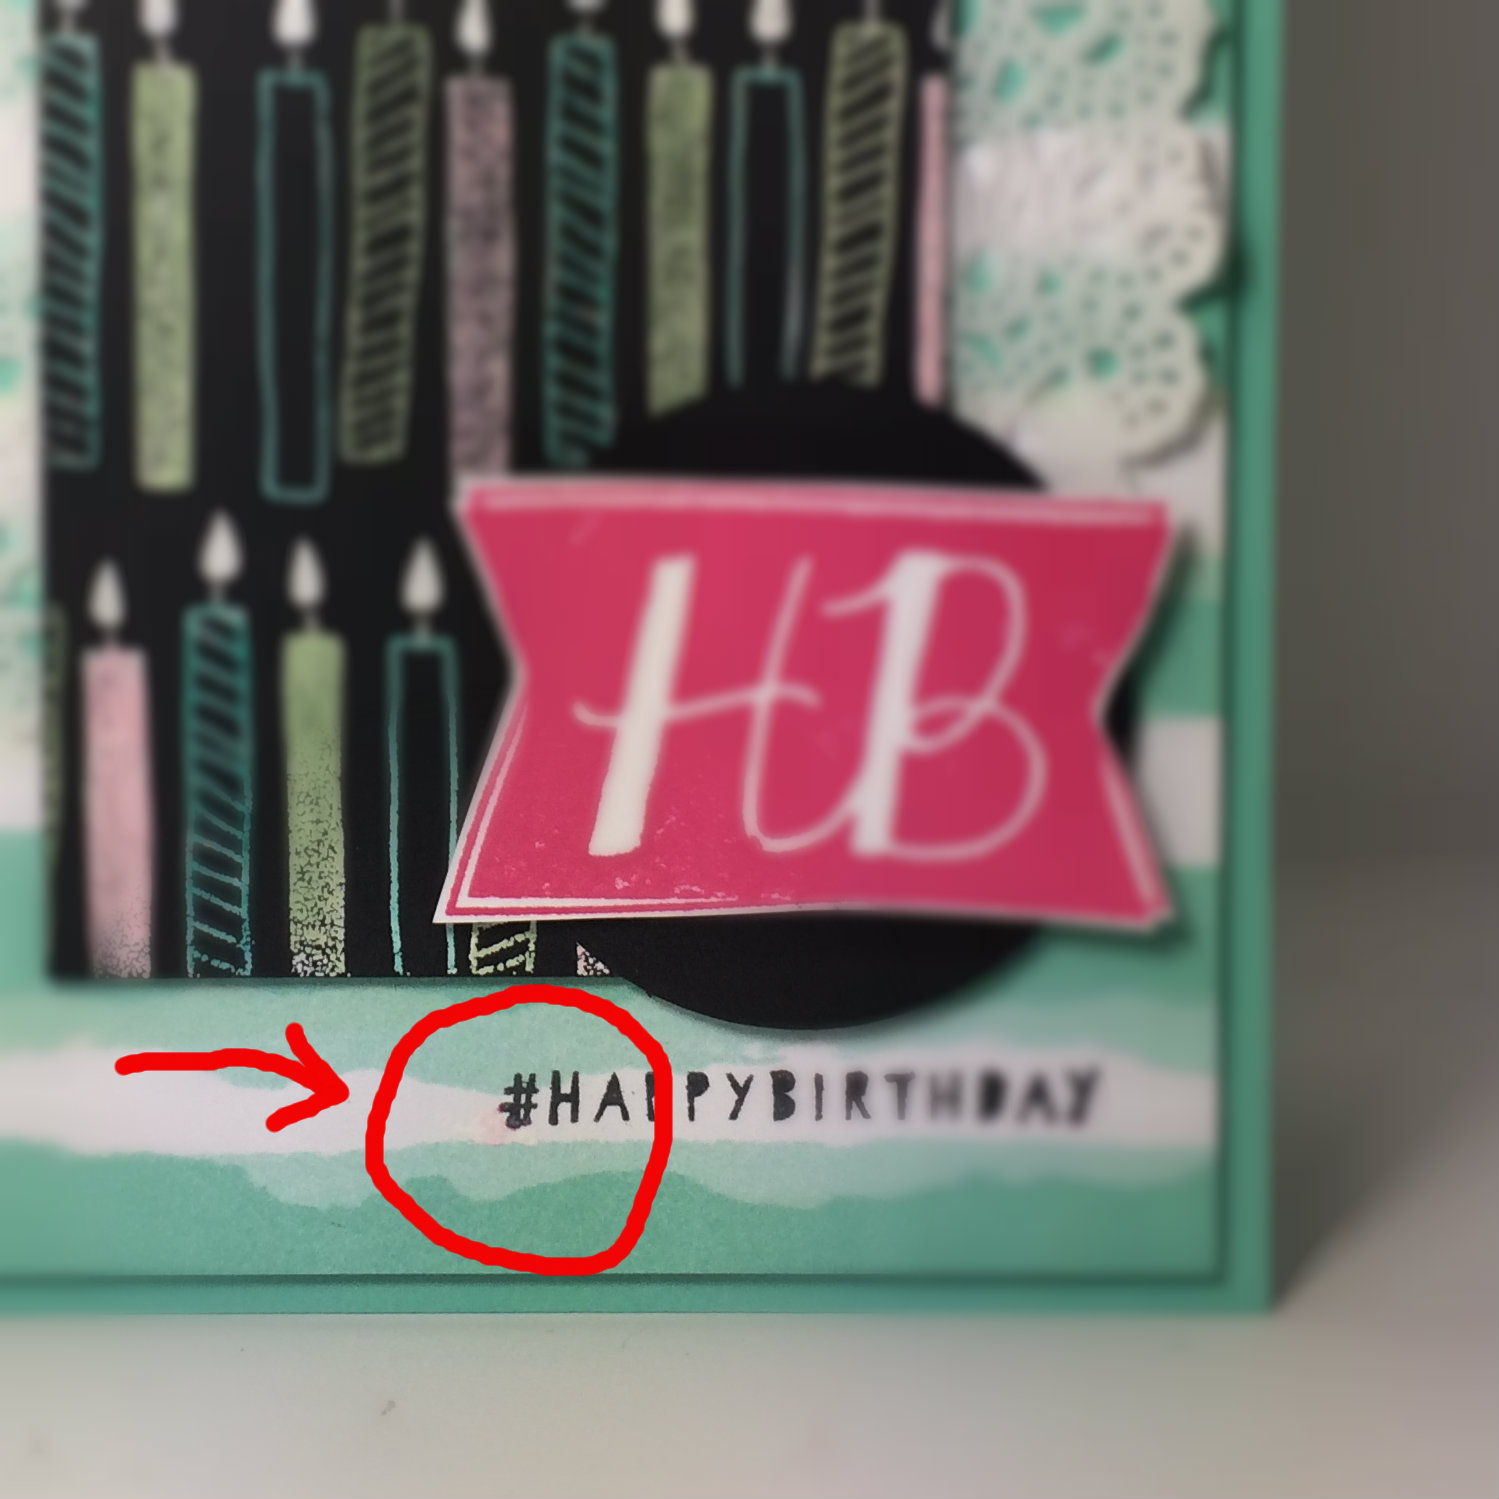
The hashtag sentiment was stamped with Tuxedo Black Momento ink by masking off the HB part of that particular image, so I could just capture the word on that piece of the card. This resulted in a Melon Mambo smudge of ink just under the hashtag symbol, but, guess what, you can barely see it!! Why can’t you see it, you ask? I used my White Gel pen to colour over the pink smudge! Phew! Saved!
I hope you’ll try this technique with your Blendability markers. It only works with the alcohol markers as the water-based markers will wipe right off of the glossy finish. Keep in mind that if you spend too long colouring over the heat embossed areas, the alcohol in the markers will start to break down the embossed material, so keep your colouring brief!
Now, go, make a card for this sketch challenge, load it up to the As You See It Challenge blog so we can all ooh and ahh. Then … just mail it already!!! Bless someone with a hand-made, hand-written, personally to them, card. You’ll make their day better 🙂
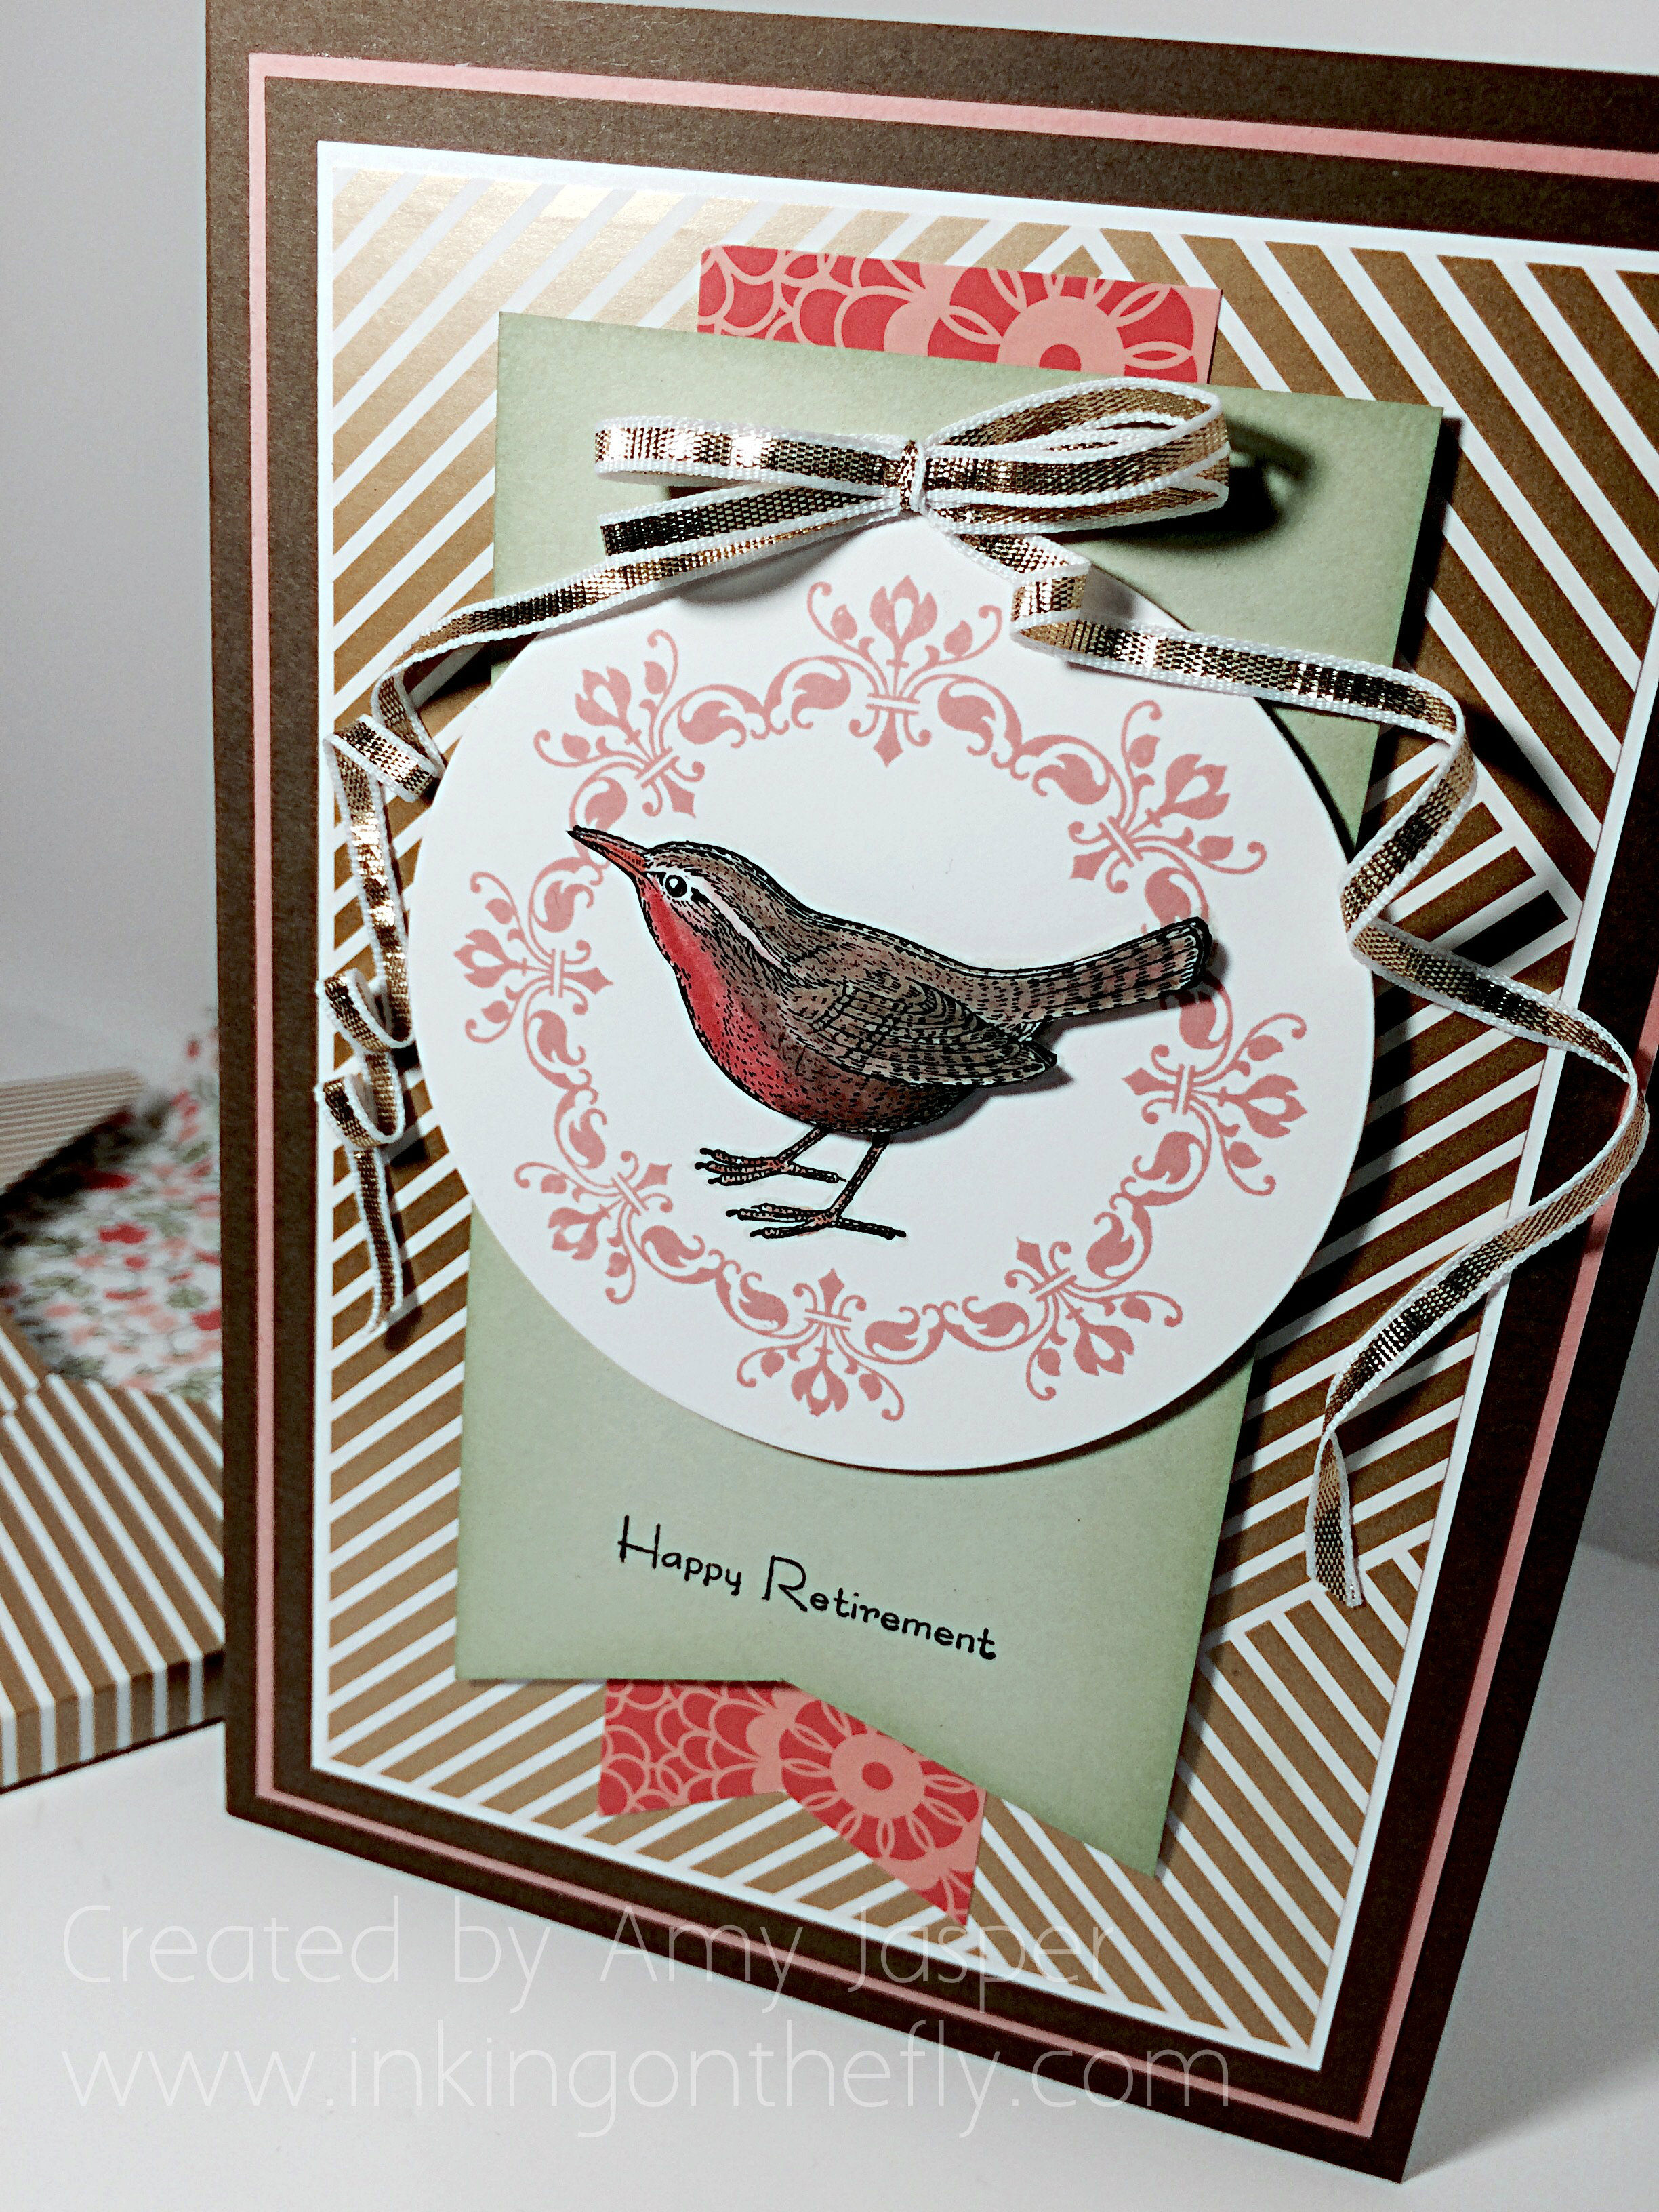
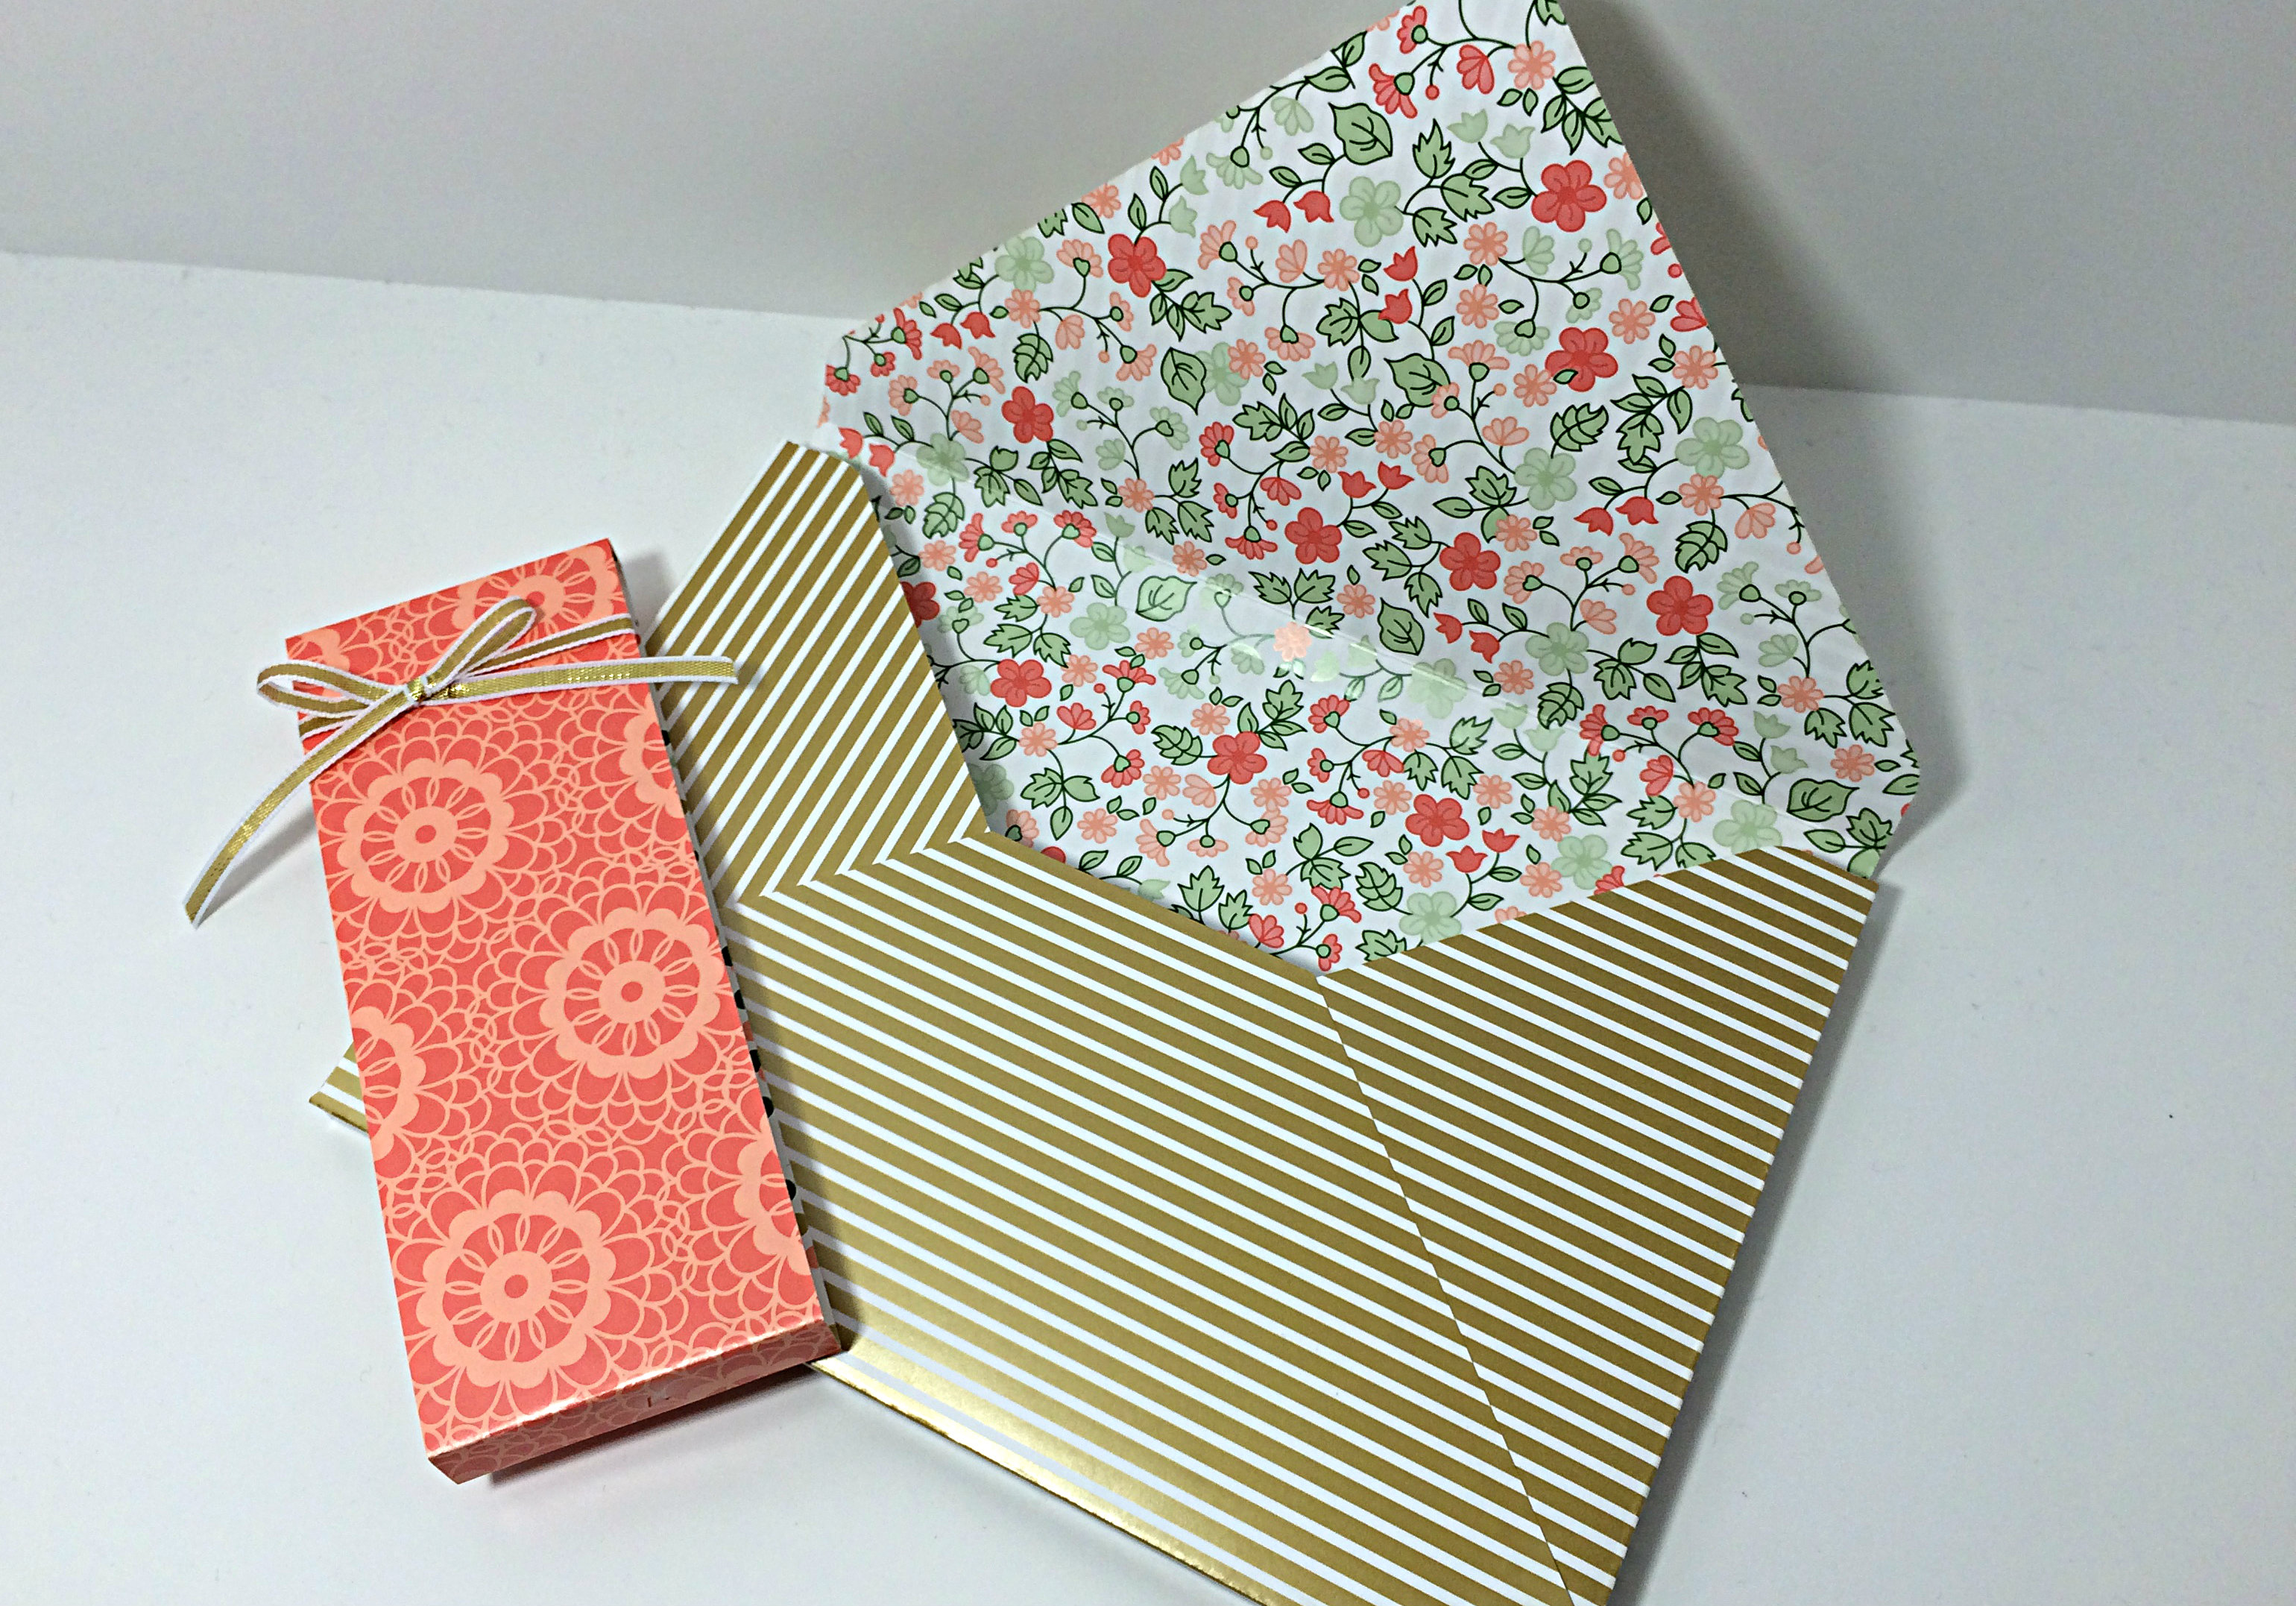
I’ve got what I call an uber-card for you today. Every now and then I get to make something fancy. This one is a 5×7″ retirement card designed for many people to say their well-wishes and farewells to someone who has brought meaning and inspiration to their lives and has earned the title “Retired”. A time where you get to live off of your savings and live out your golden years. I used Gold Soiree Specialty Designer Series Paper and my beloved An Open Heart stamp set from Stampin’ Up!
I decided to use a challenge sketch to find some inspiration and creative mojo to get this card going. This is the sketch I used:
When I make cards with multiple writing pages inside, I like to create the card with a 1/8″ to 1/4″ spine to allow for the extra bulk of the pages. This one started with a 7″x10.25″ piece of Soft Suede cardstock which I scored at 5″ and 5.25″ to make two folds for the book-like shape of the card base.
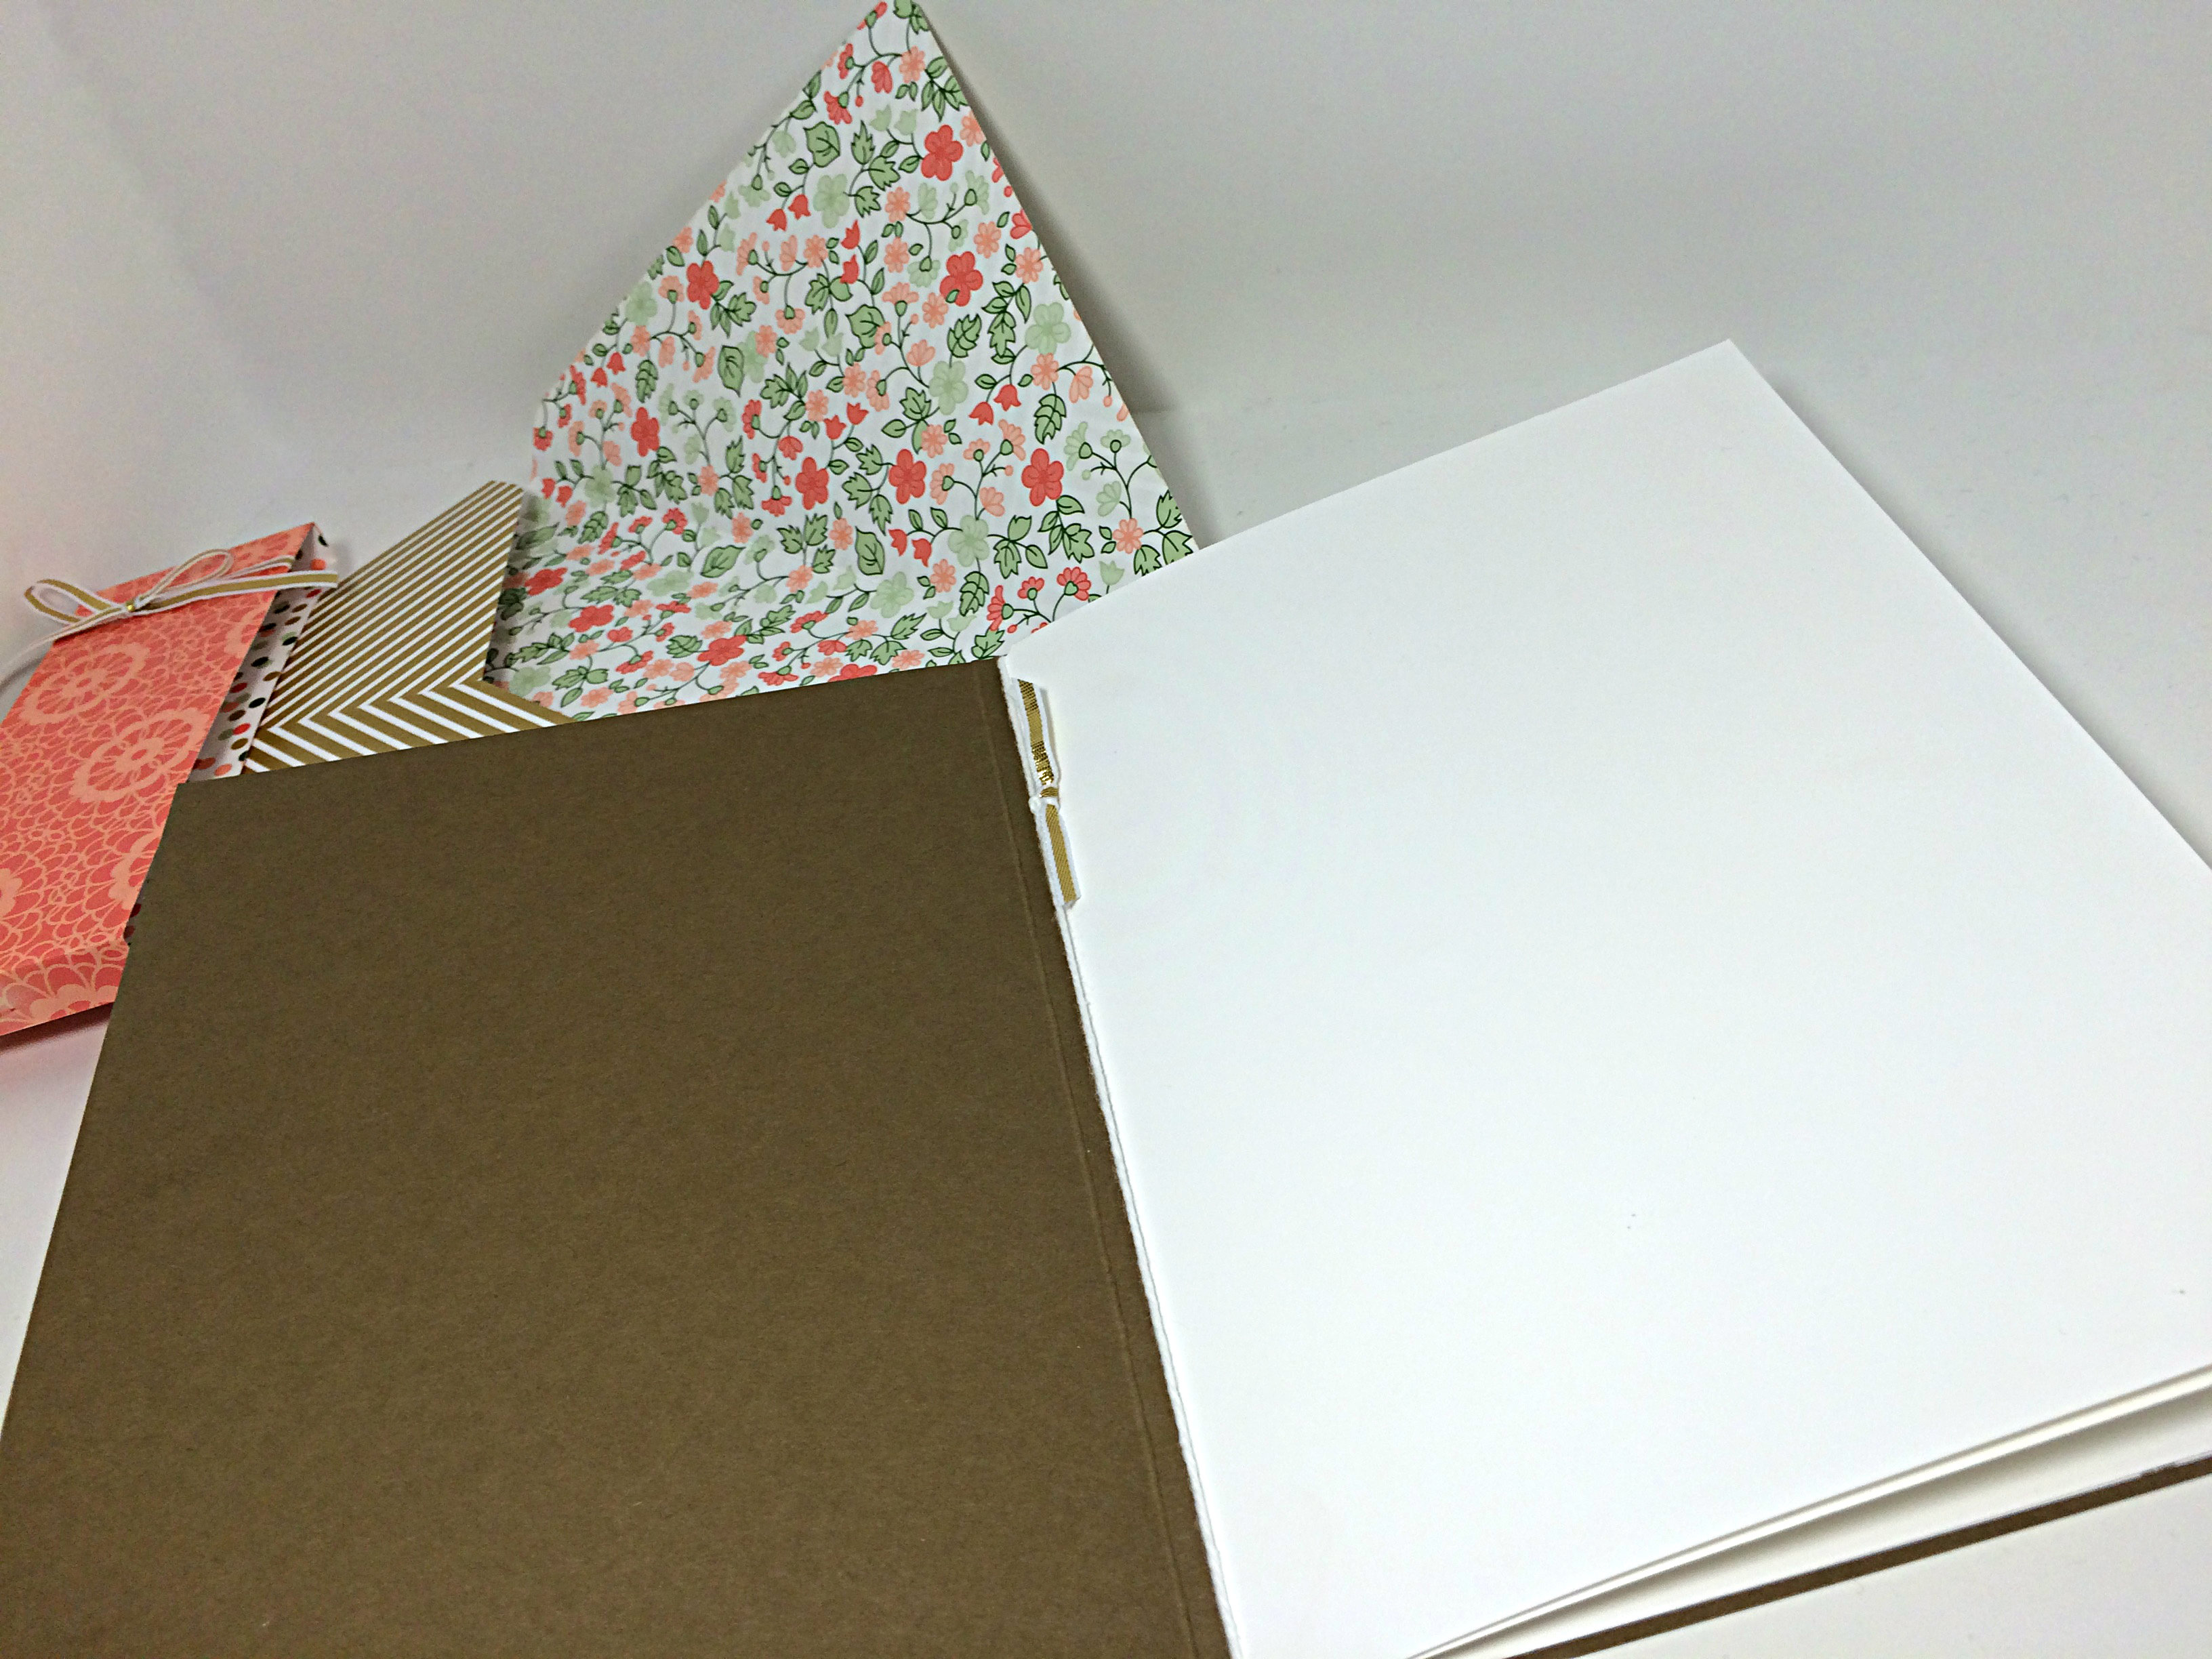
Unfortunately, I realize that none of the pictures taken of this card allow you to see the spine, but you can see the same extra depth added to the envelope beside the card in the photo above. The spine of the card is narrower, but this gives you an idea of what the spine would look like.
I chose to add some layers on the card base to frame the Gold Soiree Specialty Designer Series paper (DSP). You have the base layer of Soft Suede, the second layer of Crisp Cantaloupe, another layer of Soft Suede, until the final matte of Whisper White cardstock to frame the geometric gold base of the artwork. This Gold Soiree Specialty DSP is very unique as it has a sheen and texture that is cool and smooth, a bit like plastic. It makes for a nice professional finish on your projects.
The bow was created using a fingertip double loop bow technique and the long tails were twisted into submission a bit at a time and strategically adhered with glue dots along the way.
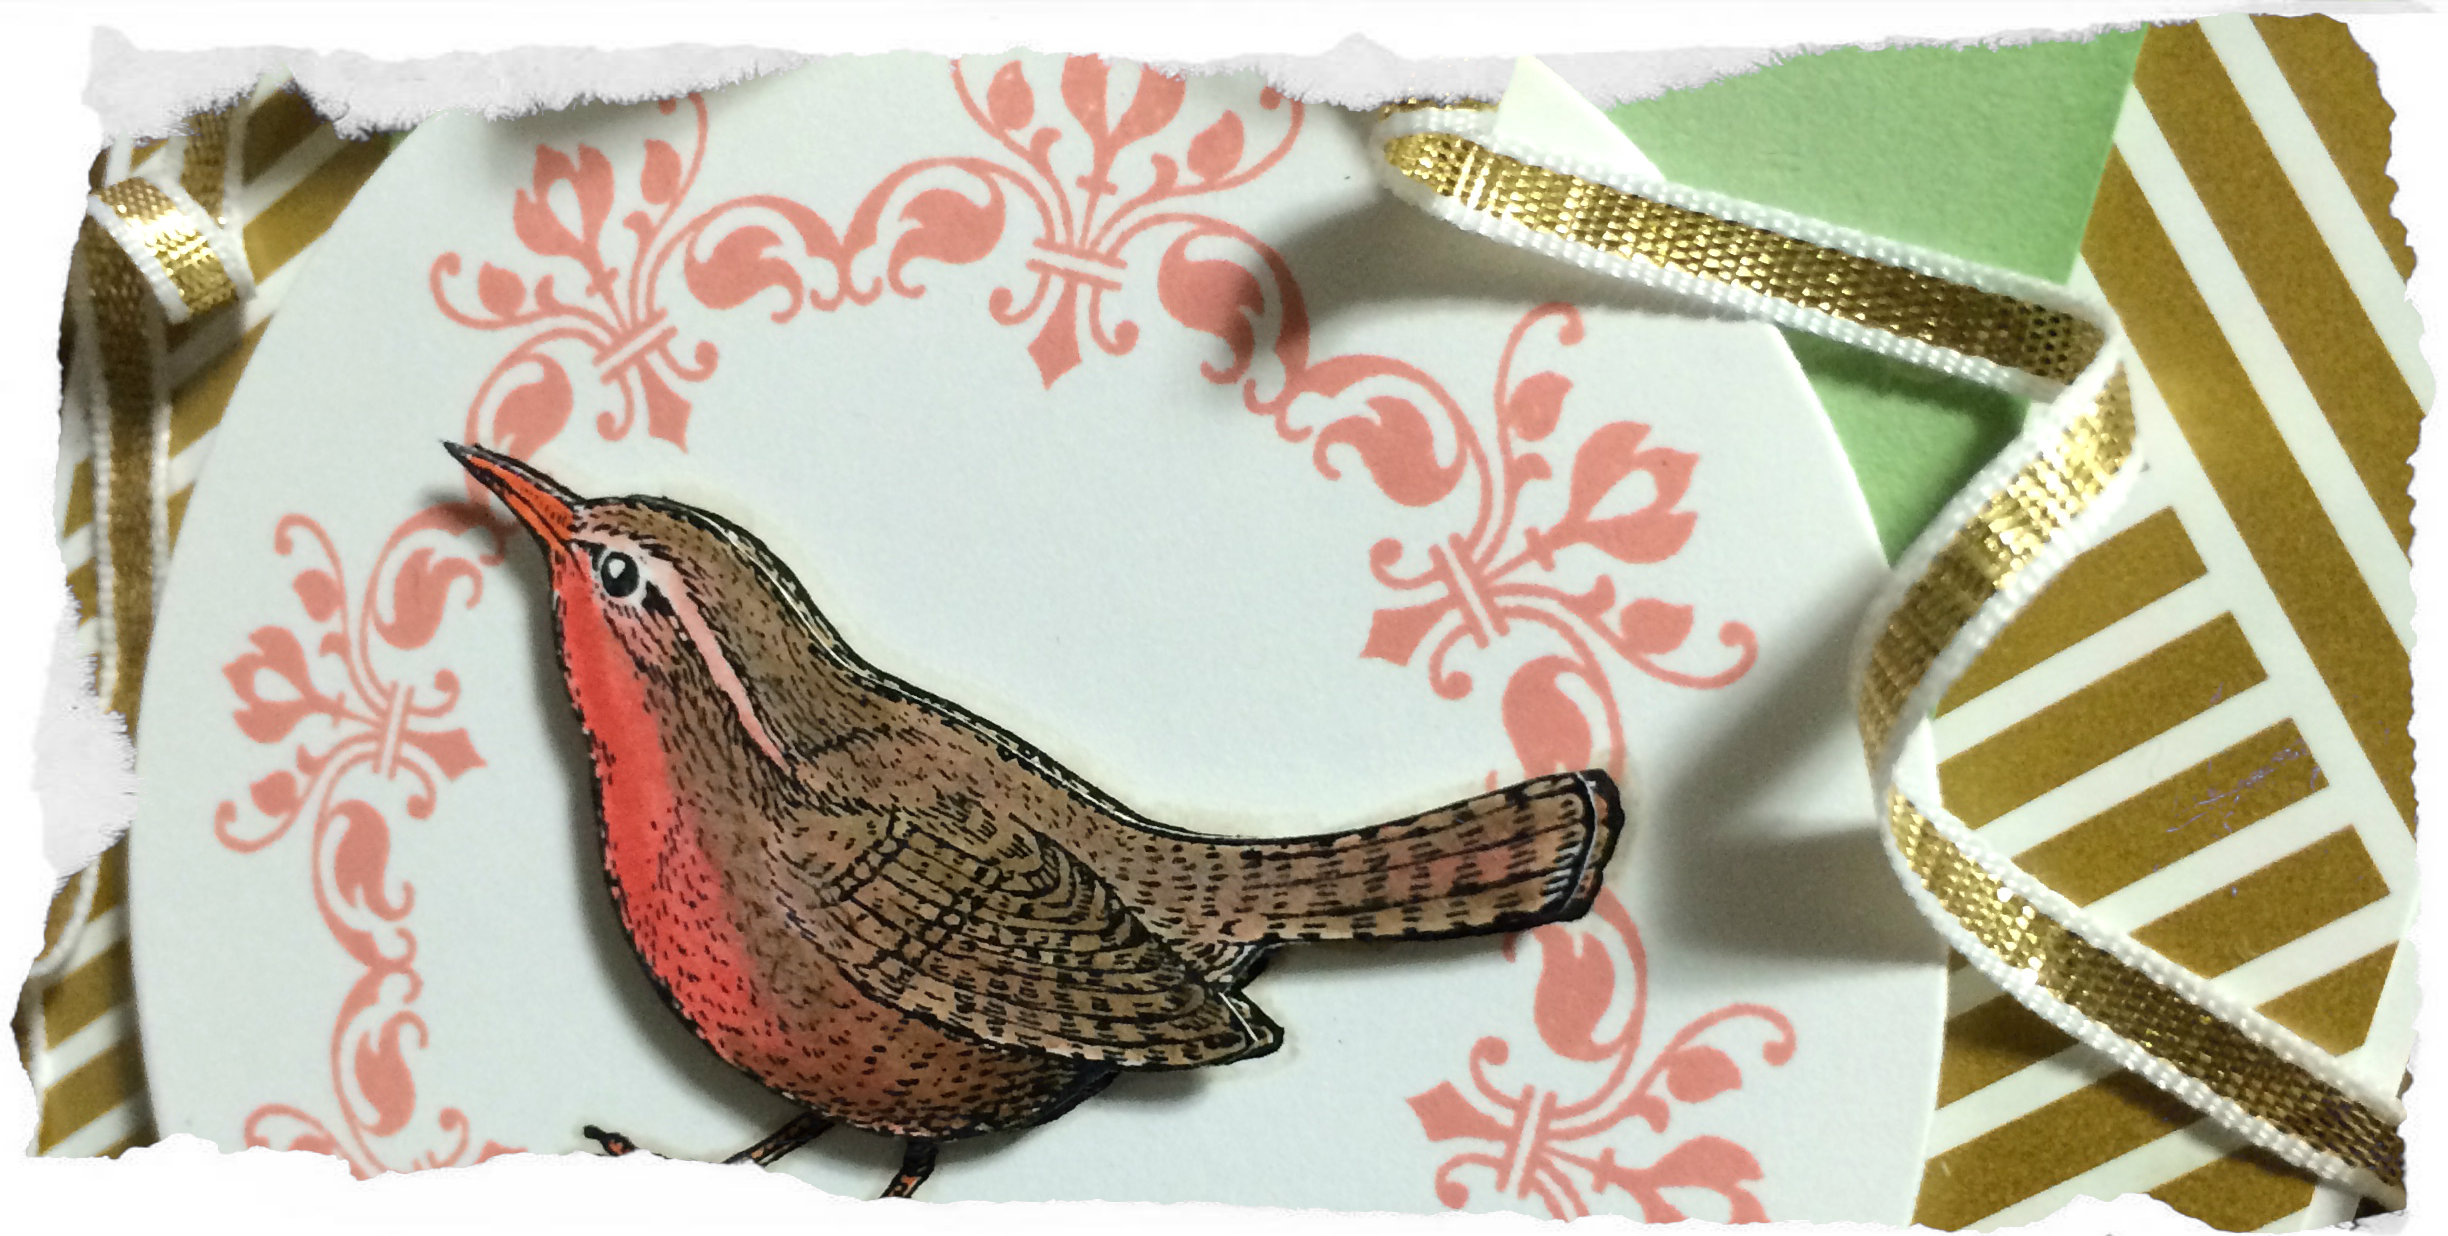
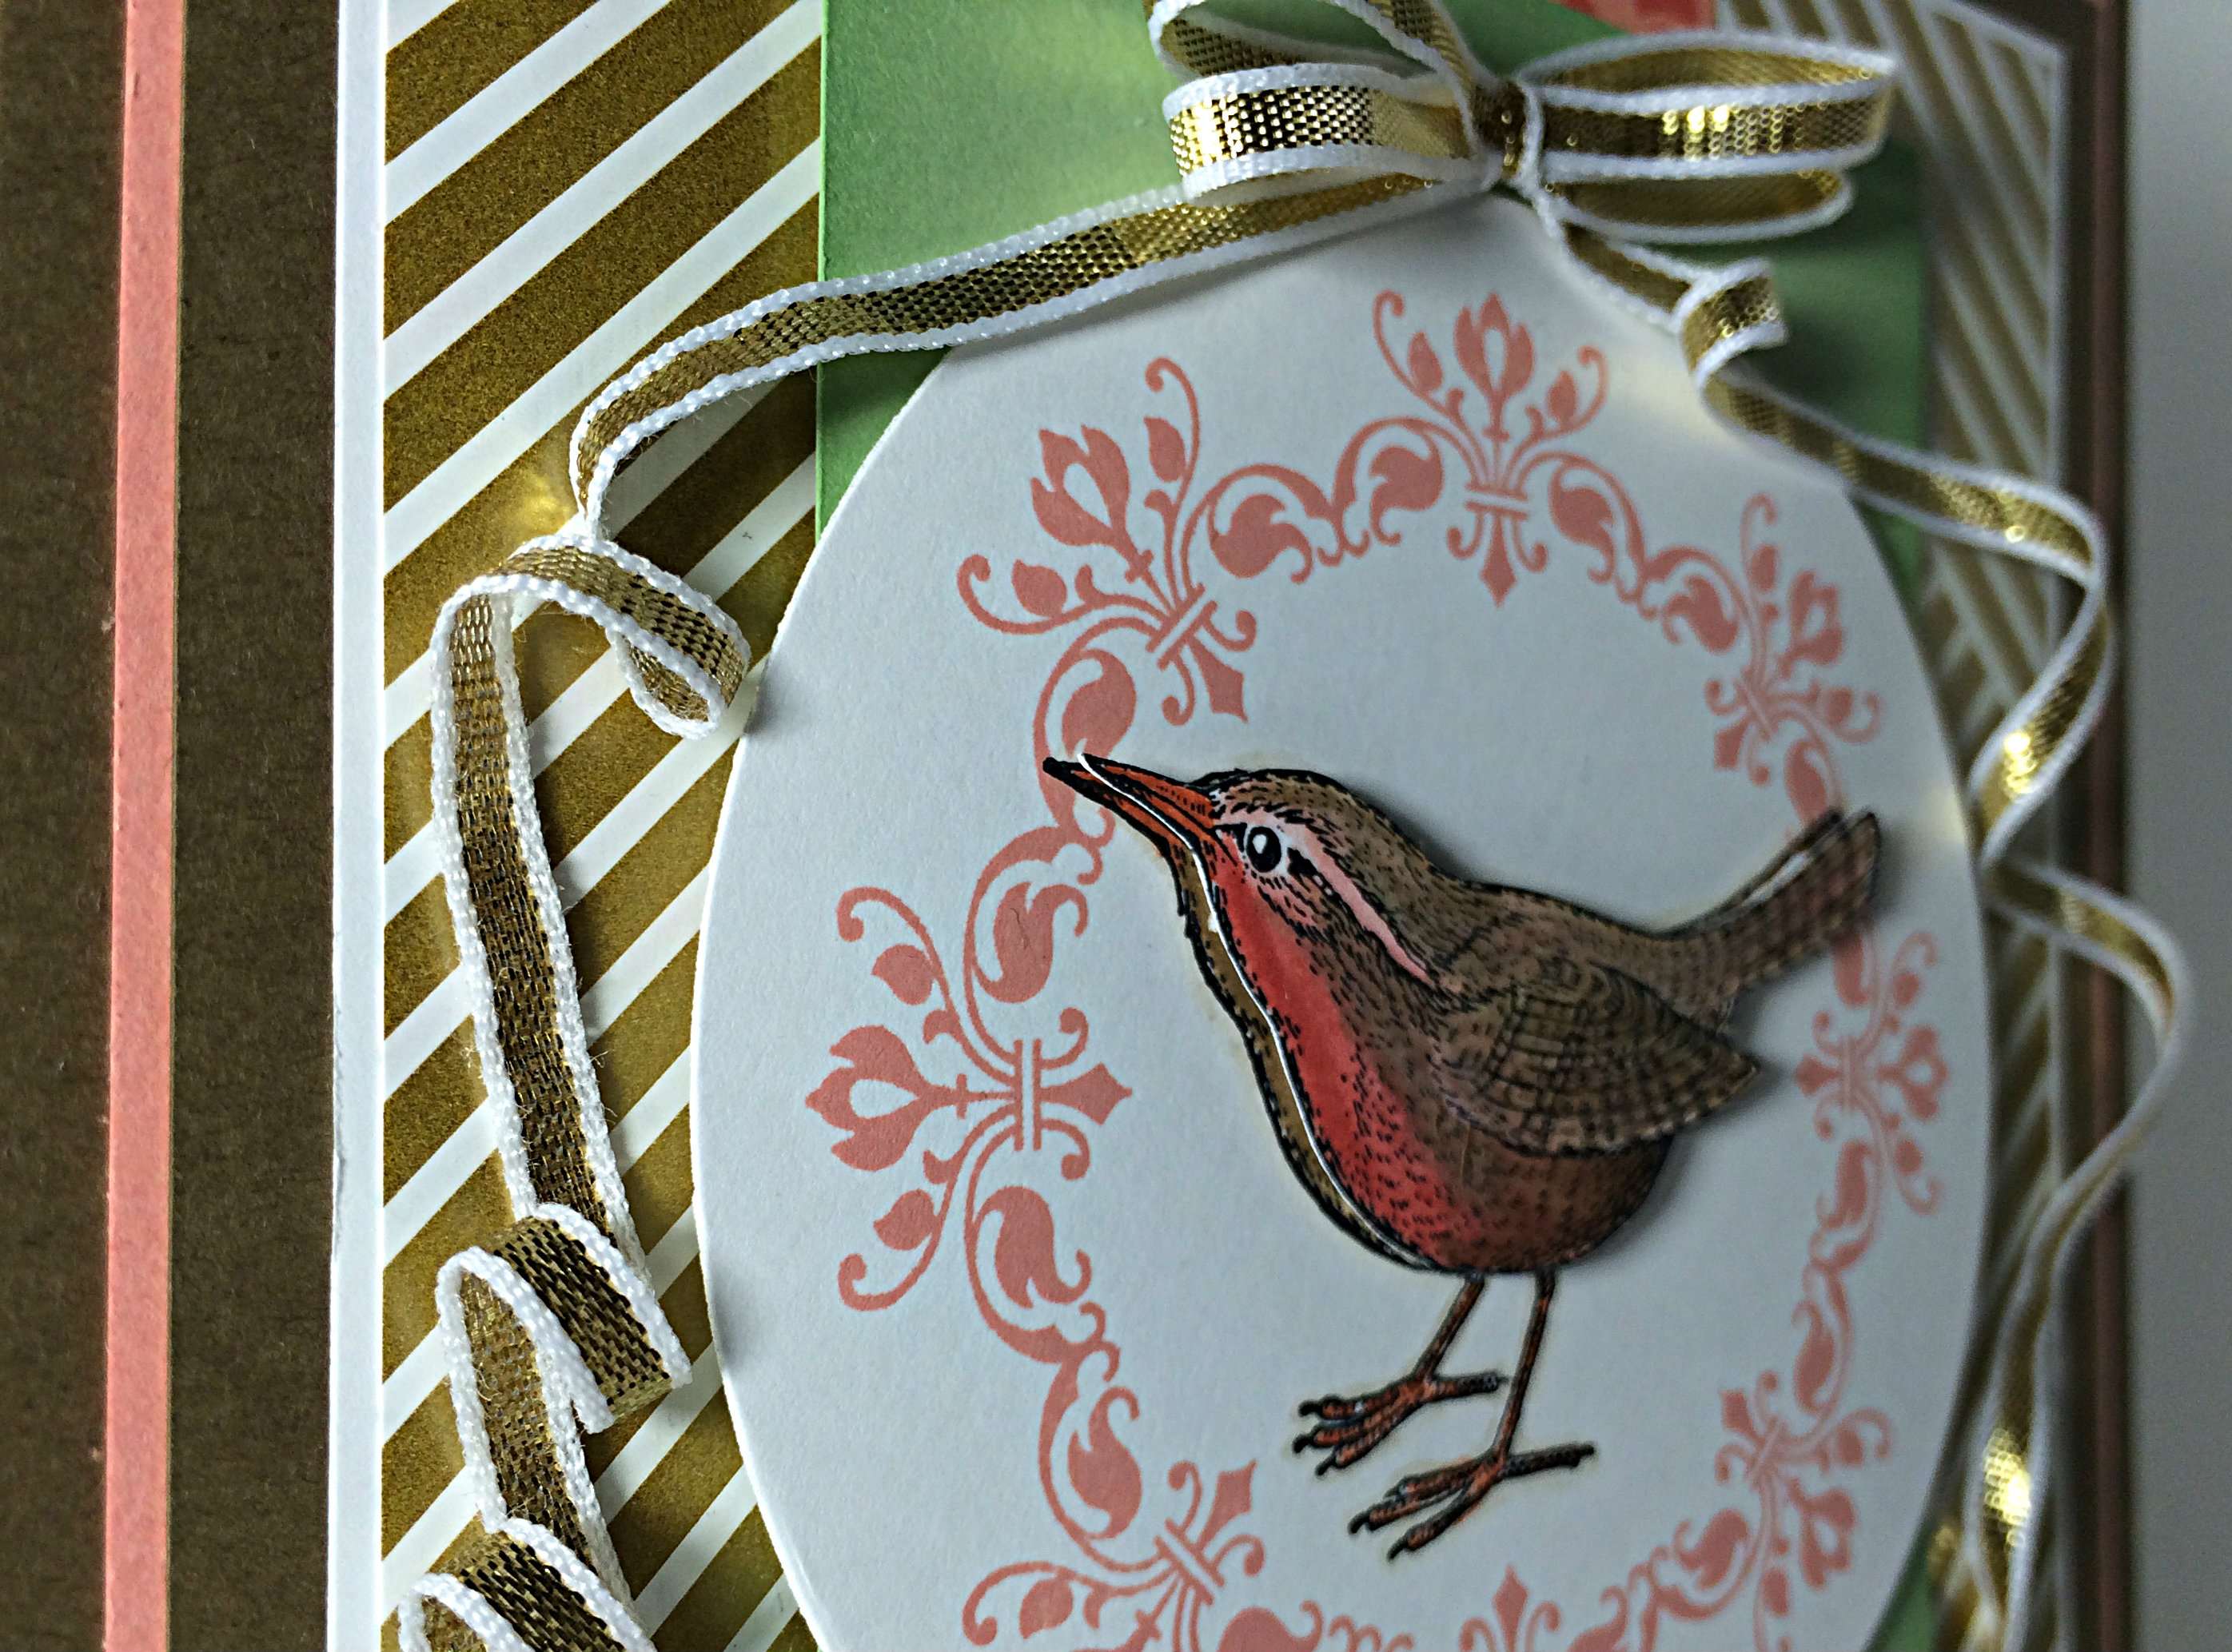
Isn’t that bird from the An Open Heart stamp set cute? You can see that he was stamped twice, once in the center of the circle and again on a seperate piece of Whisper White cardstock from which he was carefully cut out with my Paper Snips (I didn’t cut out the legs, but relied on the legs from the first image). I coloured both birds, with more detail on the top layer, using my inks and blender pens. I chose Calypso Coral for the breast, Tangerine Tango for the beak and feet, and I carefully added a shadow outline with Sahara Sand and a blender pen. That little guy is raised up on Stampin’ Dimensionals.
To create the pages of this card, I cut two 6.75″x9.5″ pieces of Whisper White cardstock and scored and folded them to create two 6.75″x4.75″ inserts which were placed one inside the other and tied together at the “binding” with Whisper White bakers twine. I added a little bit of the 1/8″ gold ribbon for a simple embellishment. The back of the last page of this insert was adhered directly to the inside back of the card base, allowing it to be secure inside the card.
Due to the size of the card, a custom envelope was required. I used the matching Gold Soiree Specialty DSP and my Envelope Punch Board (which just so happens to be on sale this week!) to create a 3D envelope that is deep enough to fit the dimensions of my card. When I do custom envelope that are hand delivered rather than delivered by the postal service, I prefer to close the envelope with a belly band of paper rather than seal it with adhesive. It’s a bit of a prettier presentation, I think.
I hope you give the sketch this week a try and link your creations to As You See It Challenge #69. I love how your designs offer new inspirations each week!