2021

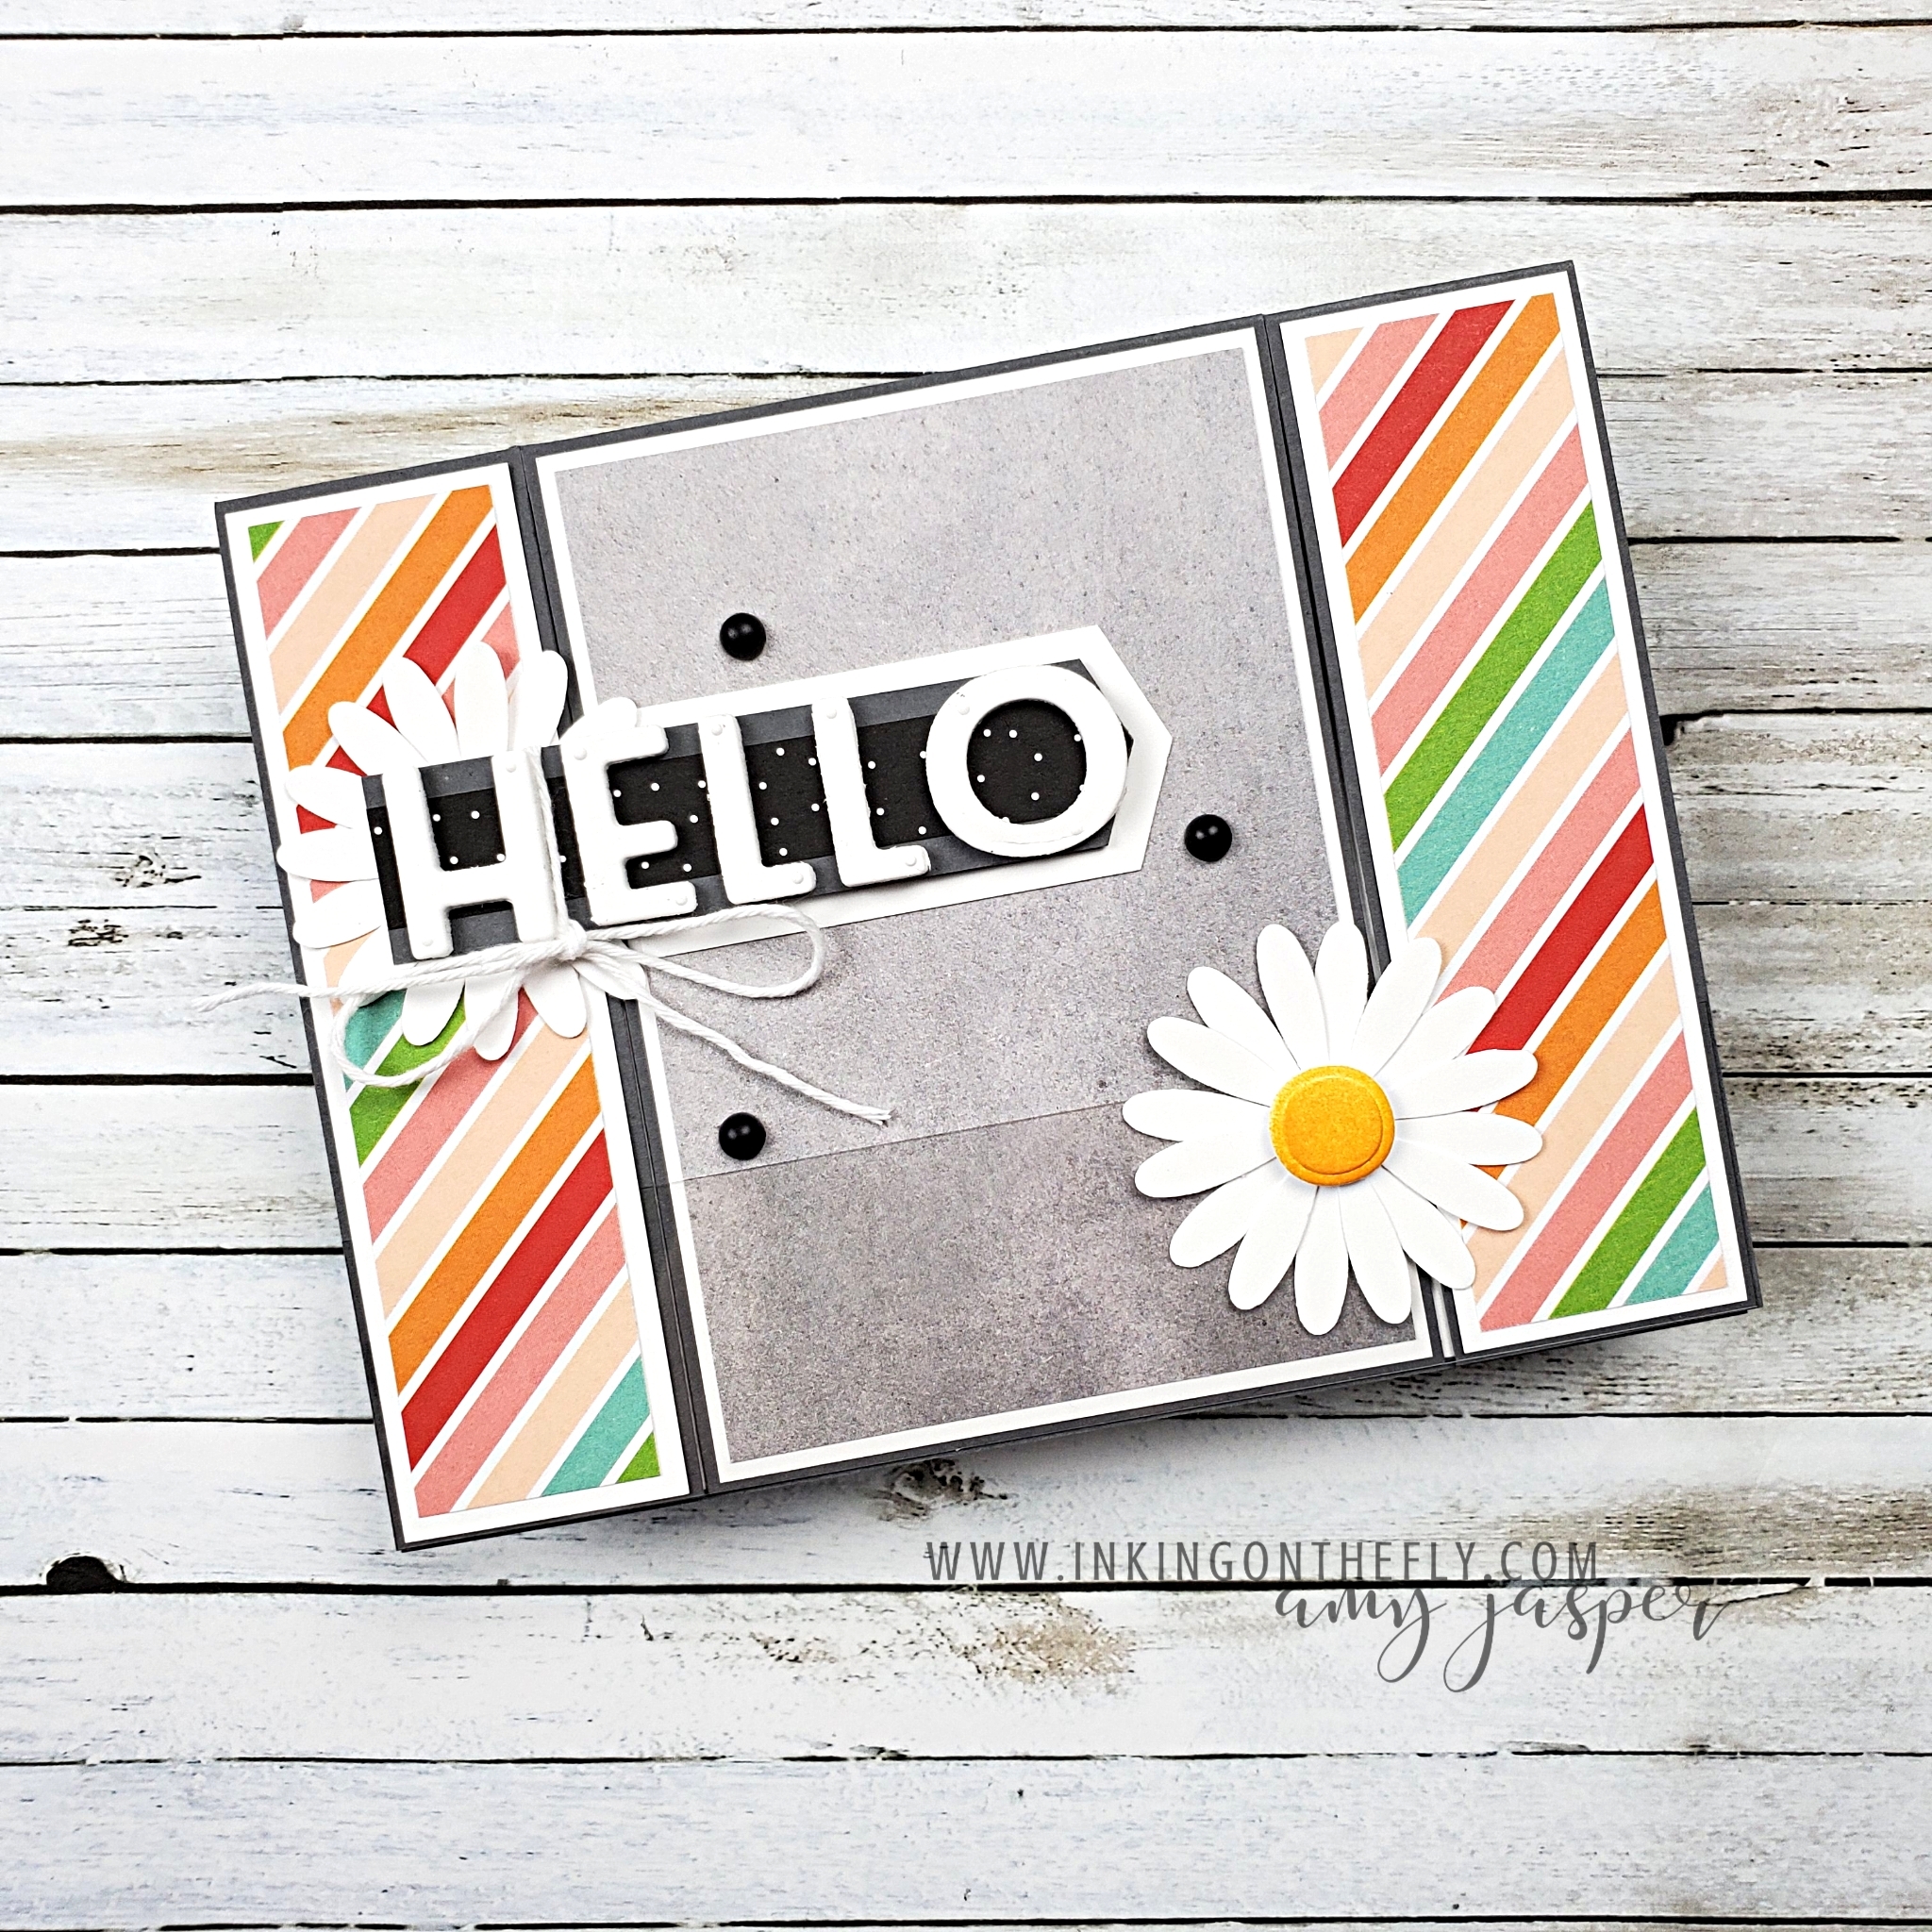
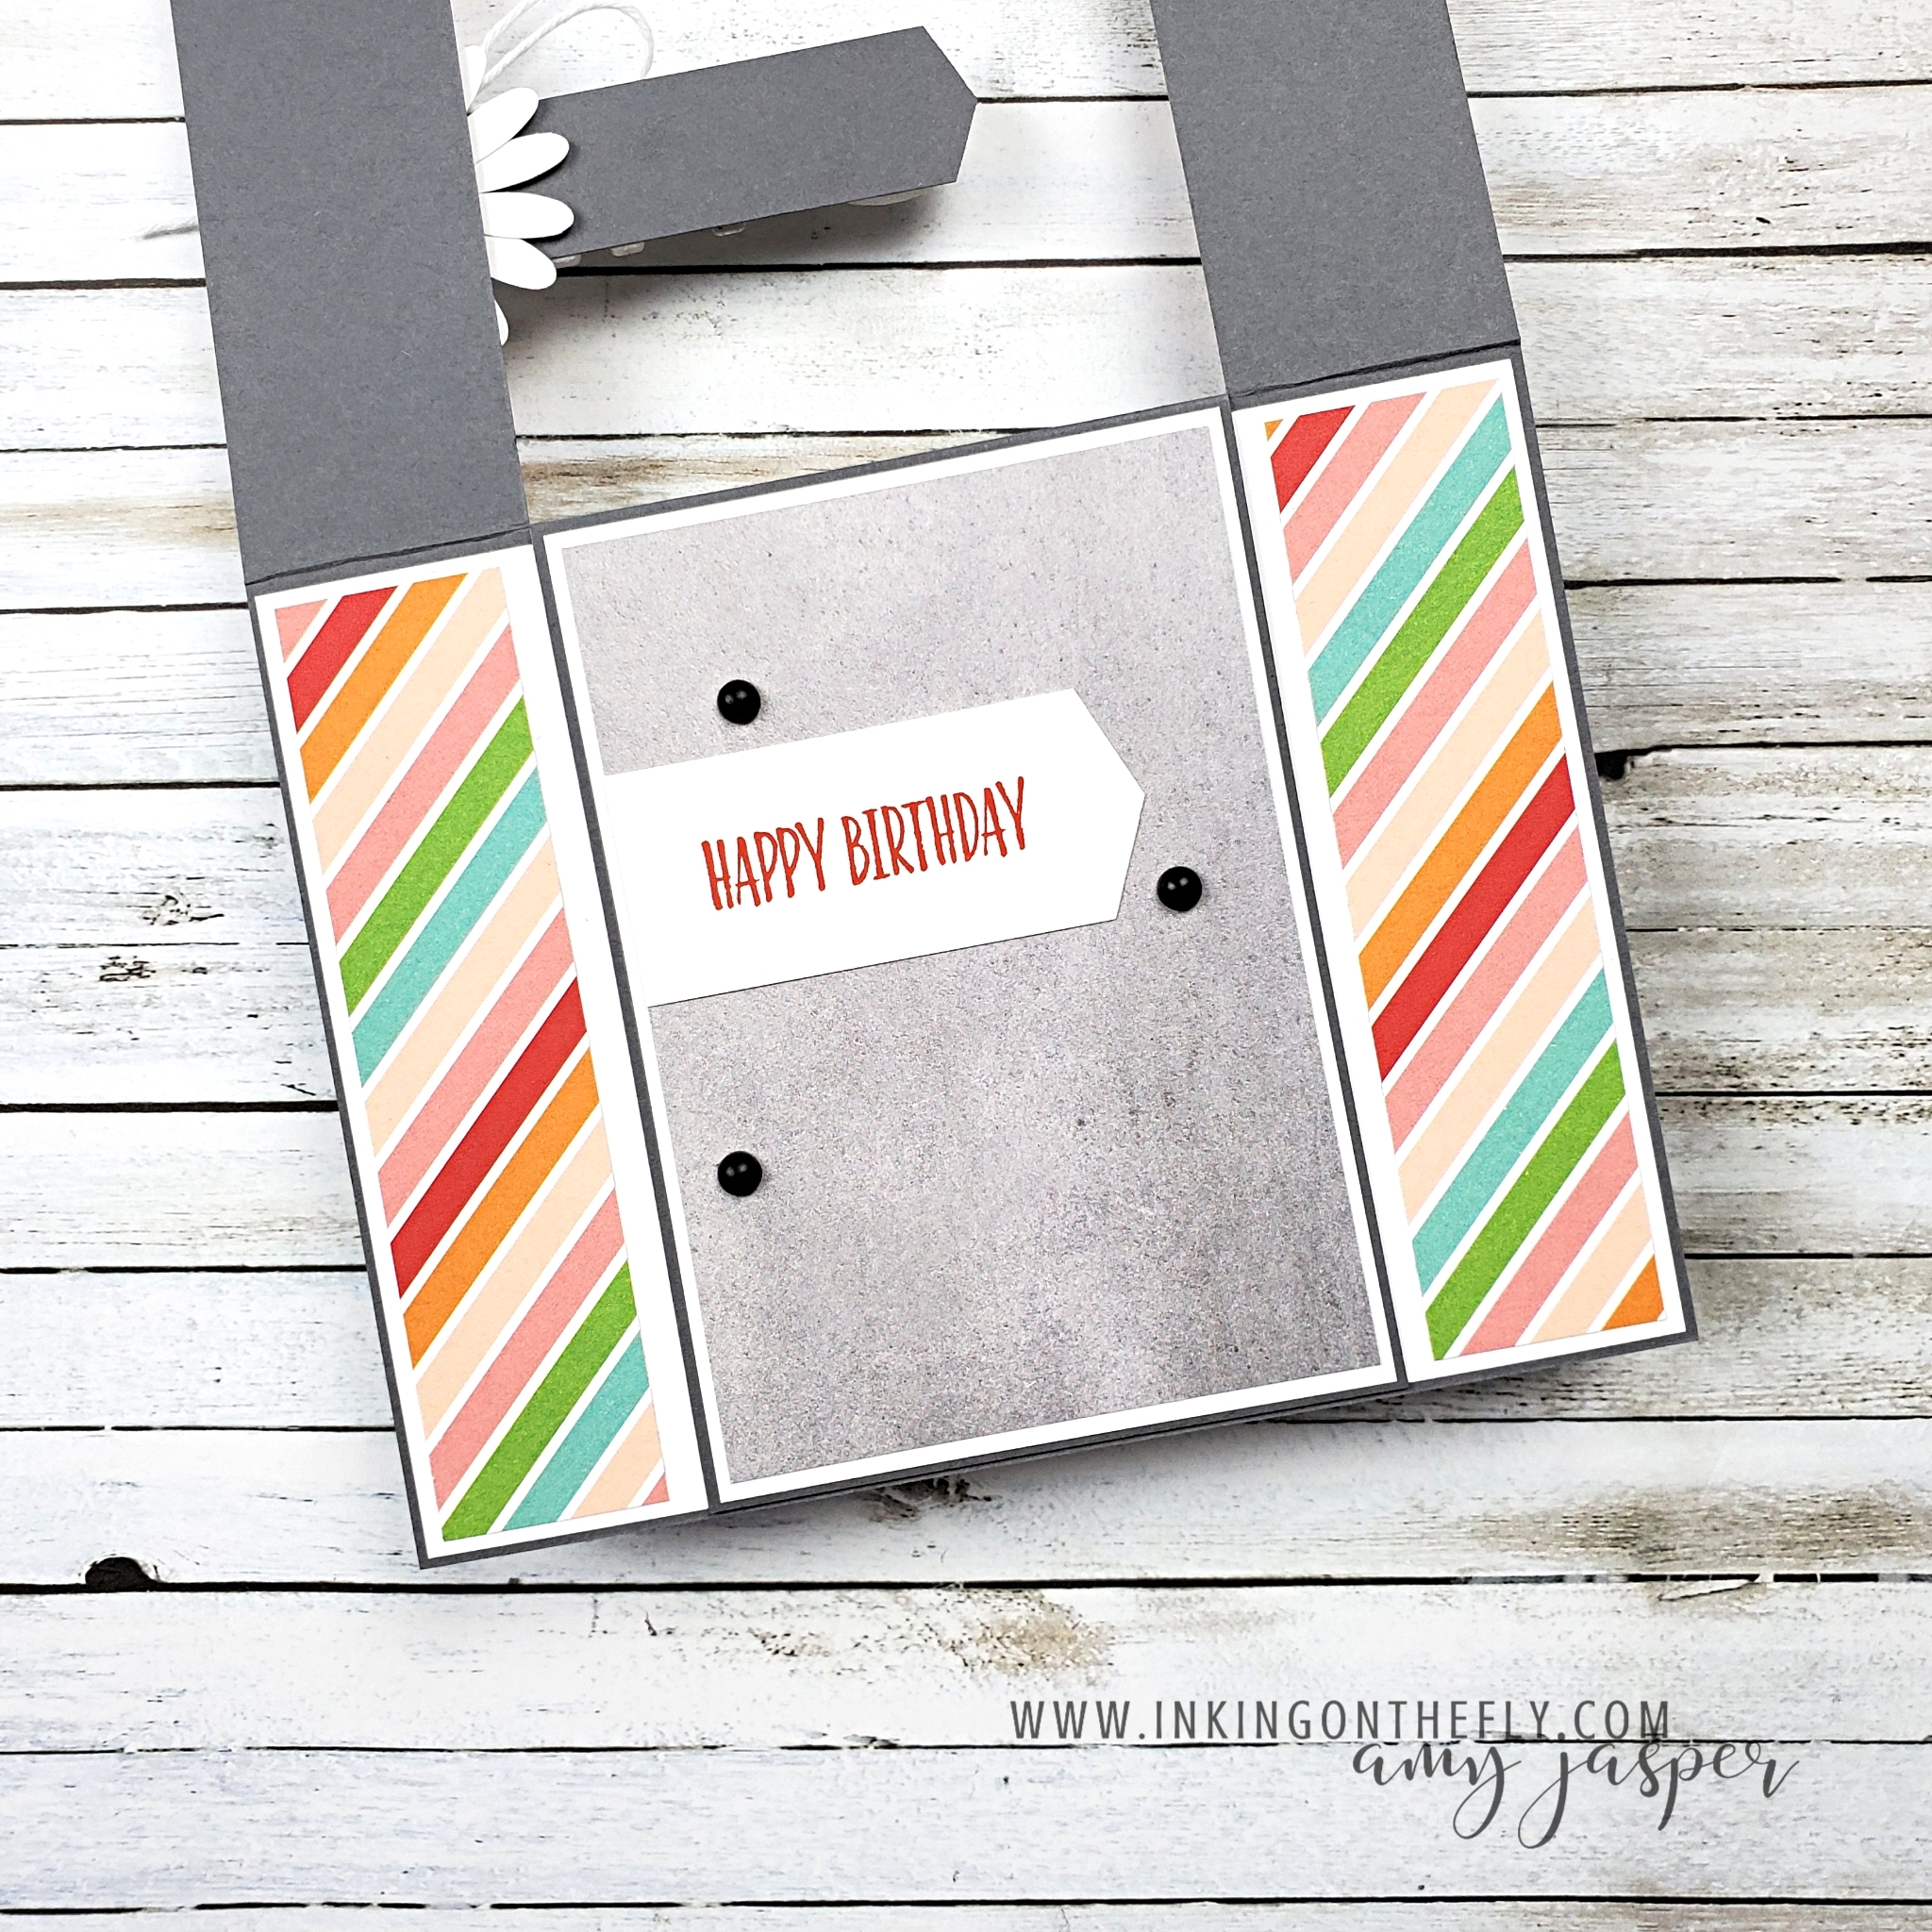
Video: An easy card with a sweet sentiment

There’s nothing easy about losing a loved one.

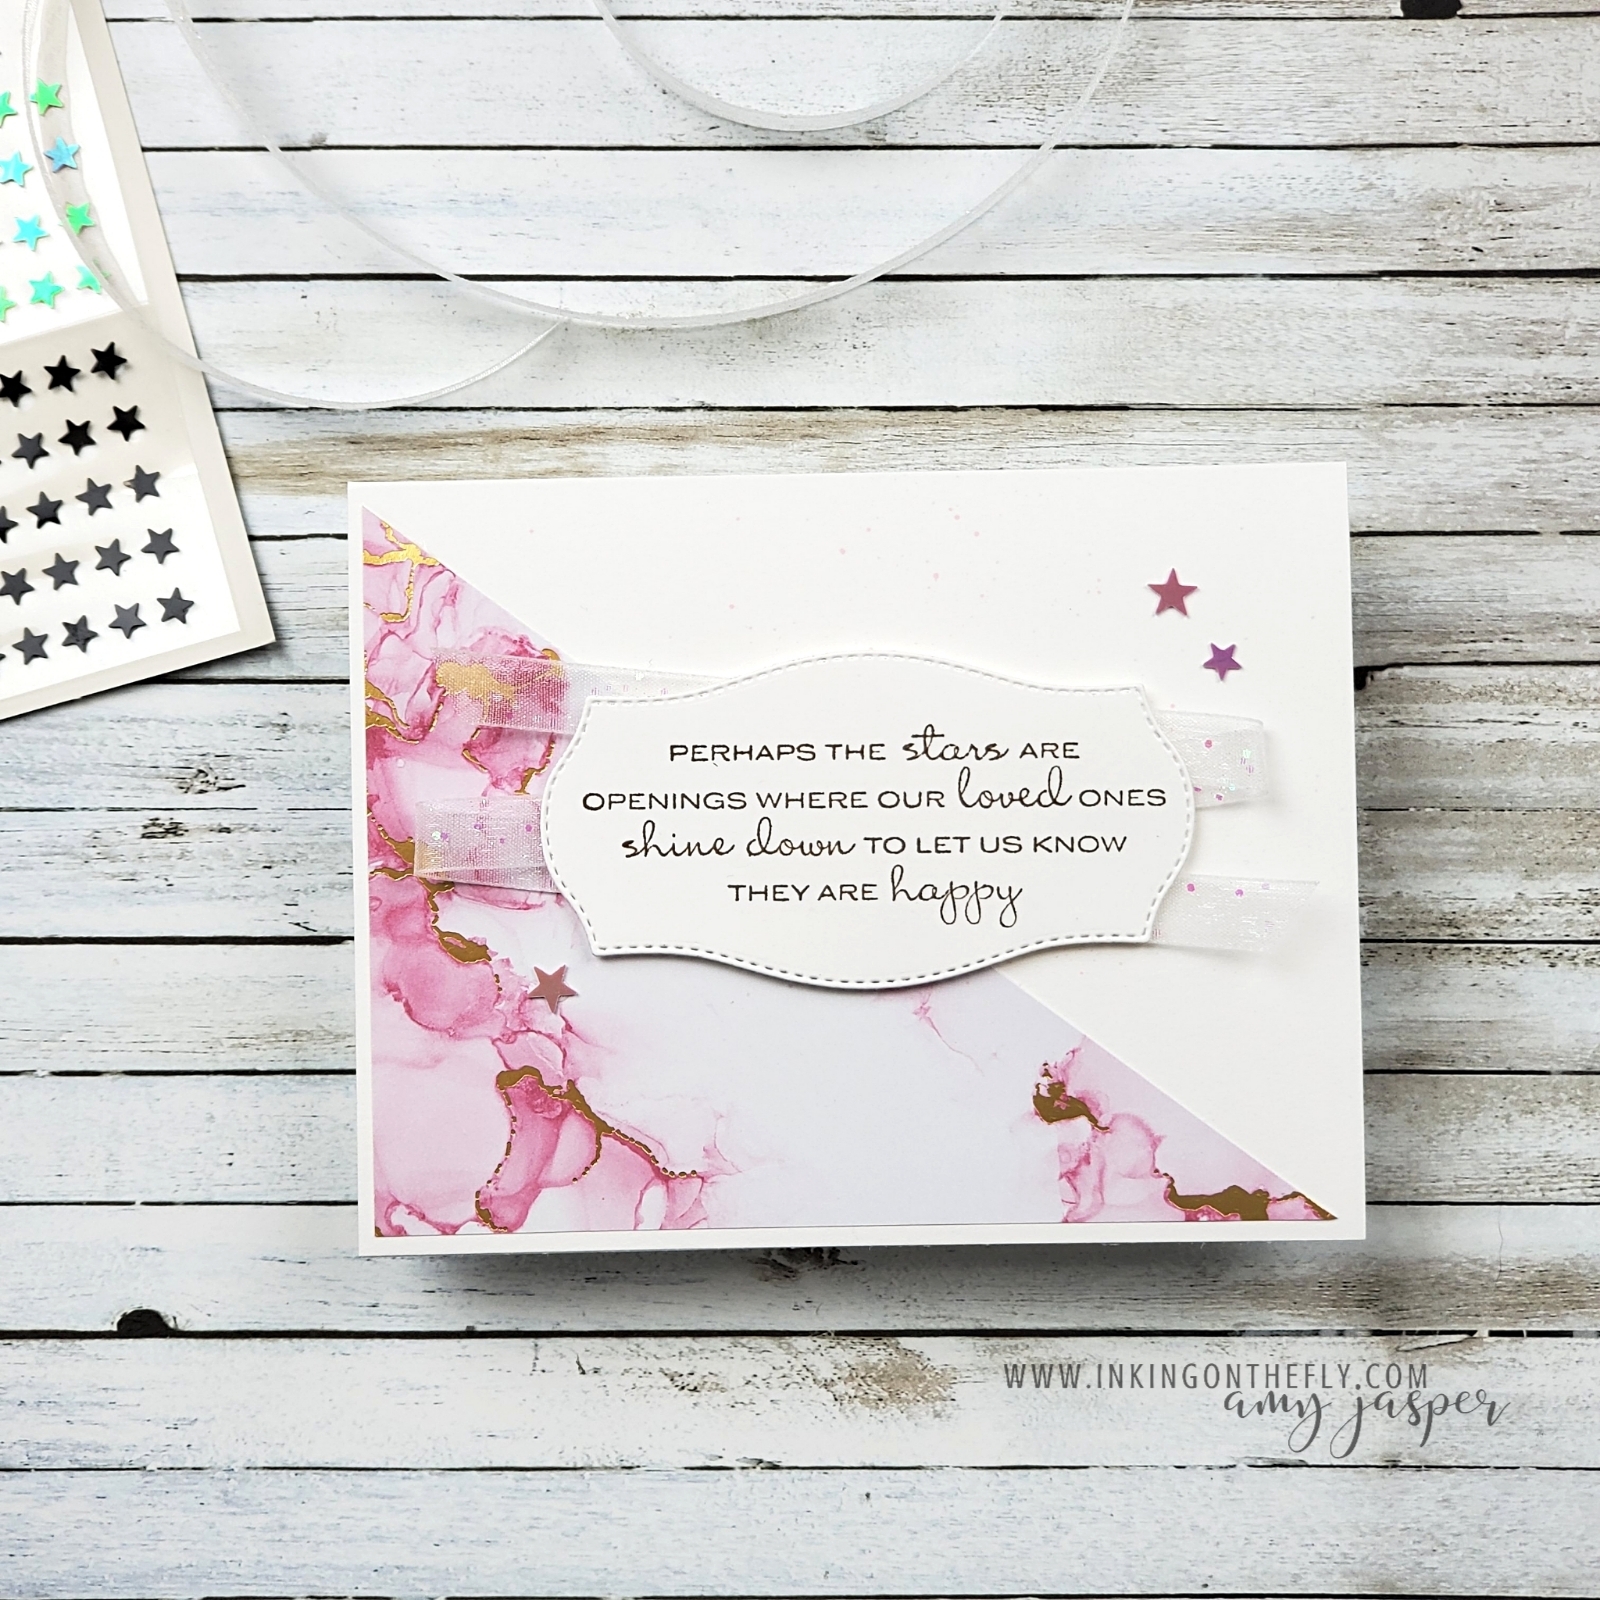
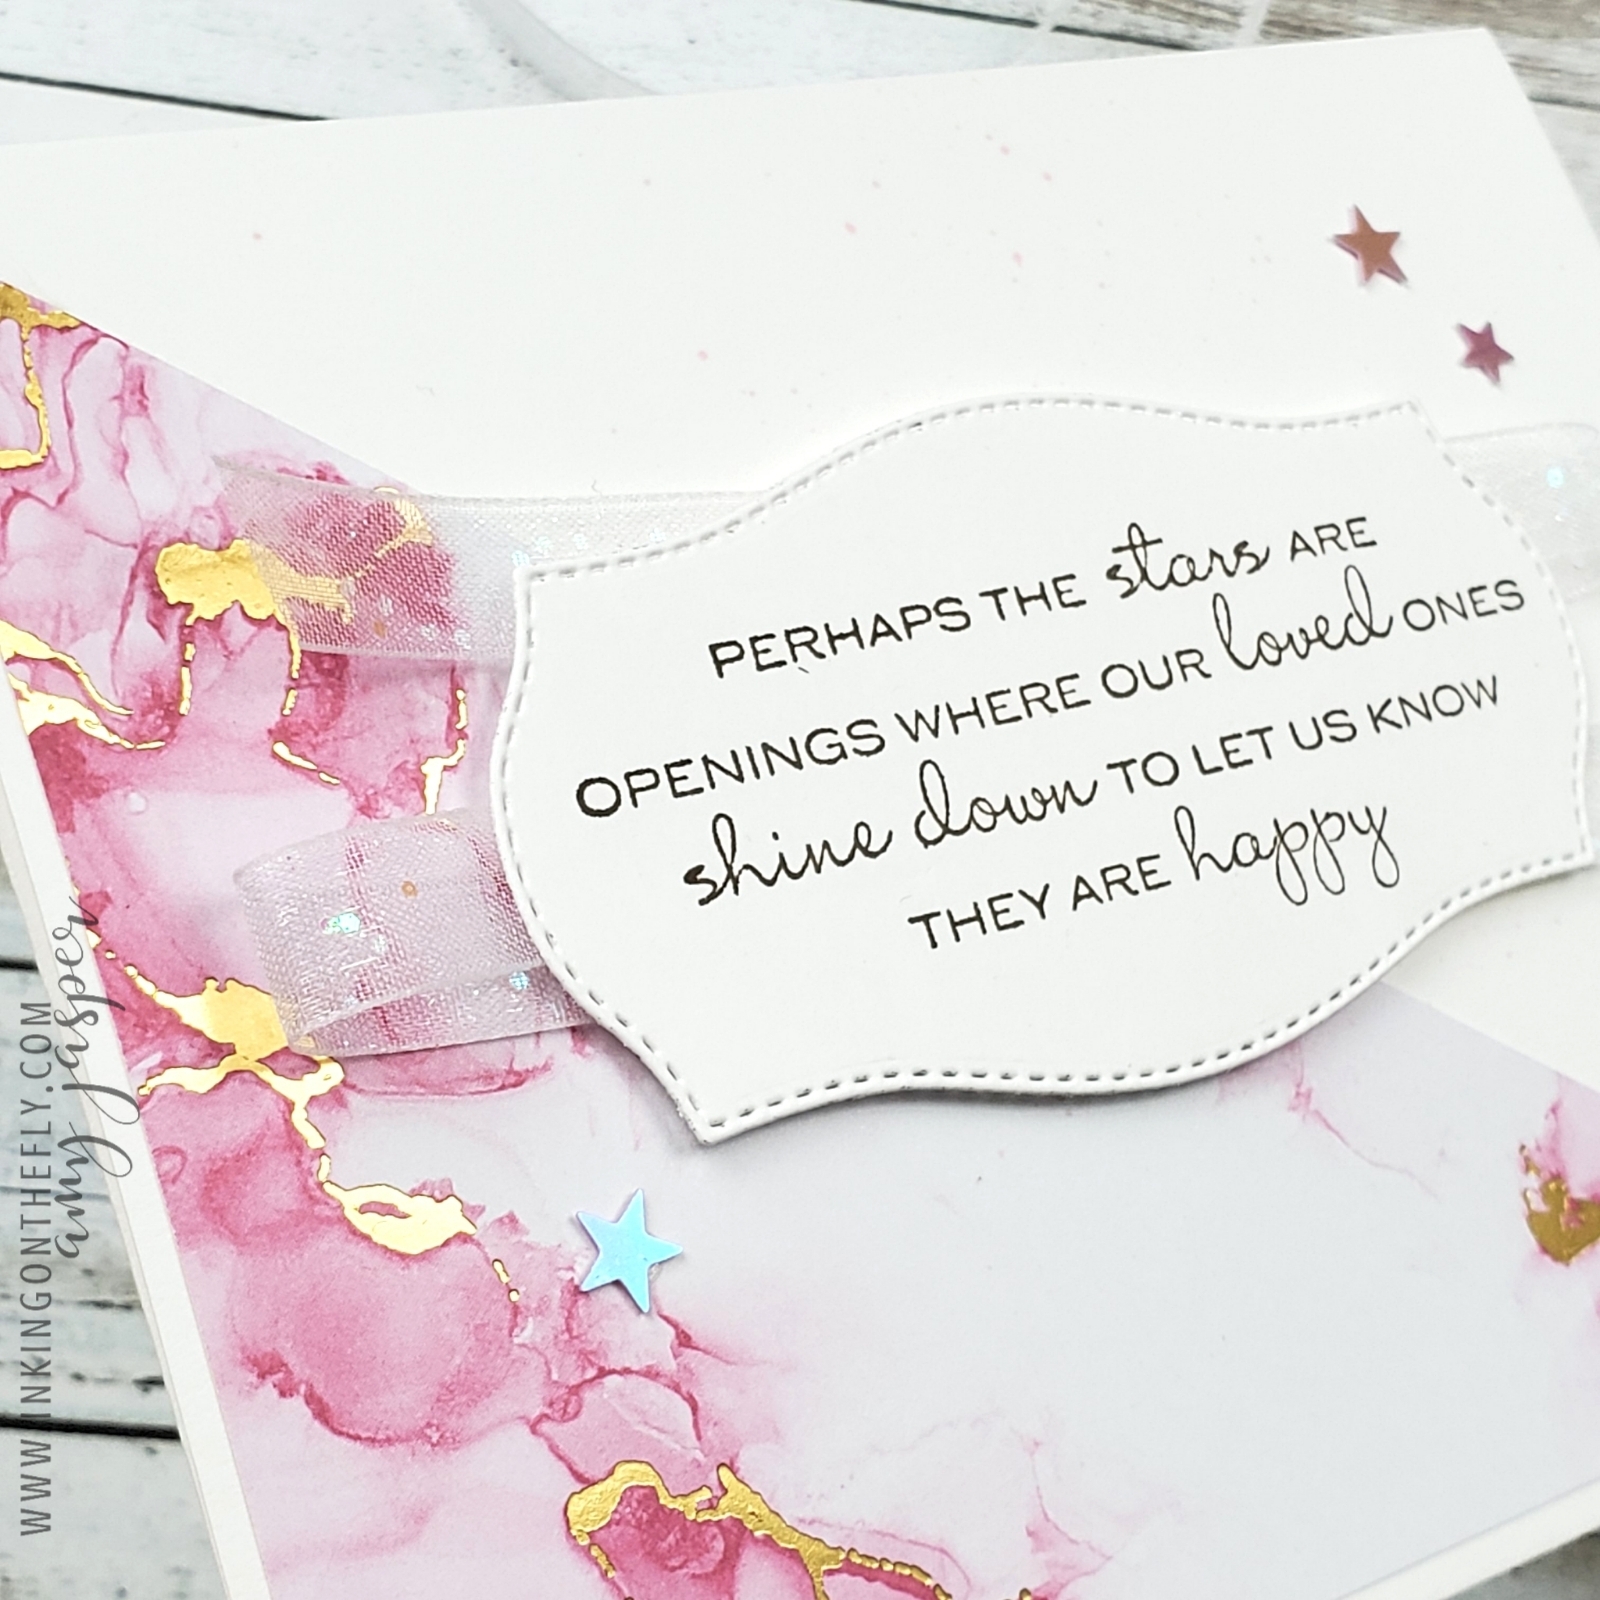
It can be difficult to know what to say when someone has experienced that kind of loss. That’s why I think the sentiment on this card is so sweet. It is a warmhearted and whimsical way to say that their loved one will always be near.

About the sentiment

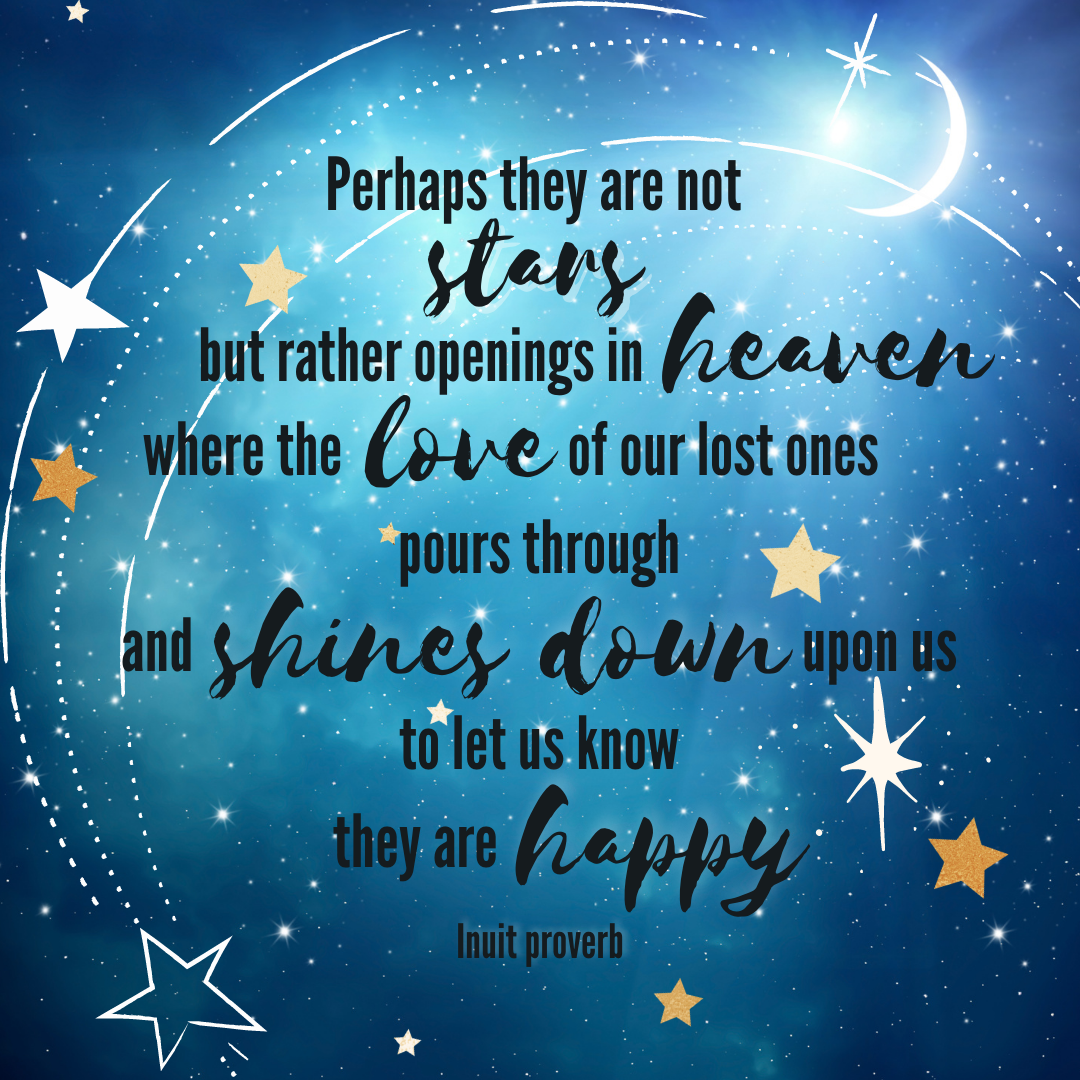
Apparently, the saying is an Inuit Proverb. The Inuit people are from the indigenous communities in the arctic regions of Canada, the United States, and Greenland. I have always admired the spiritual connection to nature among the indigenous culture. It feels familiar, and pure.

Have you ever stood, silent and alone, beneath the birch trees on the edge of a forest?

It’s been a while for me and I feel a longing for it as I write this. I would stand among the strong white giants, quiet my breathing and close my eyes. With my face turned up to the treetops, I’d hear the wind dancing its way through the branches above. The leaves seemed to whisper and giggle in delight as the wind charmed them into joining her performance. I can still feel the warmth of the sun peeking through the branches from the clear blue autumn sky above. In moments like that, nothing else matters and it’s wonderful.

Sharing a card with this Inuit saying seems very fitting this week as tomorrow is Canada’s National Day for Truth and Reconciliation. It’s a day to honour the lost children and survivors of residential schools, their families, and communities. We have a dark history of oppression, racism, and horrific acts against the indigenous peoples in our country. Sadly, we have a very long way to go to fully illuminate the truth, not only of our past, but what is still happening to this day.

I am privileged to be a guest on the traditional and unceded lands of the Syilx Okanagan People. It is a place of revered beauty.

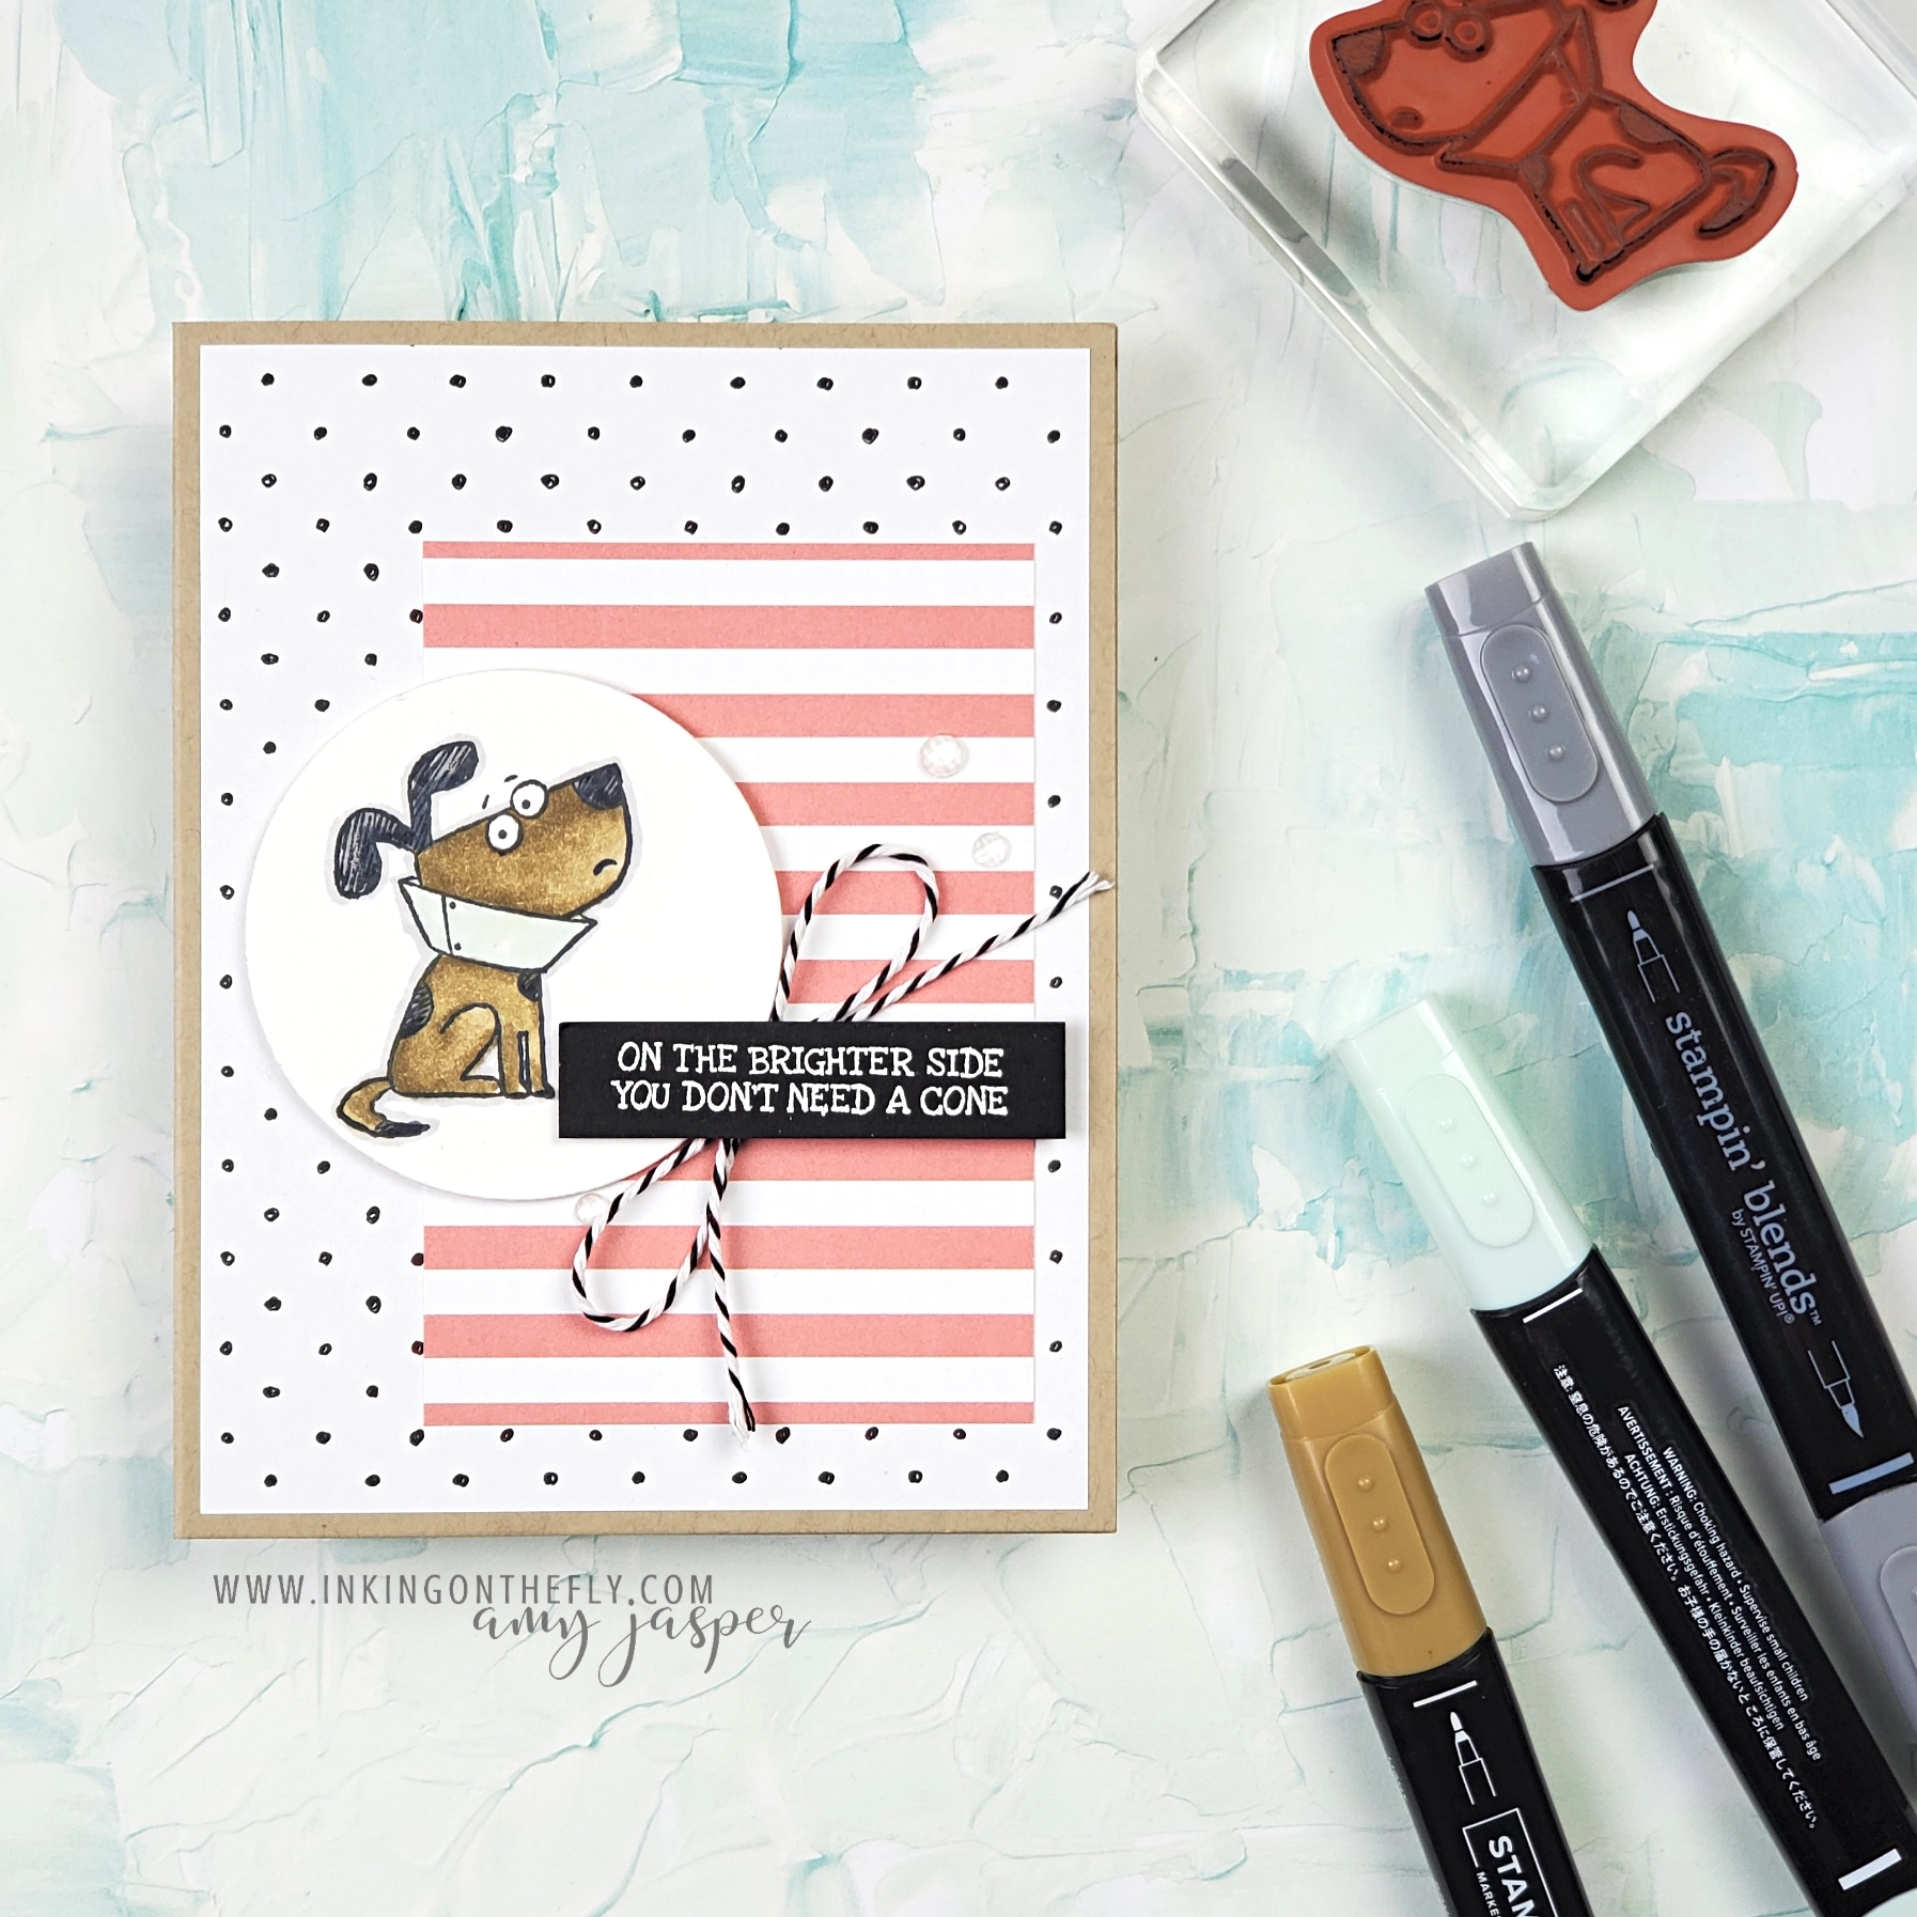
Summer Sale-a-bration ends tomorrow

The sentiment on this super quick and easy card is from the In Your Words stamp set, which is only available until tomorrow! You can only acquire it with a workshop or single order over $375 CAD during Sale-a-bration. There’s still time to call up a couple friends and invite them to put together a workshop online order with you as the organizer. That way, you can earn that free stamp set and they can enjoy the free Sale-a-bration items with each of their orders over $60 CAD. It’s a win-win all around, really!

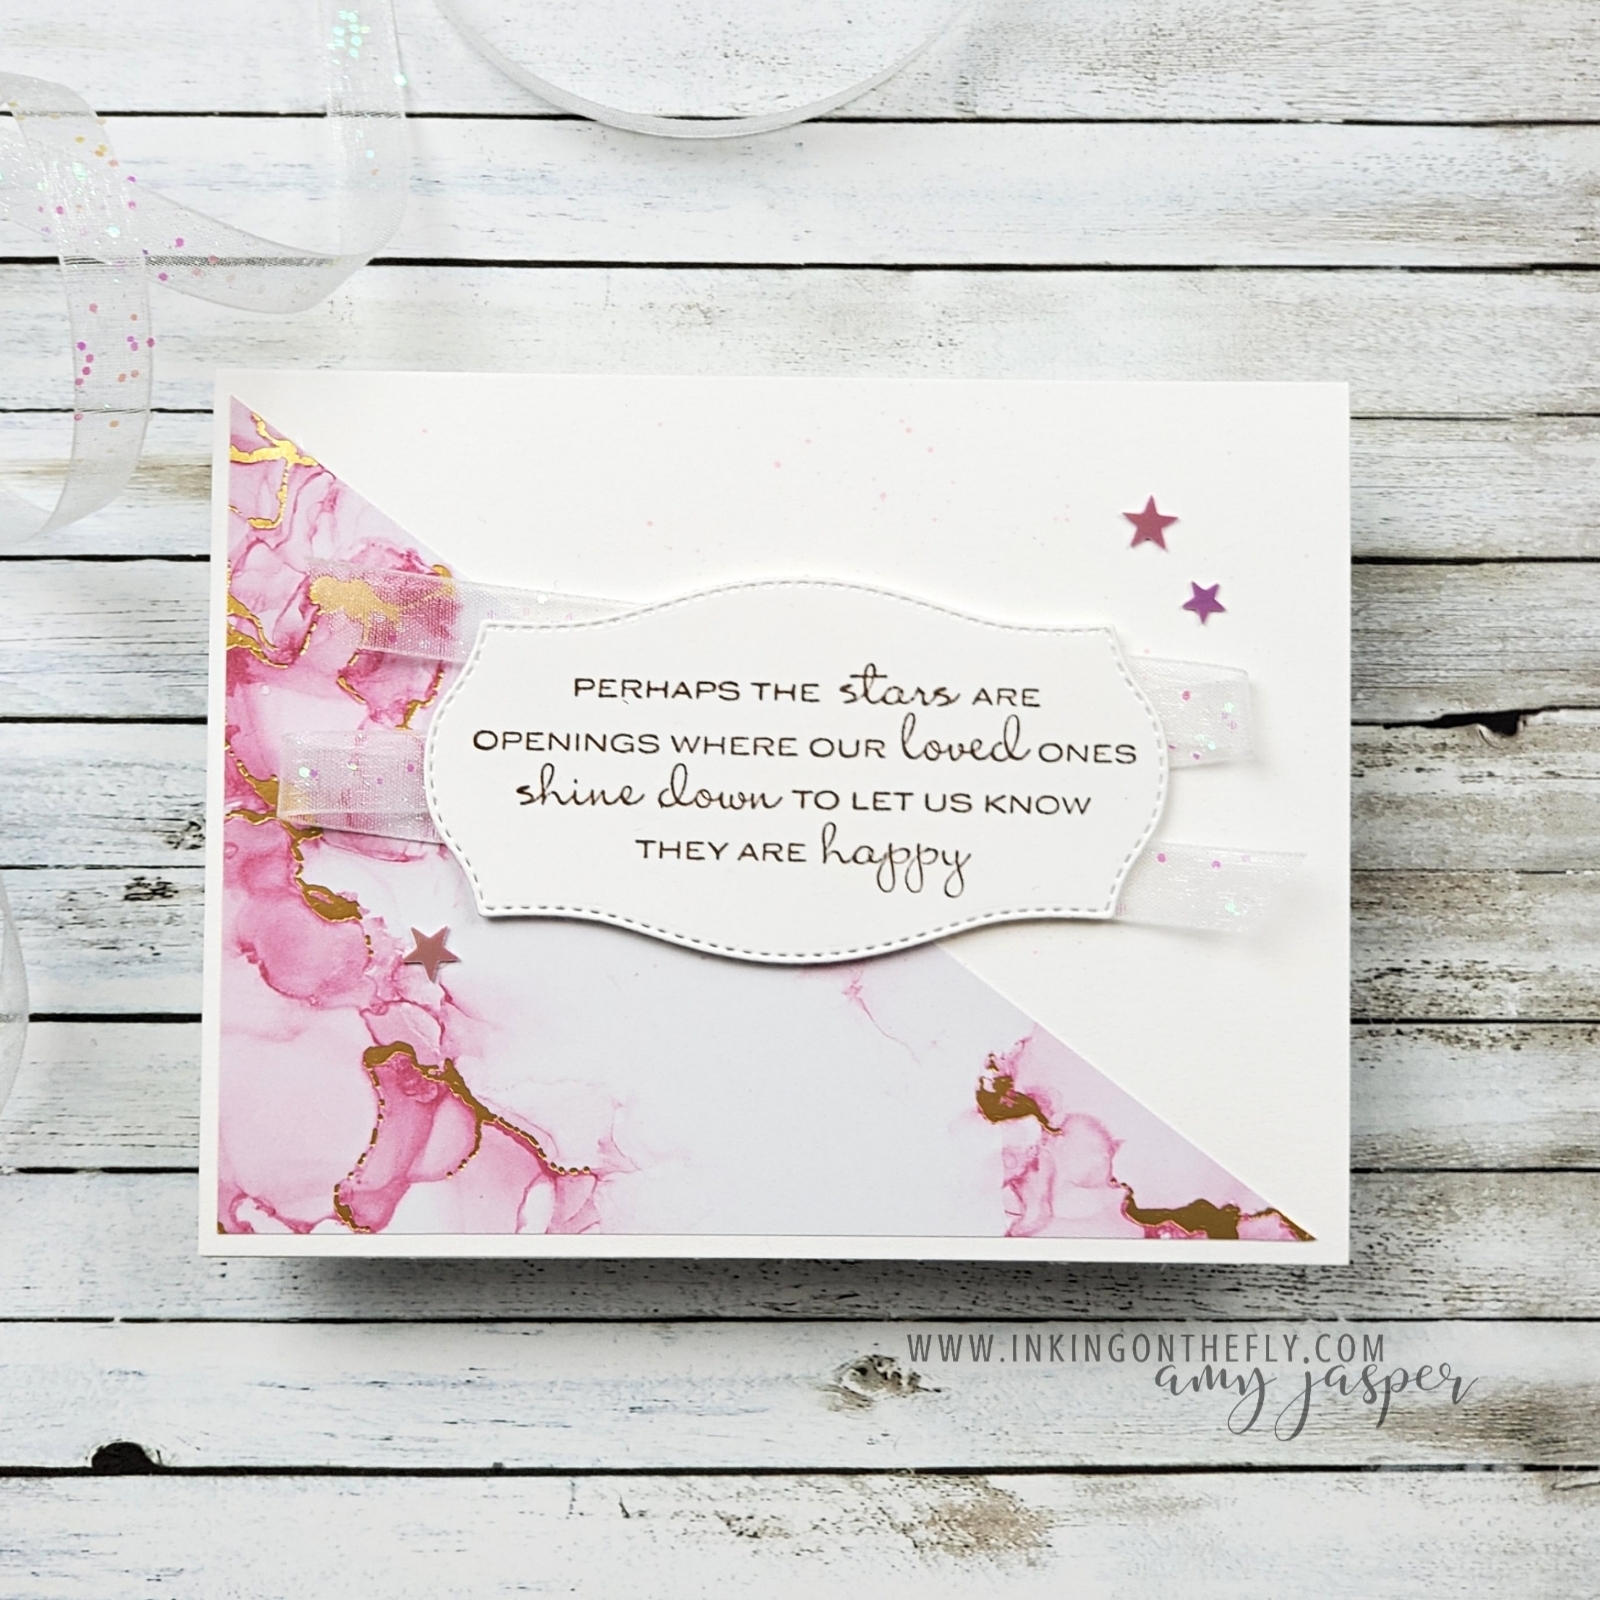
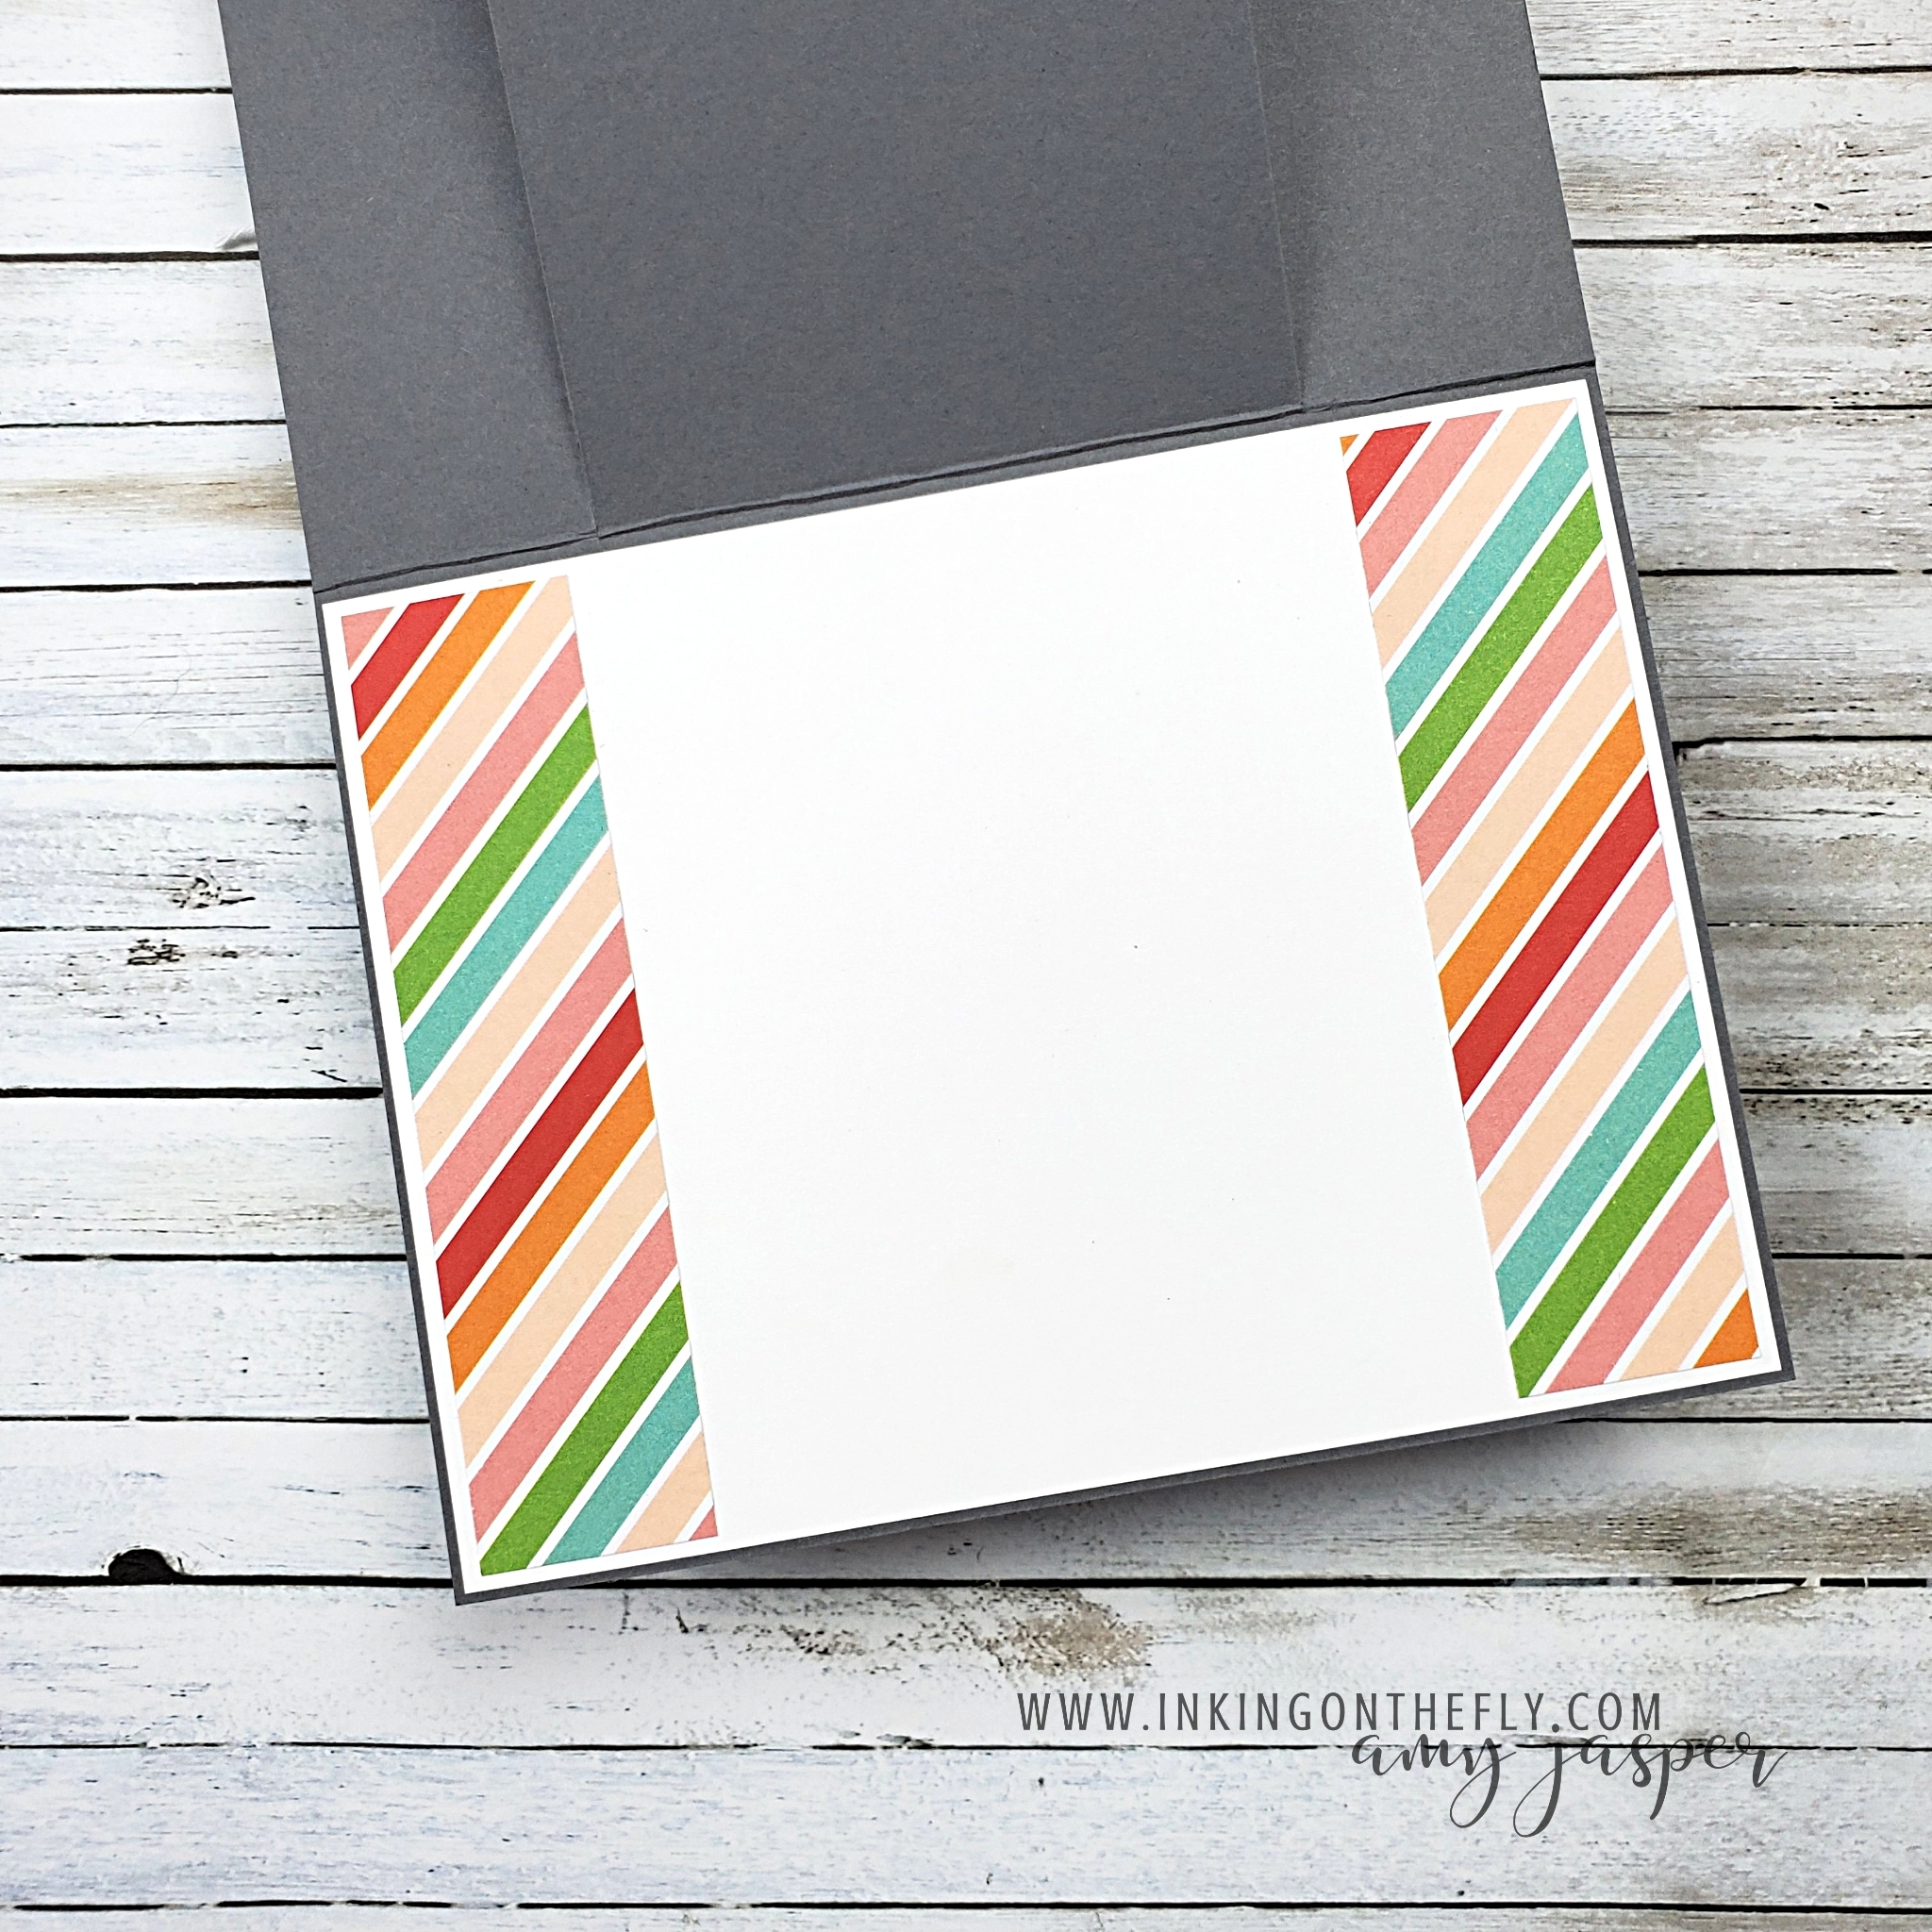
Other products used on this card include: Cute Stars Adhesive-backed Sequins, Expressions in Ink Specialty paper, Glittered Organdy Ribbon, Thick Basic White cardstock, Tasteful Labels Dies, Soft Suede ink, and Flirty Flamingo Blends Markers.

You can order any of these supplies from me here in Canada by going to my online store or contacting me directly.

Watch the video

I presented this card in a Facebook Live on Monday. Watch below or on YouTube to see just how quick this card it to make!

Thanks for stopping by!

On the Brighter Side: A quick & fun get-well card

I have a few personal rules that I follow when I have to make a card in a hurry:

  1. No colouring
  2. Do not emboss
  3. Avoid die-cutting
  4. Bows are out
  5. Fussy-cutting? No way!

If I choose to break ONE of those personal rules, I can usually create a great card in less than 10 minutes, no problem.

Today’s card was created for the As You See It Speed Challenge and my rules got thrown out the window!

10 minutes or less!

I was frantically searching for my Glue Dots to attach my bow when I looked at my stopwatch. At 9 minutes and 48 seconds, I had to call it quits in order to meet the requirements of this challenge! Ack!!

My bow-less card is still pretty cute, though. I used the Bunches of Fun stamp set to achieve the playful comedic approach required for this challenge. This dog looks so embarrassed, don’t you think! He has exactly the same expression that my dog had when he had to wear the cone. LOL!

Step it up!

Even though this card turned out pretty cute, it just didn’t feel done. I decided to do another one, without the time limit, so that I could step-it up.

I didn’t change much, but you can see how switching the card base from Basic White to Crumb Cake makes a big difference. Also, I DID add that bow along with a few of the clear Elegant Faceted Gems. That’s all it needed for me to be satisfied that it was complete.

I gave this self-conscious canine his brown fur with a combination of my Stampin’ Blends Markers. Dark and Light Soft Suede Stampin’ Blends Markers were used, then coloured over with the Light Crumb Cake. His black spots are accented with Dark Smoky Slate and Light Basic Black. For the cone, I used the Light Soft Seafoam. Finally, to give this pitiful pooch a bit more dimension on the Basic White background, I carefully outlined the image with the Light Smoky Slate Stampin’ Blends Marker.

After colouring, Rover was given his circular frame with the Cut & Emboss Machine and one of the Layering Circles Dies. I attached him to patterned paper layers with Stampin’ Dimensionals.

There are a couple different pieces of patterned paper used on this design. First, the pink stripes paper is from the Pattern Party host exclusive paper pack. Second, the black polka-dot paper is from the Beautifully Penned paper pack, only available as a FREE item this month during Sale-a-bration.

Of course, you can see that I used White Embossing on the Basic Black cardstock for the sentiment.

Side by side comparison

Are you up for the challenge?

As a designer for the As You See It Challenge blog, I have the privilege of creating samples to give some inspiration to our players. If you feel inspired to try this speed challenge, be sure to share your finished card with us over at the blog. Remember to use a stopwatch so you can tell us your time!

In Canada? You can order from me anytime at my online store and register for any of my virtual classes.

Video: How to make this unique fun-fold card

Hey all! I’m really excited to share this super cool spanner panel fun-fold card design with you today!

I’m not only excited because of it’s fun layers and playful colours, but also because I haven’t shared a technique video with you for over a month!

I missed you!!

Before I give you all the details on this card and the video tutorial, I want to tell you a bit about what I was up to in August. It was an adventure that consumed every ounce of my energy and effort.

The Great Cycle Challenge

This was the 5th year that I’ve participated in the Great Cycle Challenge and it was the toughest year yet! I pledged to ride my bike a total of 1000km through the 31 days of August. By doing so, I hoped to raise $5,000 to help kids fight cancer. I didn’t plan to cancel my life for the month, but soon realized that I had to let a few things drop.

I stopped trying to keep up with my blog and social media, I canceled classes, and my craftroom was lonely and neglected.

62 hours

Approximately 62 hours were spent on my bike. I rode during the heat waves, the wildfire smoke, and the rain. My longest bike ride was 110km! When I took a selfie, I smiled for the camera. When I didn’t take photos, it was because I was too focused or too depleted to put in the effort.

Not only did I reach my $5,000 fundraising goal, but blew by it, for the whopping total of $8,420 in donations!! I am delighted by the amount of support and encouragement I received from family, friends, customers, and even strangers!

31 days of exhaustion. My wrists, legs, butt, and neck were always stiff and sore. My heart was often heavy as I thought of all the kids who are fighting for their lives and all those who lost their fight far too soon. I thought of the parents and siblings. I thought of the aunties, uncles, and grandparents. No child should be stolen by cancer. Ever.

I gave up a month for them. One month. That is absolutely meaningless when you hold it up against what the families have to give up when cancer forces its way into their homes.

Donations are still being accepted toward my fundraising efforts all through September. Perhaps you’d like to show your support and make a difference in the little lives and their families. You can see more details and donate on my Great Cycle Challenge fundraising page. Funds go toward childhood cancer research with the SickKids Foundation.

Now that my cycling adventure is done, the kids are at school, and my husband is back in his office at the university, I am enjoying my quiet productive time at home once again. I can get back to sharing my passion for papercrafting with you!

Back to the card!

This fun-fold design shows off some of the cheerful paper from the Pattern Party Designer Series Paper (only available to hosts!).

The front of the card is split into three panels, with a spanning piece between the two side sections. I used a Window Sheet to span the space between, but I’ve also seen this type of card with paper across the front instead of the acetate.

One thing I really like about this kind of card design, is that you have the opportunity to fit in some little extras in the layers. I chose to have the “hello” on the front of the card cover up another sentiment. That way, when you lift up the front, you have something to surprise you!

Finally, you flip up that middle section to reveal the area where you can write a personal message.

Isn’t it delightful!

Supply List

Watch the video for all the details

You can follow along with me in my video tutorial to see exactly how to make this card. You might not have the same products as I did, but you’re clever. I know you’ll be able to make something beautiful with your favourite supplies.

Of course, if you like any of the items that I used on this card, you can always order them from me here in Canada on my online store.