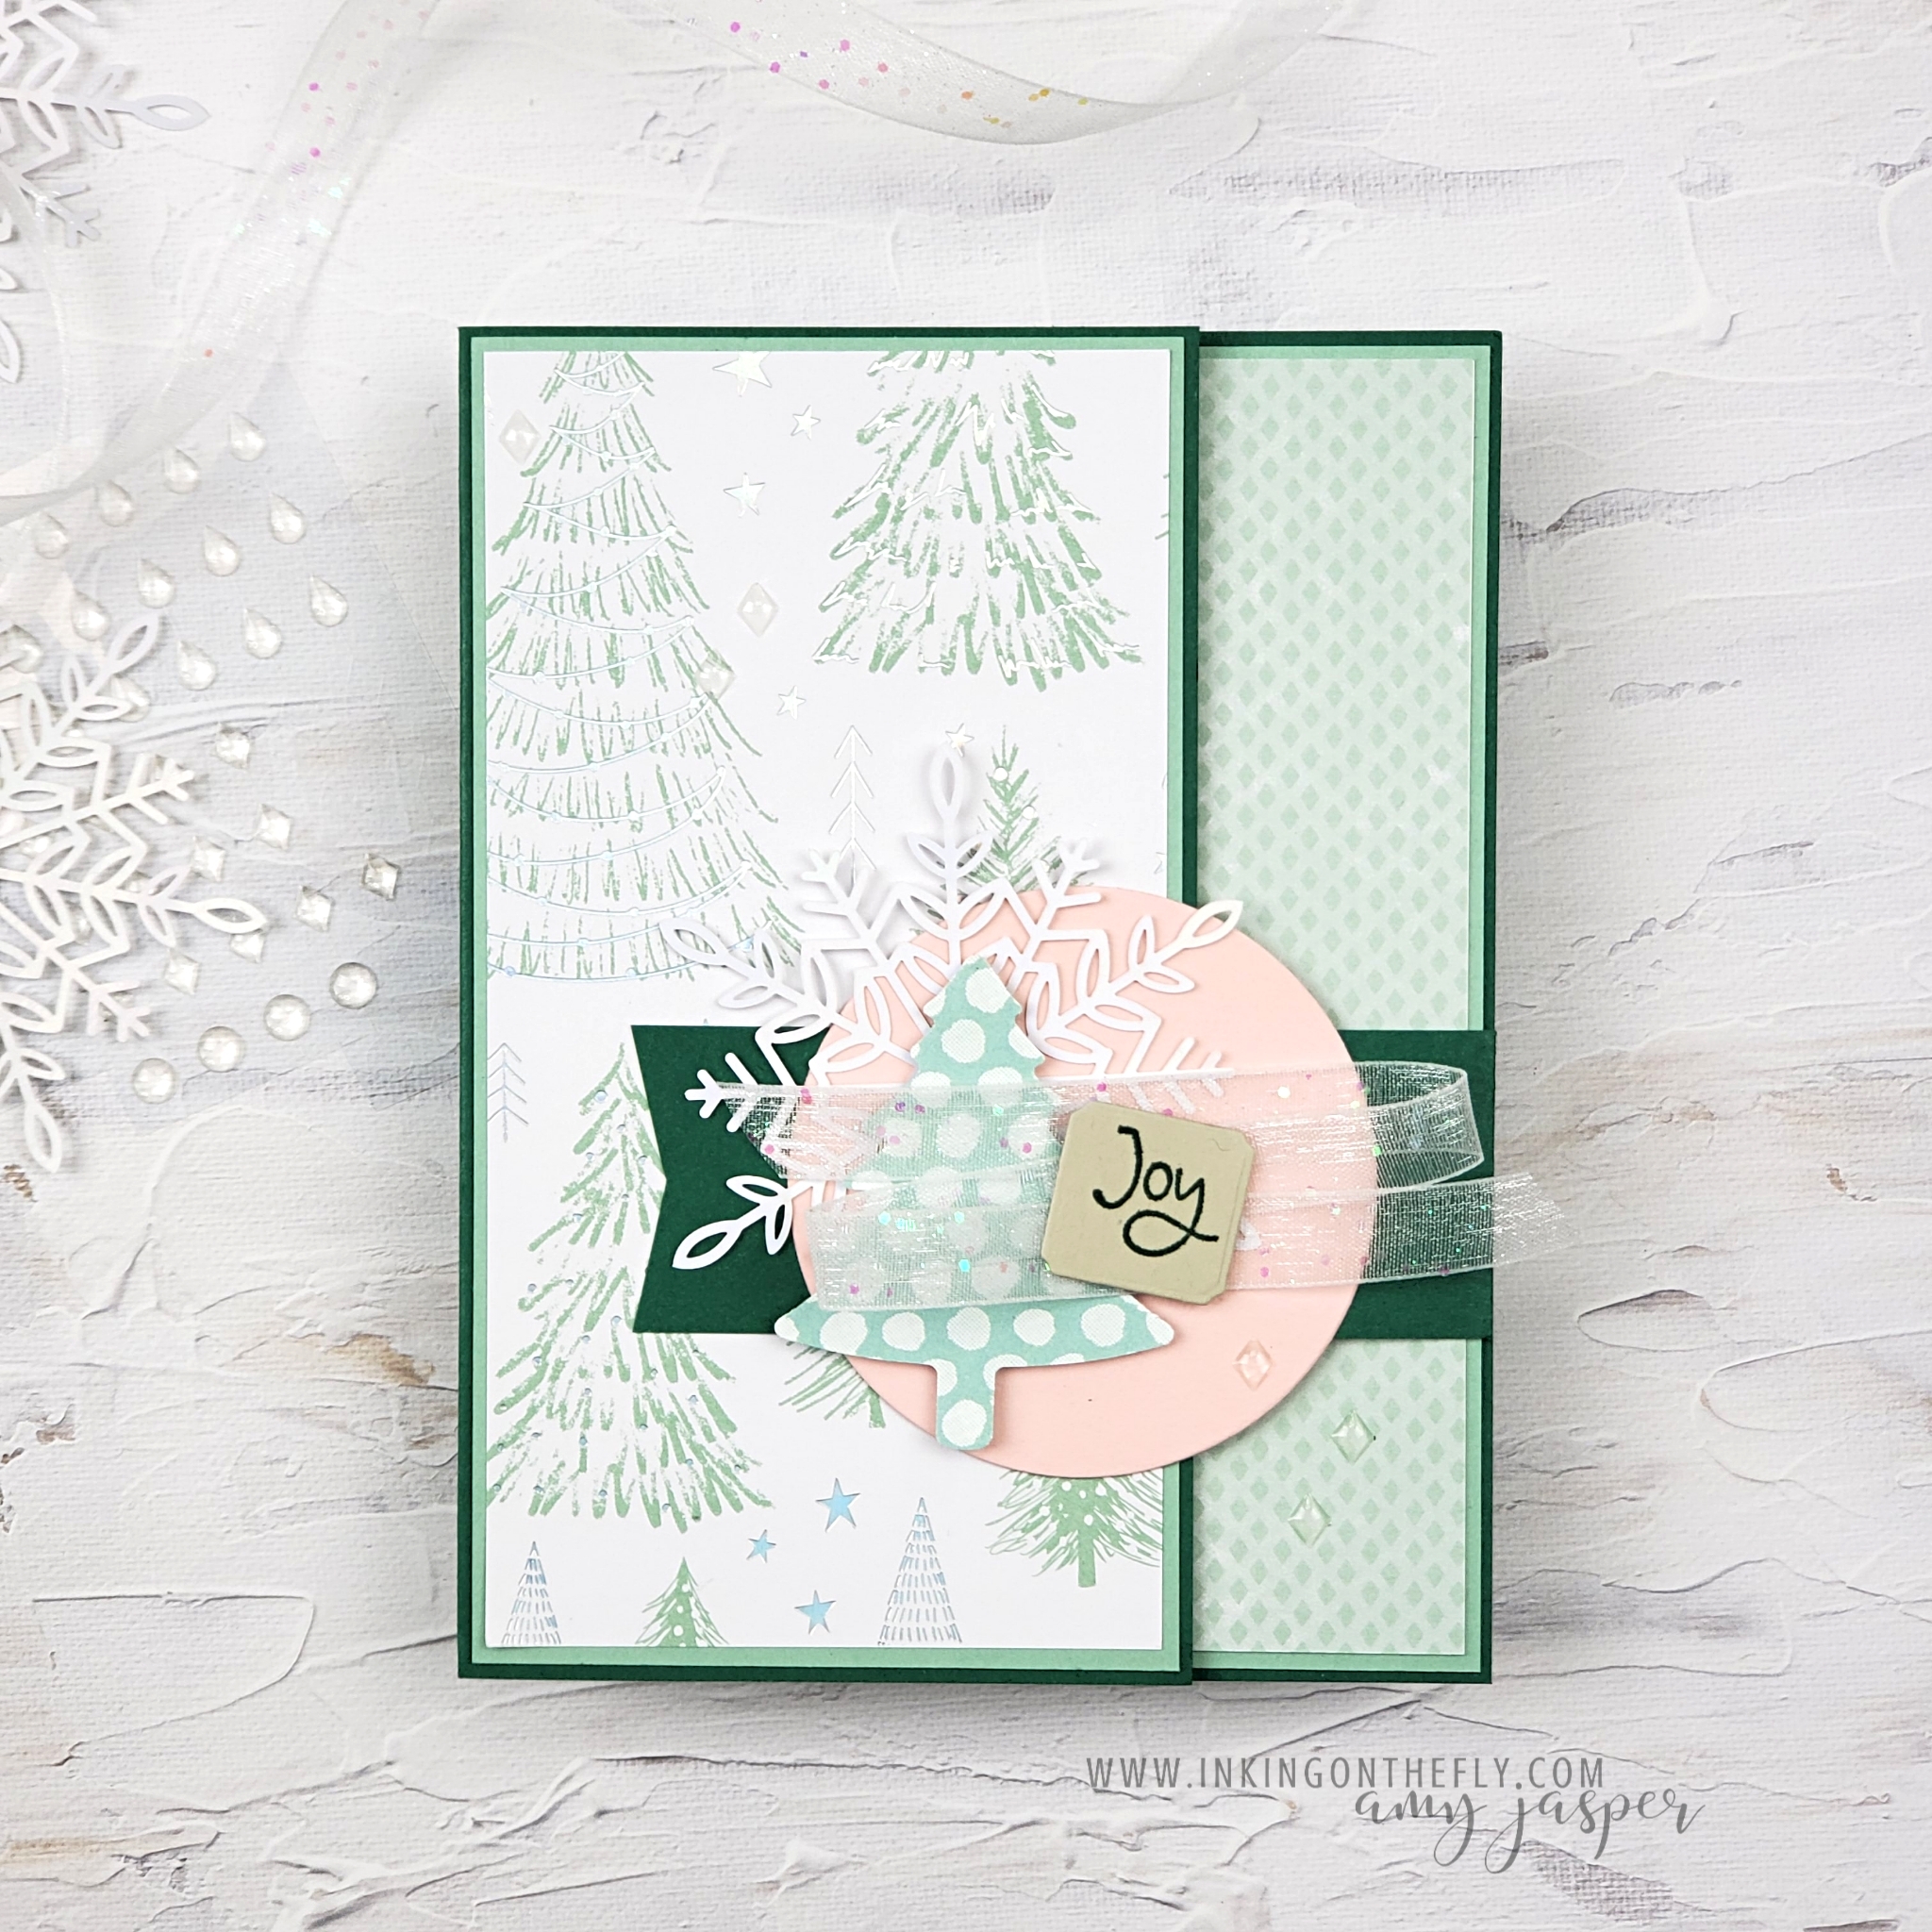
Seriously! This fun fold card is so easy! When I find an easy card design that I like, I end up making a lot of them!
I think it’s the kind of card that is also fun to receive because of the unique opening. I shared this design at my October virtual gathering with my team of demonstrators because it’s a great card to make together with friends.
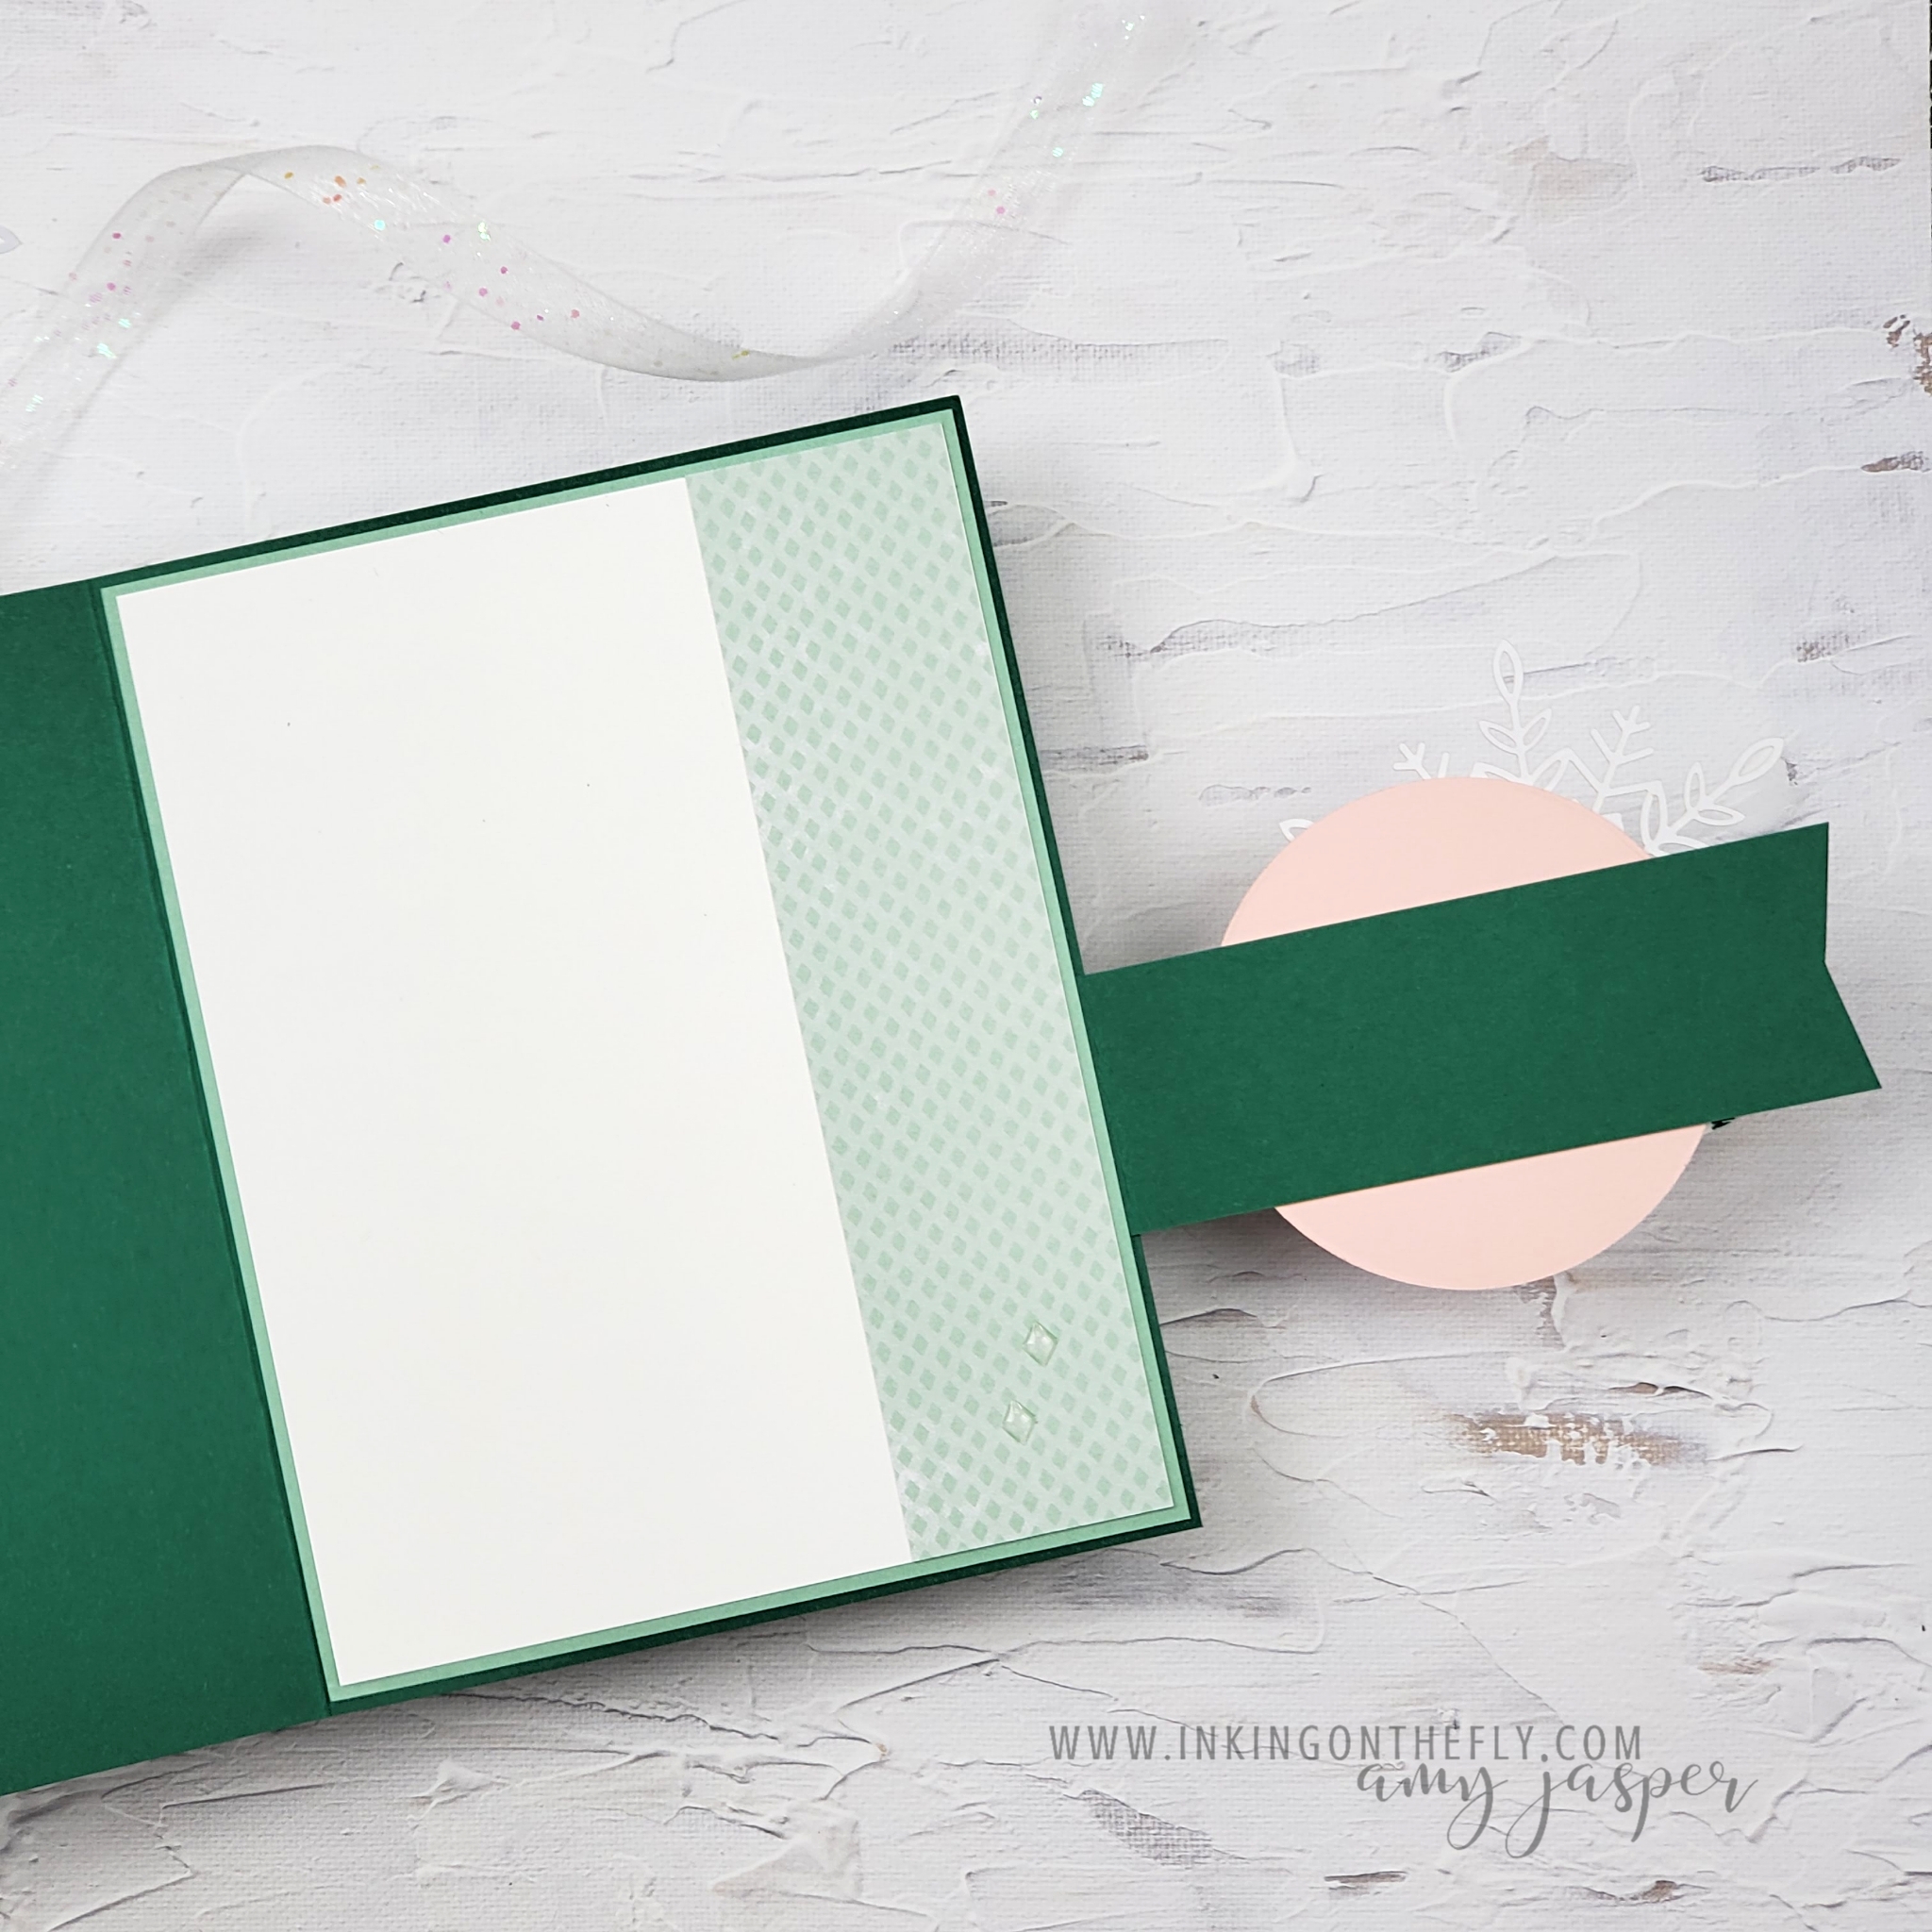
The card base is a piece of cardstock, measuring 5 1/2″ x 8 1/2″, scored at 4 1/4″. However, you will cut off a 1 1/4″ section from the front of the card and use it to attach the front flap.
With those two pieces for your base, you can create multiple versions of this style of card. After that, it’s a simple matter of what patterned paper to use.
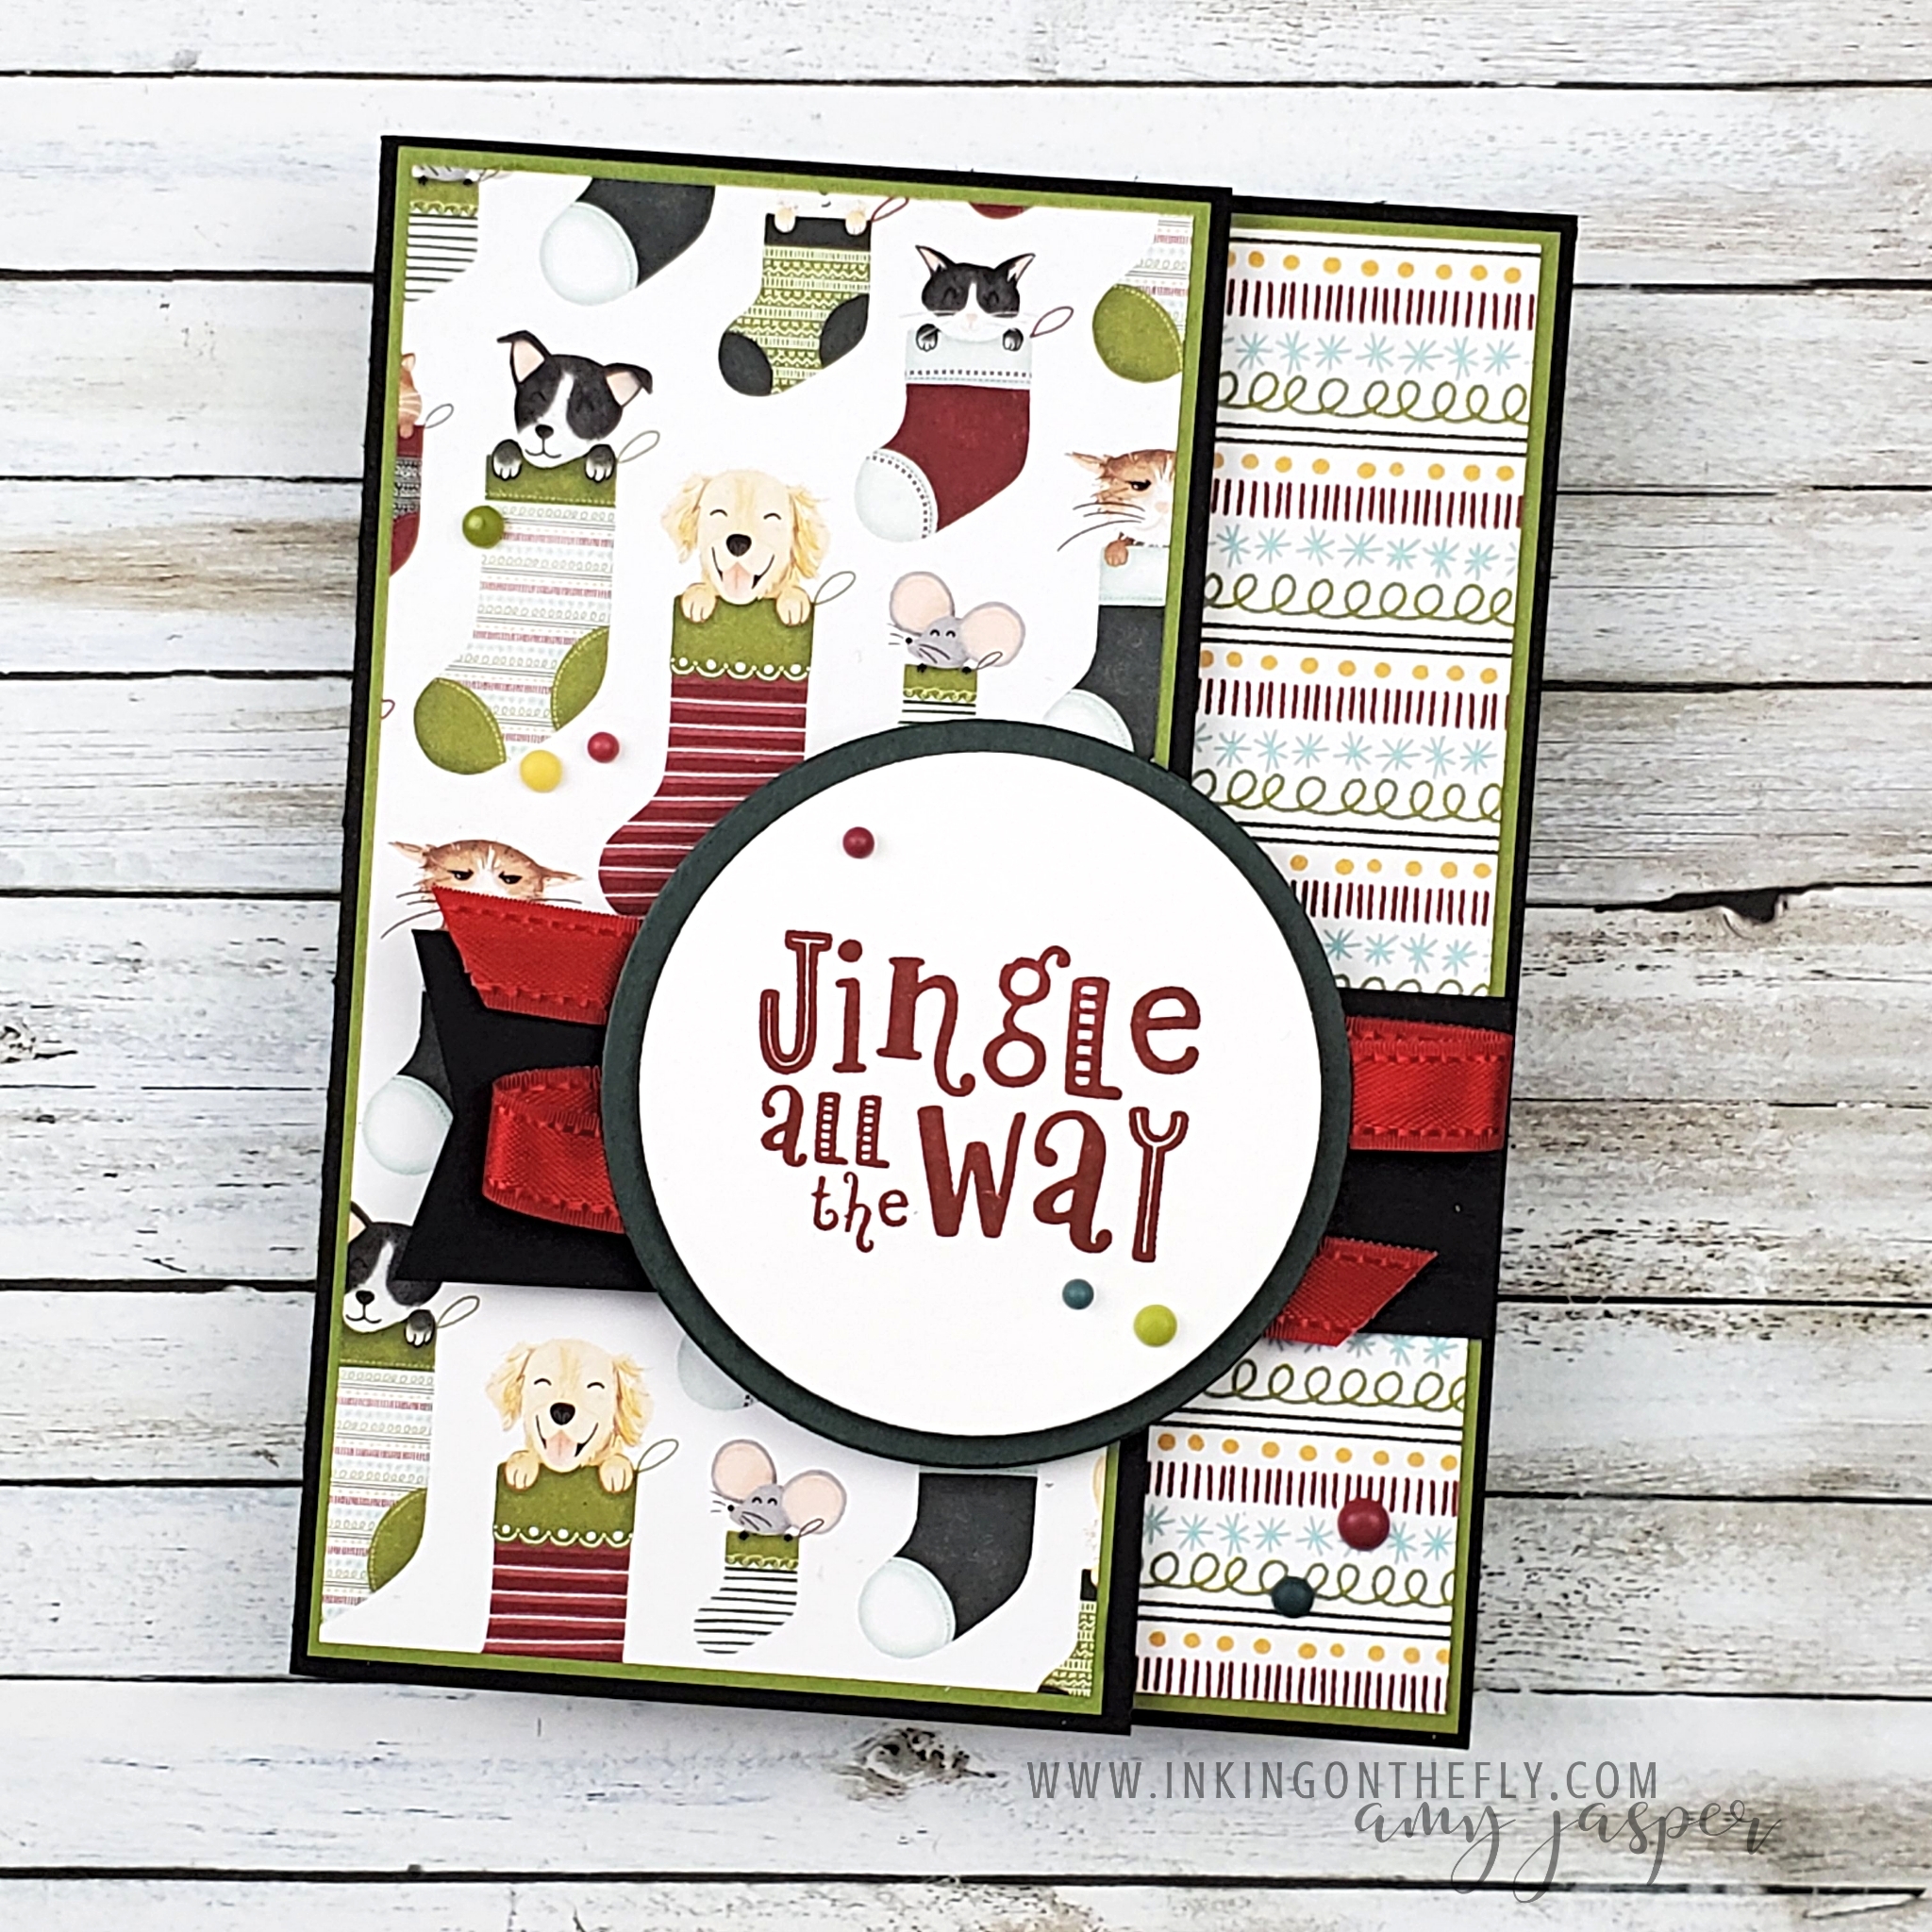
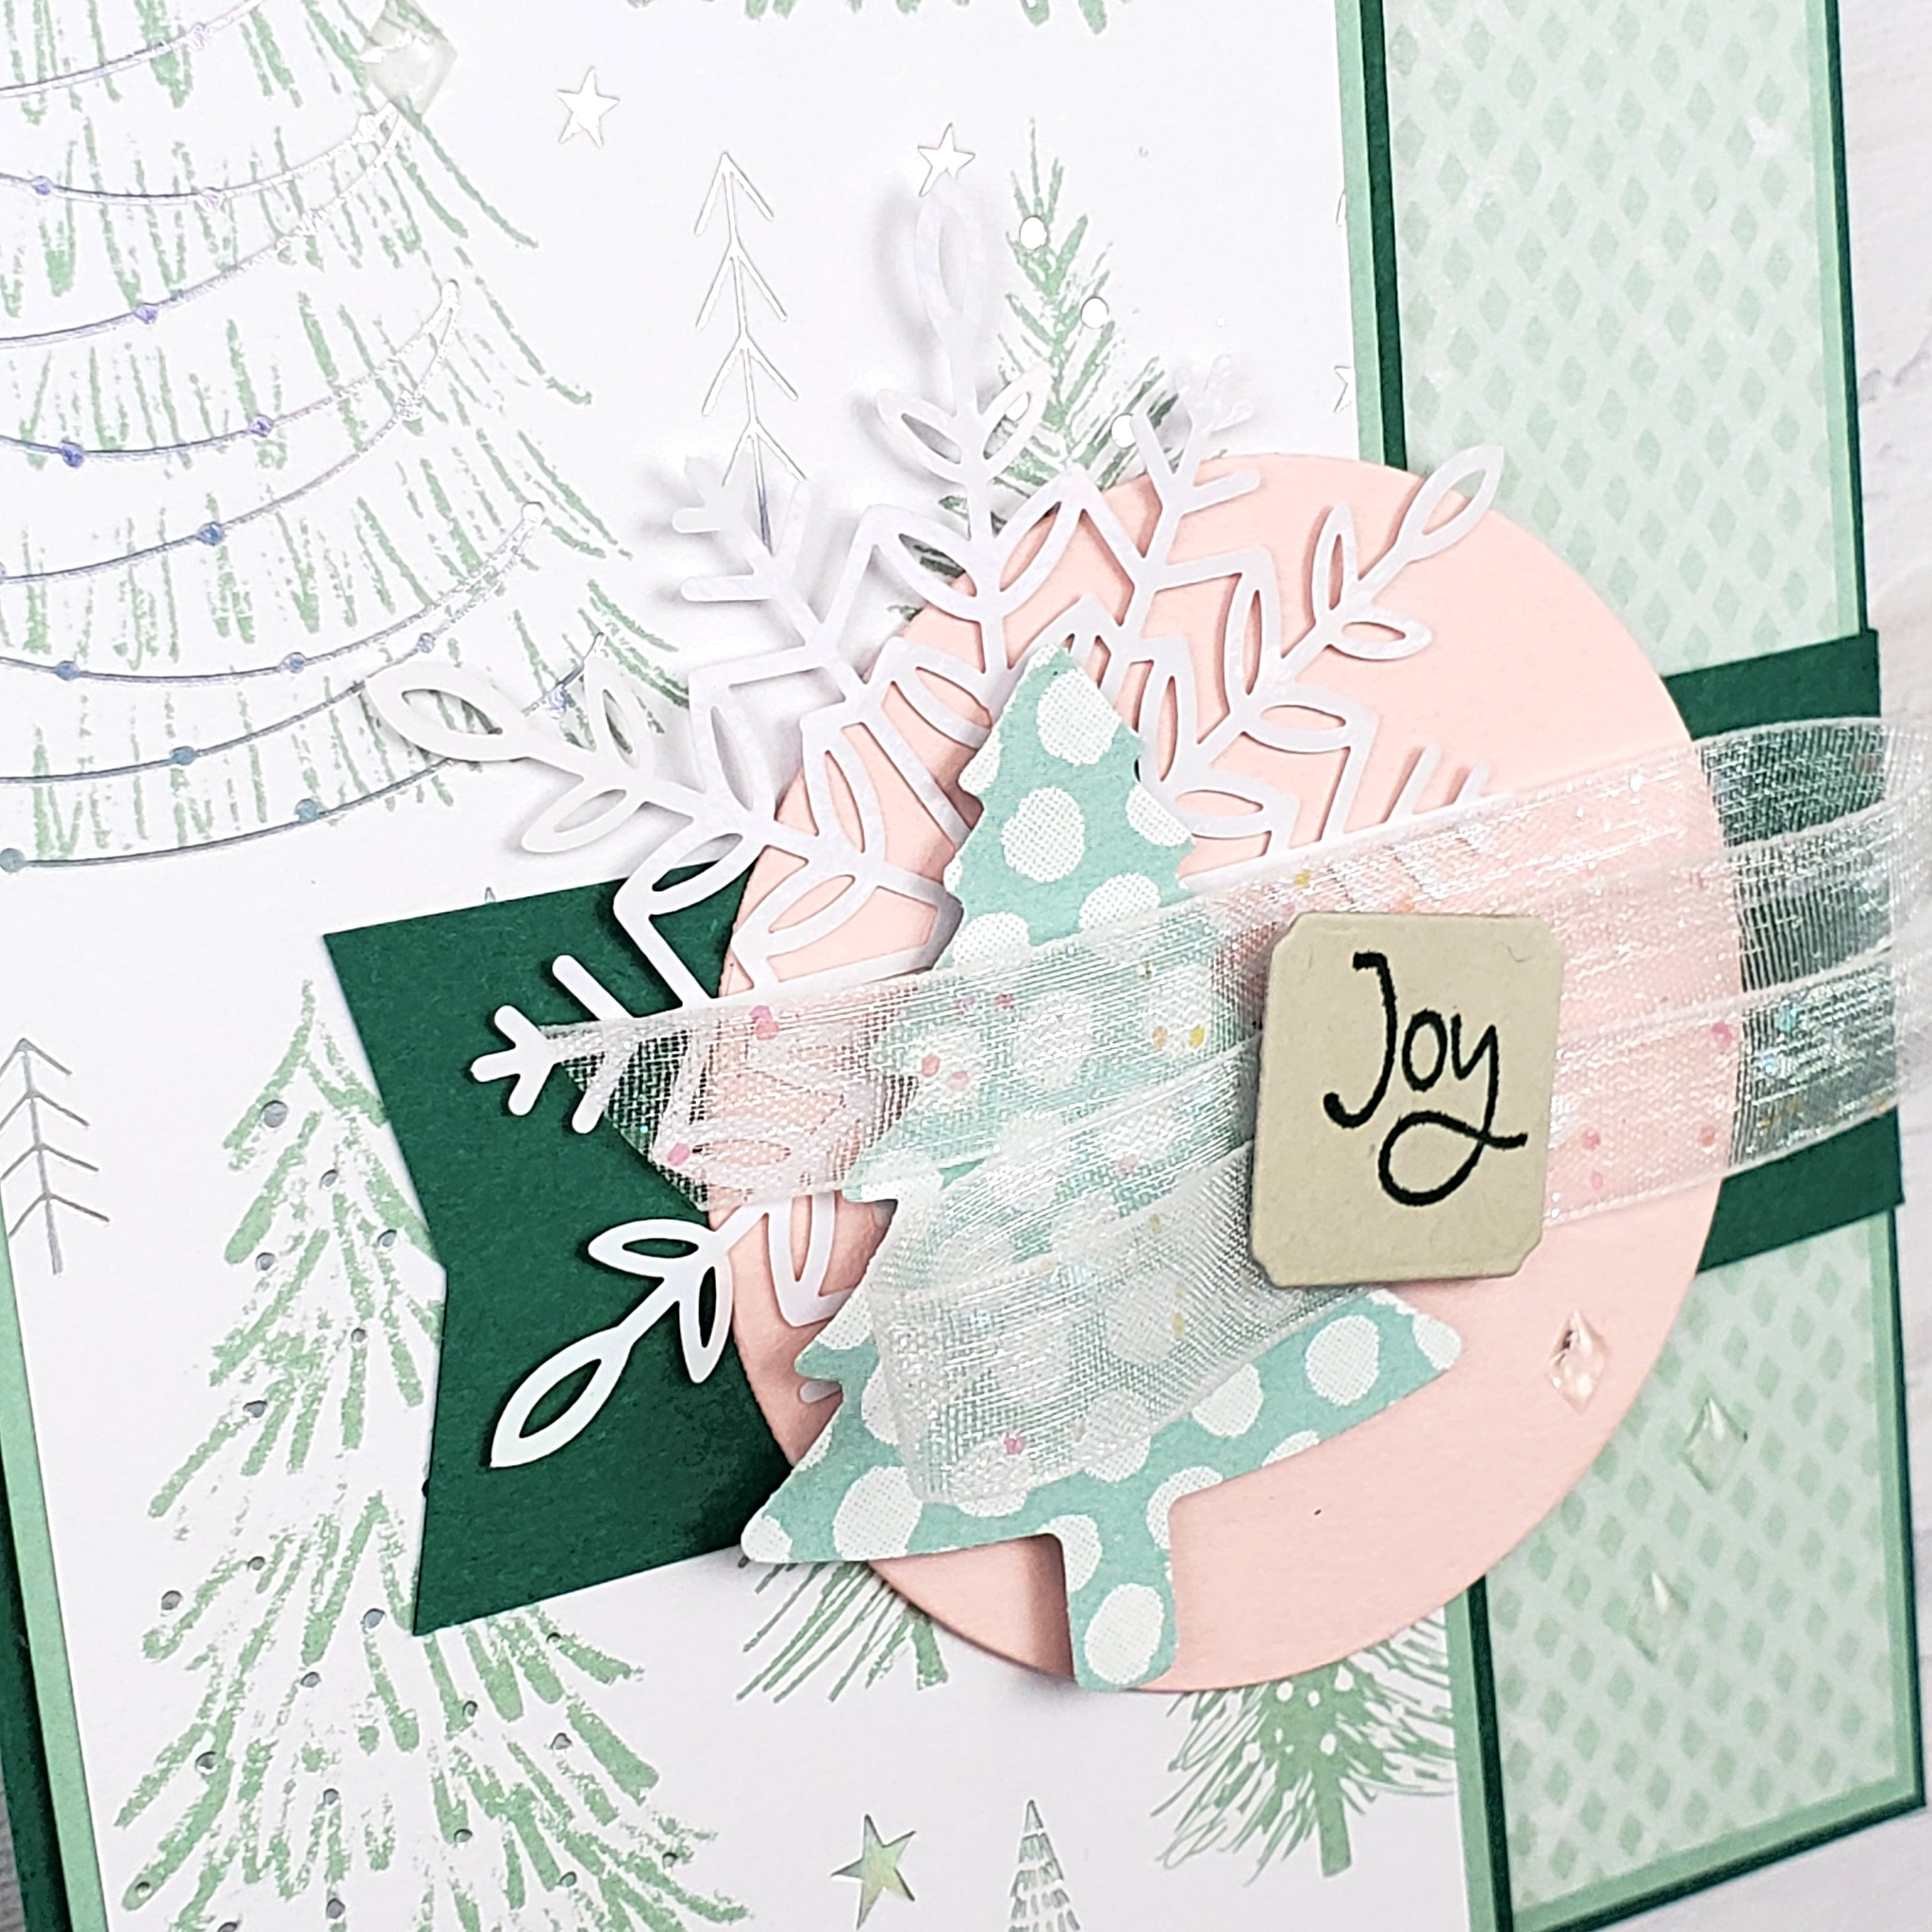
I have Christmas on the brain!
Since this fun fold is so easy to make, I was able to make a few different versions.
The clear Epoxy Essentials are such a cute and simple addition to a card design. I like how the diamond-shaped ones coordinate with the pattern of the paper.
Check out the video to see how to make this easy fun fold card.
Let me know in the comments if you have any questions. I’m always happy to help when I can!
Autumn is here and there’s no more denying that summer is over. It feels like I missed the transition somehow, though, as the new chill in the air seemed to come on so suddenly. In reflecting on the last couple months, I’m realizing that I’ve hardly been outside! Yikes!
Colours of Fall
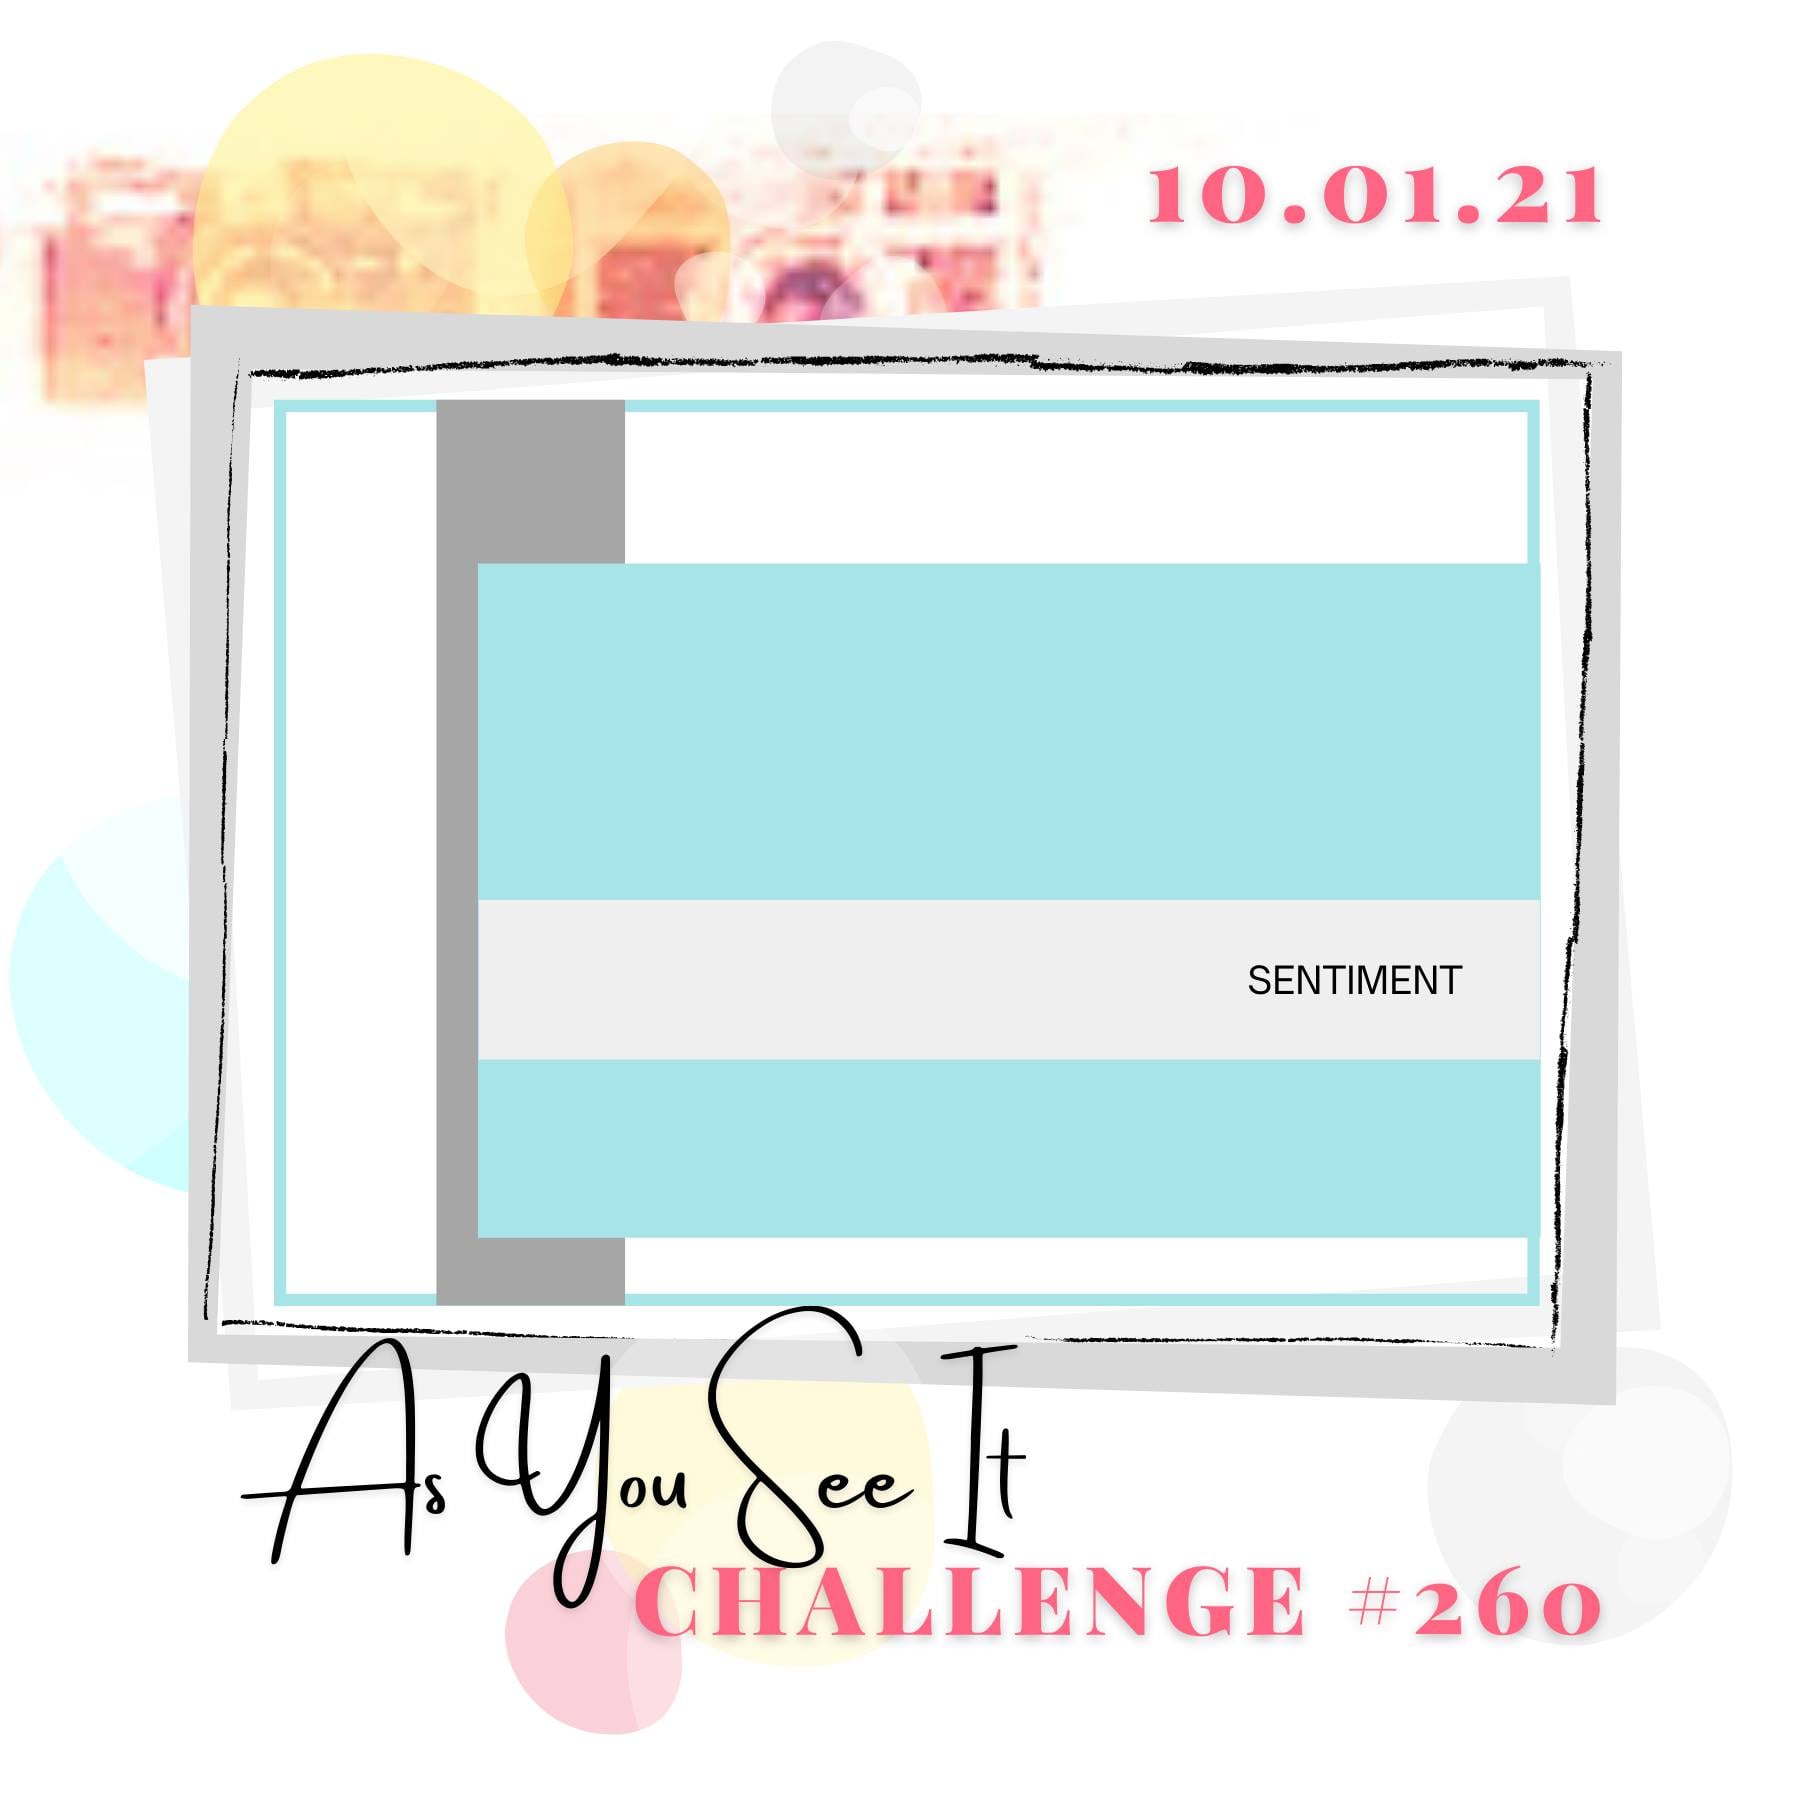
The As You See It Challenge gives us some colours to design with that immediately made me think of fall. However, these colours would be lovely for any occasion all year round.
Fall is my favourite season; the crisp fresh air, the changing leaves, and the smell of the damp earth as it welcomes the tired plants to join it once more. Autumn brings with it the peace of knowing that the cycle is winding down. Life is slowing and preparing to rest before it’s big reveal in the spring.
There’s comfort in that.
Even though plants are dying and losing their leaves and colours, it’s not the end. Those same plants will flourish again or they’ll live on in the new plants that grow from the seeds they left behind.
I’m not one to keep up a routine or a schedule, but I know that I need to start making time each week to get outside. I have a few little goals that I’m trying to keep up with (and it often feels like I’m failing!), like cleaning and organizing my craft room, submitting my taxes (yep, still not done), keeping up with my blog, and now I need to add “get outside”.
Thankfully, I only work for myself and my family, otherwise, I’d be even more of a hot mess than I already am!
My Design
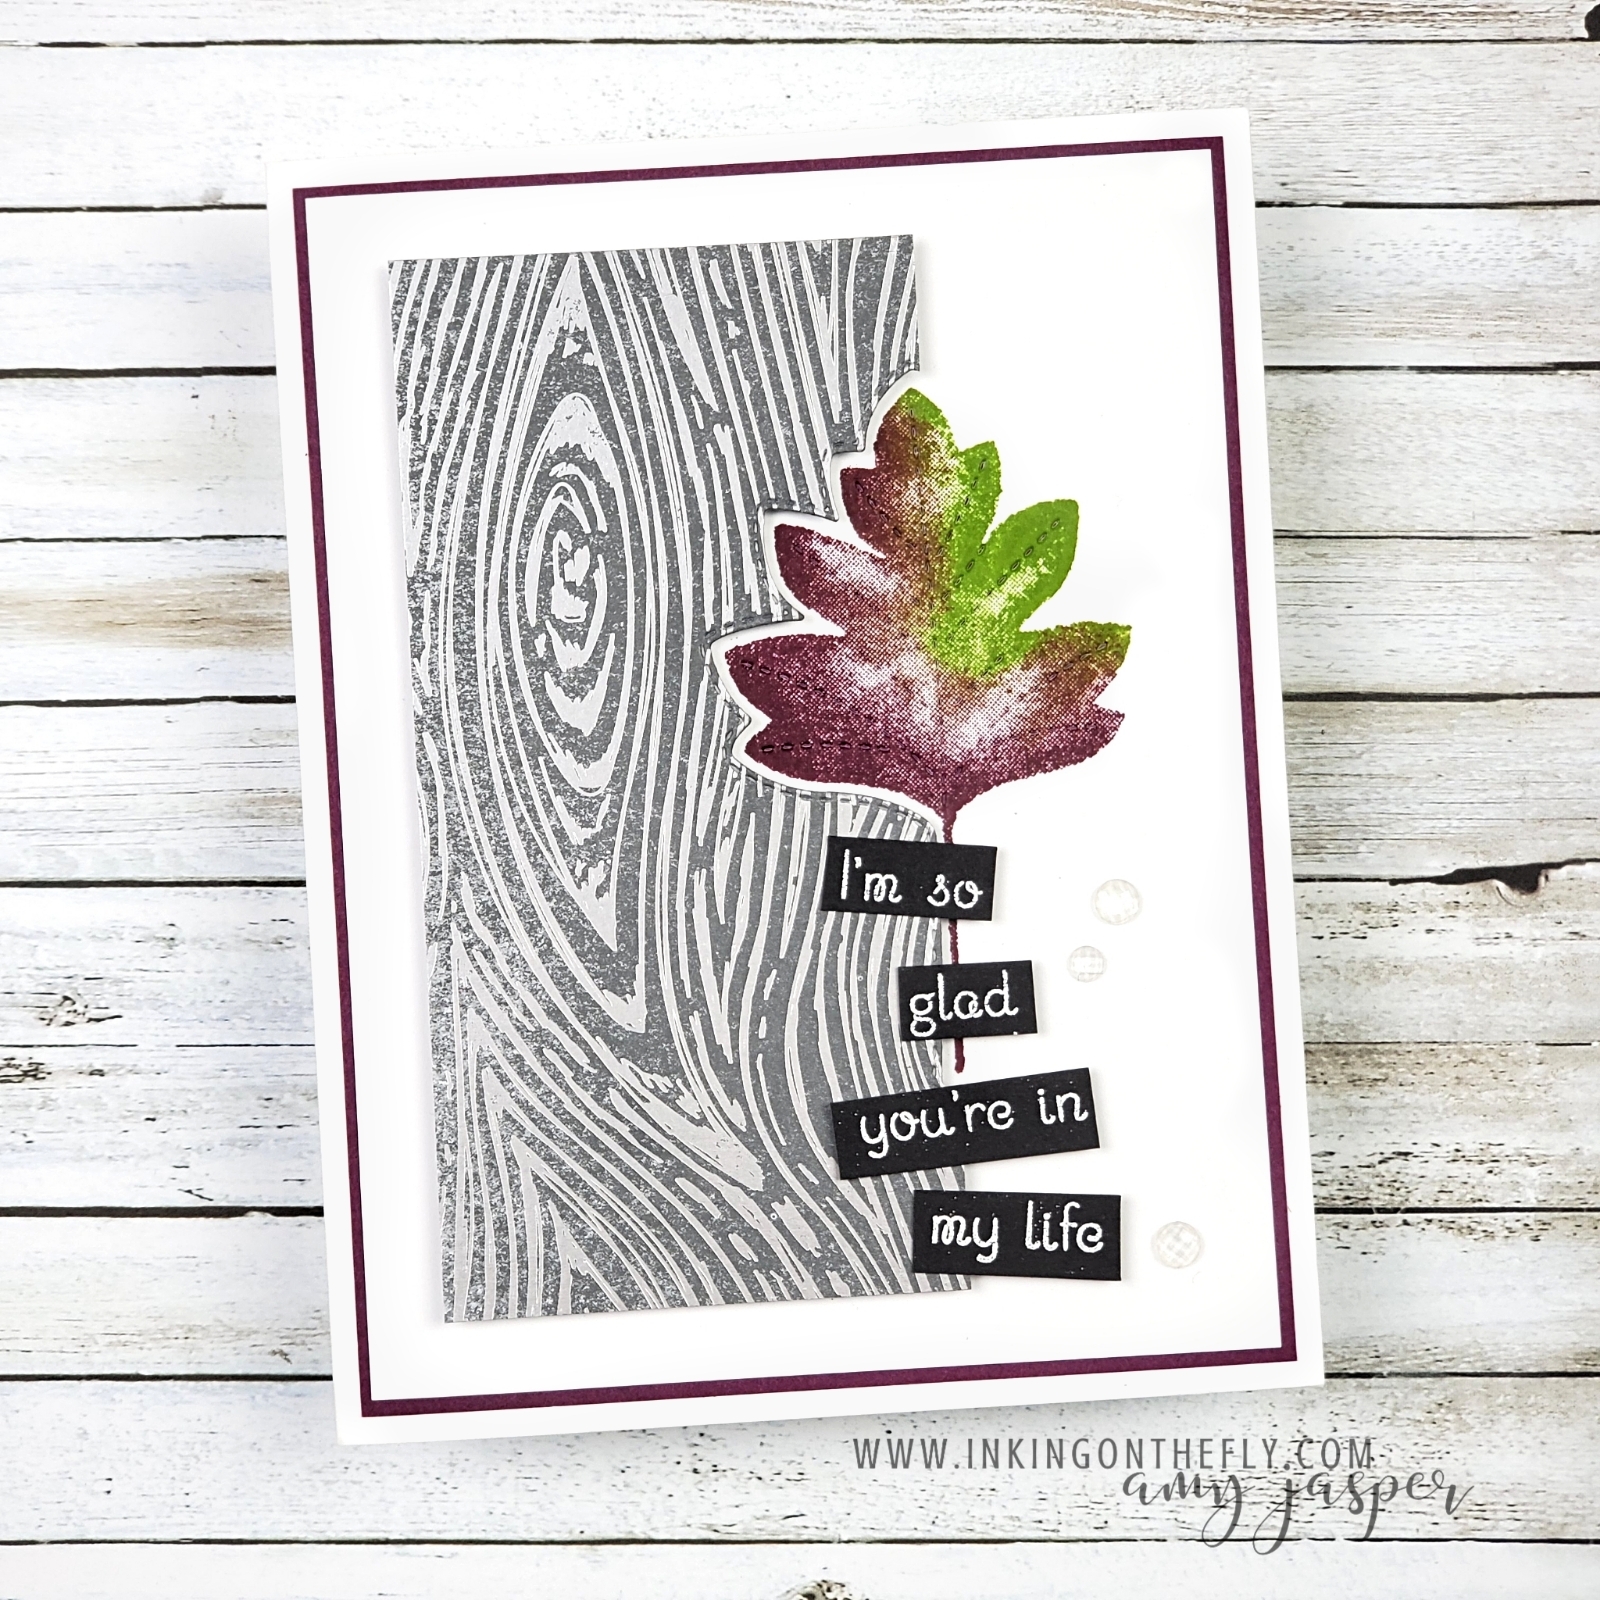
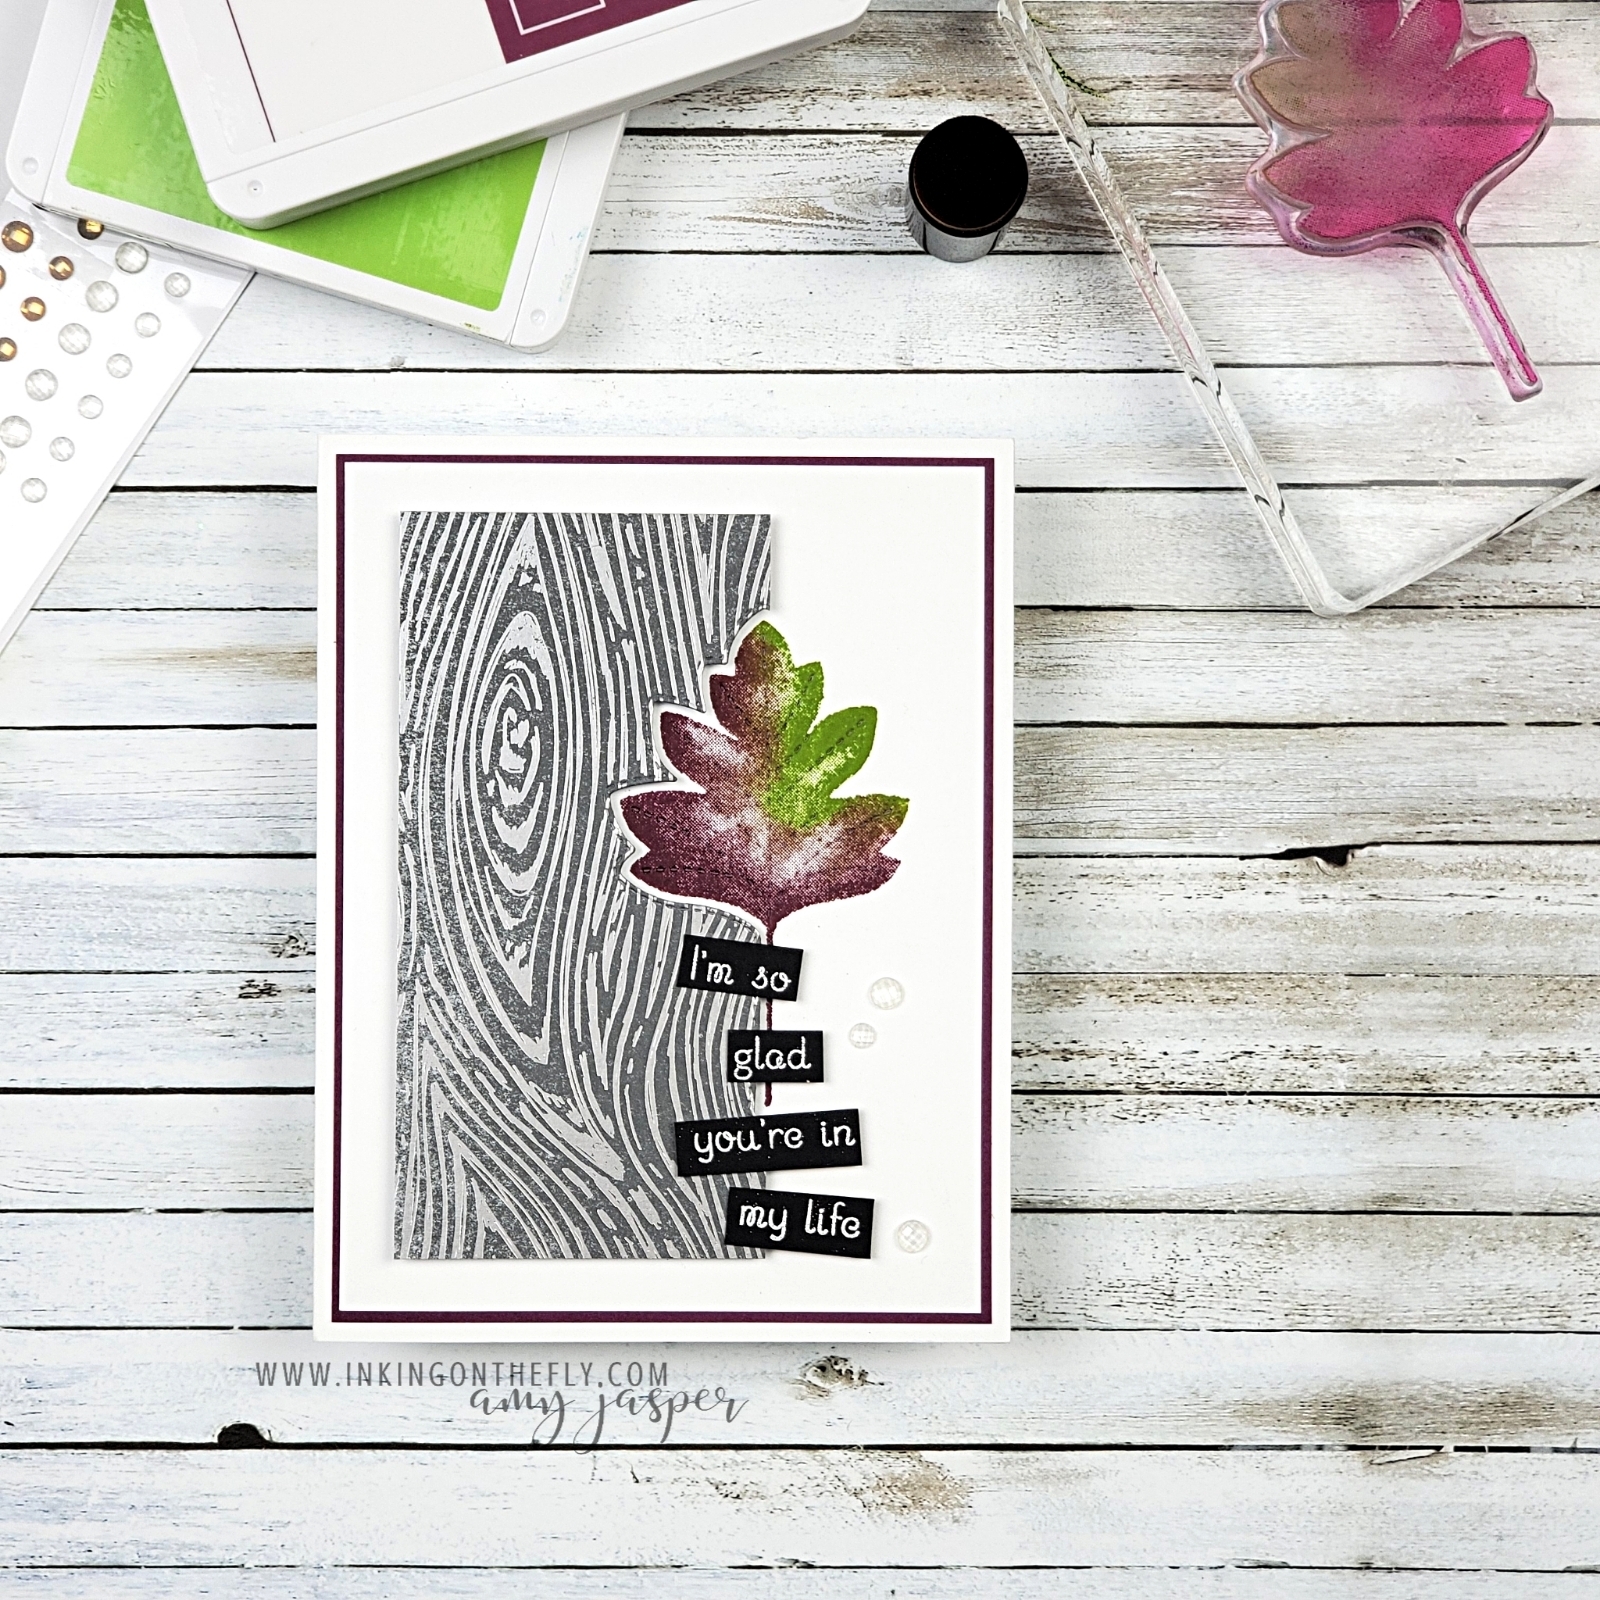
I have a card for you today that has this peaceful autumn feel. I’m not sure if the sentiment is an expression to a person, or, in this case, to the fall season itself. Maybe it can be both.
The Blackberry Bliss is so striking against the Basic White layers on this design.
I die-cut the Peaceful Place patterned paper with one of the Stitched Leaves dies. Then, I inked a portion of the leaf image from the Love of Leaves stamp set with Granny Apple Green. With a Sponge Dauber, I applied Blackberry Bliss ink to the rest of the stamp, blending it slightly with the green. While holding the die-cut patterned paper in position, I was able to stamp the leaf on the Basic White.
For a bit of extra interest, I used the die that cuts the stitched veins over the stamped image and put that through the Cut & Emboss machine. It ended up being quite subtle, but adds a nice detail.
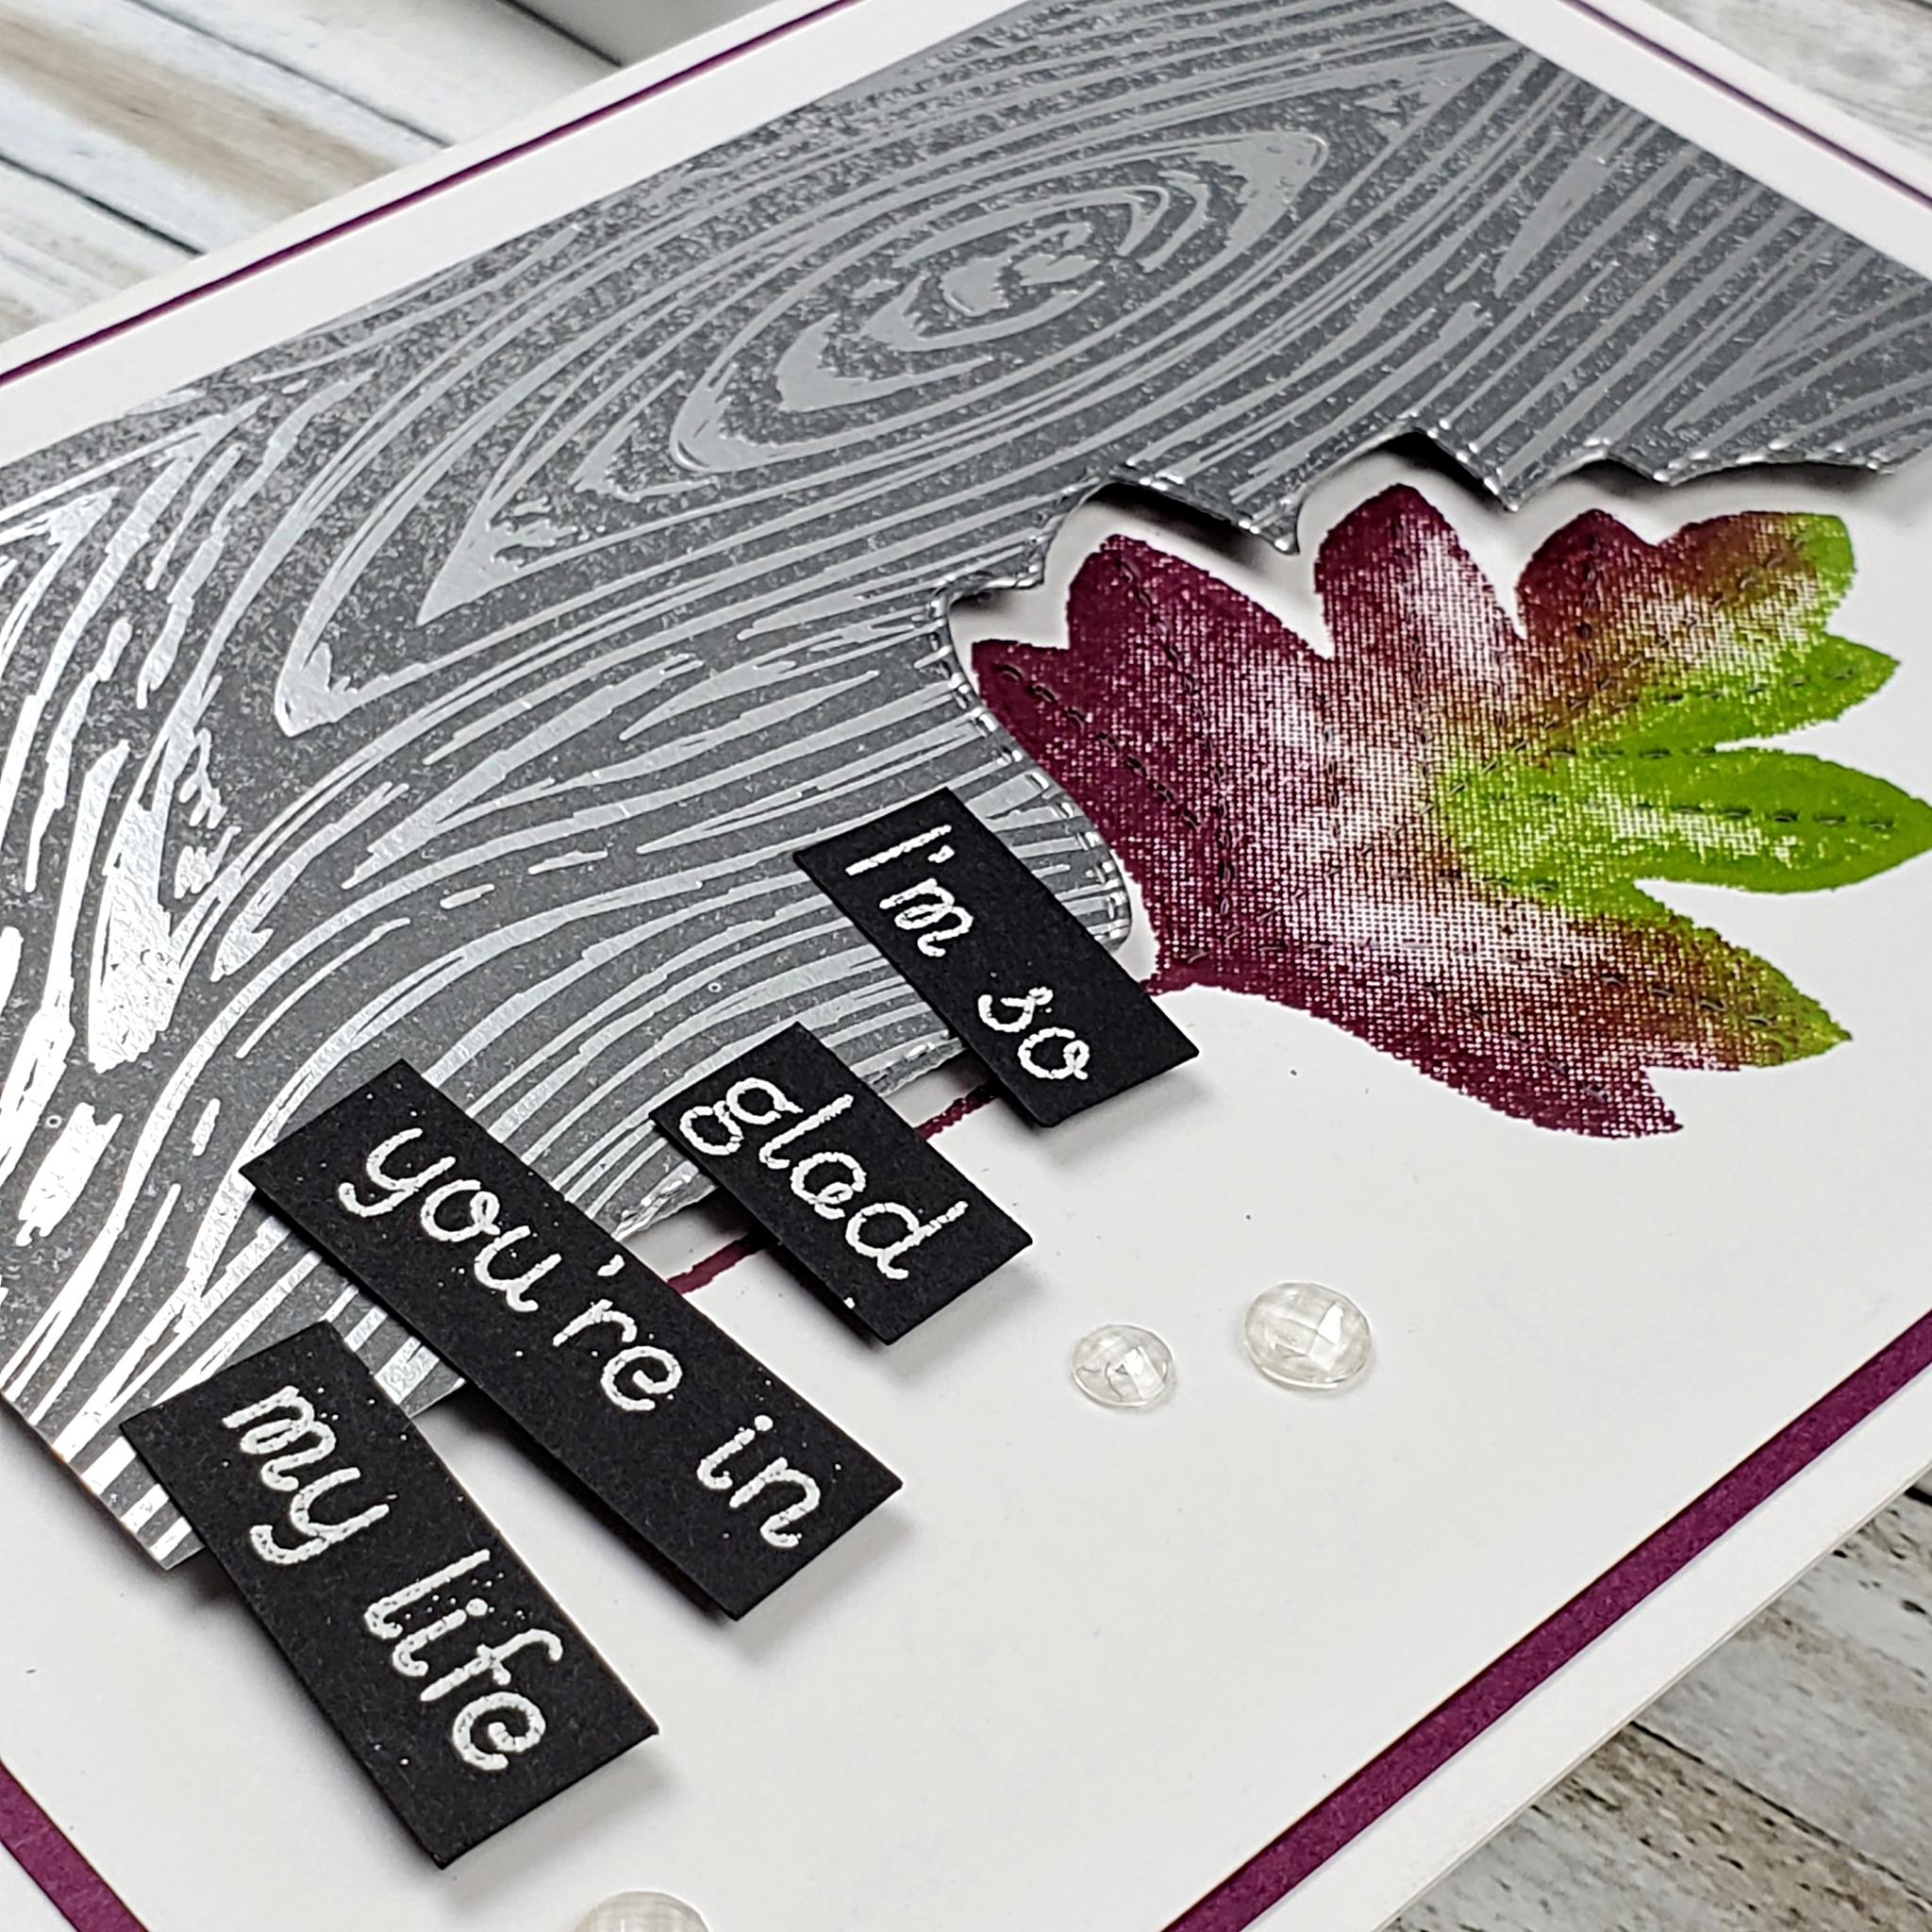
The layers could then be adhered to my card with the patterned paper lifted using Stampin’ Dimensionals. My sentiment was stamped, heat embossed with White Embossing powder, cut into sections and also adhered to the card. Because the sentiment pieces are placed over two different levels, I used Dimensionals under the right side and my Multipurpose Liquid Glue on the left.
The final touch on this peaceful autumn design are the clear Elegant Faceted Gems. They seem to play well with the silver foil in the Peaceful Place patterned paper.
Enjoy the Season
I cycle through seasons just as the earth does. Sometimes, I am flourishing with new growth, while other times, I’m winding down and preparing for a rest. At this moment, I am in my own peaceful autumn.
Ah yes. That is a comfort.
Things are slowing, but only for a time. It won’t be long before I cycle back around again. Soon, the inspiration will sprout up, where it will leaf into new ideas and blossom with renewed vibrancy.
It can be challenging to be in this phase, but now that I recognize it, I will allow myself to settle into it. I can observe it, welcome it, and even enjoy it.
And tomorrow, I will get outside and enjoy the crisp autumn air!
The weather is getting cooler and the leaves are changing colour. For me, that means it’s time to cozy up and prepare for winter. This is the season to wrap yourself in your most comfy knitted sweater, make a cup of tea, slip your feet into those slippers and do some holiday crafting.
The only thing that would make my holiday crafting even better is a gas fireplace in my craft room! That would be glorious! It’s not a realistic goal, by any means, but I do wonder if I could make room for a small electric fireplace. My crafting studio is in the basement, so it gets chilly. The ambience and warmth of a fireplace would be so delightful, don’t you think!
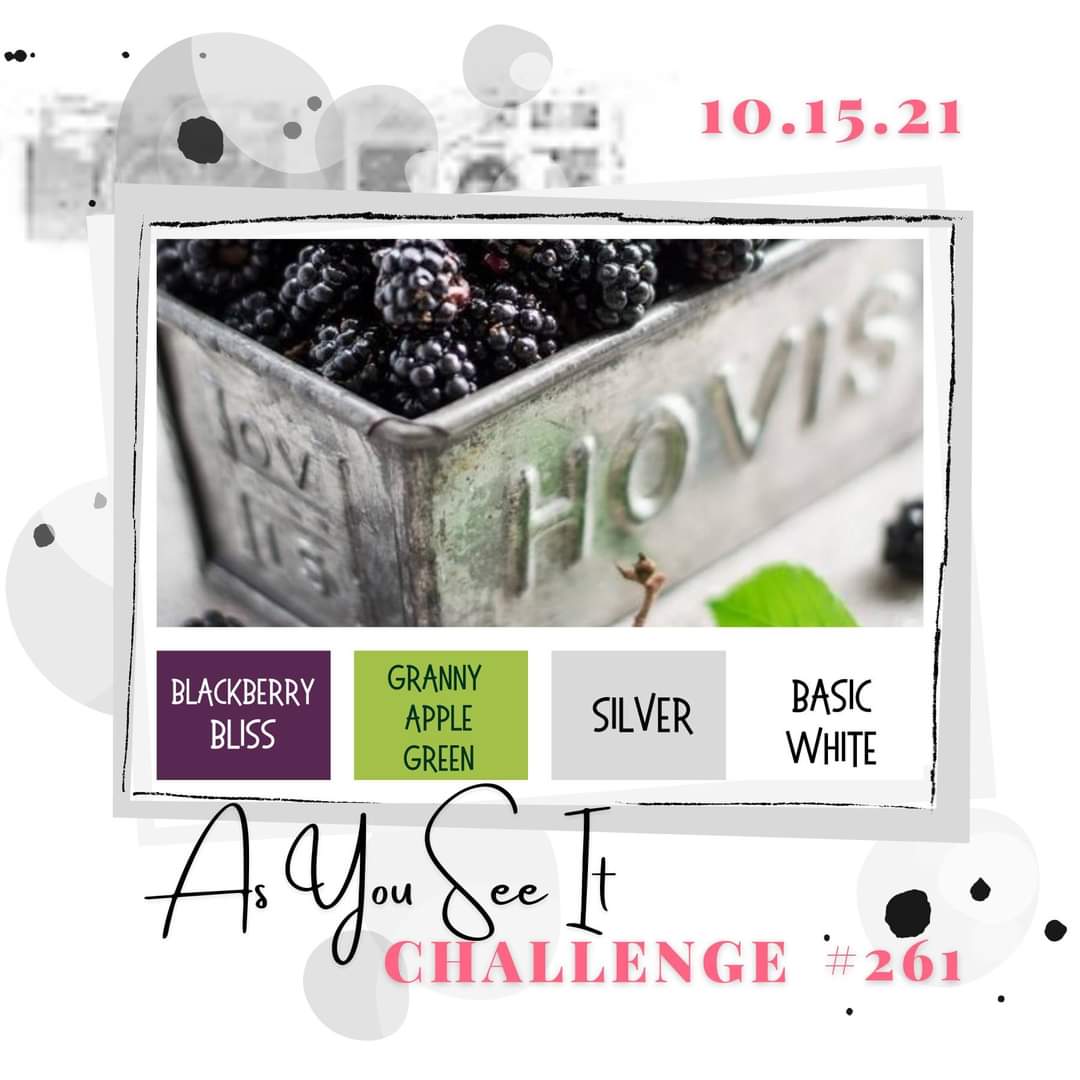
As You See It Challenge
As a part of the As You See It Design Team, I get to share another card inspired by today’s As You See It Challenge blog.
It begins with a sketch!
Events & Classes
For the past couple weeks, I’ve been having fun creating with the Peaceful Place Specialty paper. I showed my September technique class how to make a very special fancy fold card using this patterned paper along with the coordinating Cabin Dies. My technique cards and tutorials are exclusively available to those who purchased the class. That means they get VIP Access to the tutorials for two months. After that, I get to share the projects with you! So keep watch for that fancy fold card to show up here on my blog in November!
To find out more about my virtual classes (only available in Canada) or about purchasing VIP Early Access to the technique class tutorials, go to my Events & Classes page.
Since I’ve had the Peaceful Place patterned paper on my mind AND on my desk, it made its way into this design.
I LOVE this paper!
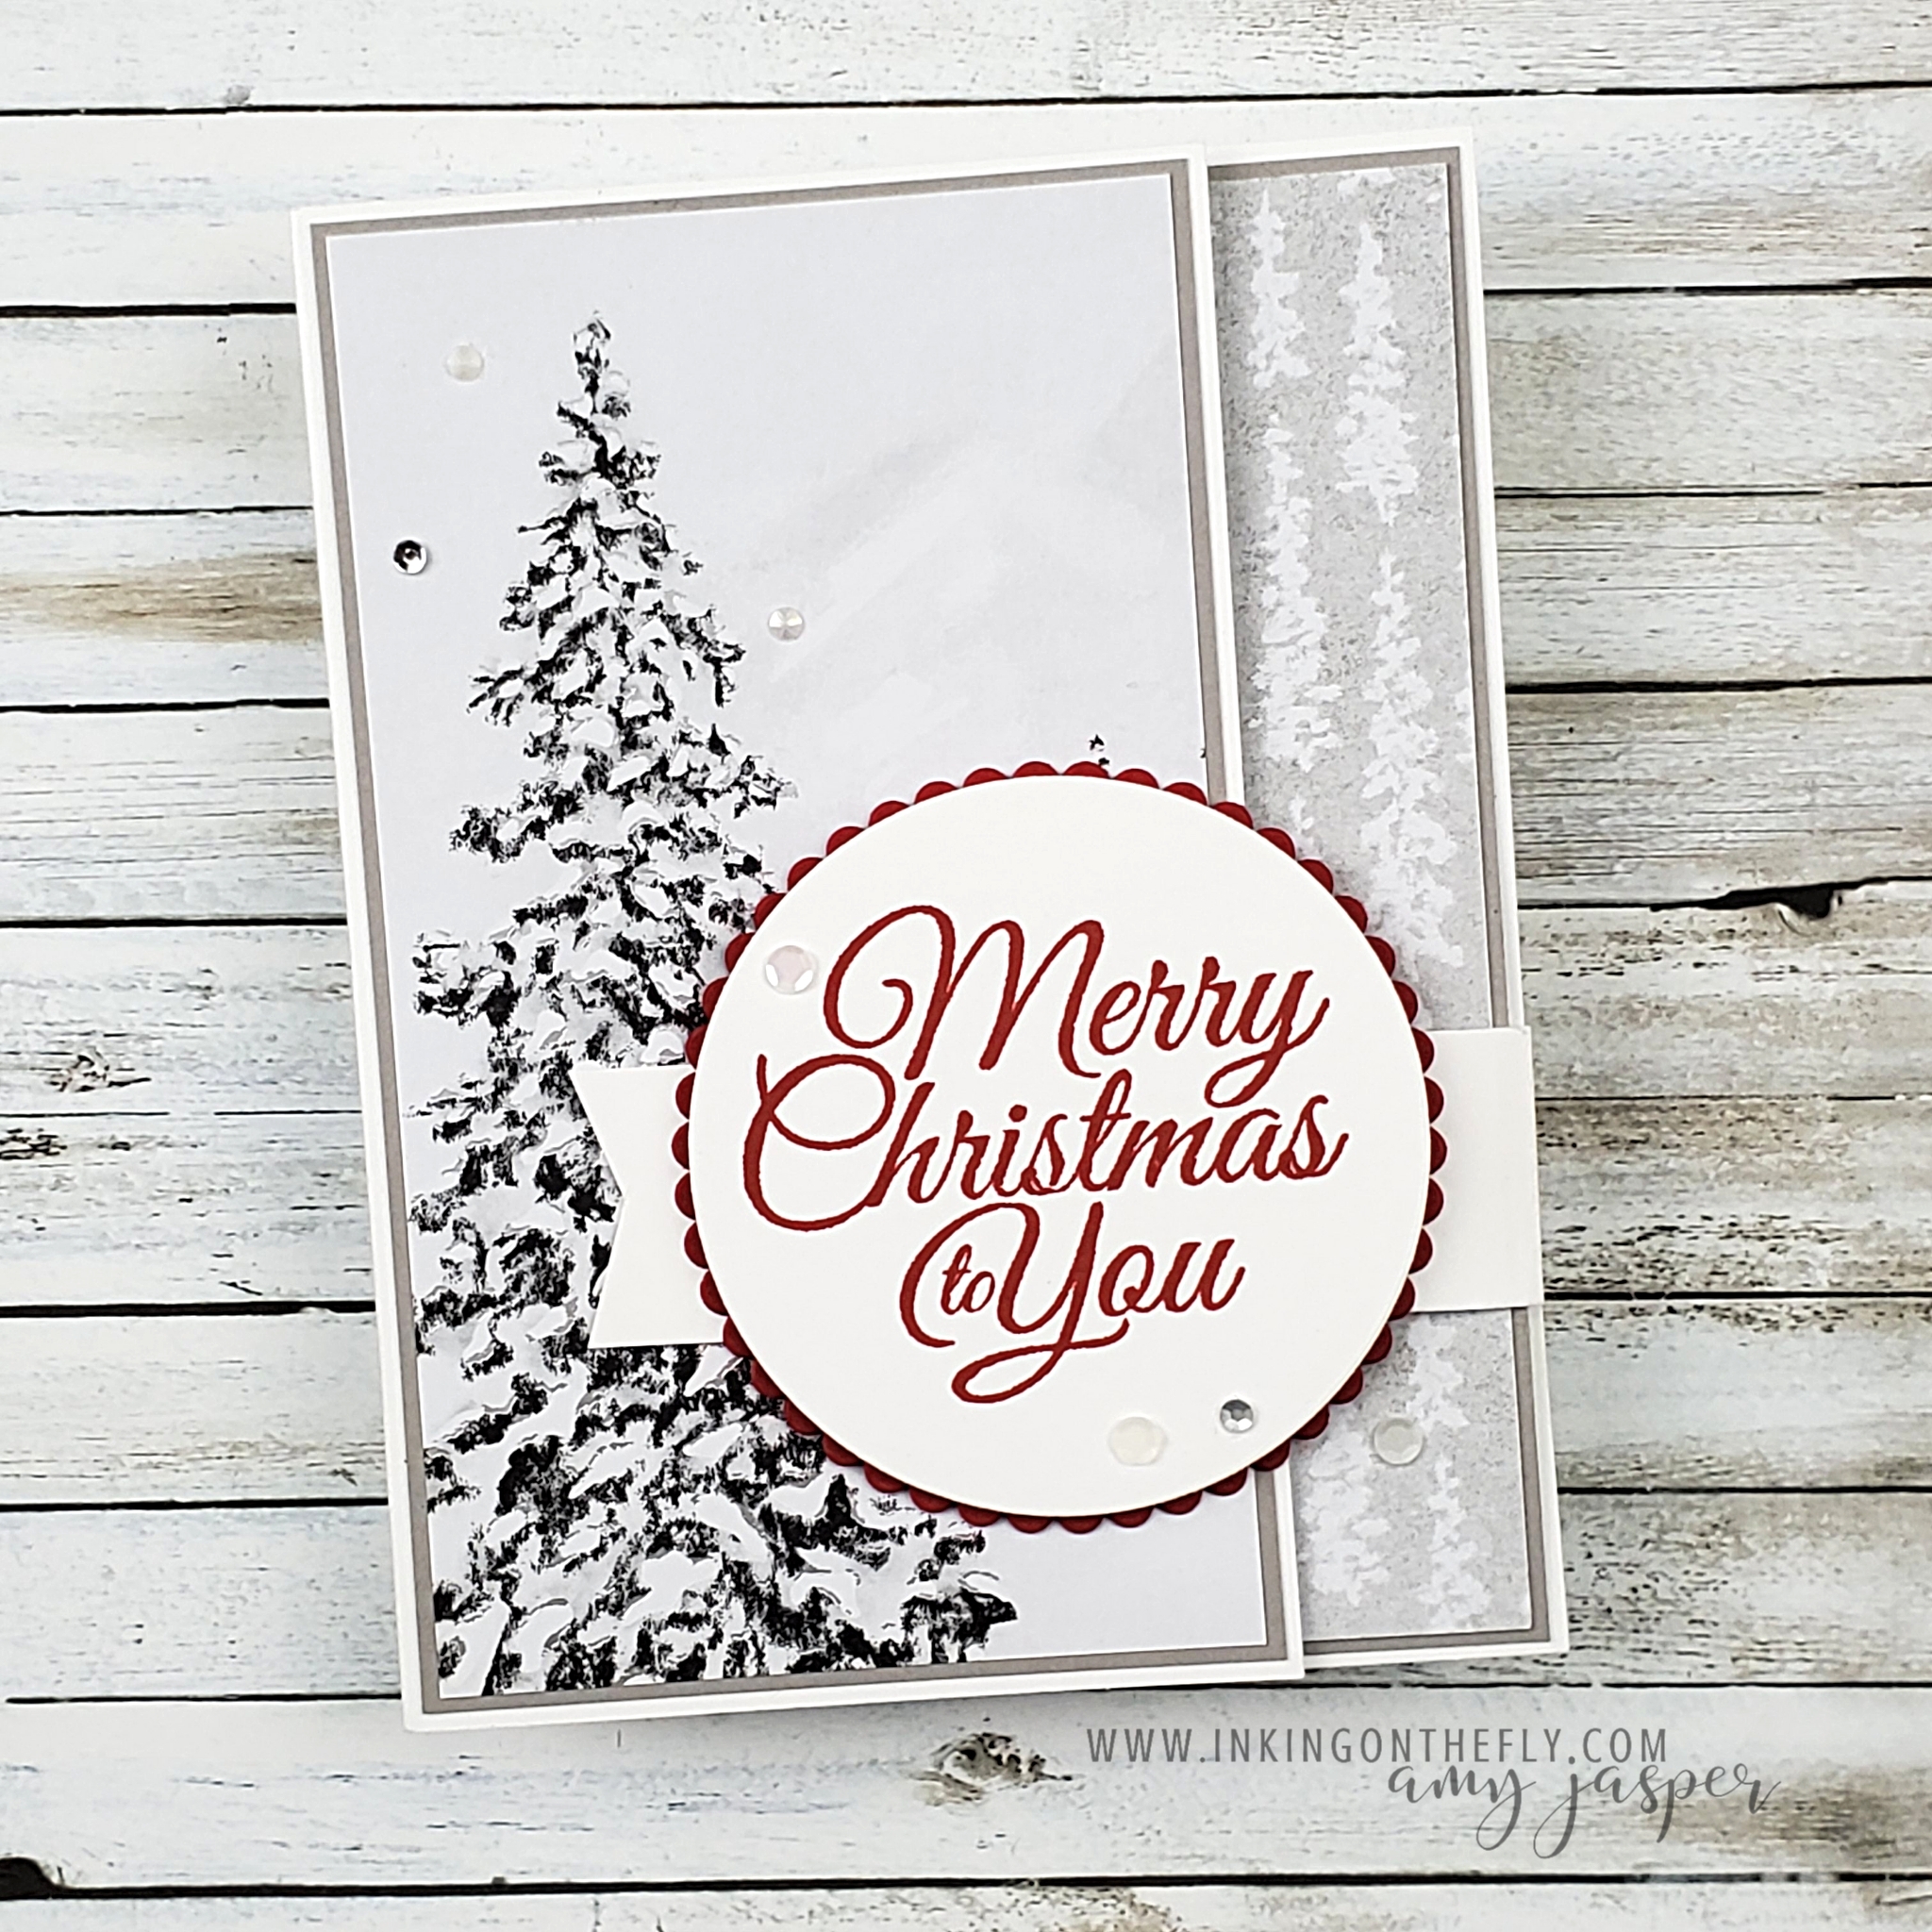
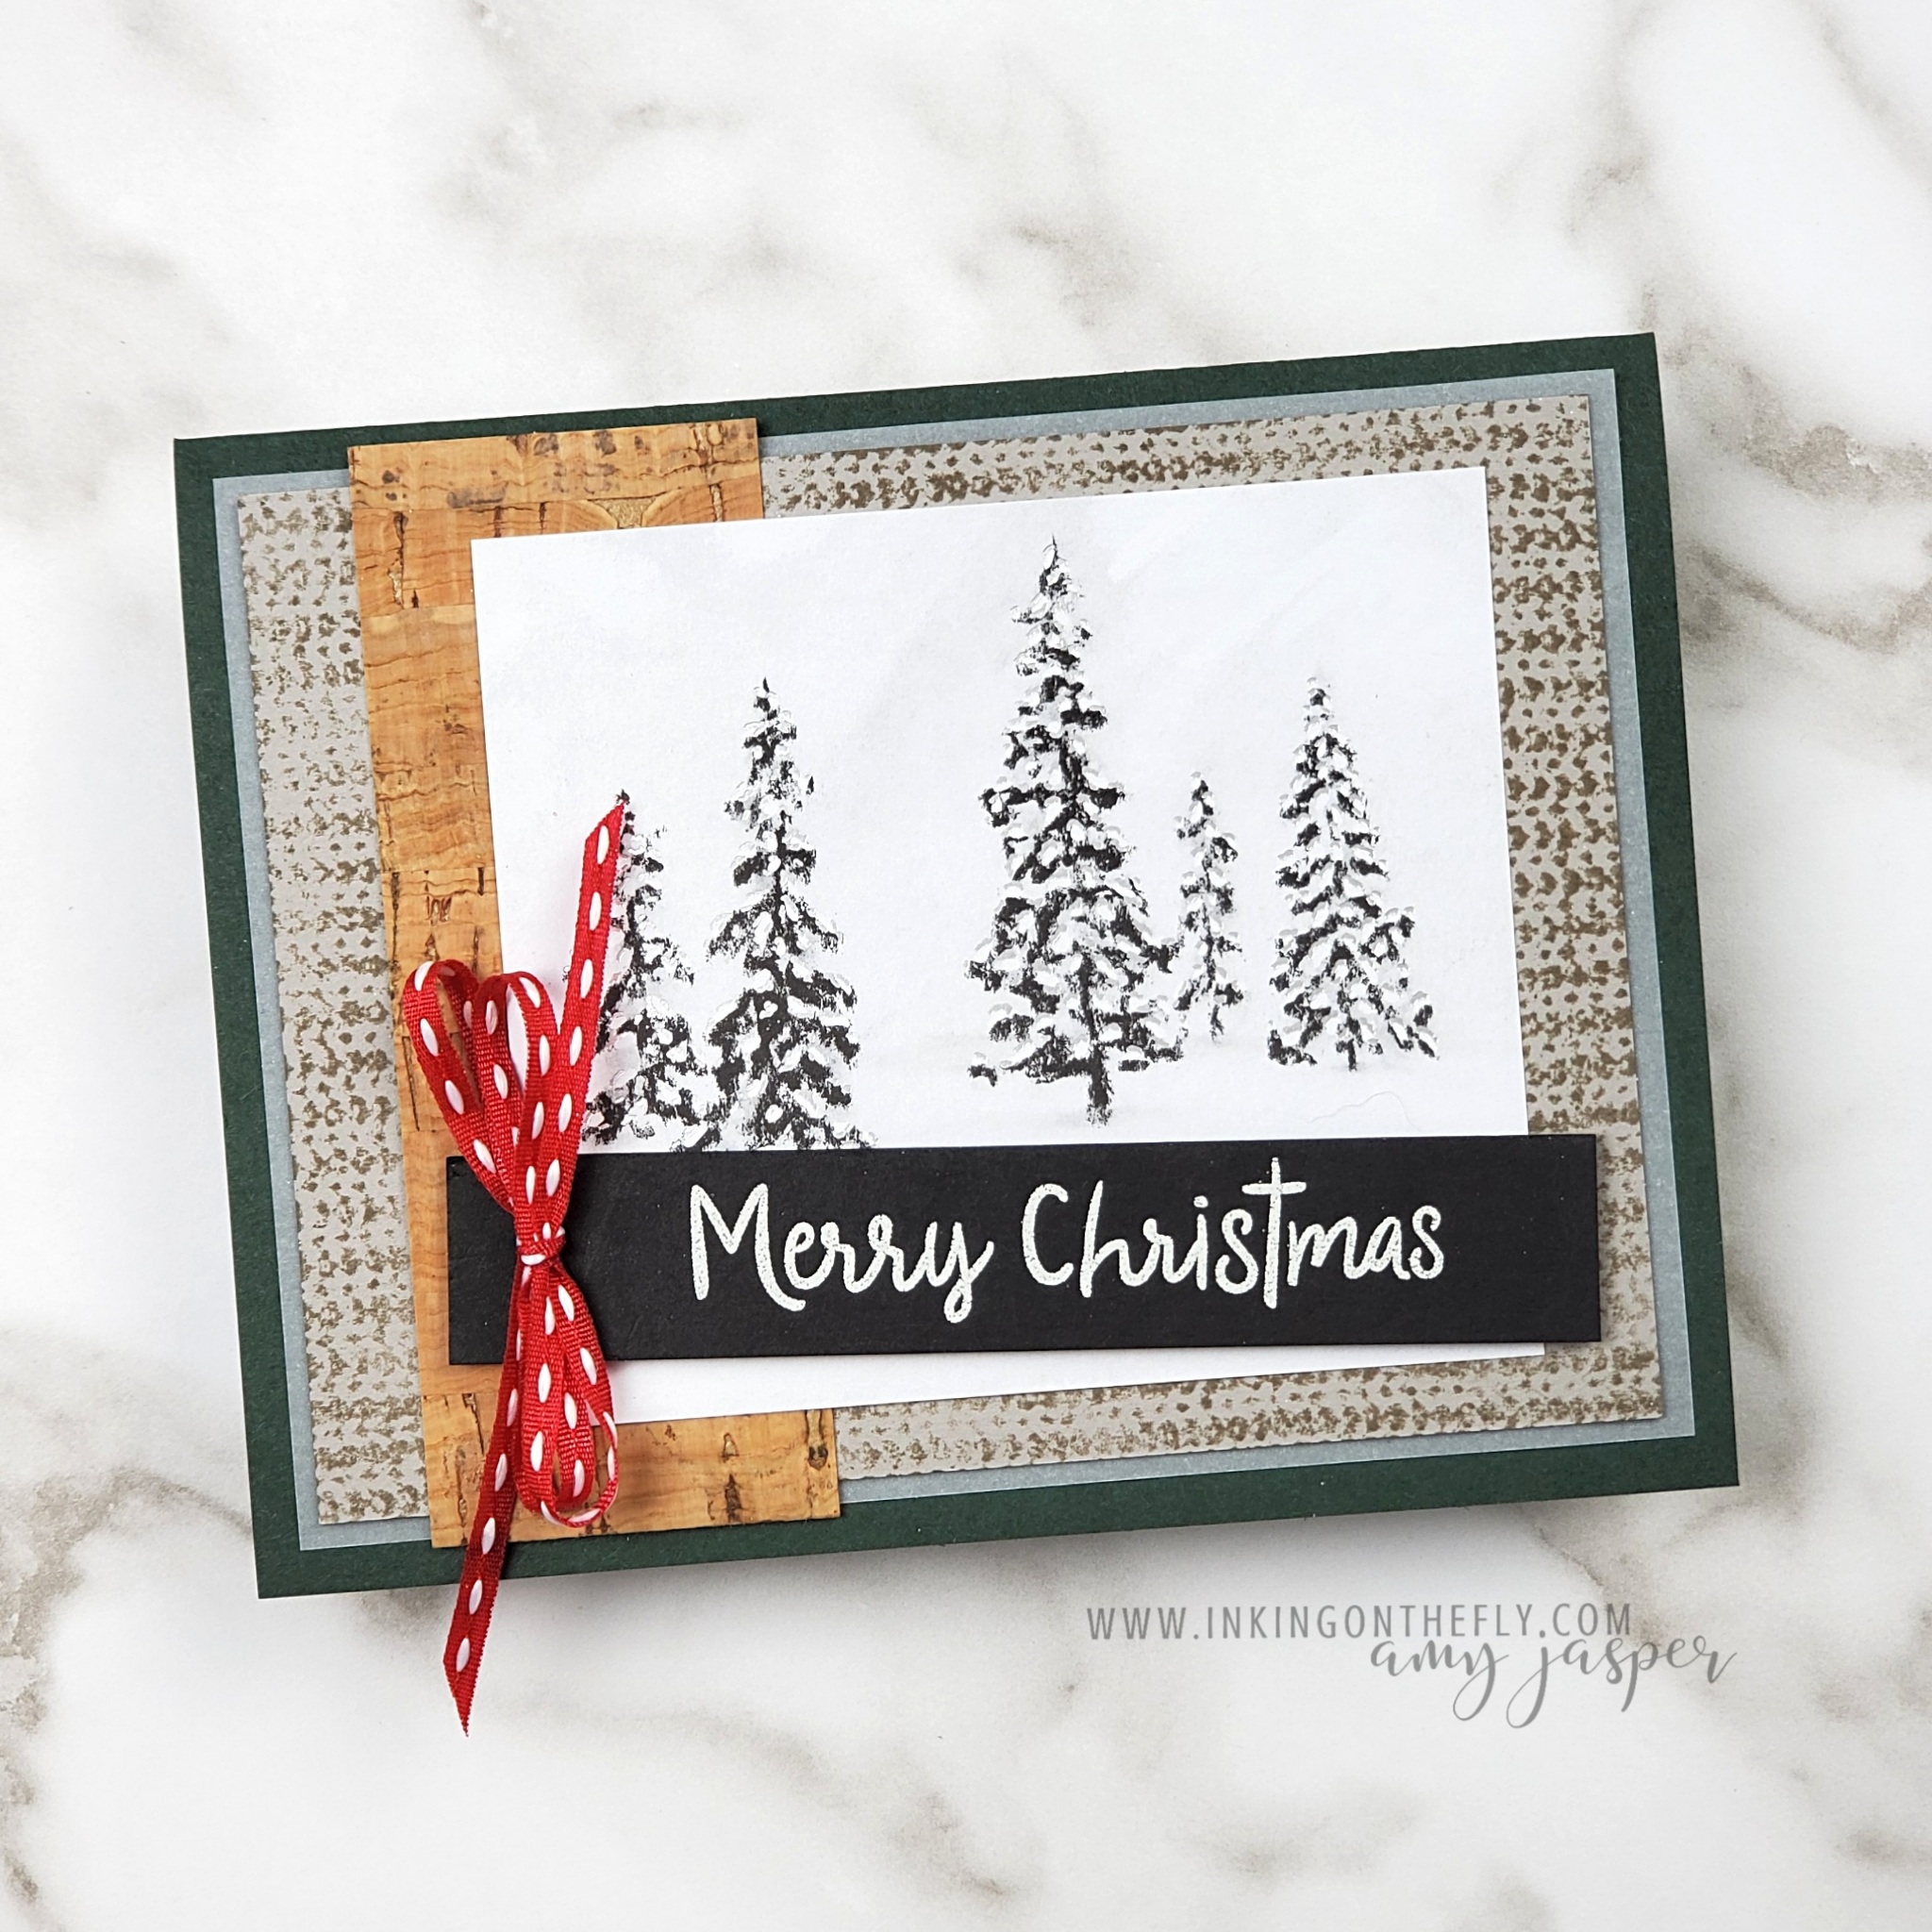
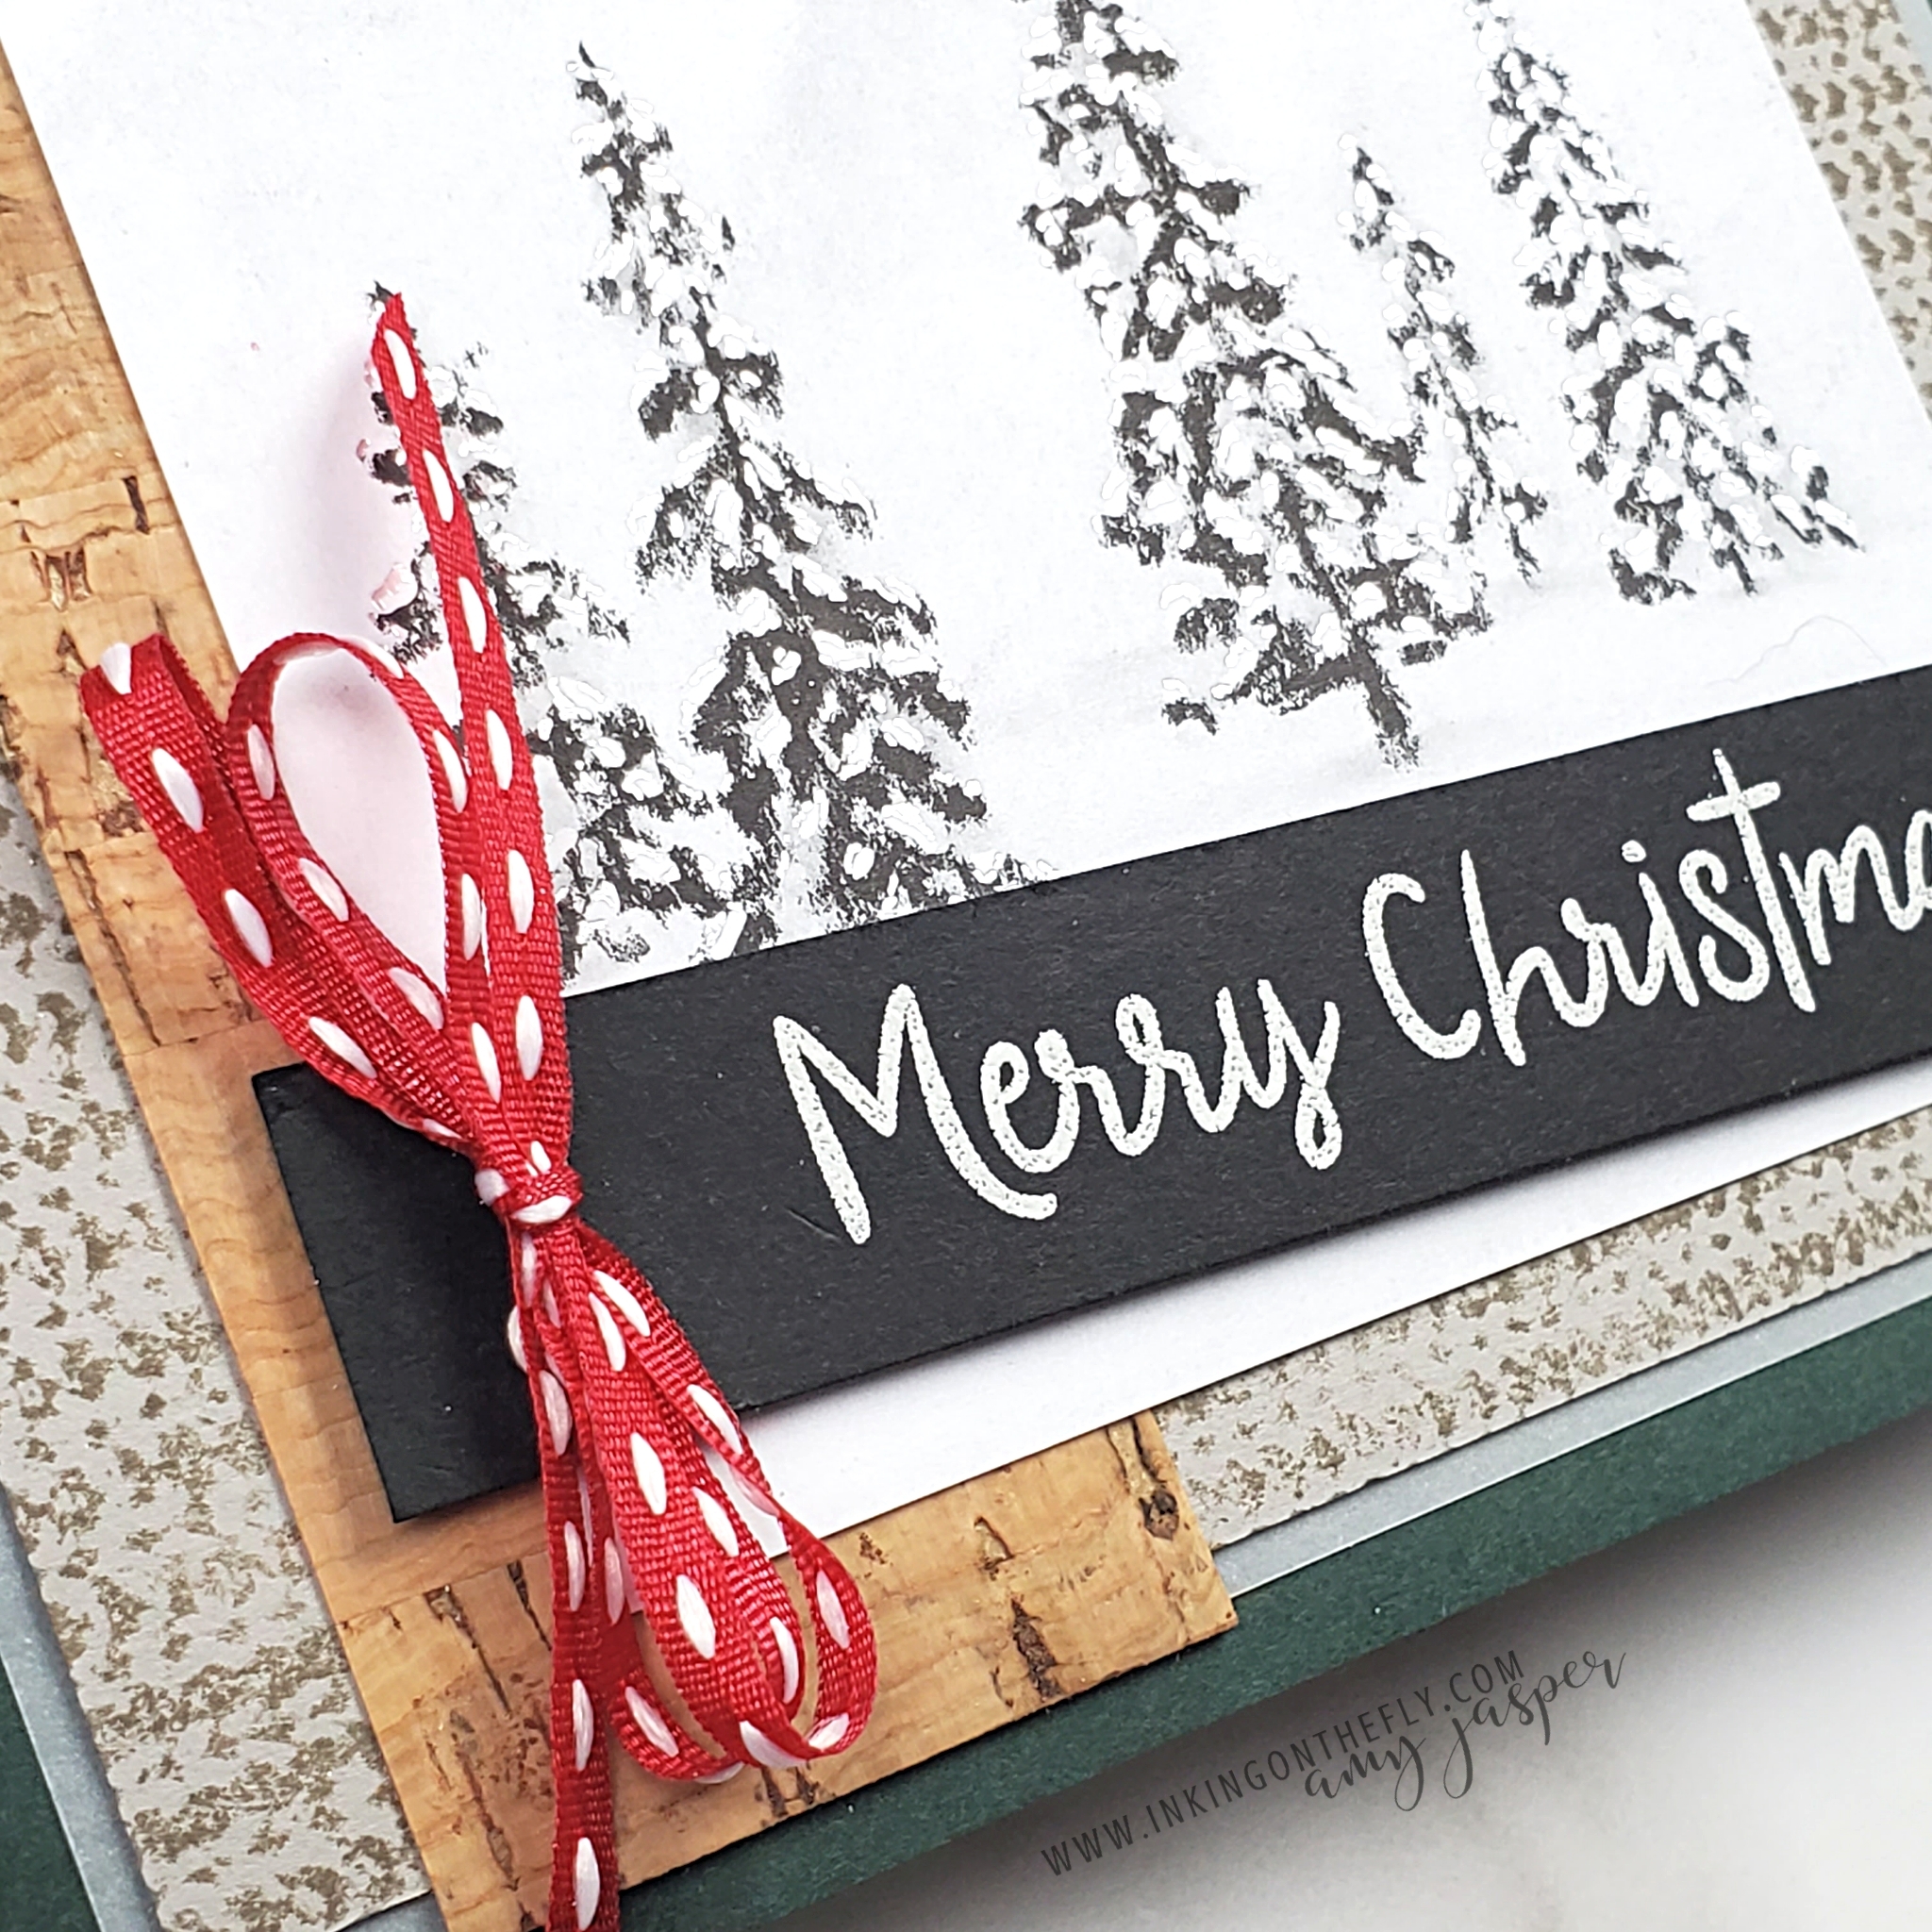
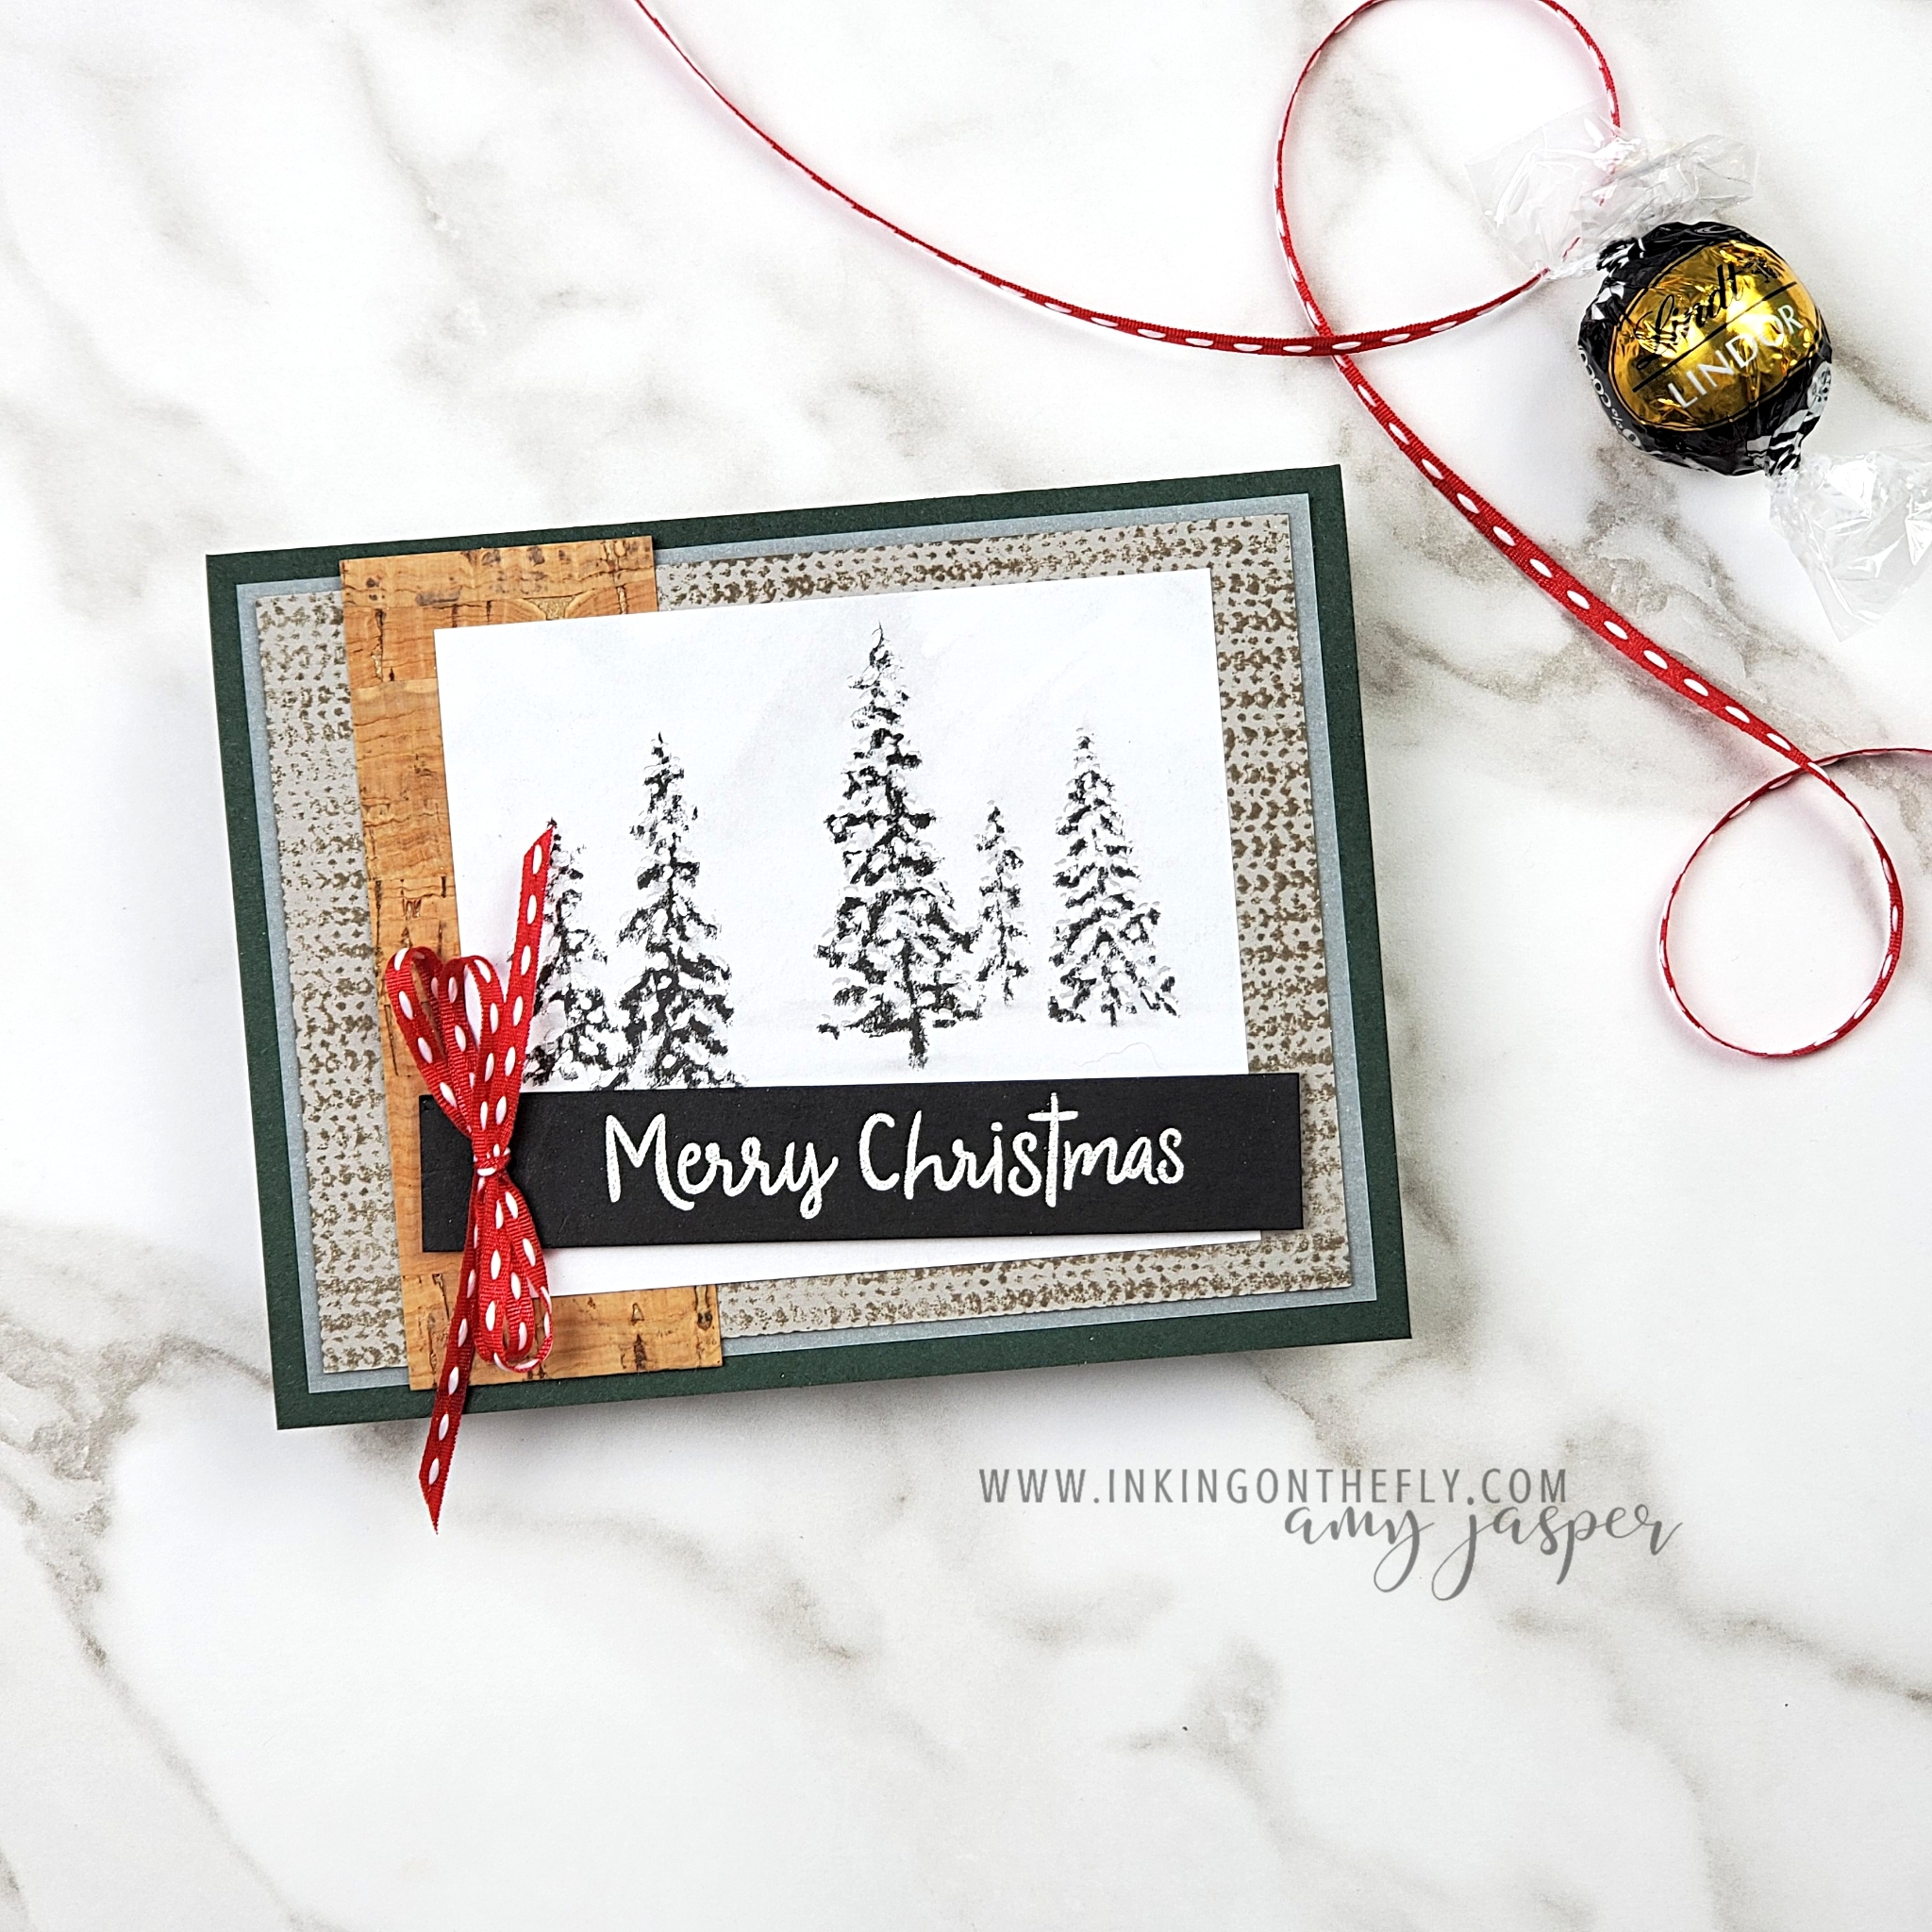
The Cork Specialty Paper and the Knit Together cling stamp have been waiting so patiently for me to bring them into a project. They both offer such a warm and cozy texture. Stamping tone-on-tone with Gray Granite ink on the Gray Granite cardstock works beautifully with that stamp.
I wasn’t sure what colour of cardstock to use for this design. Many of the neutral colours that I considered were too drab, while some colour options seemed too loud. Finally, I tried the Evening Evergreen.
It was perfect! Neutral enough to feel calm, but rich enough to feel cozy and inviting.
Also on this design, you can see the soft layer of Vellum, the white embossed sentiment from the Snowman Season stamp set, and the red stitched ribbon from the Playful Pets Trim Combo Pack.
Give this sketch a try and share your final take on the As You See It Challenge blog. We love to see what you design with that creative brain of yours!