2021

You’ll Love the Beautiful Effect of Layered Vellum

The As You See It Challenge Blog has us sharing our favourite animal as the starting point for our designs today. I don’t know about you, but I had to work within the limits of my supplies! There aren’t any images of moose among the current Stampin’ Up! products!

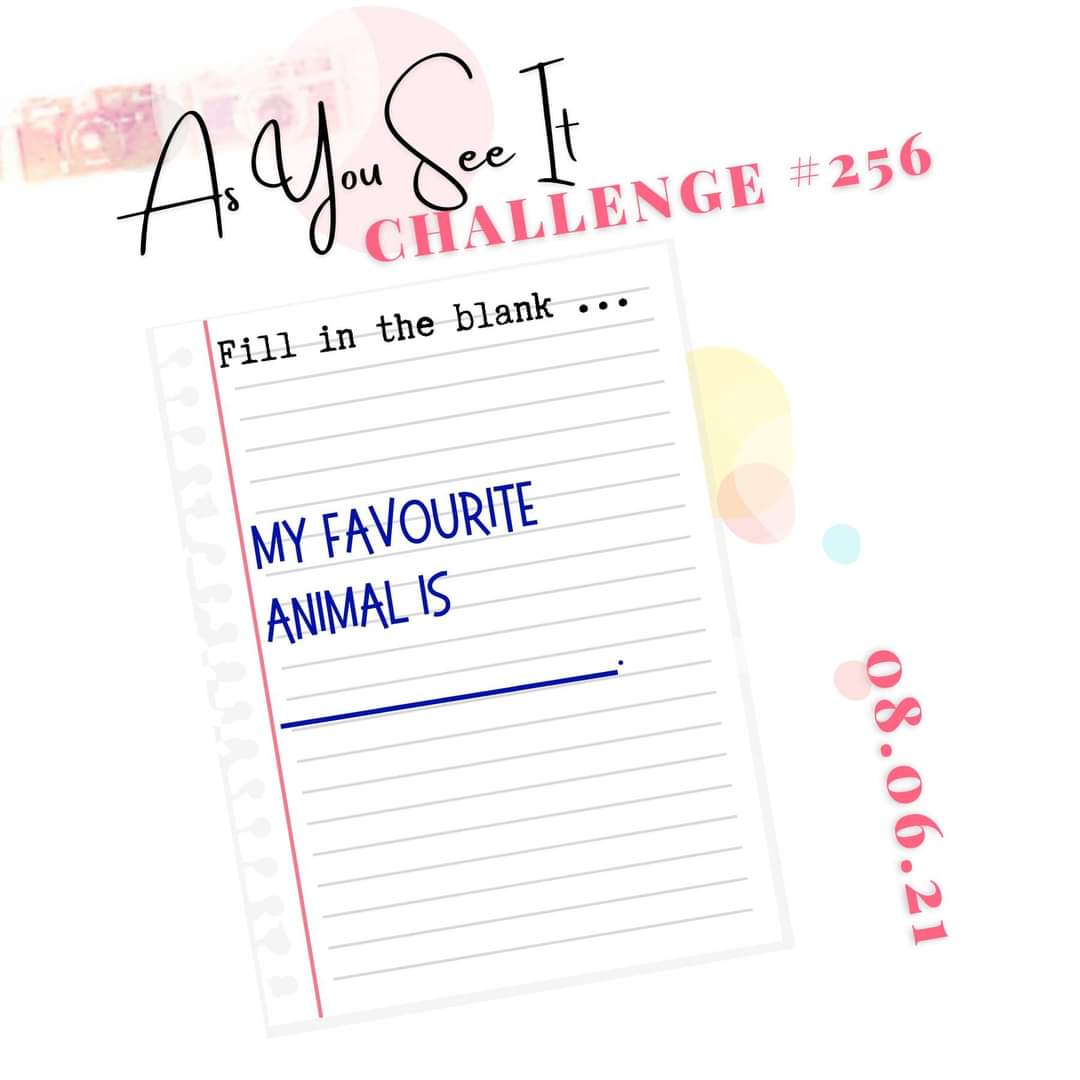
Since my favourite animal is under-represented at the moment, I chose to go with my close second favourite animal, instead. A deer!

The Layers

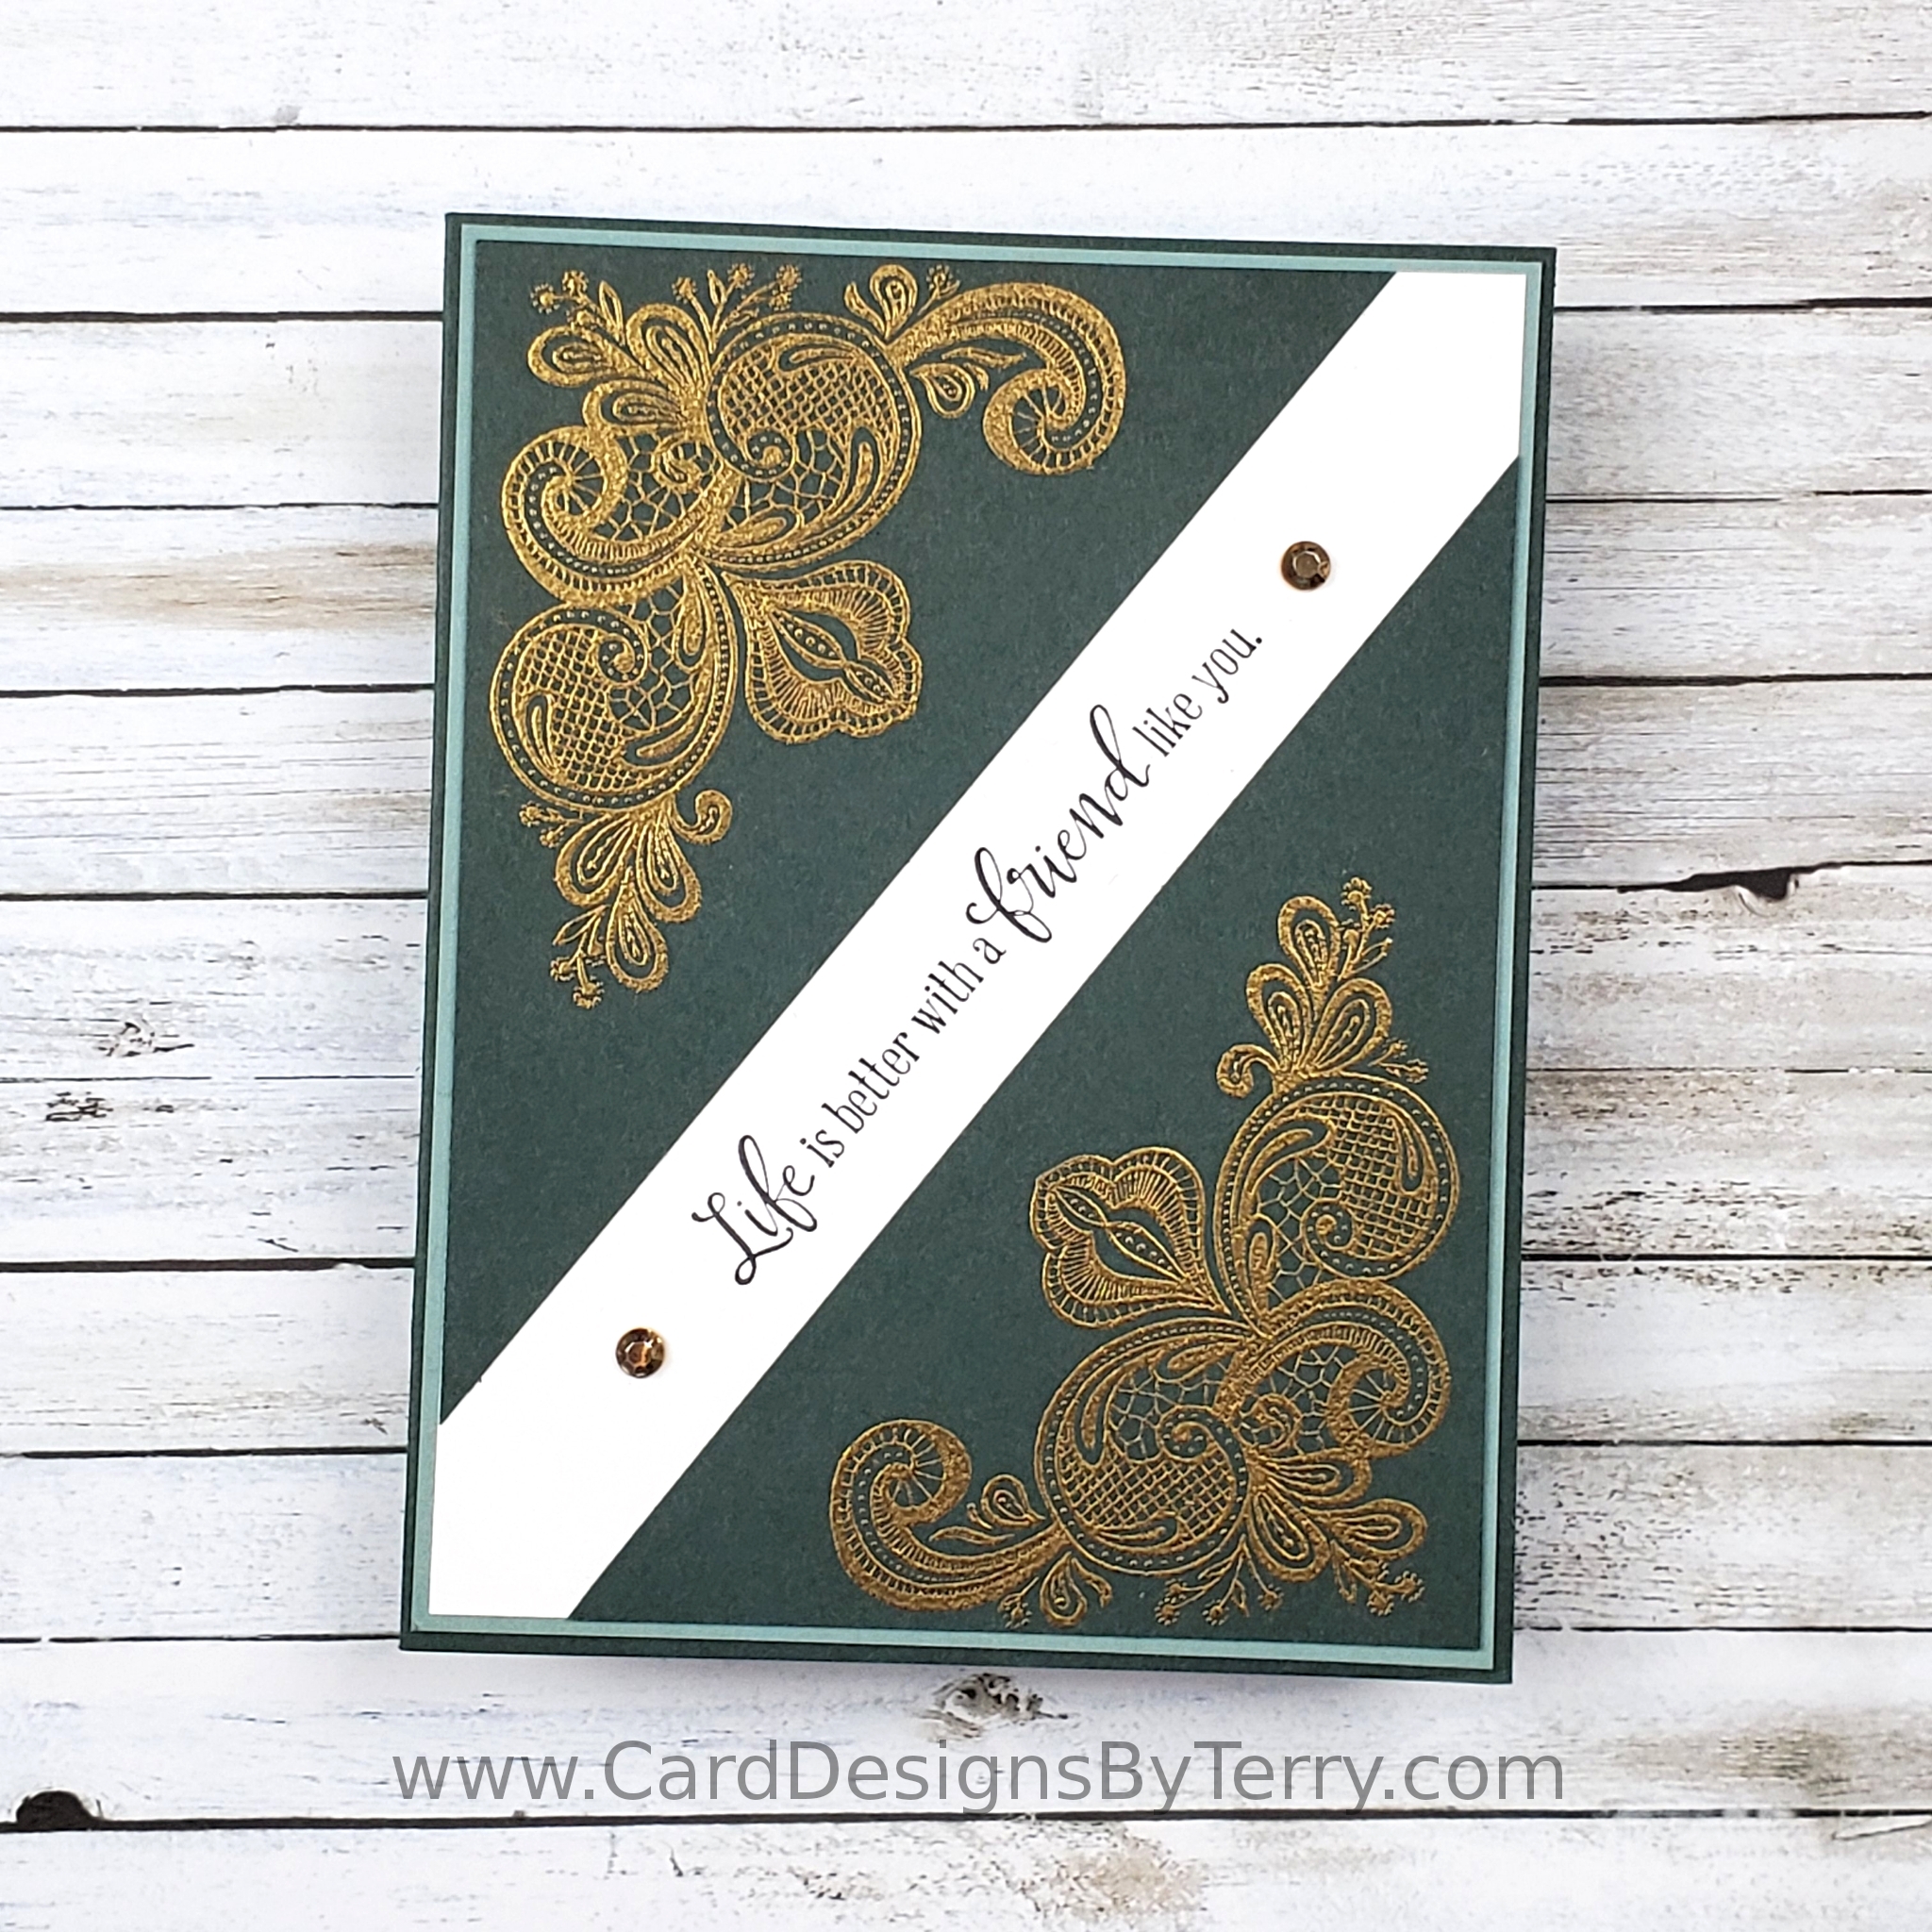
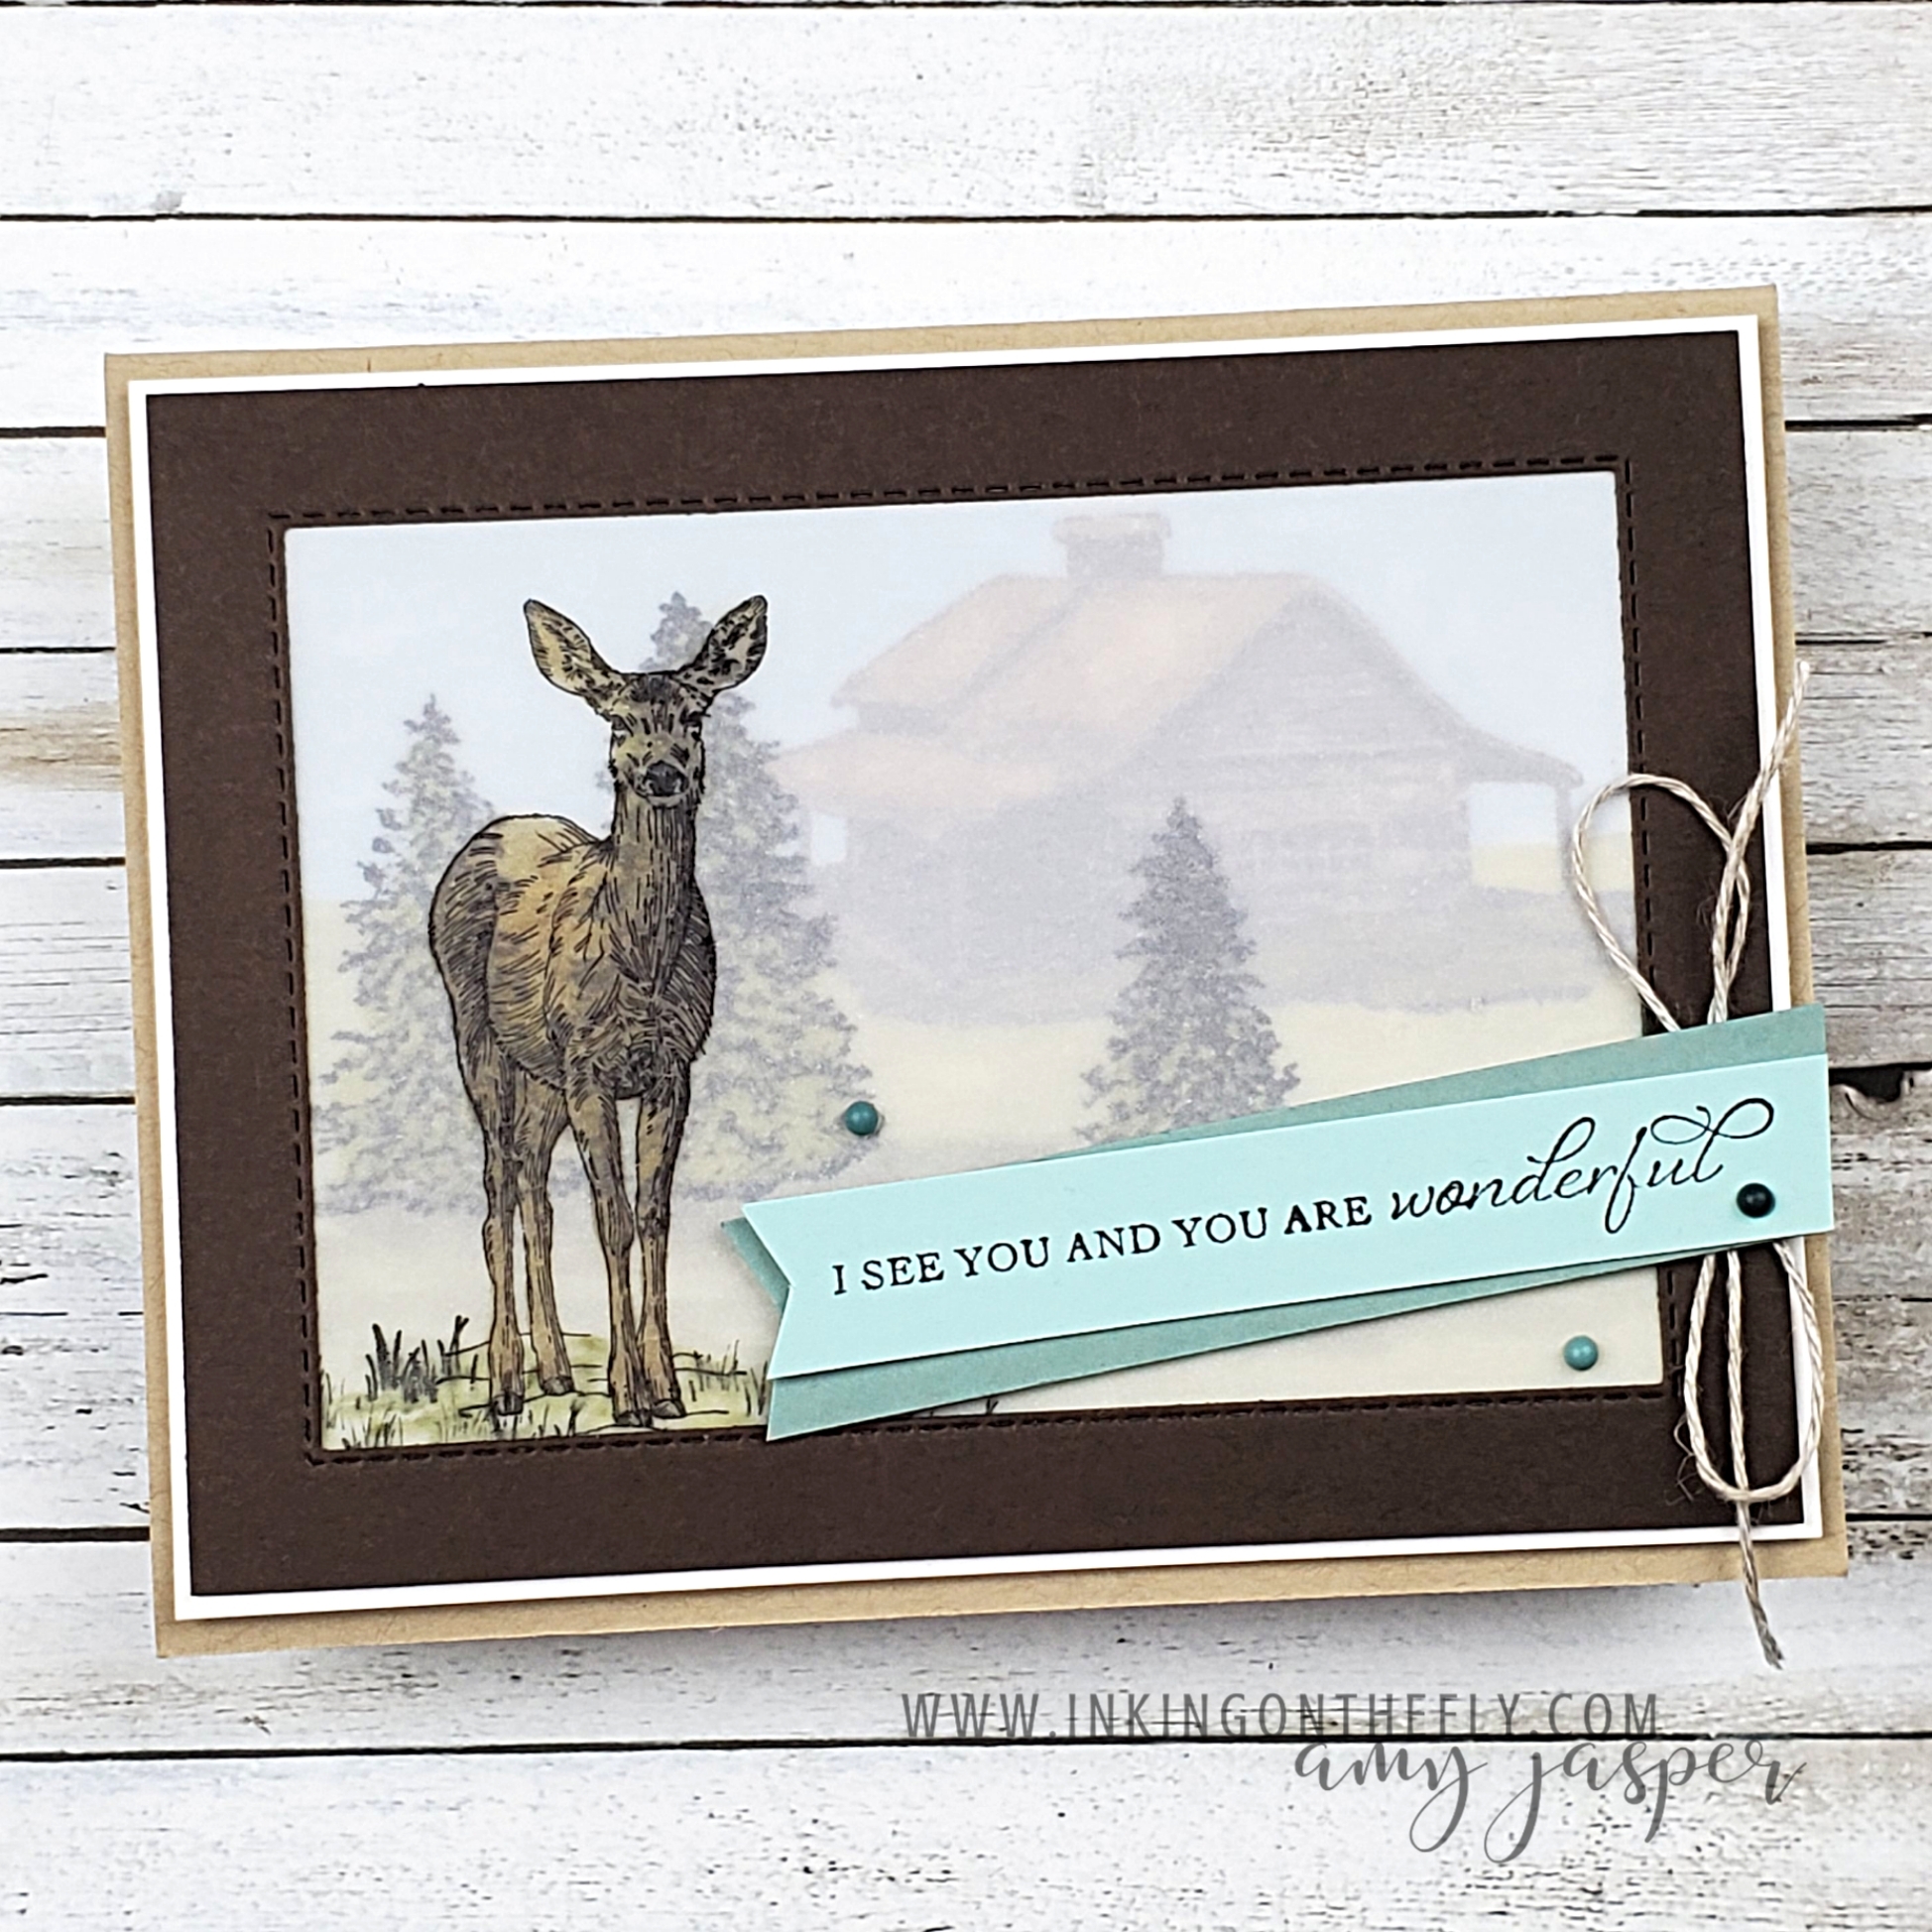
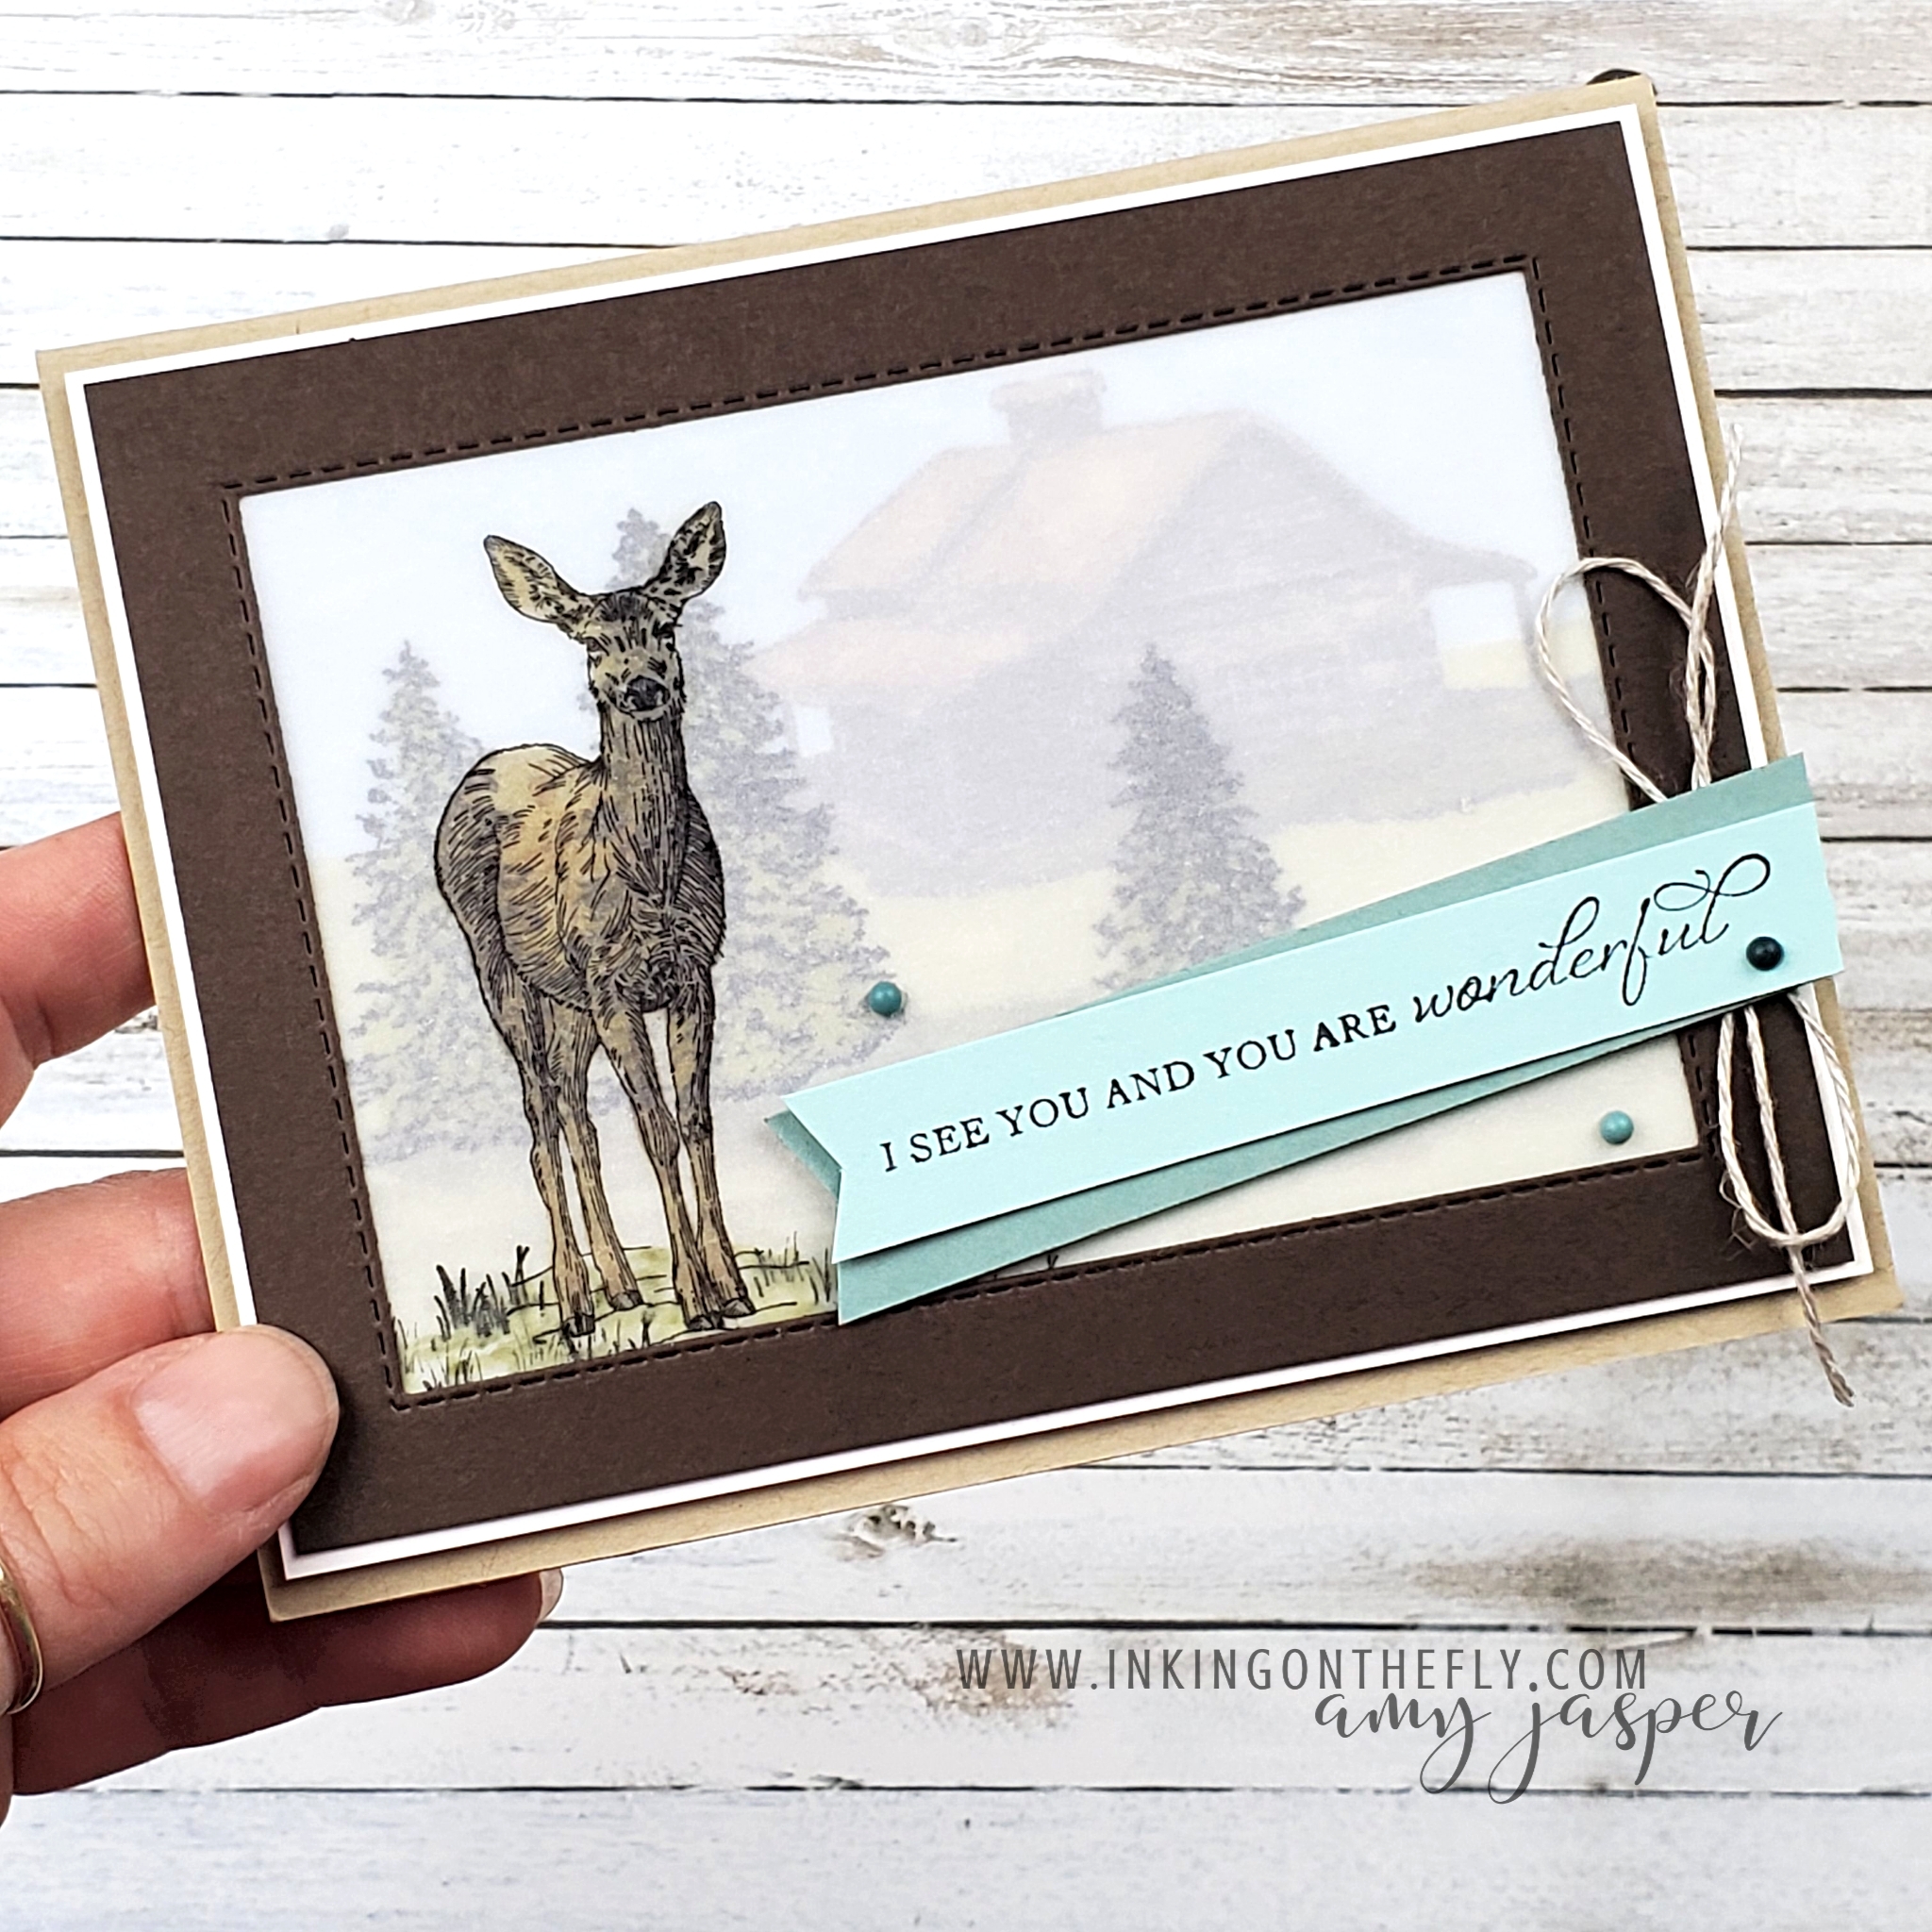
This card shows off a layering technique with vellum to create the feeling of distance on a misty morning.

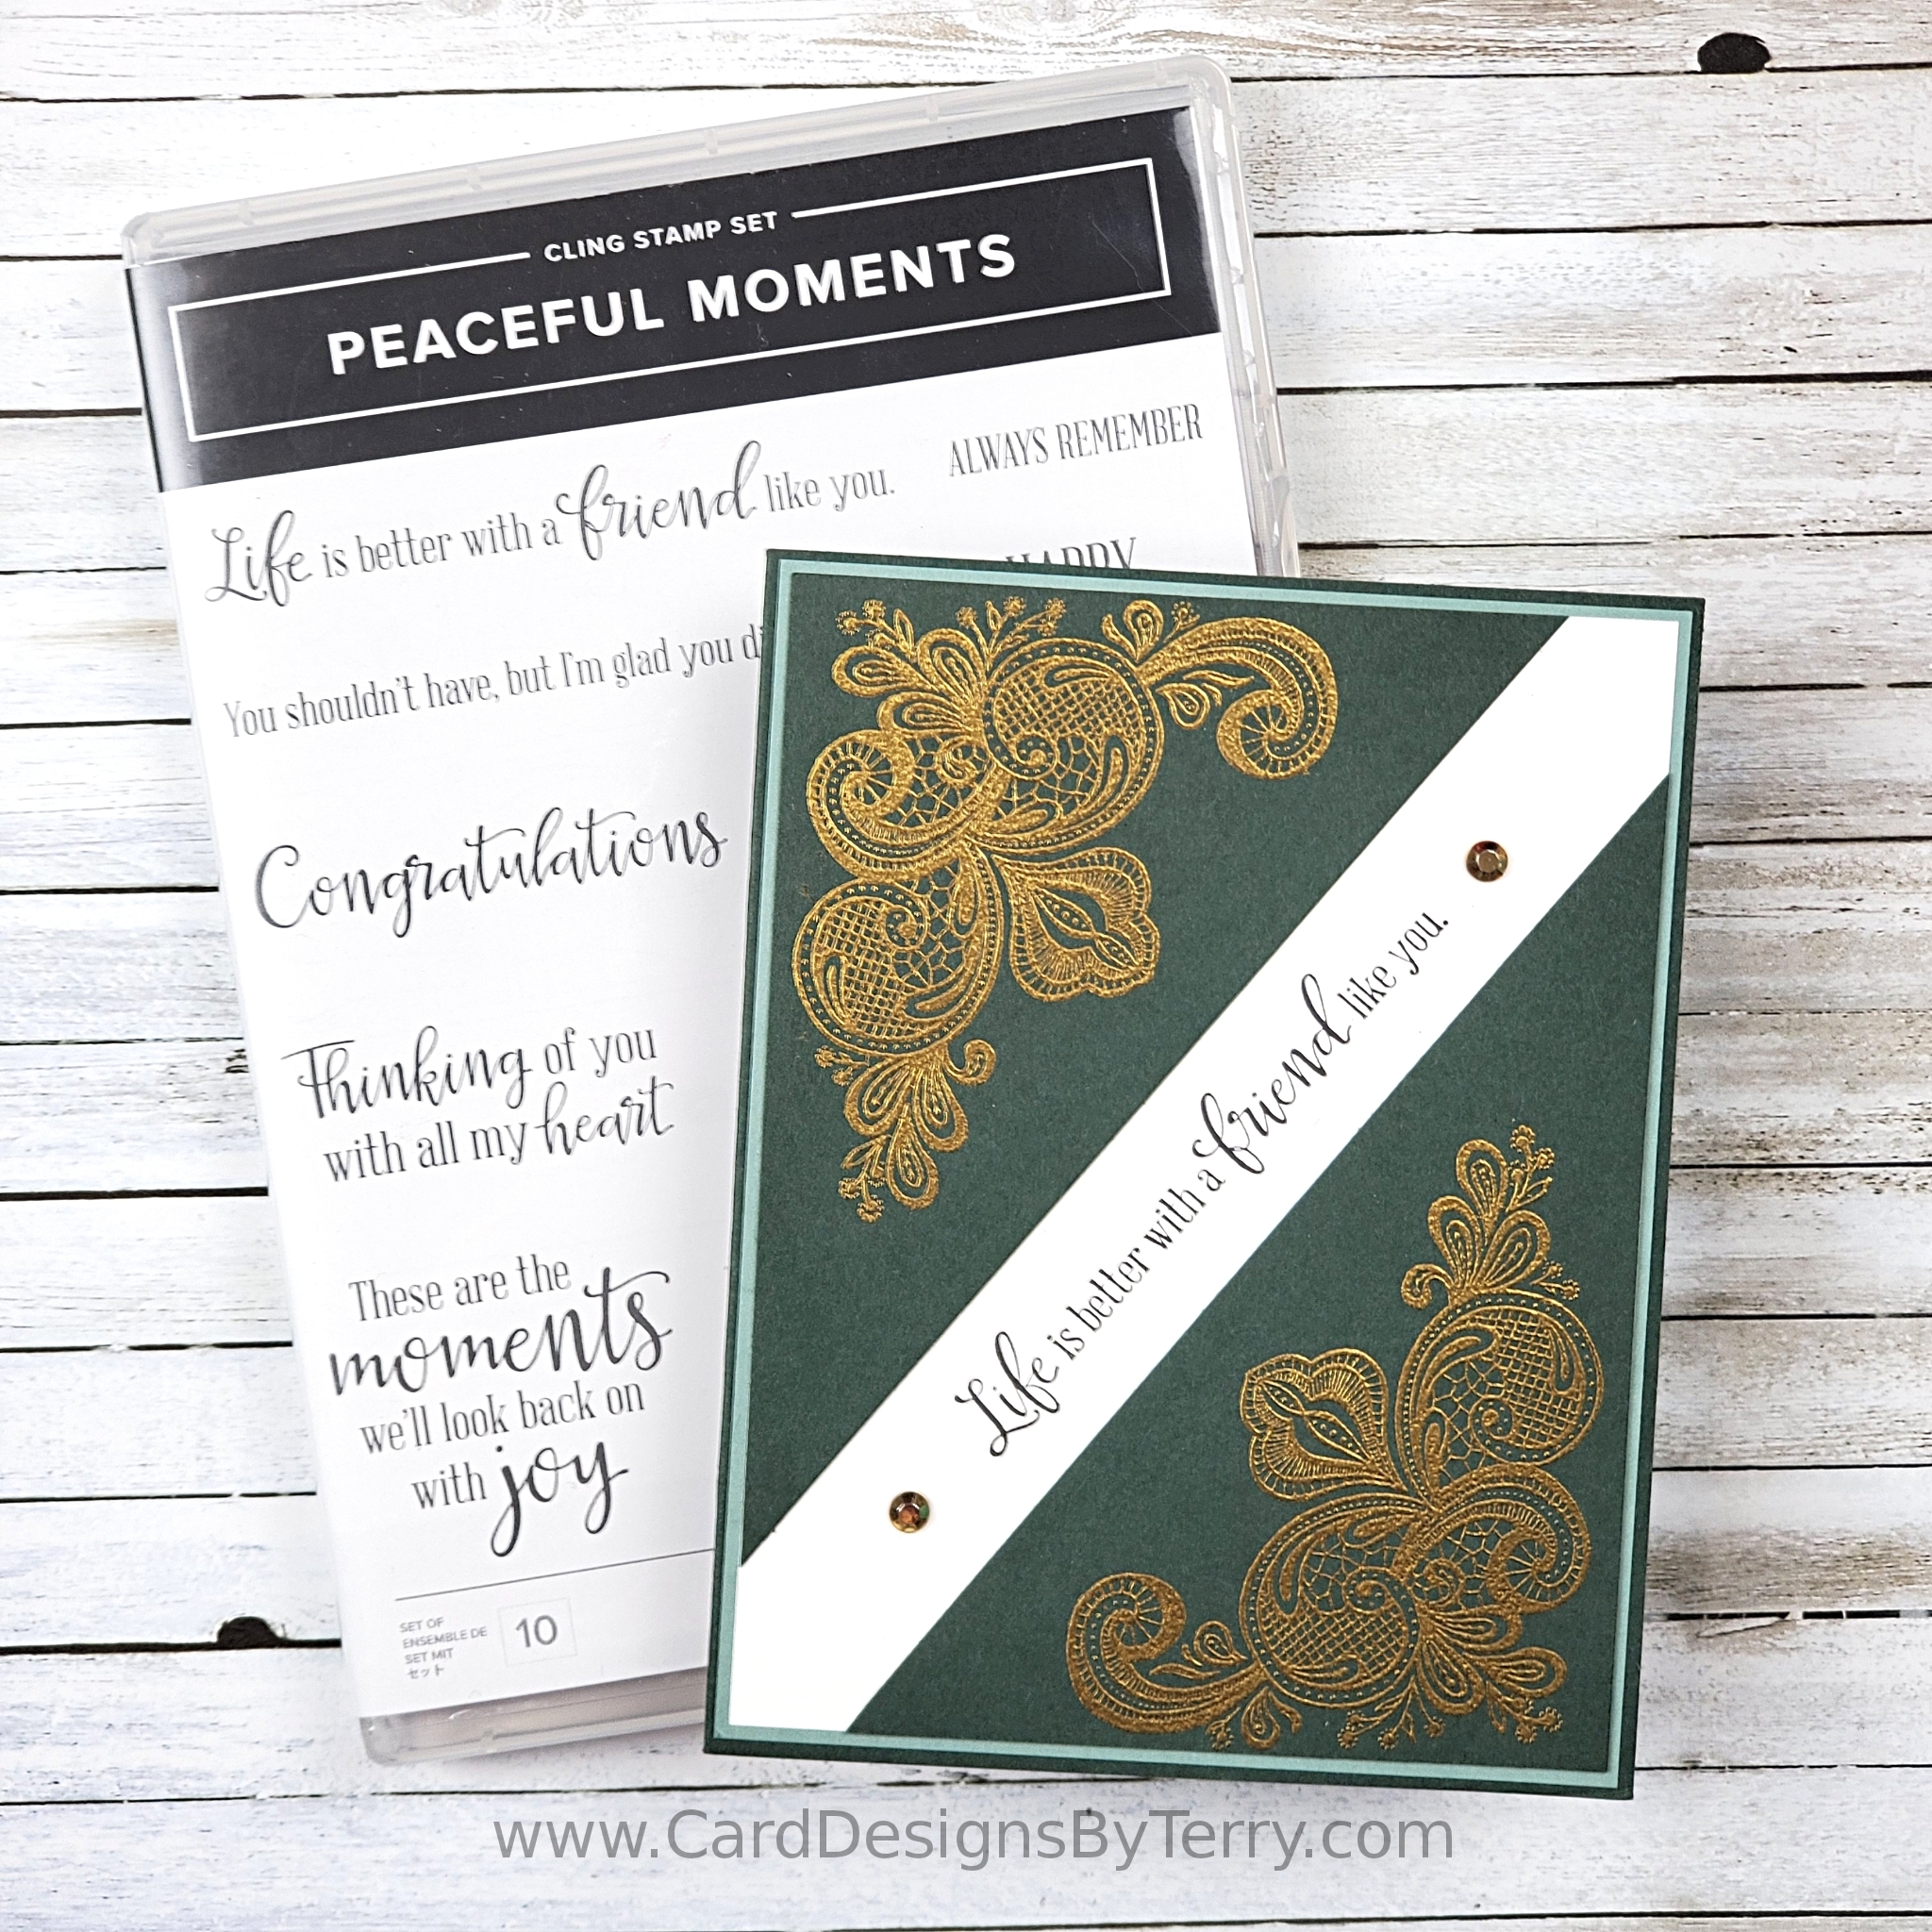
I stamped the cabin first on a piece of Basic White cardstock with Tuxedo Black Momento ink. The cabin image is from a new stamp set called Peaceful Cabin that was just released along with the new Mini Catalogue! It’s so exciting to be able to play with new products! I used Soft Suede and Crumb Cake Blends Markers to colour the cabin, then coloured the area around the cabin with Old Olive and Balmy Blue to give a little bit to the earth and sky.

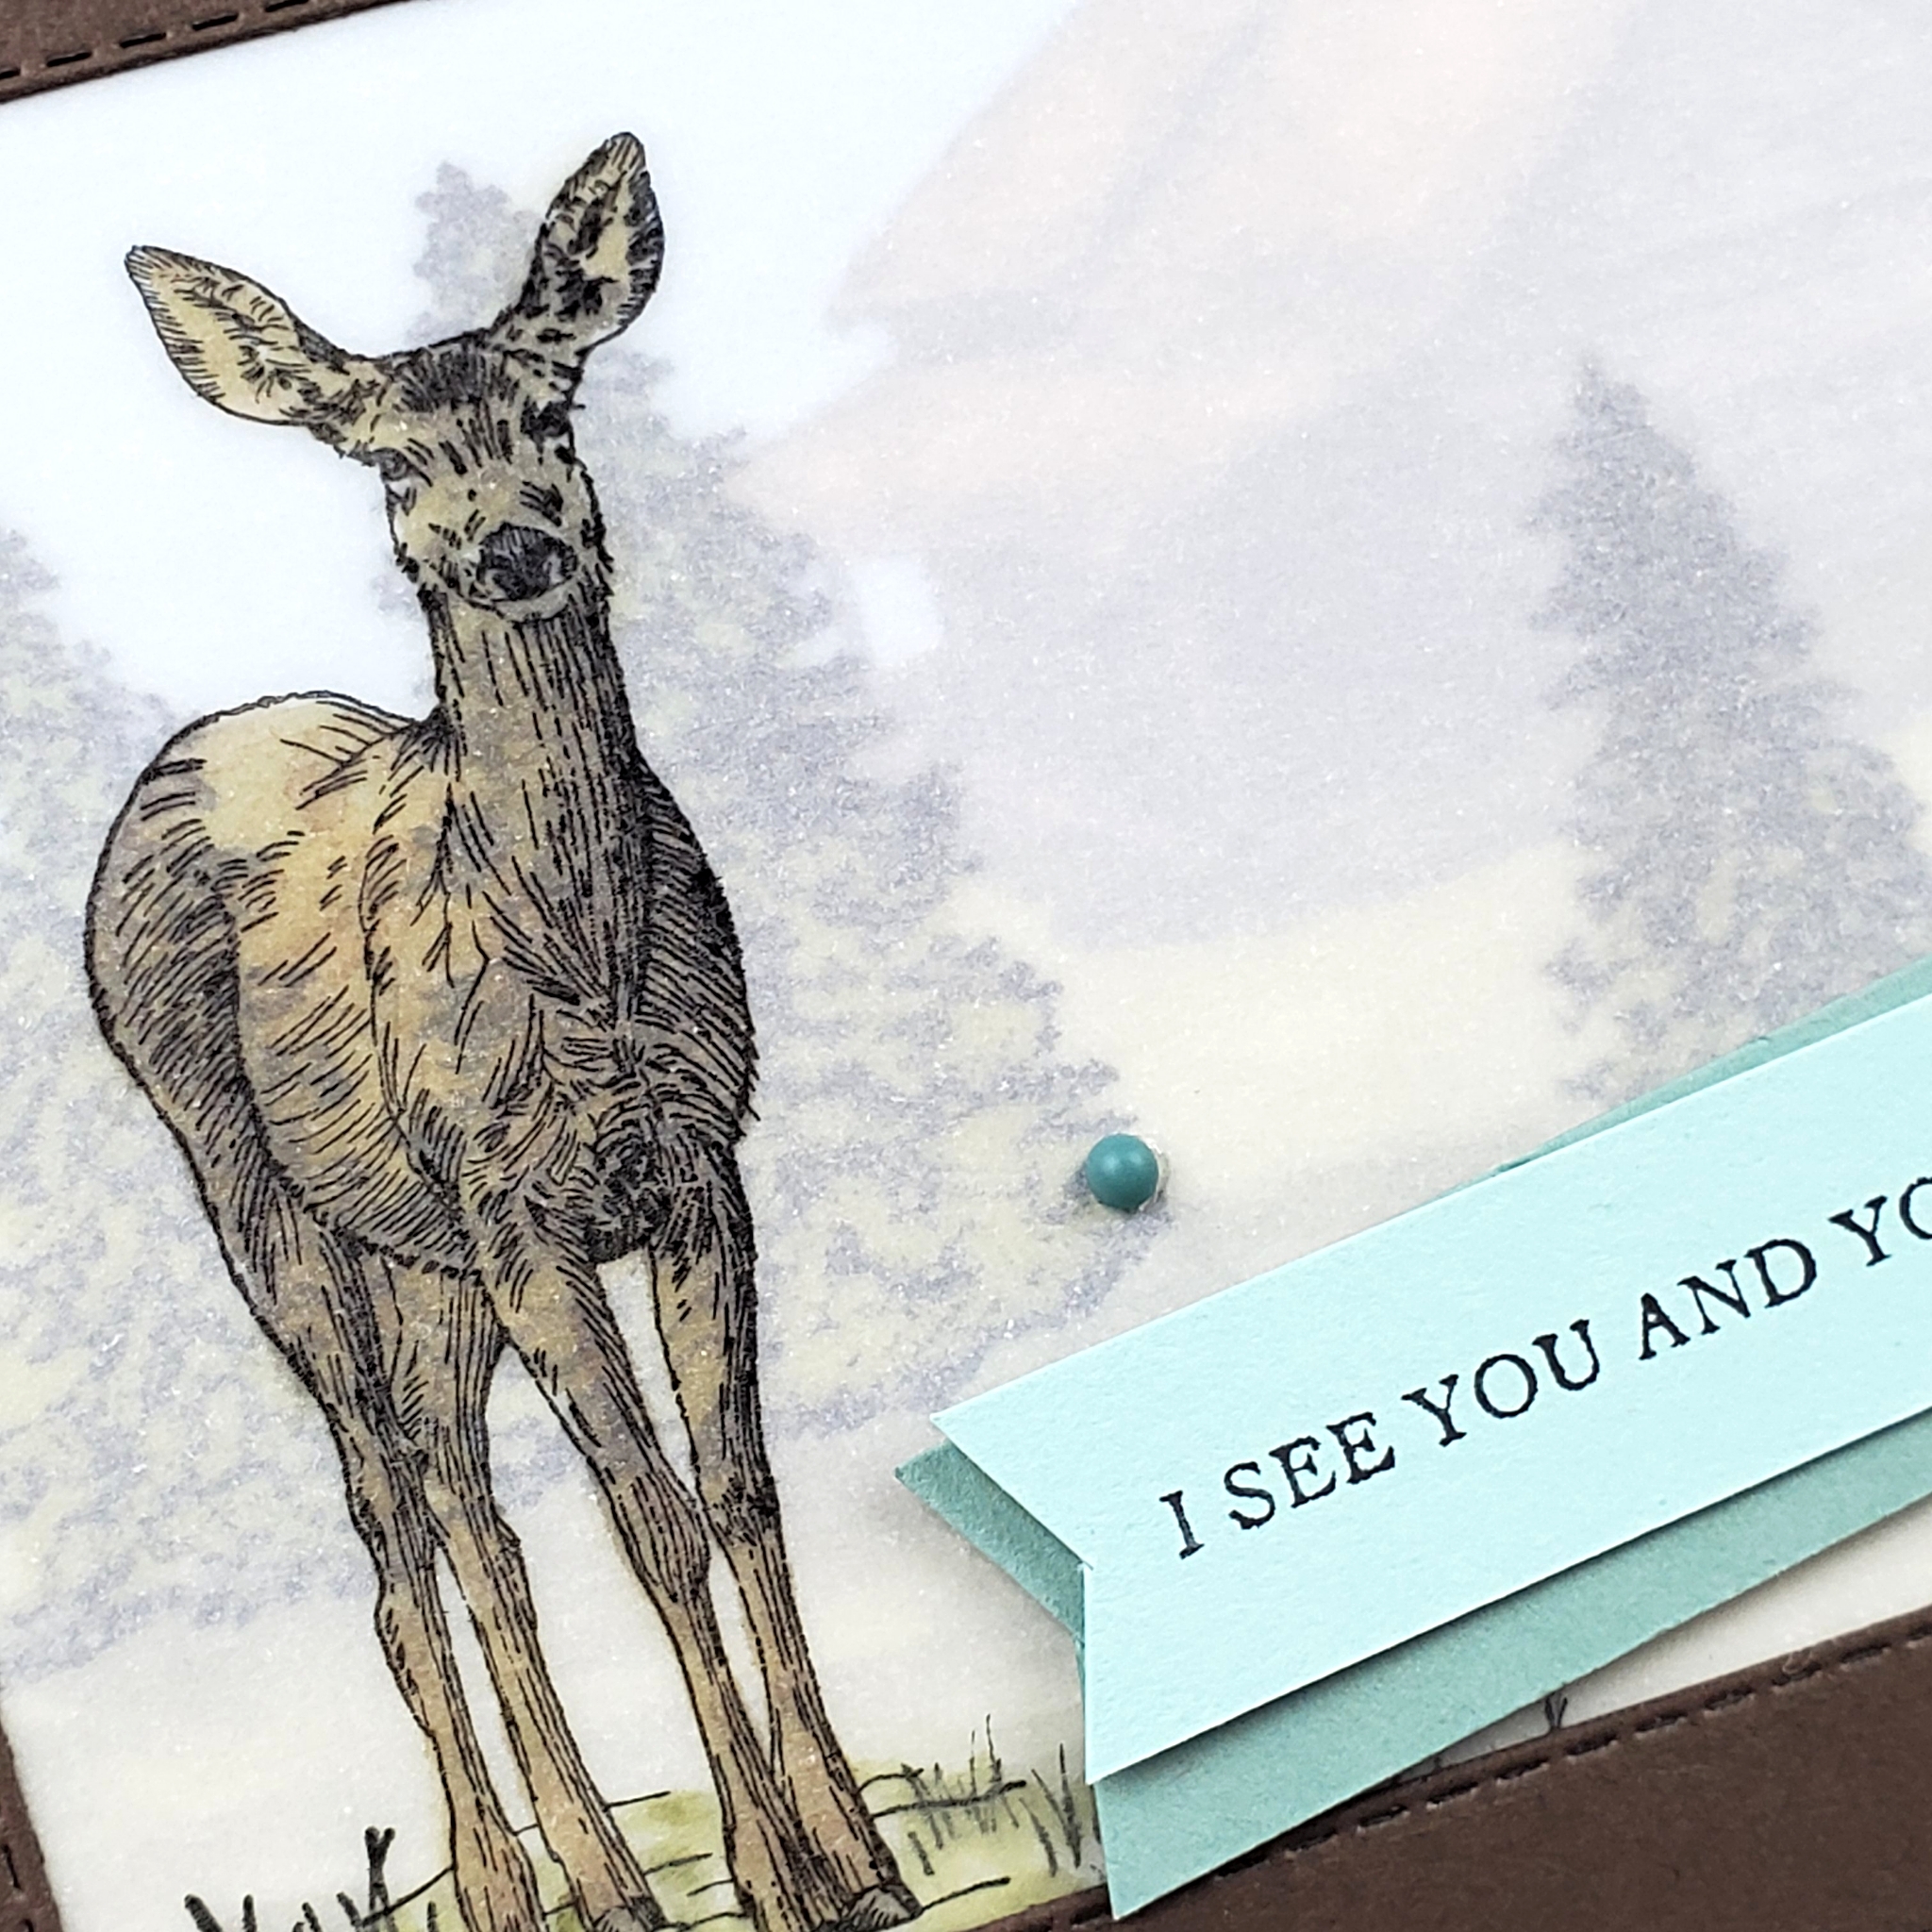
The next layer is vellum, on which I stamped the trees from the same stamp set. I used black ink again, then coloured behind it with an Old Olive Blends Marker. I also added some Smoky Slate with my Blends Marker to create a bit of a shadow under the trees.

Next, I stamped the deer from the Nature’s Beauty stamp set on a second piece of vellum, colouring it with my Soft Suede and Bronze Blends Markers (on the back of the vellum. I added the grass image at the deer’s feet, using the olive Blends Marker to accent the grass.

Each layer was adhered behind the Early Espresso frame, created with one of the Rectangle Stitched dies. I cut a narrow Basic White matte to go behind the frame and attached it to the Crumb Cake card base with Stampin’ Dimensionals.

Finishing the Card

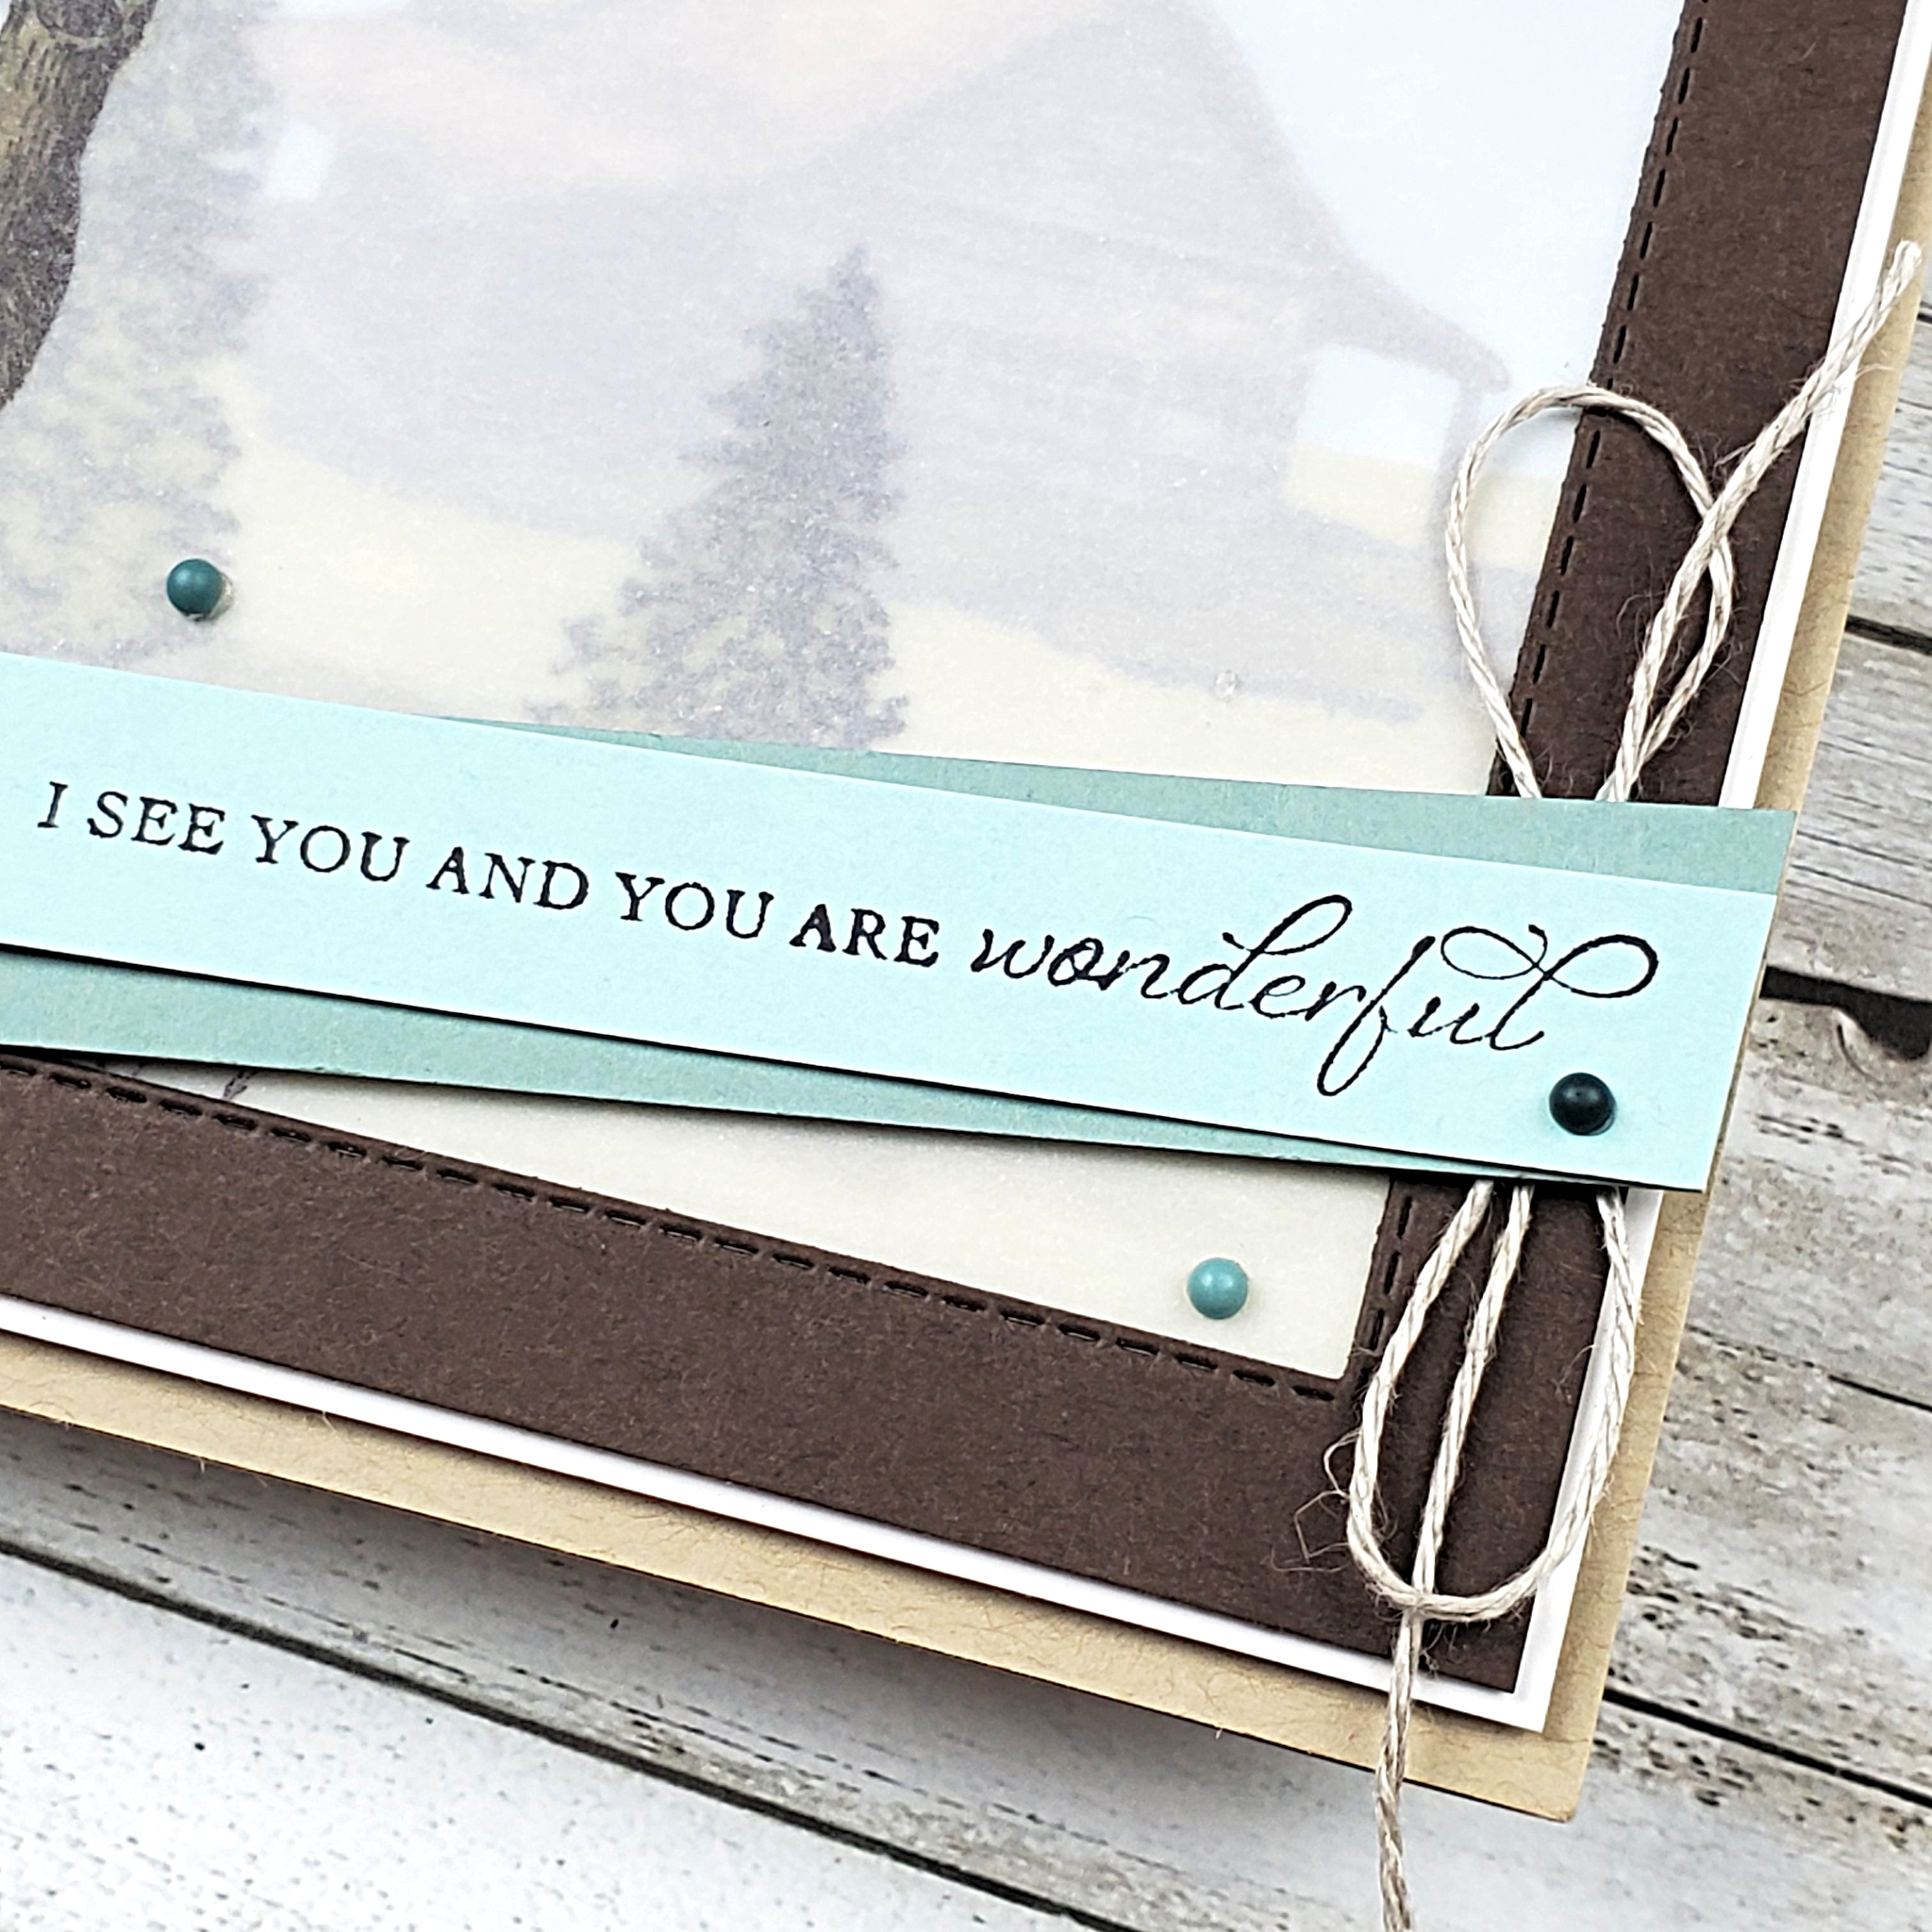
With all my vellum layering complete, I then stamped the sentiment from the In Your Words stamp set on Pool Party cardstock with black ink. This stamp set is only available for FREE during Sale-a-bration to anyone who hosts a qualifying workshop or personal order over $375. I was surprised at how nicely the Soft Succulent paper works with the Pool Party.

The two paper strips were flagged on the ends with scissors and attached together before adhering them to the card with Stampin’ Dimensionals.

Finally, I added the Linen Thread bow and the adhesive-backed dots from the new Decorative Matt Dots embellishments.

If you made a card for this challenge, then what animal would you use? Why not share it with us at the As You See It Challenge Blog! We love to see your beautiful creations!

Video: Stamping on Linen Paper is Easy

I can’t believe that I haven’t used the Linen Paper from Stampin’ Up!®️ until now! It was so much easier than I expected to use this adhesive-backed fabric. It’s fantastic!

I started by stamping the bird image on the Linen Paper with Jet Black Stazon Ink. Because this is an alcohol-based ink, I felt that it would be less likely to bleed on the fabric. As it turns out, my exploration of this unique paper showed me that the Tuxedo Black Momento ink also works great!

Colouring Tips

Stampin’ Write Markers and Stampin’ Blends Markers were both used to colour my birds. While the Stampin’ Write Markers seemed to place the ink where I wanted it to go, the ink from the Blends Markers would spread. Using a feather-light touch, I was able to control the spread of the Blends Markers ink and have it work for me instead of against me.

After using the Stazon ink and Blends Markers on the birds, I stamped the little blossoms on the Linen Paper. I coloured them with the Blends Markers, but with a heavier hand and discovered that it caused the Stazon ink to bleed and mix with my colour. This isn’t really surprising, considering that Stazon and the Blends Markers are both alcohol-based inks. However, what was surprising was that the markers didn’t cause the Stazon lines on my bird image to bleed. The lesson here is that a light touch while colouring reduced the risk of bleeding the lines, while the heavy hand increases the risk.

In the end, if you use Momento Tuxedo Black ink when colouring with the Blends, you won’t have to be concerned with this happening.

You can see in the image above, the difference in my flowers. The flowers on the left were stamped using Stazon ink and coloured with the Blends Markers. Comparatively, the flowers on the right were stamped using Momento ink (water-based ink) and coloured with the Blends markers. Voila! Crisp lines and clean colours!

New products available today!

When I made this card, the Whimsy & Wonder Designer Series Paper and the Blushing Bride Frayed Grosgrain Ribbon were not yet available. Today, they ARE!! New products and the summer Sale-a-bration are both launching today. Go to my online store to see the new products. You will also be able to order the Free As A Bird stamp set, the Linen Paper and all the inks and papers used to create this card.

Every $60 of product that you order allows you to get a FREE Sale-a-bration item. This is a great time to stock up on your favourite products and get free stuff.

Watch the video

Follow along or skip to the good parts to observe my colouring technique and how I frayed the edges of the Linen Paper. You’ll see a few more colouring tips and tricks.

I Love Happy Mail!

I haven’t been crafting all week as I’ve been away on a little family trip. This is the perfect opportunity to share a project made by someone else!

This gorgeous card was given to me by my friend and fellow Stampin’ Up! Demonstrator, Terry Hamilton. She’s much better at sending cards than I am and I was lucky enough to receive this beauty!

I love happy mail!

Evening Evergreen and Soft Succulent cardstock are a great colour combination. Terry used some gold embossing with the flourish image from the Elegantly Said stamp set. It looks like delicate gold embroidery, adding to the clean elegance of this design.

The sentiment from the Peaceful Moments stamp set works perfectly with the gap in the diagonal cut paper.

I’m so grateful for Terry and the friendship we have because of our connection through the passion for papercrafting.

You will definitely want to check out Terry’s blog to see more of her designs.