birthday

Easy and So Beautiful with Expressions in Ink

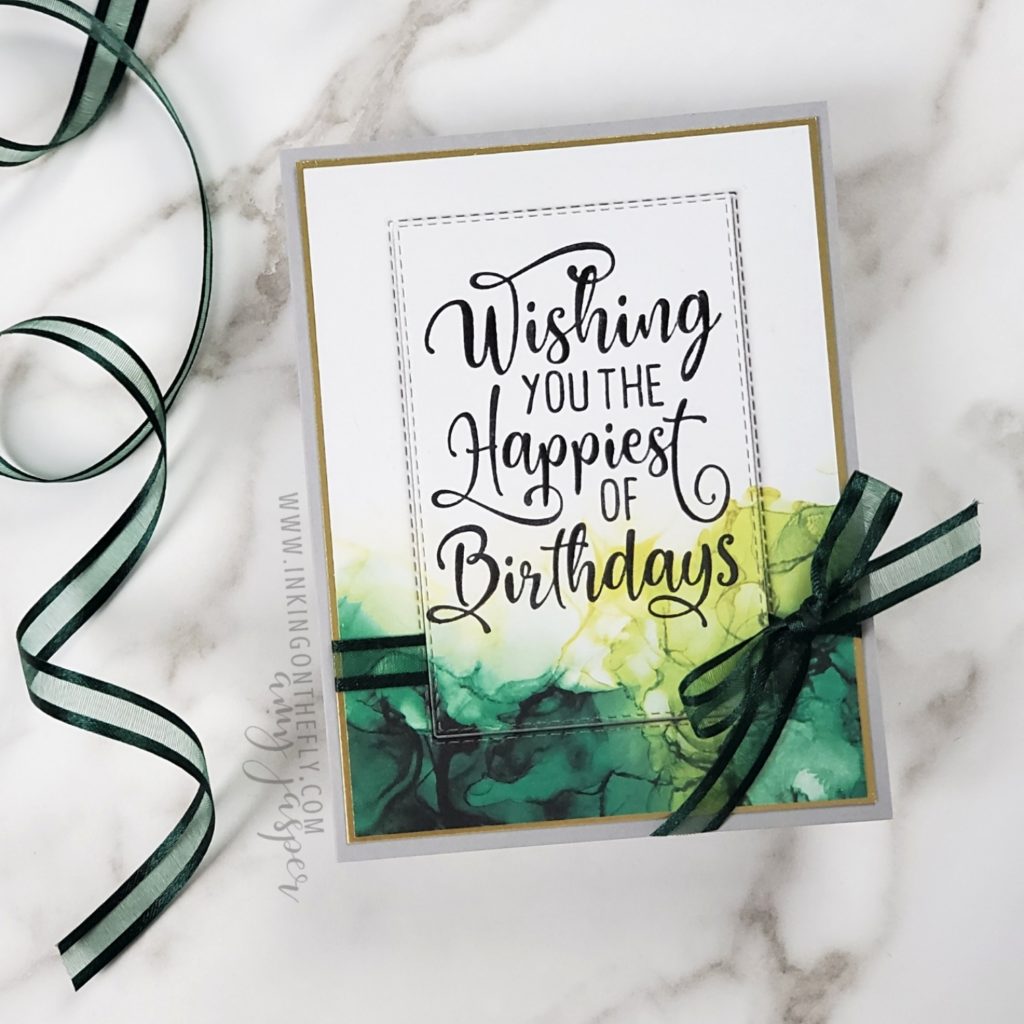
The Expressions in Ink Designer Series Paper is so beautiful that it can practically pull off a solo performance! In other words, it allows you to make a stunning card with hardly any effort!

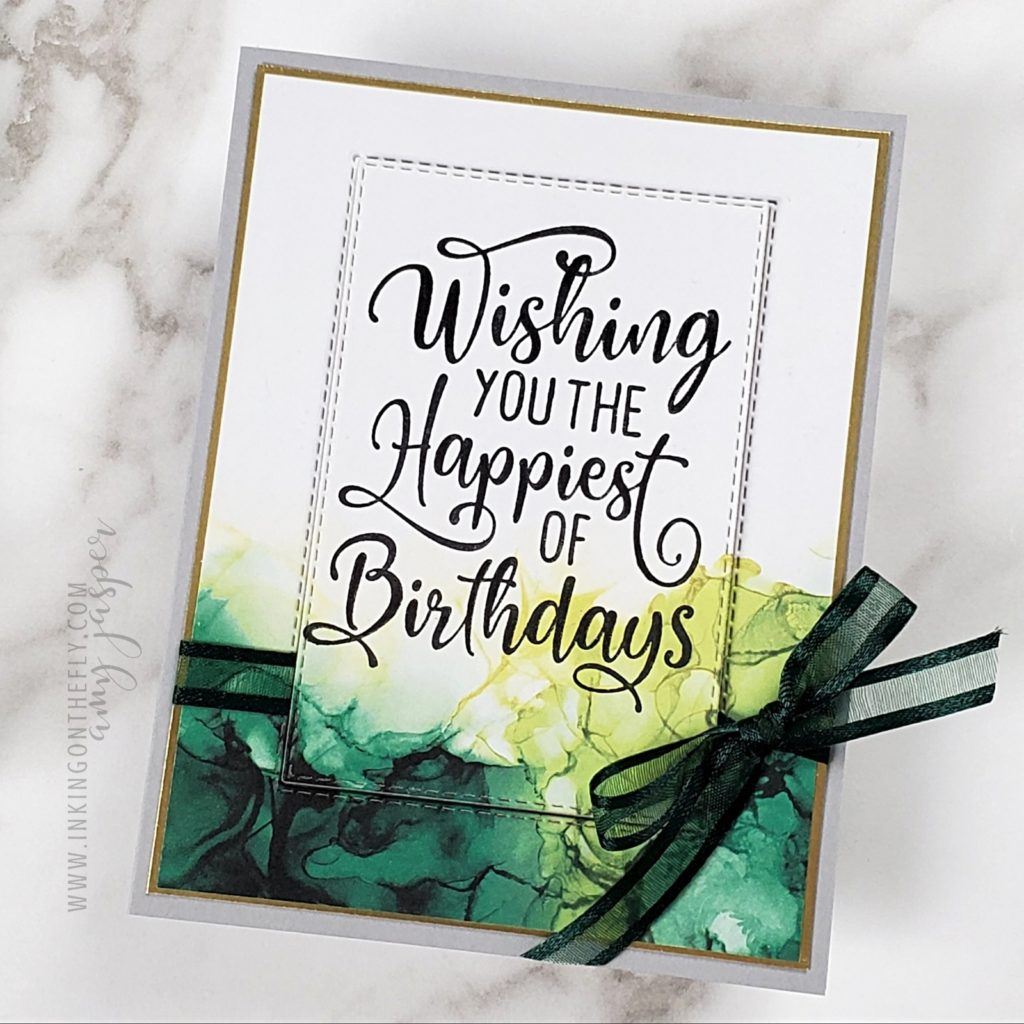
The card I have to share with you today looks fancy, but is actually very easy. It all began with a piece of the Expressions in Ink Designer Series Paper from Stampin’ Up! ®️.

Making the card

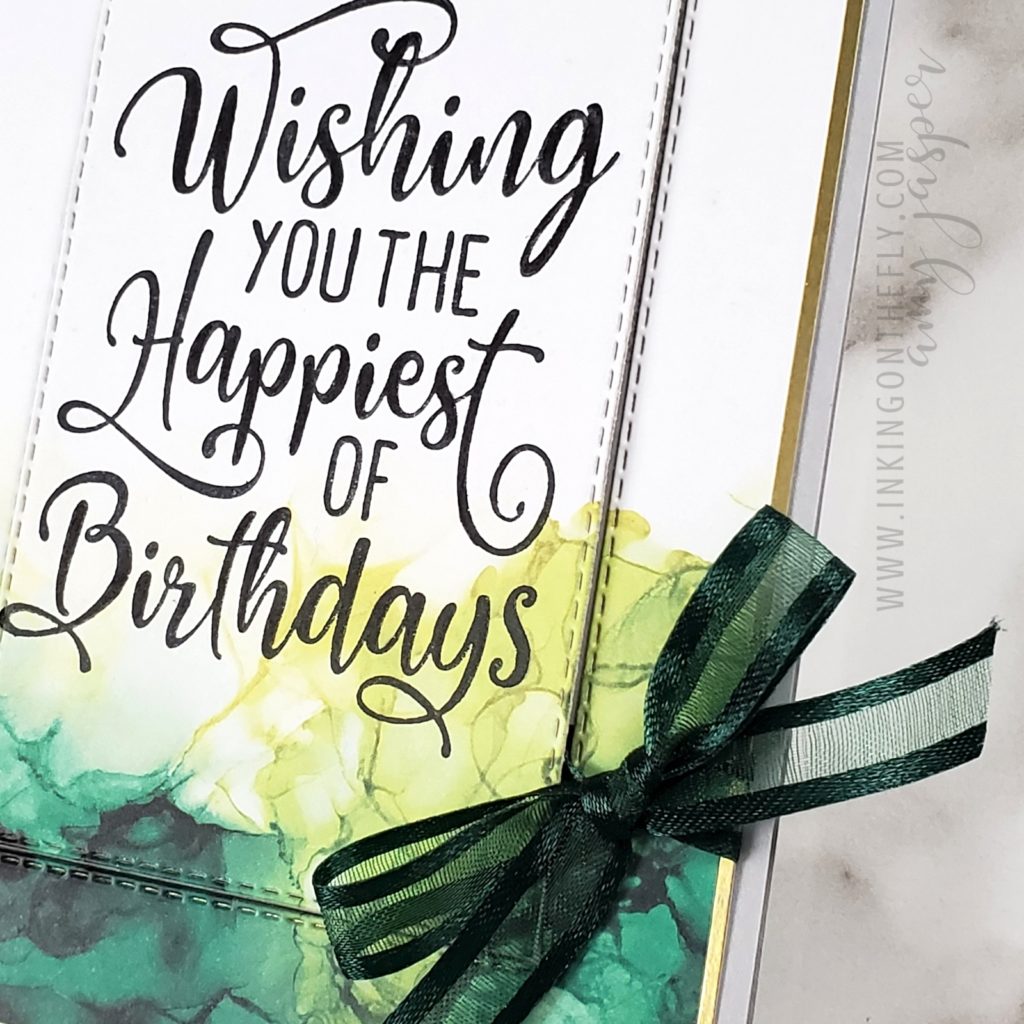
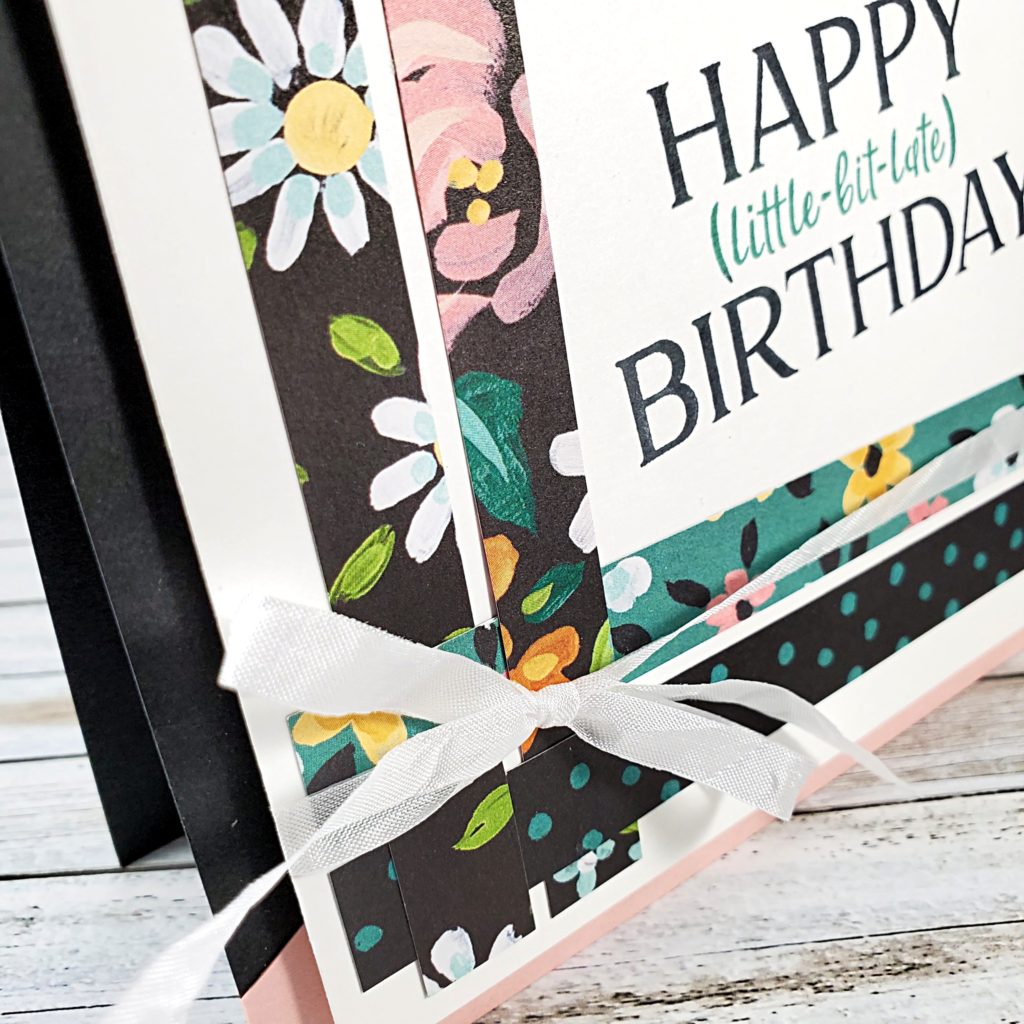
I stamped the sentiment on the patterned paper, then used a die to cut around the sentiment. Setting the centre cut piece to the side, I layered the outside frame over the Gold Foil.

Considering that the open weave ribbon is so pretty and ties very cleanly, you can probably guess that I have all the colours! How could I not!? I wrapped it around the two layers and tied a tidy little bow.

Once the ribbon was in place, I could then adhere these elements to the card base. Finally, the die-cut piece with the sentiment could be adhered to the card front with Stampin’ Dimensionals. I love how the lifted cut-out provides interest and texture, yet still allows the paper to be the main feature of the design.

This card was quick and simple. I feel like I cheated somehow by letting the patterned paper do all the work for me!

A few supplies

In the event that you might want to make this card (or assist it to make itself, as the case may be, LOL!), you will certainly want to get your hands on this gorgeous specialty paper. Unfortunately, (or fortunately, depending on how you look at it), this paper is so popular that it keeps going on backorder! Stampin’ Up! just can’t keep up with the demand.

If you find that’s its on backorder and can’t be ordered, keep checking back. The supply will be restocked. Alternatively, you can contact me and I can notify you when it comes available again.

Click on the links below to find each item easily on my online store.

When you use this paper, don’t let it make you feel like you cheated. Instead, be proud at the discovery of a more efficient way to make something beautiful!

It’s not cheating, it’s a life hack!
Little Bit Late

Welcome to 2021! This will be a year of hope and a promise of better days to come! I just know it!

It’s good to be back after a break over the Christmas holidays. I didn’t do much. It was glorious!

Question: Are you a person who’s often early for things? Or maybe you arrive right on time?

I can be early and I can be on time, but it doesn’t come easily for me. I have a very poor concept of time and often misjudge how long it will take me to get ready to go somewhere or how long it takes to actually get there. I’m late for a lot of things – including sending birthday cards.

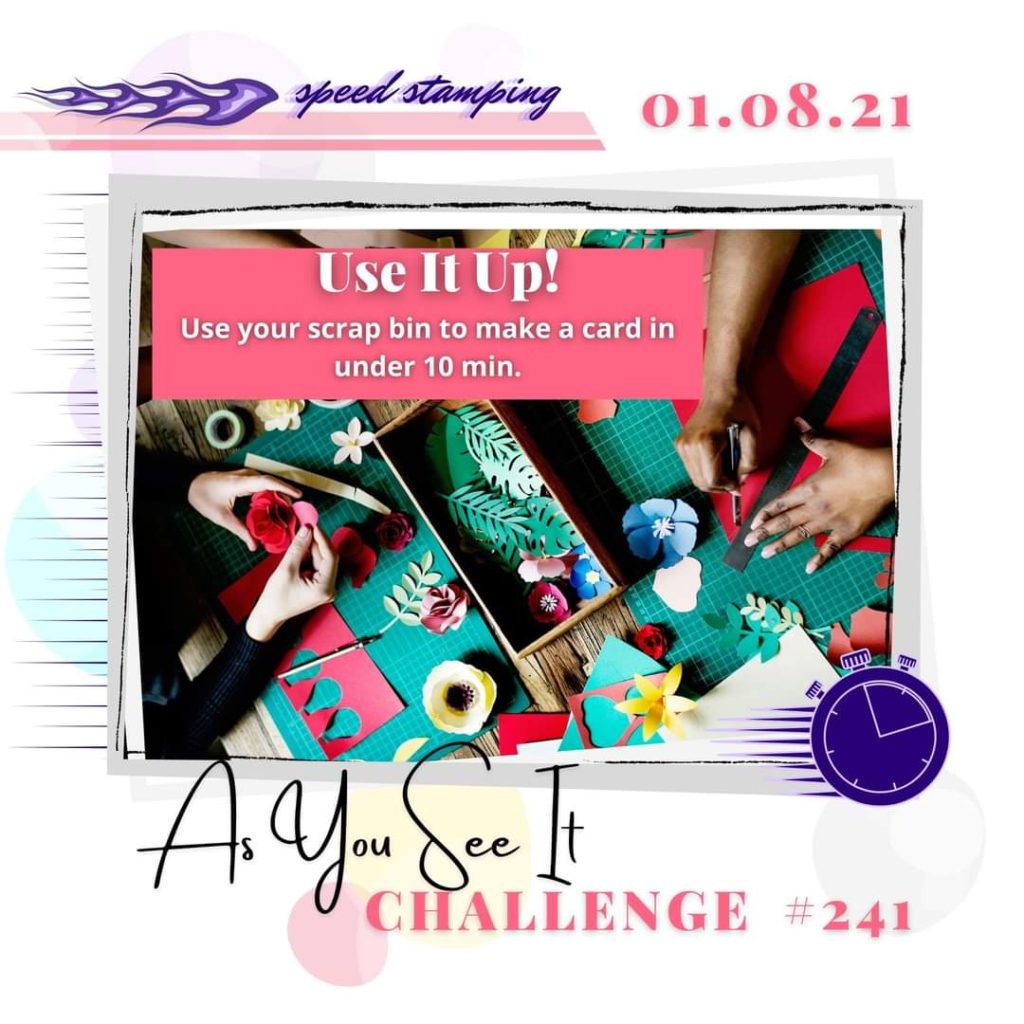
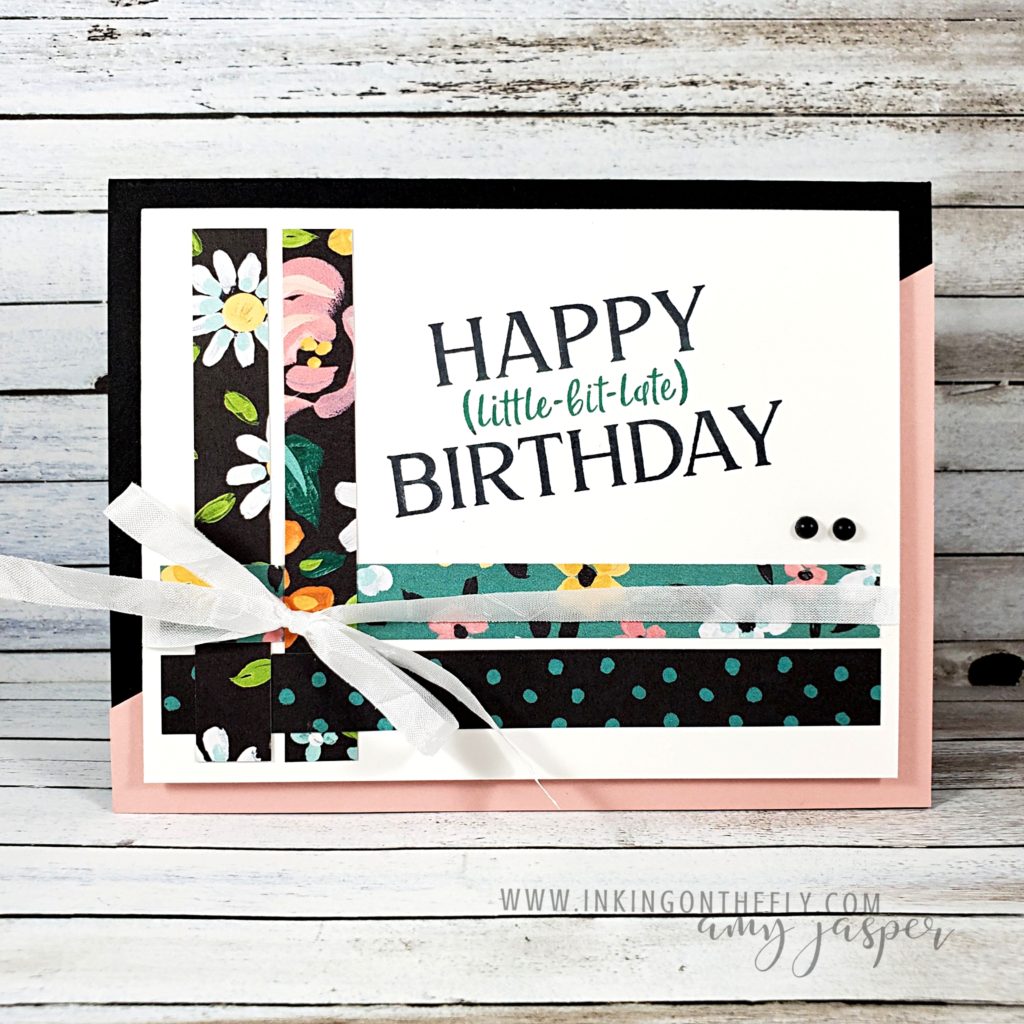
The card I designed for the As You See It Challenge this week has a sentiment that is a great choice for acknowledging a late birthday wish. As You See It has some new graphics on the blog, too!

We have a speed challenge, folks! This is undoubtedly my favourite challenge because it helps train me to be more aware of my time and it gets my creative mojo flowing!

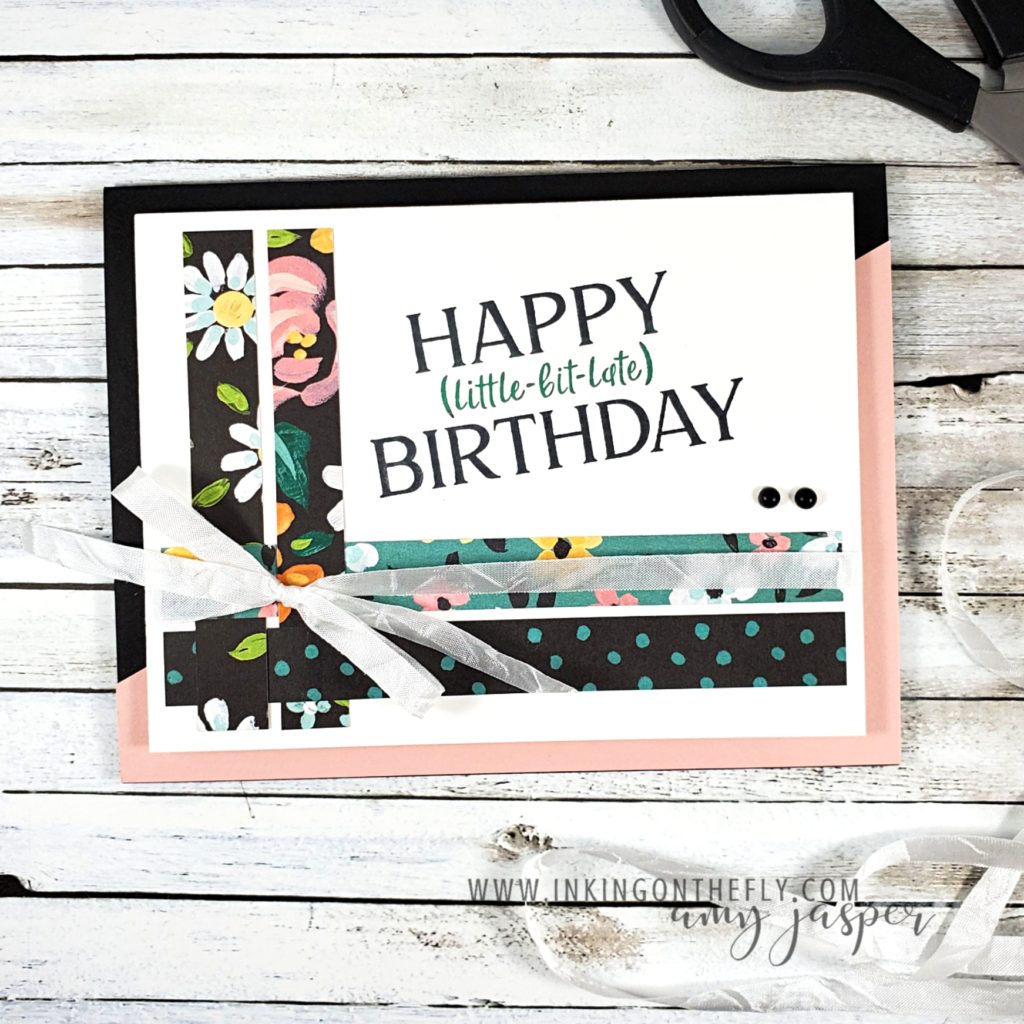
I used scraps from some cards I was preparing for an upcoming event. The patterned paper is one that you can get for FREE during the Sale-a-bration Promotion with Stampin’ Up! – Flower & Field Designer Series Paper. I thought using scraps would make my card come together faster, but I still used up extra time as I fussed to get my bow straight, so this card took 9 minutes and 28 seconds to complete. I cut it a bit close!

After placing the 1/2″ strips of patterned paper (see the subtle weaving I did in the corner?), I inked up the sentiment from the Happiest of Birthdays stamp set from Stampin’ Up! with Just Jade ink, then I carefully inked over the “happy” and the “birthday” with Tuxedo Black Momento ink, before stamping it on my Whisper White cardstock. The little Matte Black Dots that I placed on the card are a new item in the January – June Mini Catalogue, while the Crinkled Seam Binding Ribbon is an old favourite of mine. So lovely to work with and one that I often like to colour using the Stampin’ Blends Markers, though the white was just what I needed for this design.

I really like the simplicity of the angled background on the card base. I used Basic Black for the base, then cut a 4 1/4″ x 5 1/2″ piece of Blushing Bride cardstock in half on an angle and attached it to the front of the black base, before adhering my white layer with Stampin’ Dimensionals.

I have a few birthday wishes that are running late … late enough that if I send this card out, maybe it should actually read HAPPY little-bit-early BIRTHDAY.

Oh man. I’m just going to have to put my shame aside and send it, one way or another!

Click the SHOP button on this page to browse the online store and see what new products are available. There are so many beautiful things just waiting for you to make them!

Moose Birthday

Another challenge card for you today, inspired by the As You See It Challenge Blog.

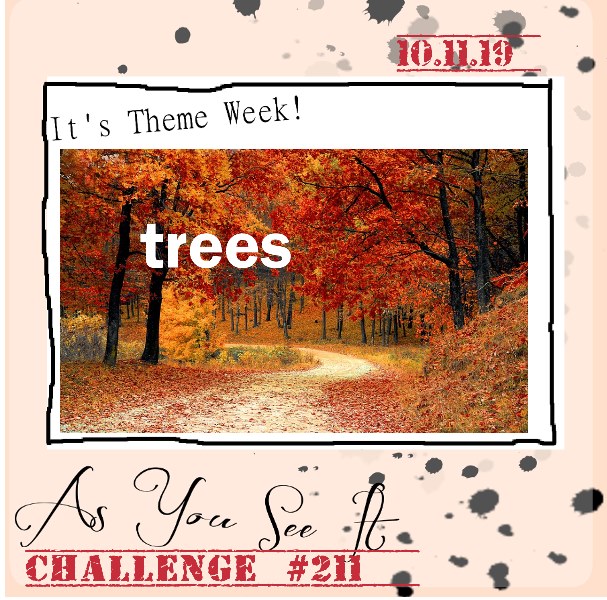
Here’s the theme challenge:

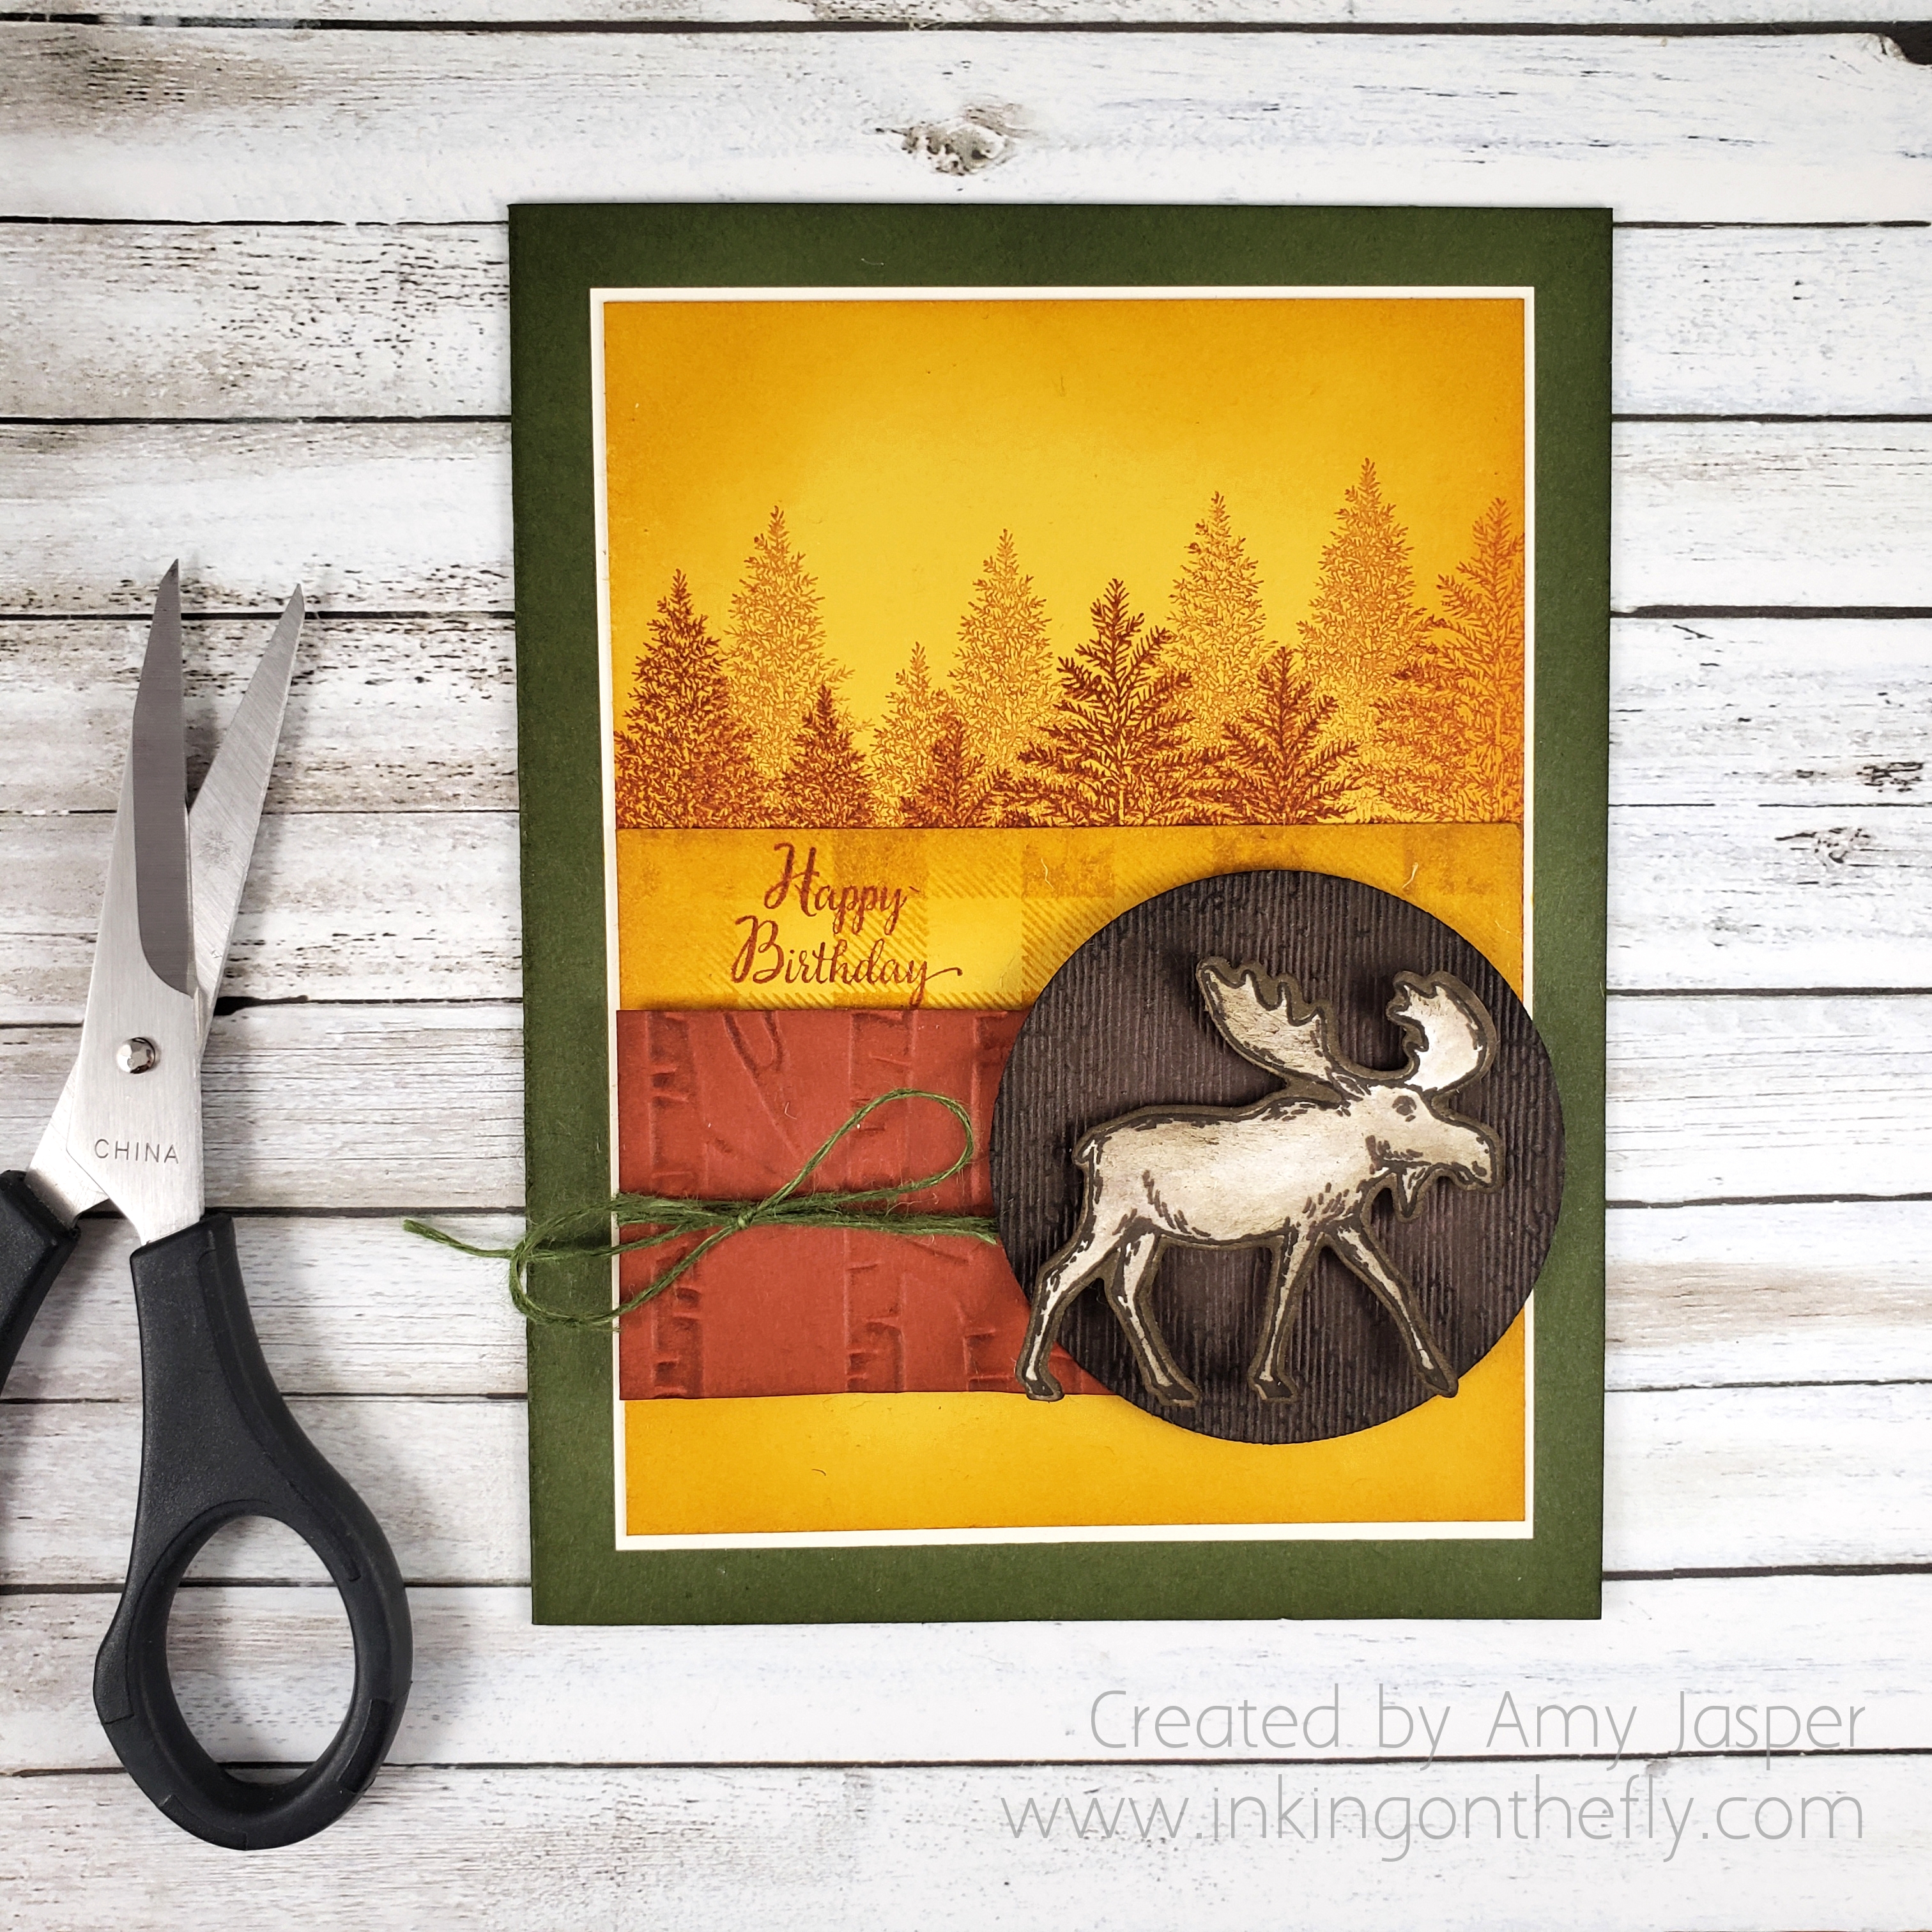
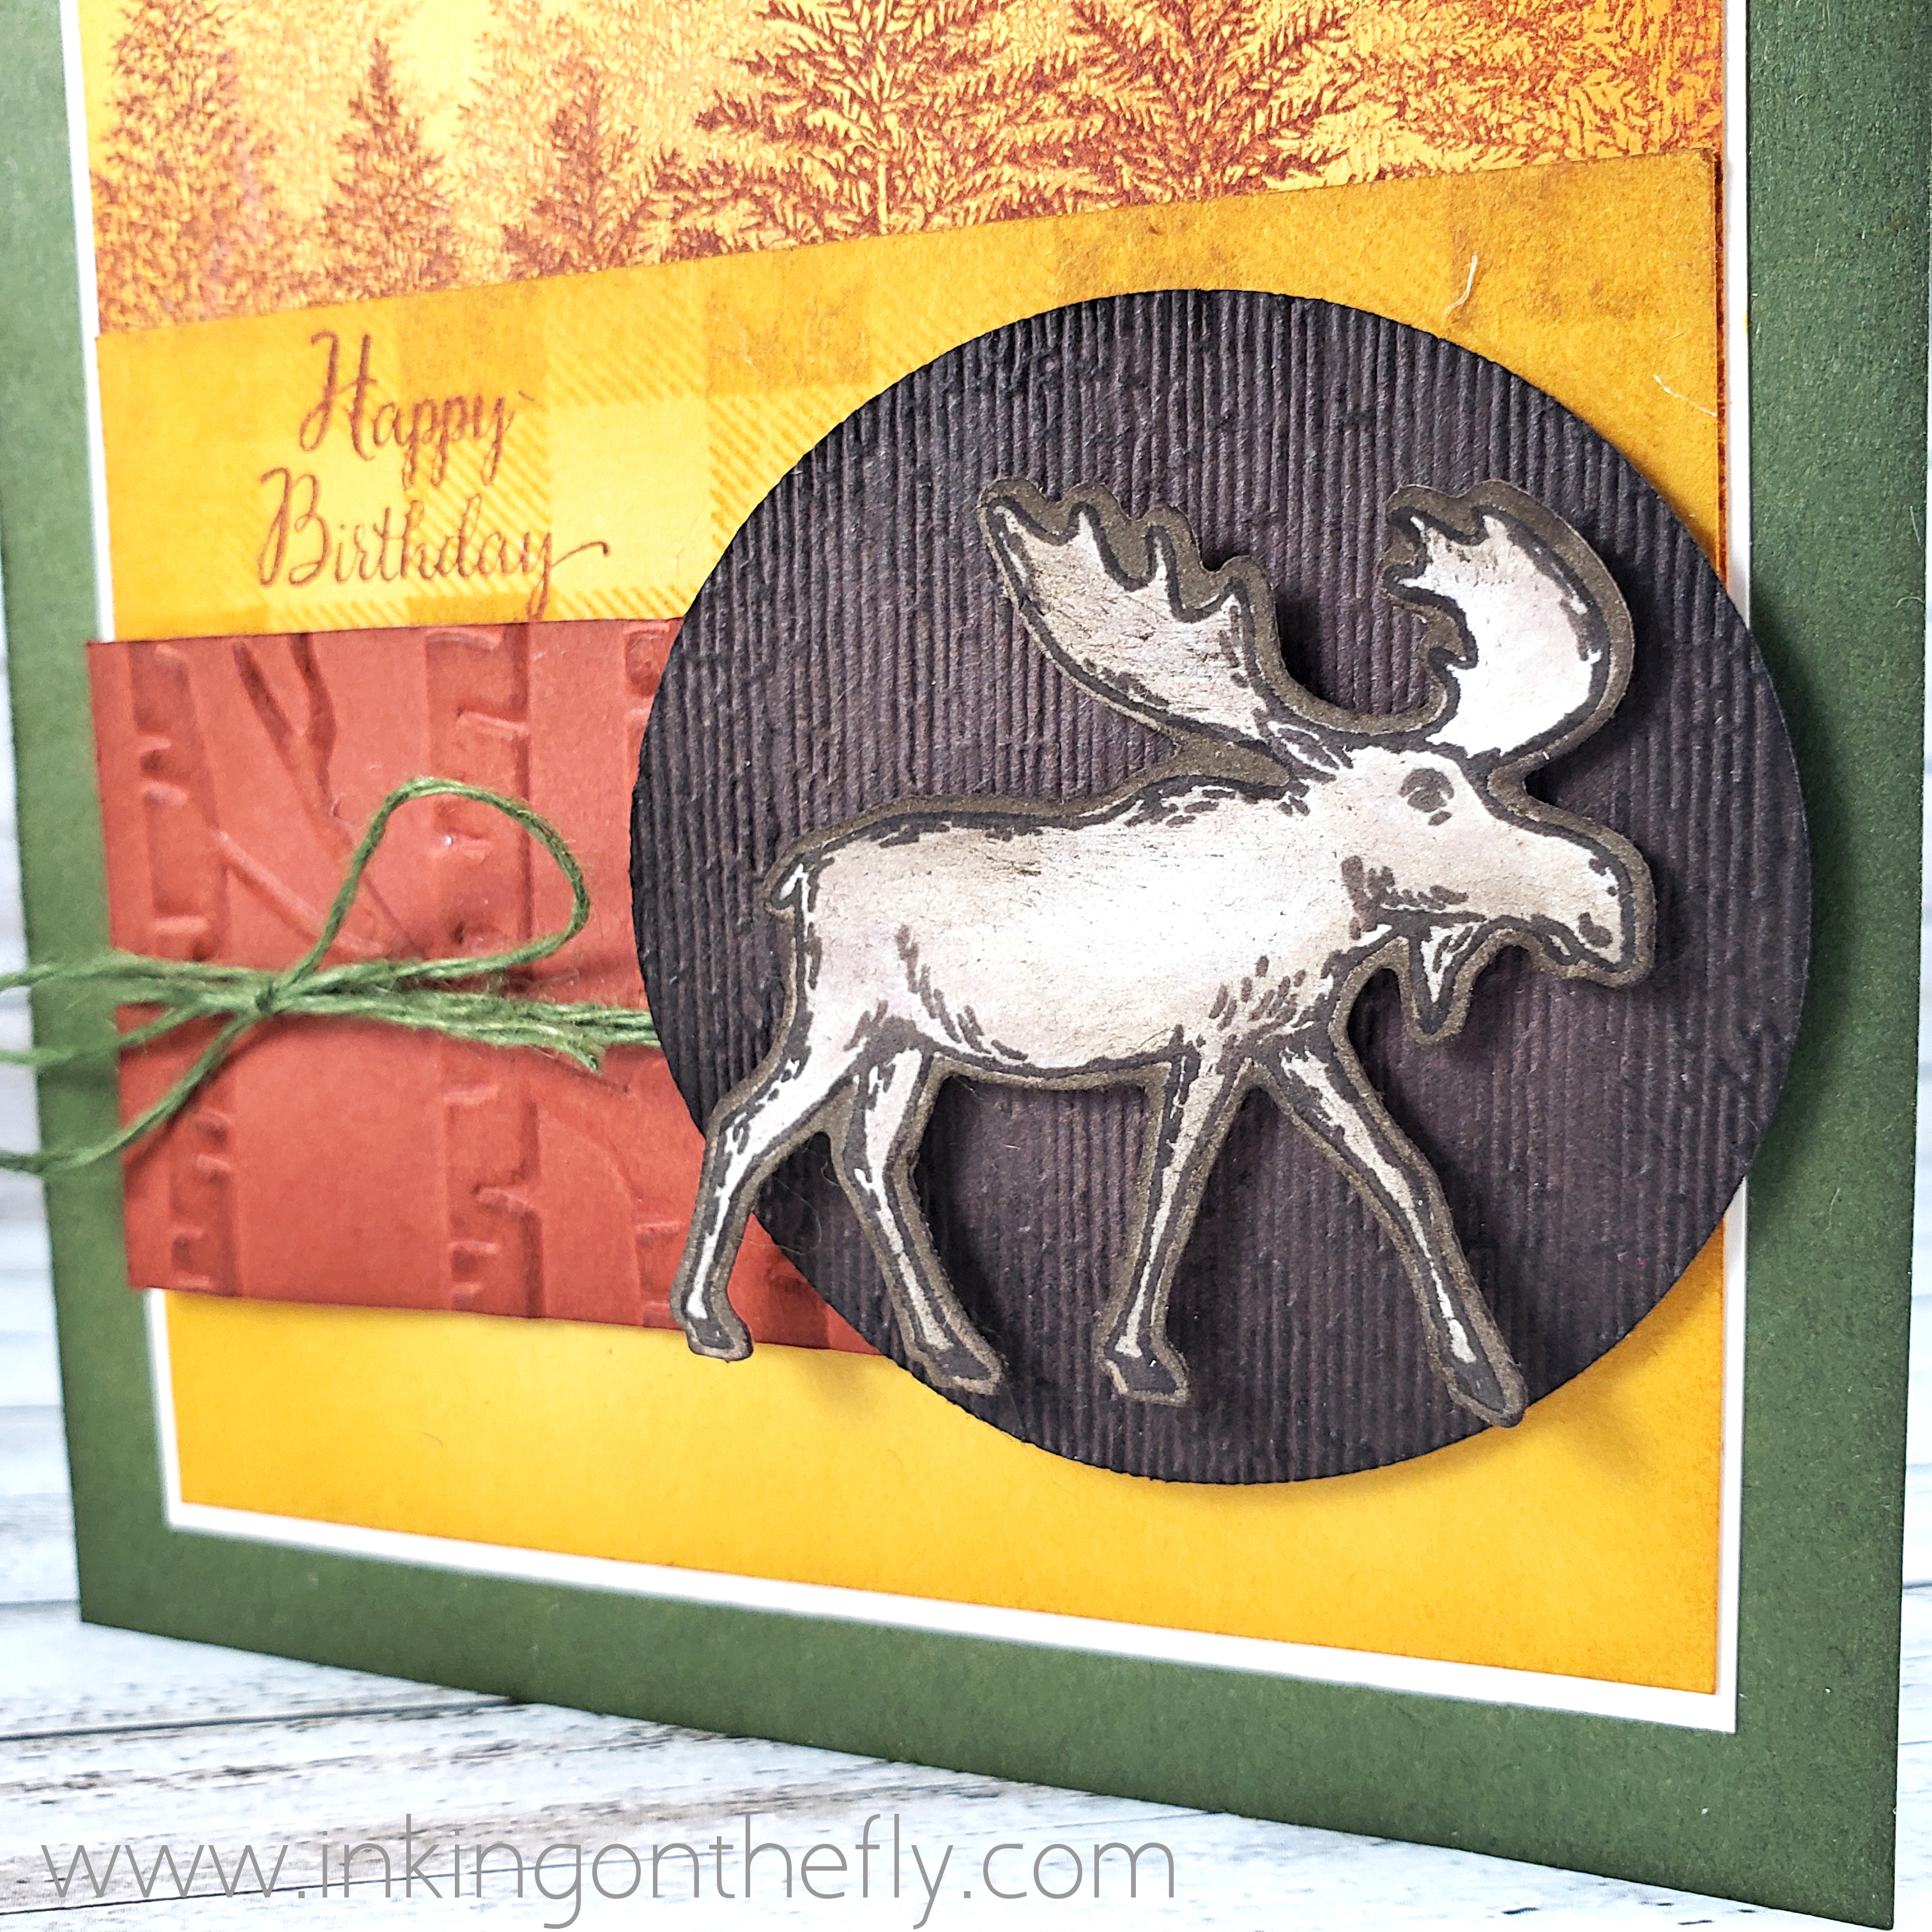
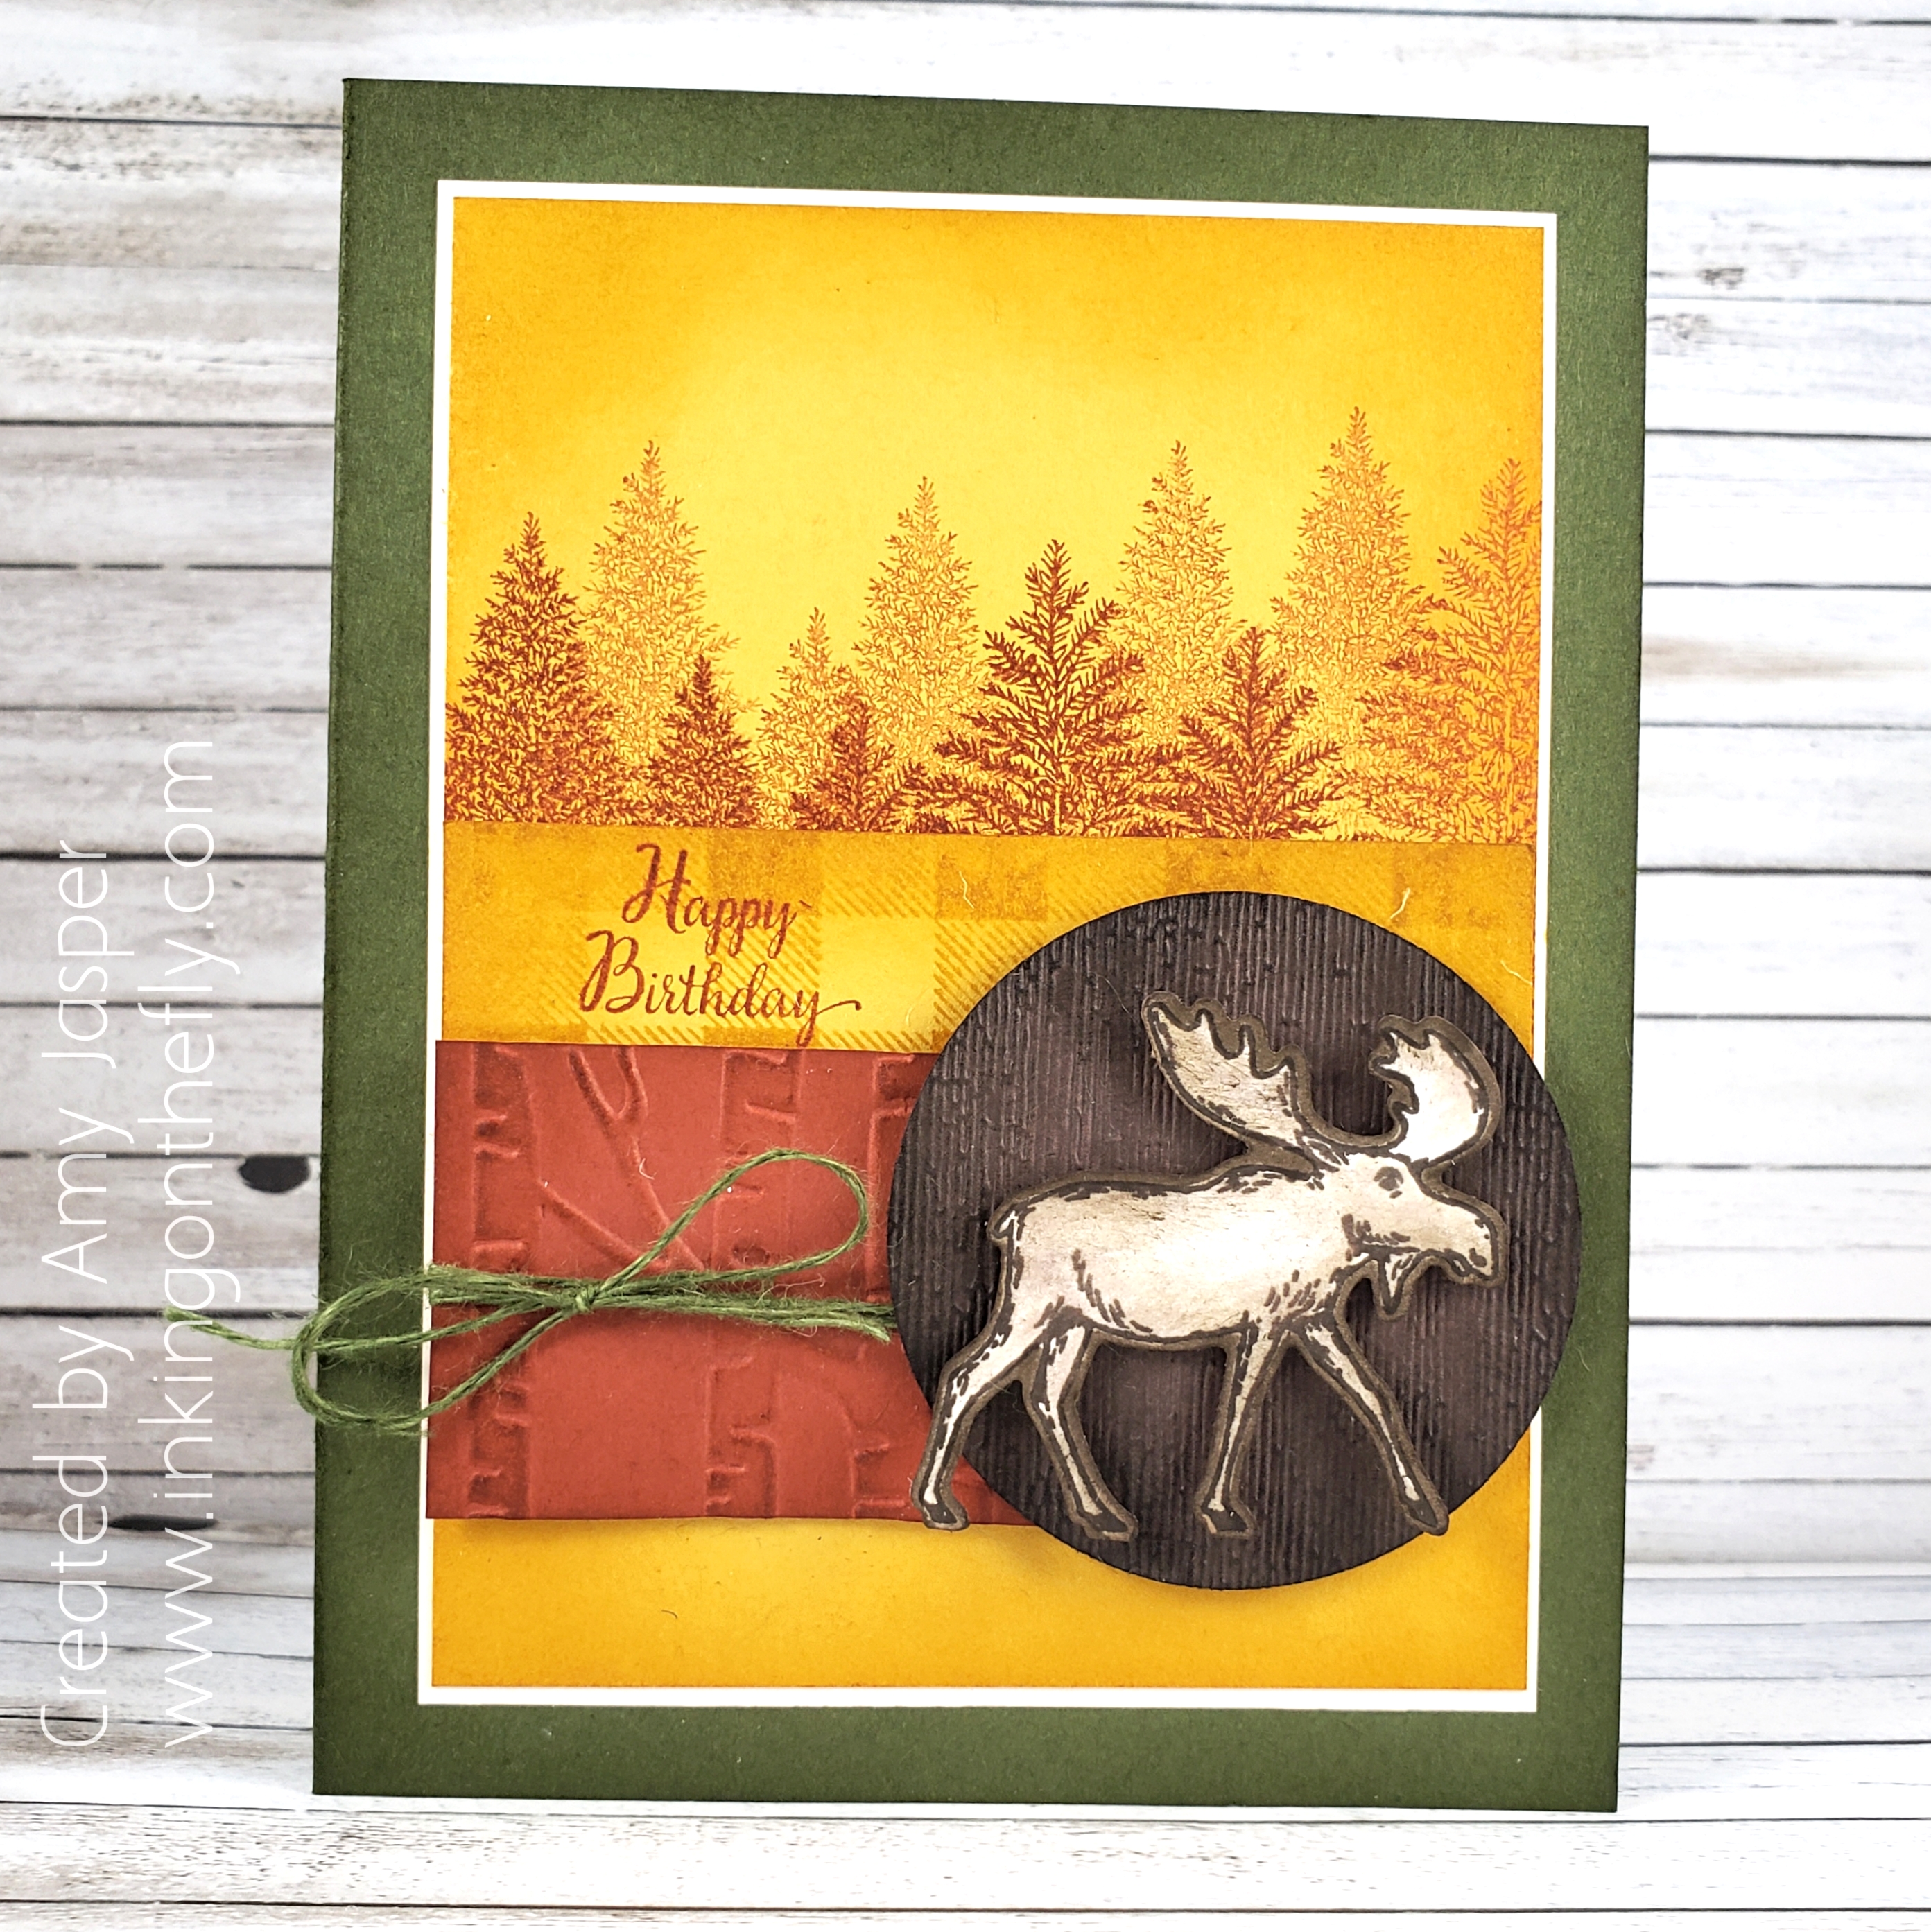
I decided to take the tree theme and go with the autumn colours, using my beloved Merry Moose stamp set from Stampin’ Up!

I love moose! How many other creatures do you know of that are so majestic and awkward-looking at the same time!

The card base is Mossy Meadow. I deepened the colour by sponging Mossy Meadow ink around the edges of the card base. In fact, I was a happy little sponger and did that with all of the paper pieces on this card (excluding the Very Vanilla matte, which I left clean. Each piece has the edges sponged with the coordinating ink.

The Crushed Curry background layer has multiple trees from the Merry Moose stamp set, stamped with Cajun Craze ink. Some are stamped full strength and some are stamped off to create some depth to the scene. I also added a strip of Crushed Curry cardstock, which was stamped with the Buffalo Check background stamp from Stampin’ Up!. For that I used Crushed Curry ink for a tone on tone effect. The Happy Birthday sentiment is from the Stampin’ Up! host stamp set, New Wonders, and is stamped with Cajun Craze ink.

You can also see that I used the Woodland Embossing Folder on the Cajun Craze strip of cardstock and the Subtles Embossing Folder on the circle, which was punched from Early Espresso paper with the 2-1/4″ circle punch.

My moose was stamped with Early Espresso ink on Whisper White cardstock. I used my Blender Pen to drag some of the ink from the lines of the image and shade my moose. I also coloured around the outside of my moose after I punched him out (ooh, that sounds so violent!) with the coordinating Moose Punch. I don’t like leaving a white edge around a cut image very often and choose to coordinate it with whatever the colour is behind it. A bit of sponging was added to the edges of my moose in Soft Suede ink to add a little bit more shading.

The Mossy Meadow linen thread was tied around the Cajun Craze piece of cardstock before adhering it and the Early Espresso circle to my card front with Stampin’ Dimensionals. The moose is also on dimensionals.

As always, you can purchase any of the stamping supplies that I use on my blog. Just click on the SHOP button in the sidebar or in the menu at the top of the page. Not in Canada? No problem. There are Stampin’ Up! Demonstrators all over the world.

Why not give the theme challenge a try? If you do, be sure to upload it to the As You See It Challenge blog and show us your take on the theme!