embossing

Copper and Figgy Joy

Making Christmas cards is a huge source of joy and creative satisfaction for me. I love the themes and the colours. I love trying different colour schemes that still feel like Christmas to me. The colour combination today is inviting and peaceful, yet somehow warm and cozy, too.

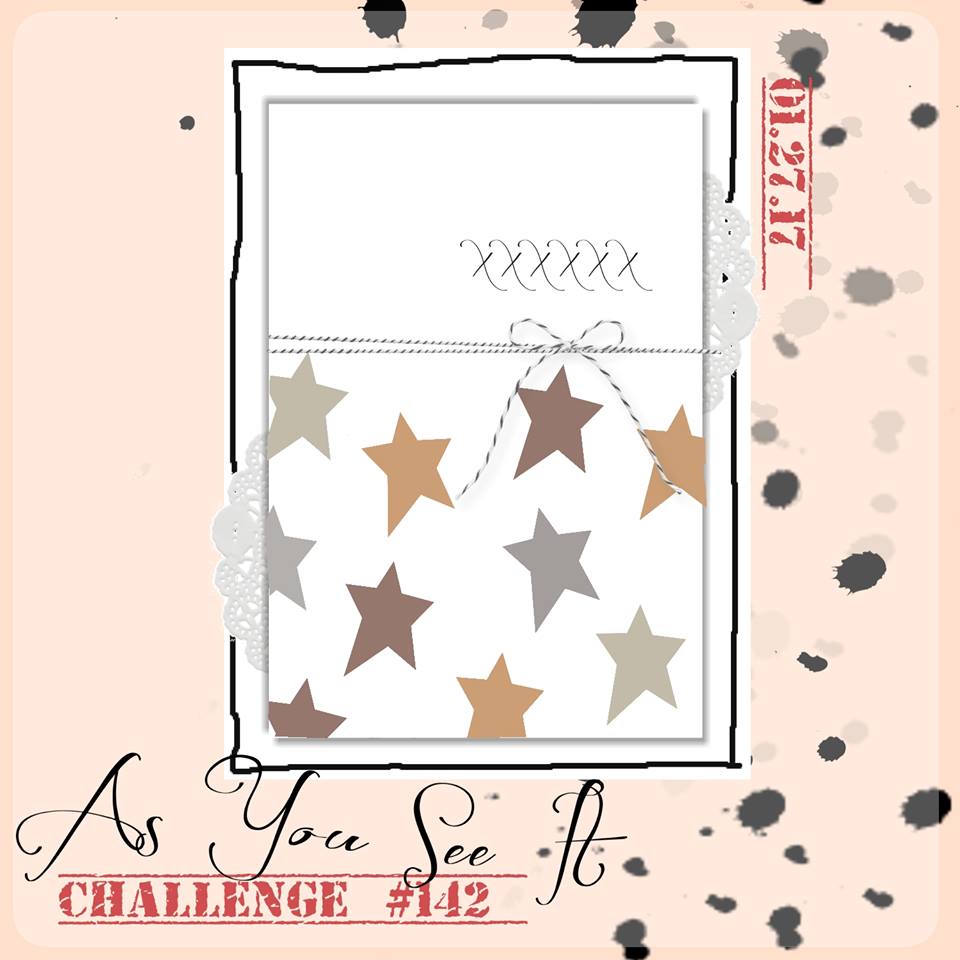
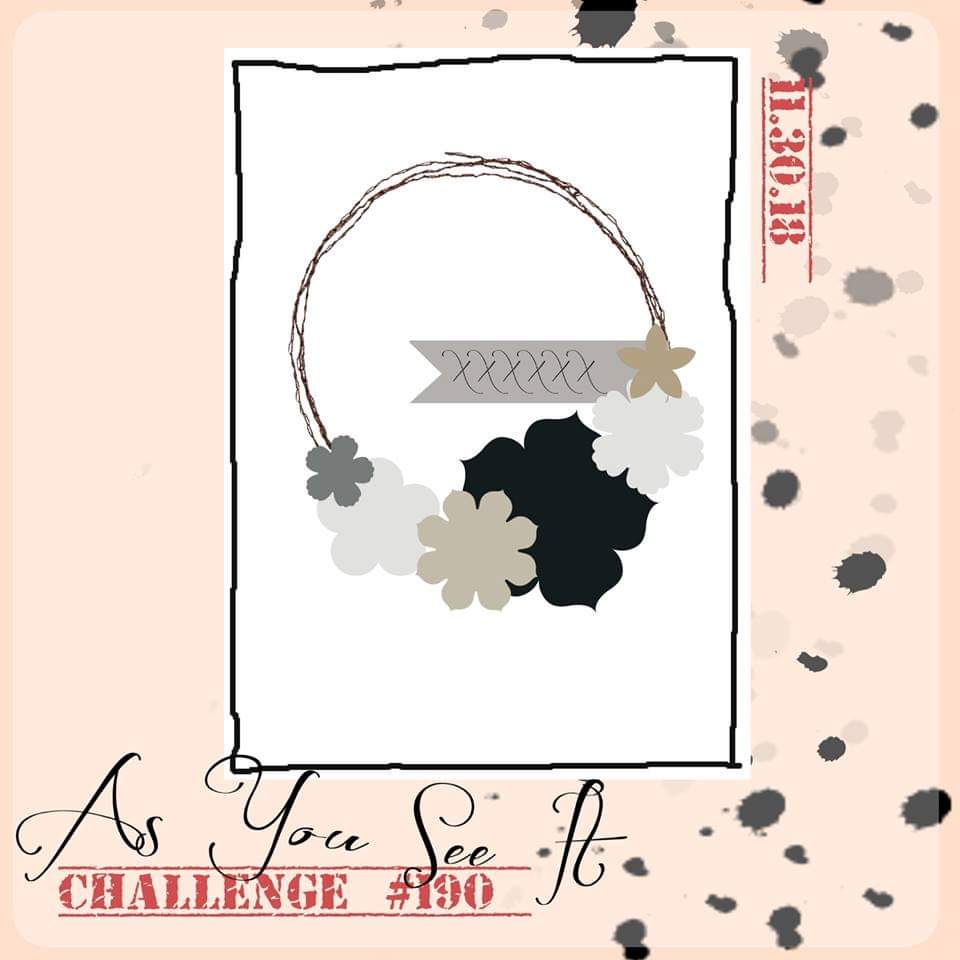
It starts with a sketch from the As You See It Challenge Blog.

Garden Green, Copper, and Fresh Fig are a beautiful colour combination. The Wood Textures Designer Series Paper adds to the cozy, rustic feel of this winter wreath design. Sometimes, the traditional red and green – though beautiful, cheerful, and cozy – can become tiresome to work with in over and over again. It was refreshing to still feel traditional, but pull in the Fresh Fig to liven things up a bit!

The card began with stamping the wreath image from the Wishing You Well stamp set. I wanted to give the illusion of depth, so I stamped it first using Gray Granite ink. Then, after rubbing the surface with my Embossing Buddy to remove the stickiness of any oils from my fingers or from the ink I just applied, I stamped the wreath image again using Versamark ink, being sure to stamp it slightly offset from my original image. Then I could apply the Copper Embossing Powder and heat set it with my Heat Tool. Once the embossing was finished, I assembled my card layers to the base: the piece of Wood Textures Designer Series paper is adhered to matte layers of Copper Foil and then Whisper White. All of which are adhered to the Garden Green cardstock base of the card with Stampin’ Dimensionals.

Next came the swag and banner for the front of the card. I die cut the Garden Green boughs and the Fresh Fig accent foliage using the Pretty Pines Thinlit Dies and attached them to the wreath with Mini Glue Dots. I added a swirl of Copper Metallic Thread under the bow. The bow itself is an image from the Wishing You Well stamp set and was stamped on a scrap piece of the Wood Textures Designer Series Paper with Fresh Fig ink. I fussy cut that beautiful gauzy bow with my handy dandy Paper Snips and it was adhered with Stampin’ Dimensionals.

The final piece of this card is the banner. The sentiment from the Christmas Pines stamp set was stamped in Fresh Fig ink on Whisper White cardstock. The ends of the strip of cardstock were flagged by hand with my Paper Snips.

If you like this card, please understand that YOU can make cards just like this. If you are a Canadian resident, head on over to my online store to purchase all the supplies you need for great cards and scrapbook pages! If not, then you can go to stampinup.com to access a demonstrator in your part of the world. I hope you do!

Happy stamping!

Blue and White Wishes

I have a sweet and simple card for you today AND I have another sweet and simple card (but a little less so) for you tomorrow! WHAAAAA!!?? Two blog post in a row!? I KNOW!! I can hardly believe it myself!

My card today was inspired by the As You See It Challenge #142 – a sketch. AND it was also inspired by NOT pink, lol! When all of the As You See It designers unveiled our designs for this challenge, we discovered that the majority of us used PINK! I guess we all have Valentine’s cards on the brain.

So, friends, tomorrow, you will see my pink card, but today you will see my blue and white wishes card that I threw together at the last minute and loved how it turned out – so fresh and clean.

Here’s the As You See It Challenge sketch:

#142When I was thinking of “not pink”, my thoughts turned to the unopened pack of Floral Boutique Designer Series Paper that has been sitting in my stamp room (I keep trying to make myself call it a “studio”, but it always sounds too pretentious). It has some pretty images that I thought could work for this sketch.

Blue and White Wishes card by Amy Jasper www.inkingonthefly.comI like the simplicity of this card AND it only took a few minutes to put together. BONUS!

I used a Thick Whisper White card base, on which I used my Project Life Corner Rounder Punch on the top right corners for added interest. The supplemental layers also have the top right corner rounded.

The 3-1/4″ x 3-1/4″ square piece of Floral Boutique Designer Series paper was applied to the bottom portion of the 3-1/4″ x 4-1/2″ piece of Whisper White cardstock. The sentiment from the Window Shopping stamp set was stamped with Night of Navy ink and embossed with Clear Emboss powder and my Heat Tool. To have the powder stick properly to the ink, I first inked my stamp with Versamark ink, then inked it with Night of Navy, resulting in a perfectly embossable (it’s a word, right?) sentiment!

Blue and White card by Amy Jasper www.inkingonthefly.comThe Night of Navy Solid Baker’s Twine was the perfect match with the Floral Boutique paper and the Night of Navy Cardstock. This I wrapped around the Whisper White cardstock and designer paper combo and attached it with Stampin’ Up Dimensionals to the 3-3/8″ x 4-5/8″ Night of Navy layer (which was adhered directly to the Thick Whisper White card base). The little rows of three Basic Pearls were the perfect finishing touch for this simple, yet elegant, card.

Now you try! Use the sketch from the As You See It Challenge blog and see what wonderful things you can create!!

Pedal Pusher Reflection

Life is full of re-evaluations, reflection, and adaptation. I am smack dab in the middle of all of that as I try to figure out the priorities and values in my life. Sometimes, my stamping has to take the back burner while my family or other adventures take over. I want to learn how to play the guitar, I want to sew more, I want to be more active – these things will take some of my time, but I still want to stamp. I’ve been less consistent on my blog because of my ventures in life and I can’t be sure how each week will look for me on my blog. However, today, I do have a card to share with you!

I started with these beautiful bright happy and inspiring colours from the As You See It Challenge blog.

127I love all of the Sale-a-bration free products from Stampin Up! The stamp set that I used for this card is one of the more recent stamp sets you can now get for free with a $60 purchase. It’s adorable and perfect for this happy spring colour challenge!

Pedal Pusher Reflection card by Amy Jasper www.inkingonthefly.comDon’t you just love these colours!! I was so excited to learn that the Stampin Up Silicone Craft Mat can also be used as a surface to transfer a reflected image on a project. All I had to do was stamp the image on the silicone mat with Jet Black Momento ink, then huff on the stamped image, turn the Silicone Craft Mat over, line it up with my original image on my page, then press the Silicone Craft Mat on the cardstock to transfer the image! It worked like a charm! It’s important to use a water-based ink like the Momento Black so that it won’t dry too fast before you can position it AND so it will not leave a permanent image on your Silicone Mat.

Pedal Pusher Reflection card close up of reflection www.inkingonthefly.comI coloured my original image (it was stamped with Archival Black ink) using my Stampin’ Write Markers. As I often do, I used Smoky Slate to do an outling of my image as it adds a shading that makes the image pop a bit on the page – it doesn’t look so flat that way. The reflection image was coloured using a Blender Pen and the same colours on the main image so that the colours would be faded in the reflection in the sand.

I chose this small “thinking of you” sentiment from the Teeny Tiny Wishes stamp set from Stampin’ Up for two reasons: first, because I wanted something small and simple so it wouldn’t take away from the rest of the card; second, because I was commissioned to create some “thinking of you” cards for my husband’s co-worker. A bicycle for two represents teamwork, so if you don’t have one of the cyclists, it would be harder to pedal. I think it’s a great analogy to working together, don’t you?

Pedal Pusher Reflection card close up of separated twine www.inkingonthefly.comThe sentiment is stamped with Versamark ink and embossed with White Embossing powder and my Heat Tool. The twine is from the Baker’s Twine Combo pack. I just separated the black strands from the Melon Mambo strands and voila! A whole new look!

Pedal Pusher Reflection card by Amy Jasper www.inkingonthefly.com All supplies from Stampin' Up!Some of you might be wondering where the Cucumber Crush diagonal stripes came from. Well, I actually was a bit wasteful with my paper and took the horizontal striped paper from the 2015-2017 In Color Envelope Paper and cut out what I needed on a diagonal. I love the look! I’m sure I can get use out of the scraps, anyway!

I know I didn’t touch on all of the elements of this card, but I think I covered a lot. If you have any questions, feel free to ask! I’m happy to tell you more!

If you love this stamp set as much as I do, just click on my SHOP button on this page and order product that you know you want anyway, so you can choose this stamp set for FREE! Just $60 and this set or any other Sale-a-bration set can be yours! Who doesn’t love free stuff!