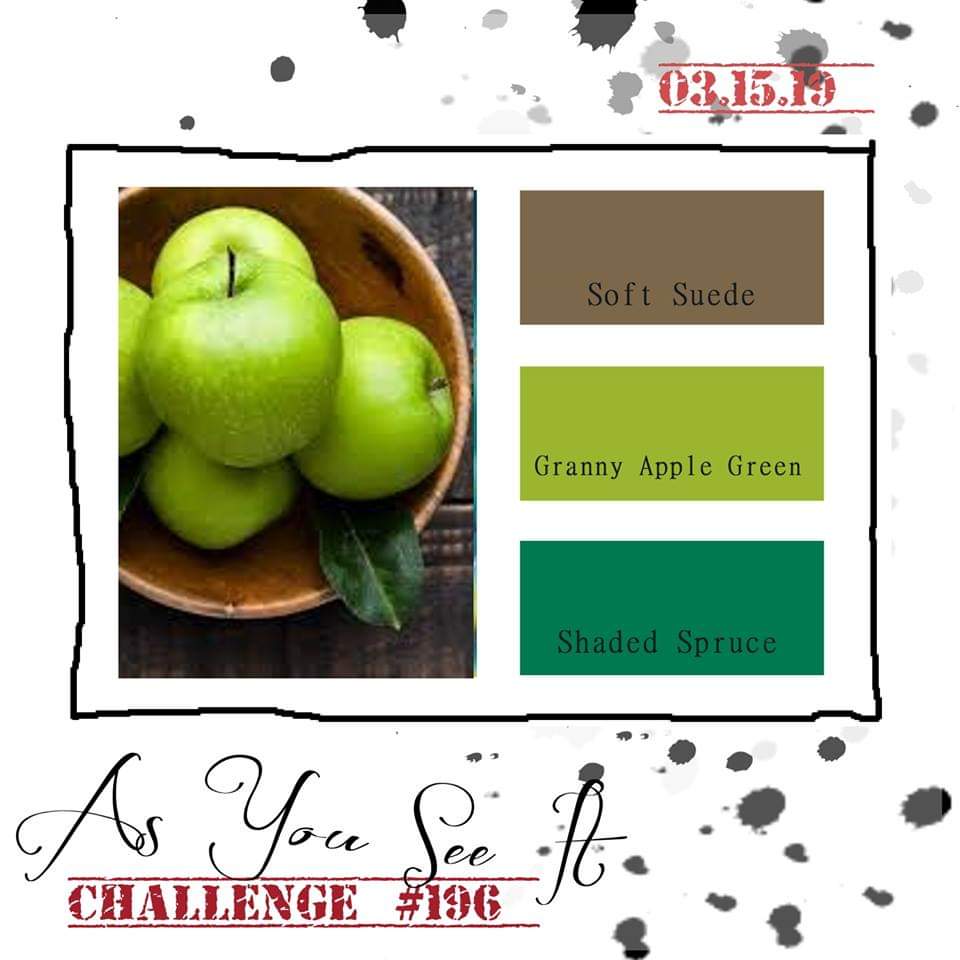
When I saw this colour challenge, I have to admit that I wasn’t excited. The colours together seemed drab and dreary, though I normally like earth tones. However, once I started working with these colours, I realized their potential. I focused on the greens and kept the Soft Suede as an accent.
I was inspired to use the hummingbird from the Humming Along stamp set that I received as a gift at the Stampin’ Up! event last November. If you do a google search of images of hummingbirds, you will see that they come in all sorts of beautiful colours, so I knew that the greens would work great!
Here’s my card using Soft Suede, Granny Apple Green, and Shaded Spruce:
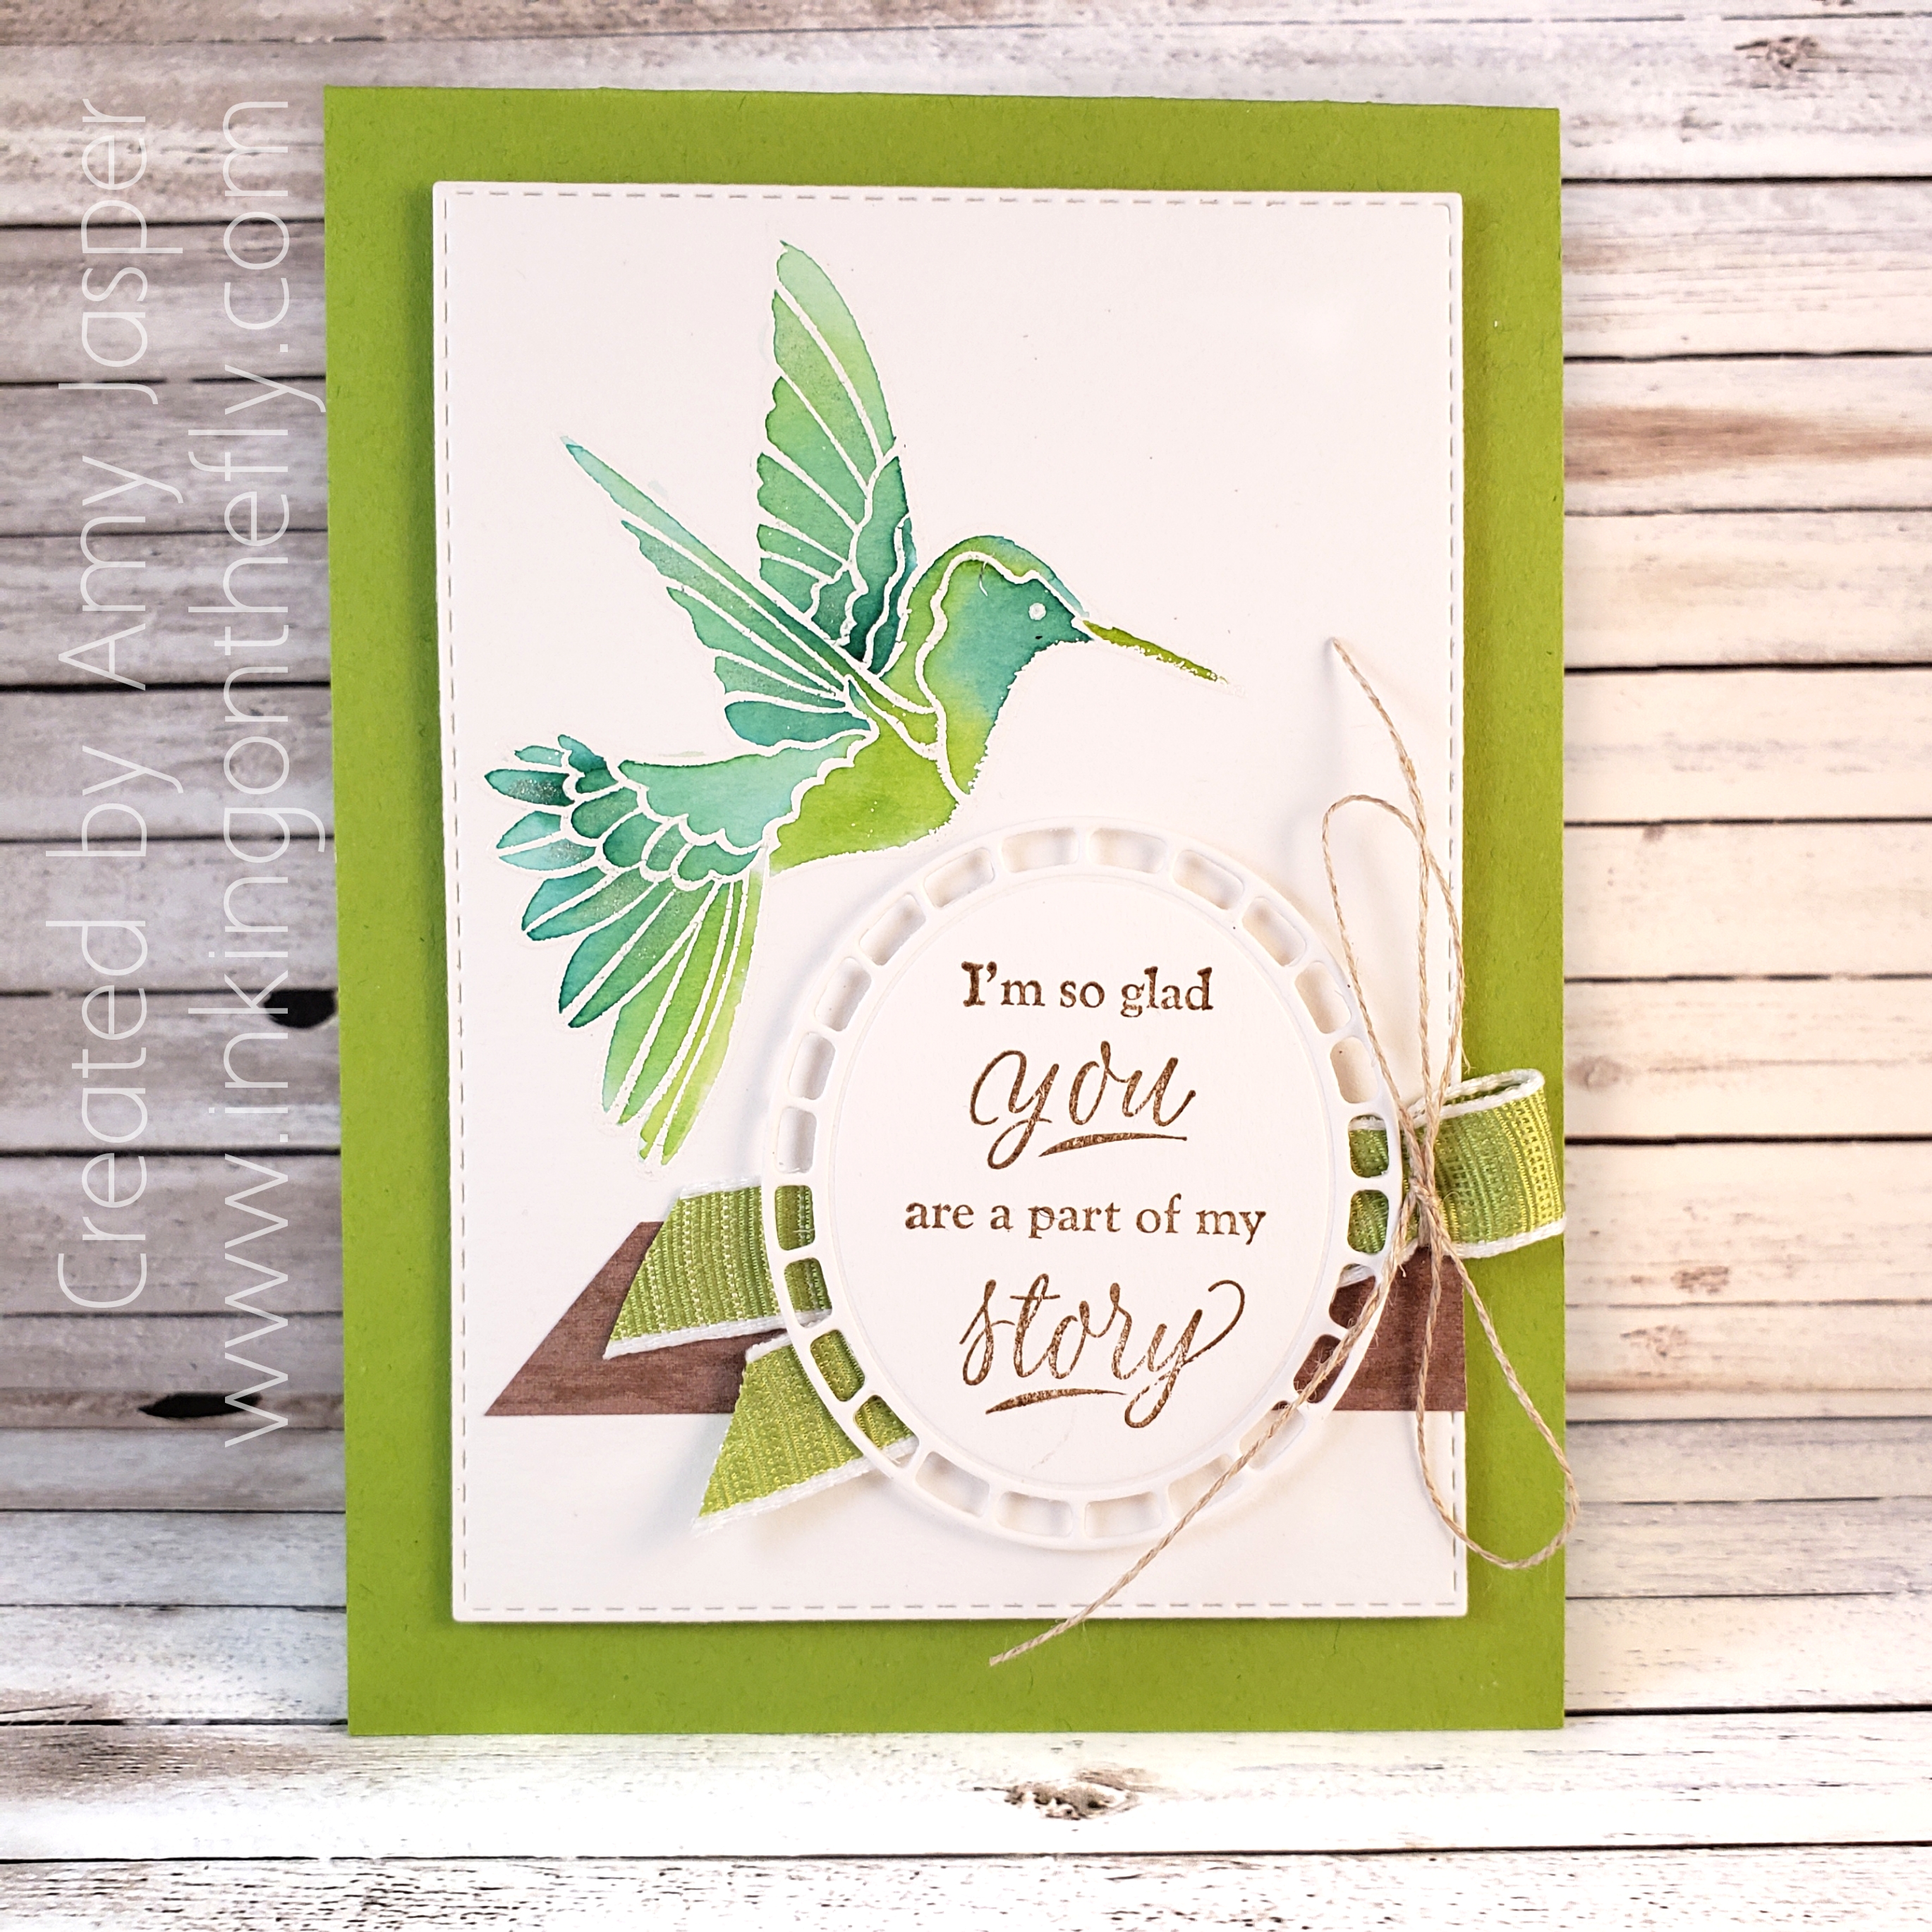
The Rectangle Stitched Framelit Dies make a beautiful layer, don’t you think? I used Watercolor Paper and stamped the hummingbird image from the Humming Along Stamp Set with Versamark ink. Then I applied White Embossing Powder, tapped off the excess and heat set the image. Once that was cooled, I watercoloured the image with my two green inks, Granny Apple Green and Shaded Spruce, using an Aqua Painter. You might not be able to see it in the photos, but once the watercolouring dried, I added some highlights in the feathers with my clear Wink of Stella brush pen.
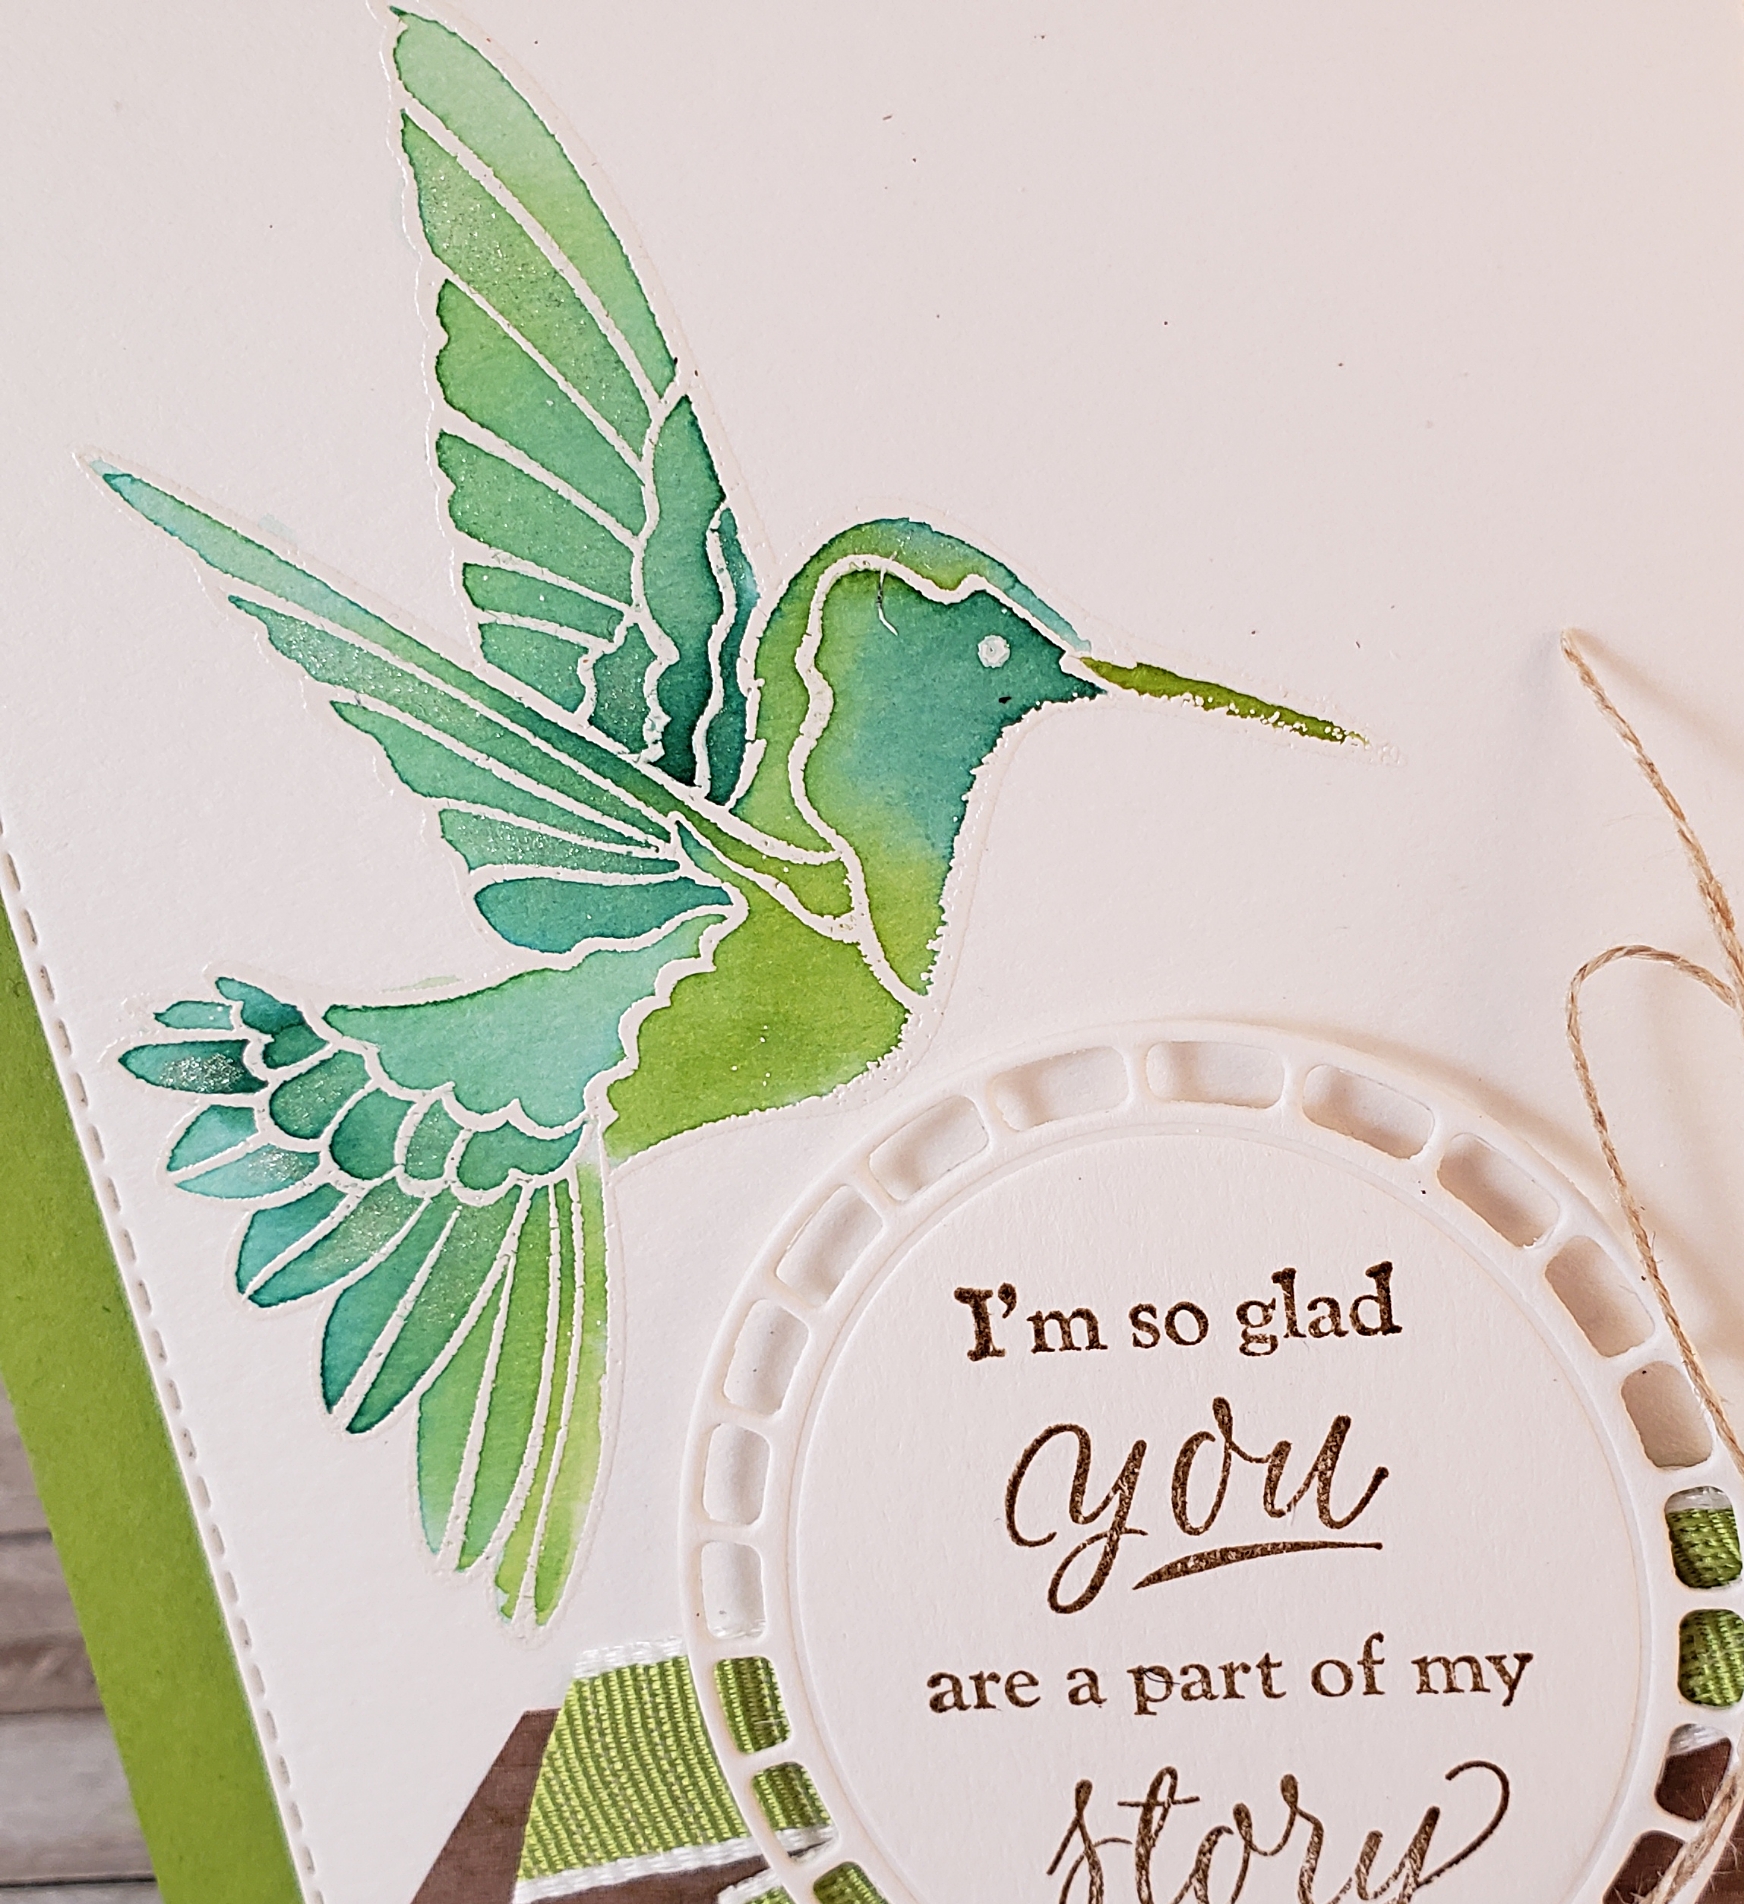
With the hummingbird as my focus, I embellished the card with a strip of Soft Suede woodgrain patterned paper and some Granny Apple Green 1/2″ Textured Weave Ribbon. To the ribbon, I tied some Linen Thread in a bow. Over top of those embellishments, I added the Watercolor Paper die cut and sentiment. The die is from the Wonderful Floral Framelit Dies and was stamped in Soft Suede ink with a sentiment from the Sale-a-bration Part of My Story stamp set.
On the inside of the card (not shown), I used another Rectangle Stitched Framelit die and Whisper White cardstock to create a nice defined space where I can write a message.
Be sure to watch for a video of the creation of this card on my YouTube channel to be posted in the next couple days. I will be showing you the technique that I used to paint my hummingbird.
All of these products and more can be purchased in my ONLINE STORE. You can earn products for FREE with every $60 or $120 purchase until the end of this month. Don’t wait, though, as some items have already sold out!
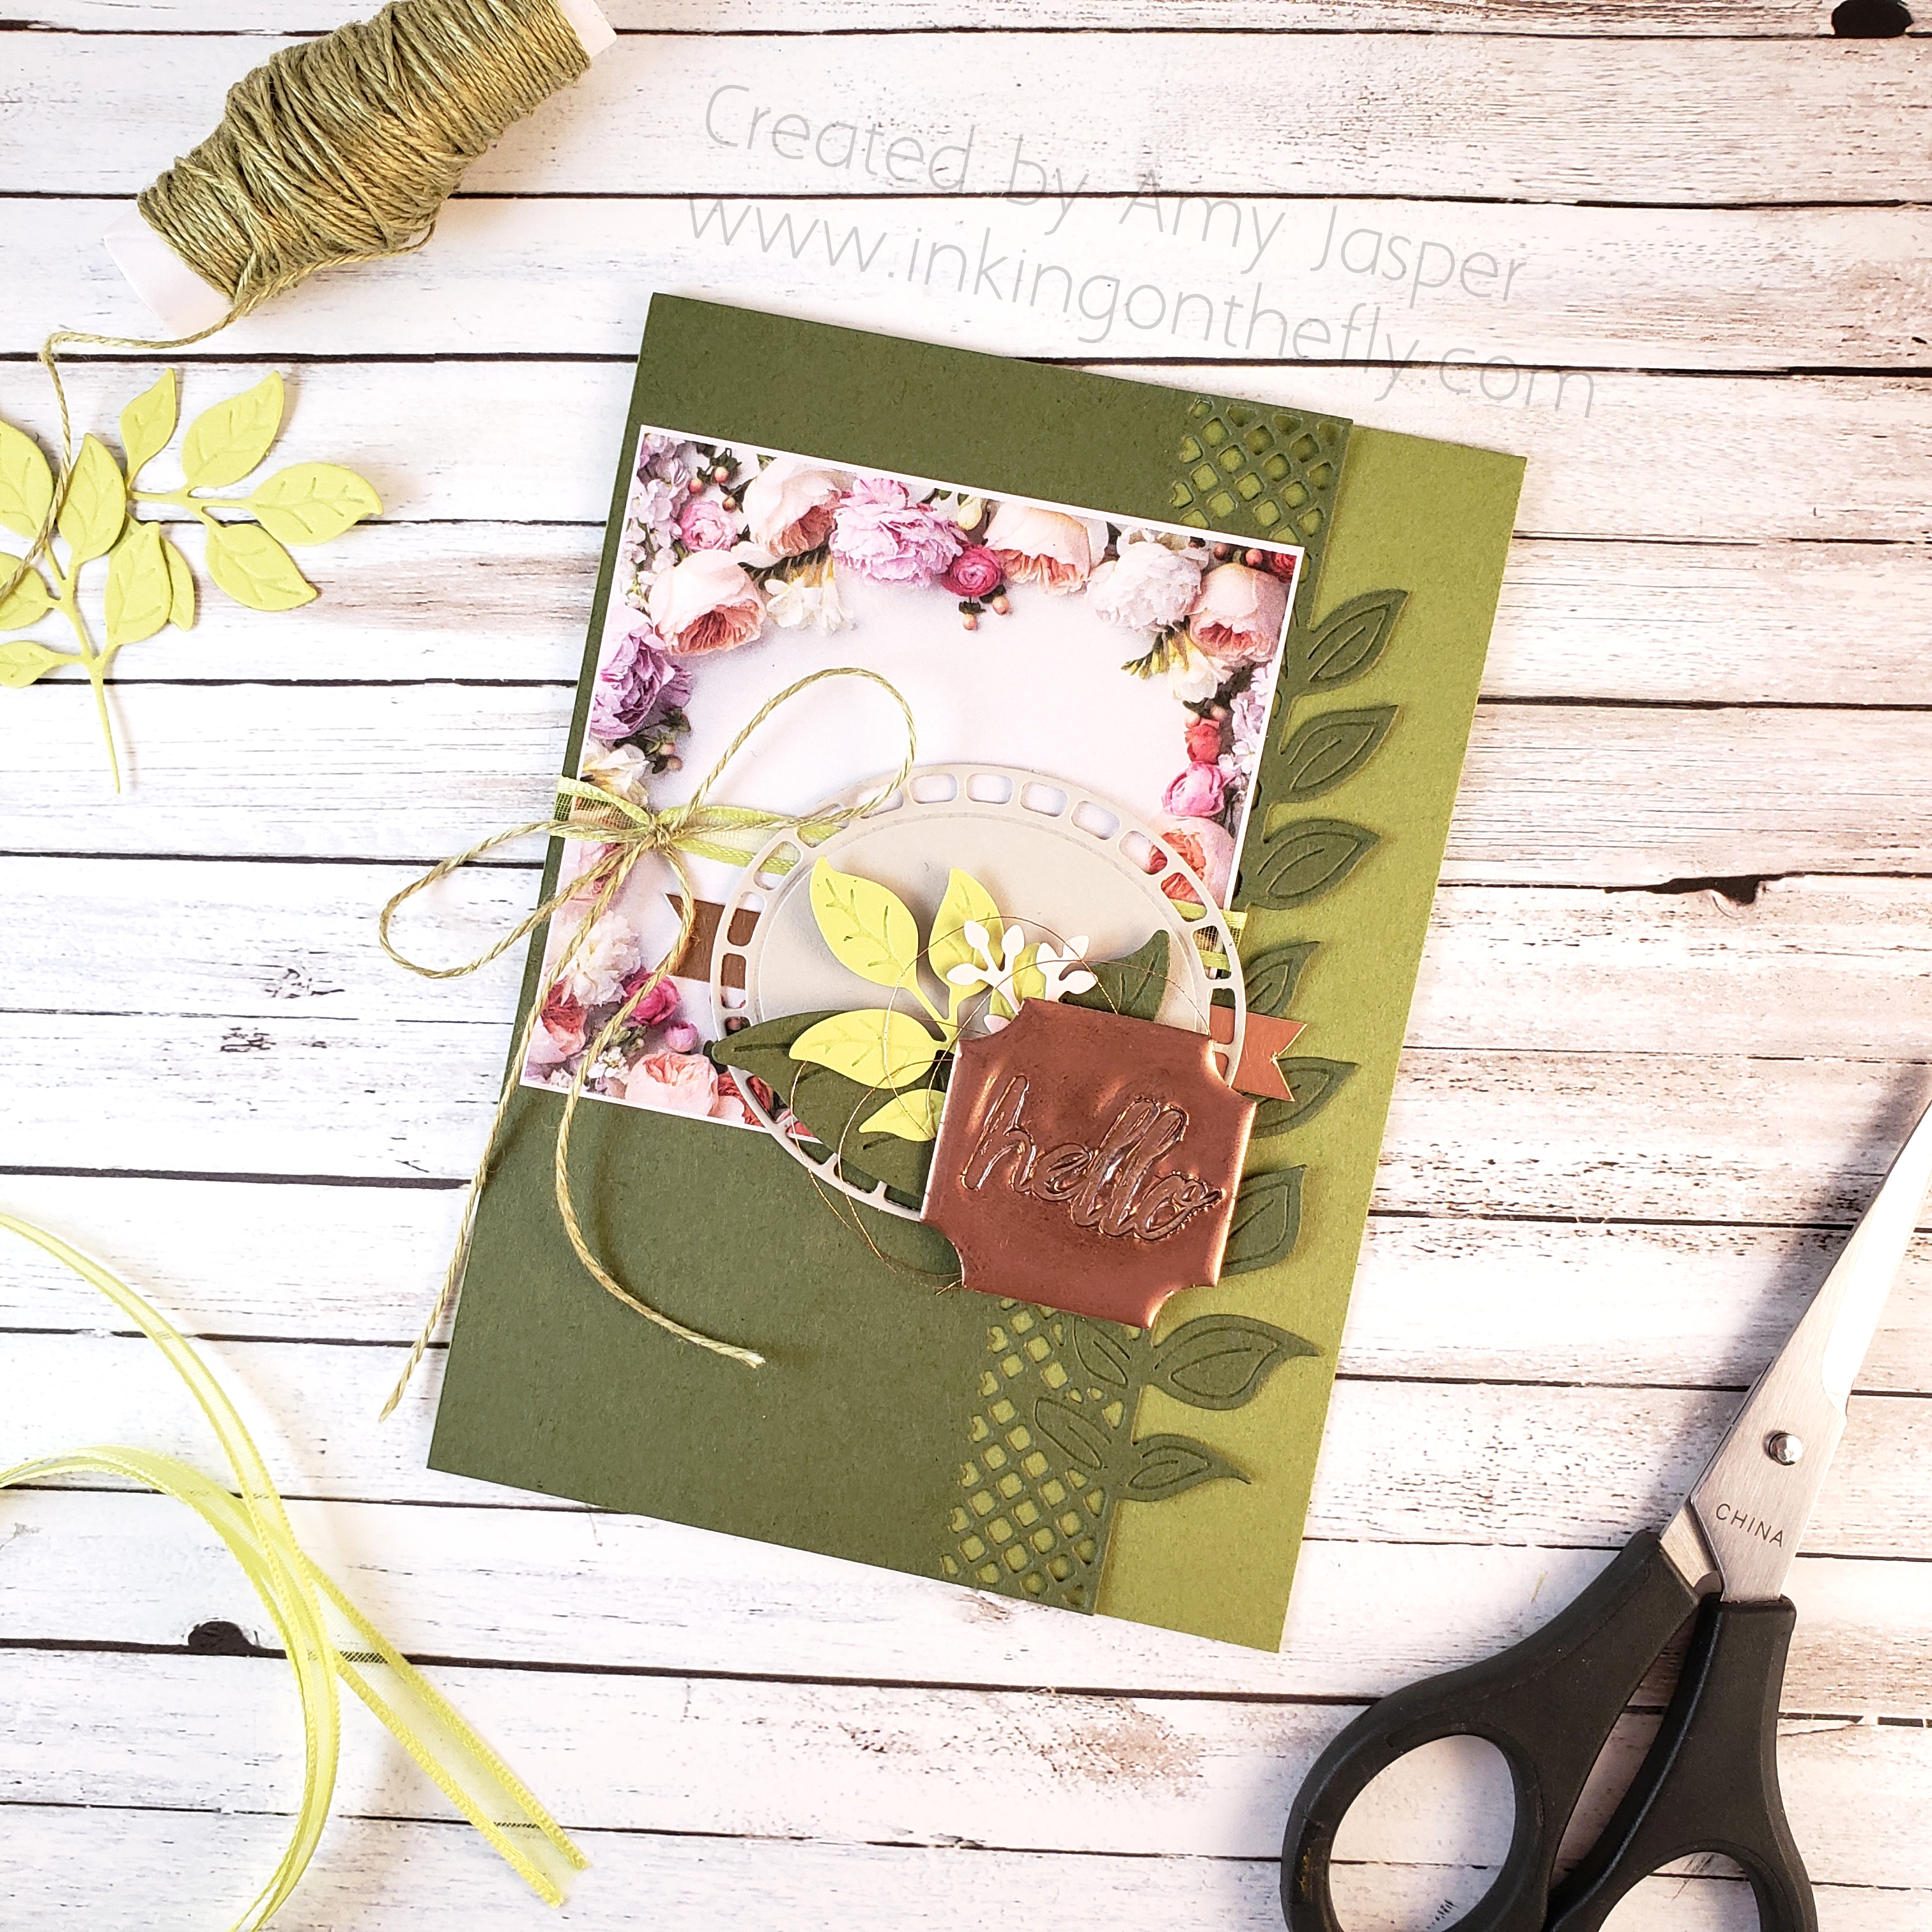
Check out today’s card design that shows off the super fun faux metal technique.
It all starts with a challenge, Yo!
Does that make me sound hip, cool, dope? Yeah, probably not.
The As You See It Challenge Blog has a theme for us this week.
I wanted to use a technique that I haven’t played with for a while – faux metal. But it should actually be called “faux stamped metal” because stamping into metal is an actual real thing (all the pretty jewelry!). My card uses Copper Foil, Copper Metallic Thread, and Copper Embossing Powder along with the beautiful florals from the Petal Promenade Designer Series Paper and the Wonderful Floral Framelits Dies.
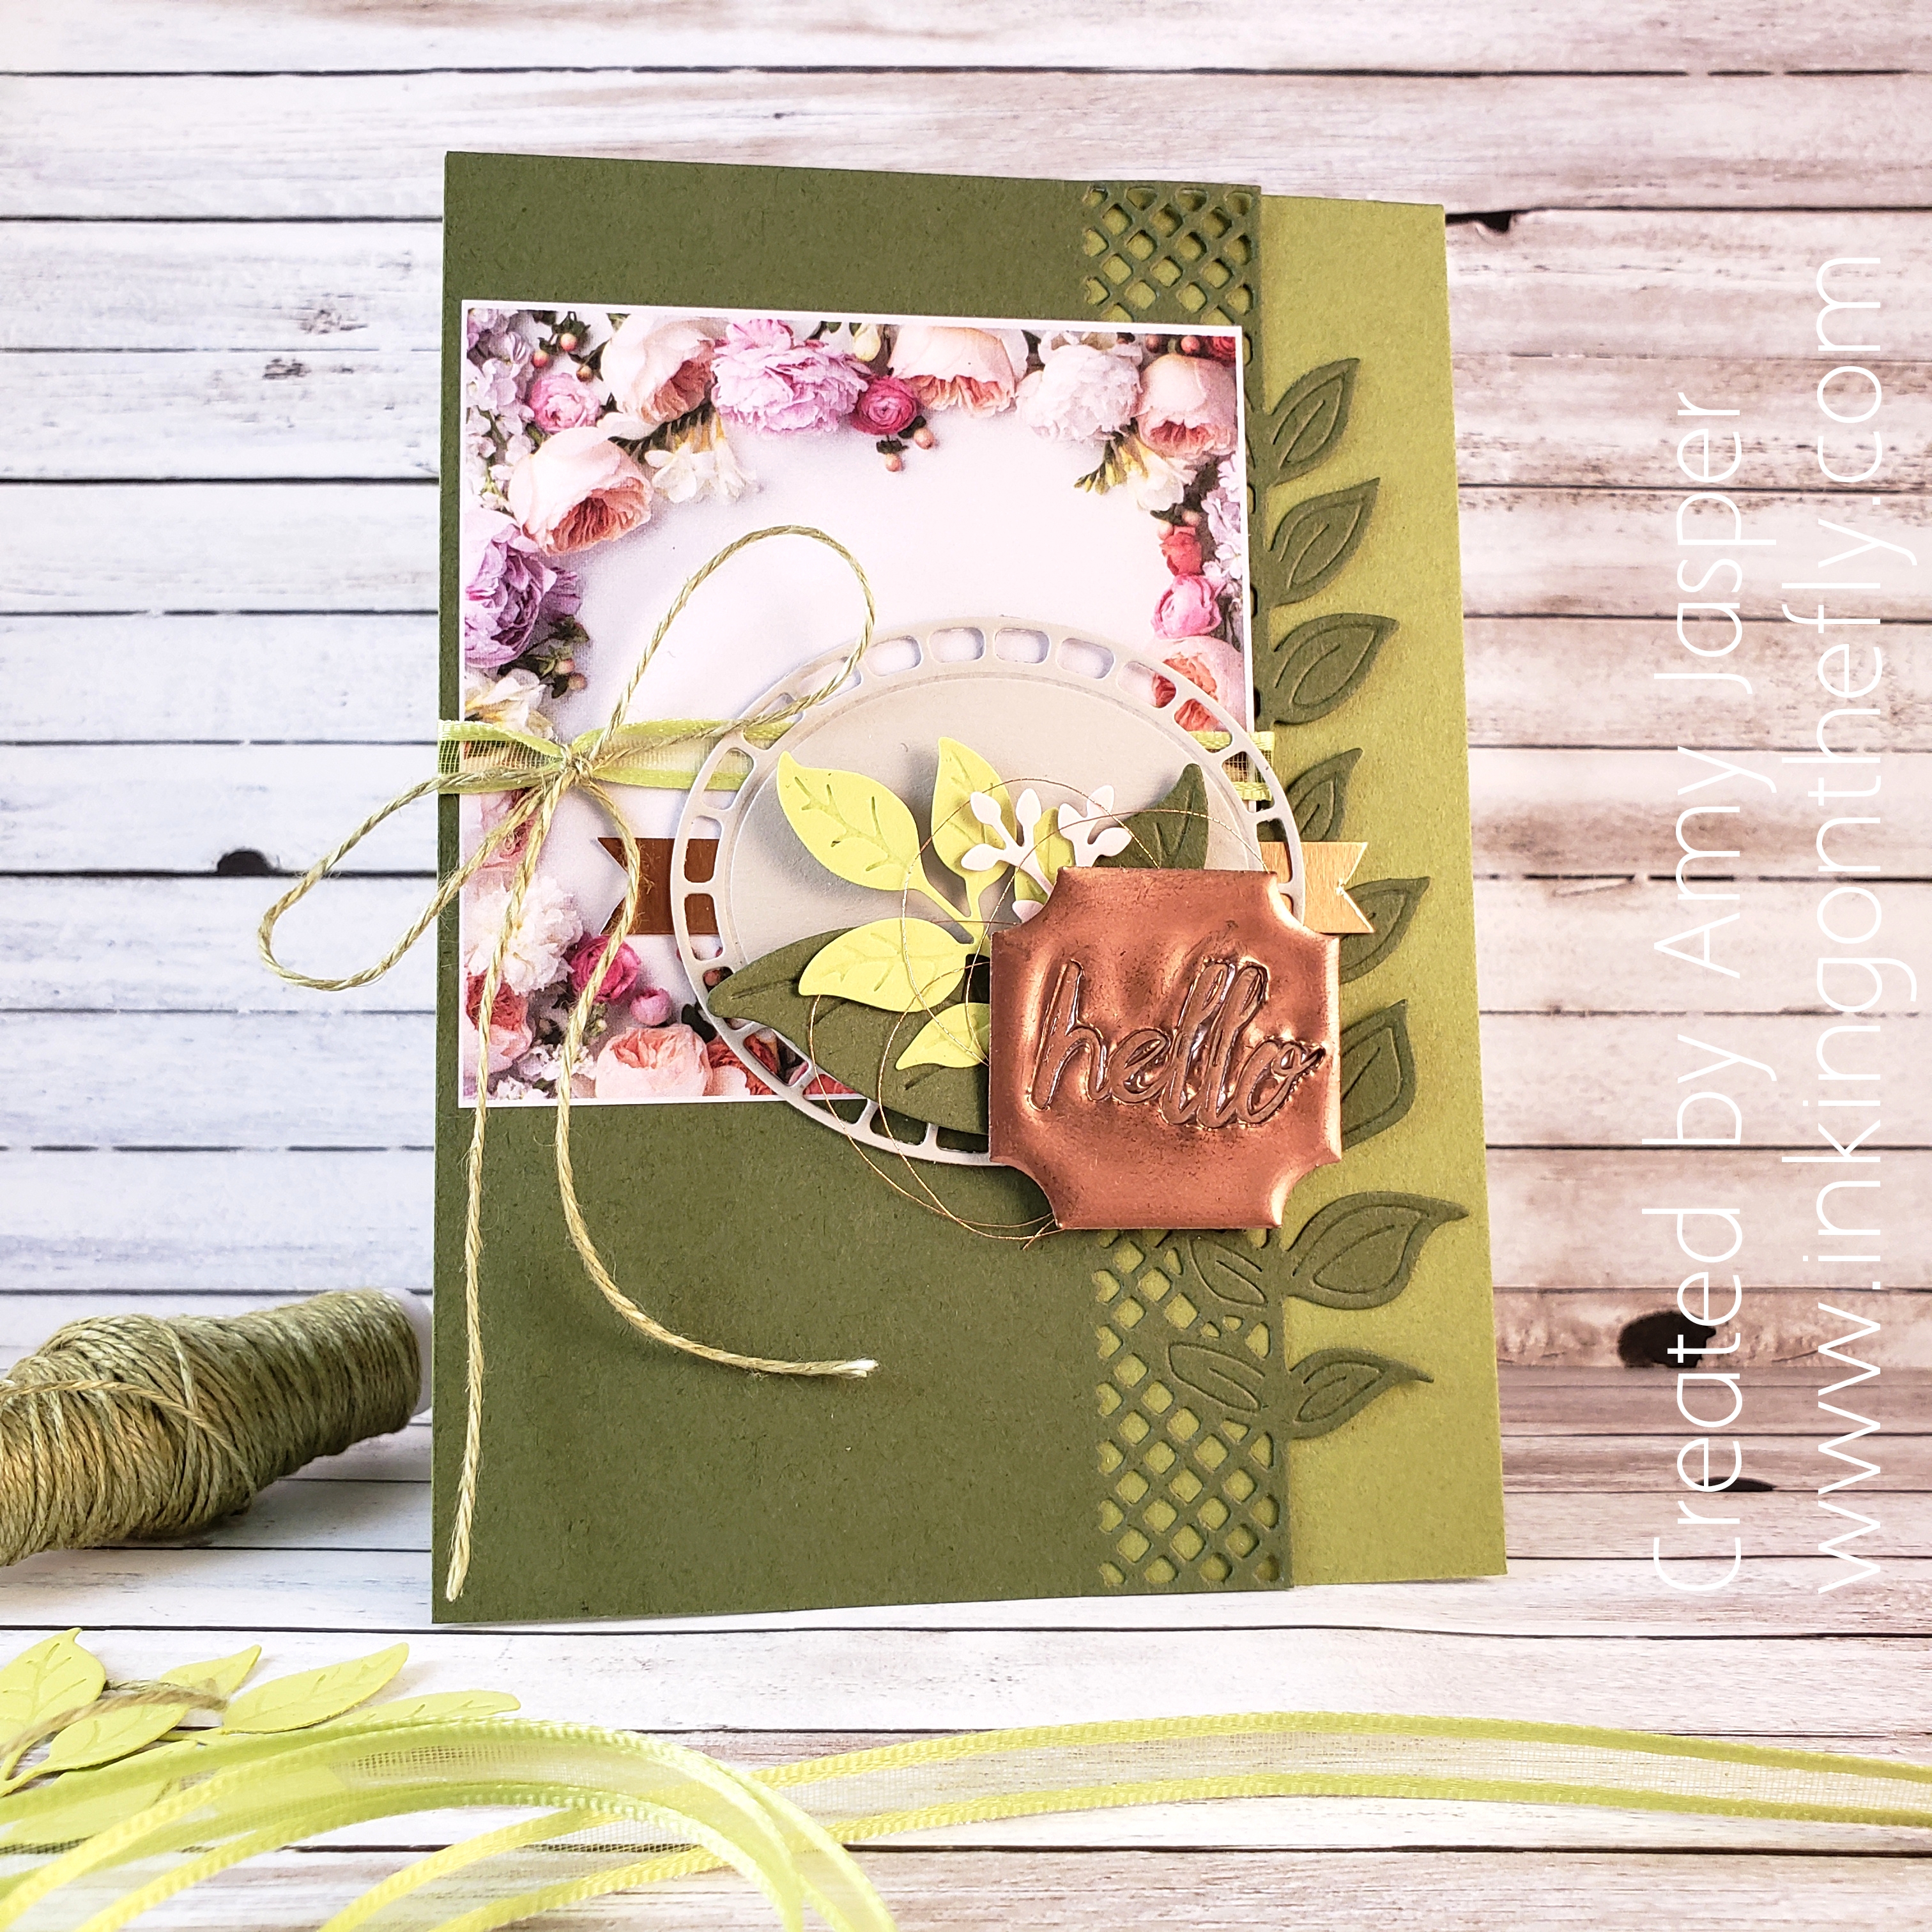
The card base is Old Olive cardstock, but I ended up working with a 4″ x 5-1/2″ card front rather than my usual 4-1/4″ x 5-1/2″ simply because I cut my next layer narrower than I liked and trimmed the base to fit. I think it looks nice a bit narrower – there’s a slightly increased delicate flair to the design. The second layer (the one that I cut narrower by accident) is Mossy Meadow cardstock, die cut using the edge die from the Wonderful Floral Framelits. So pretty! The third layer is a square piece cut from the Petal Promenade Designer Series Paper. This paper pack has a few sheets which, instead of being a typical full 12″ x 12″ patterned piece of paper, are designed to be used in specific pieces. This square was among 6 squares on the sheet of paper. There were also rectangles and a beautiful floral edge piece that I will use for future crafty projects.
Before adhering the Mossy meadow piece to the card front, I attached the Petal Promenade paper and wrapped a piece of the Lemon Lime Twist ribbon from the Organdy Ribbon Combo Pack around the two pieces of paper.
This ribbon is one of the many items that you can earn for FREE with a $60 purchase of things you know you’re going to buy anyway! (you KNOW you will!!)
I tied the Old Olive Linen Thread (NEW! I love this stuff!) around the Organdy Ribbon in a big ol’ loopy bow!
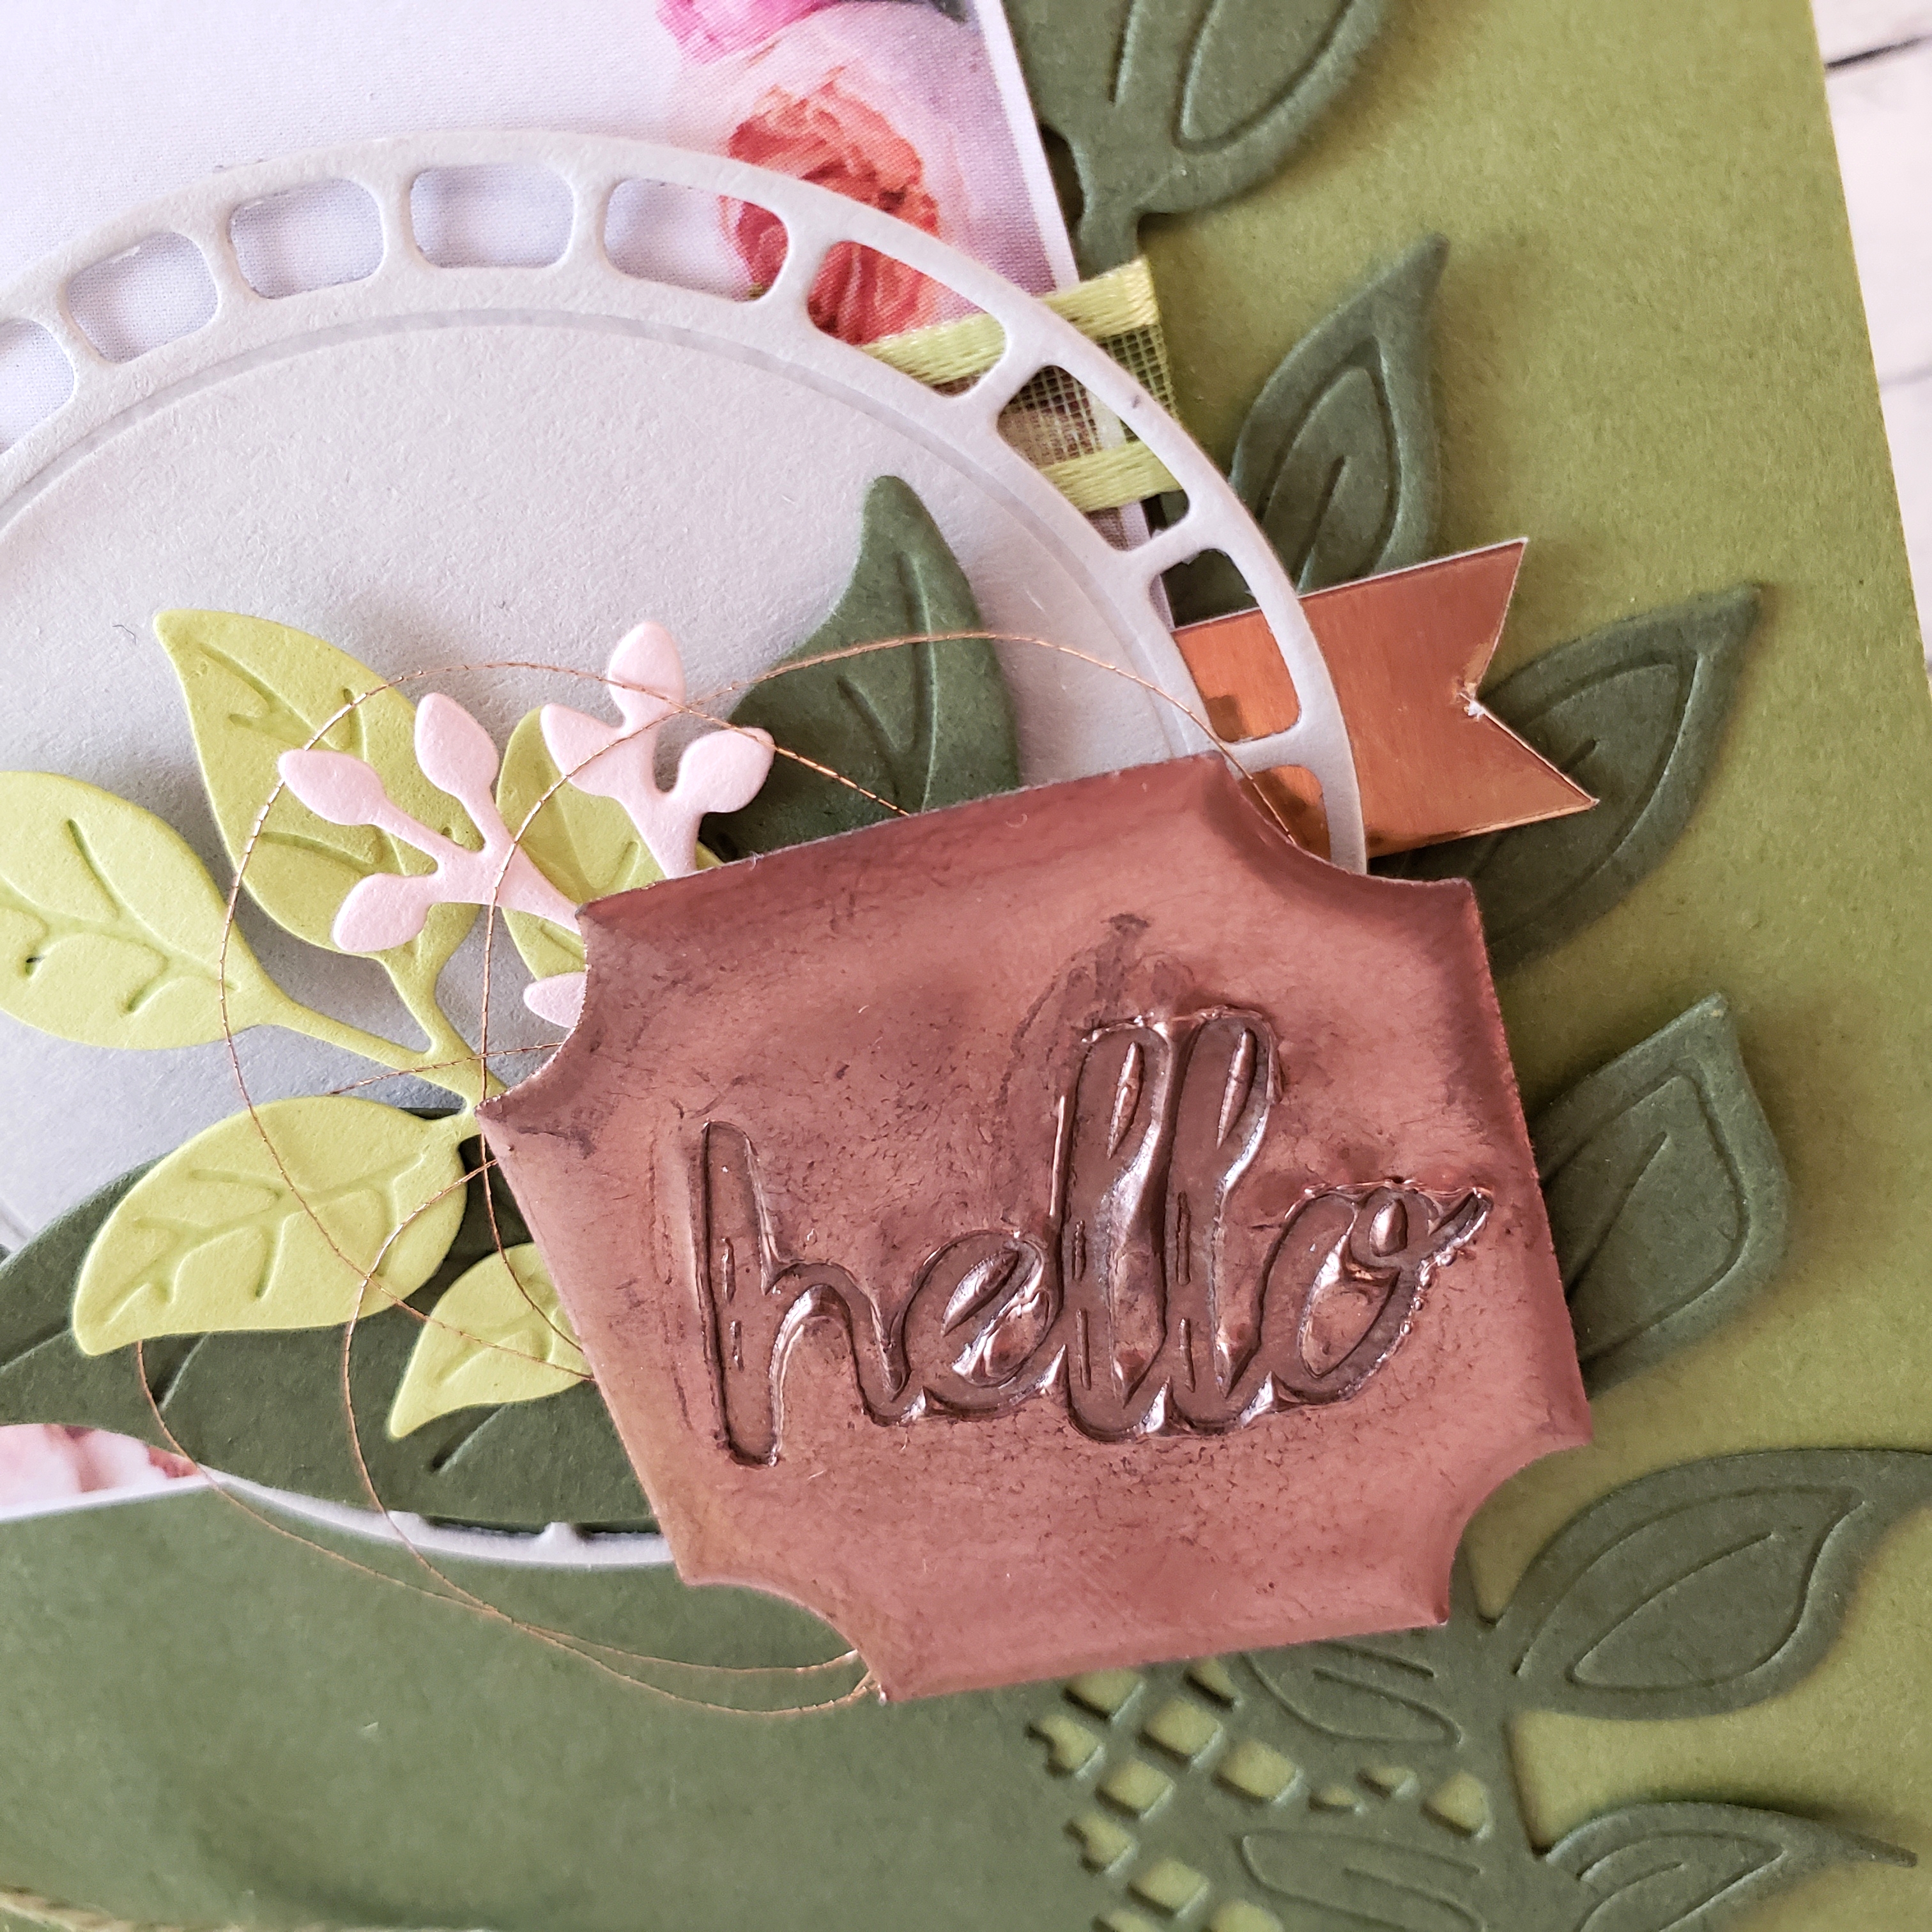
The Wonderful Floral Framelits dies played their part beautifully for the next layers. Sahara Sand cardstock for the chubby oval, Lemon Lime Twist and Mossy Meadow cardstock for the leaves and Powder Pink for the flower buds. Tucked in behind all that is a strip of Copper Foil paper with hand-cut flagged ends.
Finally, the faux stamped metal piece and the loopy Copper Metallic Thread are attached with Stampin’ Dimensionals over the stems of the leaf collection.
Have you tried creating faux metal before? It takes a little bit of time, but it’s not a difficult technique. Start with punching out a piece of Basic Black cardstock with the Darling Label Punch. The colour of cardstock doesn’t matter, since it will be completely covered with embossing powder. Place the punched piece of cardstock on your Grid Paper and apply Versamark ink to it by pressing the ink pad directly to the paper. Pick up the paper with your craft tweezers and dip it in Copper embossing powder. Still holding it with the tweezers, heat set the powder as you normally would, but then you repeat that process two more times. Yup. You want that embossing powder three layers thick for the next part of the process. Don’t worry too much about the marks left by the tweezers – that will be taken care of with the final heating that comes next.
After applying the three layers of embossing powder, place your embossed piece of cardstock on a heat resistant surface (I use a piece of tile). Again, use your Heat Tool, this time straight above (perpendicular to) your paper so it doesn’t blow away. Heat it until the tweezer marks blend into the rest of the embossing powder and you can see that the powder is fluid and moving with the wind of your Heat Tool (I hold it about one inch away from the surface). Then, without delay, set your Heat Tool aside, grab the stamp and press it into the soft, warm embossing powder. Hold it there until the embossing powder sets a bit, then peel the stamp away from the paper. This will leave an impression of the stamp in the embossing powder, just like stamping on real metal would leave the impression of the stamp in the surface of metal! I used the hello stamp from the Darling Label Punch Box set.
Now that, my friends, is “dope”, Yo!
Check out my online store if you live in Canada and are interested in ordering stamping supplies. I KNOW you can do this dope technique, too!
P.S. – If you’re wondering about any damage that you might cause by putting your stamp into hot embossing liquid, not to worry. I held a class where 7 participants each used the same photopolymer stamp with this technique. After the class, I stamped the same stamp on some cardstock and it still stamped beautifully.
I took a break over the holidays to spend time with my family. My kids aren’t back in school until Monday and we have taking advantage of the time with restful pajama days wherever we can fit them in. These are special moments in my house. We eat too many sweets and unhealthy foods and sit around all day – sometimes we play board games (the kids like their new Bananagrams game) or watch movies or just waste time on our cell phones, the computer, or tablets. I enjoy wasting time, but eventually, the guilt seeps in and the restlessness starts to take over and I need to get up and do something. I don’t mind this at all, though, because that’s the time when I actually WANT to do something. I spend so much time in my life doing things that I don’t want to do, that it’s nice to have it turn around on me like this once in a while.
Even though my craft room is such a disaster that I have to carefully maneuver around the many boxes, papers, and tools strewn all over the floor and I have to push aside the neglected loose stamps, scrap papers, and tossed aside ink pads, I managed to get a card done for you today. And I wanted to. I was excited to. I needed to do something. It feels good to craft again after the holiday break!
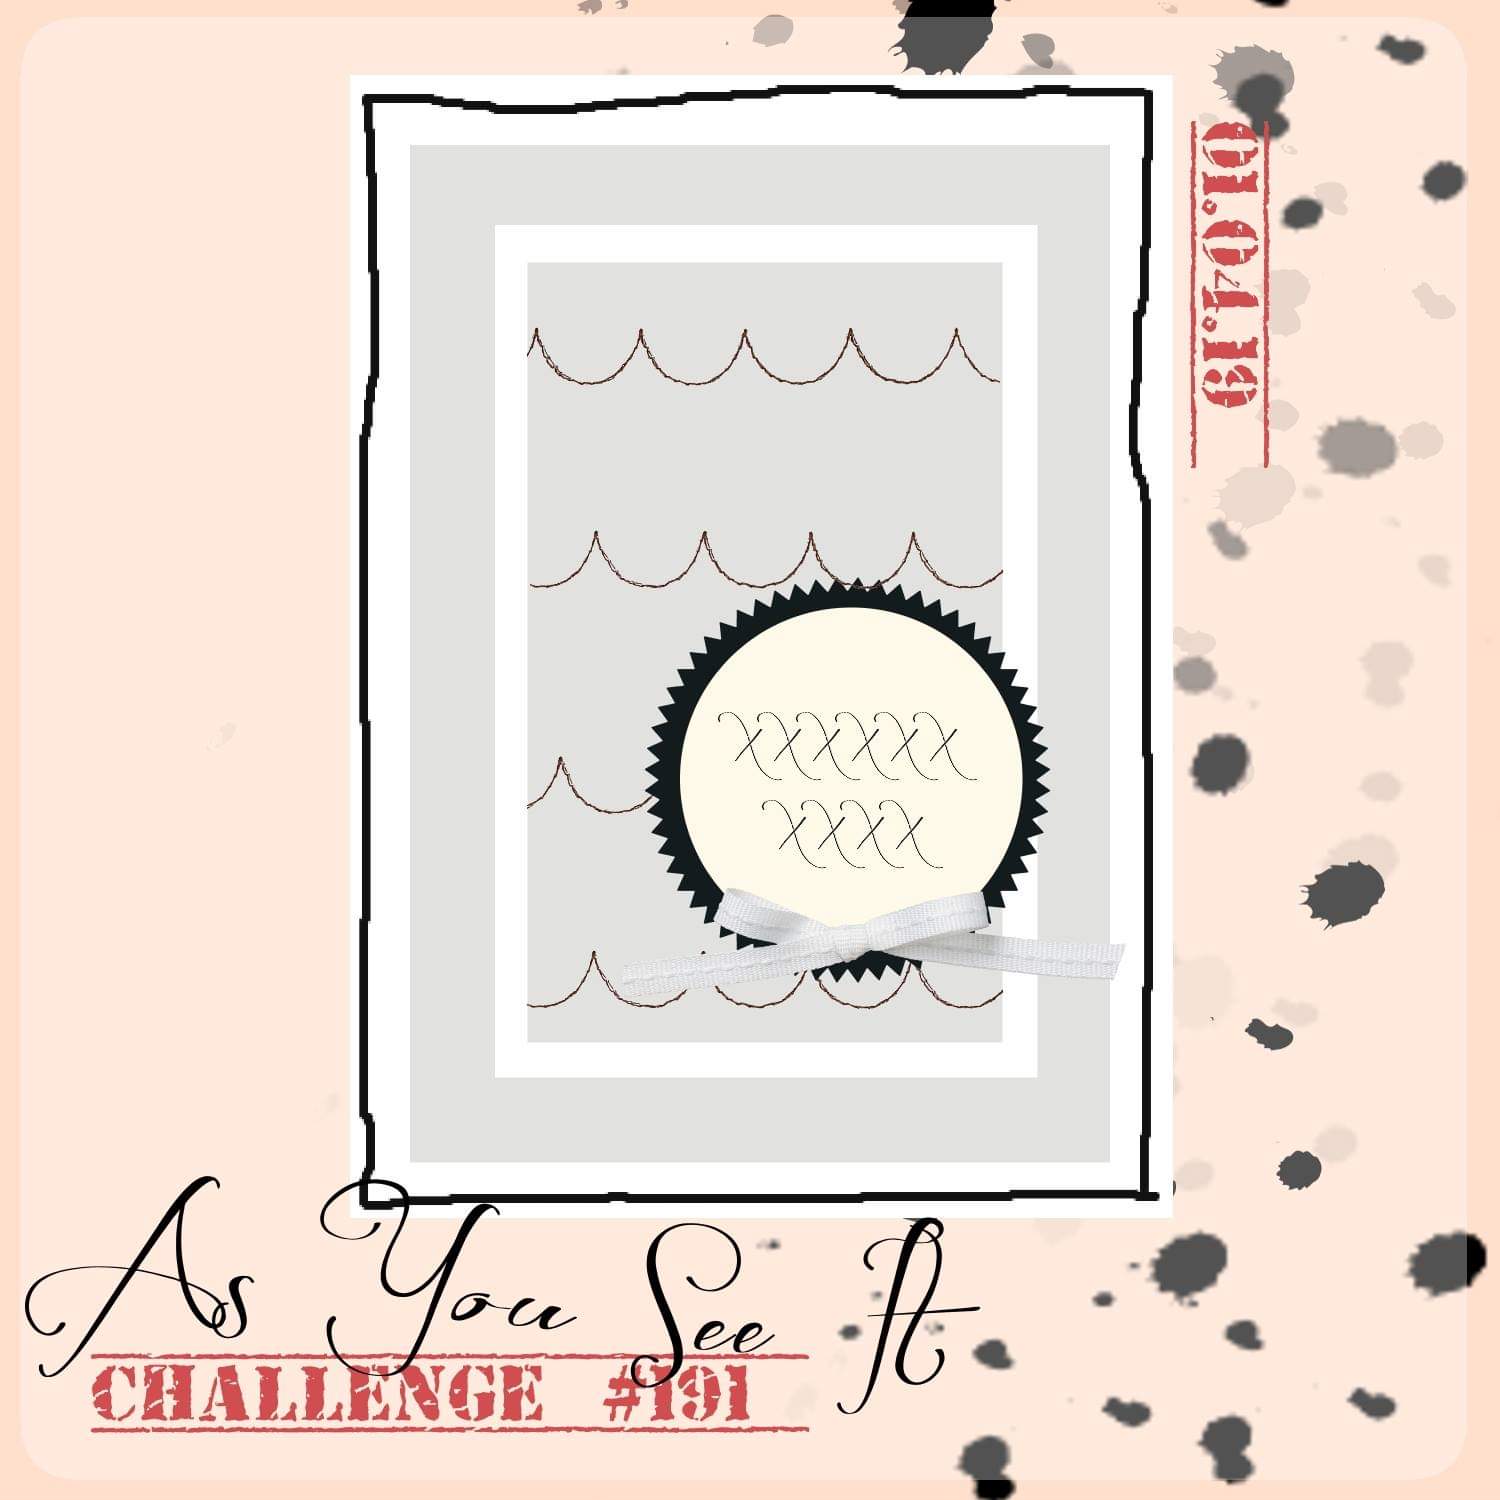
The card design today, starts with a challenge, as most of my blog posts tend to do. The As You See It Challenge has a sketch for us this time:
The Sweetest Thing stamp set from the new Occasions Calalogue was not a set that immediately jumped out at me. However, the more I looked at it, the more I thought it would suit my personal needs and the crafty needs of my customers. My youngest child is a sugar monkey. Some of my customers have young kids, grand-kids, and there are a couple ladies who make birthday cards for kids at their church. This stamp fits all those needs as well as just a fun card for my friends and family on their birthdays! Maybe I’ll actually be able to get birthday cards mailed out this year!
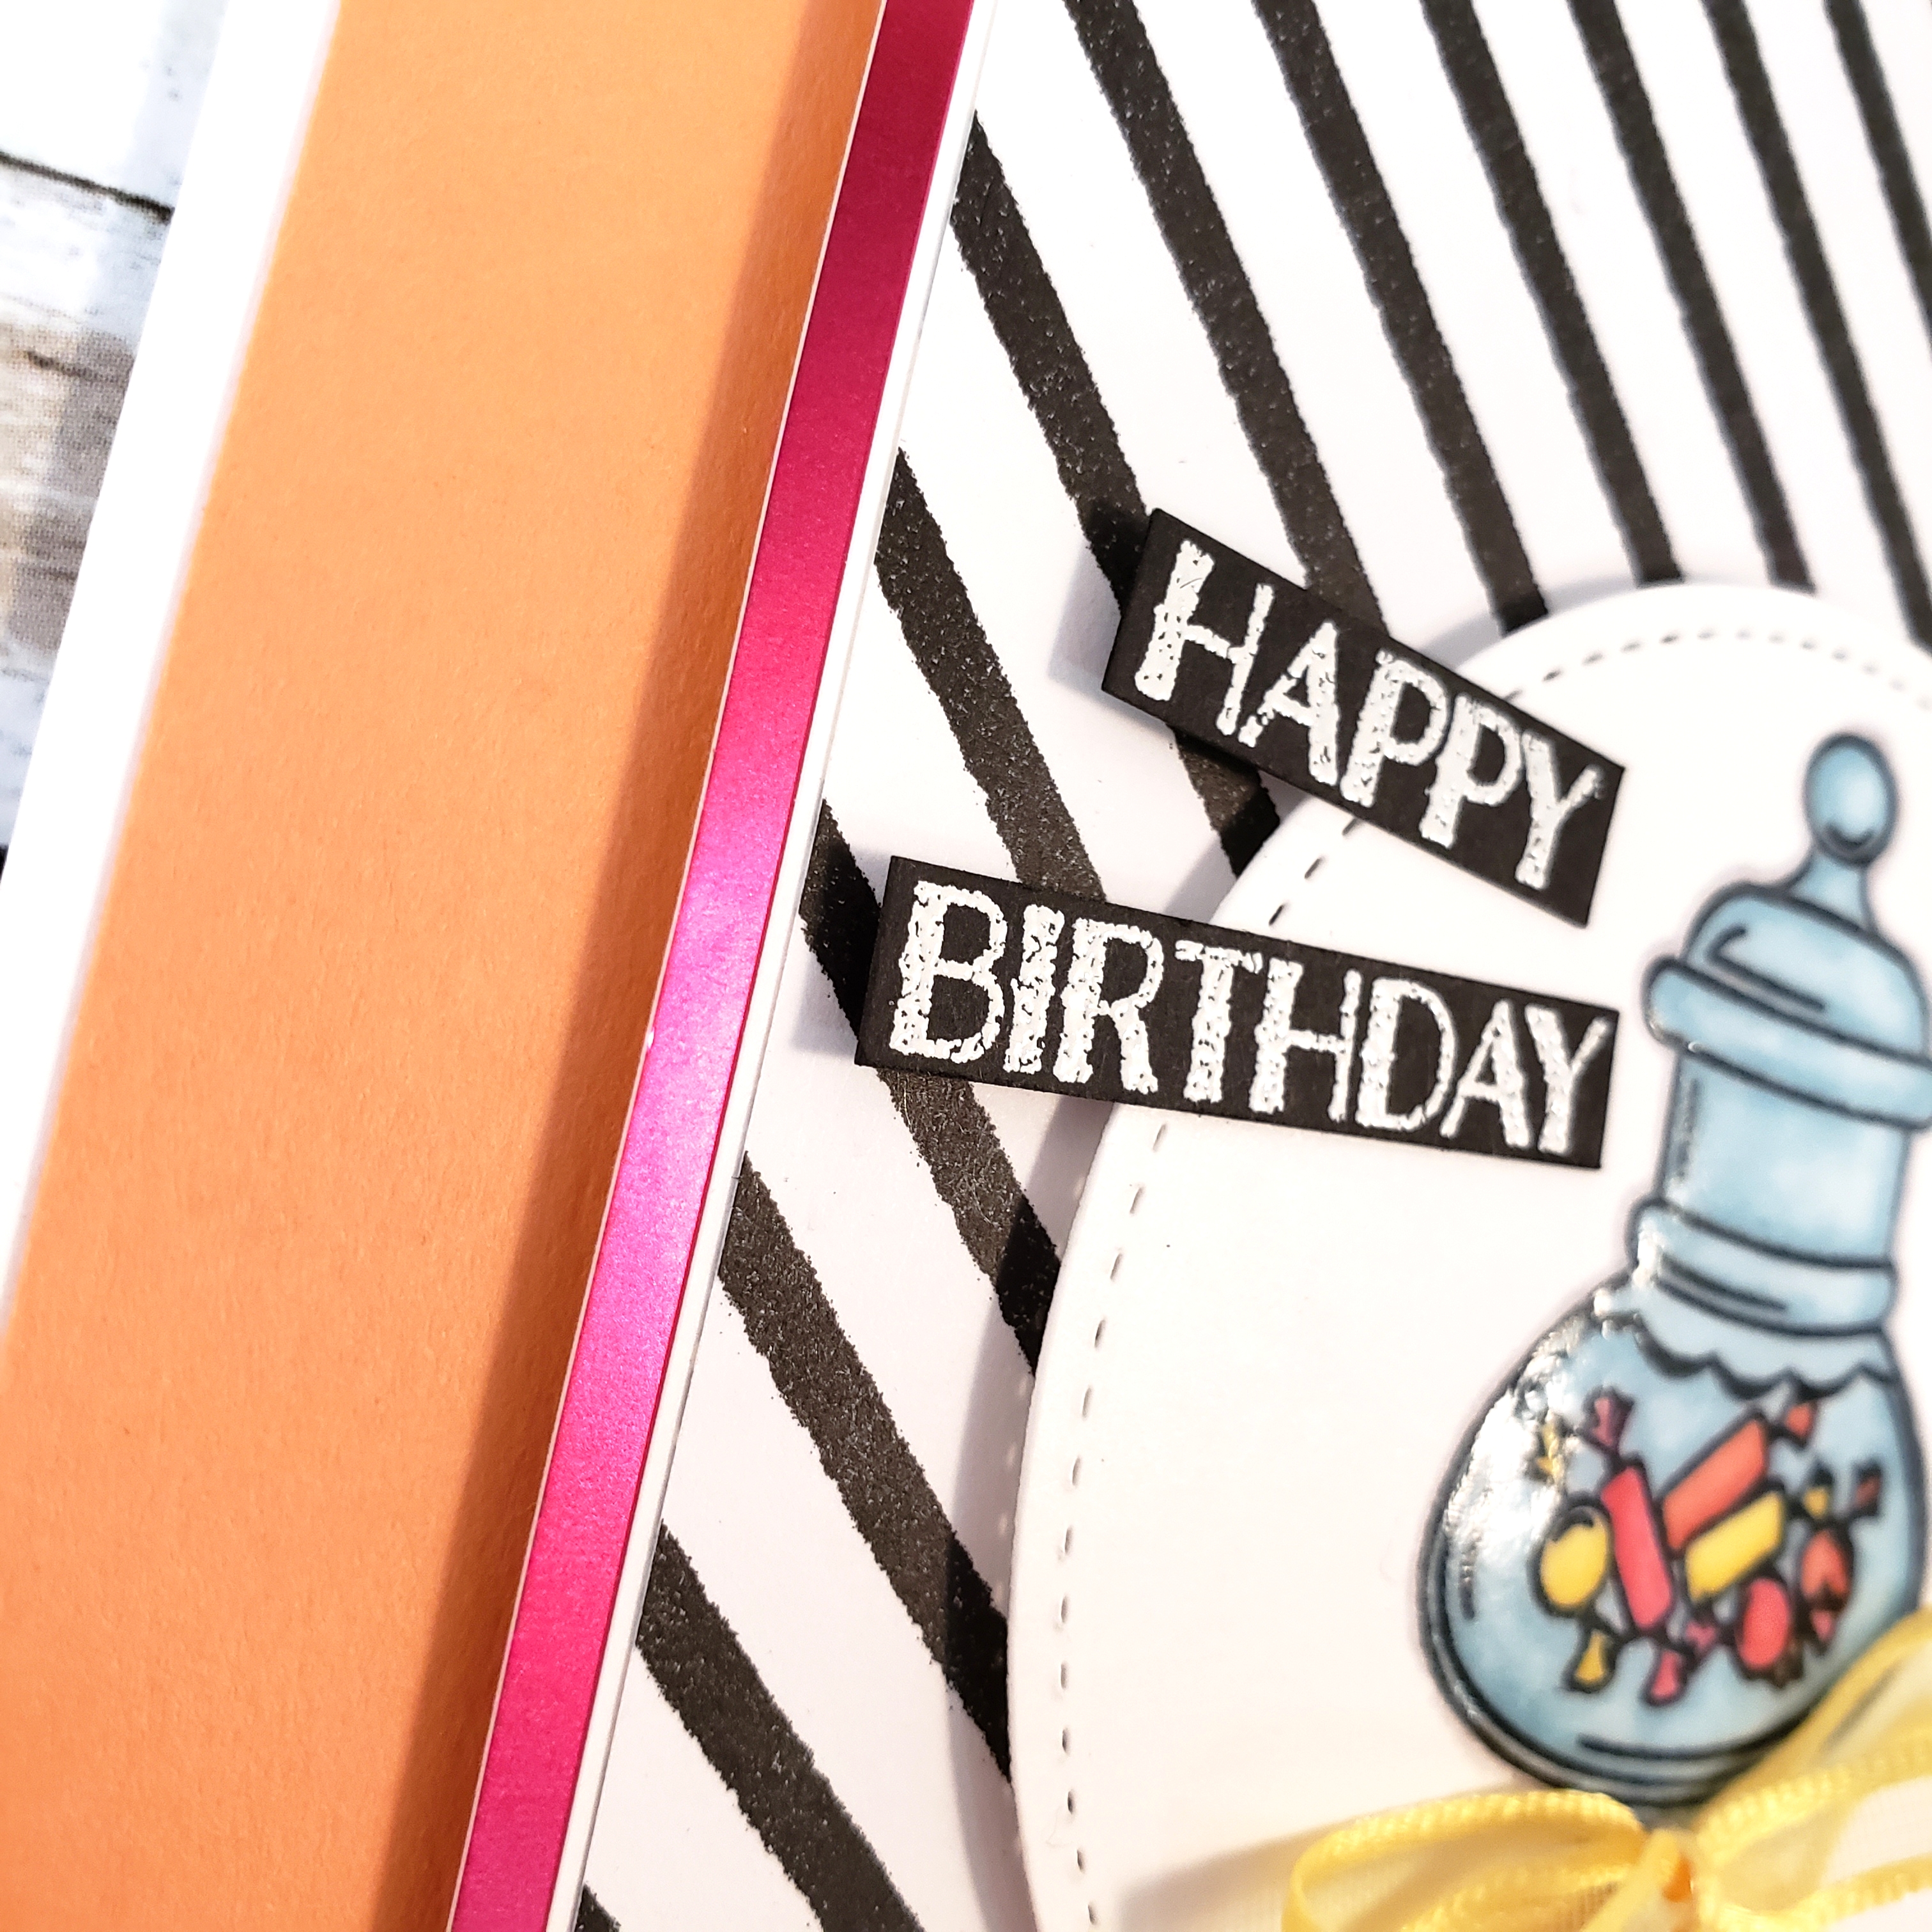
I knew immediately that the black and white diagonal striped pattern from the Butterfly Gala Designer Series Paper would be really sharp with the Lovely Lipstick Foil Paper. You can get both of these items for FREE through the Sale-a-bration promotion. How cool is that!?
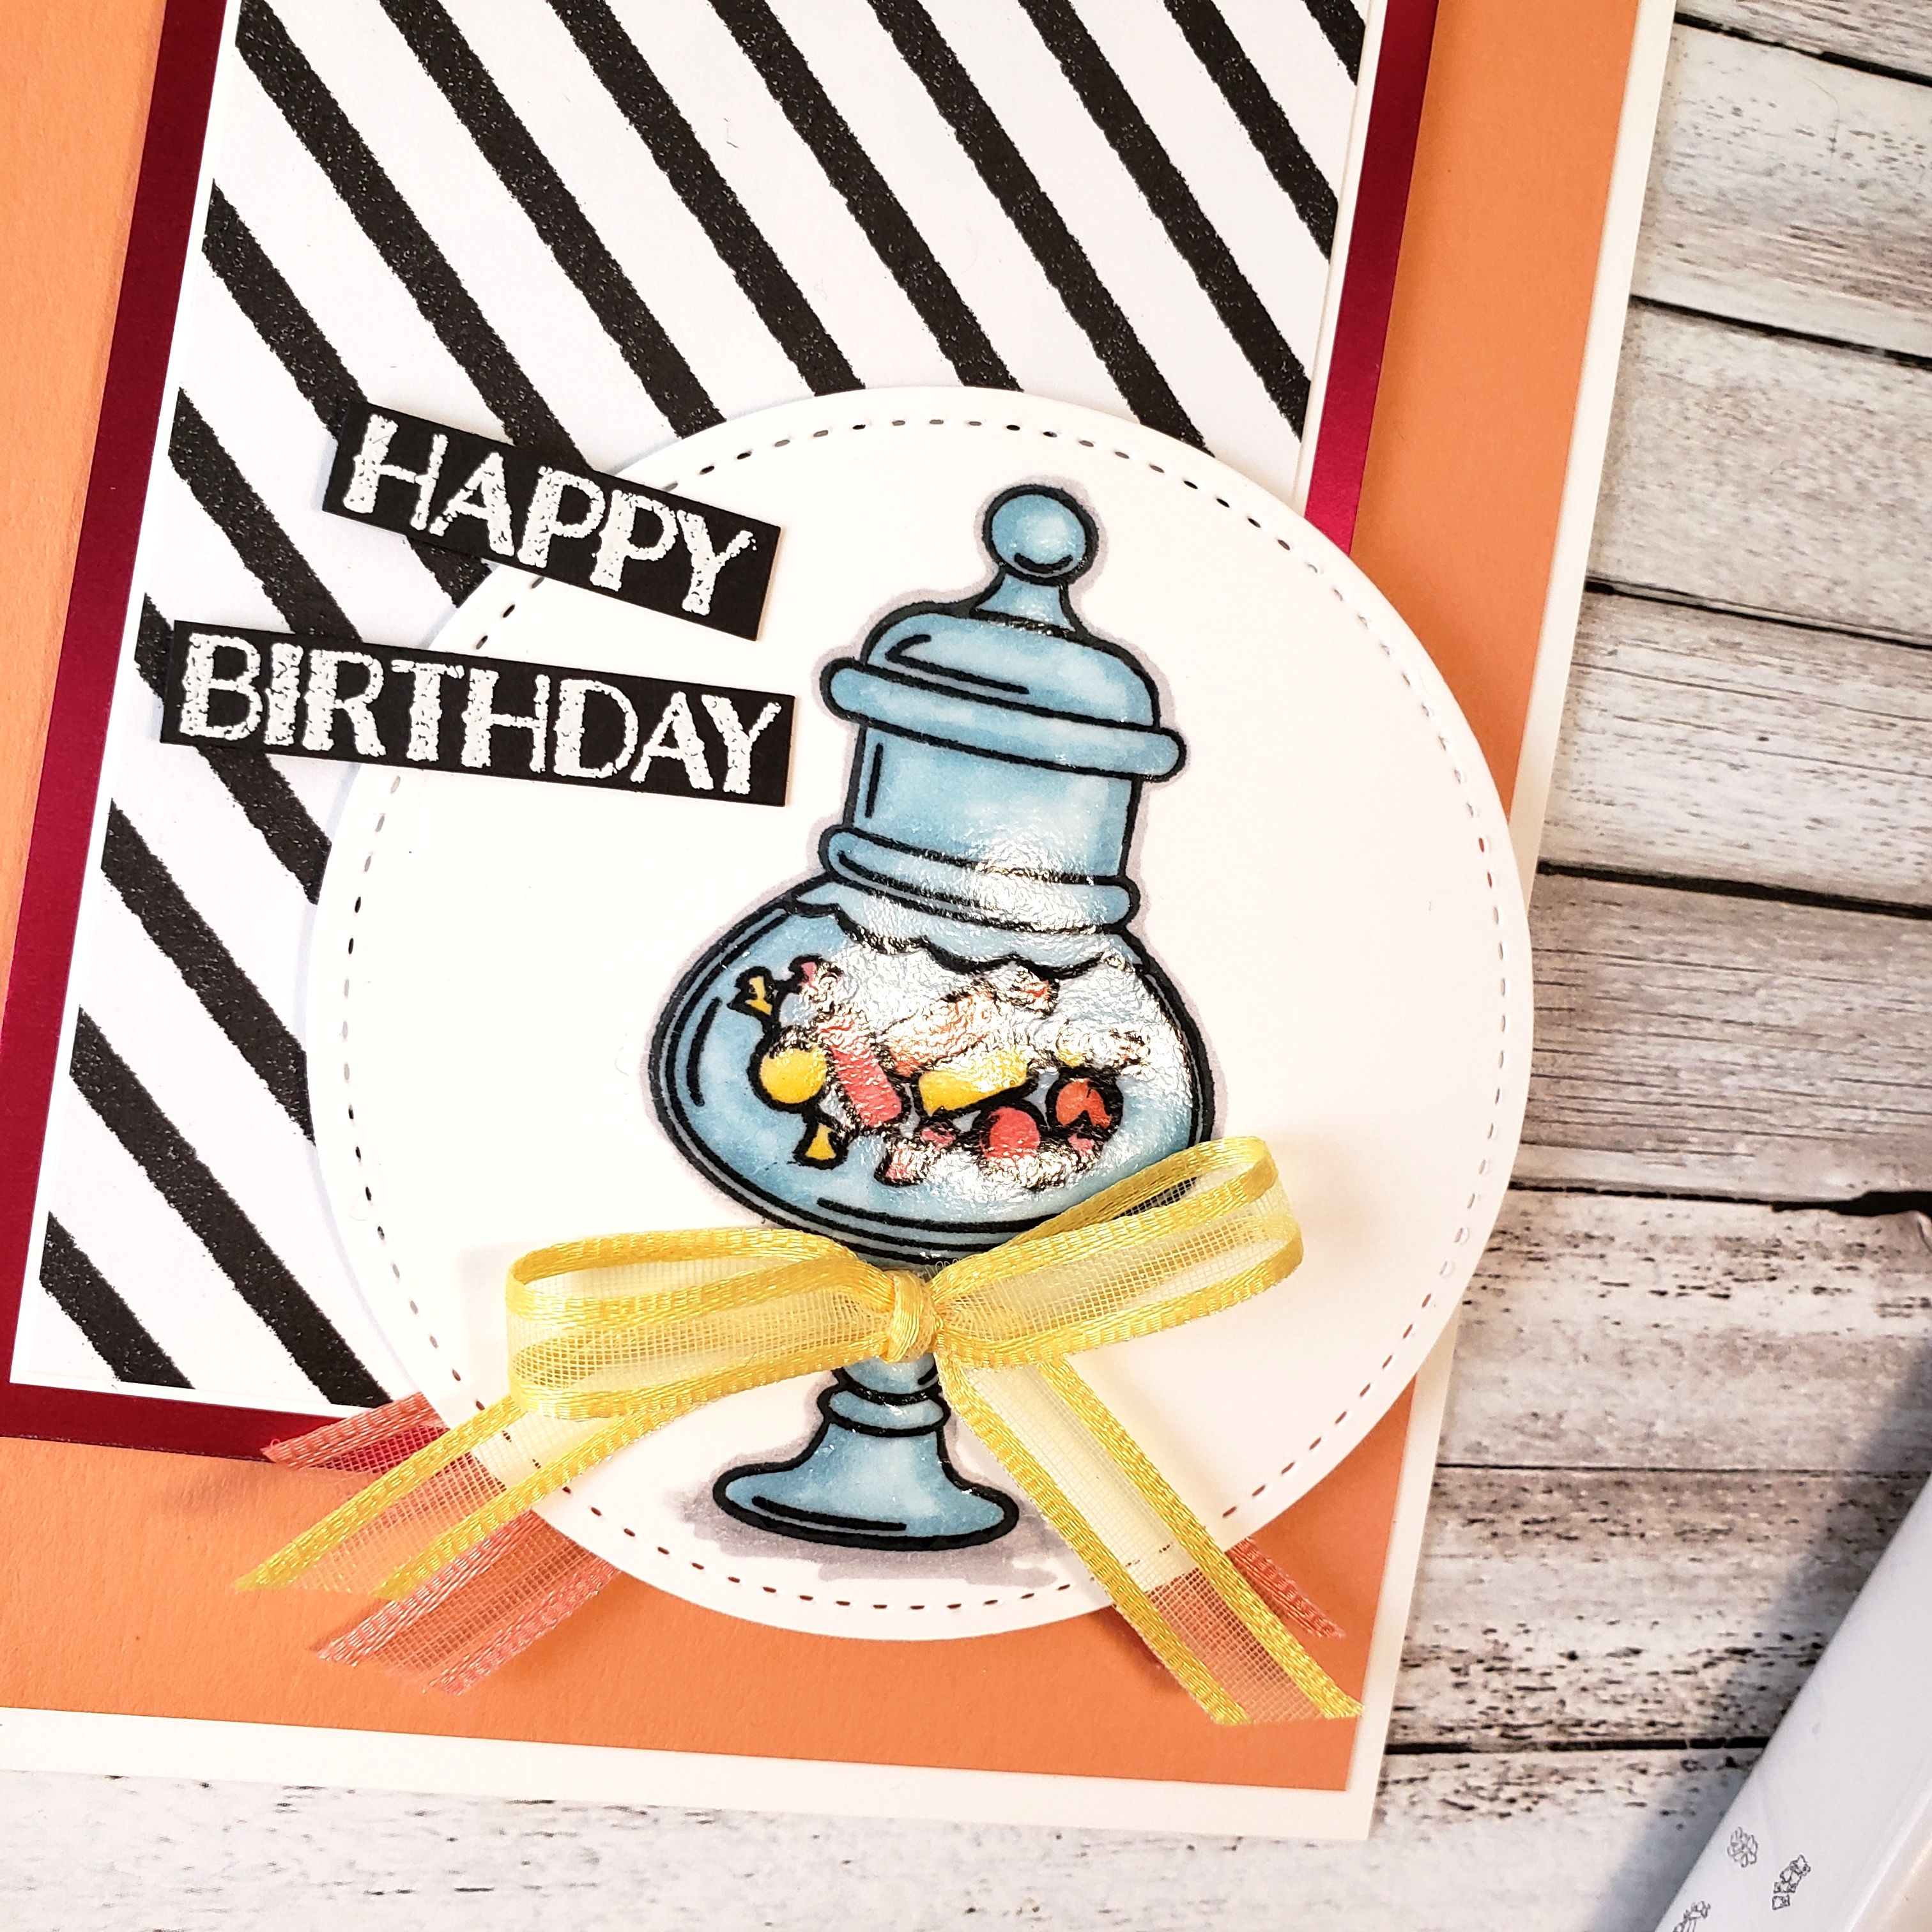
Let’s talk about the candy. I stamped the candy jar and the candies from the Sweetest Thing stamp set onto Whisper White cardstock with Tuxedo Black Momento ink, then die cut it with the Big Shot and one of the circles from the Stitched Shapes Framelits Dies. I coloured the candies with Daffodil Delight, Calypso Coral, and Lovely Lipstick using my Blends Markers. Then I coloured the jar and around the candies with my newly purchased Balmy Blue Blends Markers. I even did a very careful outline and shadow using the light Smokey Slate Blends Marker. To give the look of glass and make the colours pop, I then used my Fine-Tip-Glue Pen and worked on each section of the jar from one side to the other, until I covered the entire jar with a layer of the clear glue. This needed a bit of drying time, so I set it aside and worked on the Happy Birthday sentiment.
I stamped the sentiment with Versamark ink on Basic Black cardstock, after rubbing the Embossing Buddy over the surface to reduce the risk of my powder sticking to where it doesn’t belong. Then I heat set White embossing powder. I carefully cut the sentiment apart using my paper trimmer (I had to cut it very close) and was ready to add it to my card front.
The glue doesn’t take too long to dry, so it was ready for my assembly. The card base is Thick Whisper White cardstock, then I applied a layer of Grapefruit Grove cardstock. The Lovely Lipstick Foil Paper, thin matte of Whisper White cardstock, and the diagonal strips patterned paper, are all attached to the Grapefruit Grove with Stampin’ Dimensionals. The circle die is attached to the cardfront with MORE Stampin’ Dimensionals with a sneaky bit of Grapefruit Grove ribbon from the Sale-a-bration Organdy Ribbon Combo Pack peeking out underneath. I tied a finger bow with the Daffodil Delight Organdy Ribbon (also part of the combo pack) and adhered it to the jar with a Glue Dot.
Finally, I adhered my sentiment with a Stampin’ Dimensional on one side (where it needed to be raised off the cardfront) and a sparse dab of Tombow Multipurpose Liquid Glue on the other (where it needed to be all snuggly on the circle die).
Many of the supplies on this card are from the Sale-a-bration brochure and are items that you can only get for FREE with any $60 purchase during the Sale-a-bration period. This is a favourite time for many customers and demonstrators in the Stampin’ Up! family. Free stuff is always a good thing!!
Be sure to go to my online store where you can order Stampin’ Up! products or you can just go there to peruse the pretty things and contact me via email to order. If you are outside of Canada, then sadly you cannot order from me, but leave me a comment on my blog and say “hi”. I like to know that I’m not just talking to myself, LOL!