Sweetest Berry Burst
It’s time for another As You See It Challenge post. The challenge today is a sketch and I chose to use the Sweetest Thing Stamp Set from Stampin’ Up! for this sweet card.
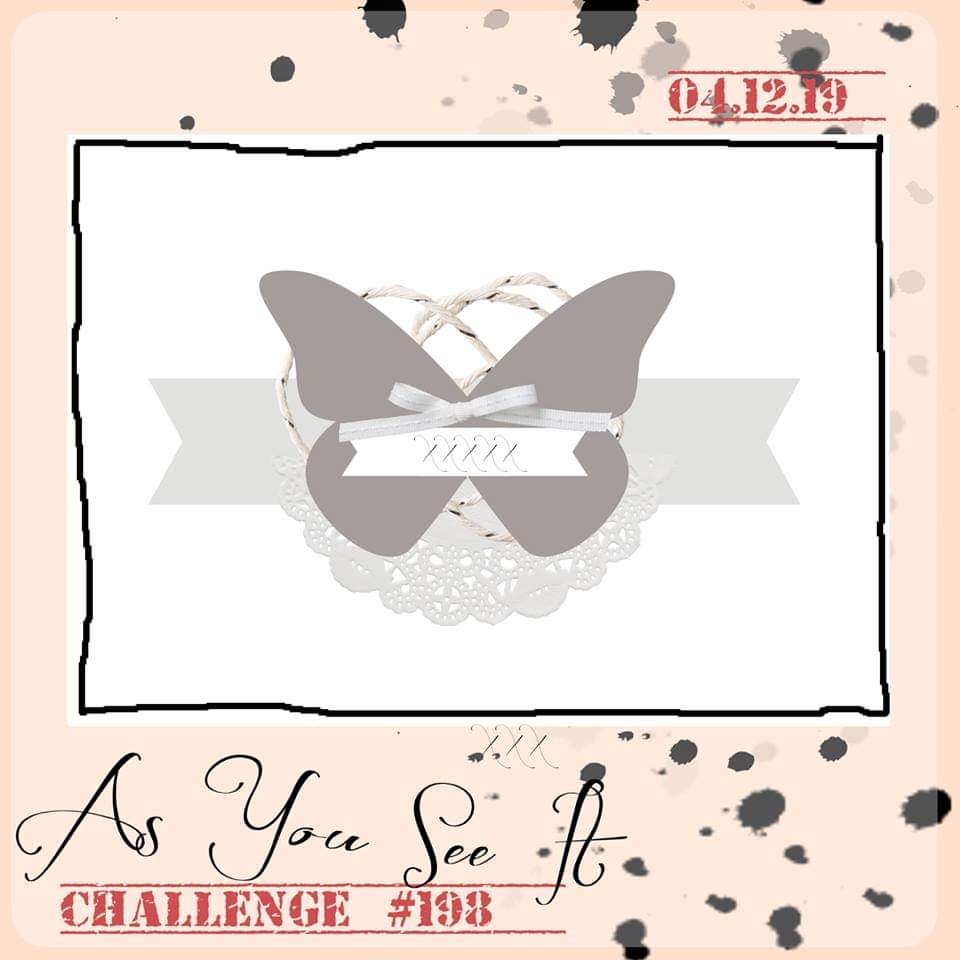
But first, here’s the sketch:
Stampin’ Up! is coming close to a new annual catalogue and with that, there will be some products retiring to make way for new products. I’m so excited to see all the new things this weekend at the Stampin’ Up! OnStage Local event for Stampin’ Up! Demonstrators in Vancouver, BC, Canada!
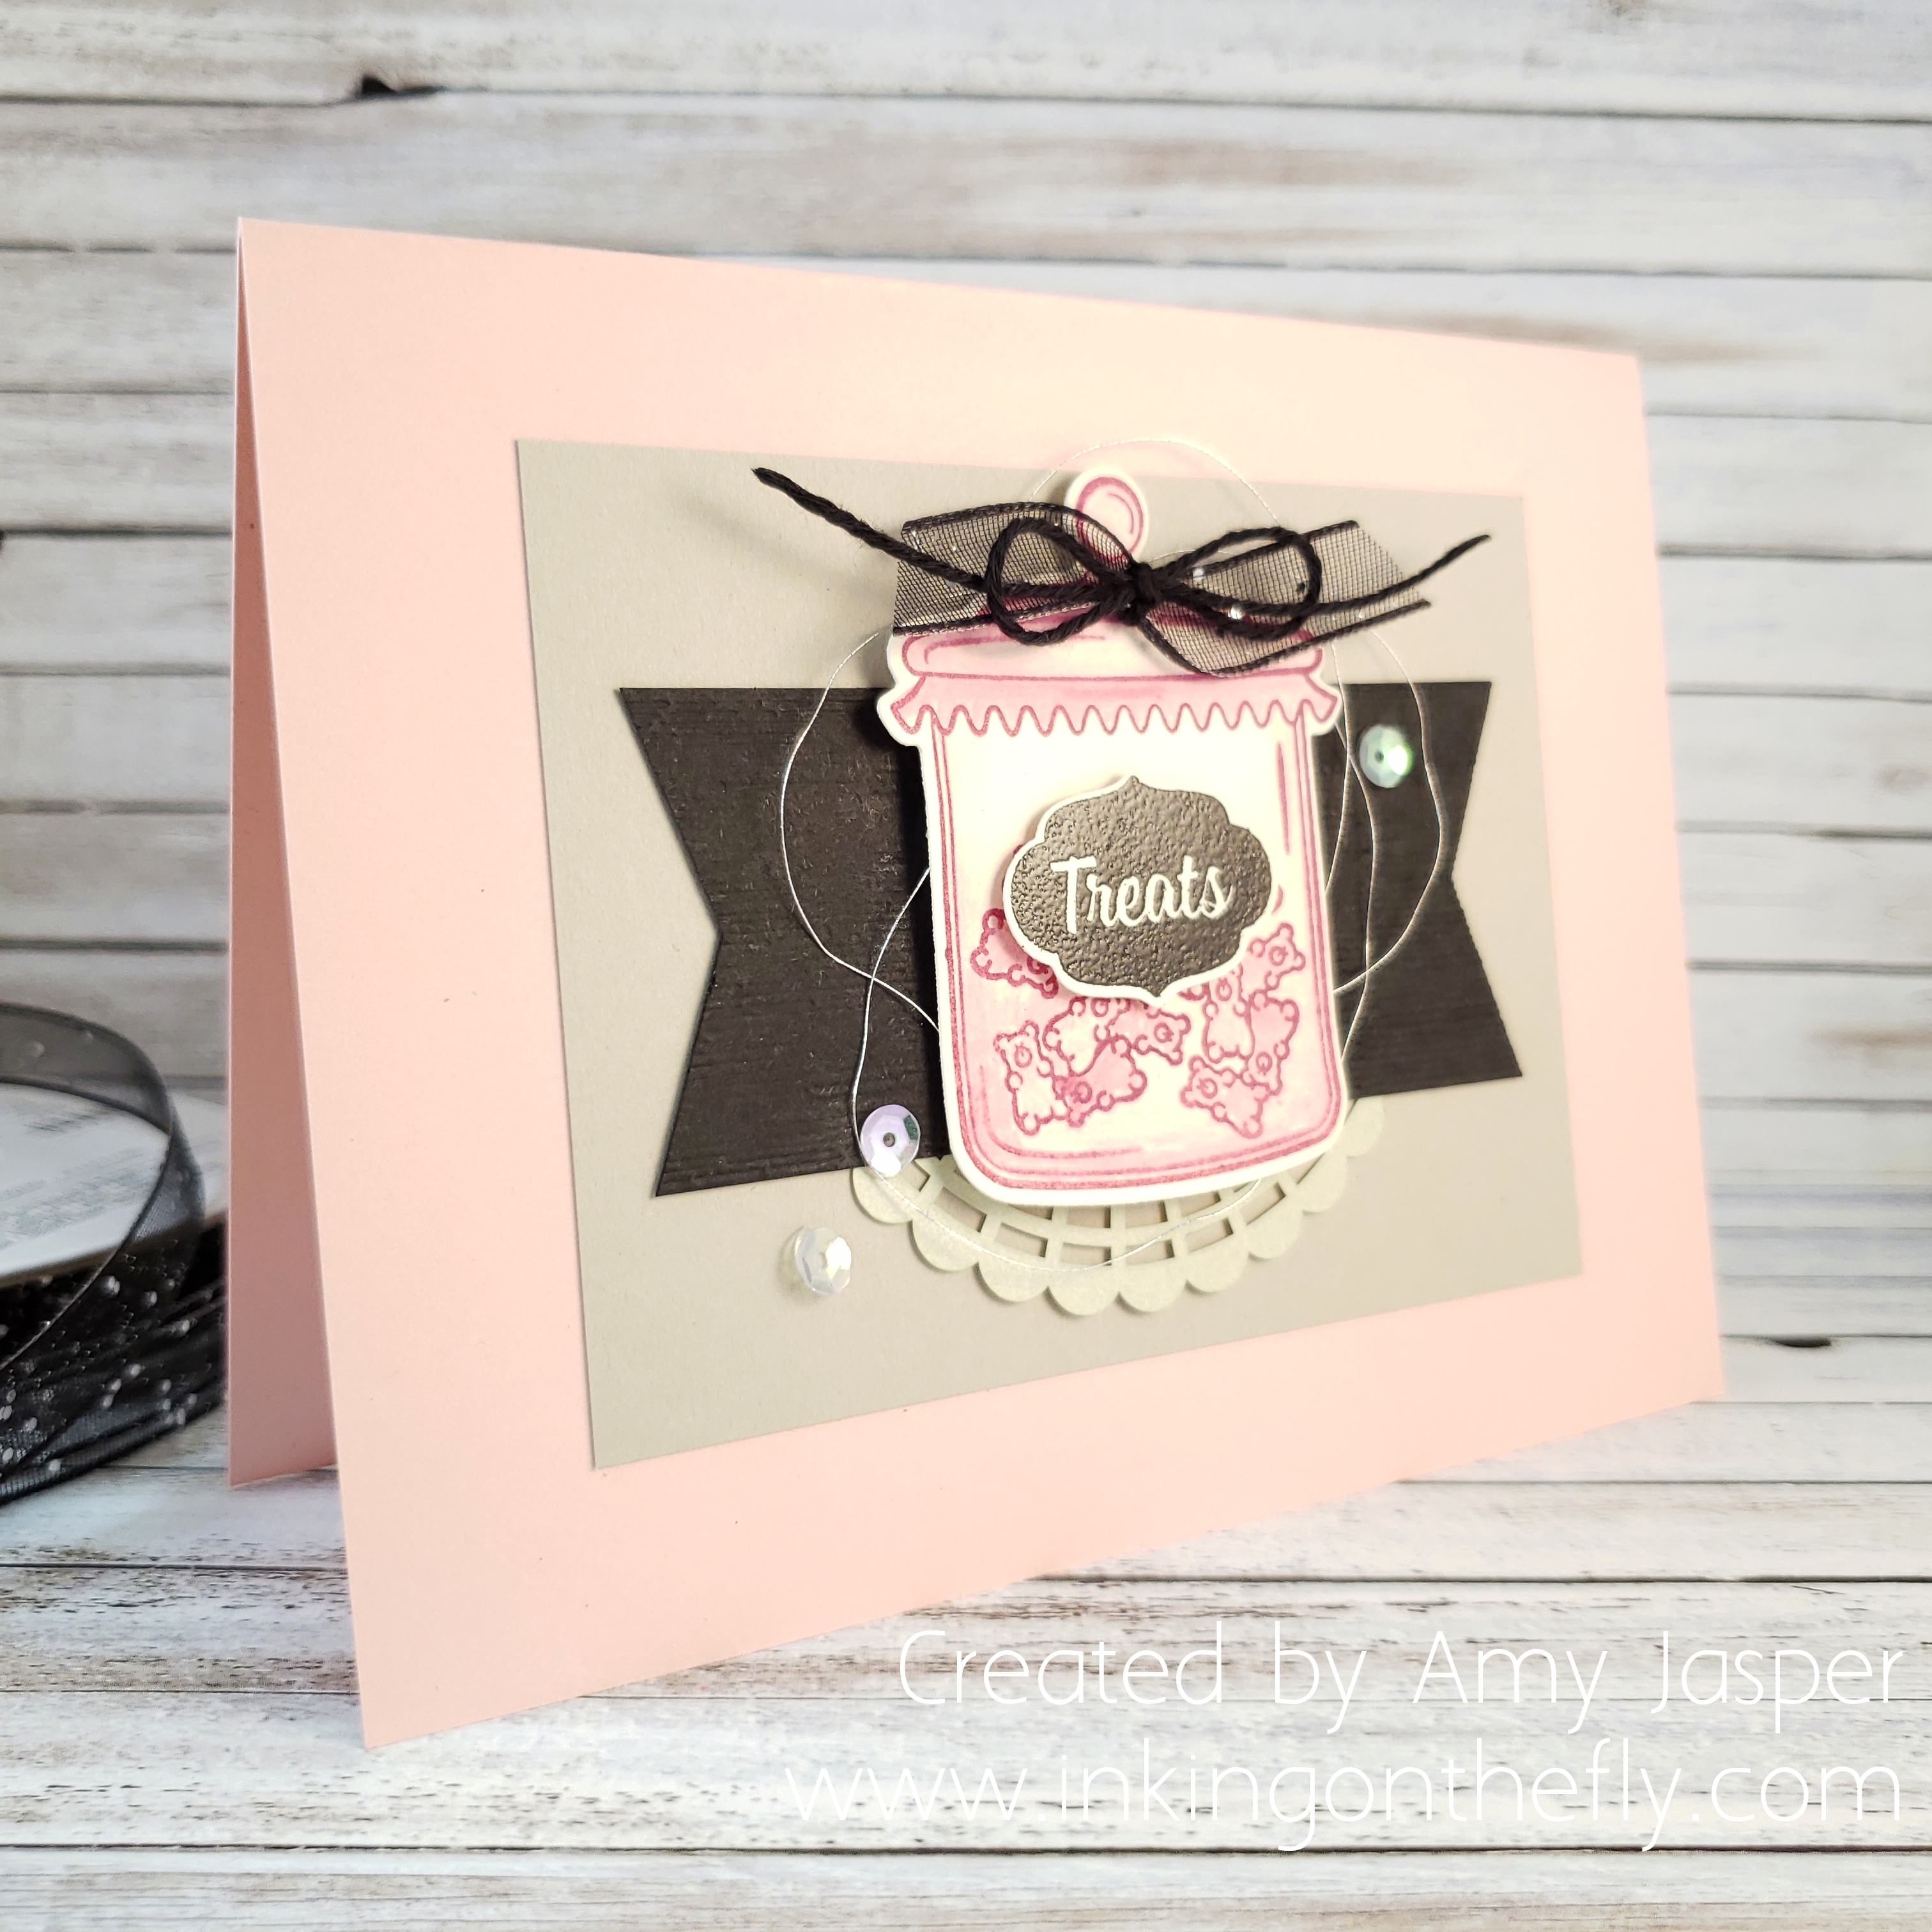
My card today, shows off two of the In Colors that will be retiring at the end of May: Berry Burst and Powder Pink. I will be sad to see them go, but am excited to see what the new In Colors will be!
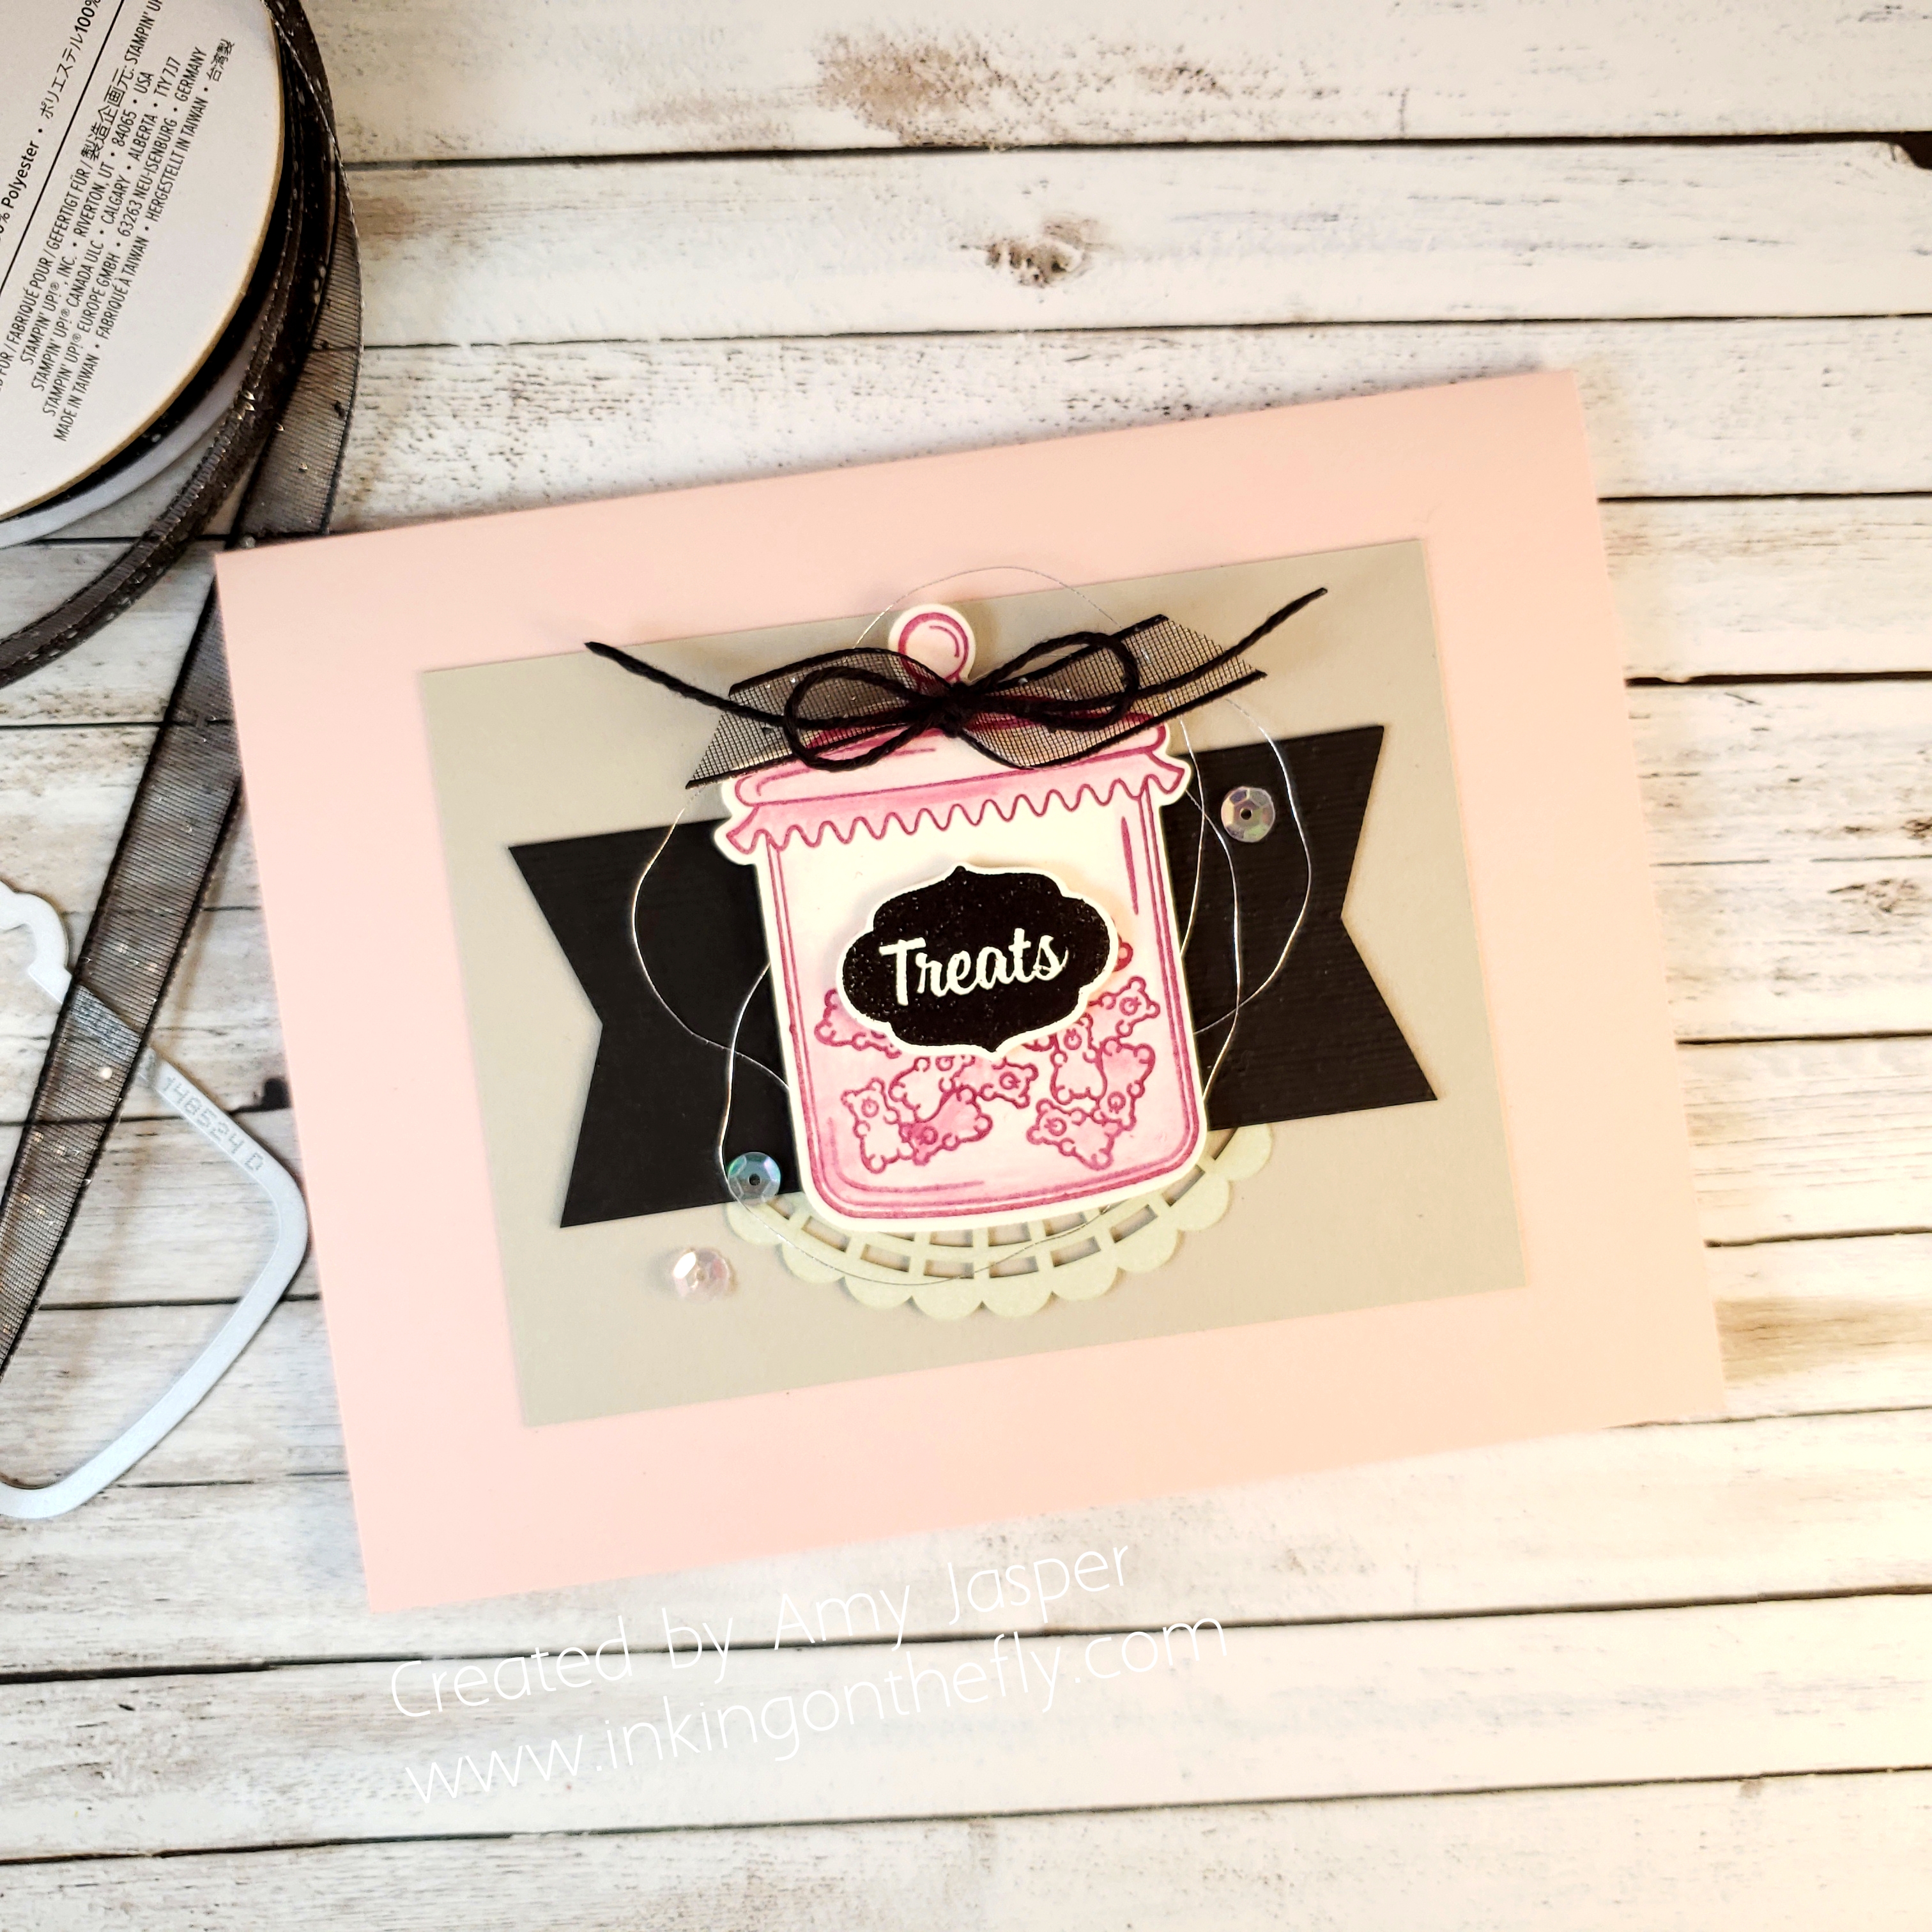
The candy jar image, the gummy bears, and the label image are all from the Sweetest Thing Stamp Set. I used the coordinating Jar of Sweets Framelits dies to die cut the jar and the label. It’s so awesome to have dies that work with your stamps! The jar image is stamped on Very Vanilla cardstock in Berry Burst ink and coloured with the use of a Stampin’ Up! Blender Pen and a little bit more Berry Burst ink to create a soft watercolour effect. I stamped the label image on Very Vanilla cardstock with Versamark ink, and heat set it with Basic Black Embossing Powder and my Heat Tool.
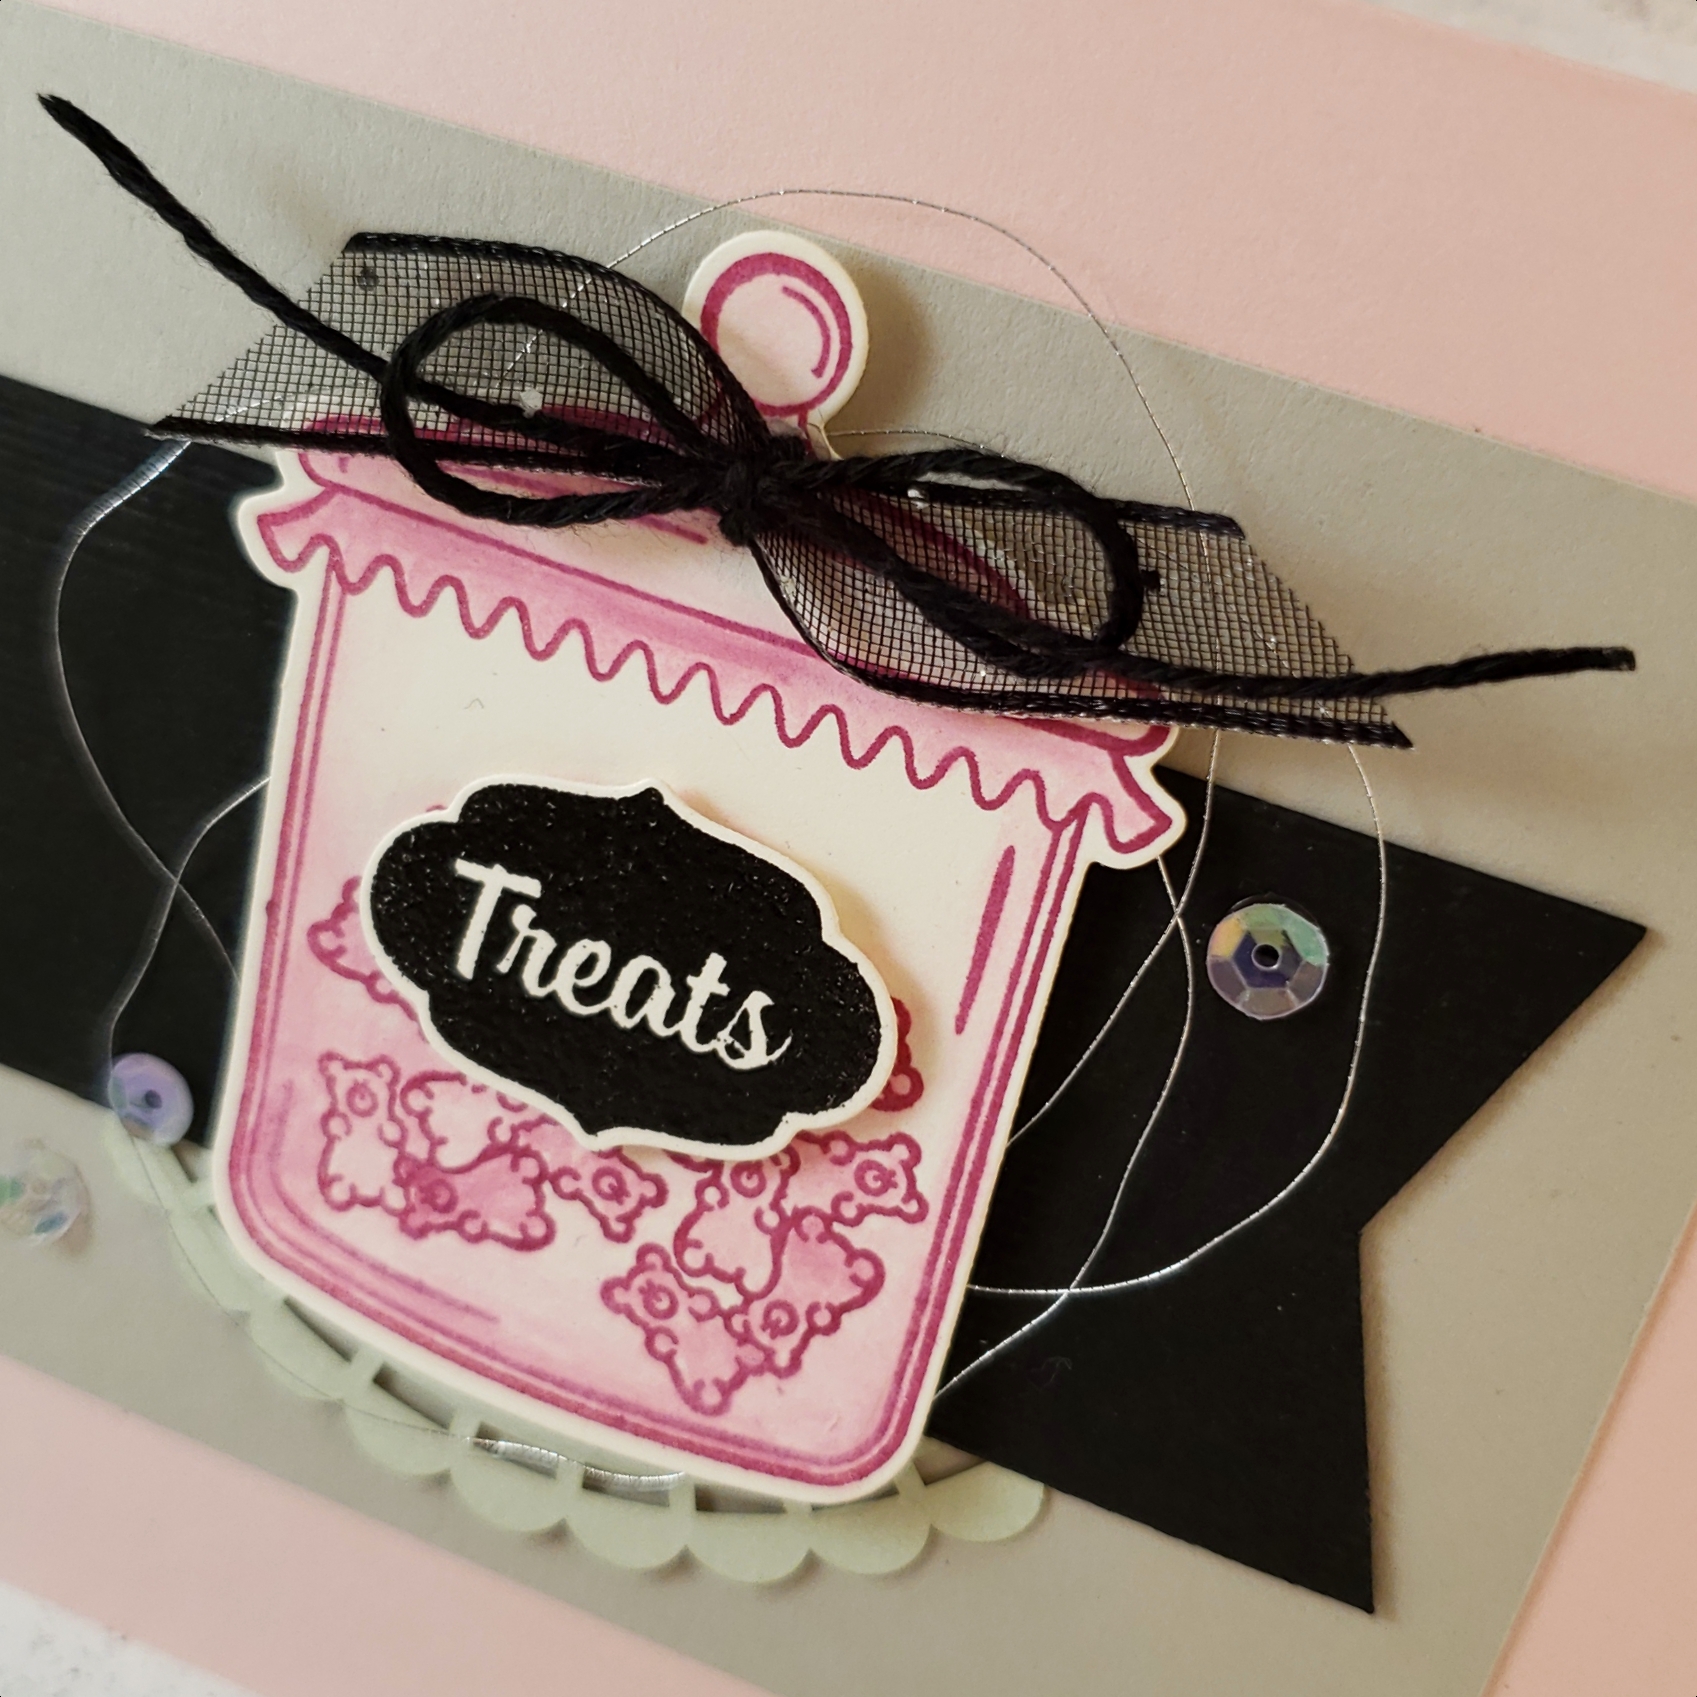
At the top of the jar is some Black Glitter Organdy Ribbon tied with a bow in Basic Black Baker’s Twine. Behind the jar are loops of Silver Metallic Thread.
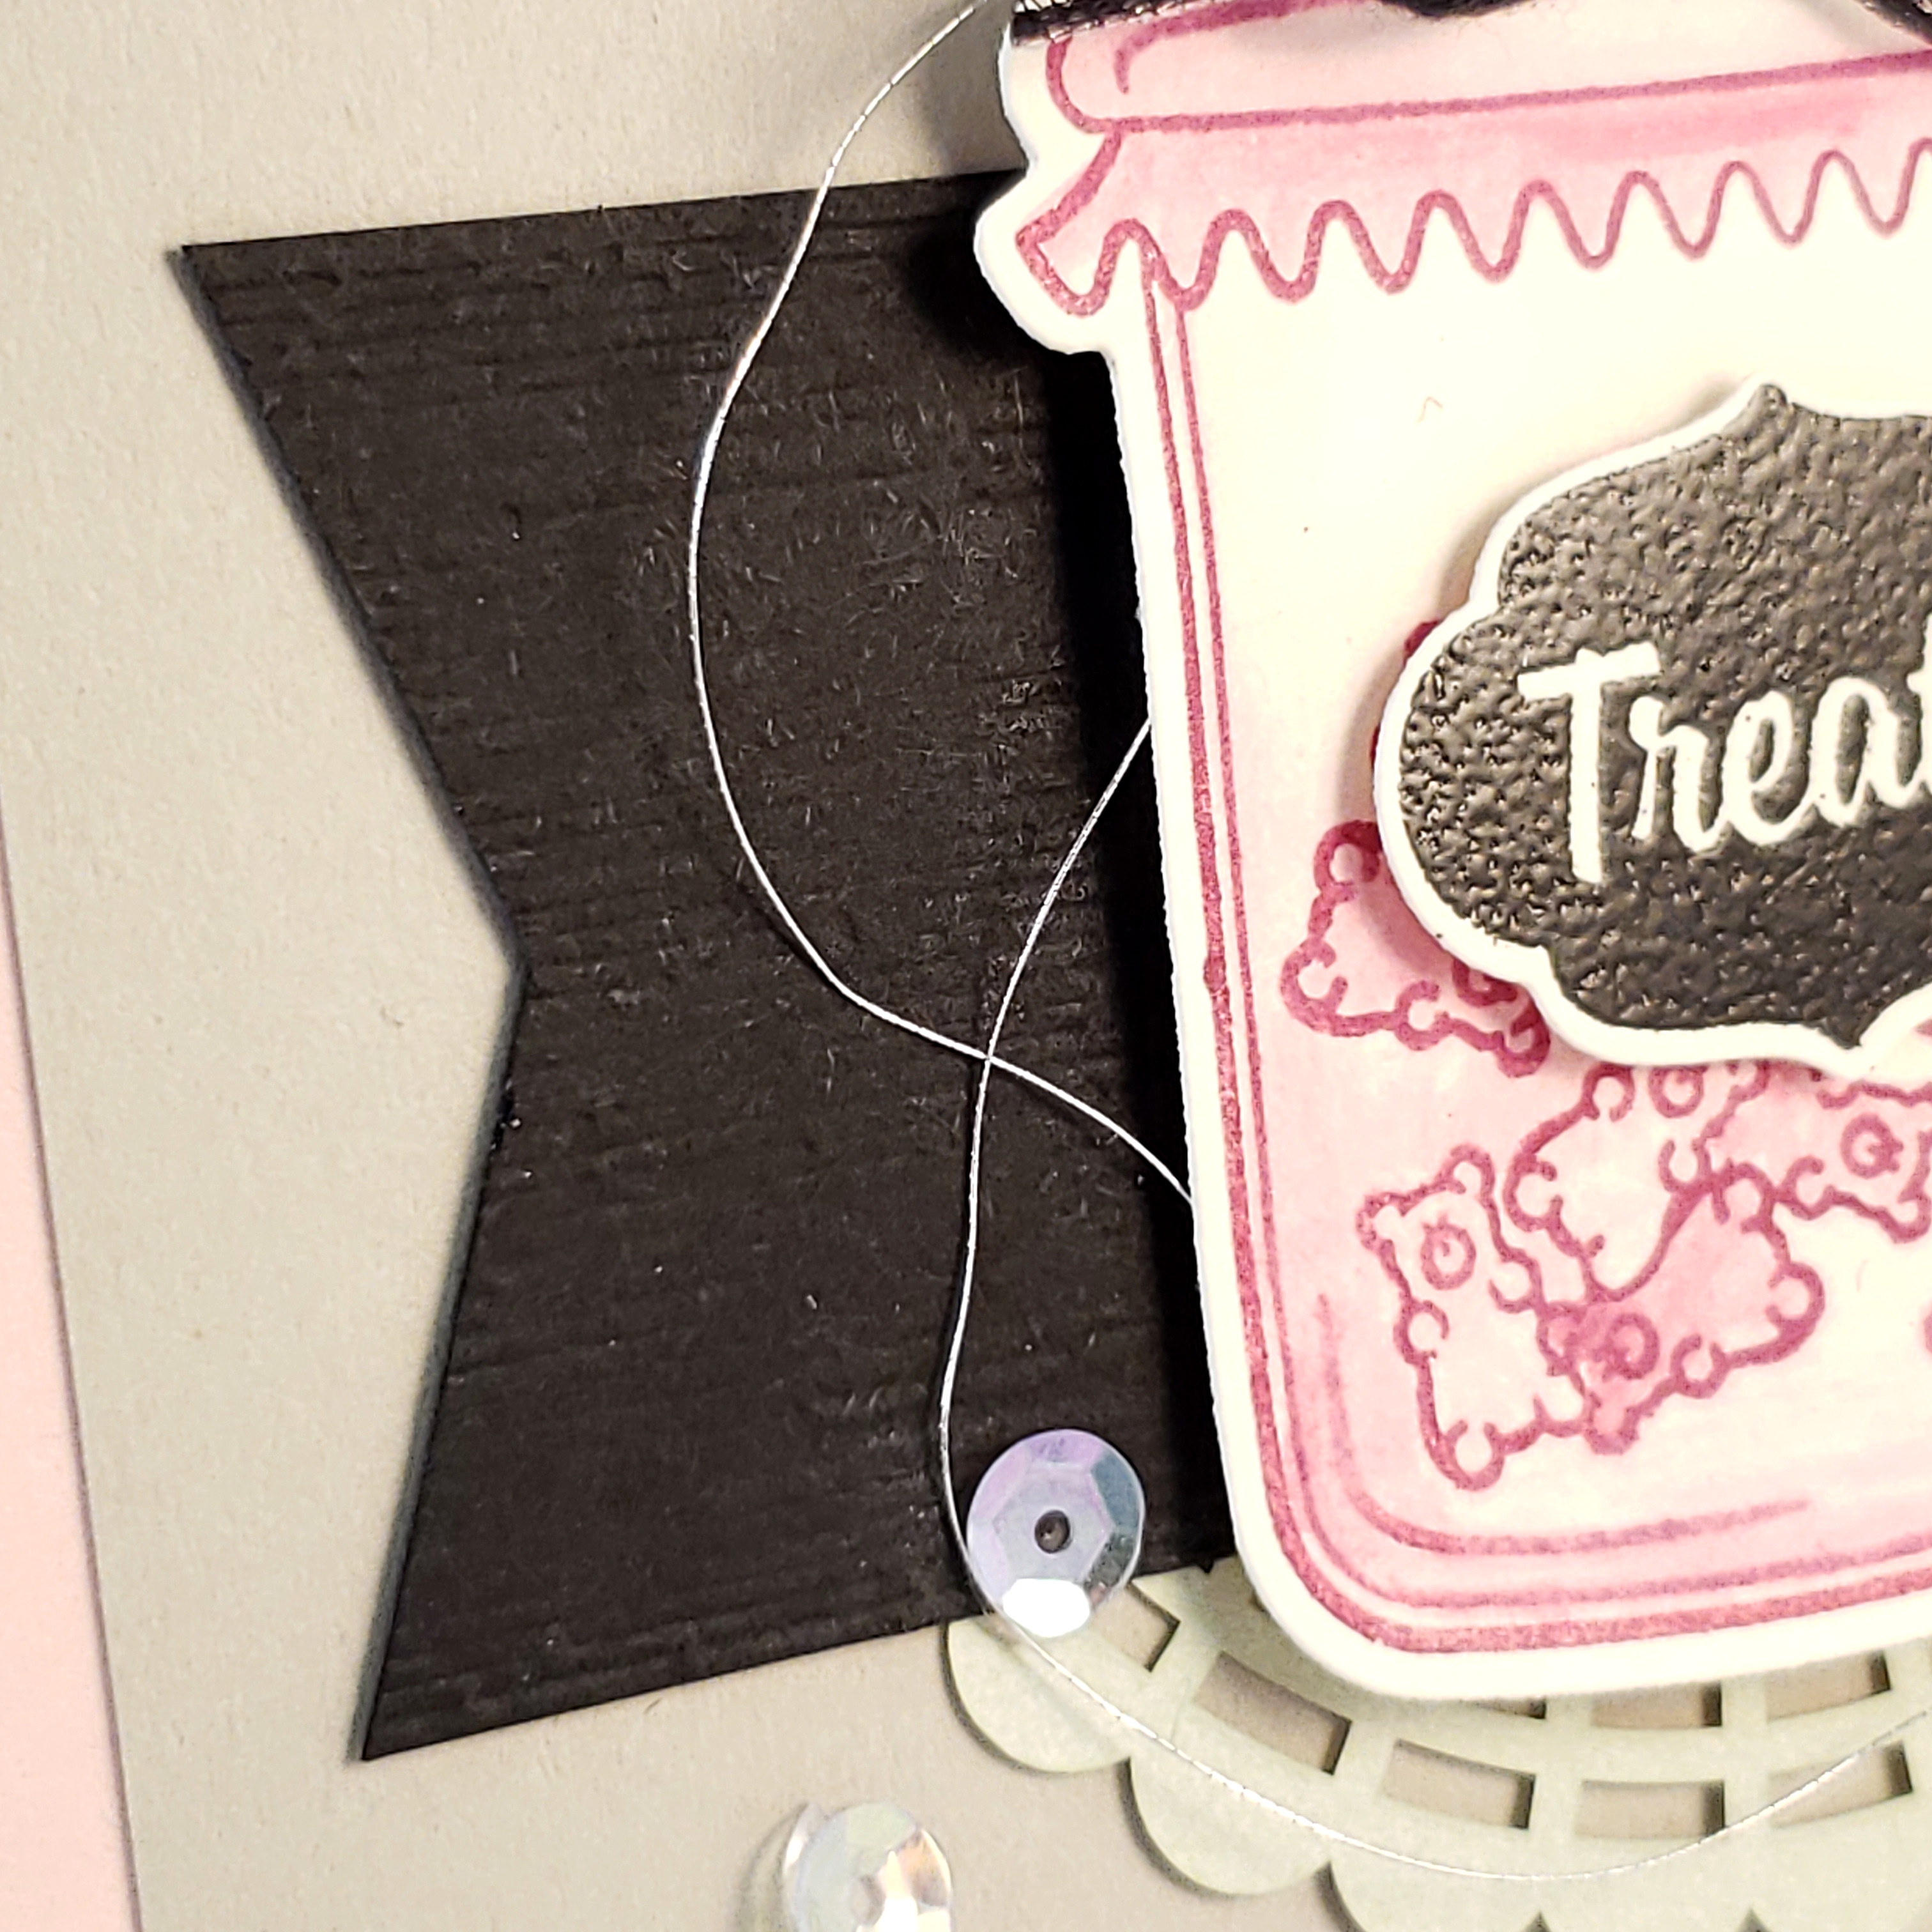
I used the Subtles Textured Embossing Folder and my Big Shot to add texture to my Basic Black banner. The Pearlized Doily was coloured on the non-pearlized side with Soft Sea Foam ink. After attaching all of that to the Sahara Sand and Powder Pink cardstock, the final touch was to add the Gingham Gala Adhesive Backed Sequins.
And there it is! A sweet card for the As You See it Challenge. You know what? You should play along. Why not! You can totally come up with something awesome using the sketch and I would love to see what you create!
You can still order the retiring products, but remember that they can sell out quickly. The retiring list will be out soon, but don’t wait. Just order now and avoid missing out on the products you know that you love!