markers

Macaron Dreams

Today I want to share a card with you that I CASEd from the very talented Teneale Williams. If you don’t know her artwork, you definitely should have a look. This gal makes beautiful things!! Her original card used a different stamp and a different colour combination, but the layout and the background technique is pretty close.
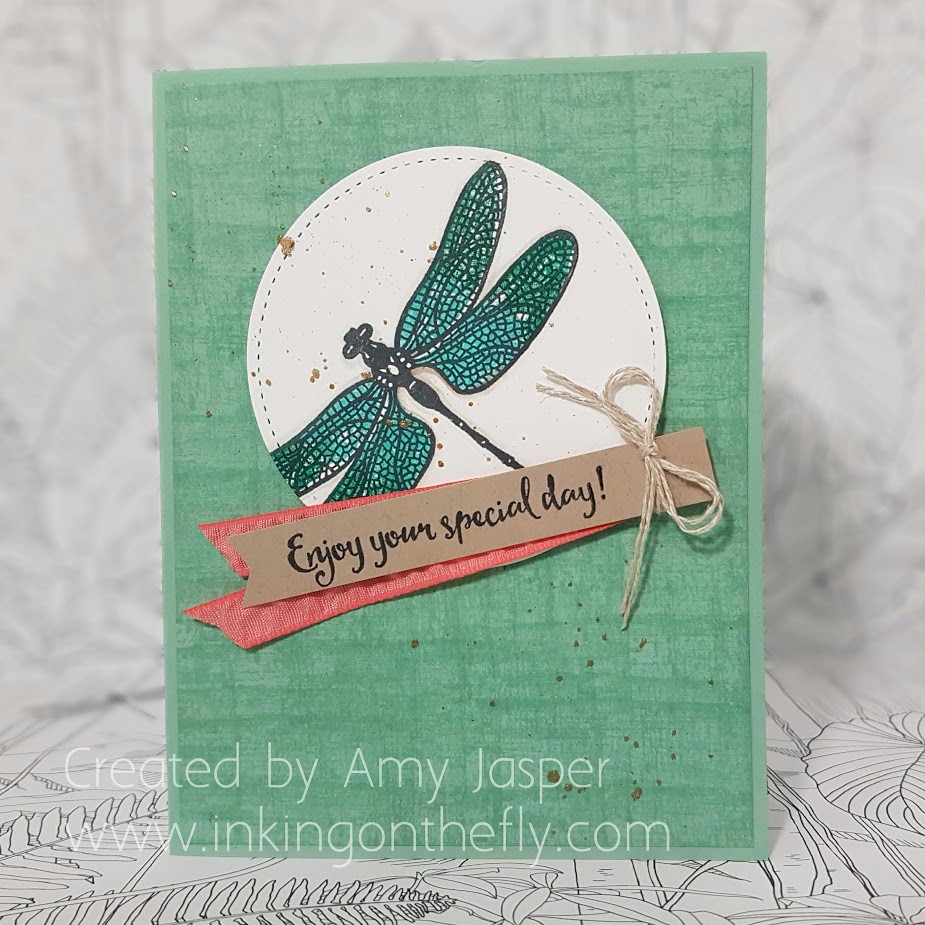
Macaron Dreams by Amy Jasper www.inkingonthefly.comI think the background technique is the most interesting part of this card. This is created using the small woodgrain stamp from the Timeless Textures stamp set and Versamark ink. The image is stamped repeatedly over the page first horizontally, then again vertically, overlapping the images over and over. So easy!

The dragonfly image from the Dragonfly Dreams stamp set was stamped with Tuxedo Momento Black ink, then the solid wings image was stamped over top after applying ink to the stamp itself with markers – Emerald Envy on the tips and Bermuda Bay closer where the wings would connect with the body. I also added some shading around the dragonfly using a Blender Pen and some Crumb Cake ink.  After stamping the images, I die cut the circle using the largest circle of the Stitched Shapes Framelits. This I adhered to the textured backgound layer with Stampin’ Up Dimensionals.
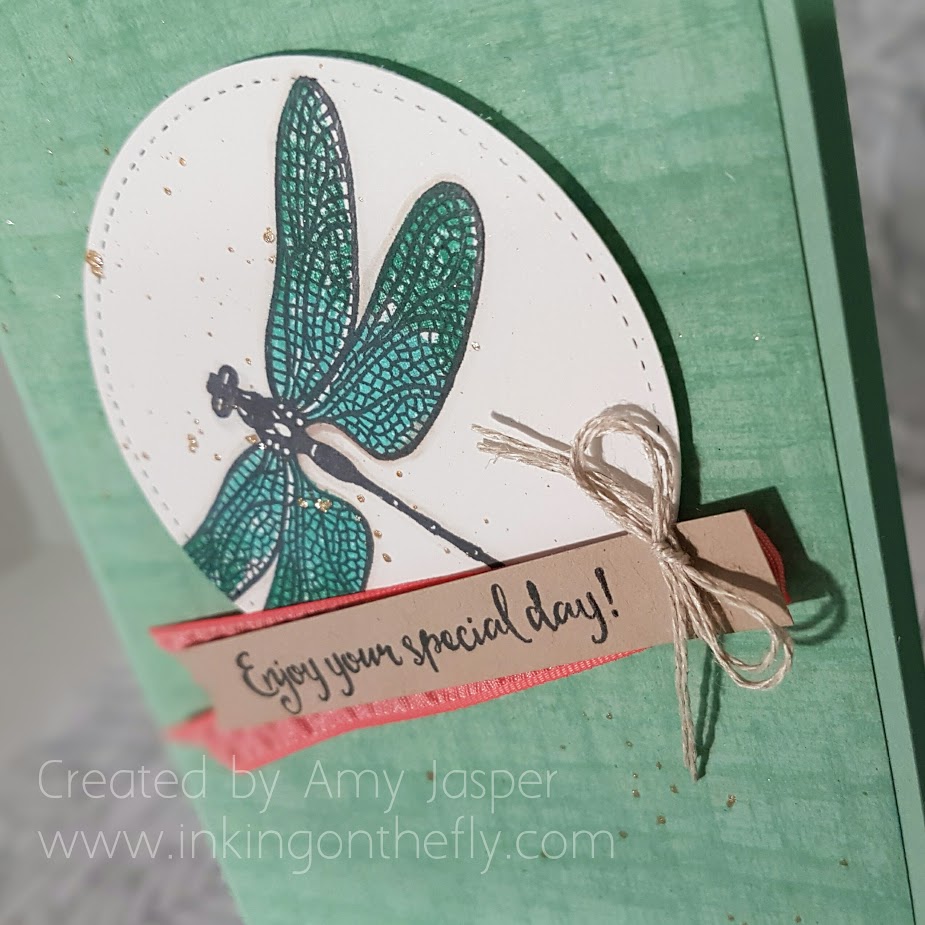
Macaron Dreams card by Amy Jasper www.inkingonthefly.comAfter adhering the circle, I used the Gold Wink of Stella brush and tapped it on my finger over the two layers to create the splash of gold flecks. The layers were then adhered to the card base.

The sentiment was stamped on a strip of Crumb Cake cardstock, of which I flagged the one end with my paper snips. I folded a strip of the Flirty Flamingo and tied it to the back of the Crumb Cake cardstock with a doubled up piece of Linen Thread. This was all attached to the front of the card with one Stampin’ Up Dimensional and a few well placed Glue Dots.

I’m happy to report that this card is pretty enough that I would be happy to show it off, but easy enough that my 8 year old was able to make one as well. I’d show you a picture of her perfect stamping, but she already wrote inside and stuck it in an envelope to give to her sister for her birthday.

I could learn a few things from this girl!
Macaron Dreams card by Amy Jasper www.inkingonthefly.com

Save

Watercolour Carousel

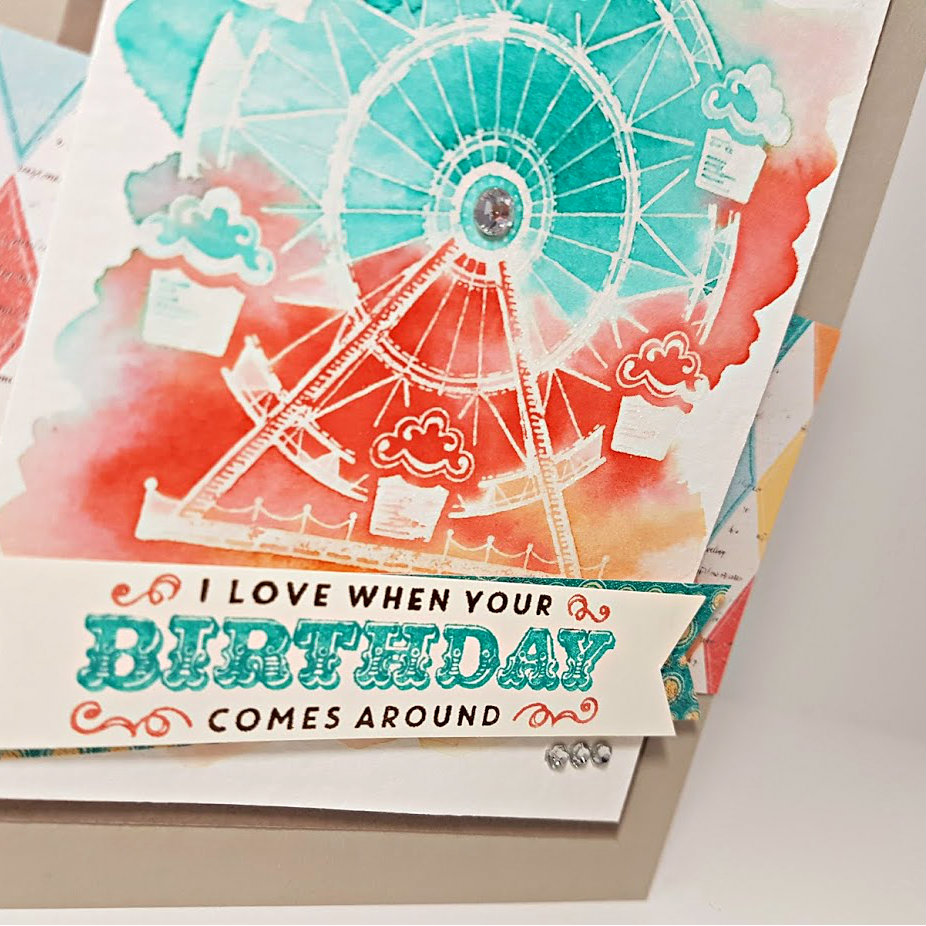
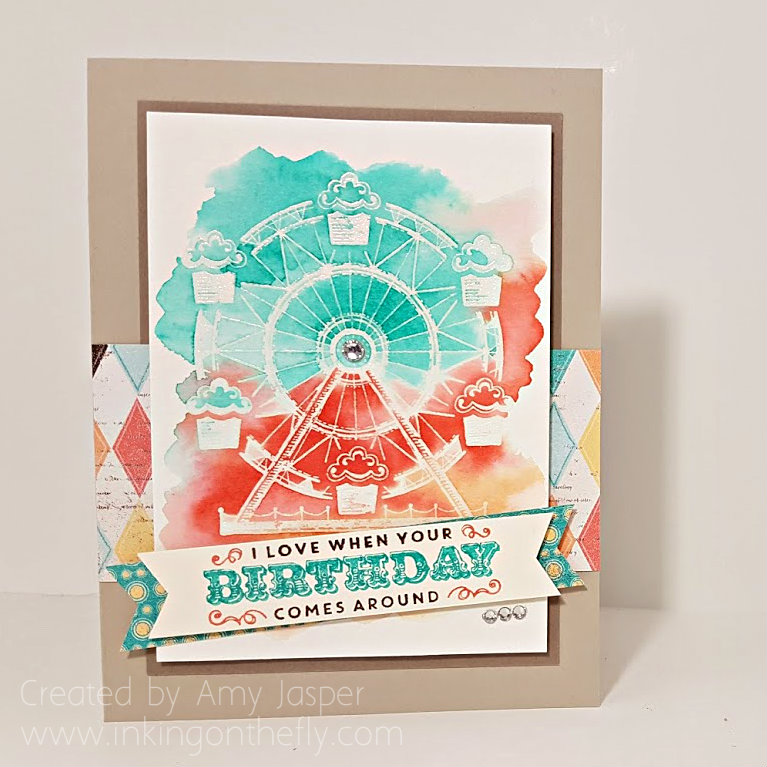
Watercolouring is such a beautiful look and can seem like a difficult venture. But it doesn’t have to be a challenge. This card is created using a simple watercolour technique combined with the emboss resist. Easy peasy!Watercolour Carousel card by Amy Jasper www.inkingonthefly.com

I started by stamping the carousel image from the Carousel Birthday stamp set with Versamark ink on Stampin Up’s Watercolor Cardstock. Then I added some clear embossing powder to the image, tapped off the excess and heat set it with my Heat Tool until the image was clear and shiny.

Next, I applied water over the image. Just clear water using my Aqua Painter for a mess-free experience. I put the water only where I wanted my colour and applied it quite liberally to get the watercolour cardstock good and wet!

The inks came next: First I picked up some Bermuda Bay with my Aqua Painter and applied it to the top most section of my wet cardstock. I didn’t have to move the ink around very much as the water I had applied first did most of the work for me. I cleaned off my brush and picked up some Calypso Coral ink and applied it to the middle section of the area being careful to avoid having it touch the Bermuda Bay too much (that would just get muddy looking and nobody likes a muddy fairground!). Lastly, I cleaned off my brush again and used it to apply some Peek-a-boo Peach ink to the lower portion of my watered cardstock. To get the best colour saturation, I made sure that I used a drop of Ink Refill in the lid of each of these colours. This allowed me to pick up a nicely concentrated amount of ink on my Aqua Painter brush.

watercolour carousel card by Amy Jasper www.inkingonthefly.comWhen I was happy with my colours, I set that aside to dry and continued with the rest of the card. The image doesn’t end up coloured with the rest of the paper because the embossing repells the ink, not allowing it to saturate those areas of the watercolour cardstock.

Sahara Sand cardstock was used for the card base, then a layer of Tip Top Taupe. The patterned paper used is from the Cupcakes and Carousels Designer Series Paper Stack from Stampin’ Up. I used one larger strip across the front of the card and another smaller strip as an accent behind the Very Vanilla banner. The sentiment, also from the Carousel Birthday stamp set, was inked using my Stampin’ Up Markers (Bermuda Bay, Early Espresso, and Calypso Coral), on which I “huffed” with my breath to re-moisten the ink before stamping it on the Very Vanilla cardstock.

When my watercoloured image was dry, I could add it as my next layer using Stampin’ Up Dimensionals. The banner ends were hand cut with my Paper Snips; the patterned paper banner adhered directly, while the Very Vanilla banner with the sentiment was adhered using Stampin’ Up Dimensionals.

Almost done! It just needed some bling, so I added a strip of three Basic Rhinestones just below the right side of the banner and one single larger Basic Rhinestone to the center of the carousel image.

watercolour carousel card by Amy Jasper www.inkingonthefly.comI hope you like it. I sure do! It’s sooo pretty!

Be sure to leave me a hello and let me know if you’ve tried this watercolouring technique before and how it worked out for you.

Save

Save

Save

Pedal Pusher Reflection

Life is full of re-evaluations, reflection, and adaptation. I am smack dab in the middle of all of that as I try to figure out the priorities and values in my life. Sometimes, my stamping has to take the back burner while my family or other adventures take over. I want to learn how to play the guitar, I want to sew more, I want to be more active – these things will take some of my time, but I still want to stamp. I’ve been less consistent on my blog because of my ventures in life and I can’t be sure how each week will look for me on my blog. However, today, I do have a card to share with you!

I started with these beautiful bright happy and inspiring colours from the As You See It Challenge blog.

127I love all of the Sale-a-bration free products from Stampin Up! The stamp set that I used for this card is one of the more recent stamp sets you can now get for free with a $60 purchase. It’s adorable and perfect for this happy spring colour challenge!

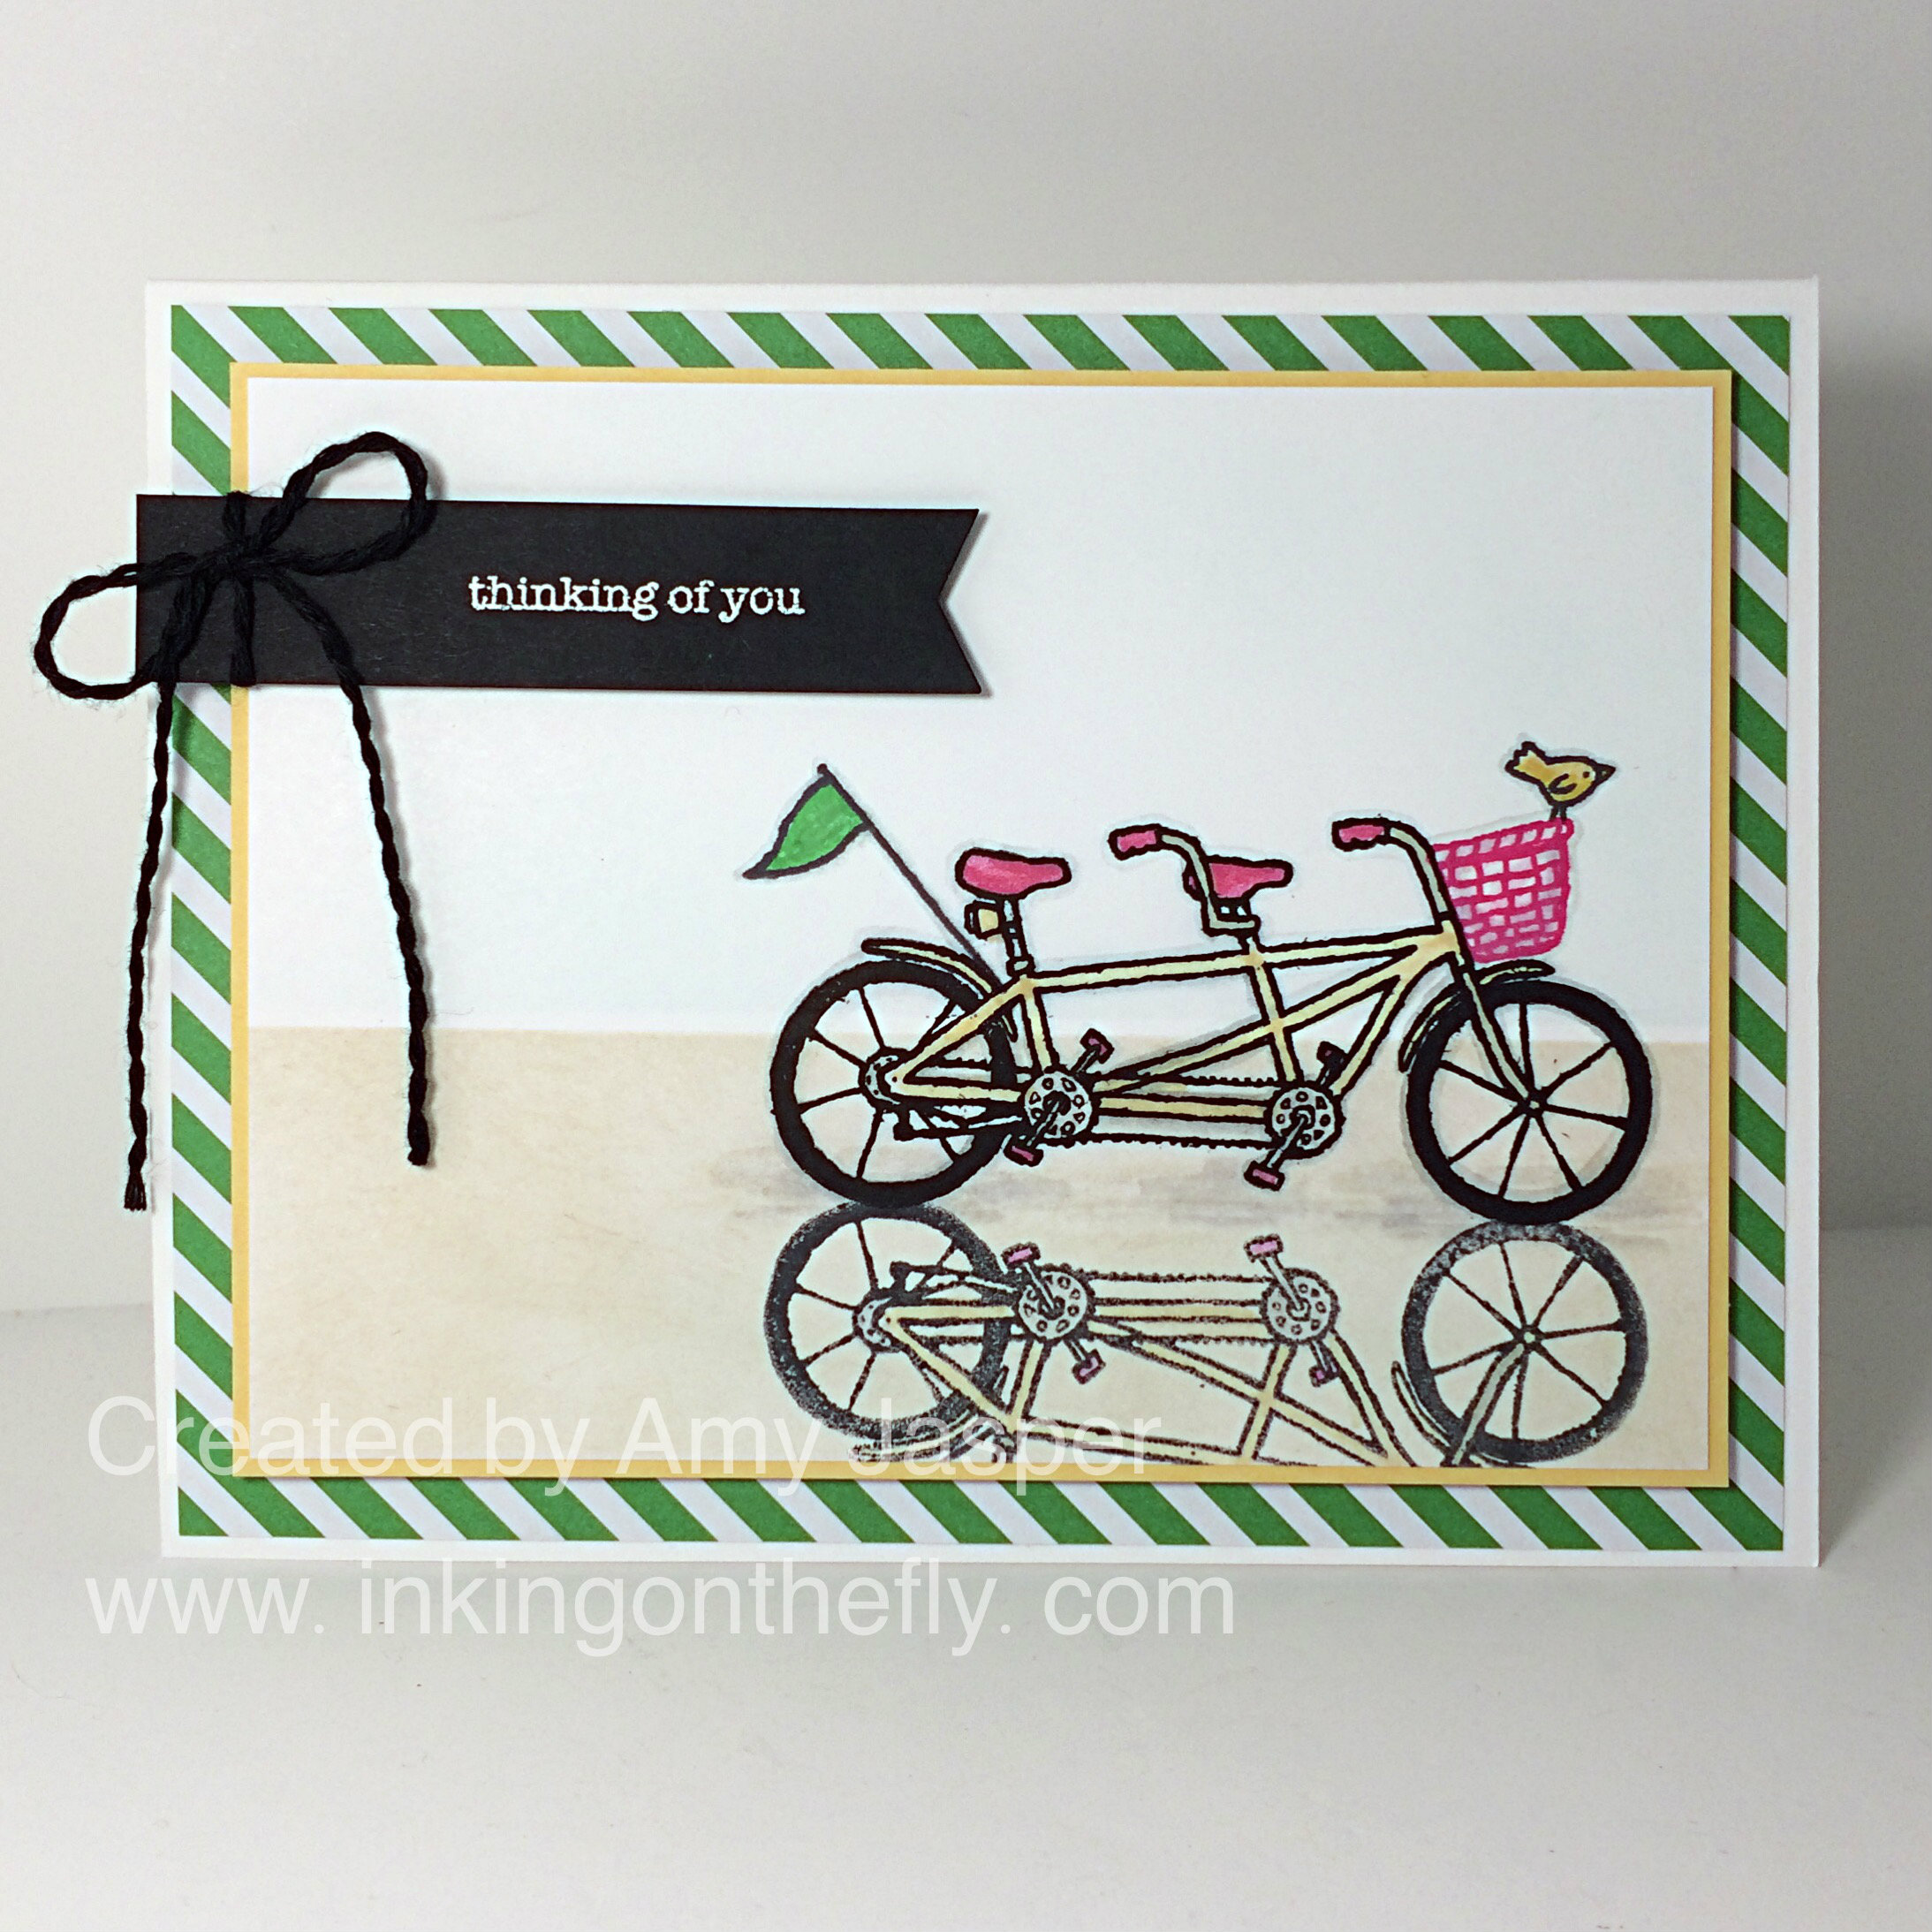
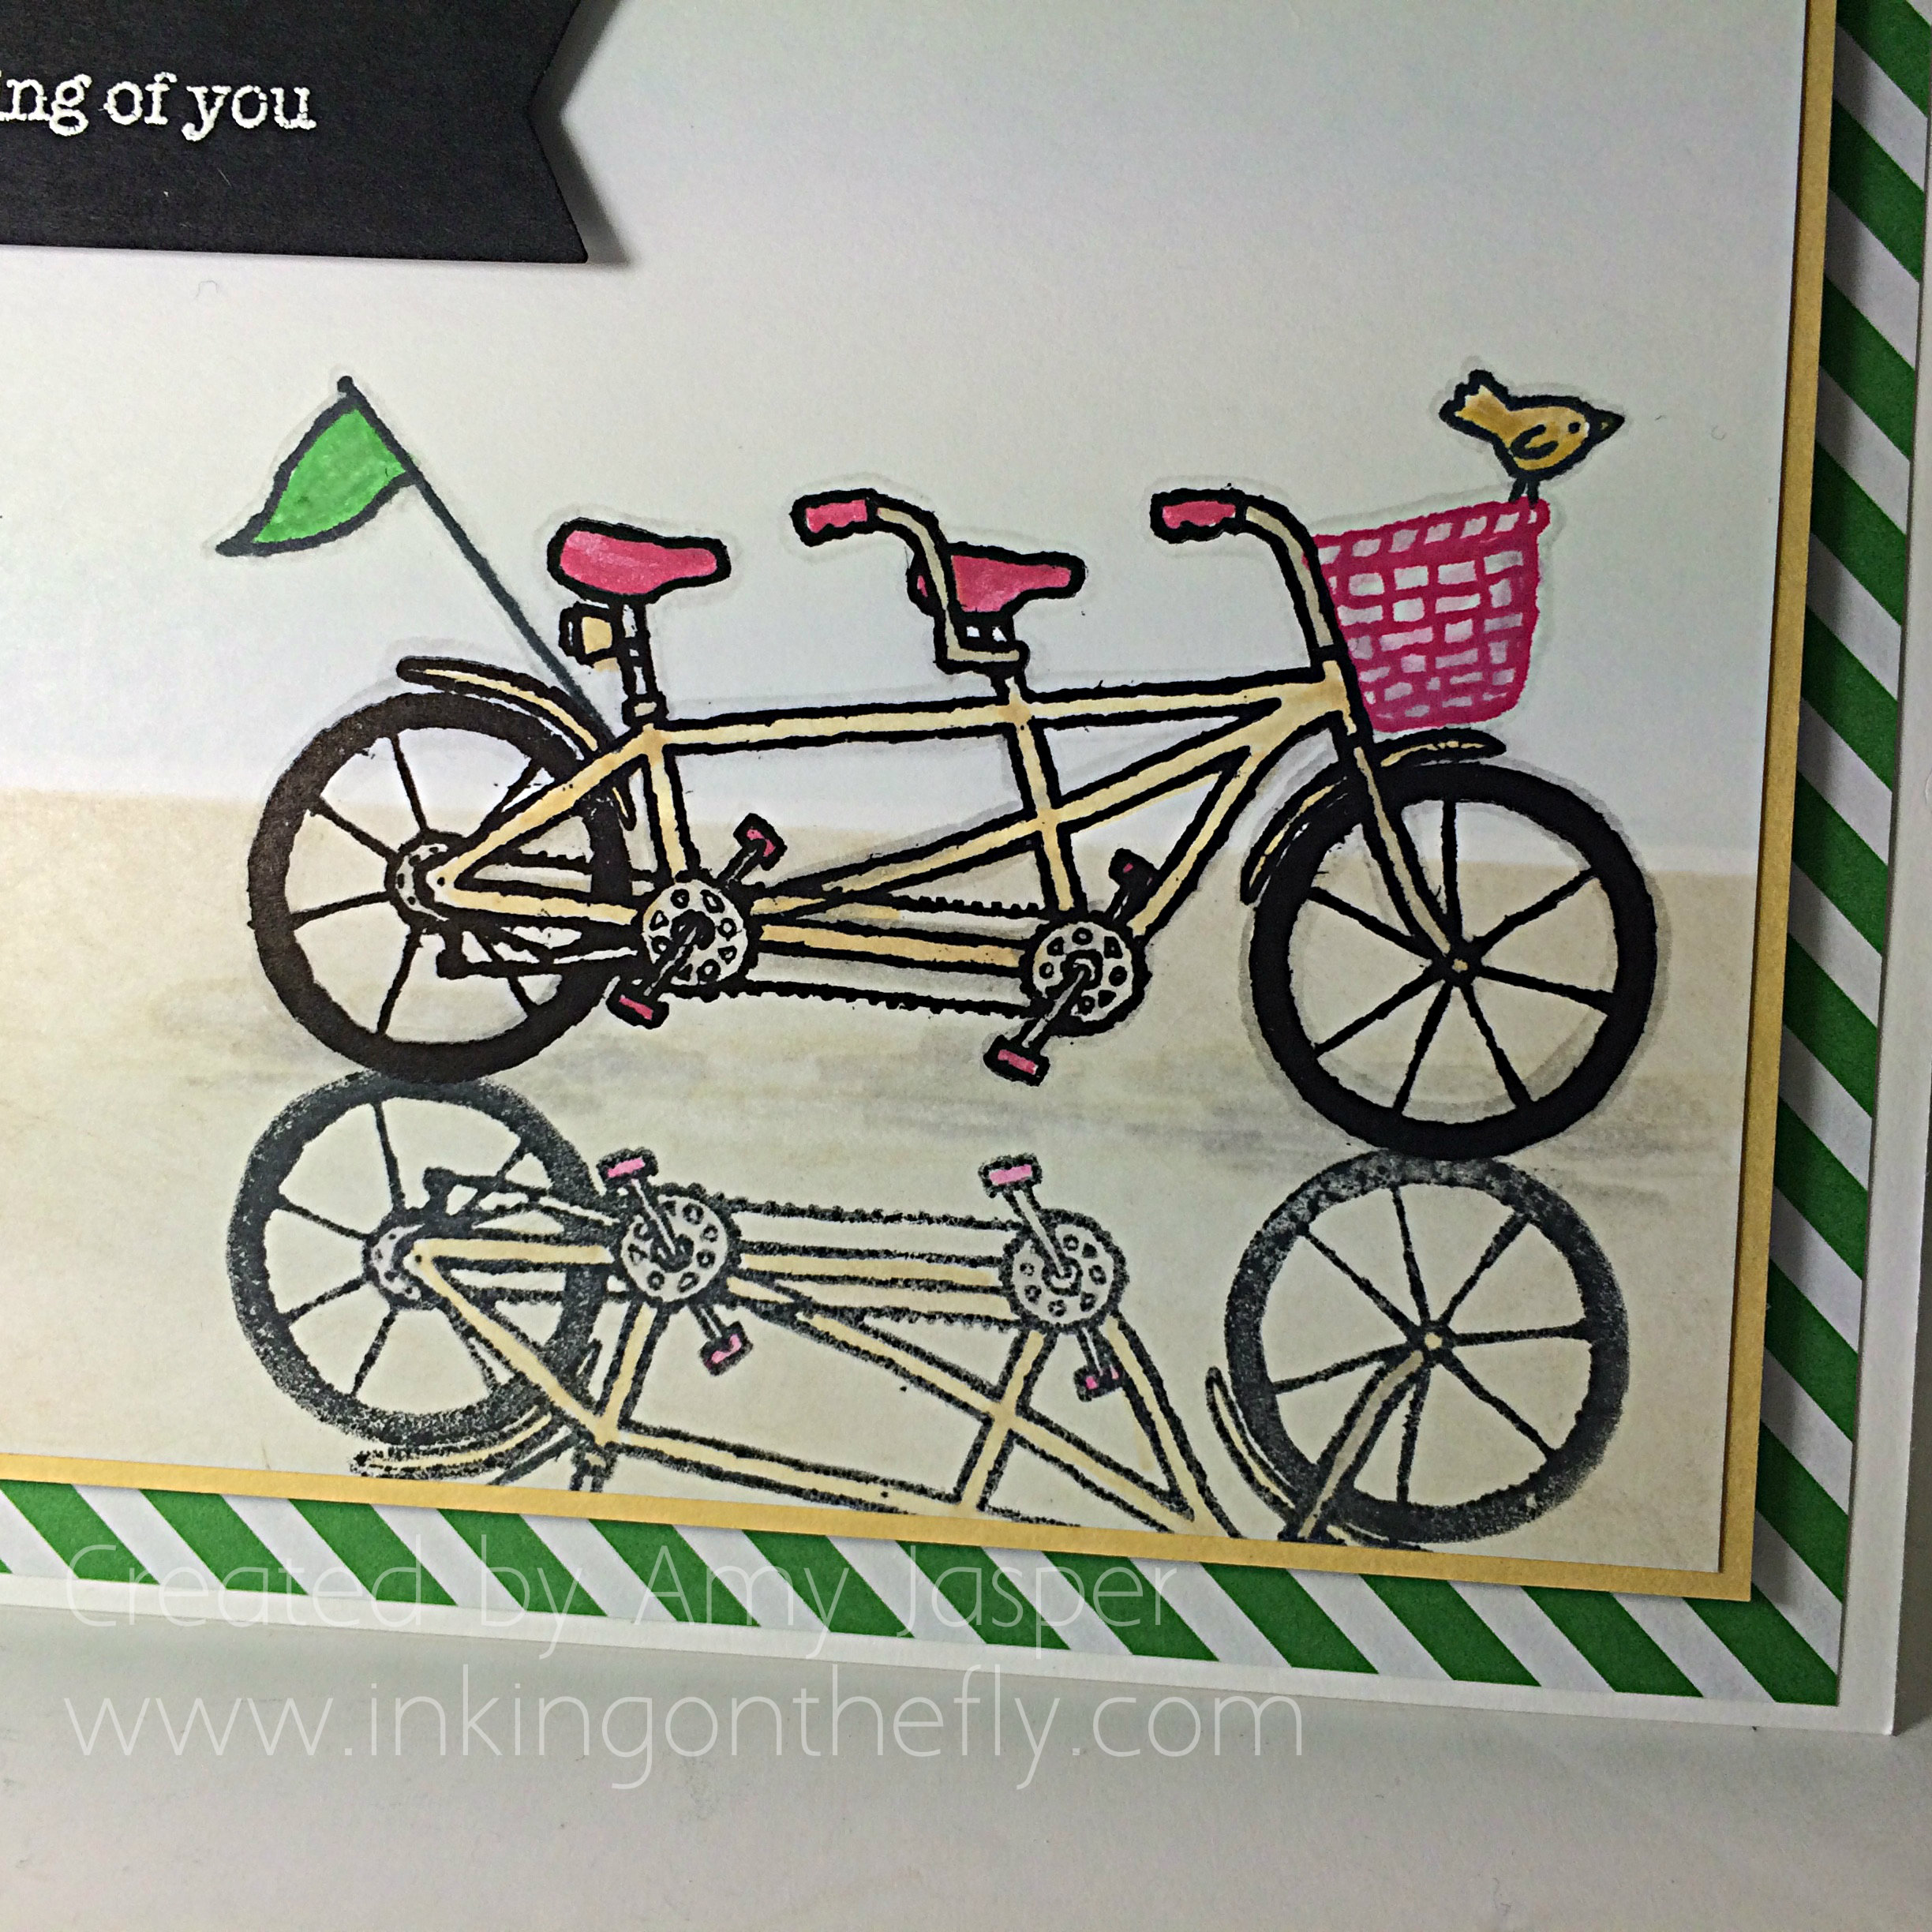
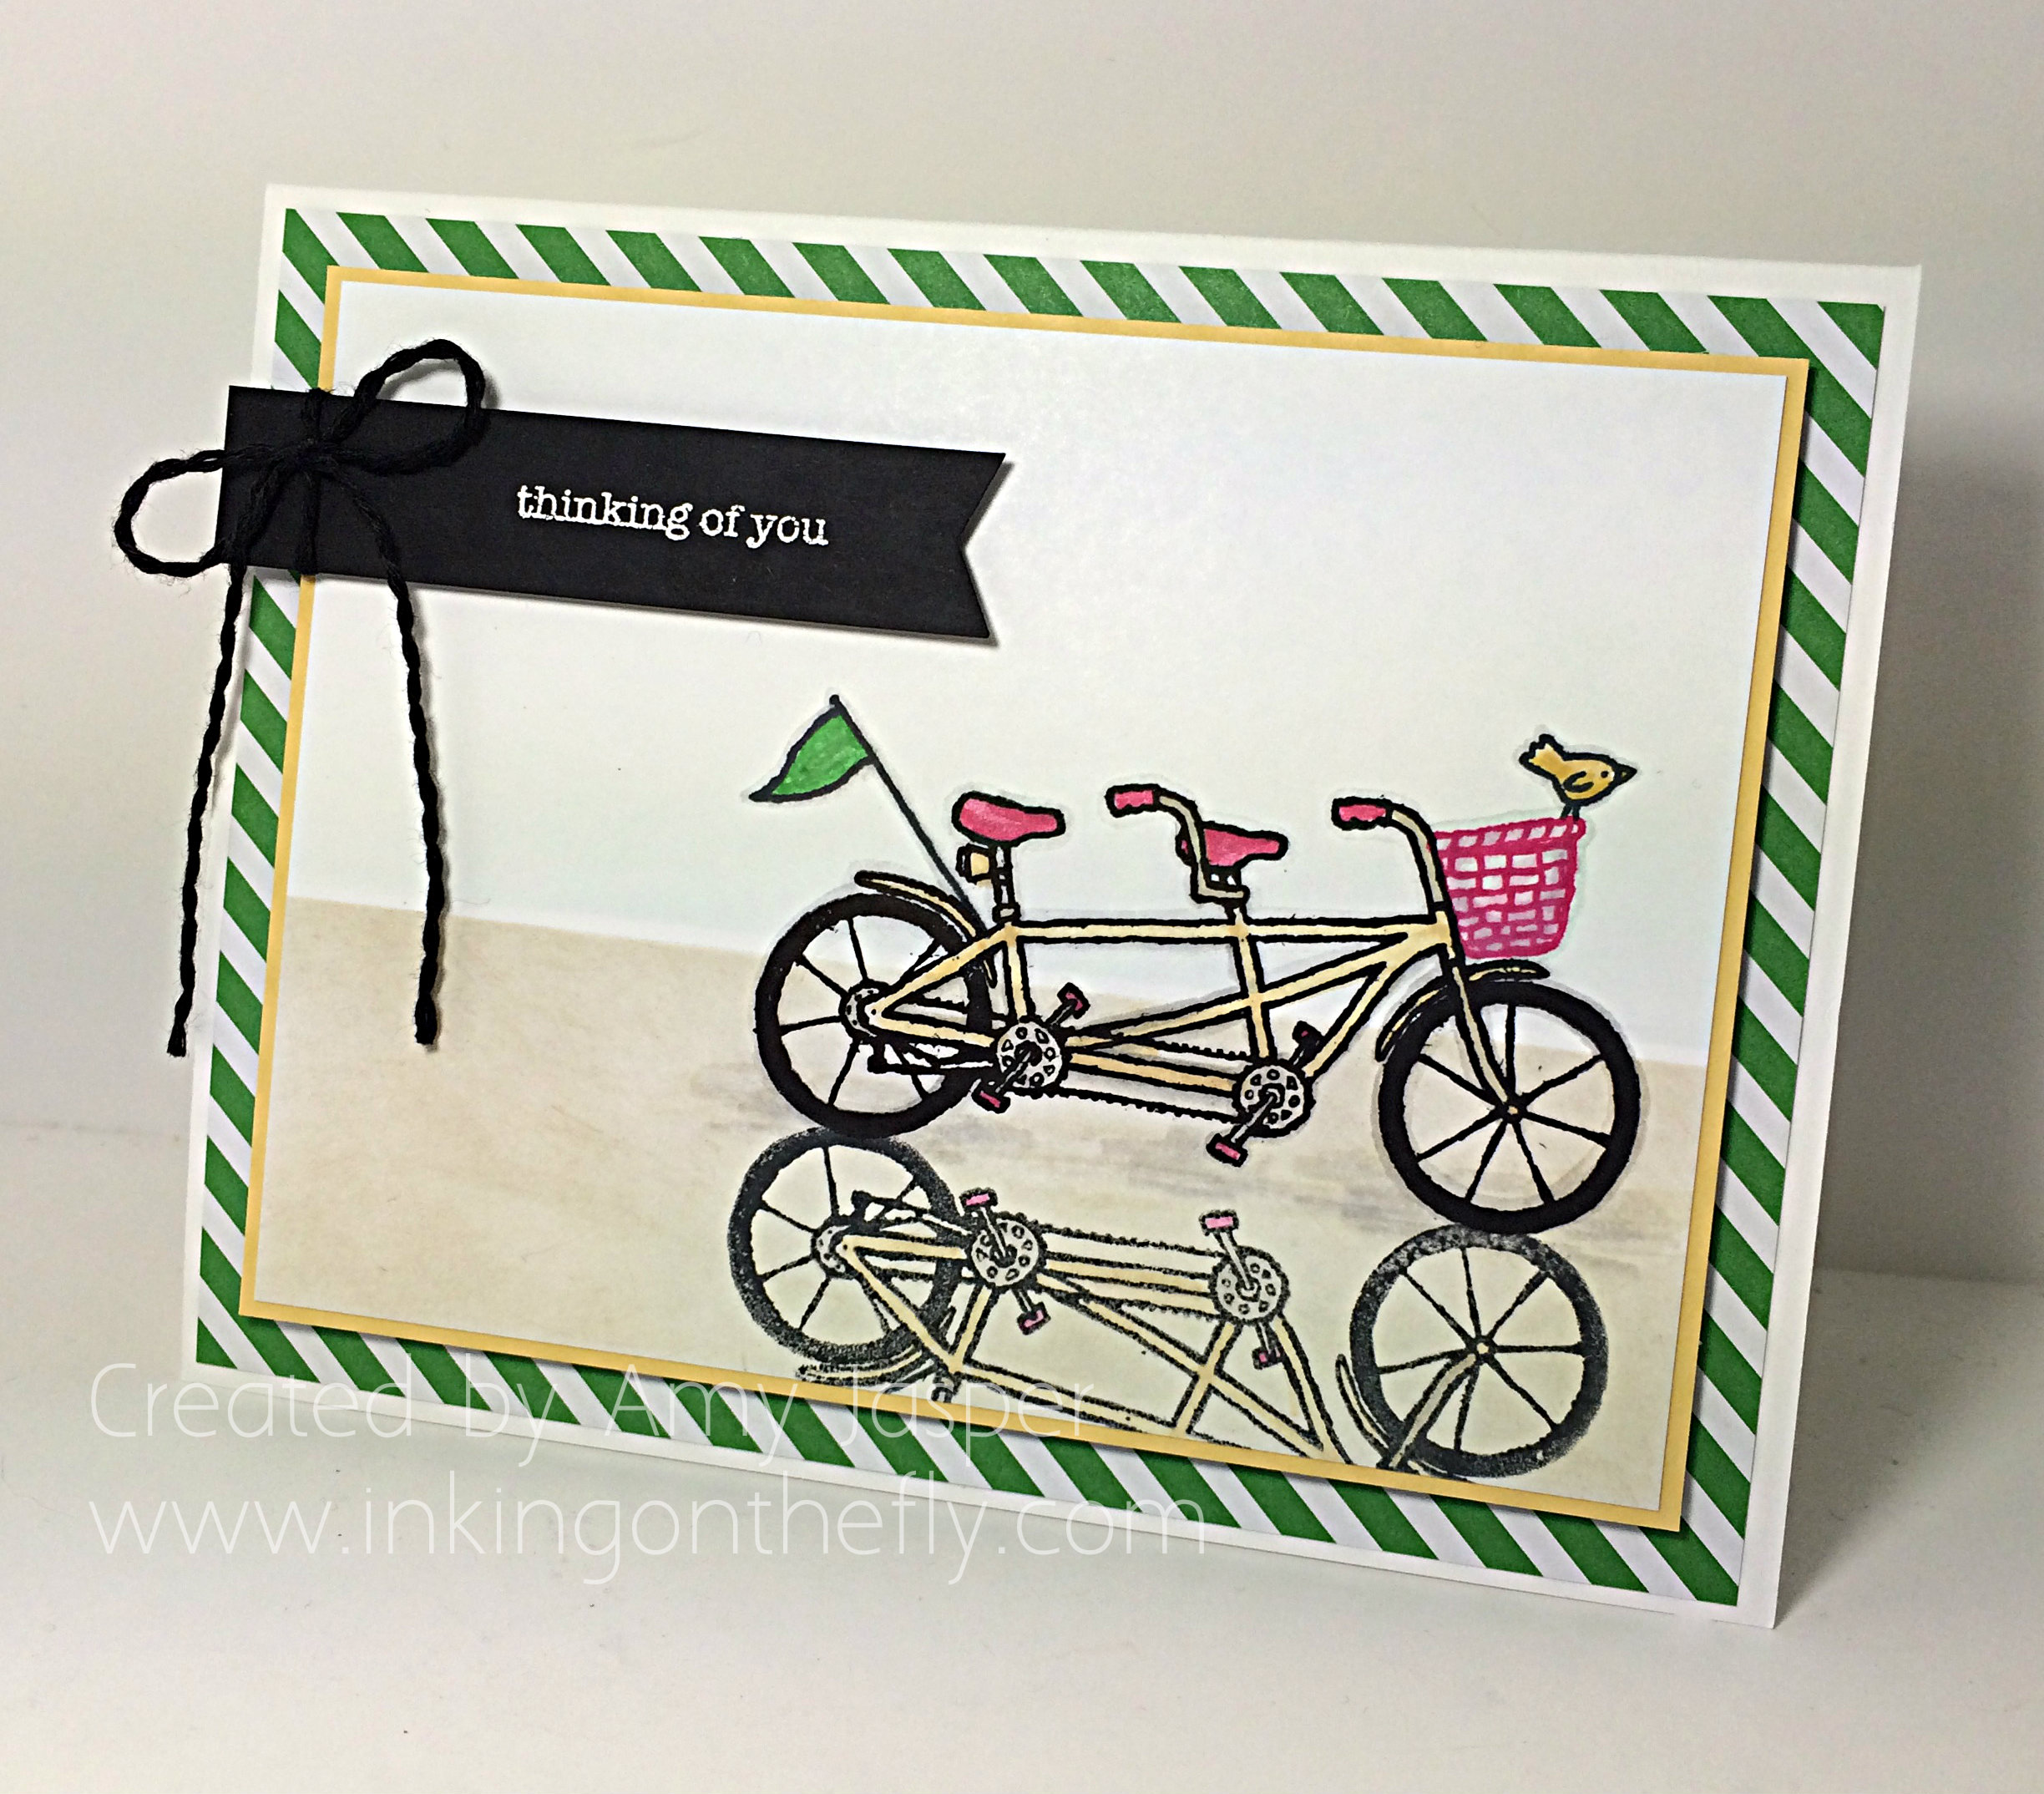
Pedal Pusher Reflection card by Amy Jasper www.inkingonthefly.comDon’t you just love these colours!! I was so excited to learn that the Stampin Up Silicone Craft Mat can also be used as a surface to transfer a reflected image on a project. All I had to do was stamp the image on the silicone mat with Jet Black Momento ink, then huff on the stamped image, turn the Silicone Craft Mat over, line it up with my original image on my page, then press the Silicone Craft Mat on the cardstock to transfer the image! It worked like a charm! It’s important to use a water-based ink like the Momento Black so that it won’t dry too fast before you can position it AND so it will not leave a permanent image on your Silicone Mat.

Pedal Pusher Reflection card close up of reflection www.inkingonthefly.comI coloured my original image (it was stamped with Archival Black ink) using my Stampin’ Write Markers. As I often do, I used Smoky Slate to do an outling of my image as it adds a shading that makes the image pop a bit on the page – it doesn’t look so flat that way. The reflection image was coloured using a Blender Pen and the same colours on the main image so that the colours would be faded in the reflection in the sand.

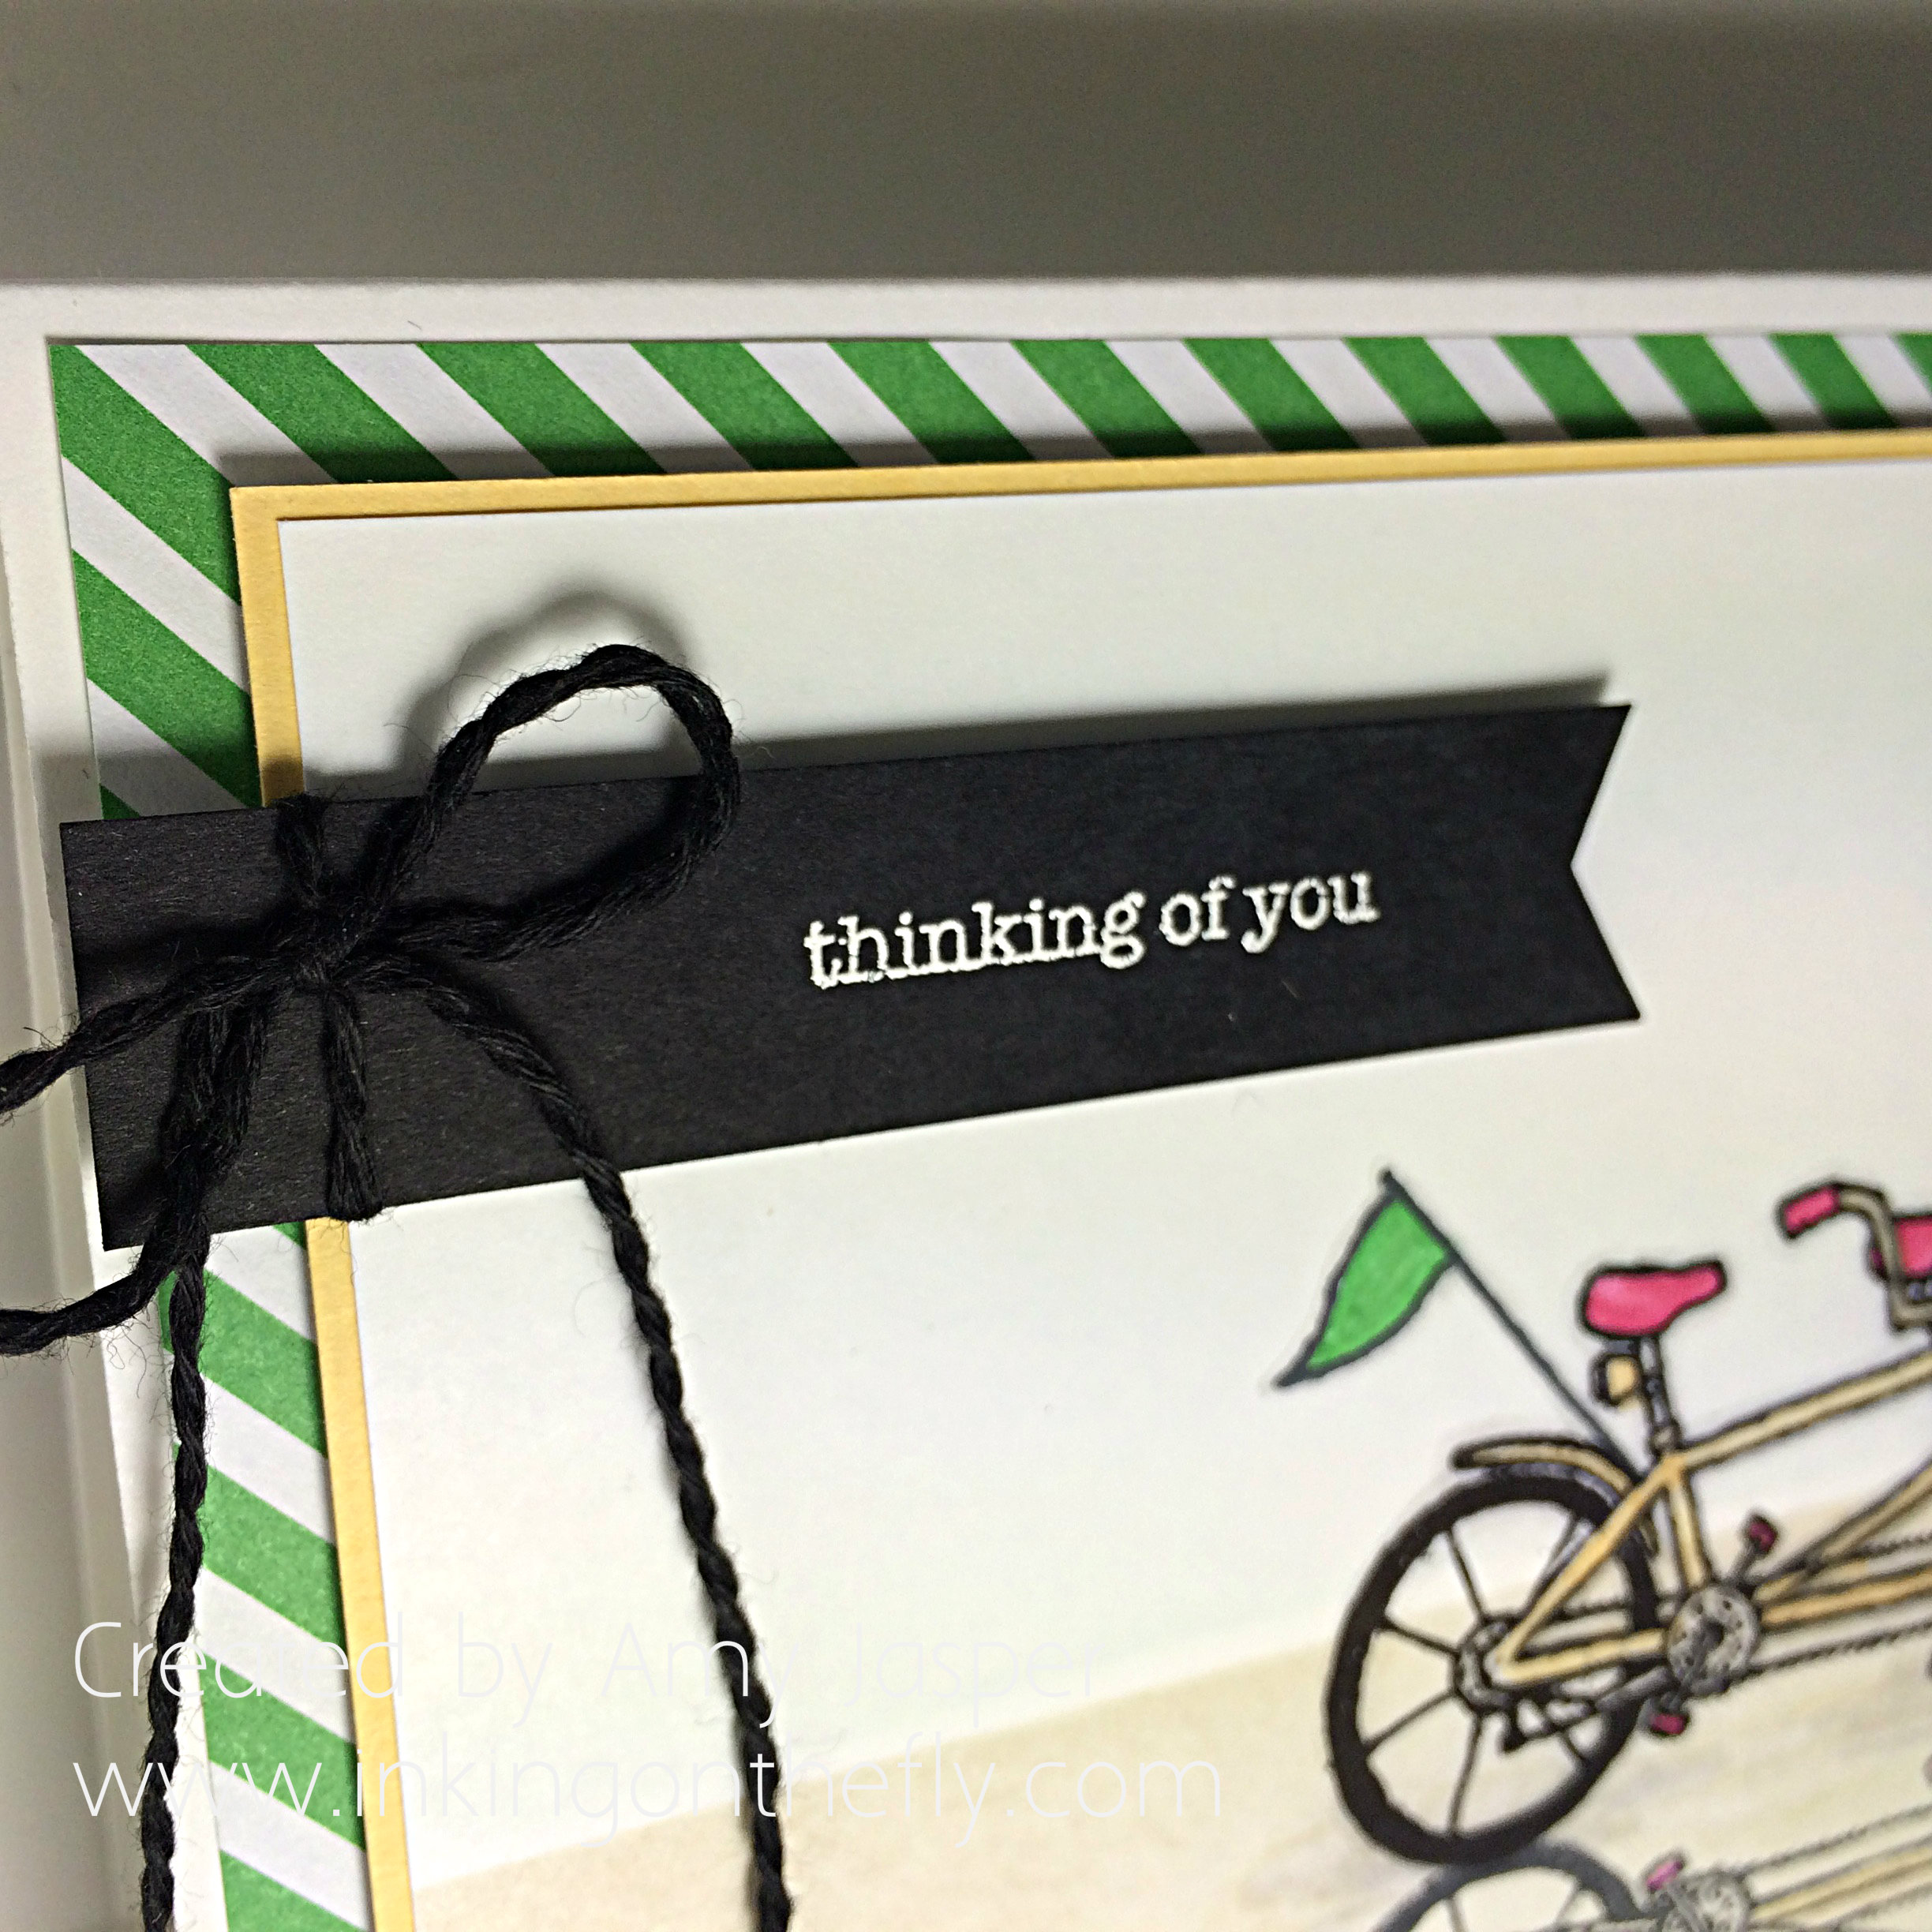
I chose this small “thinking of you” sentiment from the Teeny Tiny Wishes stamp set from Stampin’ Up for two reasons: first, because I wanted something small and simple so it wouldn’t take away from the rest of the card; second, because I was commissioned to create some “thinking of you” cards for my husband’s co-worker. A bicycle for two represents teamwork, so if you don’t have one of the cyclists, it would be harder to pedal. I think it’s a great analogy to working together, don’t you?

Pedal Pusher Reflection card close up of separated twine www.inkingonthefly.comThe sentiment is stamped with Versamark ink and embossed with White Embossing powder and my Heat Tool. The twine is from the Baker’s Twine Combo pack. I just separated the black strands from the Melon Mambo strands and voila! A whole new look!

Pedal Pusher Reflection card by Amy Jasper www.inkingonthefly.com All supplies from Stampin' Up!Some of you might be wondering where the Cucumber Crush diagonal stripes came from. Well, I actually was a bit wasteful with my paper and took the horizontal striped paper from the 2015-2017 In Color Envelope Paper and cut out what I needed on a diagonal. I love the look! I’m sure I can get use out of the scraps, anyway!

I know I didn’t touch on all of the elements of this card, but I think I covered a lot. If you have any questions, feel free to ask! I’m happy to tell you more!

If you love this stamp set as much as I do, just click on my SHOP button on this page and order product that you know you want anyway, so you can choose this stamp set for FREE! Just $60 and this set or any other Sale-a-bration set can be yours! Who doesn’t love free stuff!