pop-up

More Than Cookies

Here’s another moving arm card design using the Nothing’s Better Than stamp set and the Love You More Dies from Stampin’ Up!

I made this one for my husband’s birthday. Inside the card, I wrote that I also love him more than ice cream, coffee, and wine! Though, there are times, in the moment, that I will choose any one of these things over him. LOL! But, if we’re talking long term here, that man will win over all those things, every time!

You can see the first moving arm pop-up card that I made for a class on my previous post. There’s also a tutorial video that will show you how to make the pop-up mechanism so you can create your own moving arm pop-up cards.

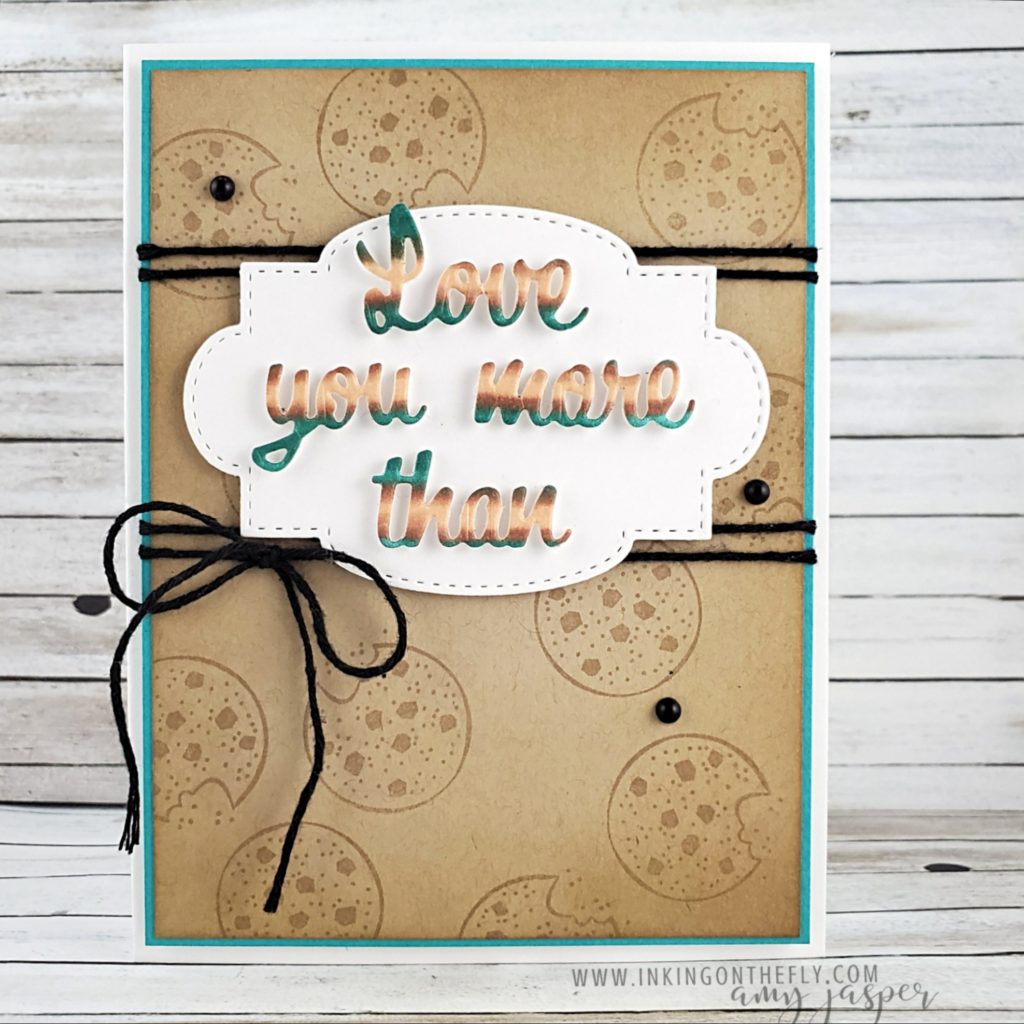
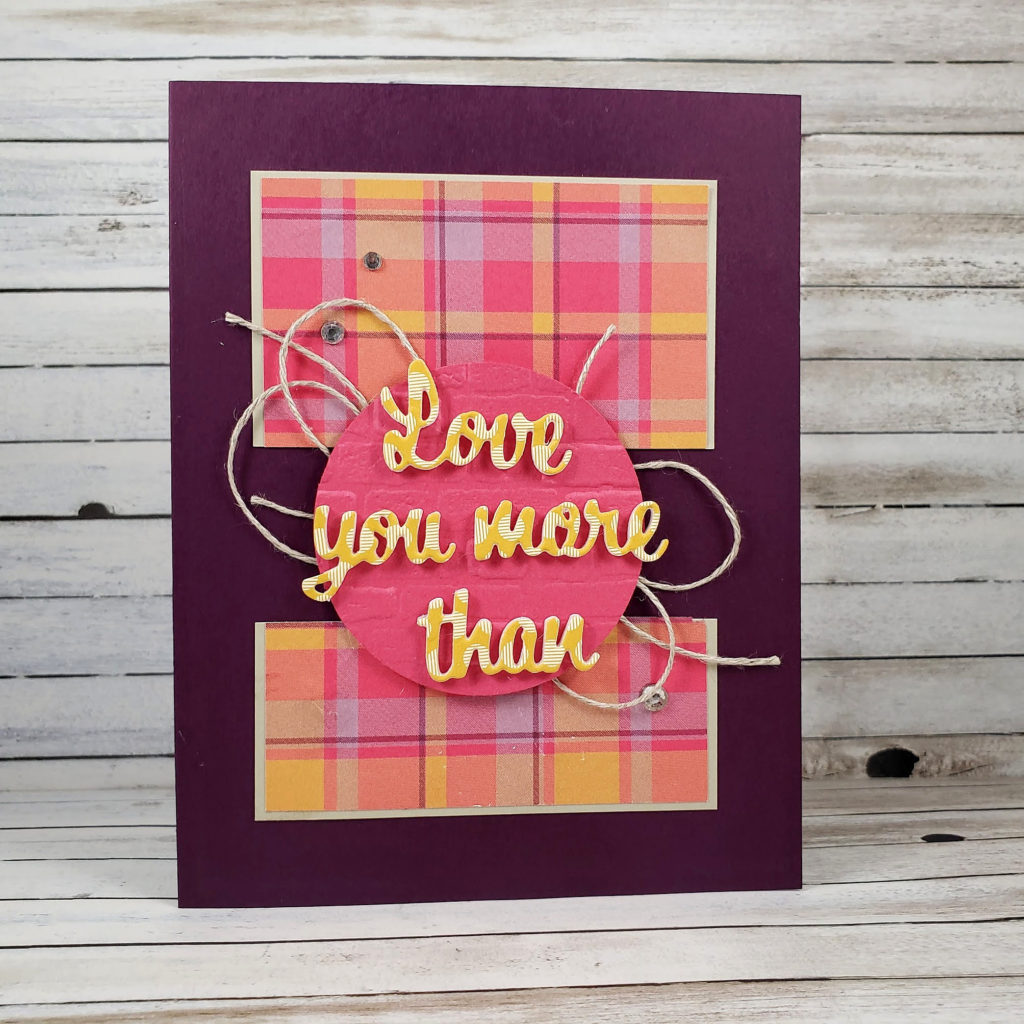
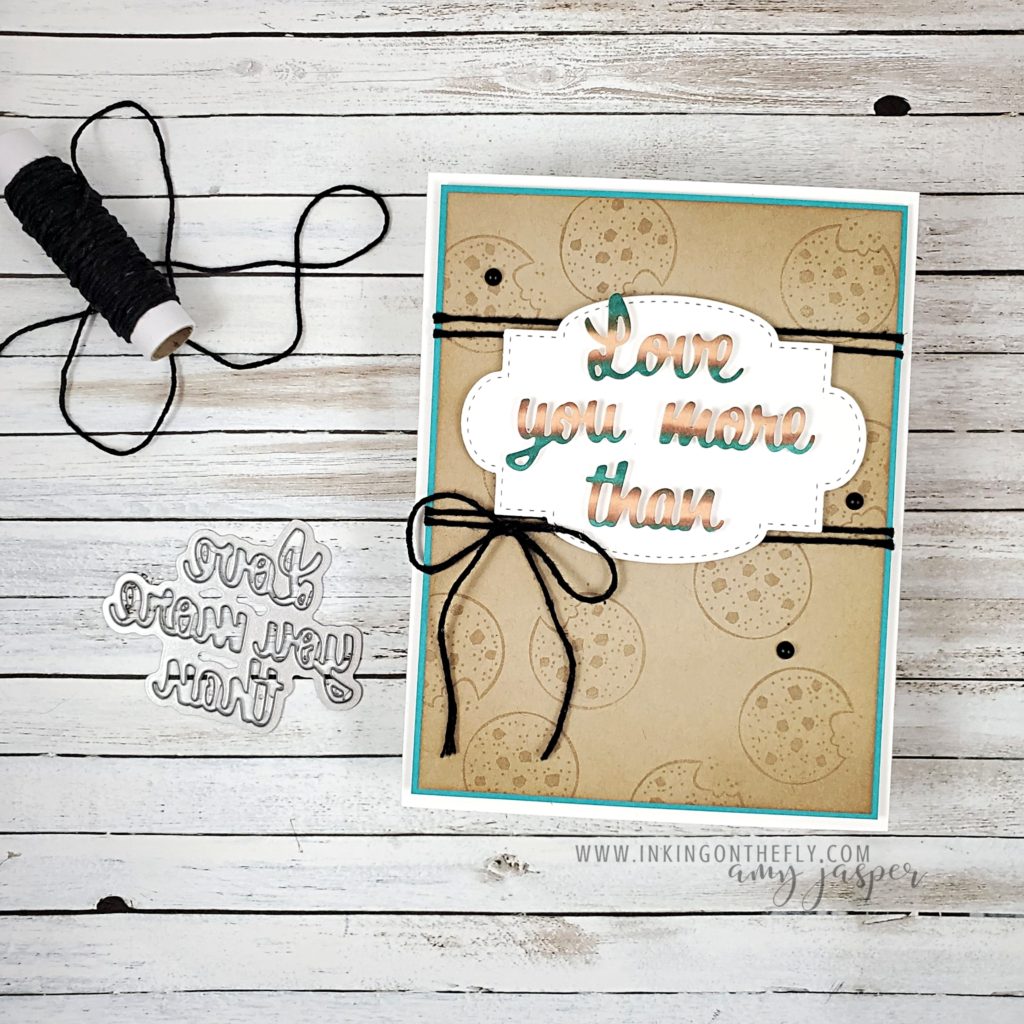
I wanted to keep the front of the card relatively simple because the inside is so fancy, but I still couldn’t help but add some sponging on the Crumb Cake layer. I also used a technique shared by Stampin’ Up! 2020 Artisan Team member, Stesha Bloodhart, to colour the letters using Stampin’ Up! Blends Markers. I love the look! I’ll definitely be using it more often.

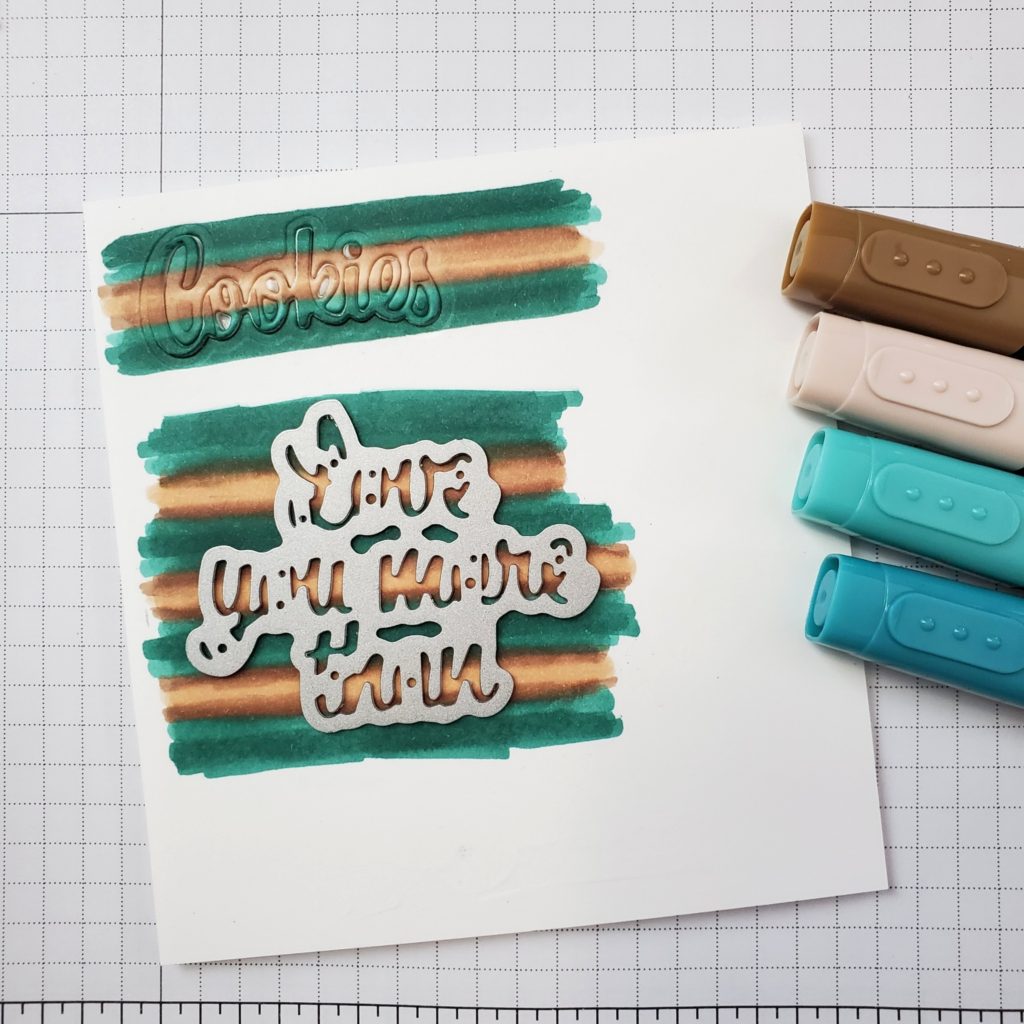
To create these coloured letters, I first had to adhere a piece of Basic White cardstock to a Foam Adhesive Sheet. I used the Stampin’ Blends Markers, Bermuda Bay (light and dark), Ivory, and Bronze, to colour stripes. After colouring, I cut out the letters with the Stampin’ Cut & Emboss Machine.

You can see on the card that I started with a Basic White card base, then layered the Bermuda Bay and the sponged and stamped Crumb Cake. Those layers were wrapped with Black Baker’s Twine before attaching them to the card base with Stampin’ Dimensionals. To finish the front of the card, the label was attached with Dimensionals and a few Matte Black Dots were added for interest.

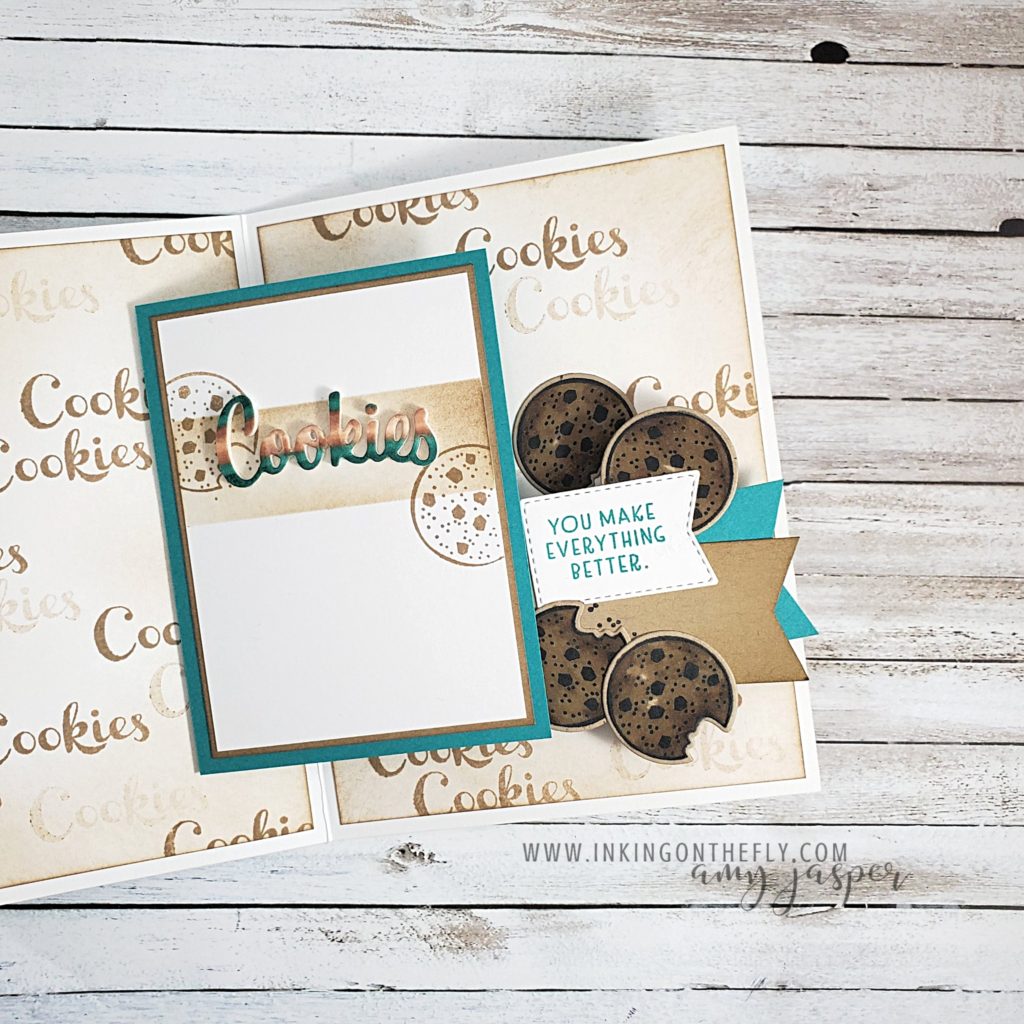
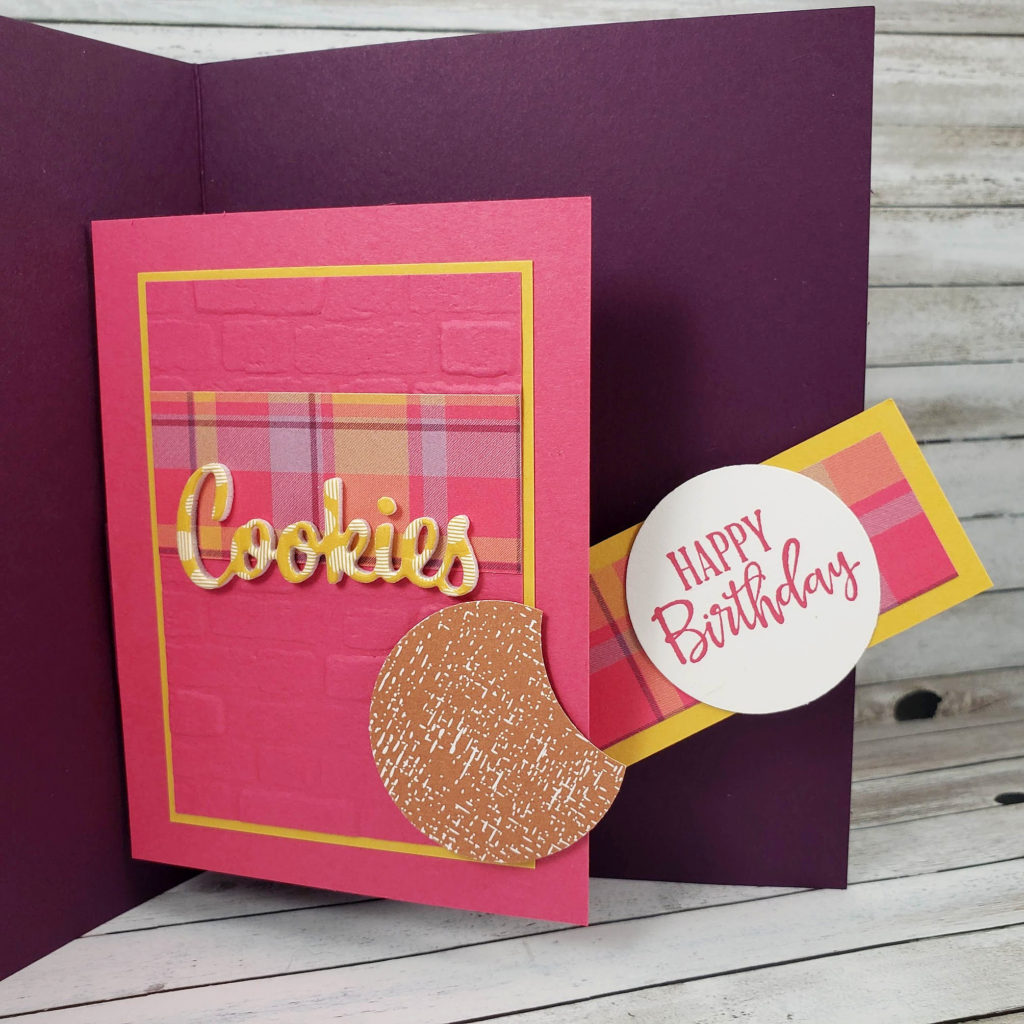
The inside of the card, of course, is the fun part! As the card opens, the banners and cookies move out and down from behind the popped up layer.

It’s a delightful surprise!

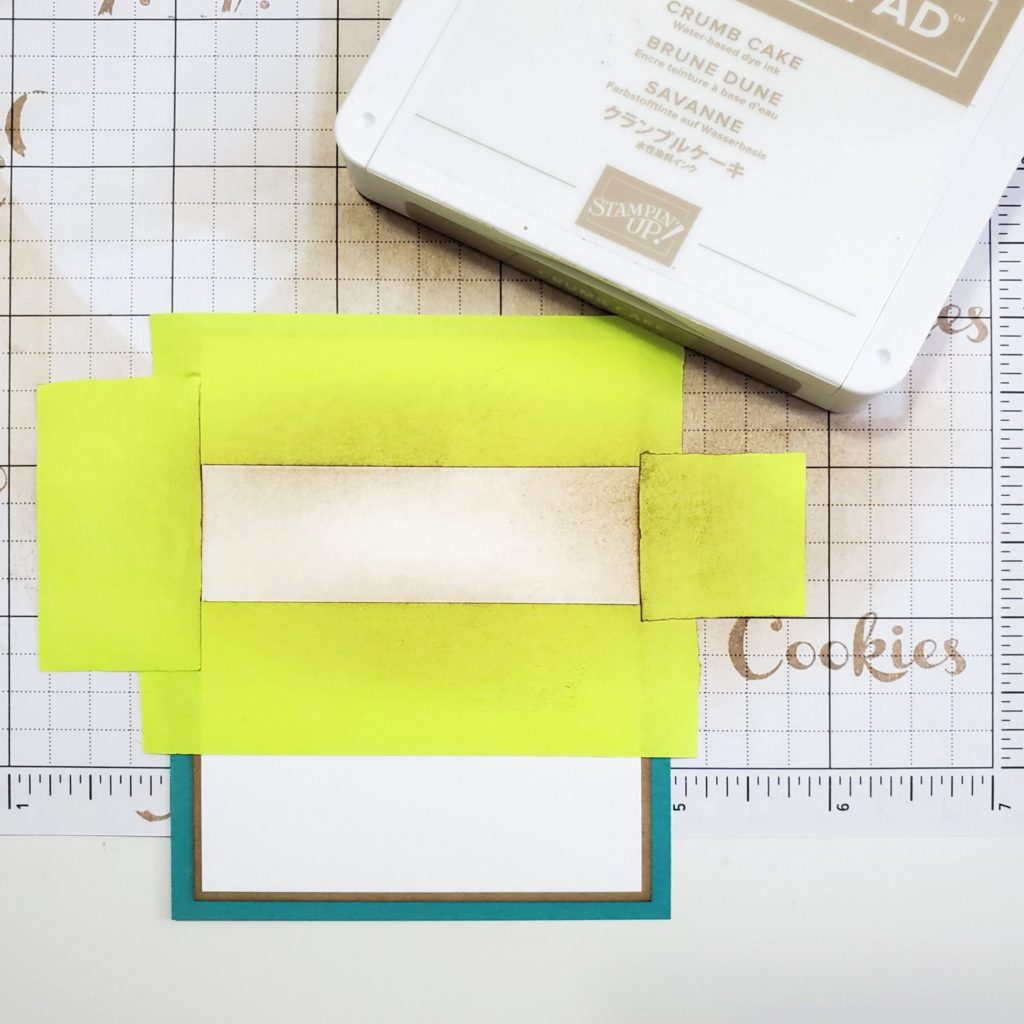
I added some Basic White layers on the inside of the card, stamped and sponged with Crumb Cake ink. The popped up layer has enough space on it to write a brief personal note. I did a bit of masking on the Basic White piece so I could add a line of sponging under the lettering. I didn’t think about adding the sponging until I had already adhered the white piece to the Bermuda Bay and the Crumb Cake, so I used some Post It Tape from Staples to mask off the area and protect it from getting inky.

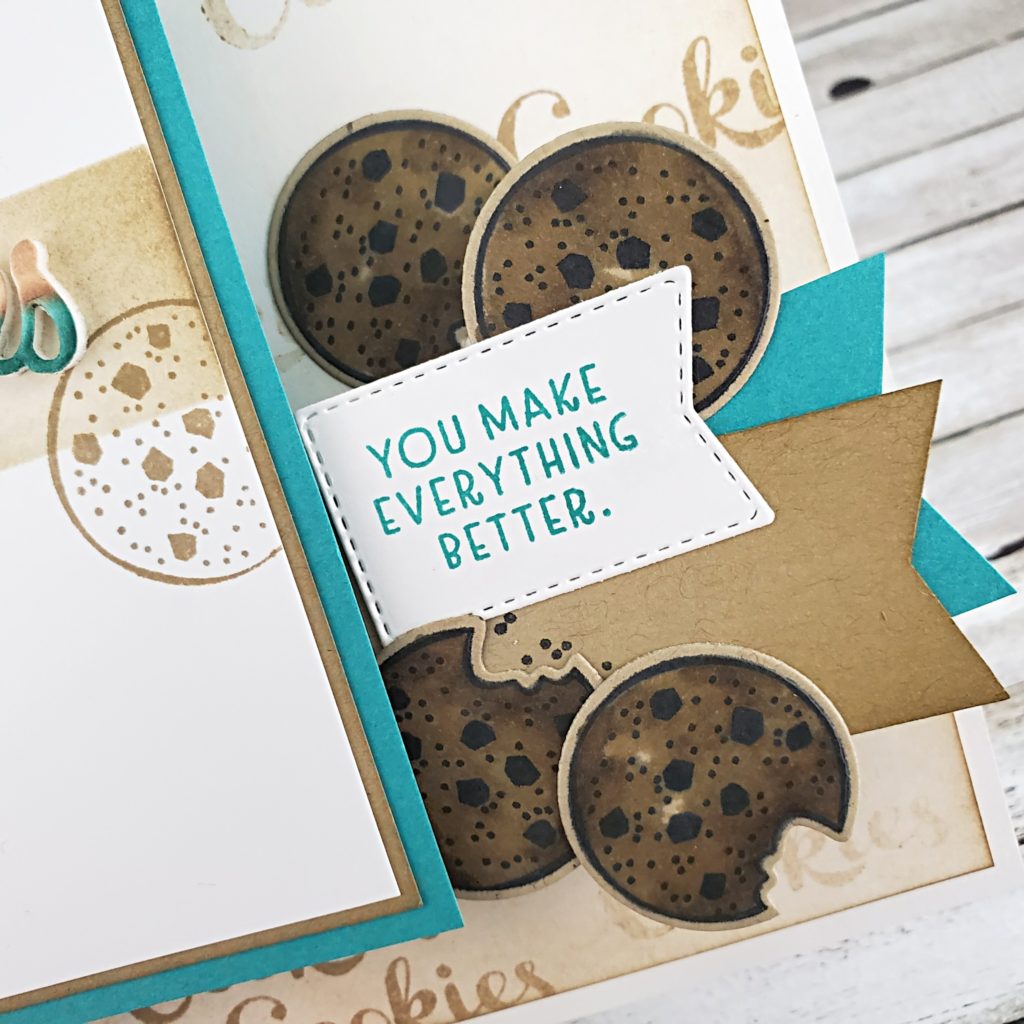
The main moving arm is the Bermuda Bay cardstock banner. To this, I added a Crumb Cake banner (sponged with Crumb Cake ink) and the cookies. The cookies were stamped with Tuxedo Black Momento Ink on Crumb Cake cardstock and coloured with Soft Suede Stampin’ Blends Markers before being die-cut with the Love You More coordinating die in the Cut & Emboss Machine.

The small die-cut stitched white banner was cut with a die from the Tasteful Labels Dies. The sentiment from the Nothing’s Better Than stamp set was stamped with Bermuda Bay ink.

Because we are in a pandemic, I’ve had to do my classes virtually, which has limited what I can offer. When my classes were in person, I could use multiple stamp sets for one card design. Now, with virtual classes, I design projects that are paper-technique focused with lots of die-cutting, embossing, and fancy folding that can be created with generic sentiments like “happy birthday” or “thinking of you”. I find myself using image stamps less often than I’d like.

Using the coordinating stamps and dies for this card was so much fun and so satisfying!

If you’re in Canada, like I am, you can order the Nothing’s Better Than stamp set and the coordinating Love You More Dies on my Online Store. You’ll find other fantastic crafting and stamping supplies there as well.
Moving Arm Pop-Up

Waaaay back in September, I enjoyed teaching how to make this moving arm card in my technique class. This card is a slightly adapted version of a design shared on Mitosu Crafts. After seeing their card, I did a bit more research on the moving arm concept and used what I learned to make some minor adjustments.

This pop-up design is much easier than you might think! Watch my video tutorial at the end of this post to see for yourself!

Since this design was created last fall, some of the supplies used in this project are no longer available to purchase. However, you are very clever, so I know you’ll be able to use my tutorial to make something amazing with alternate supplies! Check back on my blog on Sunday to see another version of this moving arm pop-up card using current supplies. I’ll be using the Nothing’s Better Than stamp set and the Love You More dies from Stampin’ Up!, just like I did on this card – but it will be a whole new look.

Blackberry Bliss, Melon Mambo and Bumblebee are a fun combination of colours that coordinate with the patterned paper on this card. You may have noticed that this project doesn’t use much in the way of stamping. That’s because, my focus for this virtual class was to show the paper technique and allow those attending to use any sentiment stamp they already had at home. That way, almost anyone can join in on my class!

Below is the video tutorial provided to those who attended my September technique class. I like that they could refer back to it and easily make more cards with this technique.

I decided it was time, dear reader, to share it with you as well. Enjoy!

Twist and Pop Chickens Pop Up Card

I found my new favourite pop-up card! Once you know how to build this one, it’s super easy and doesn’t take very much time at all! I had a look at a few tutorials for this particular card and found this to be the easiest way with the least amount of measuring and fuss.

When I first had a look at the Stampin’ Up Sale-a-bration brouchure for 2017, I squealed with delight when I saw the funny little chickens in the Hey Chick stamp set! I think they are so fun and silly and I fell in love with them immediately. Believe it or not, this card is the first time for me to use this stamp set.

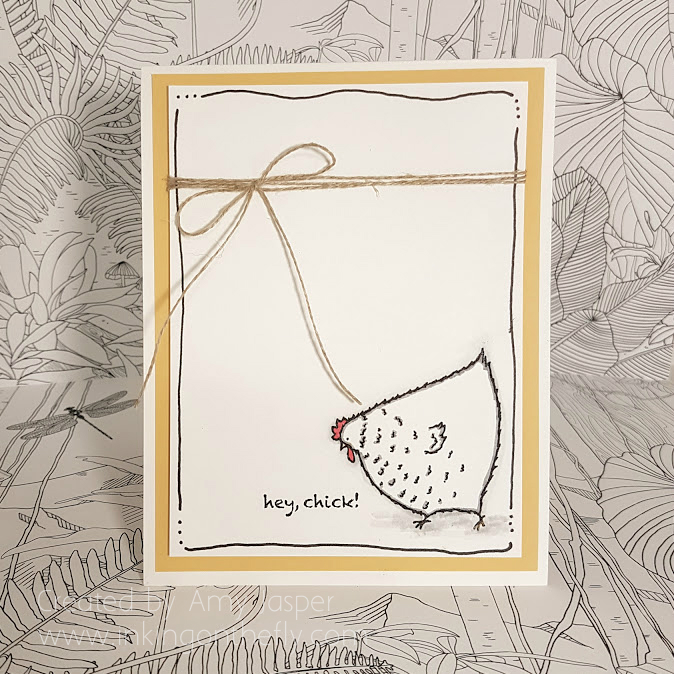
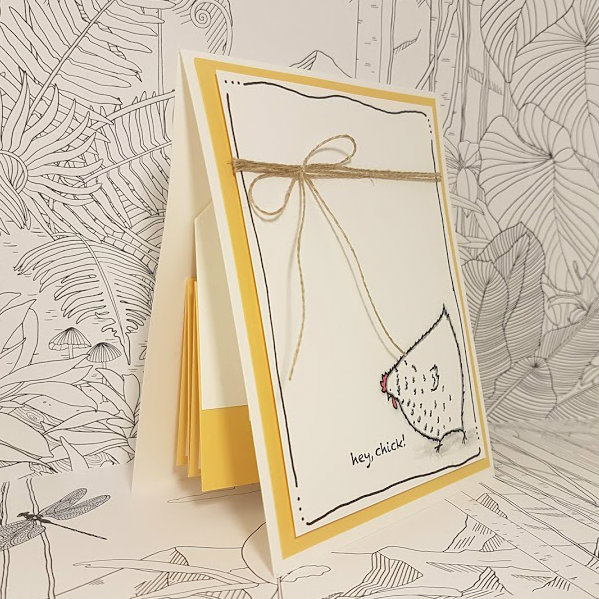
Here’s the simple card front:

twist and pop chicken card by Amy Jasper www.inkingonthefly.comI love the simplicity of this card. The hand-drawn lines around the Whisper White layer add a simple light frame. The chicken image is stamped with Jet Black Stazon ink and coloured with Blender Pens using Smoky Slate ink, Crushed Curry ink and Watermelon Wonder.

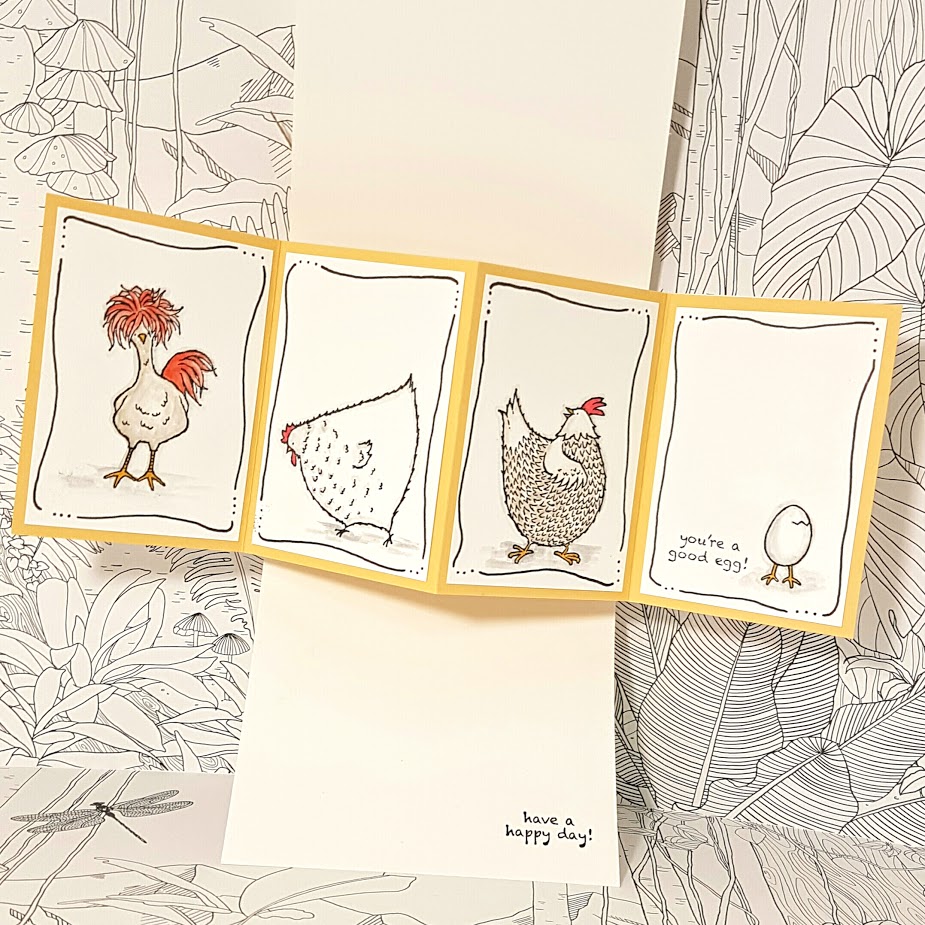
Here’s what happens when you open it:

Save

You can see that I did more of those hand-drawn lines with my Project Life pen on each of the inside panels of this card. I used some Tangerine Tango ink with my Blender Pen for the crazy chicken’s “hair” and tail feathers, some Crumb Cake ink for the body of the crazy chicken and the body of the looking back chicken. Smoky Slate ink accents the pecking chicken and the cracking egg images.

Twist and Pop inside by Amy Jasper www.inkingonthefly.comThe best part about this pop-up card is that it is super easy to make. I started with preparing the piece for my inner mechanics, Thick Whisper White cardstock measuring 3-1/2″ x 8″. This piece was scored lengthwise at 1-3/4″, then I used my Simply Scored tool to make a notch marking at 2-1/4″ on the long edge of the cardstock. I did four of these marks, then used them as guidelines to score the X needed for these magical inner workings of this pop-up card. The So Saffron panel piece measures 3-1/2″ x 10″ and is scored at 2-1/2″, 5″, and 7-1/2″, then folded in an accordian fold style.

It’s not easy to explain this fun card in writing. Are you confused, yet? LOL! I thought you might be, so I made a video! Check it out on my youtube channel by clicking here.

twist and pop chicken card by Amy Jasper www.inkingonthefly.comI hope you give this super fun card a try. It’s guaranteed to delight anyone who opens it to find that it’s much bigger on the inside!

Save

Save

Save