Pedal Pusher Reflection
Life is full of re-evaluations, reflection, and adaptation. I am smack dab in the middle of all of that as I try to figure out the priorities and values in my life. Sometimes, my stamping has to take the back burner while my family or other adventures take over. I want to learn how to play the guitar, I want to sew more, I want to be more active – these things will take some of my time, but I still want to stamp. I’ve been less consistent on my blog because of my ventures in life and I can’t be sure how each week will look for me on my blog. However, today, I do have a card to share with you!
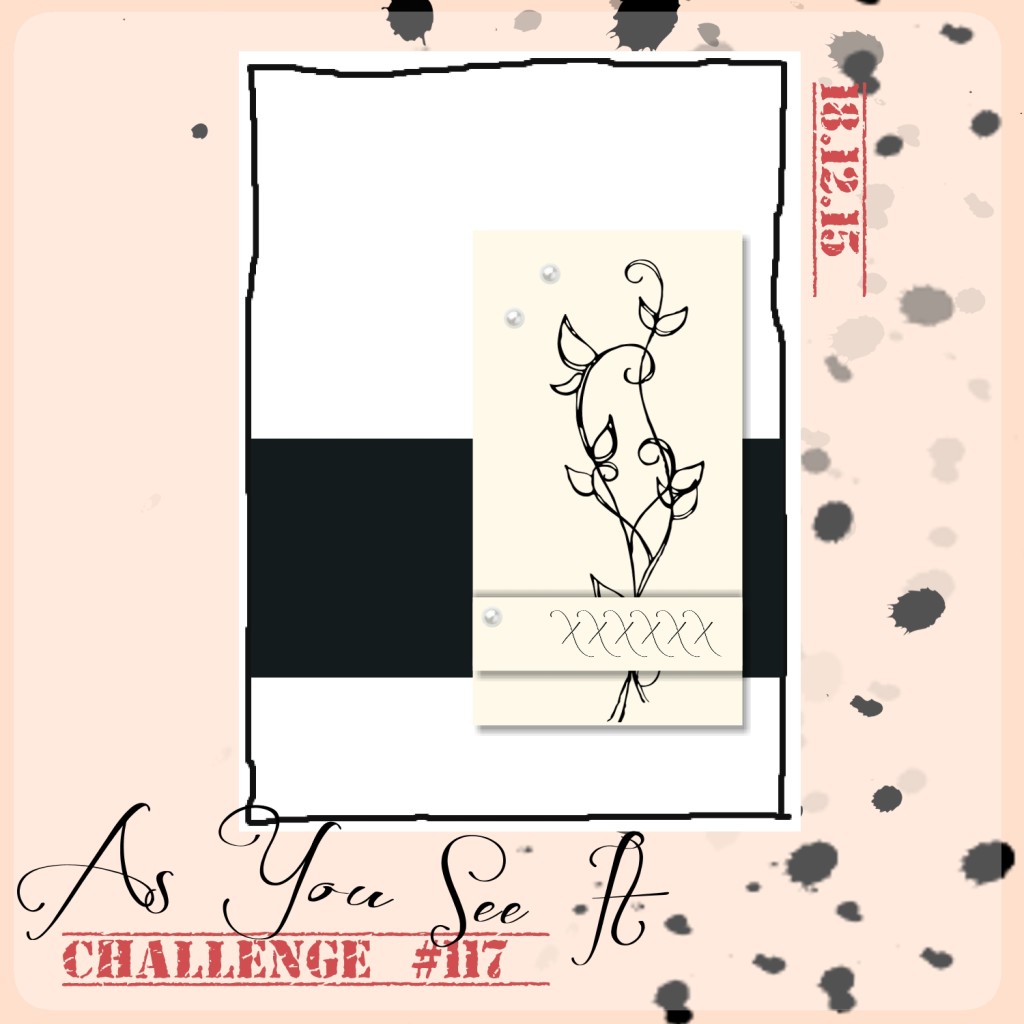
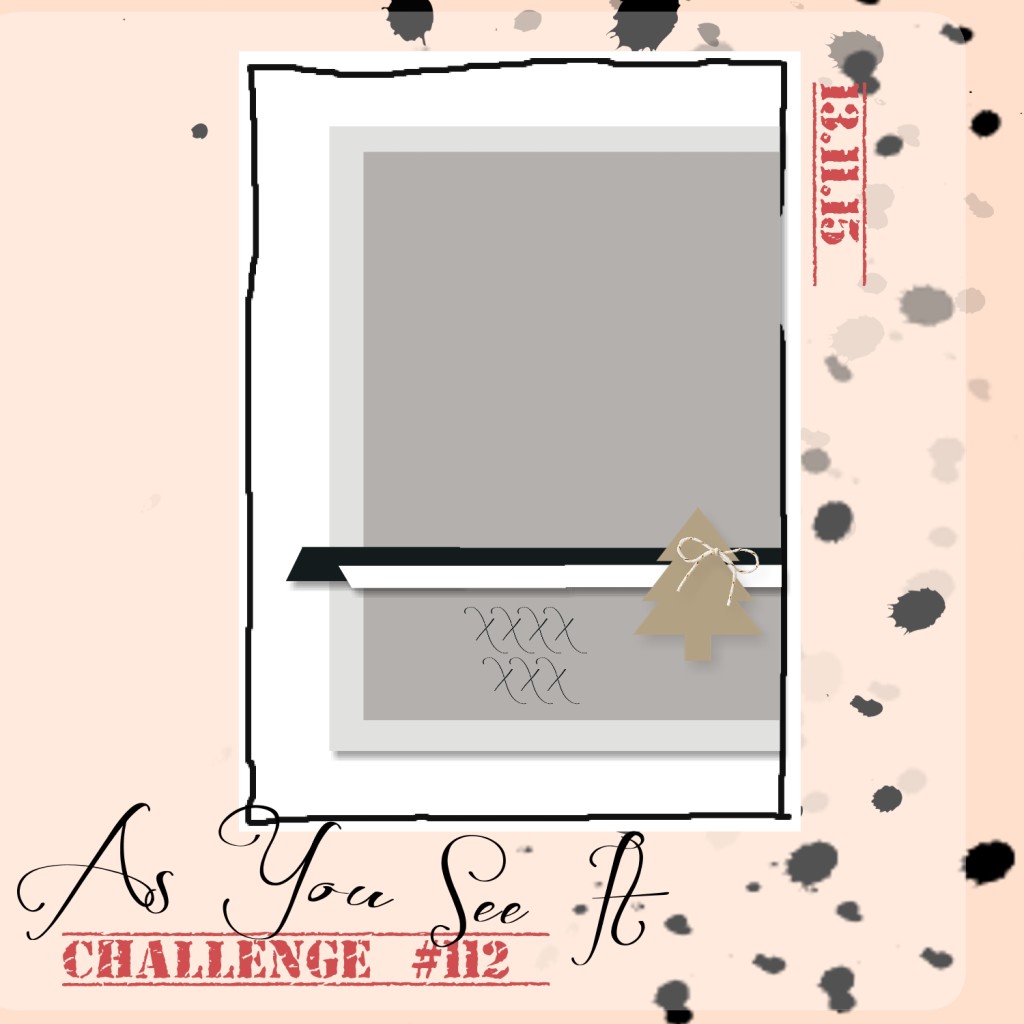
I started with these beautiful bright happy and inspiring colours from the As You See It Challenge blog.
 I love all of the Sale-a-bration free products from Stampin Up! The stamp set that I used for this card is one of the more recent stamp sets you can now get for free with a $60 purchase. It’s adorable and perfect for this happy spring colour challenge!
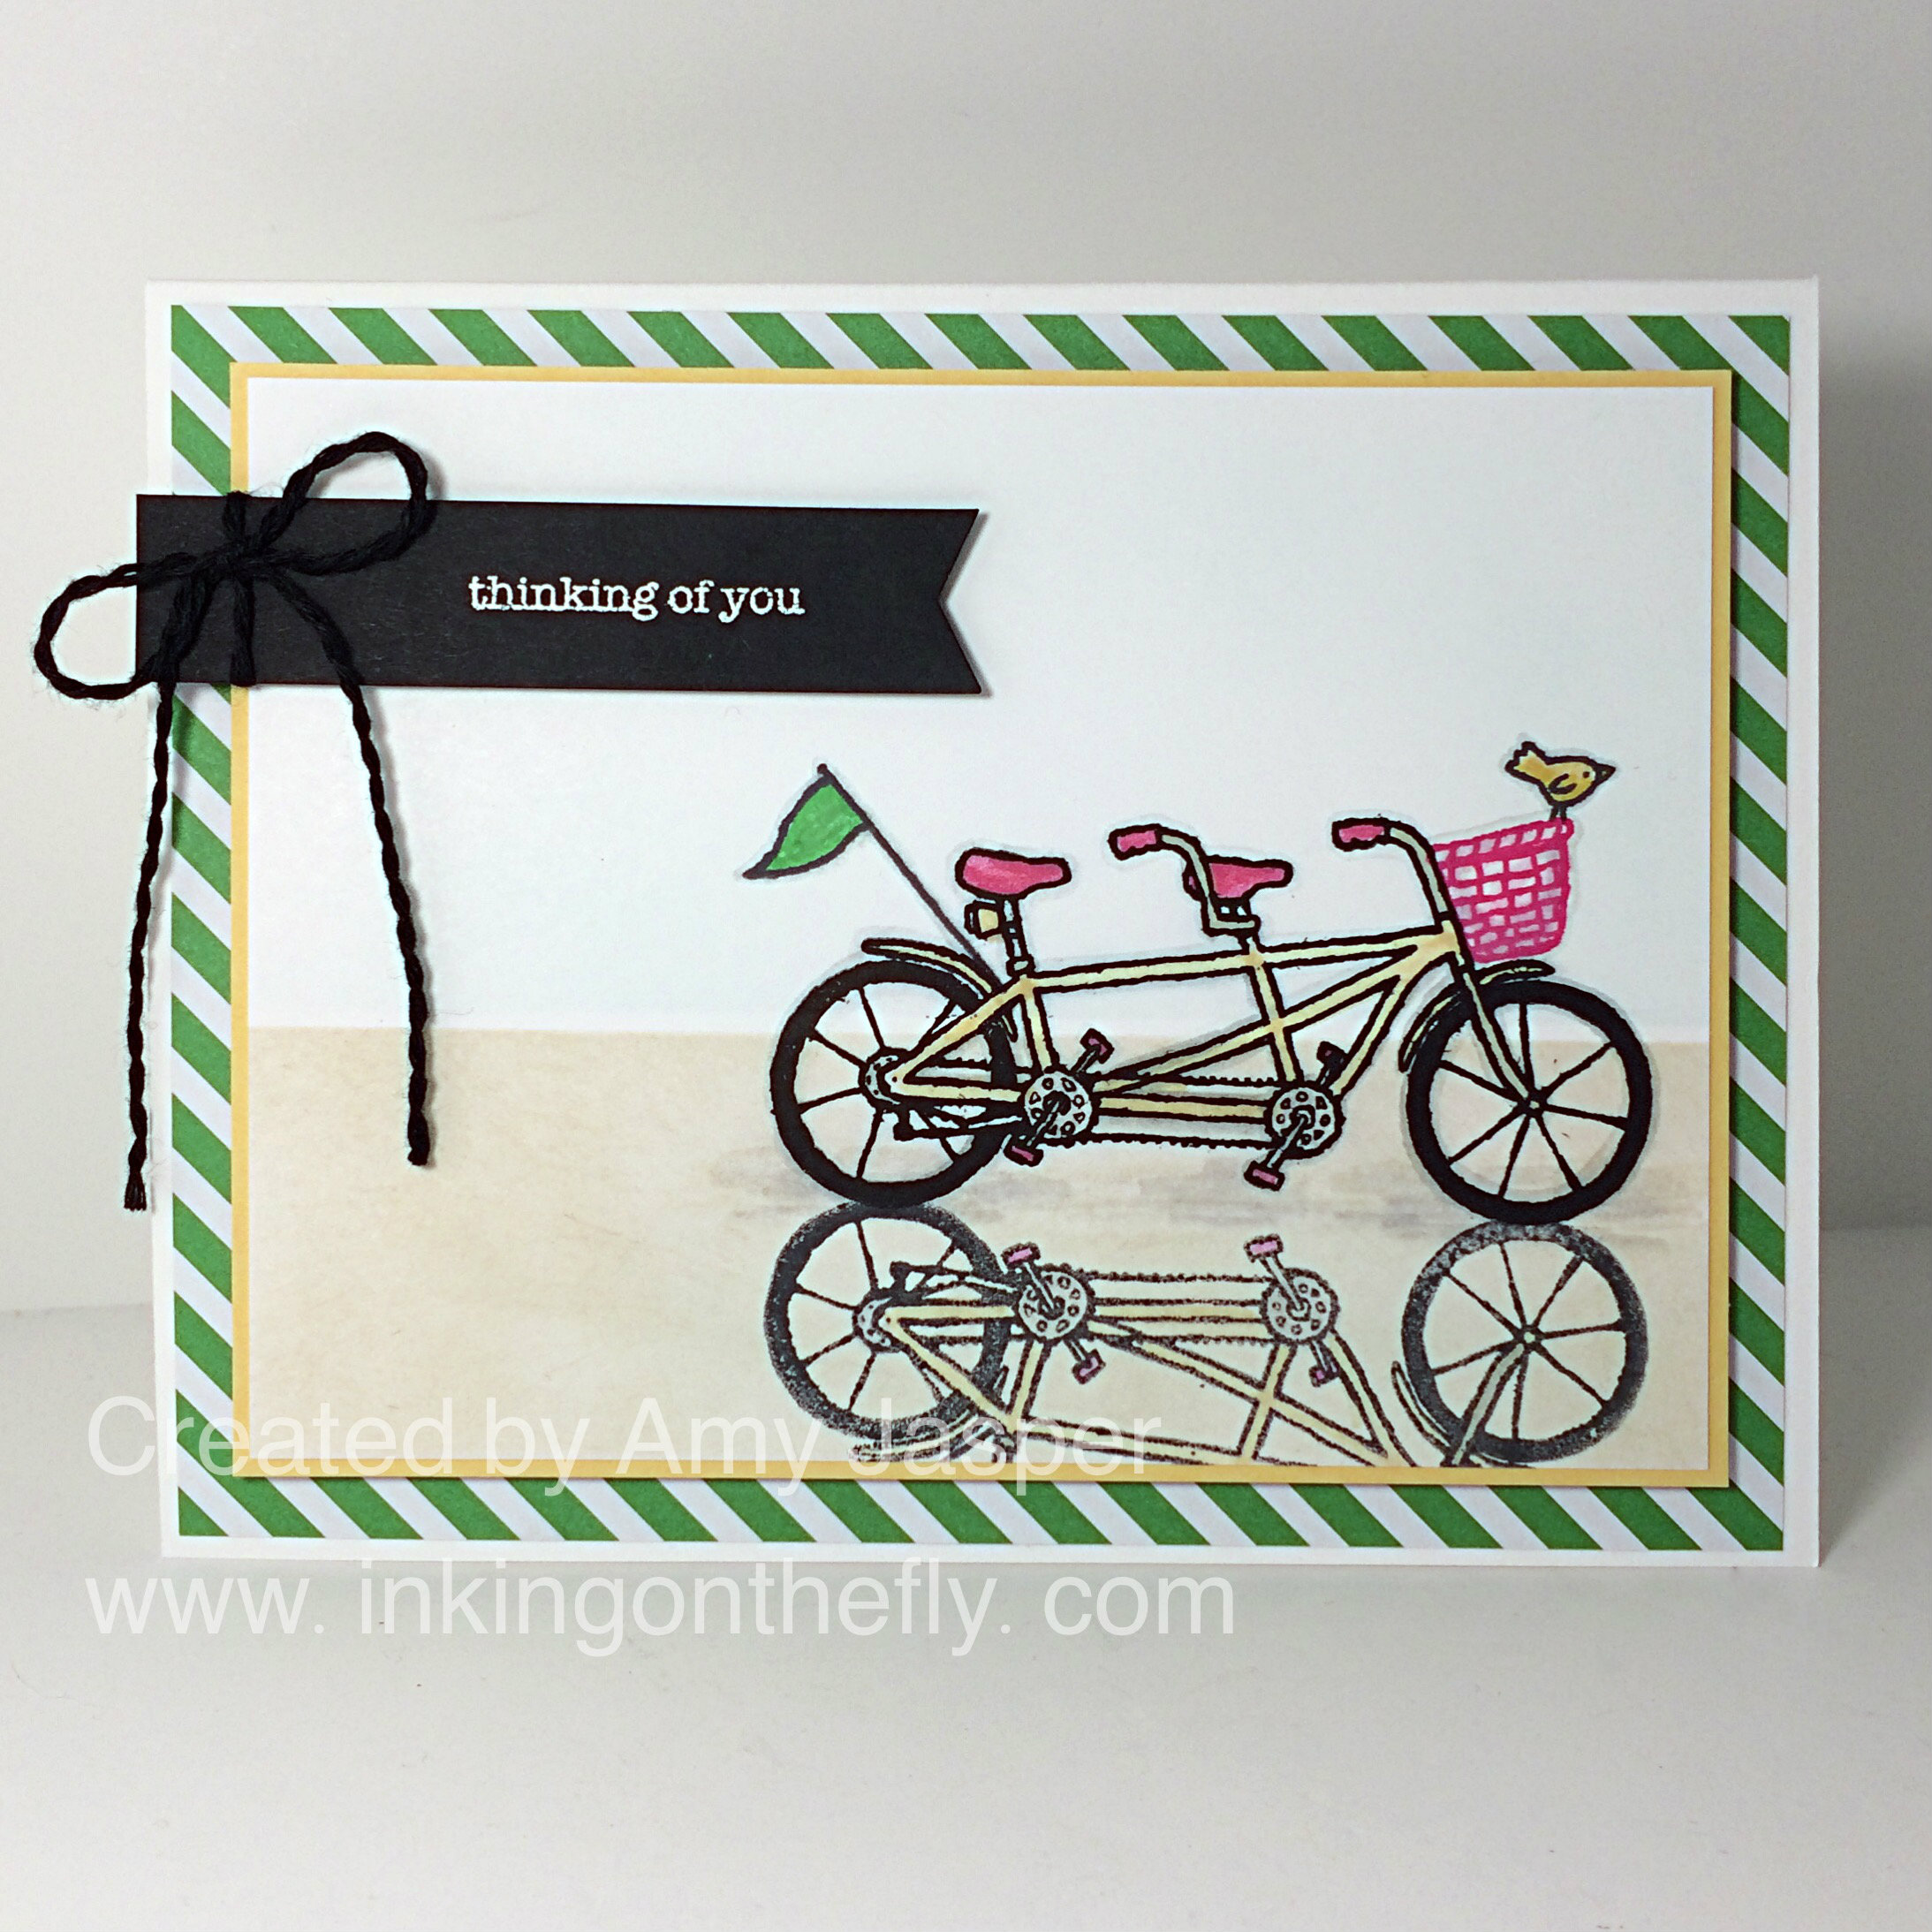 Don’t you just love these colours!! I was so excited to learn that the Stampin Up Silicone Craft Mat can also be used as a surface to transfer a reflected image on a project. All I had to do was stamp the image on the silicone mat with Jet Black Momento ink, then huff on the stamped image, turn the Silicone Craft Mat over, line it up with my original image on my page, then press the Silicone Craft Mat on the cardstock to transfer the image! It worked like a charm! It’s important to use a water-based ink like the Momento Black so that it won’t dry too fast before you can position it AND so it will not leave a permanent image on your Silicone Mat.
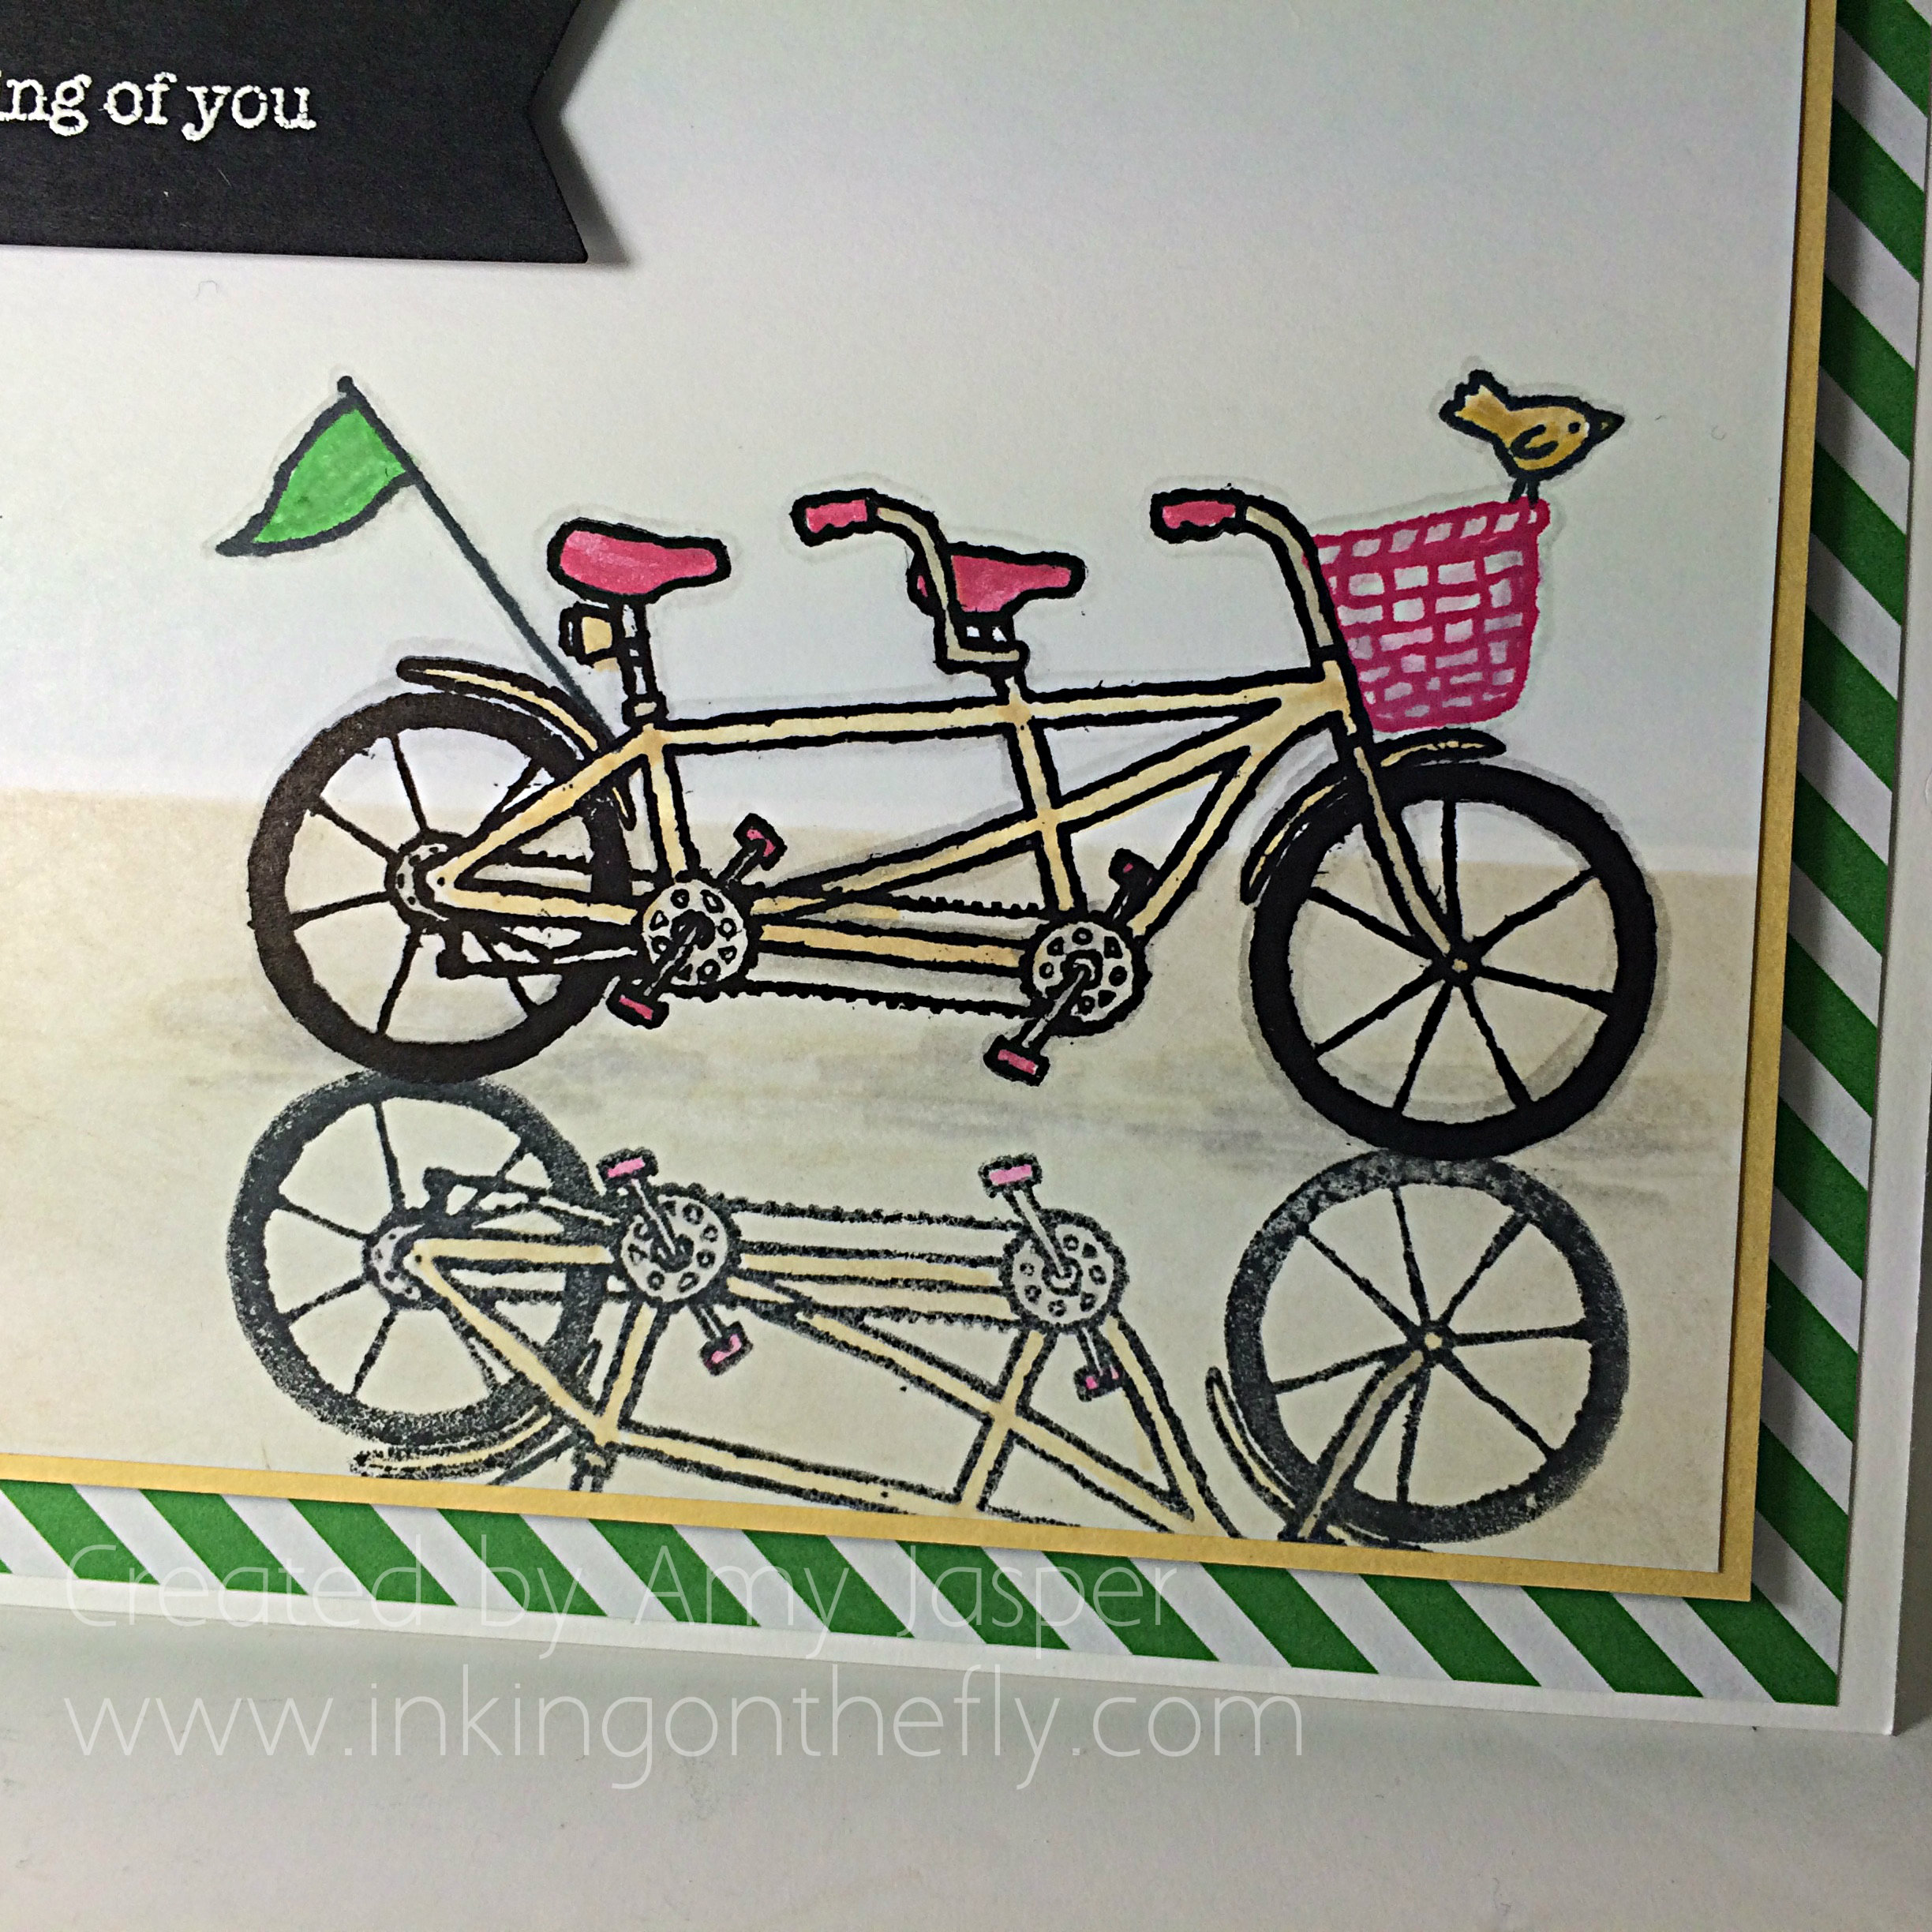 I coloured my original image (it was stamped with Archival Black ink) using my Stampin’ Write Markers. As I often do, I used Smoky Slate to do an outling of my image as it adds a shading that makes the image pop a bit on the page – it doesn’t look so flat that way. The reflection image was coloured using a Blender Pen and the same colours on the main image so that the colours would be faded in the reflection in the sand.
I chose this small “thinking of you” sentiment from the Teeny Tiny Wishes stamp set from Stampin’ Up for two reasons: first, because I wanted something small and simple so it wouldn’t take away from the rest of the card; second, because I was commissioned to create some “thinking of you” cards for my husband’s co-worker. A bicycle for two represents teamwork, so if you don’t have one of the cyclists, it would be harder to pedal. I think it’s a great analogy to working together, don’t you?
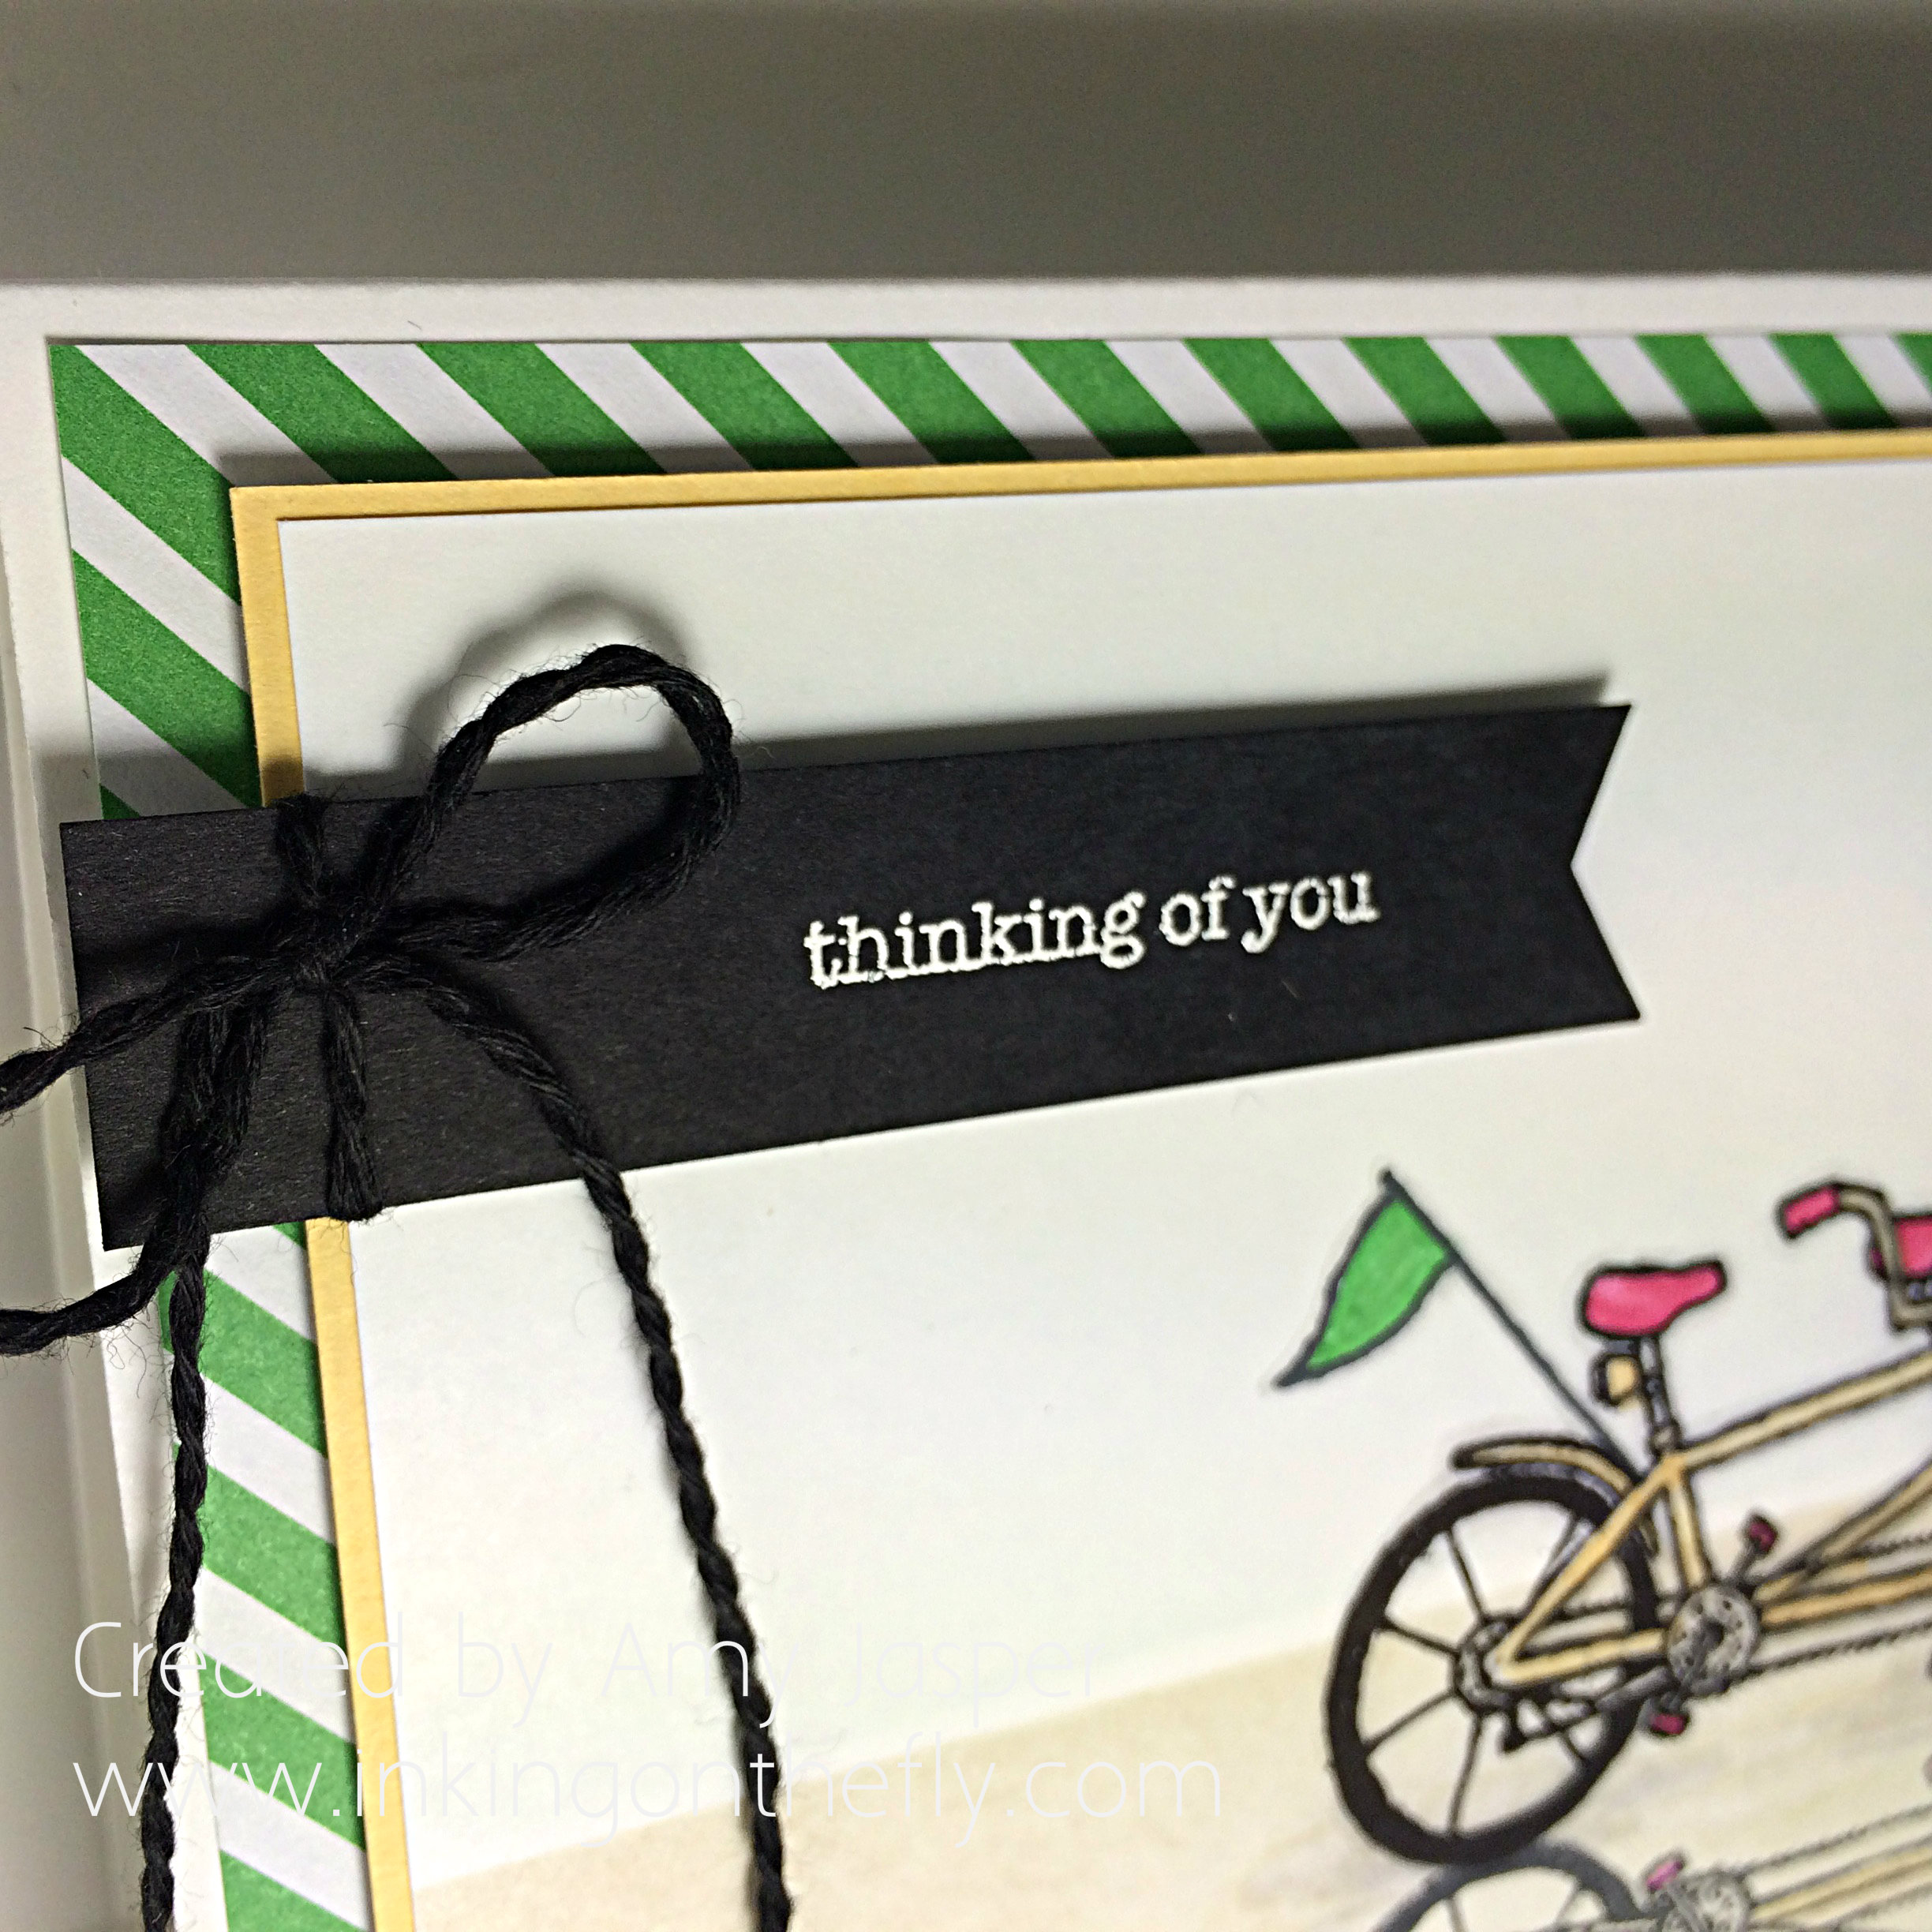 The sentiment is stamped with Versamark ink and embossed with White Embossing powder and my Heat Tool. The twine is from the Baker’s Twine Combo pack. I just separated the black strands from the Melon Mambo strands and voila! A whole new look!
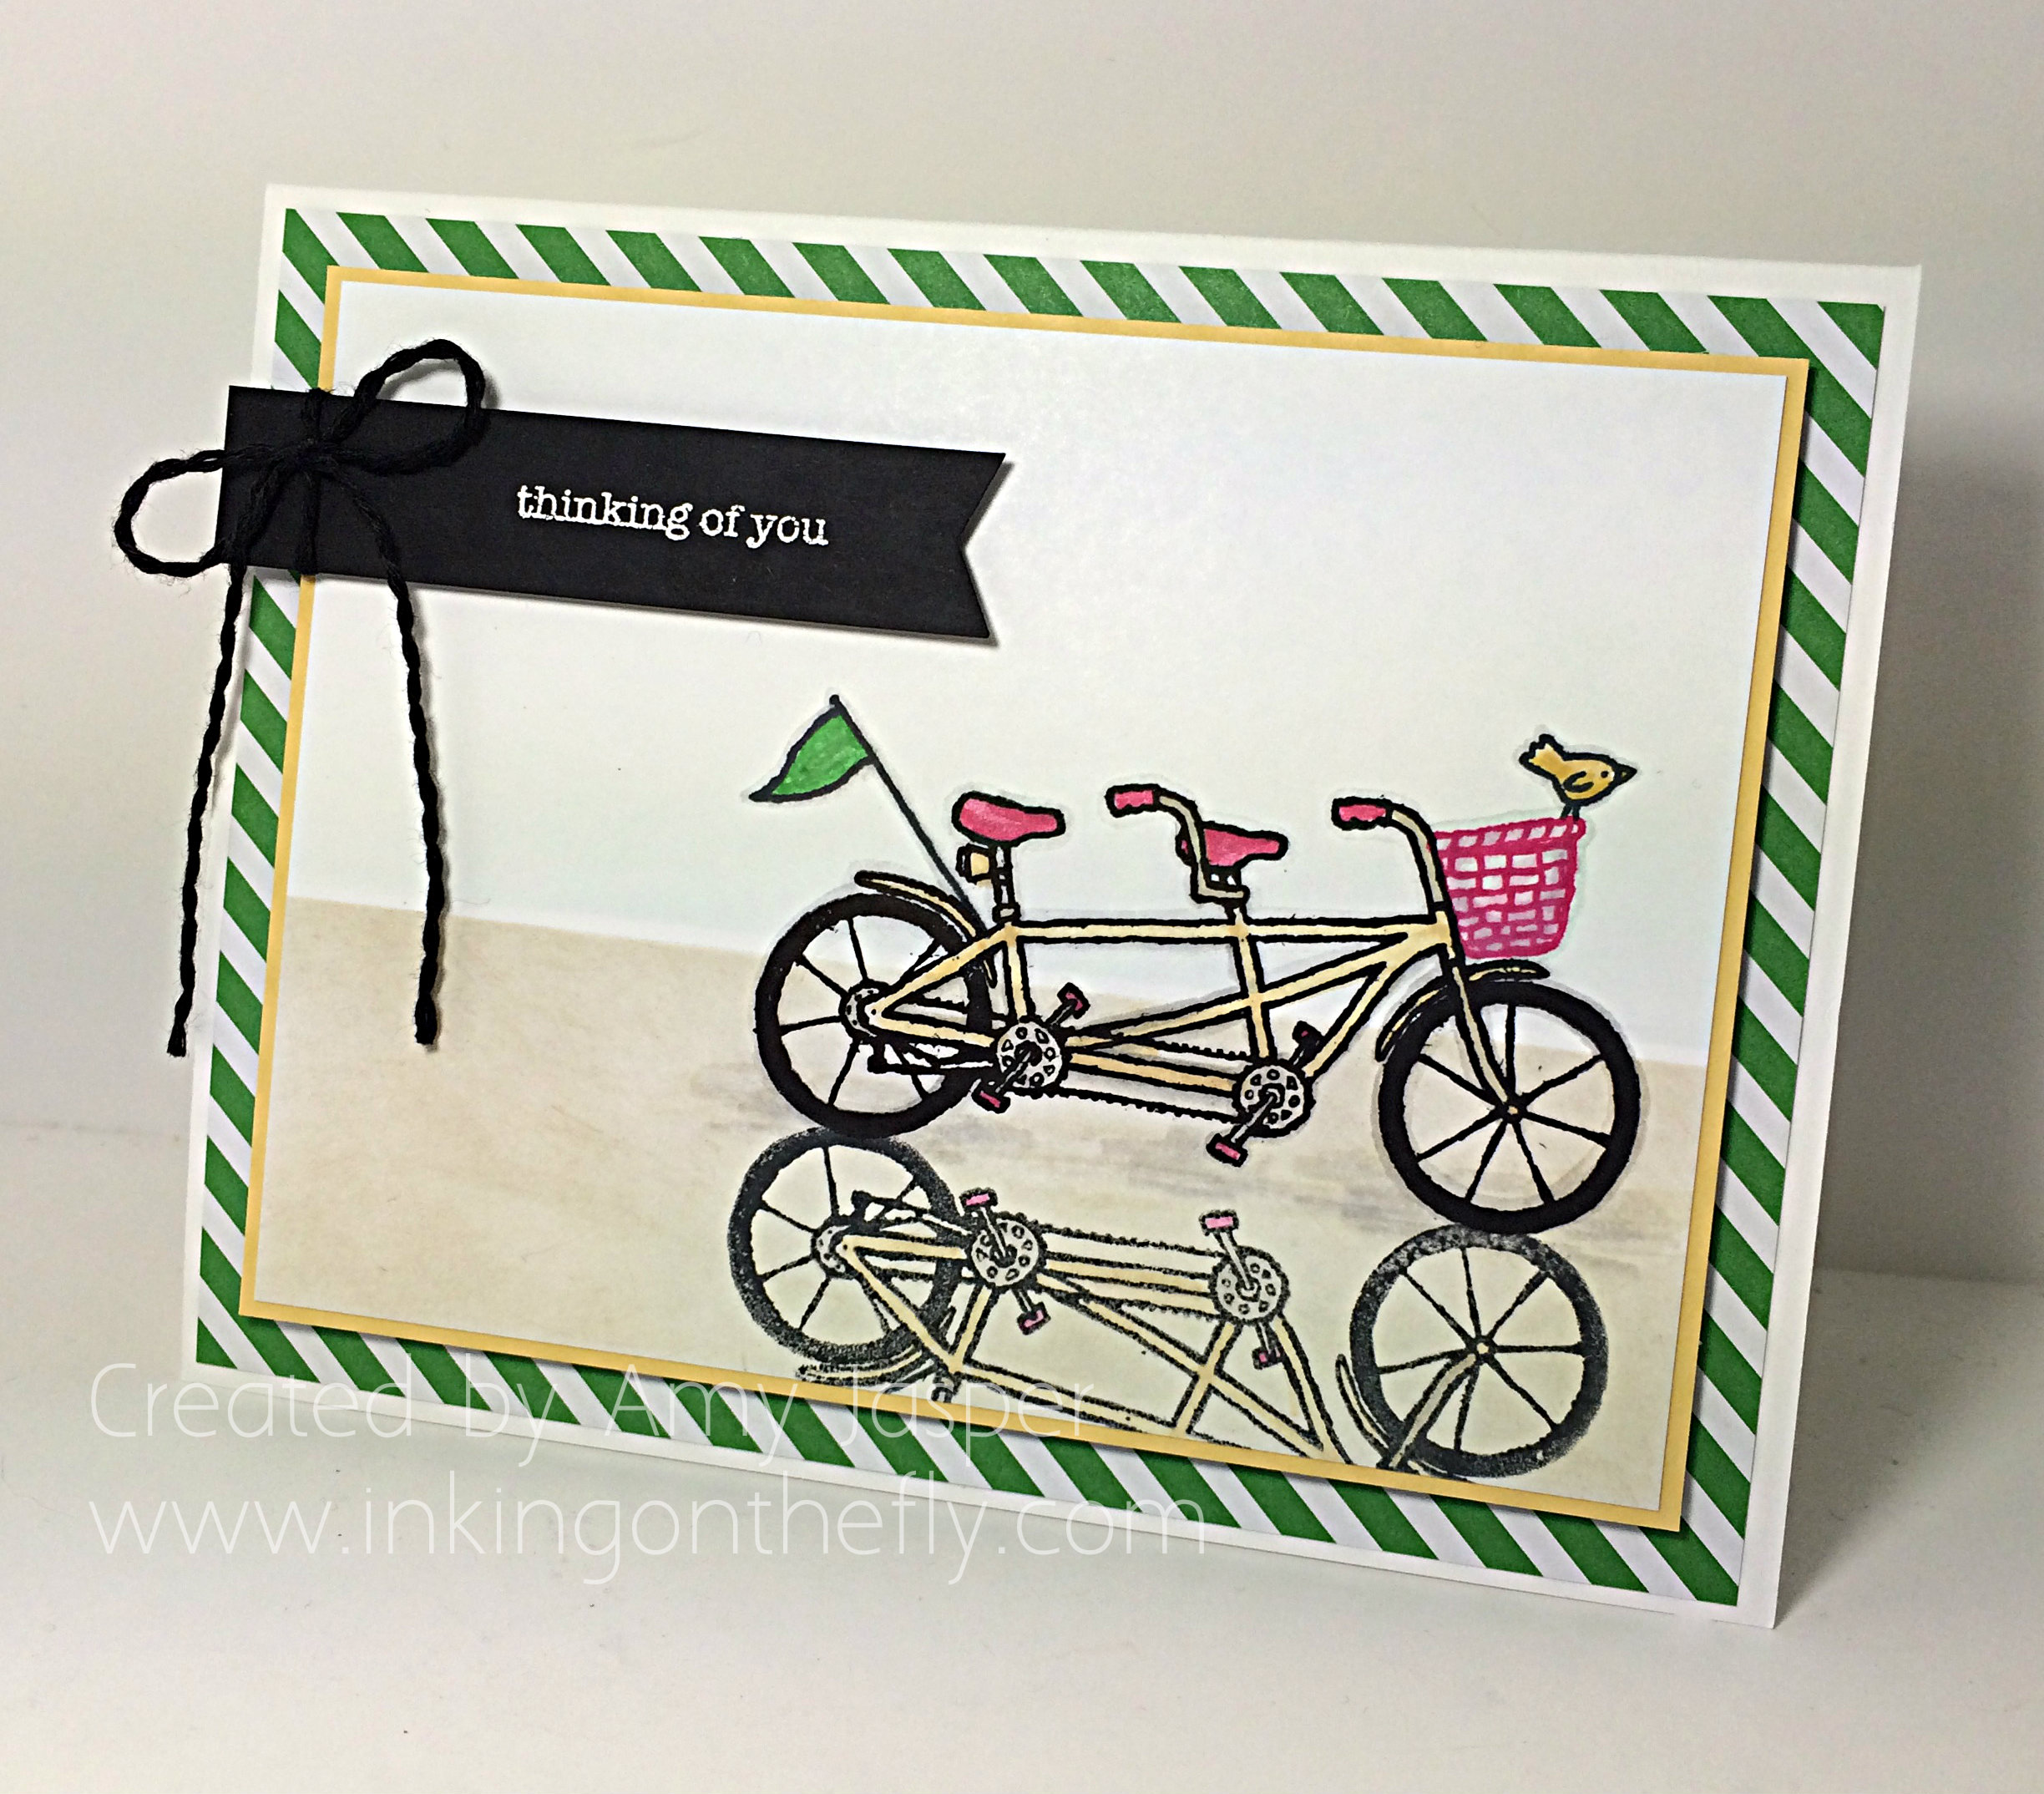 Some of you might be wondering where the Cucumber Crush diagonal stripes came from. Well, I actually was a bit wasteful with my paper and took the horizontal striped paper from the 2015-2017 In Color Envelope Paper and cut out what I needed on a diagonal. I love the look! I’m sure I can get use out of the scraps, anyway!
I know I didn’t touch on all of the elements of this card, but I think I covered a lot. If you have any questions, feel free to ask! I’m happy to tell you more!
If you love this stamp set as much as I do, just click on my SHOP button on this page and order product that you know you want anyway, so you can choose this stamp set for FREE! Just $60 and this set or any other Sale-a-bration set can be yours! Who doesn’t love free stuff!
