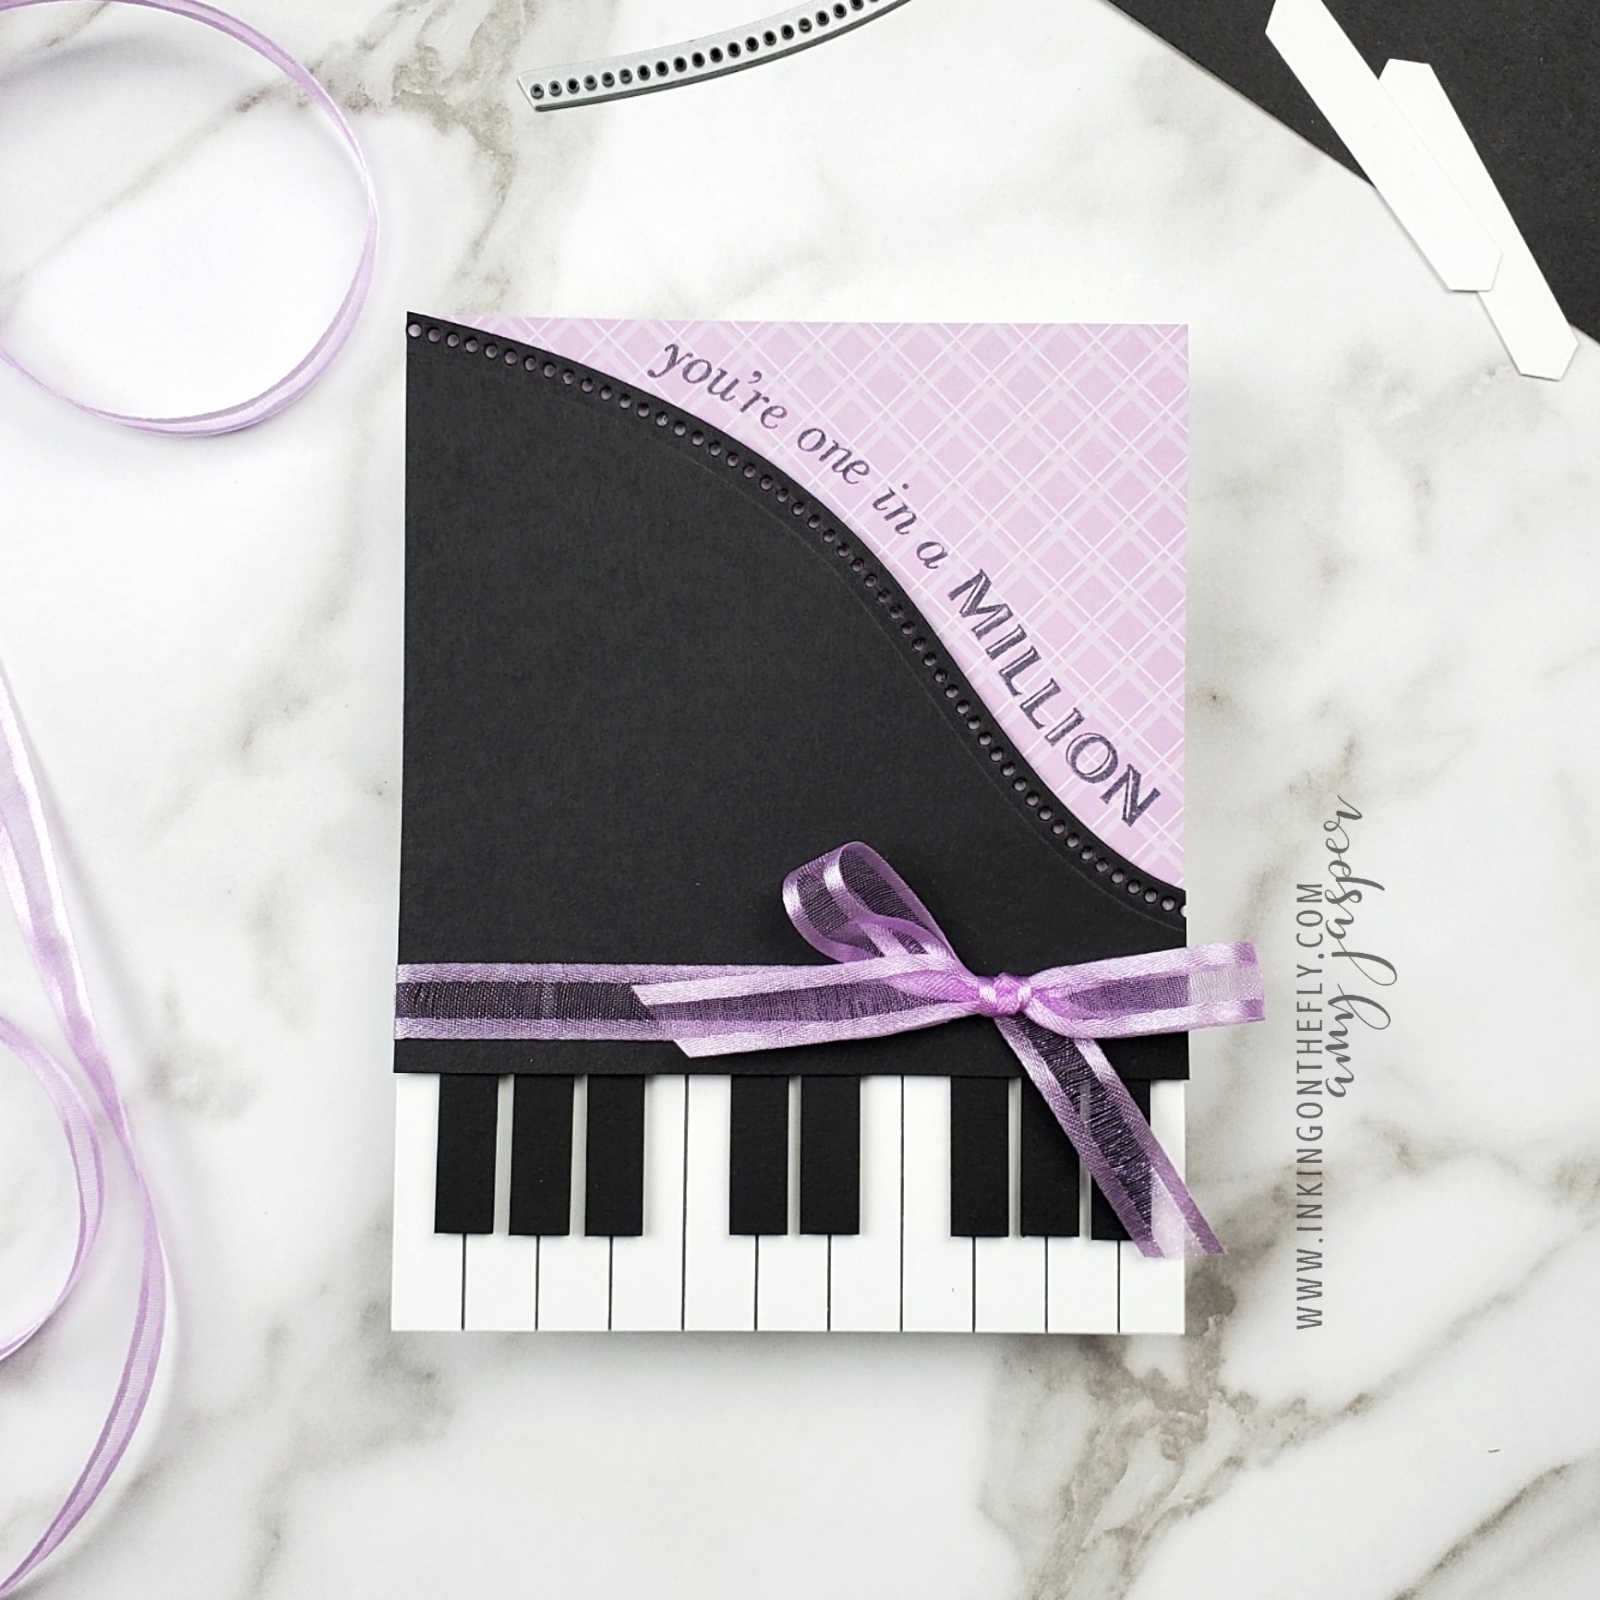
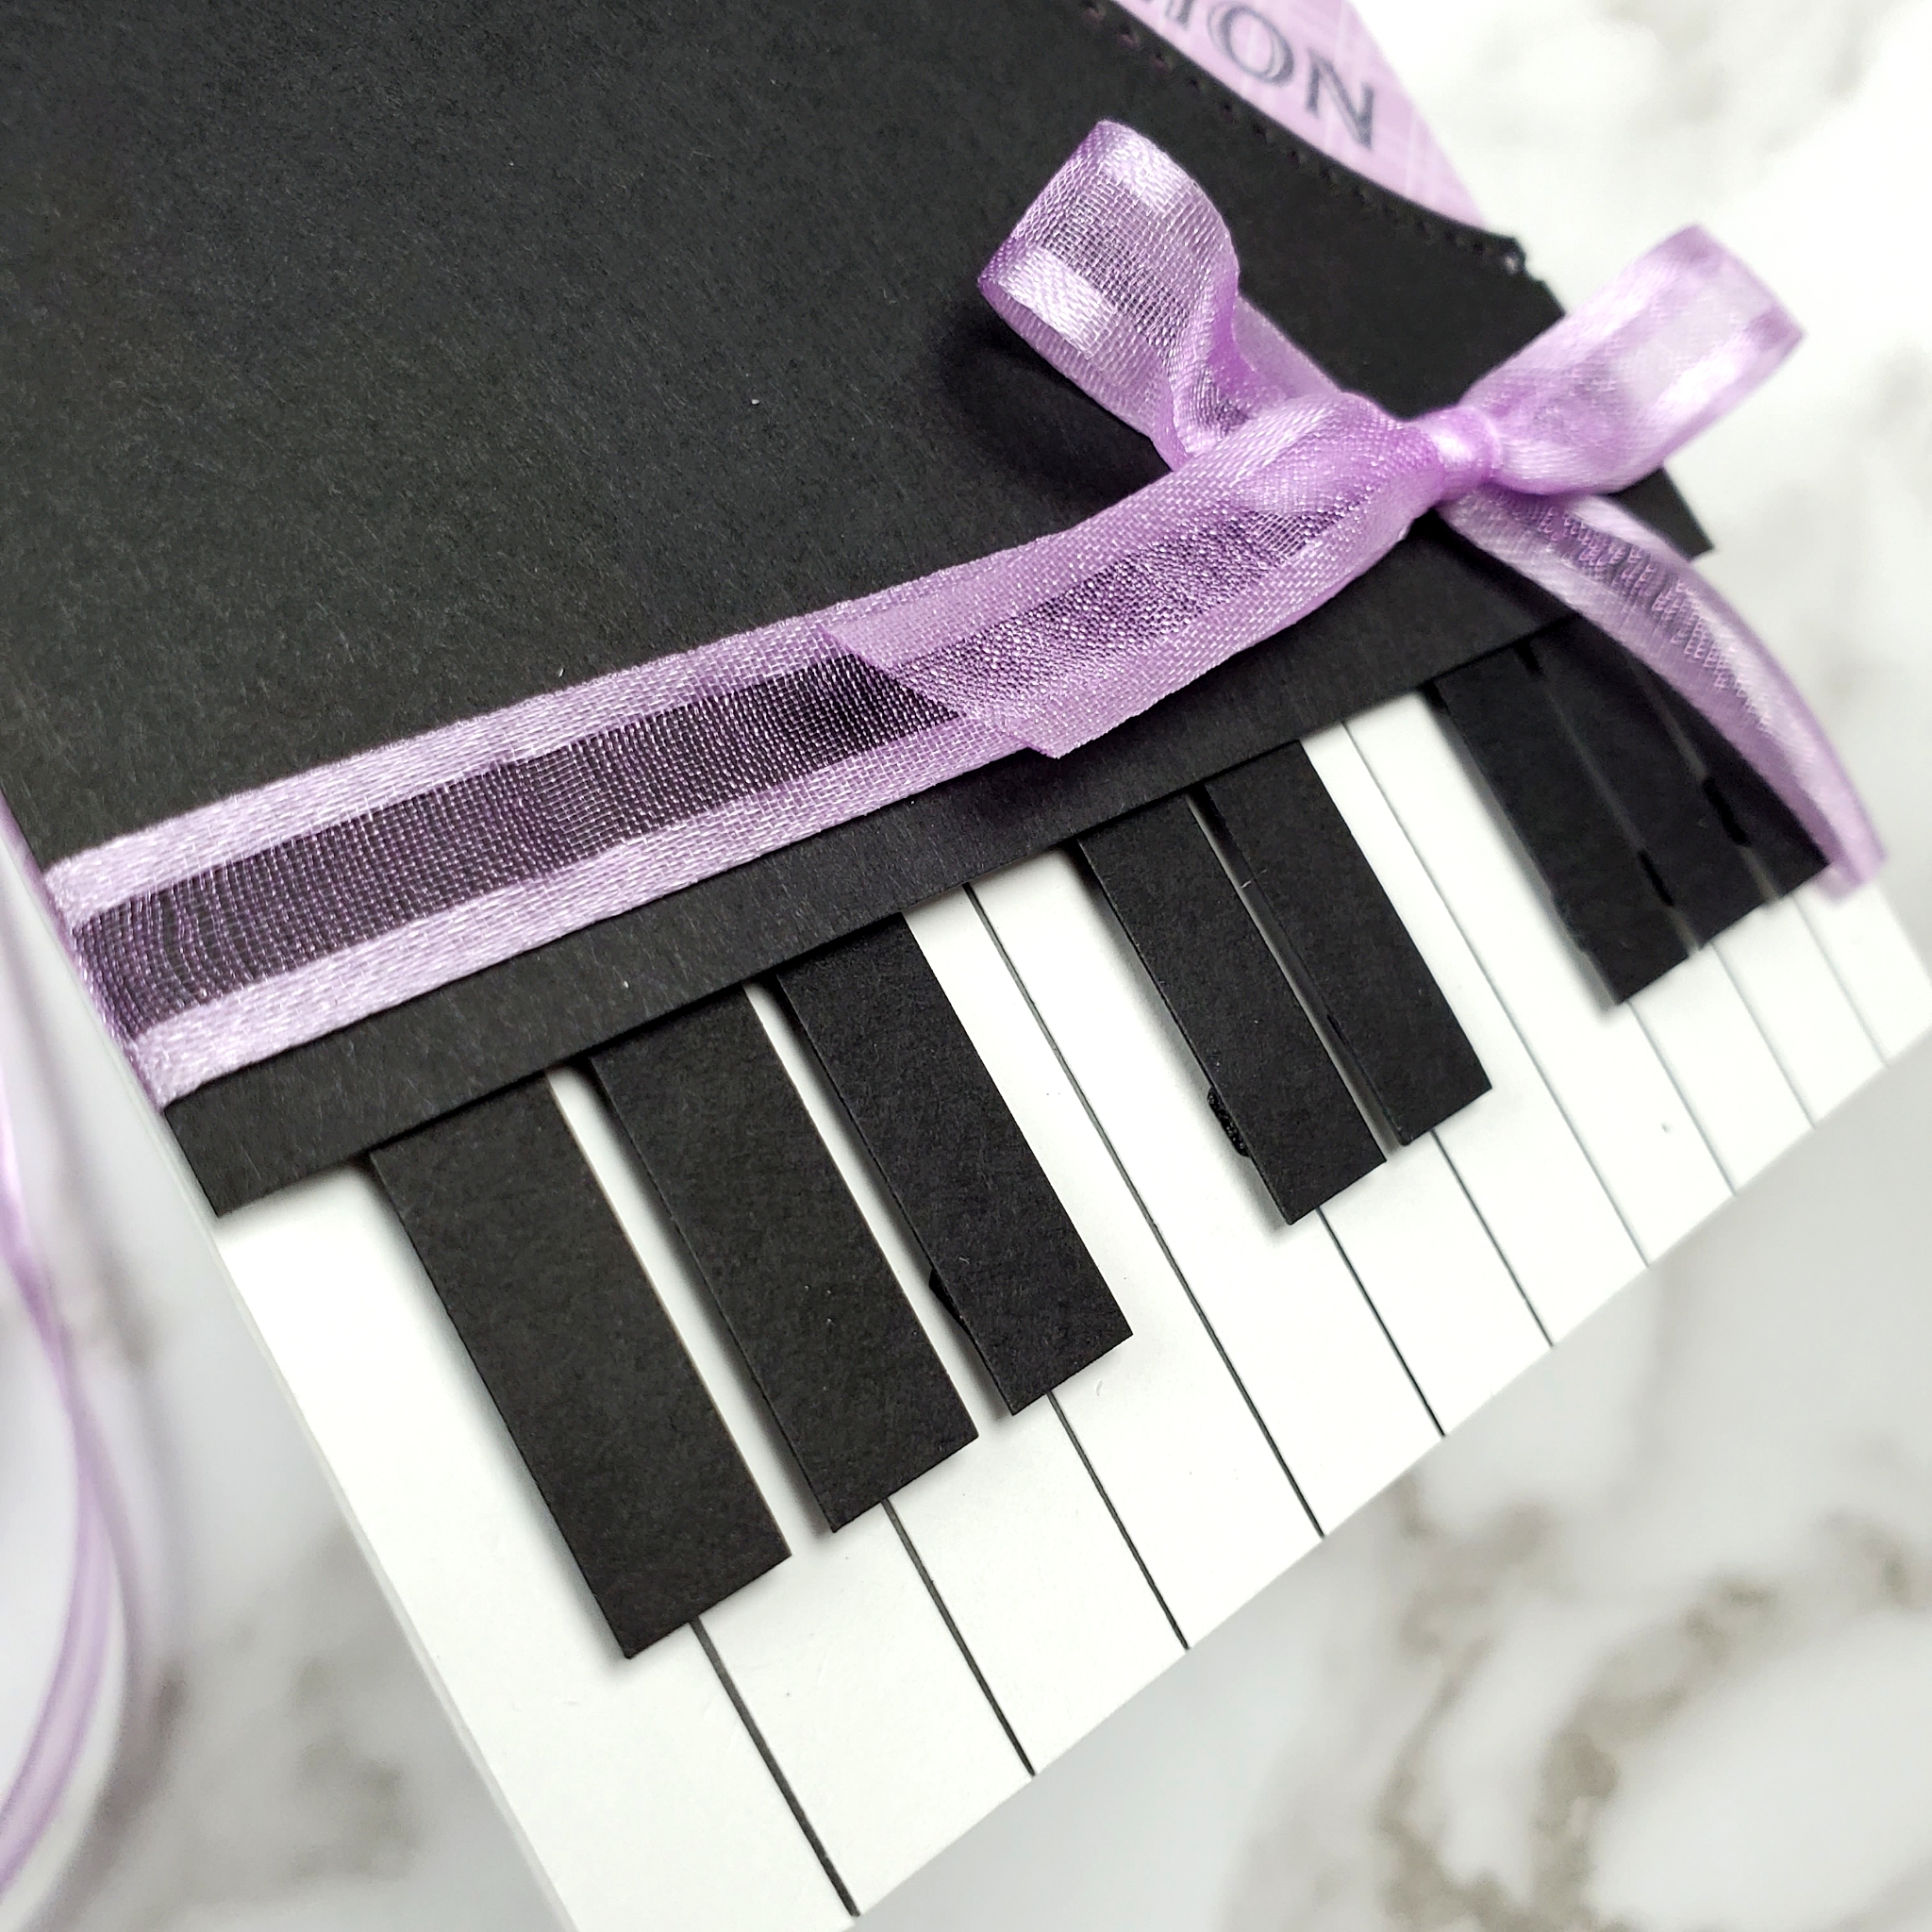
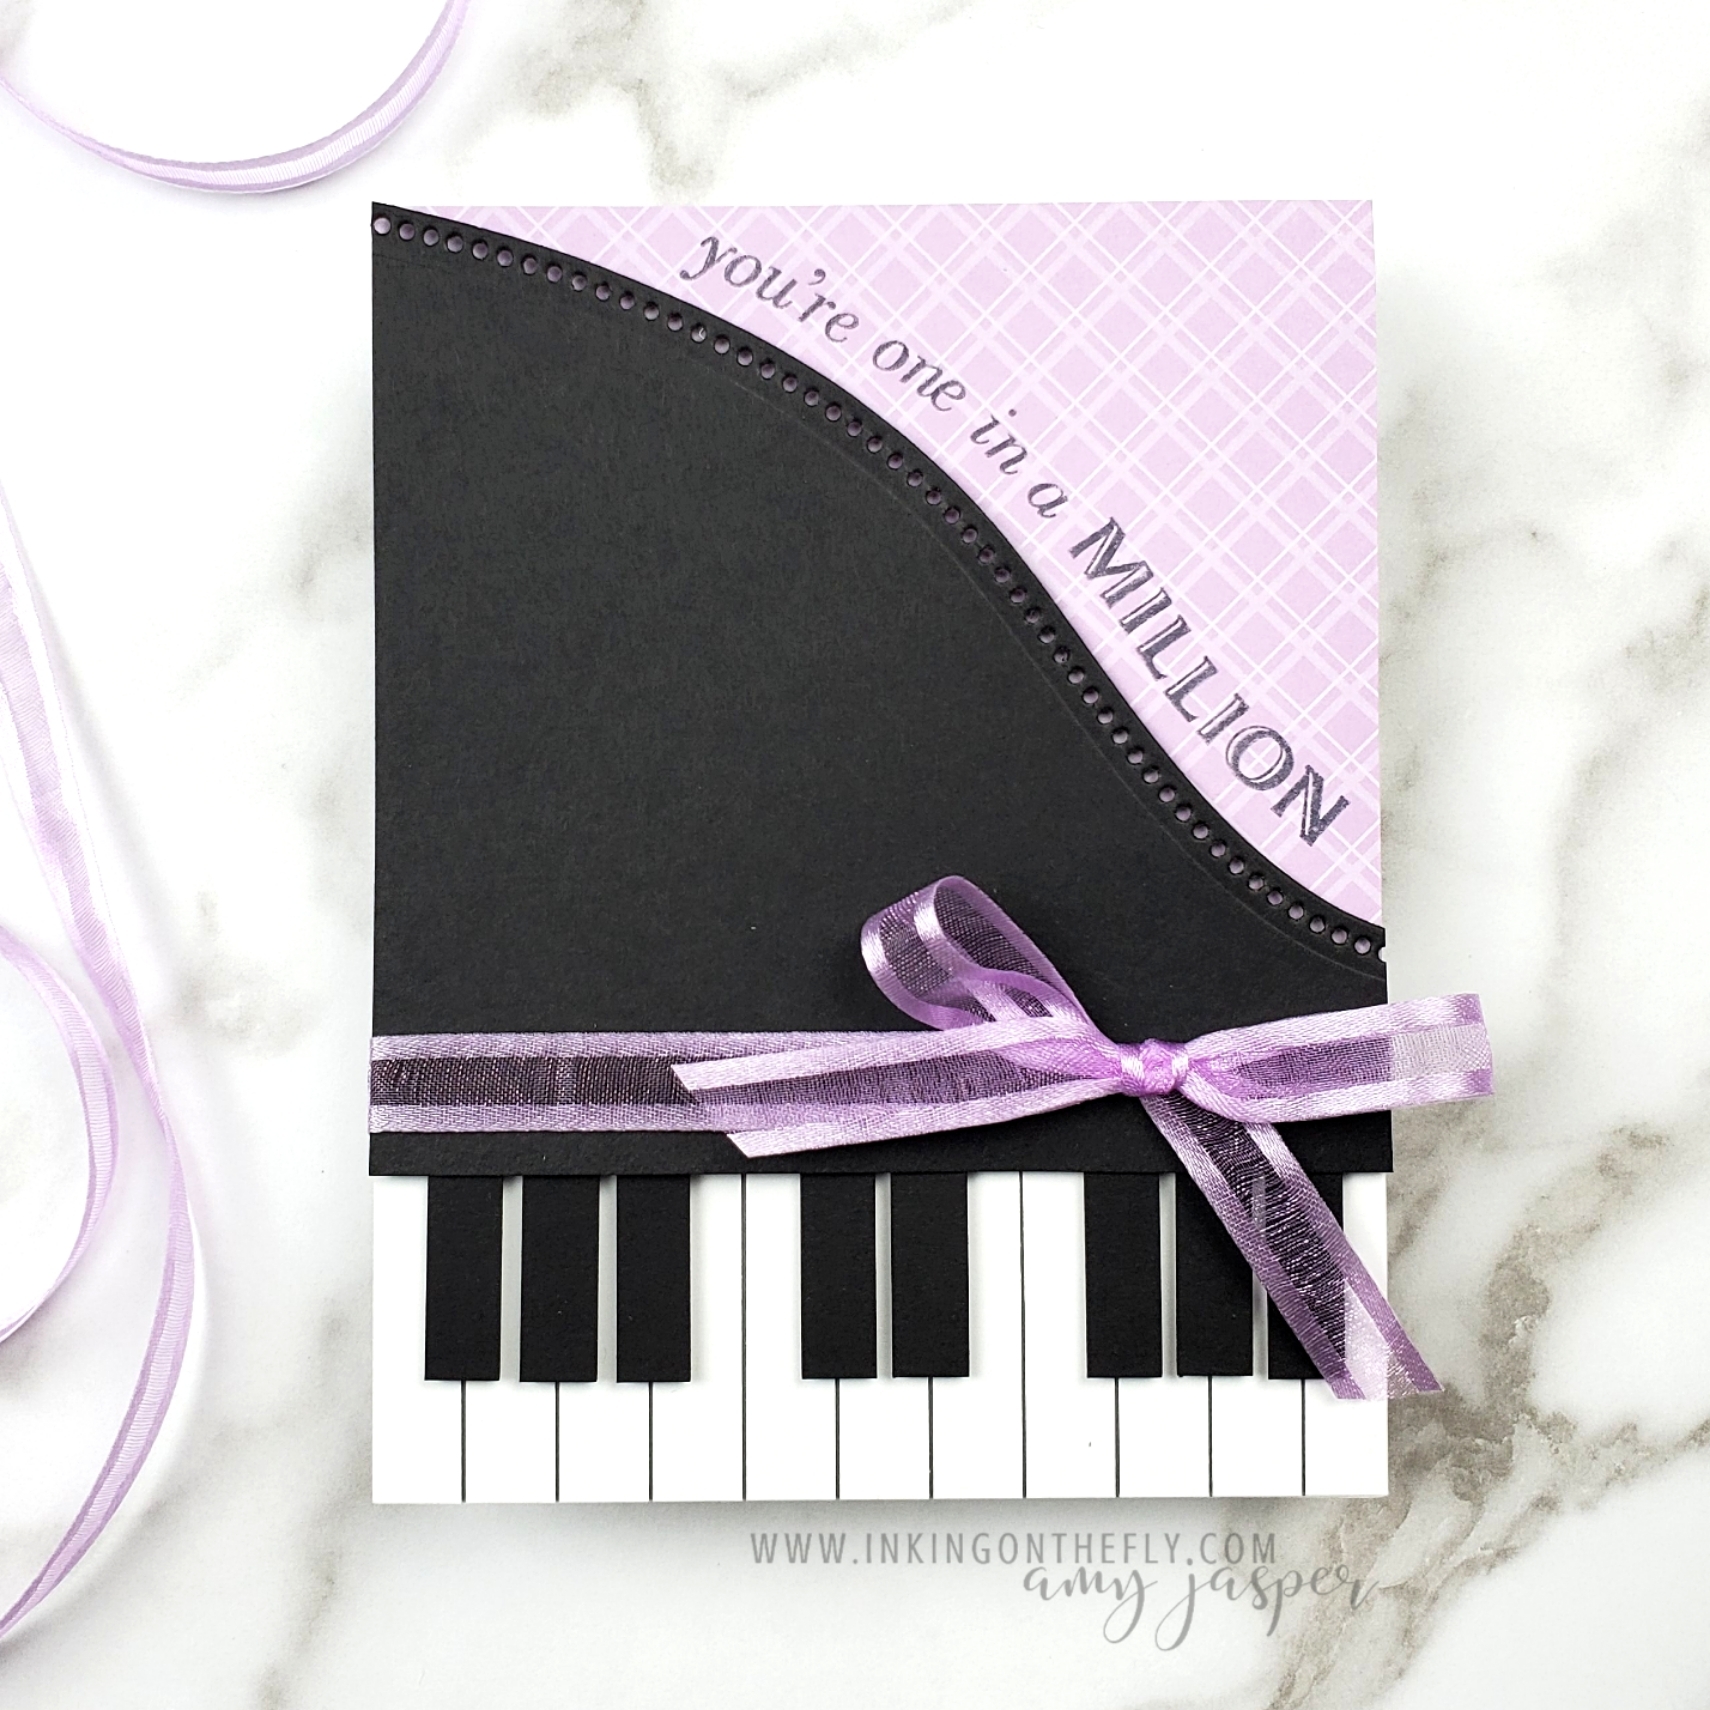
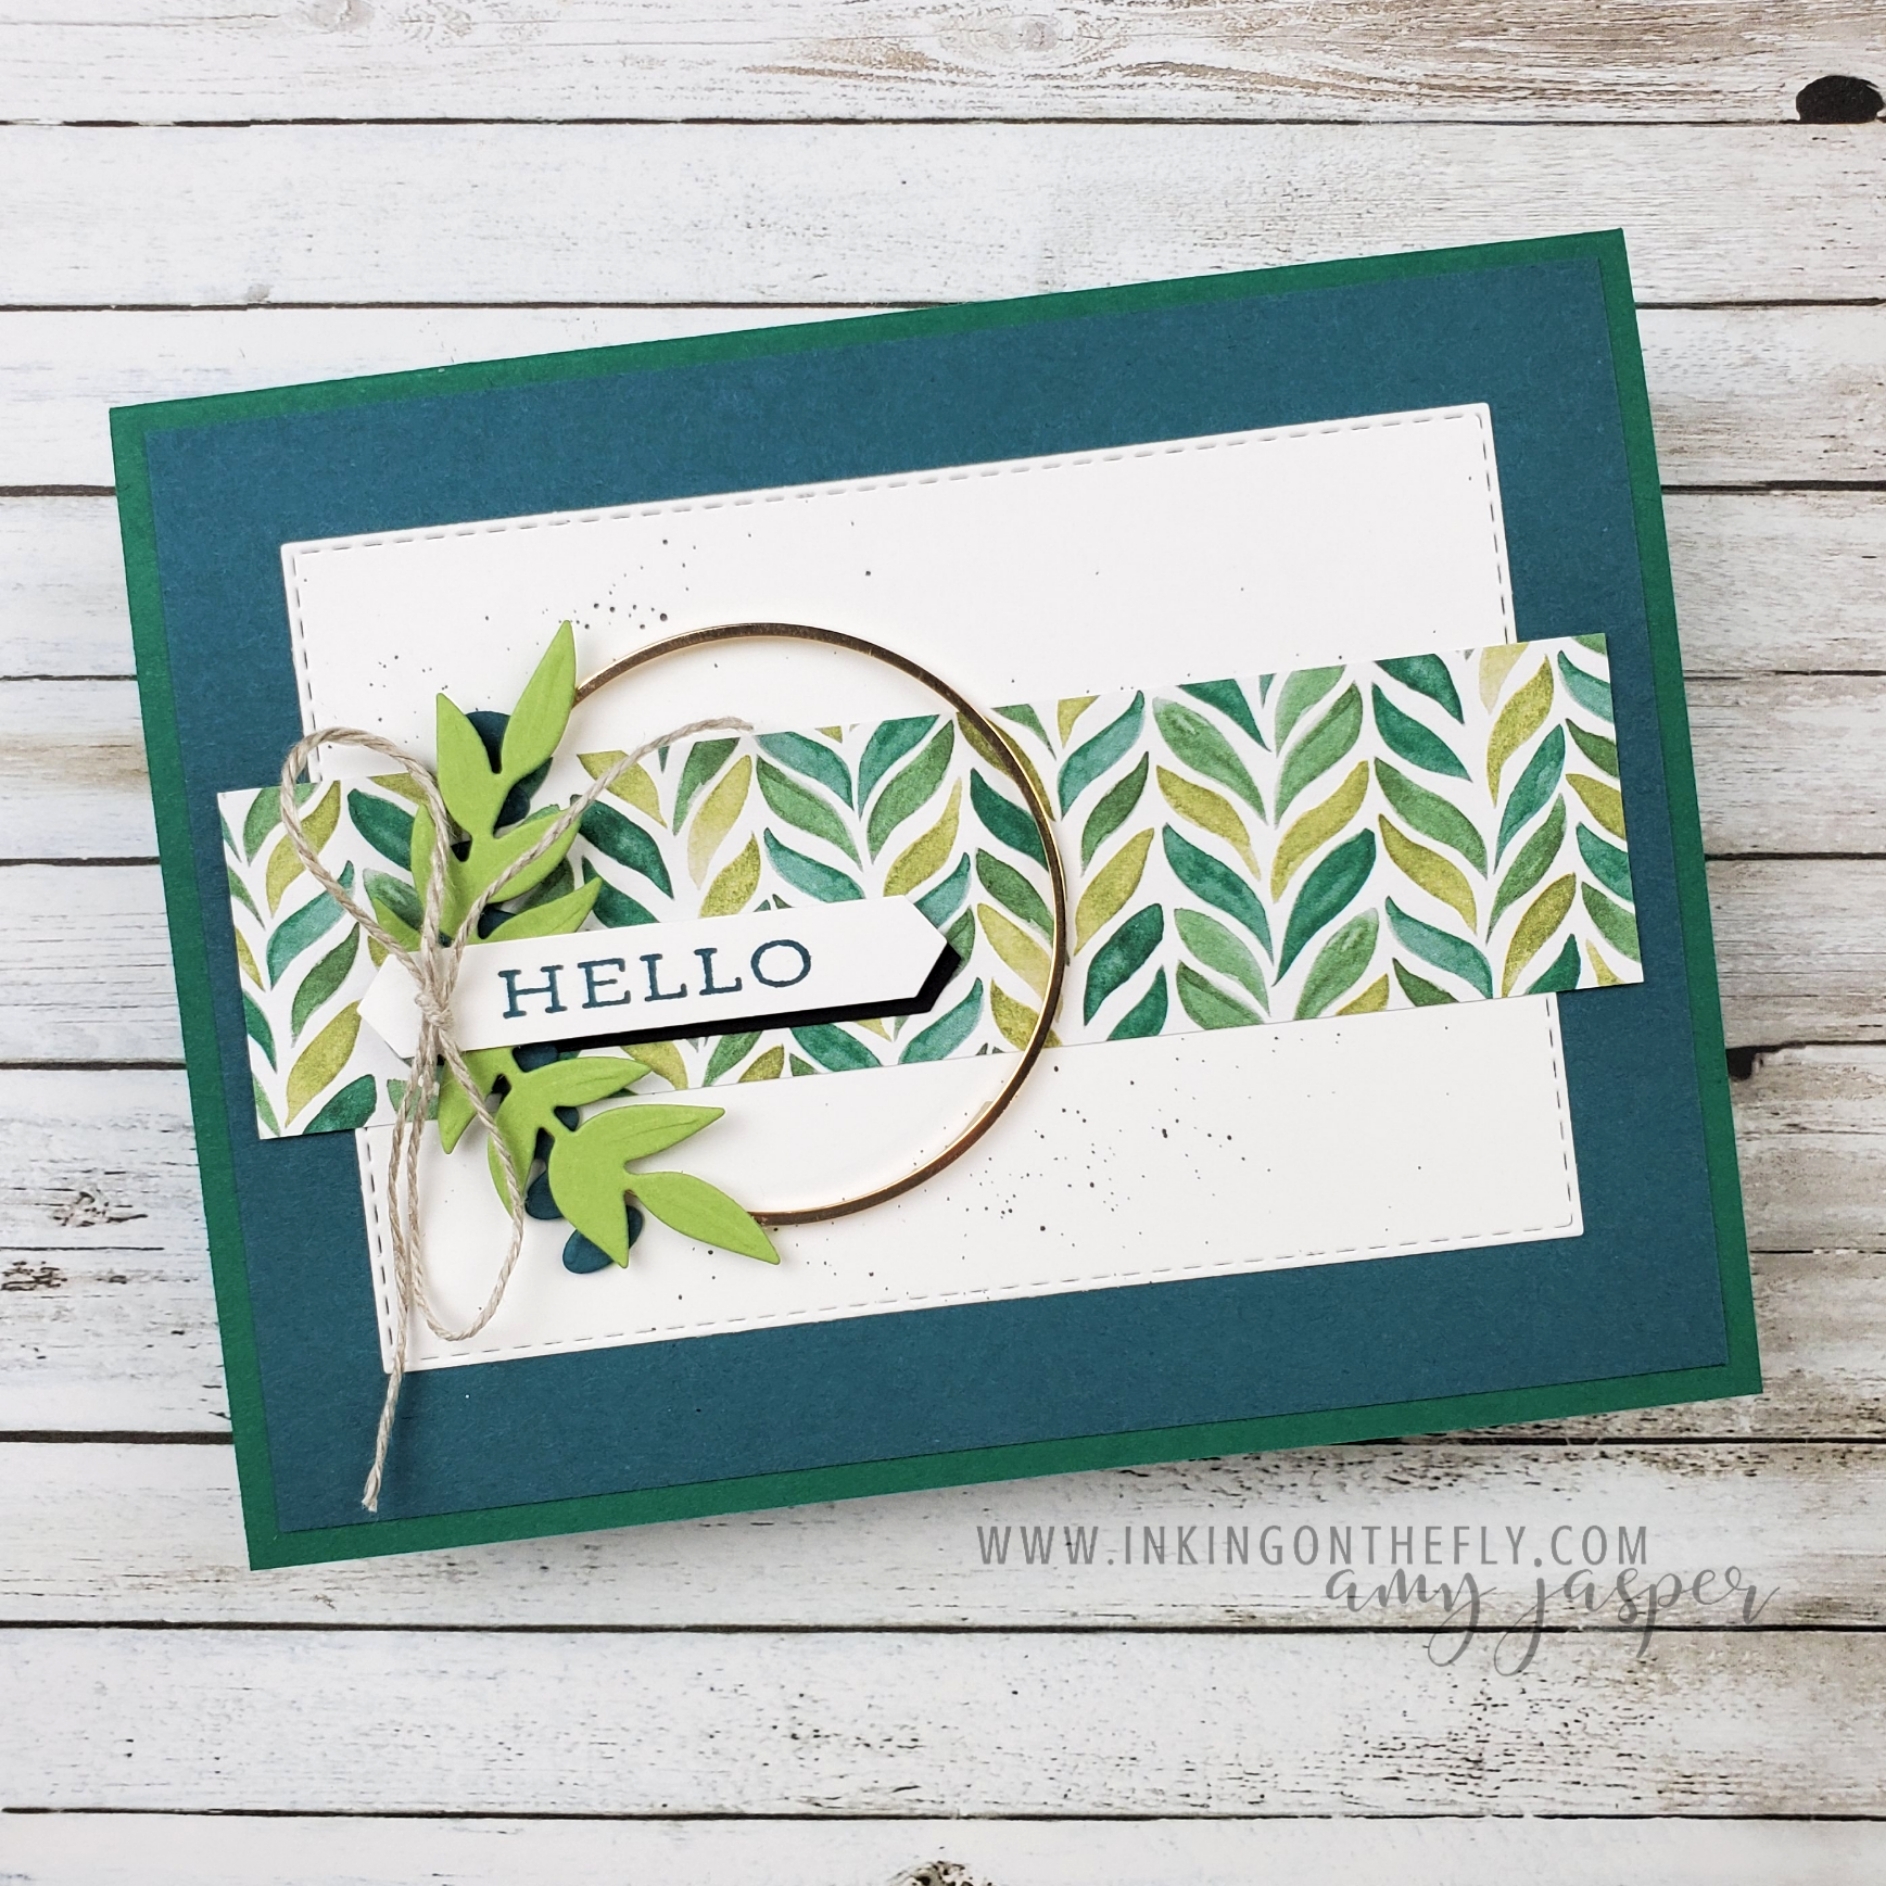
When I first saw the Curvy Dies from Stampin’ Up!, I knew that I wanted to use one of the curves to make a card like the one I have to share with you today.
I want to tell you more about this card, but I am suffering from a shoulder injury that is aggravated by typing on my keyboard and by using my phone to scroll or write. I’m currently pecking this out with only my right hand to protect my left shoulder from pain.
I just hope that I can still create this week! I have inspiration that I need to follow!
Below is the video tutorial of this cool piano card. You’ll just have to watch it if you want more info. I’m off now to Netflix and chill – and by chill, I mean with an ice pack on my shoulder! LOL!
The Curvy Dies and Quite Curvy stamp set are retiring soon, so head on over to my online store and get them before they’re gone.
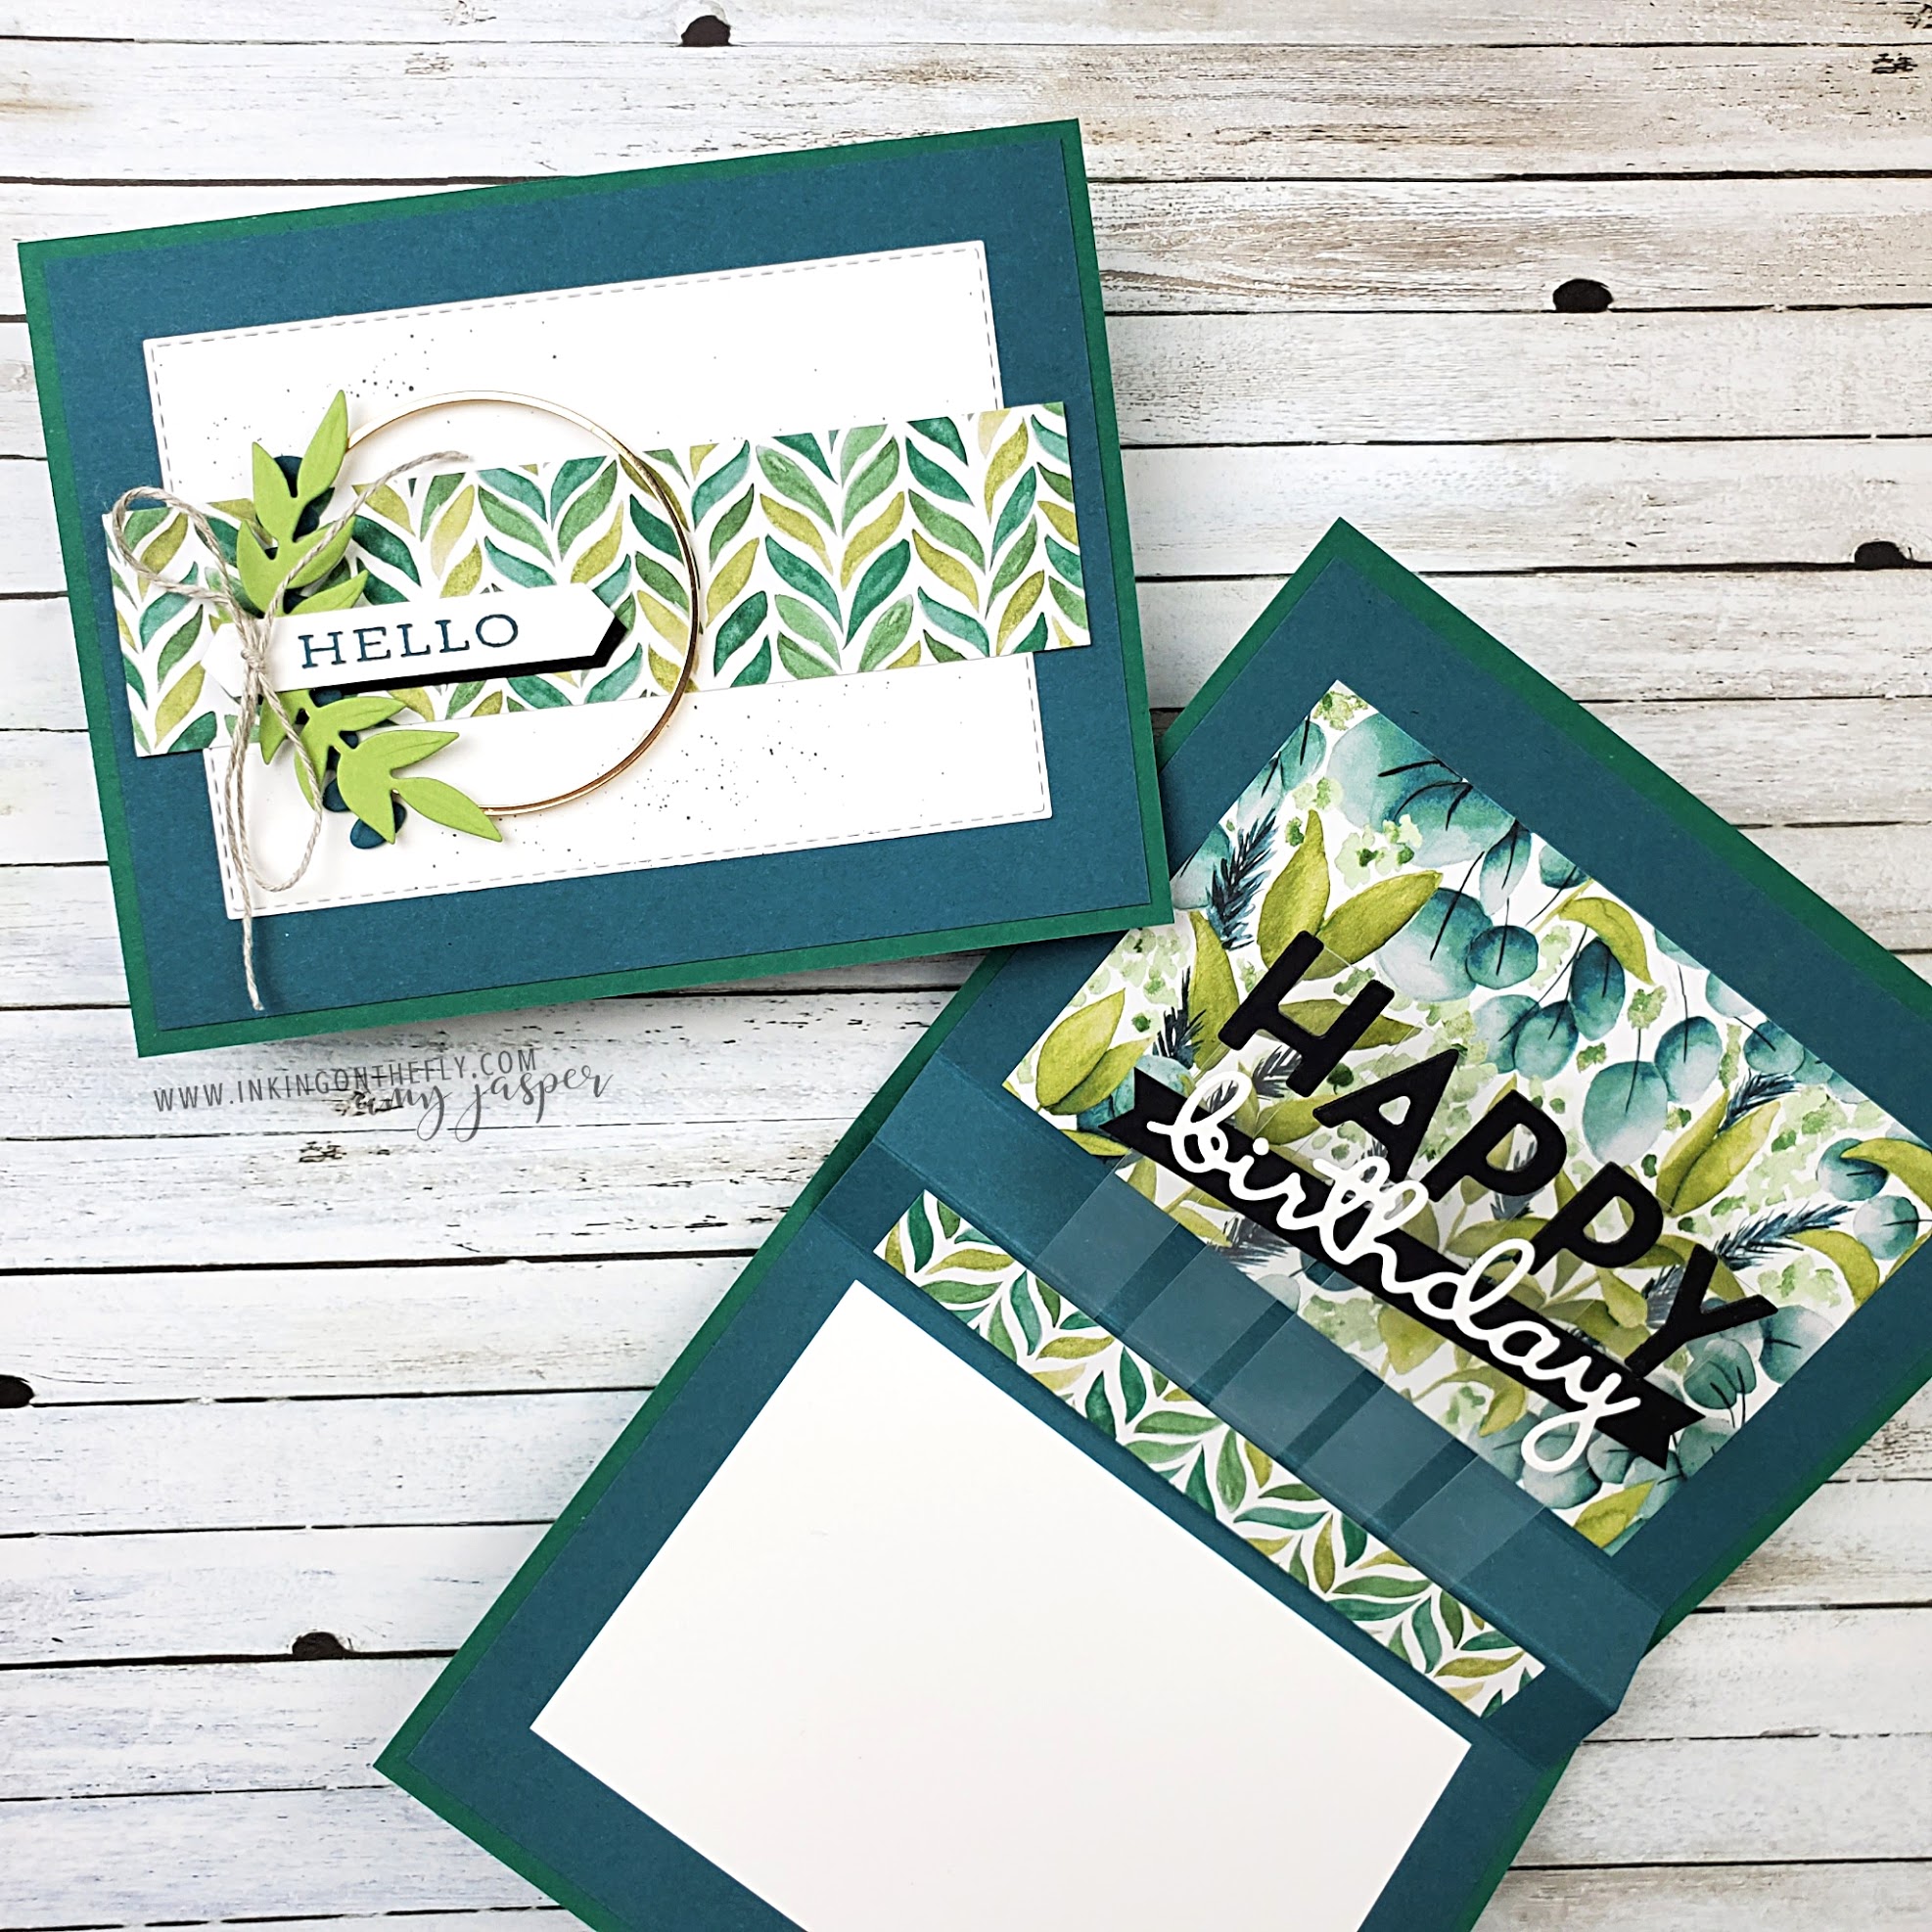
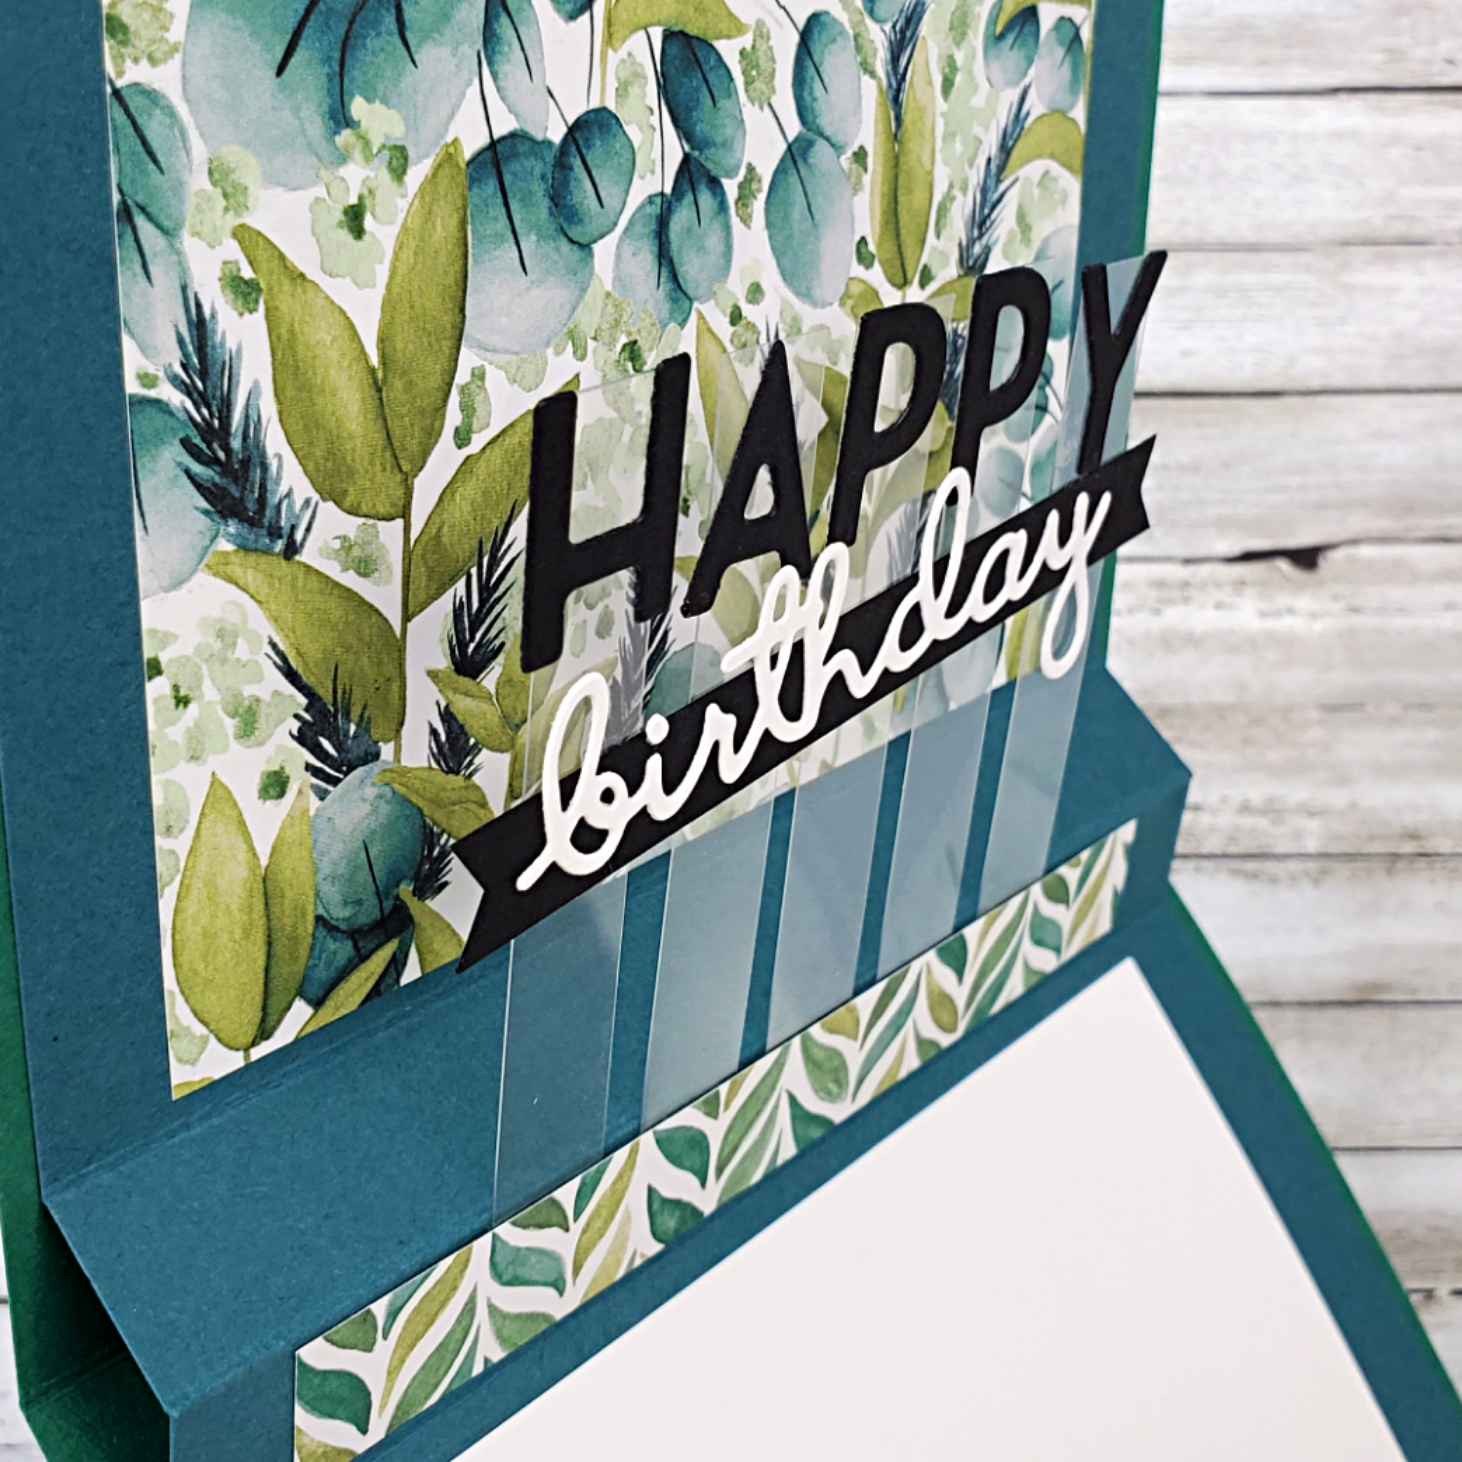
I have another card and tutorial video to share with you from my monthly technique class back in March. Some of the items on this card have retired since then, but I know you’re clever. You’ll be able to use the pop-up design with other products.
The Playful Alphabets Dies that you see on the inside of this card are a staple item in my craft room. They’re small enough to use on a card, but universal enough to use in scrapbooking and home decor projects as well. I’ve even used these dies to cut out iron-on vinyl to use on fabrics!
If you’re in Canada, you can join my technique classes on Zoom. As part of this class, you will receive all the pre-cut paper, the embellishments, and envelopes for two card designs. You will also receive an email with the link to join the Zoom class and the list of supplies you might need, such as stamps and ink.
During the virtual class, you follow along with me and we make the cards together. It’s very casually paced as I make sure each person has completed each step before I proceed to the next one. If anyone struggles with a step or make a mistake, we can work it through together right then and there! My attendees also receive a PDF with the instructions as well as private access to each of the video tutorials on YouTube. The videos remain private for two months so that those with special access can revisit them as needed.
Sometimes people who purchase the pre-cut supplies aren’t able to attend the Zoom class. They register for the class to get the pre-cut supplies, then wait until the tutorials are available and make the cards on their own at their convenience.
If you’re outside of Canada, I’m not able to send you any supplies, but for $10 CAD, you can receive VIP Access to the videos at the same time as those who attend the class. No waiting two months for the videos to post! You can access the video tutorials and receive the PDF written instructions while the products are still available to purchase through Stampin’ Up! Sadly, those of you who aren’t in Canada can’t order from my online store, but if you need help finding a demonstrator near you, I’m happy to recommend someone if I can.
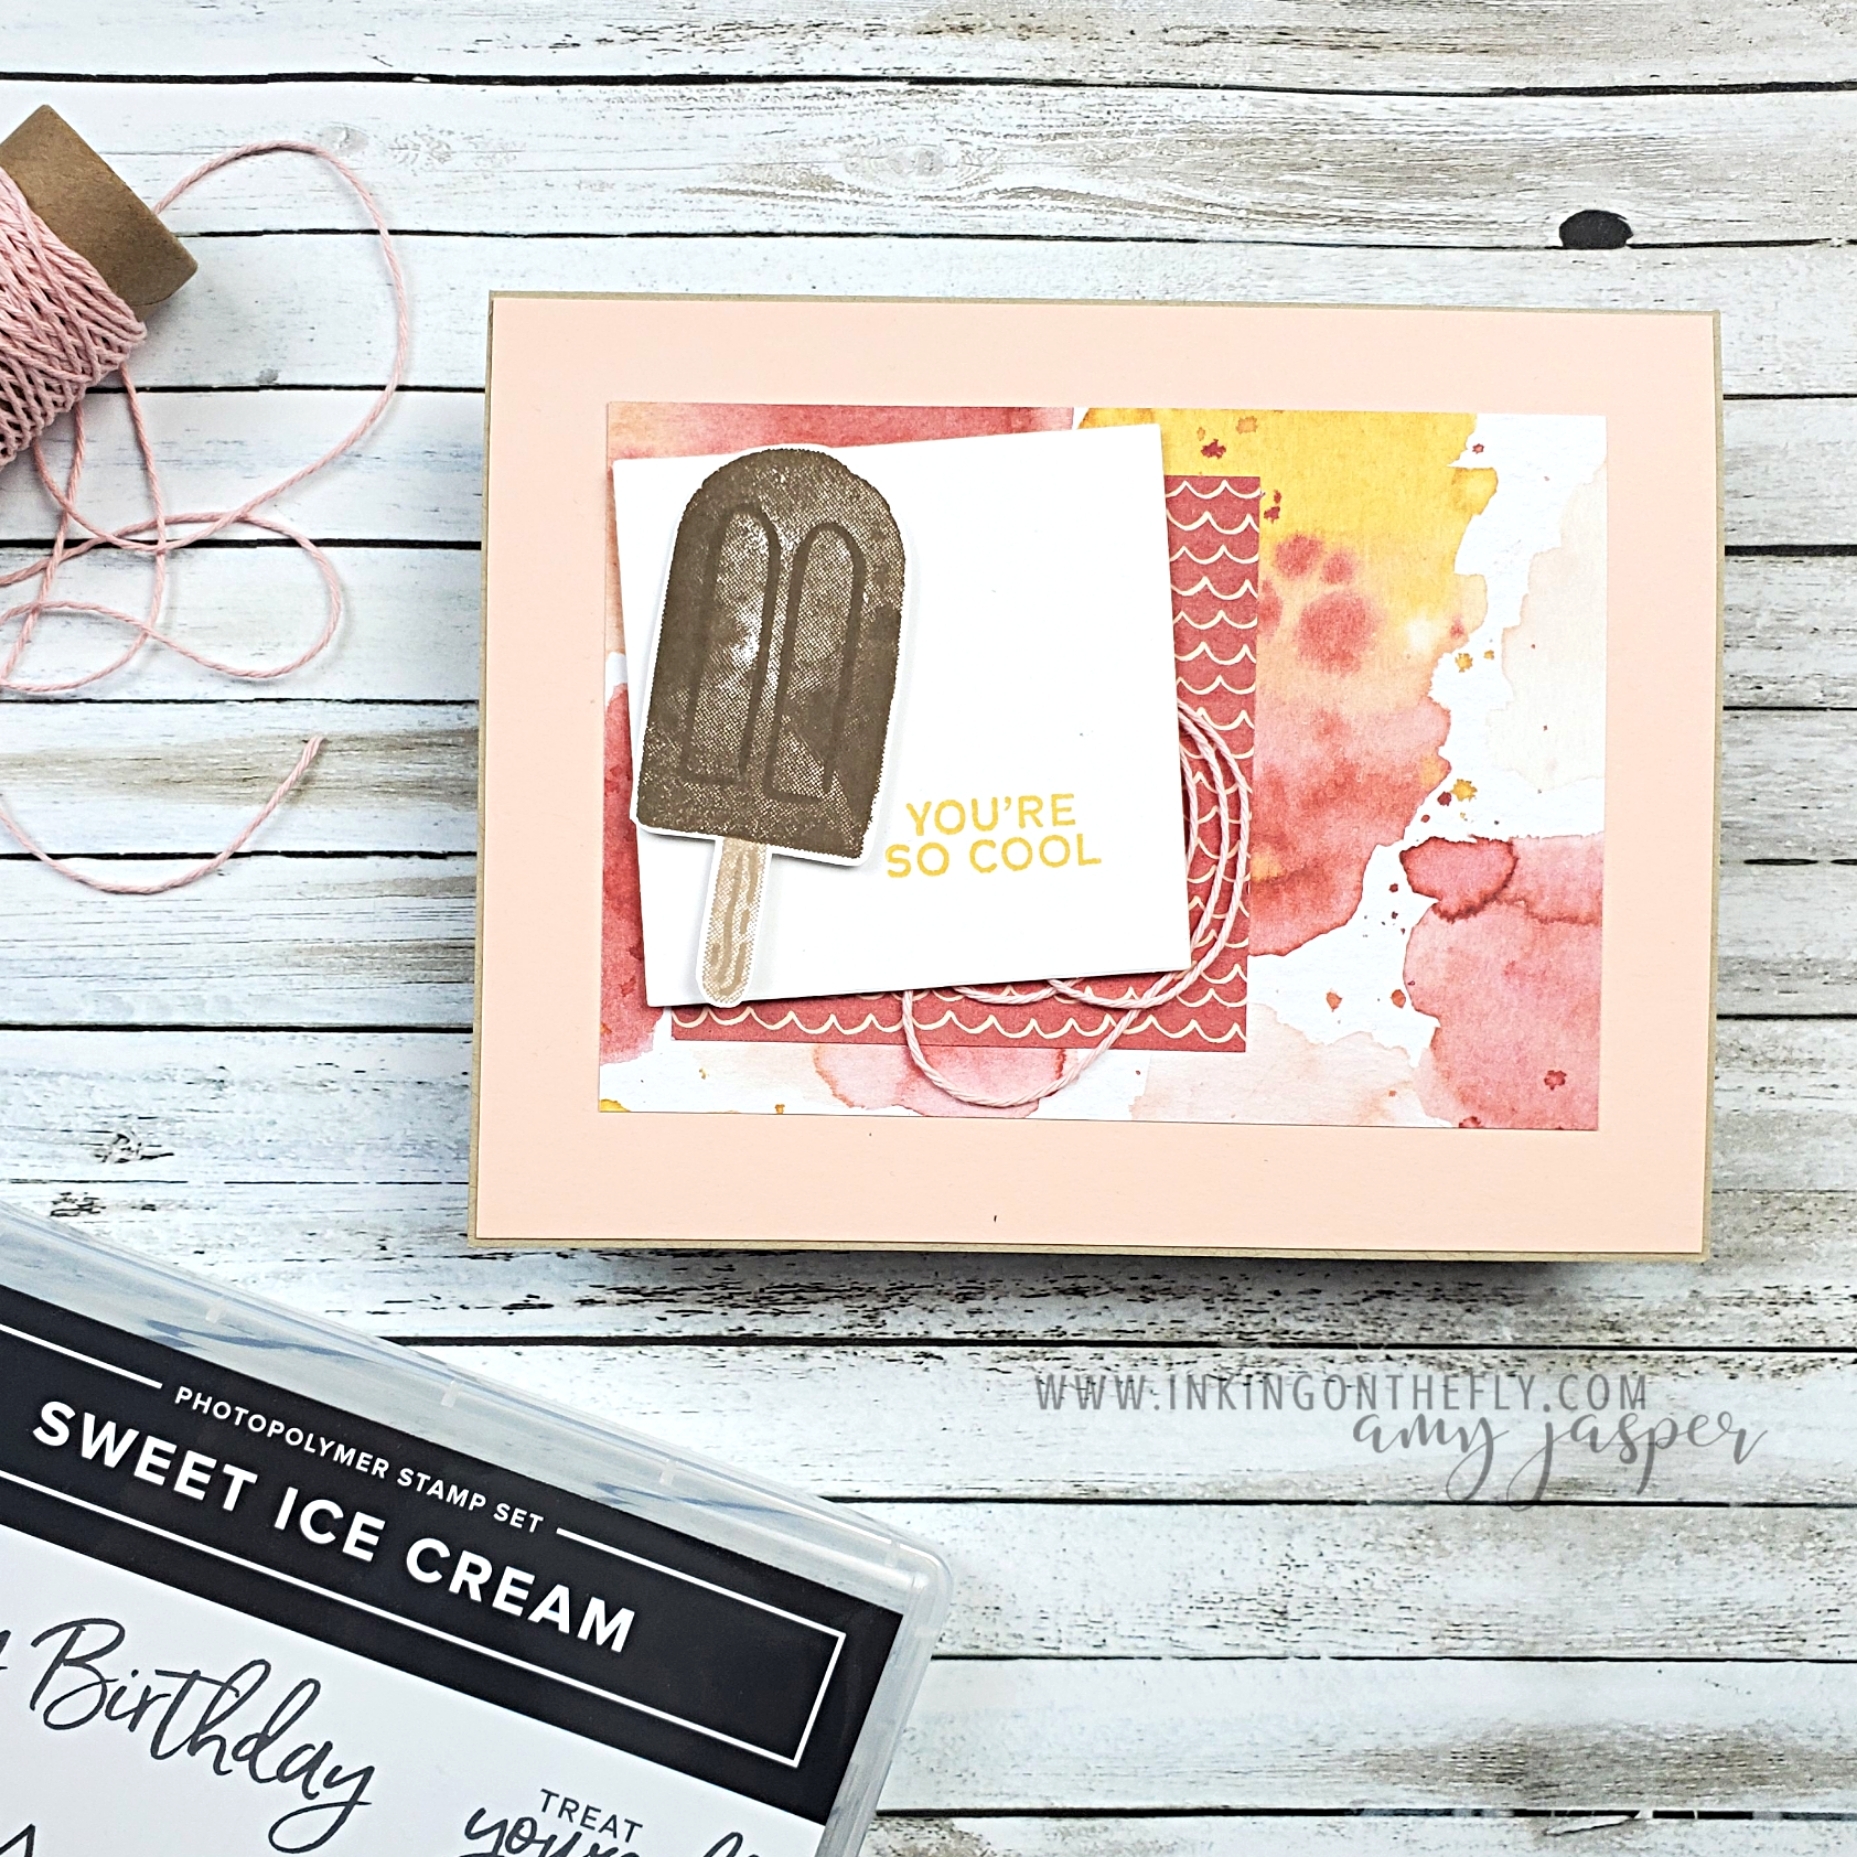
I originally shared this pop-up card design at a Stamp Camp event back in January using the Ice Cream Corner Designer Series Paper. This paper is still available in the January – June Stampin’ Up! Mini Catalogue.
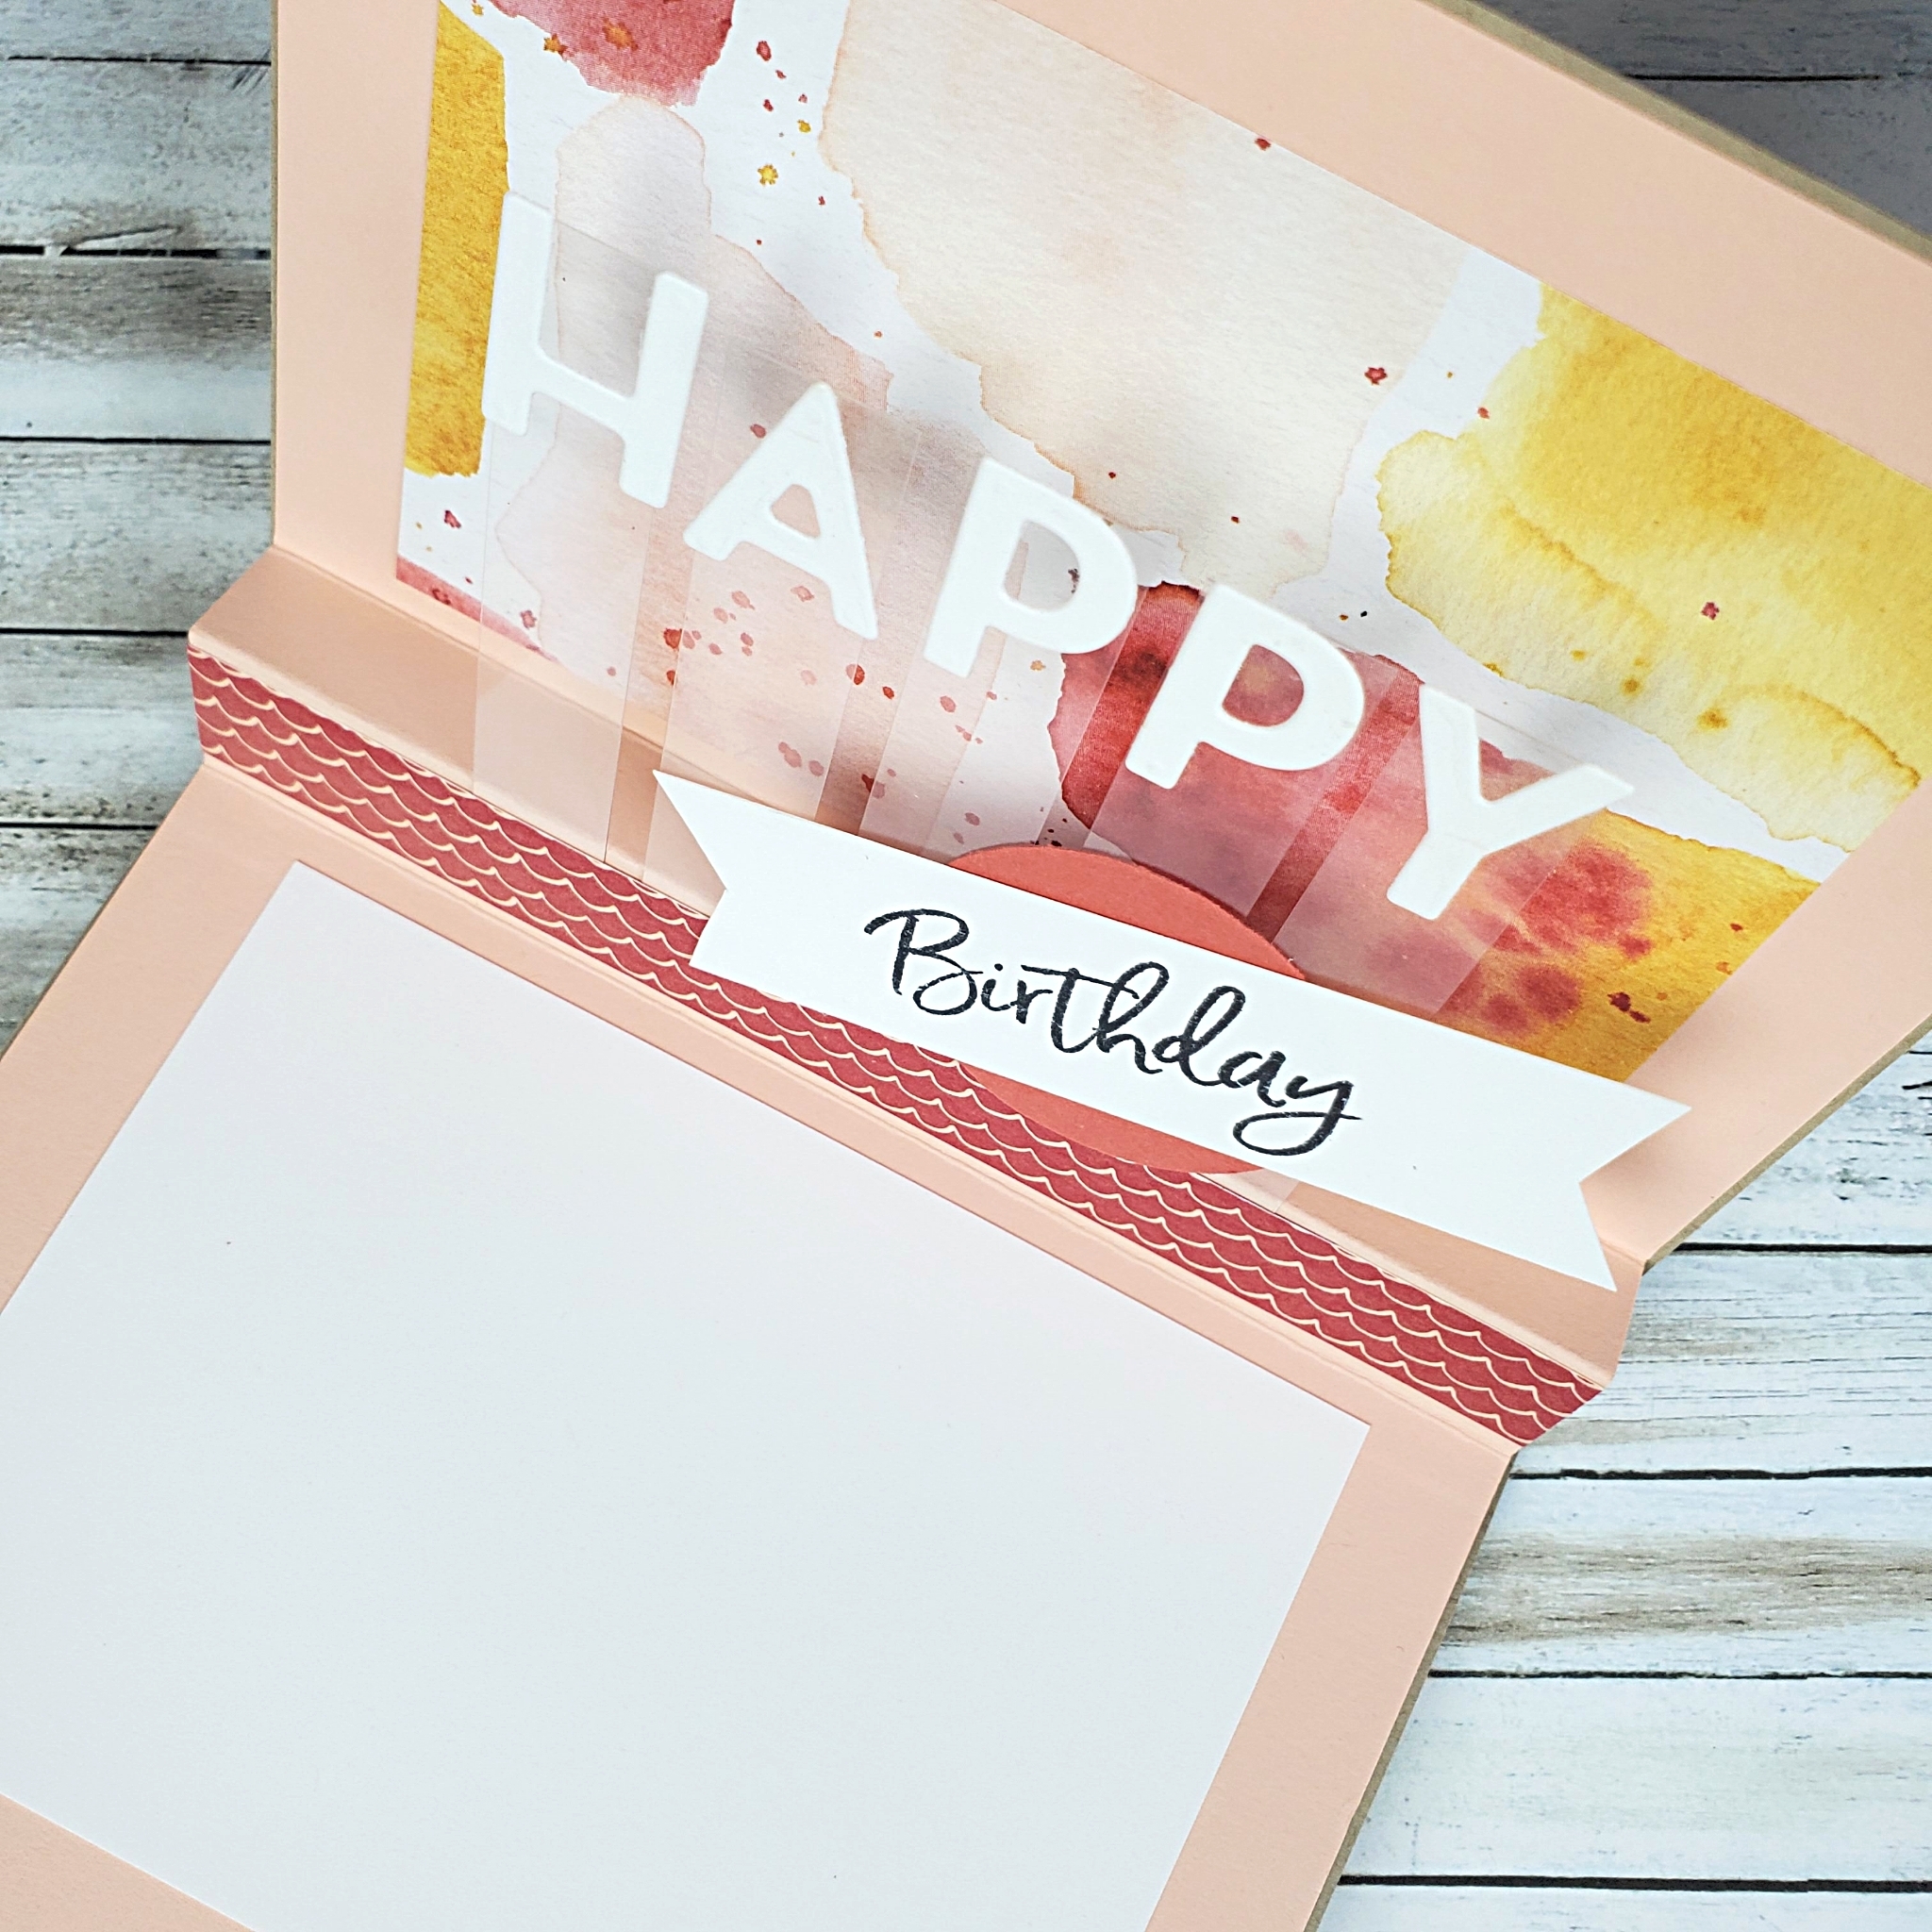
The front of this card is a different layout, but the inside is very similar to the Forever Greenery version of this design. The only difference on the inside is that I used a stamp from the Sweet Ice Cream stamp set instead of a die-cut word.
To see how I made this pop-up design, follow along with the video tutorial. The measurements for the card on in the video description on YouTube if you need them! Go to my online store to see what beautiful options you have for patterned paper to use for cards like this!
Hey, why not take a moment to leave a comment and let me know that you stopped by. I love to hear from you!
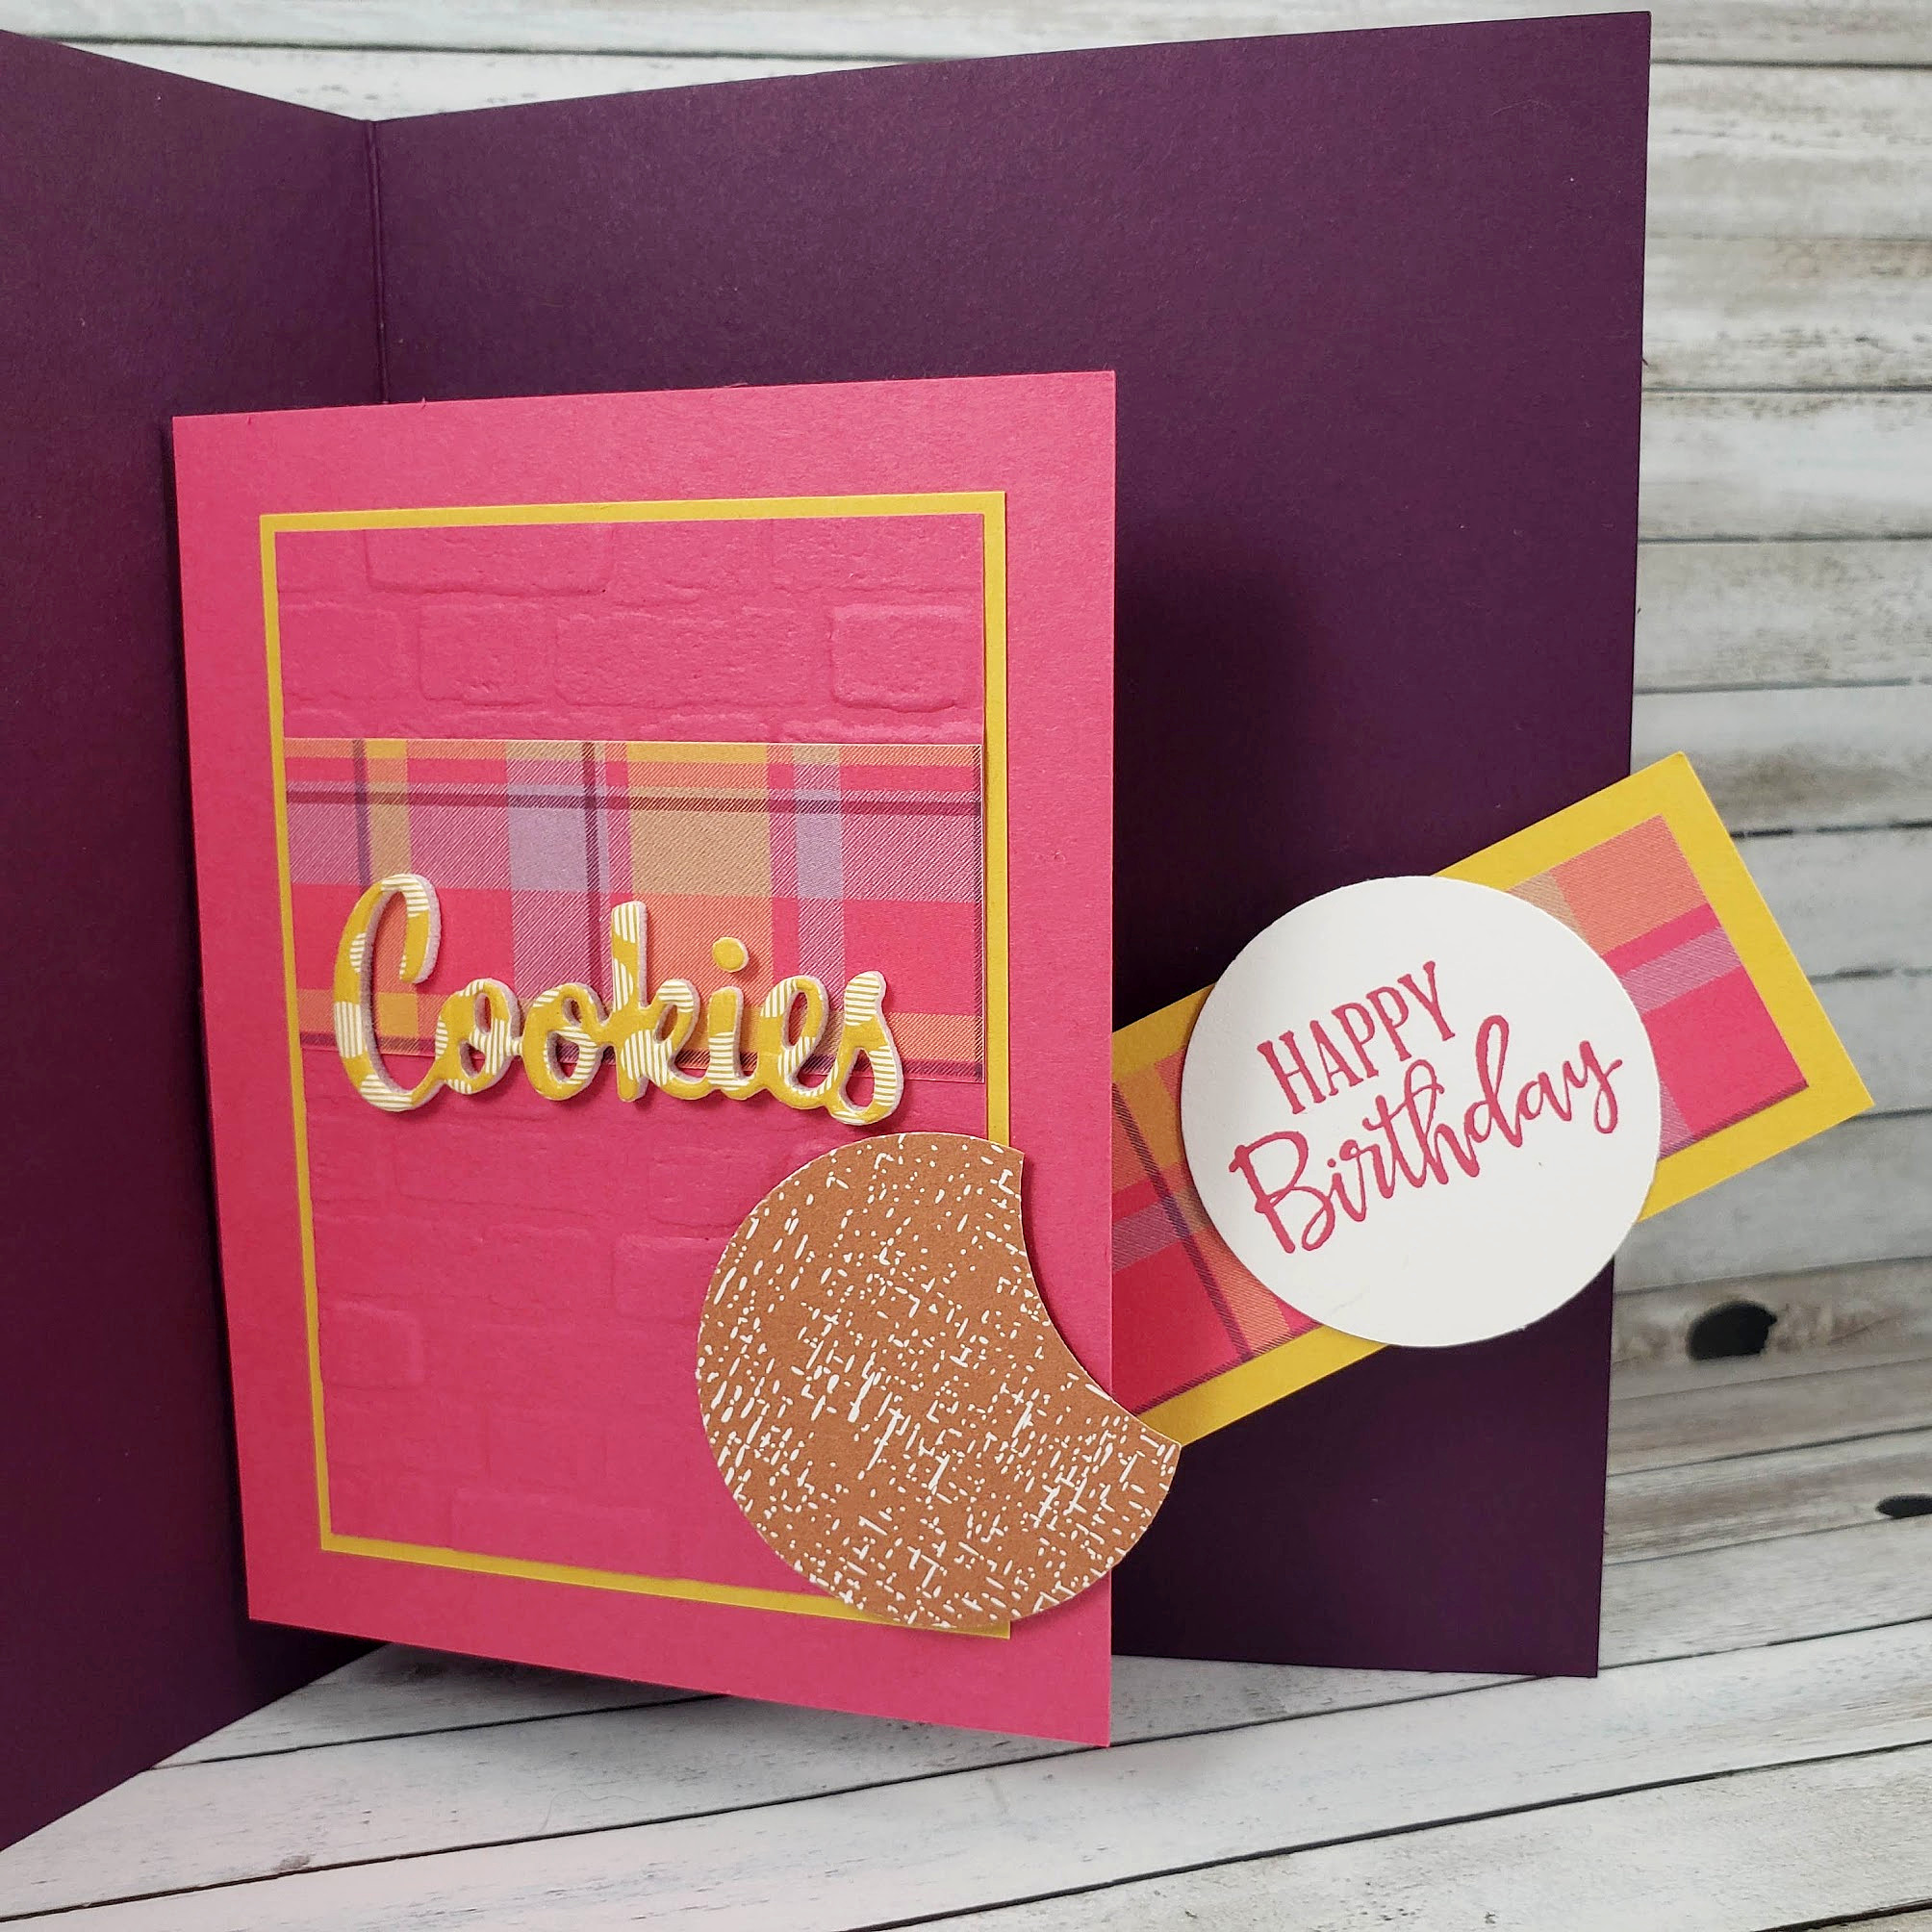
Waaaay back in September, I enjoyed teaching how to make this moving arm card in my technique class. This card is a slightly adapted version of a design shared on Mitosu Crafts. After seeing their card, I did a bit more research on the moving arm concept and used what I learned to make some minor adjustments.
This pop-up design is much easier than you might think! Watch my video tutorial at the end of this post to see for yourself!
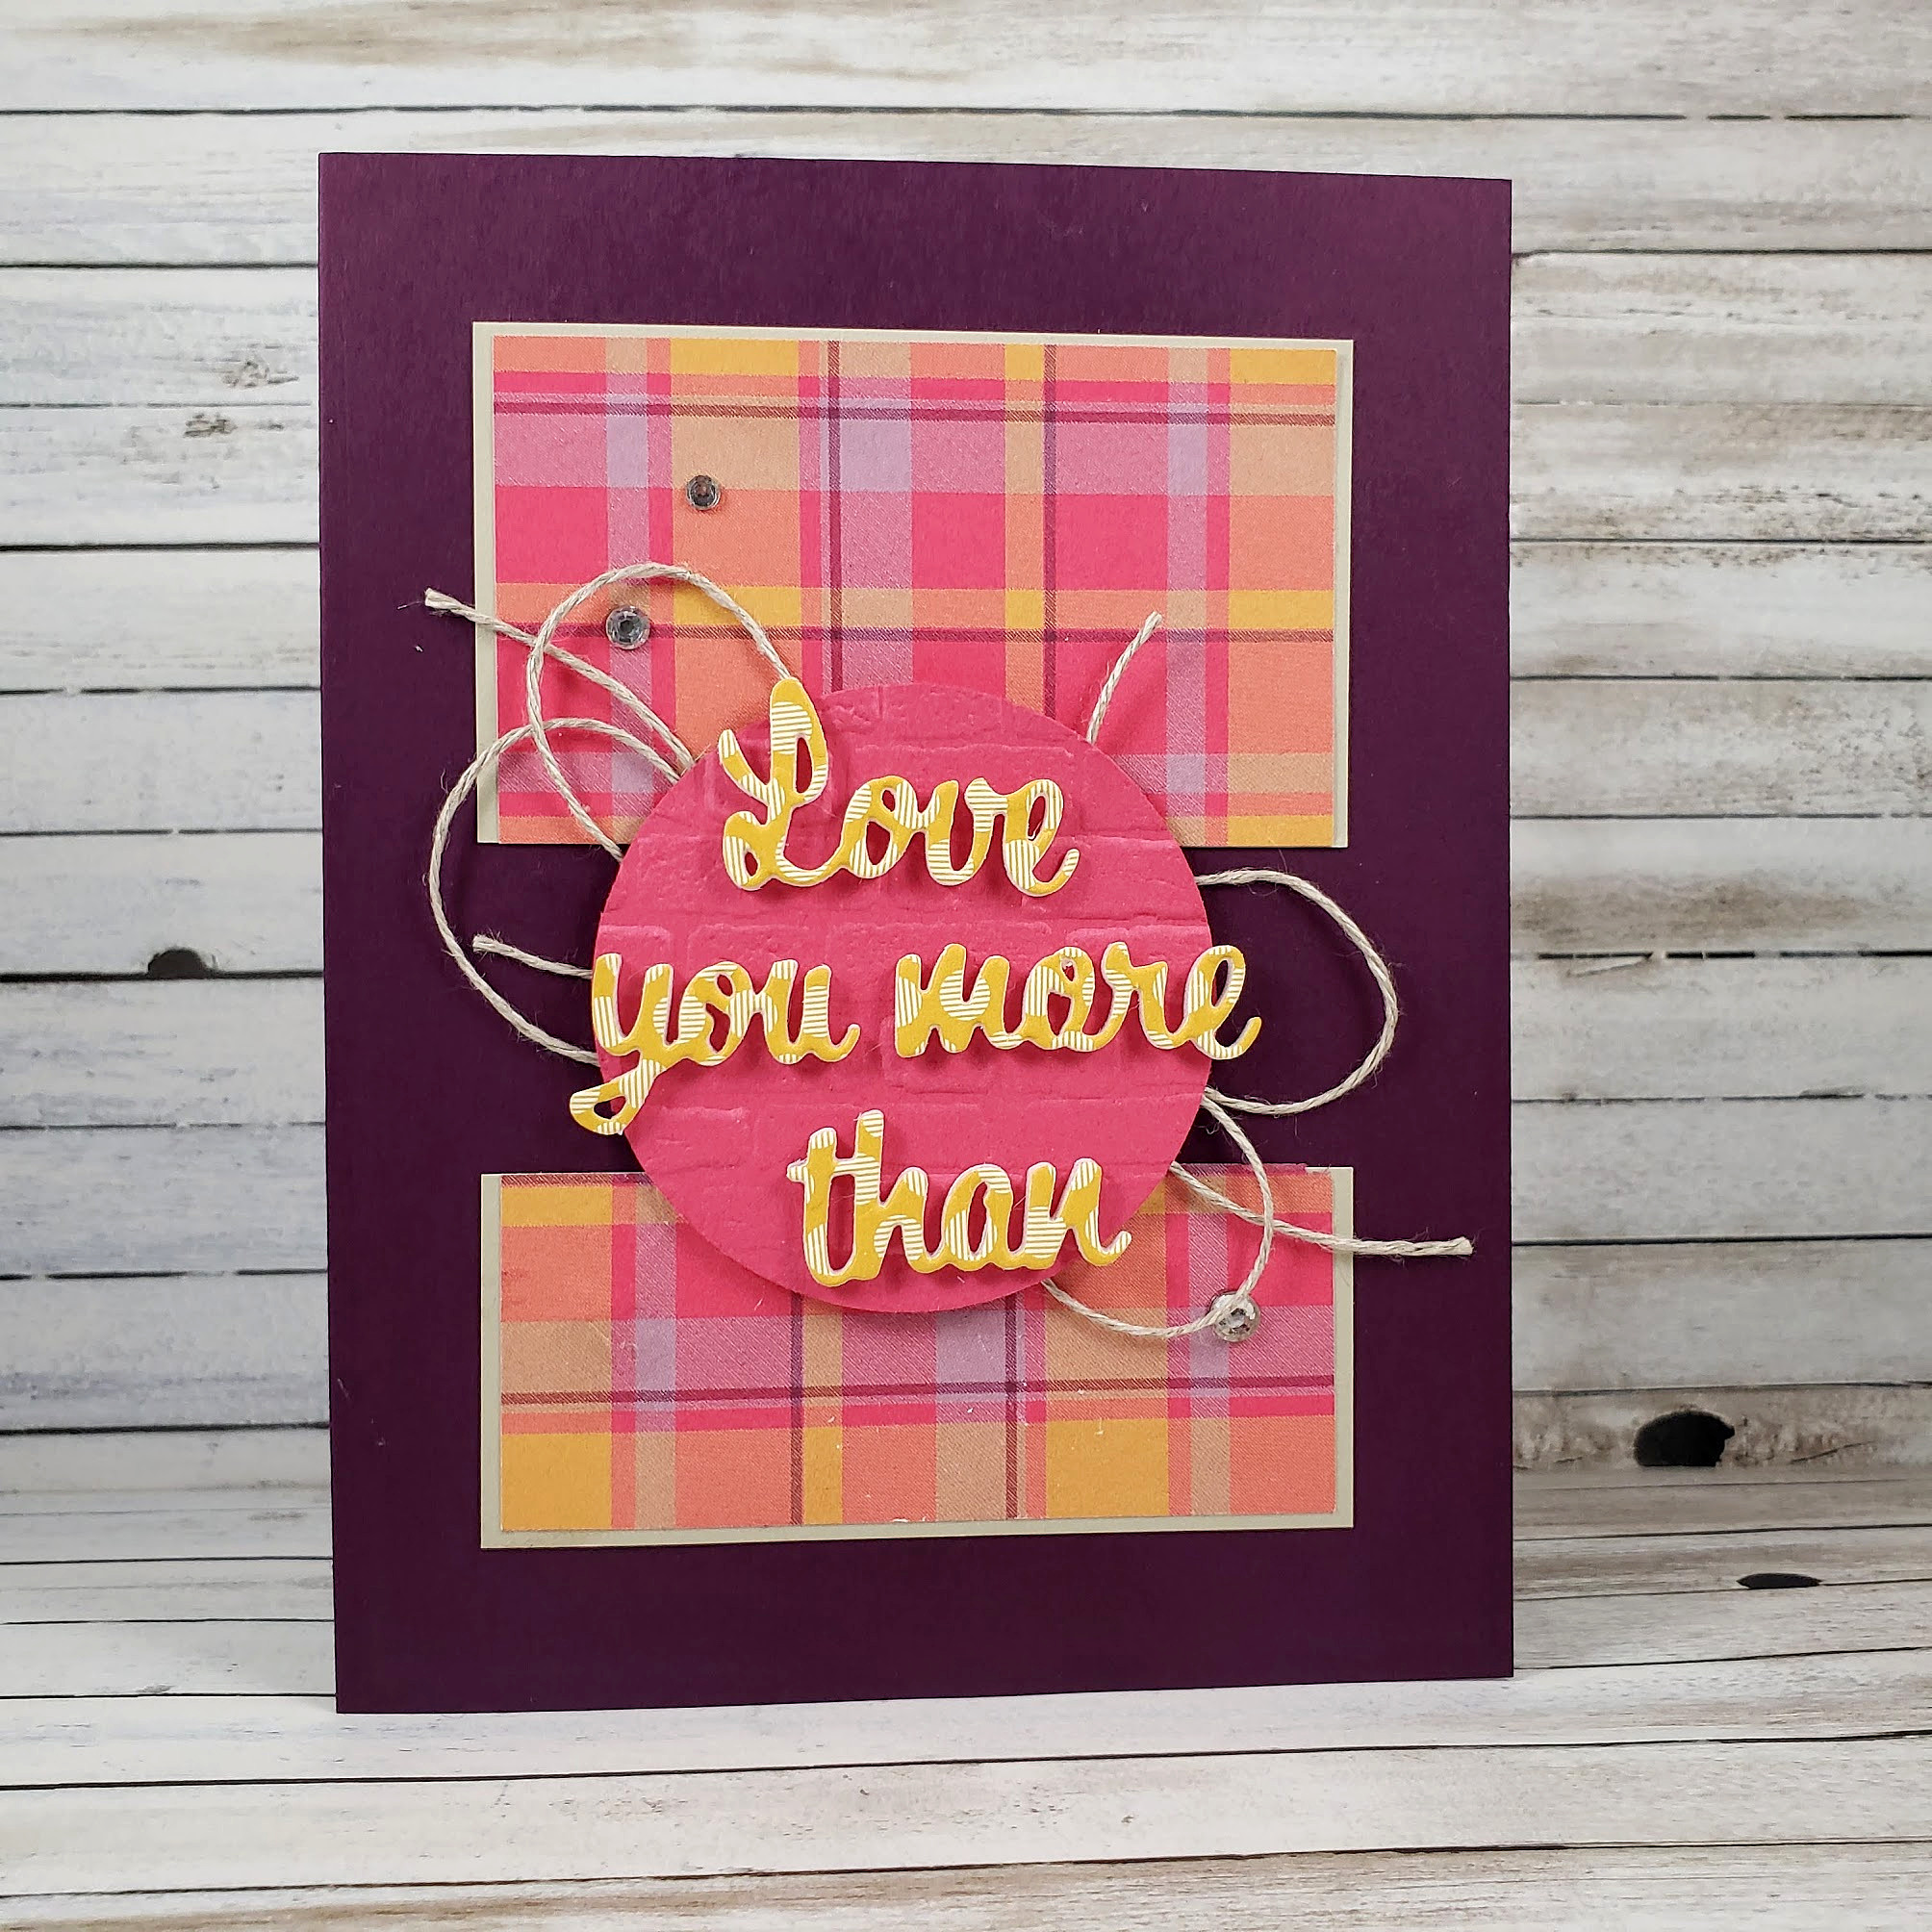
Since this design was created last fall, some of the supplies used in this project are no longer available to purchase. However, you are very clever, so I know you’ll be able to use my tutorial to make something amazing with alternate supplies! Check back on my blog on Sunday to see another version of this moving arm pop-up card using current supplies. I’ll be using the Nothing’s Better Than stamp set and the Love You More dies from Stampin’ Up!, just like I did on this card – but it will be a whole new look.
Blackberry Bliss, Melon Mambo and Bumblebee are a fun combination of colours that coordinate with the patterned paper on this card. You may have noticed that this project doesn’t use much in the way of stamping. That’s because, my focus for this virtual class was to show the paper technique and allow those attending to use any sentiment stamp they already had at home. That way, almost anyone can join in on my class!
Below is the video tutorial provided to those who attended my September technique class. I like that they could refer back to it and easily make more cards with this technique.
I decided it was time, dear reader, to share it with you as well. Enjoy!