At the end of each year, I try to offer a special project for my customers.
Usually, I have a Christmas party in my home with goodies, prizes, and cheerful holiday music, while we craft together in our festive attire. It’s a wonderful time! The evening always ends with warmed hearts and a final Merry Christmas greeting to all, as each person bundles up against the snow and cold to make their way home again.
This year was a little bit different as we weren’t able to get together in person. Instead, we were able to meet together virtually on Zoom and enjoy each other’s company while we created the project that I prepared for everyone. The thing about virtual classes is that customers from out of town, who normally couldn’t attend my classes in person, were able to join in on the event. What a gift! We still had prizes and cheerful holiday music and we still ended with warmed hearts and a final Merry Christmas as we signed off and settled into our own space in our own homes. It was delightful! I feel incredibly blessed with the friends I’ve made because of my Stampin’ Up! business.
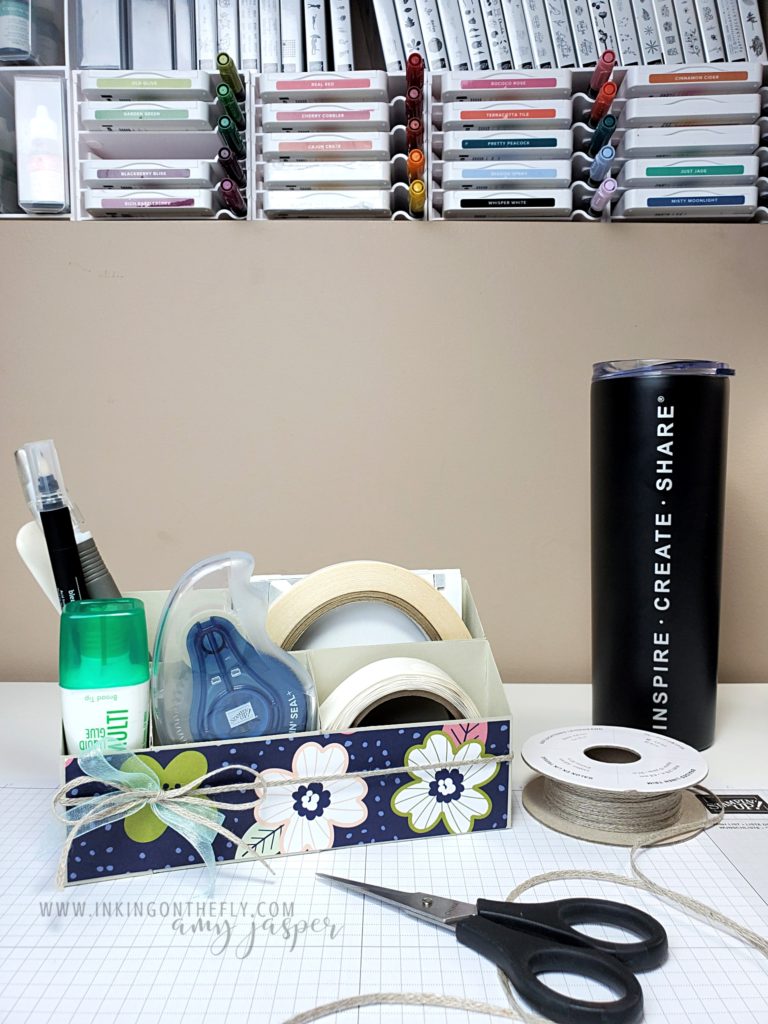
That said, I thought I would share the project with you as well, dear reader. We made a desktop adhesive caddy that was inspired by the project shared on sallystampers.com. I made some changes to the individual boxes and added a couple more sections for the Stampin’ Seal and Stampin’ Seal Plus. The only adhesive that doesn’t fit in my caddy is the Fine-Tip Glue Pen (I might have to create an additional section and share that with you another day).
The designer series paper I used for this project will be available in January along with many more beautiful stamps, paper, and embellishments launch of the Sale-a-bration brochure and the January – June 2021 Mini Catalogue.
Follow along with my video tutorial to make this beautiful and functional desktop adhesive caddy.
I wish you a very warm heart and a safe and happy holiday! Merry Christmas!
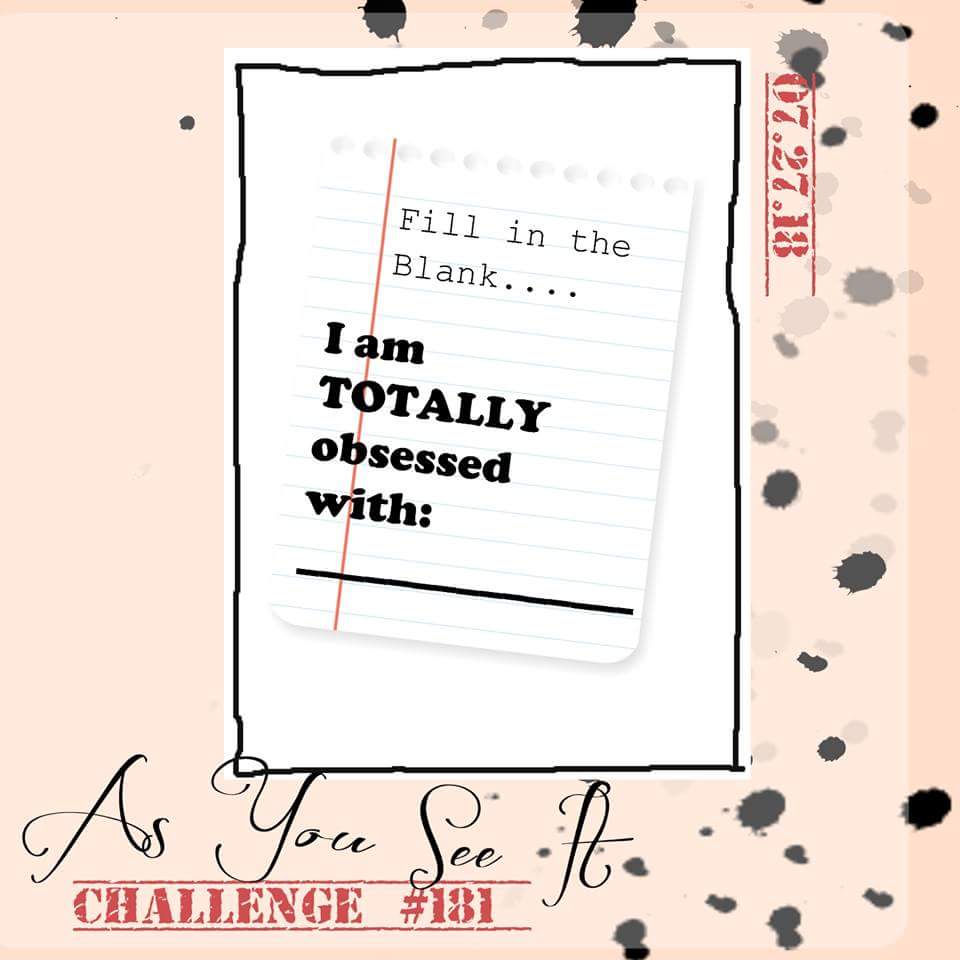
What are you obsessed with? That is the challenge for the As You See It Challenge blog this round. I actually had to do some soul searching to figure out if I was obsessed with anything in the first place, then determine which of the many obsessions I discovered I have was worthy of a card design.Here are some items that I had on my list:
My phone (this is actually an unhealthy obsession – I’m working on it … sort of)
There were a few others, but we’ll just stop there.
I thought more specifically about my obsession with words and realized that it has become focused on letter boards. Have you seen any letter board images on Pinterest or Instagram? They seem to be the latest thing and have definitely caught my attention. I don’t have my own letter board, but it is on my Christmas wish list! How fun to create sayings that suit your mood or your current state of mind. Or maybe some words that reflect how you want to feel or think?
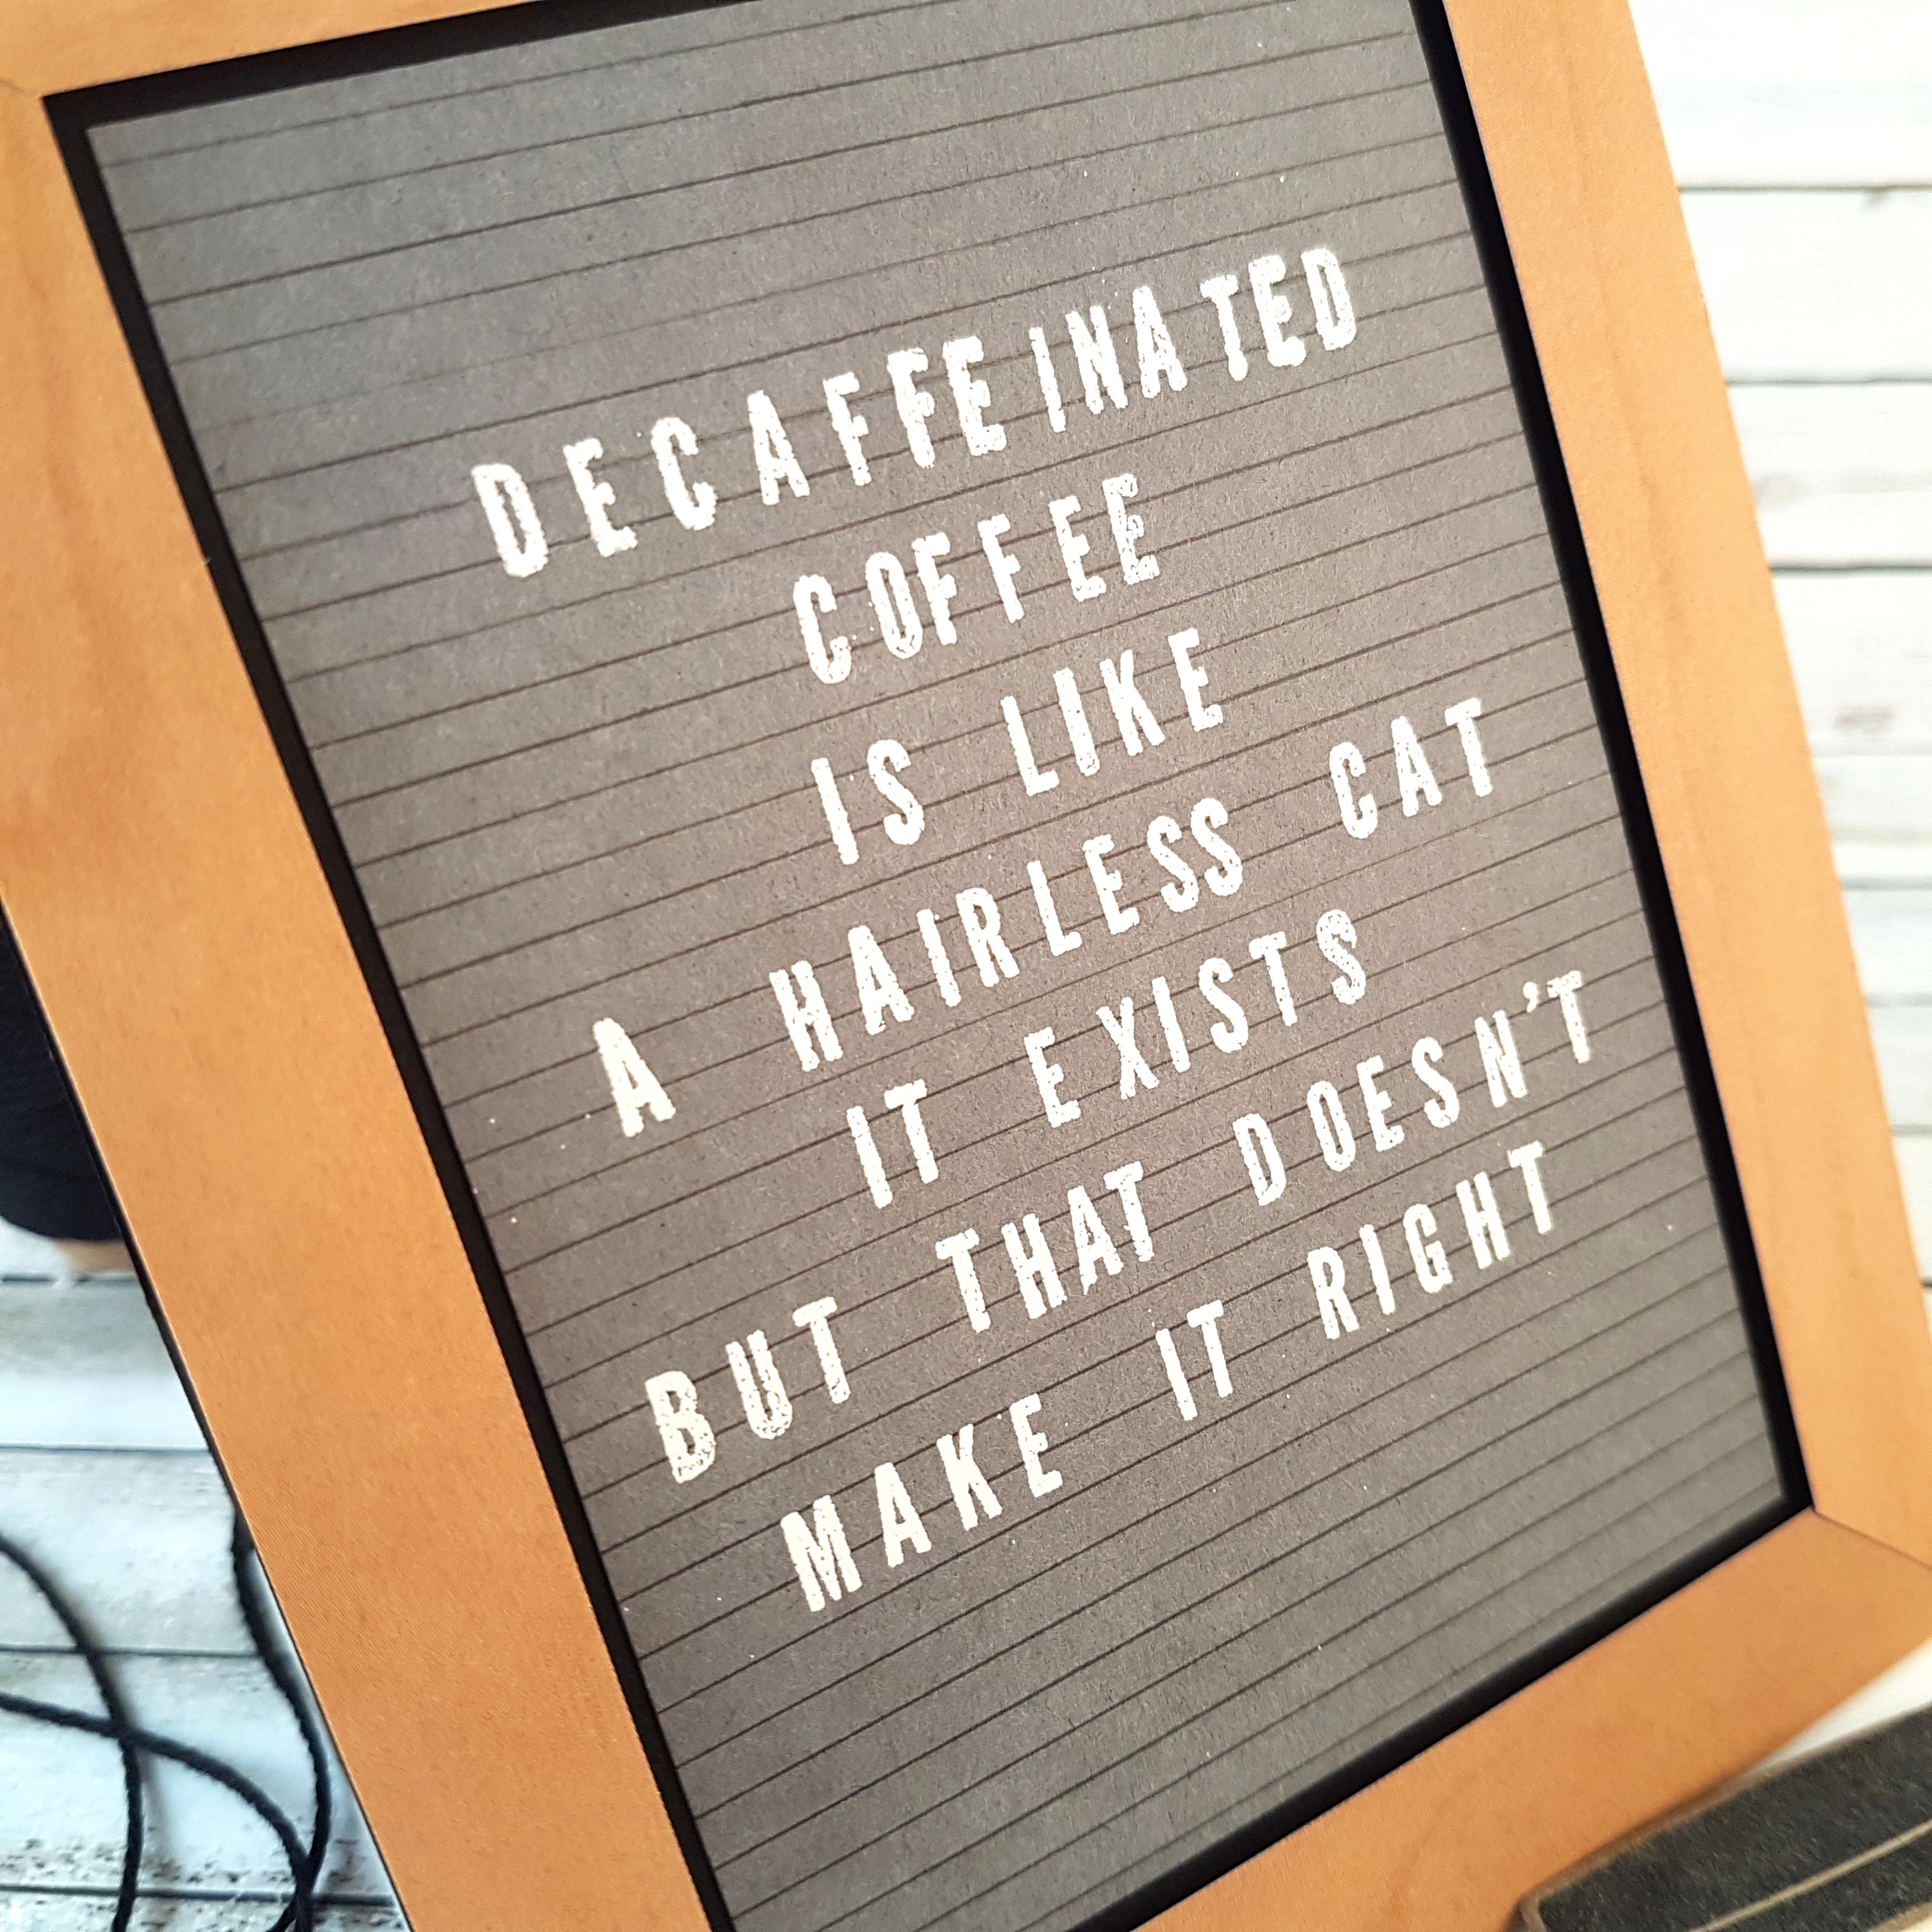
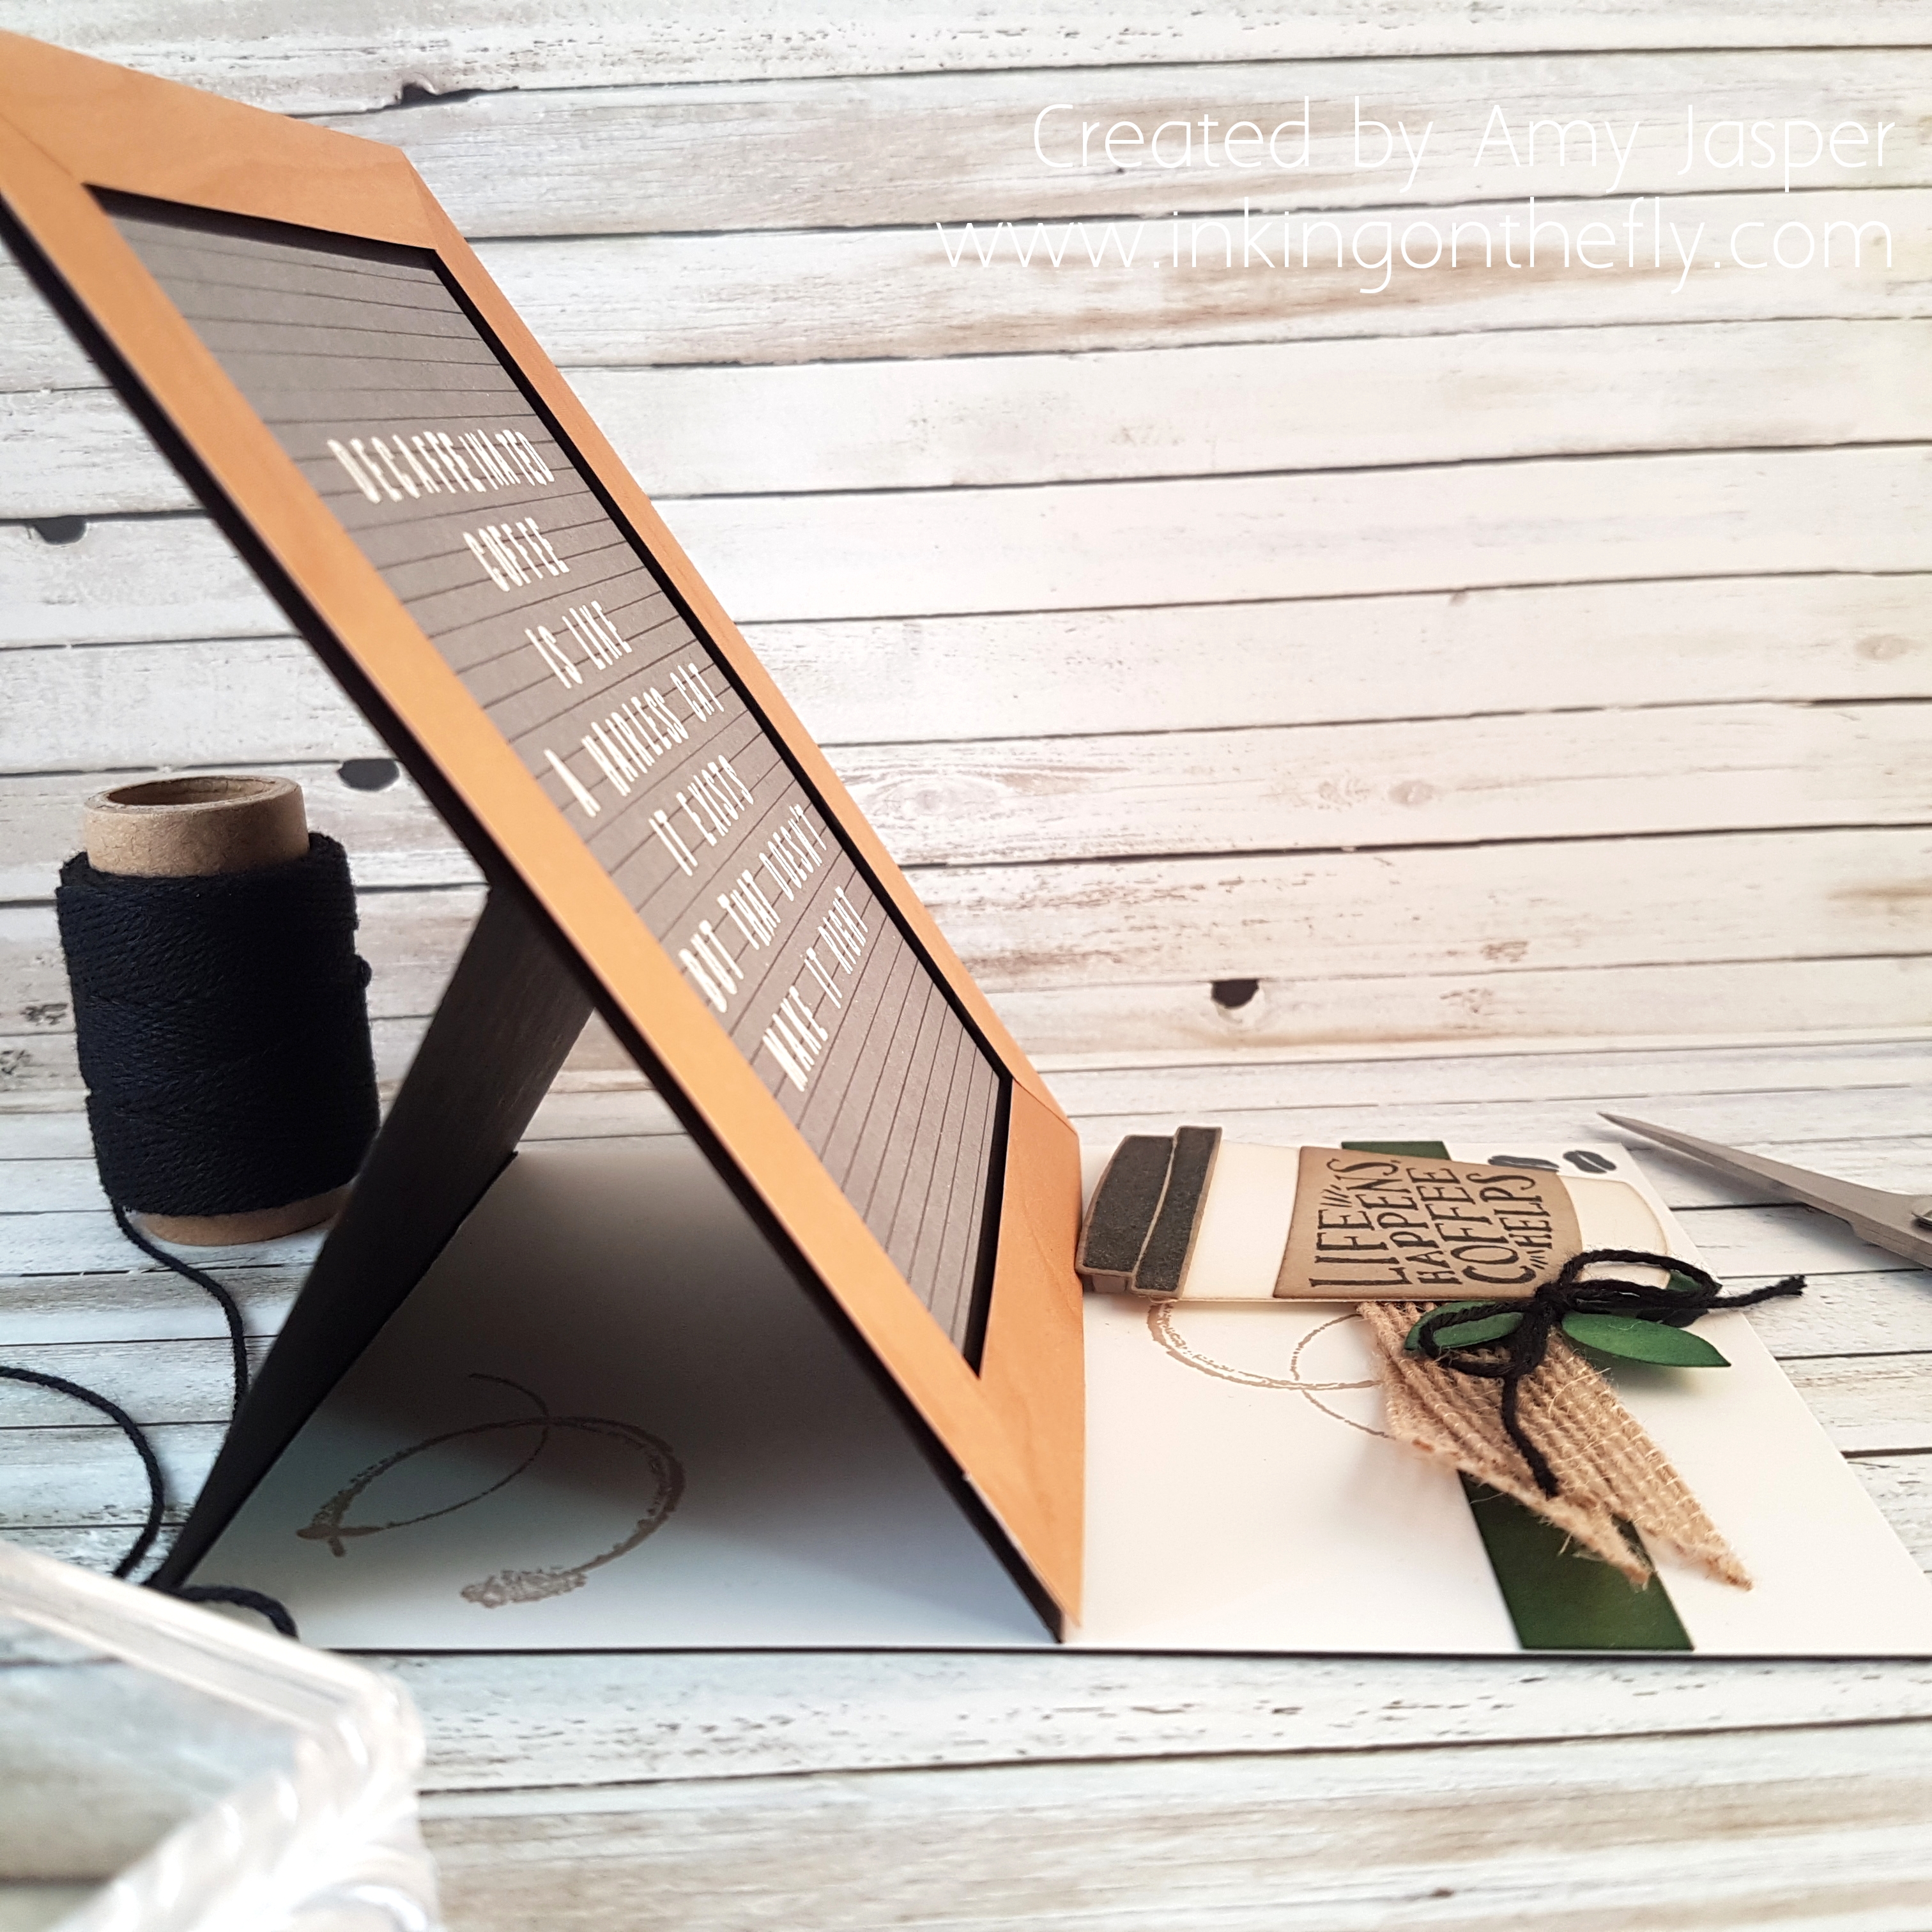
Here’s my card, inspired by the latest As You See It challenge:I chose to try to create my own letter board card with a funny saying I found on Pinterest. Conveniently, the saying also allows me to bring in another obsession I have – coffee. LOL!
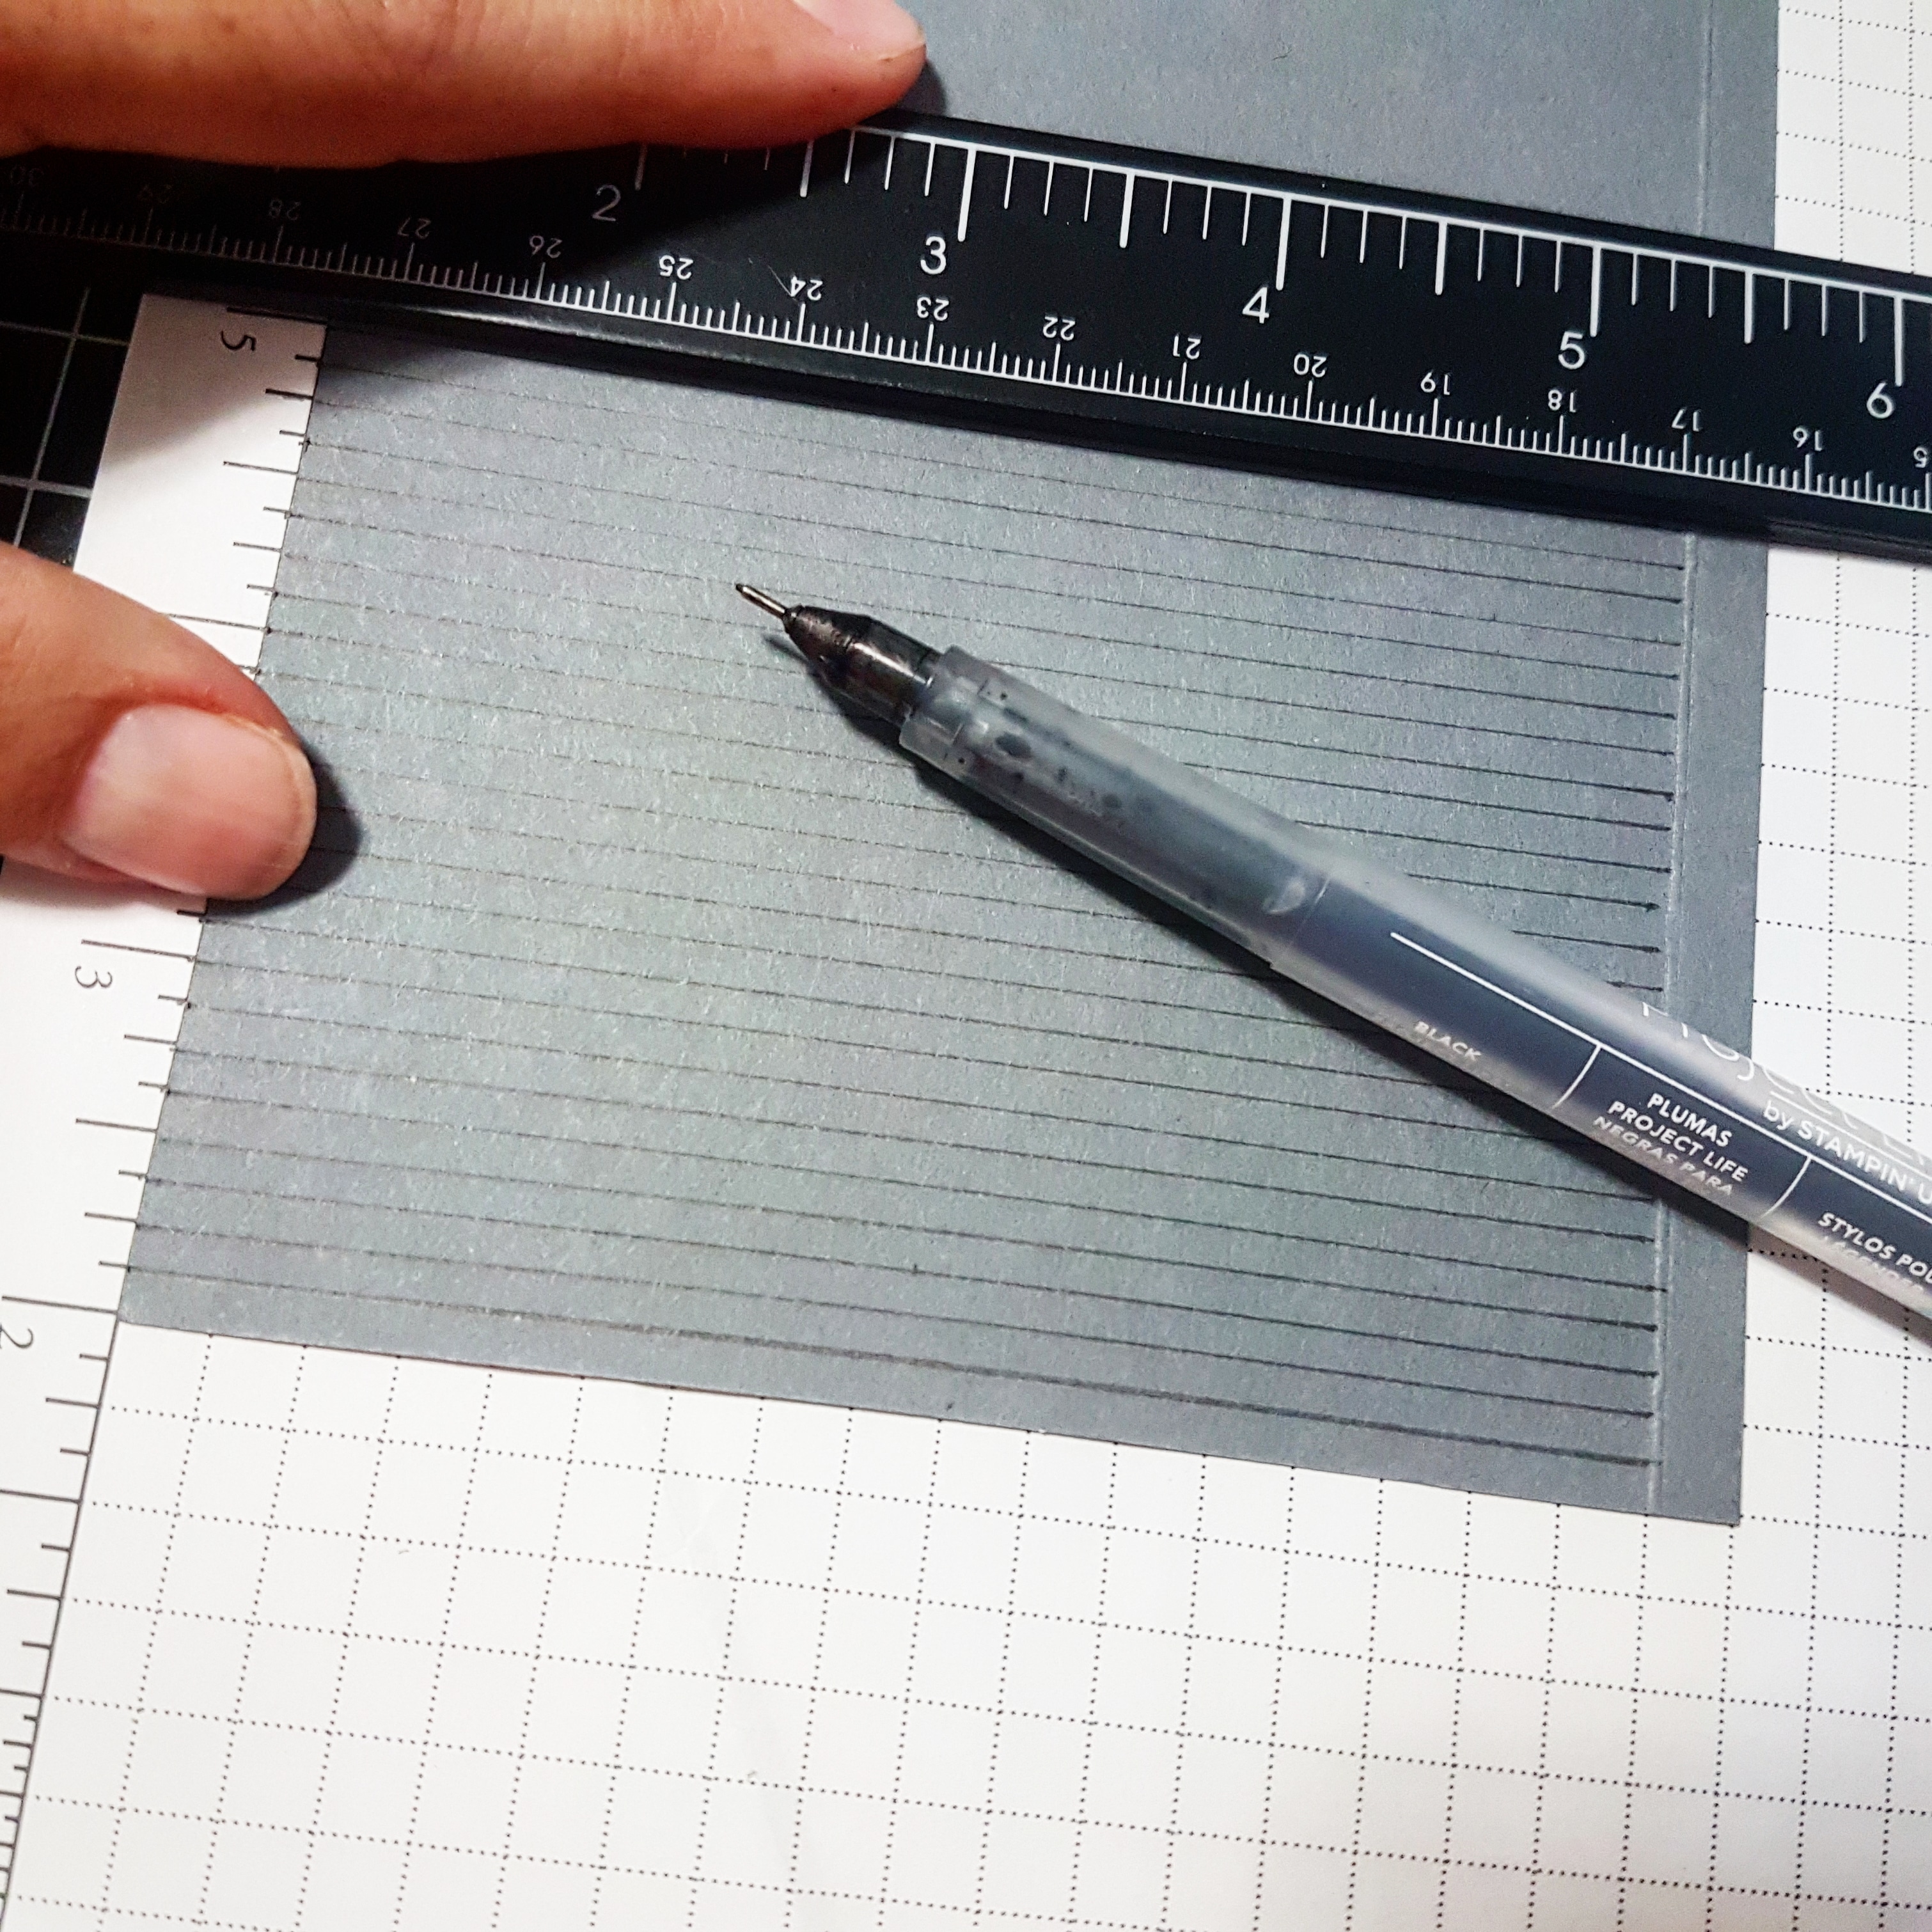
Most letter boards have black felt backgrounds with white lettering. I have seen others that are grey, some that are white with black letters, and even pink ones with white letters.
I started with trying to create the appearance of a letter board first. For that, I used a black journaling pen and a ruler and drew lines across the Basic Grey cardstock.The letters used are from the Make a Difference stamp set from Stampin’ Up! It required some finesse to get them all straight – not an easy task and definitely the most time consuming part of this design.
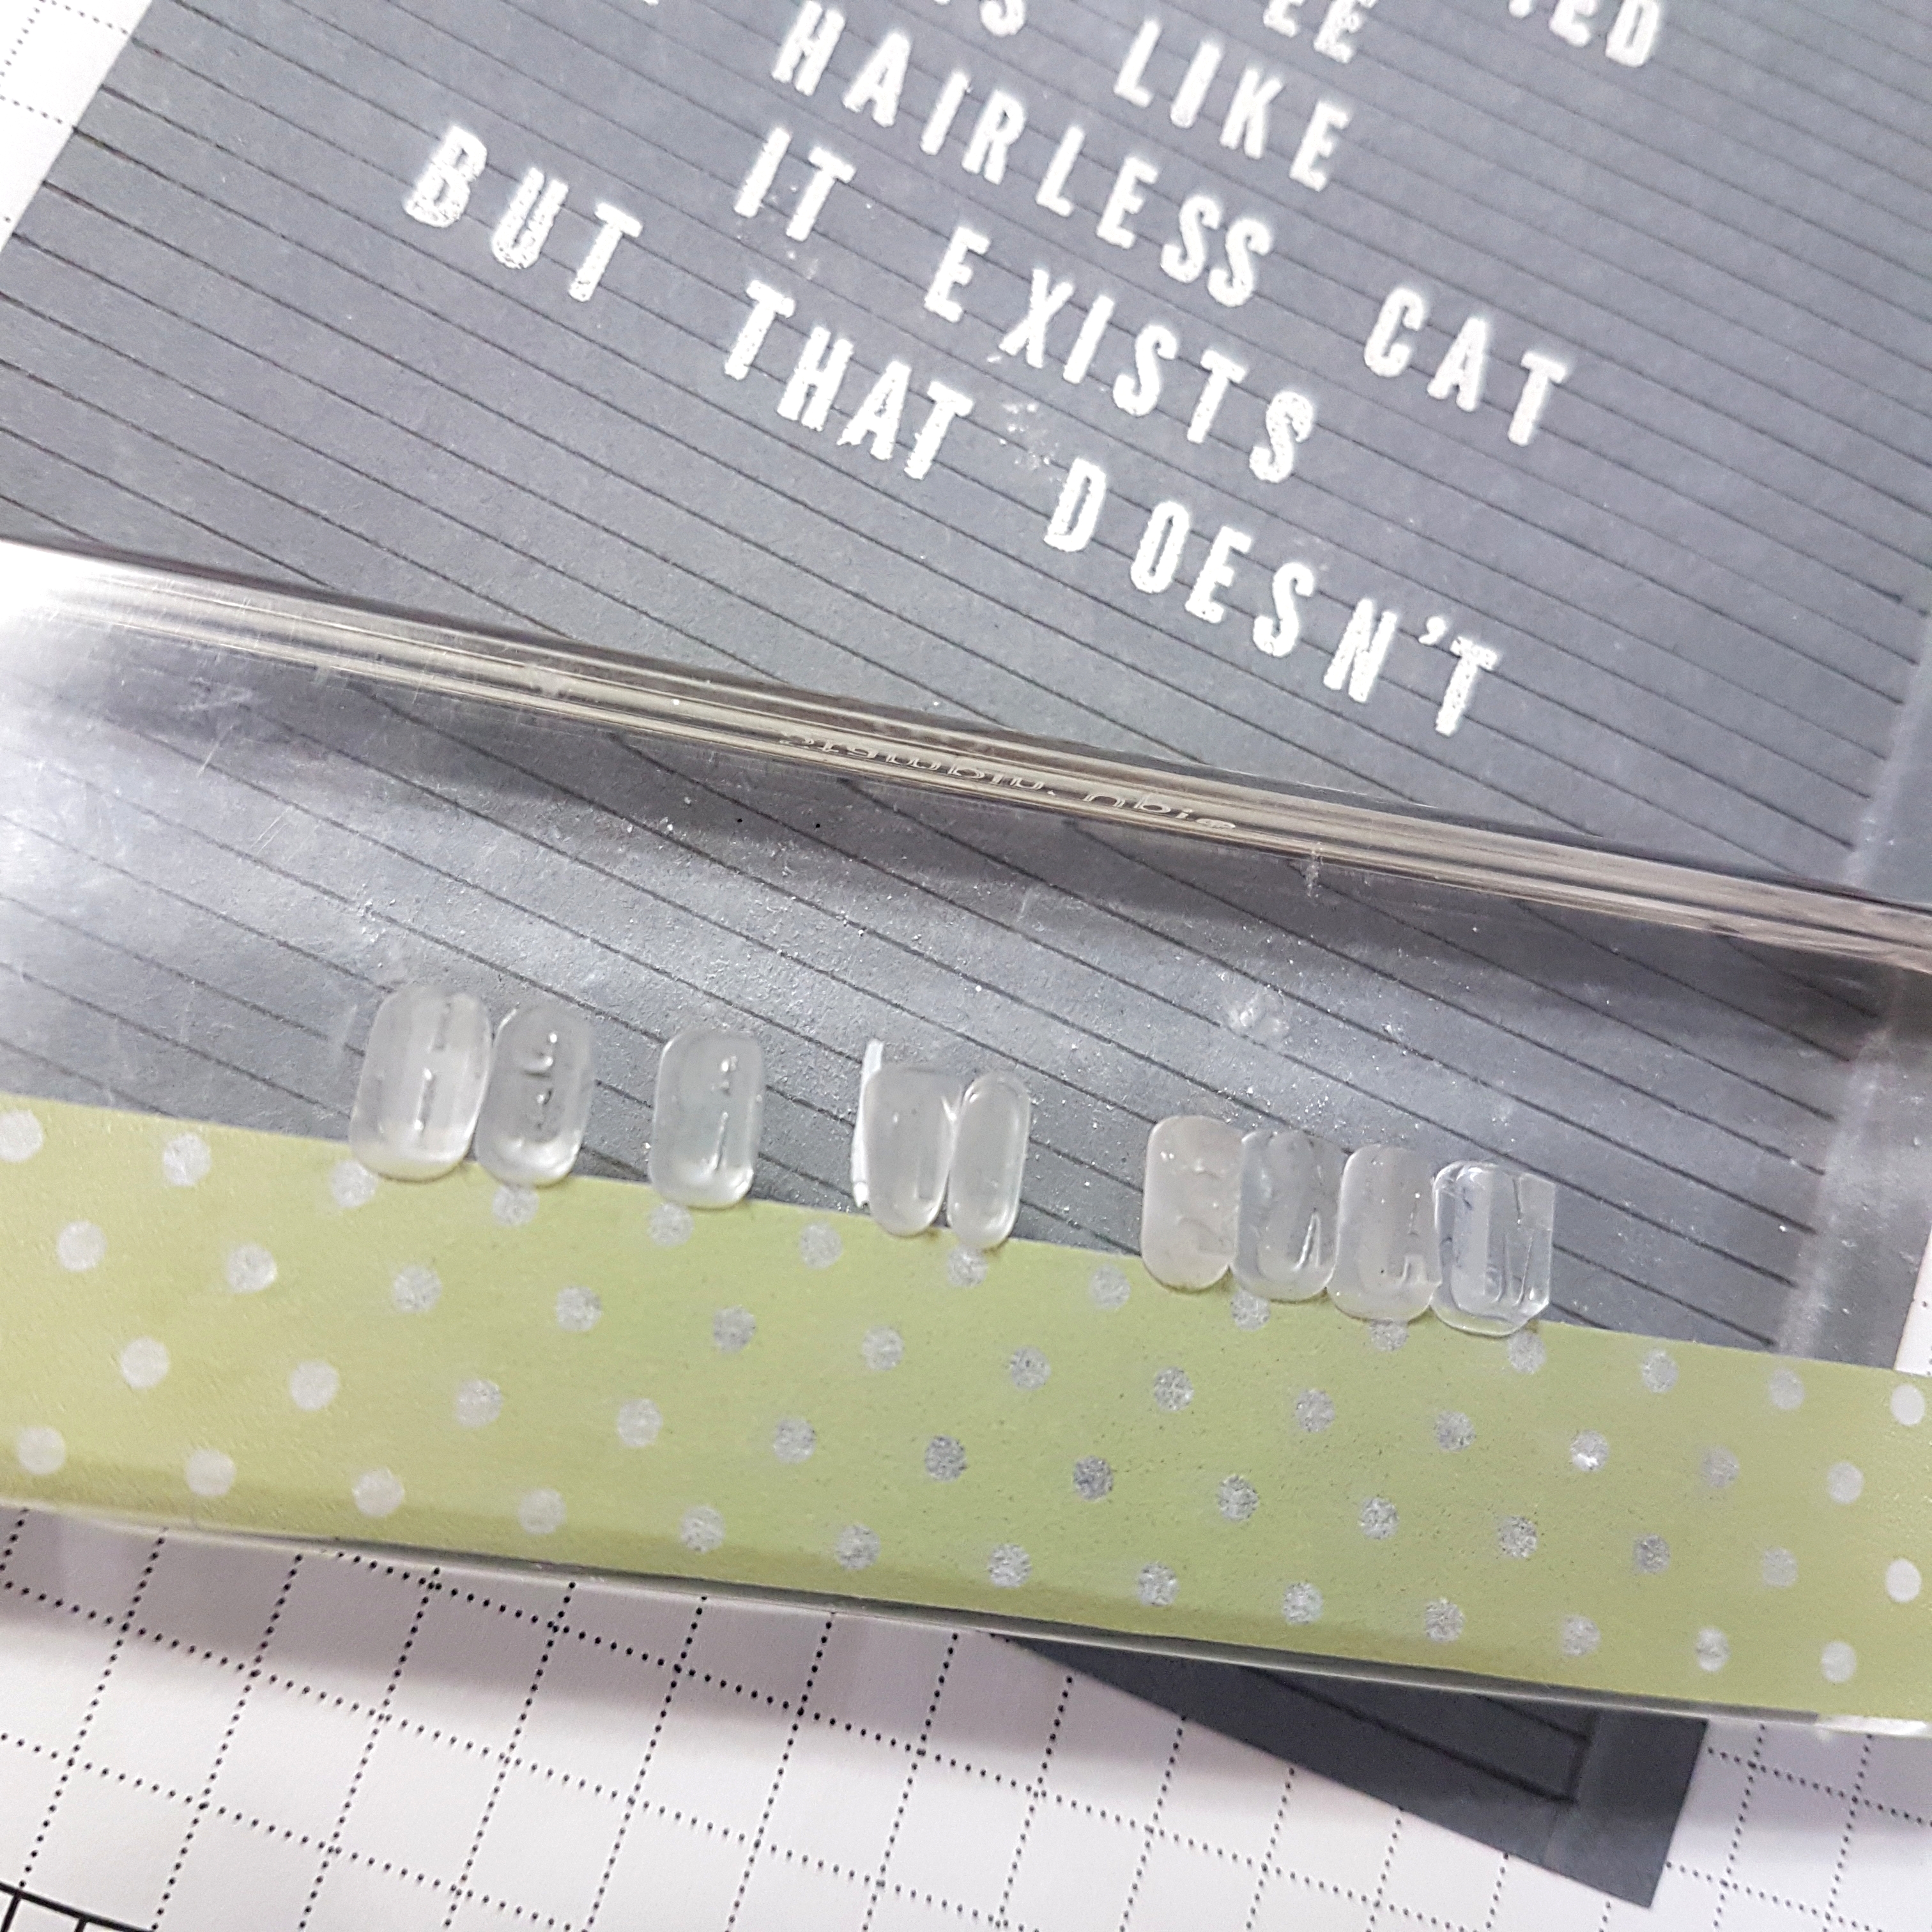
The Embossing Buddy was an absolute must for all this embossing!!
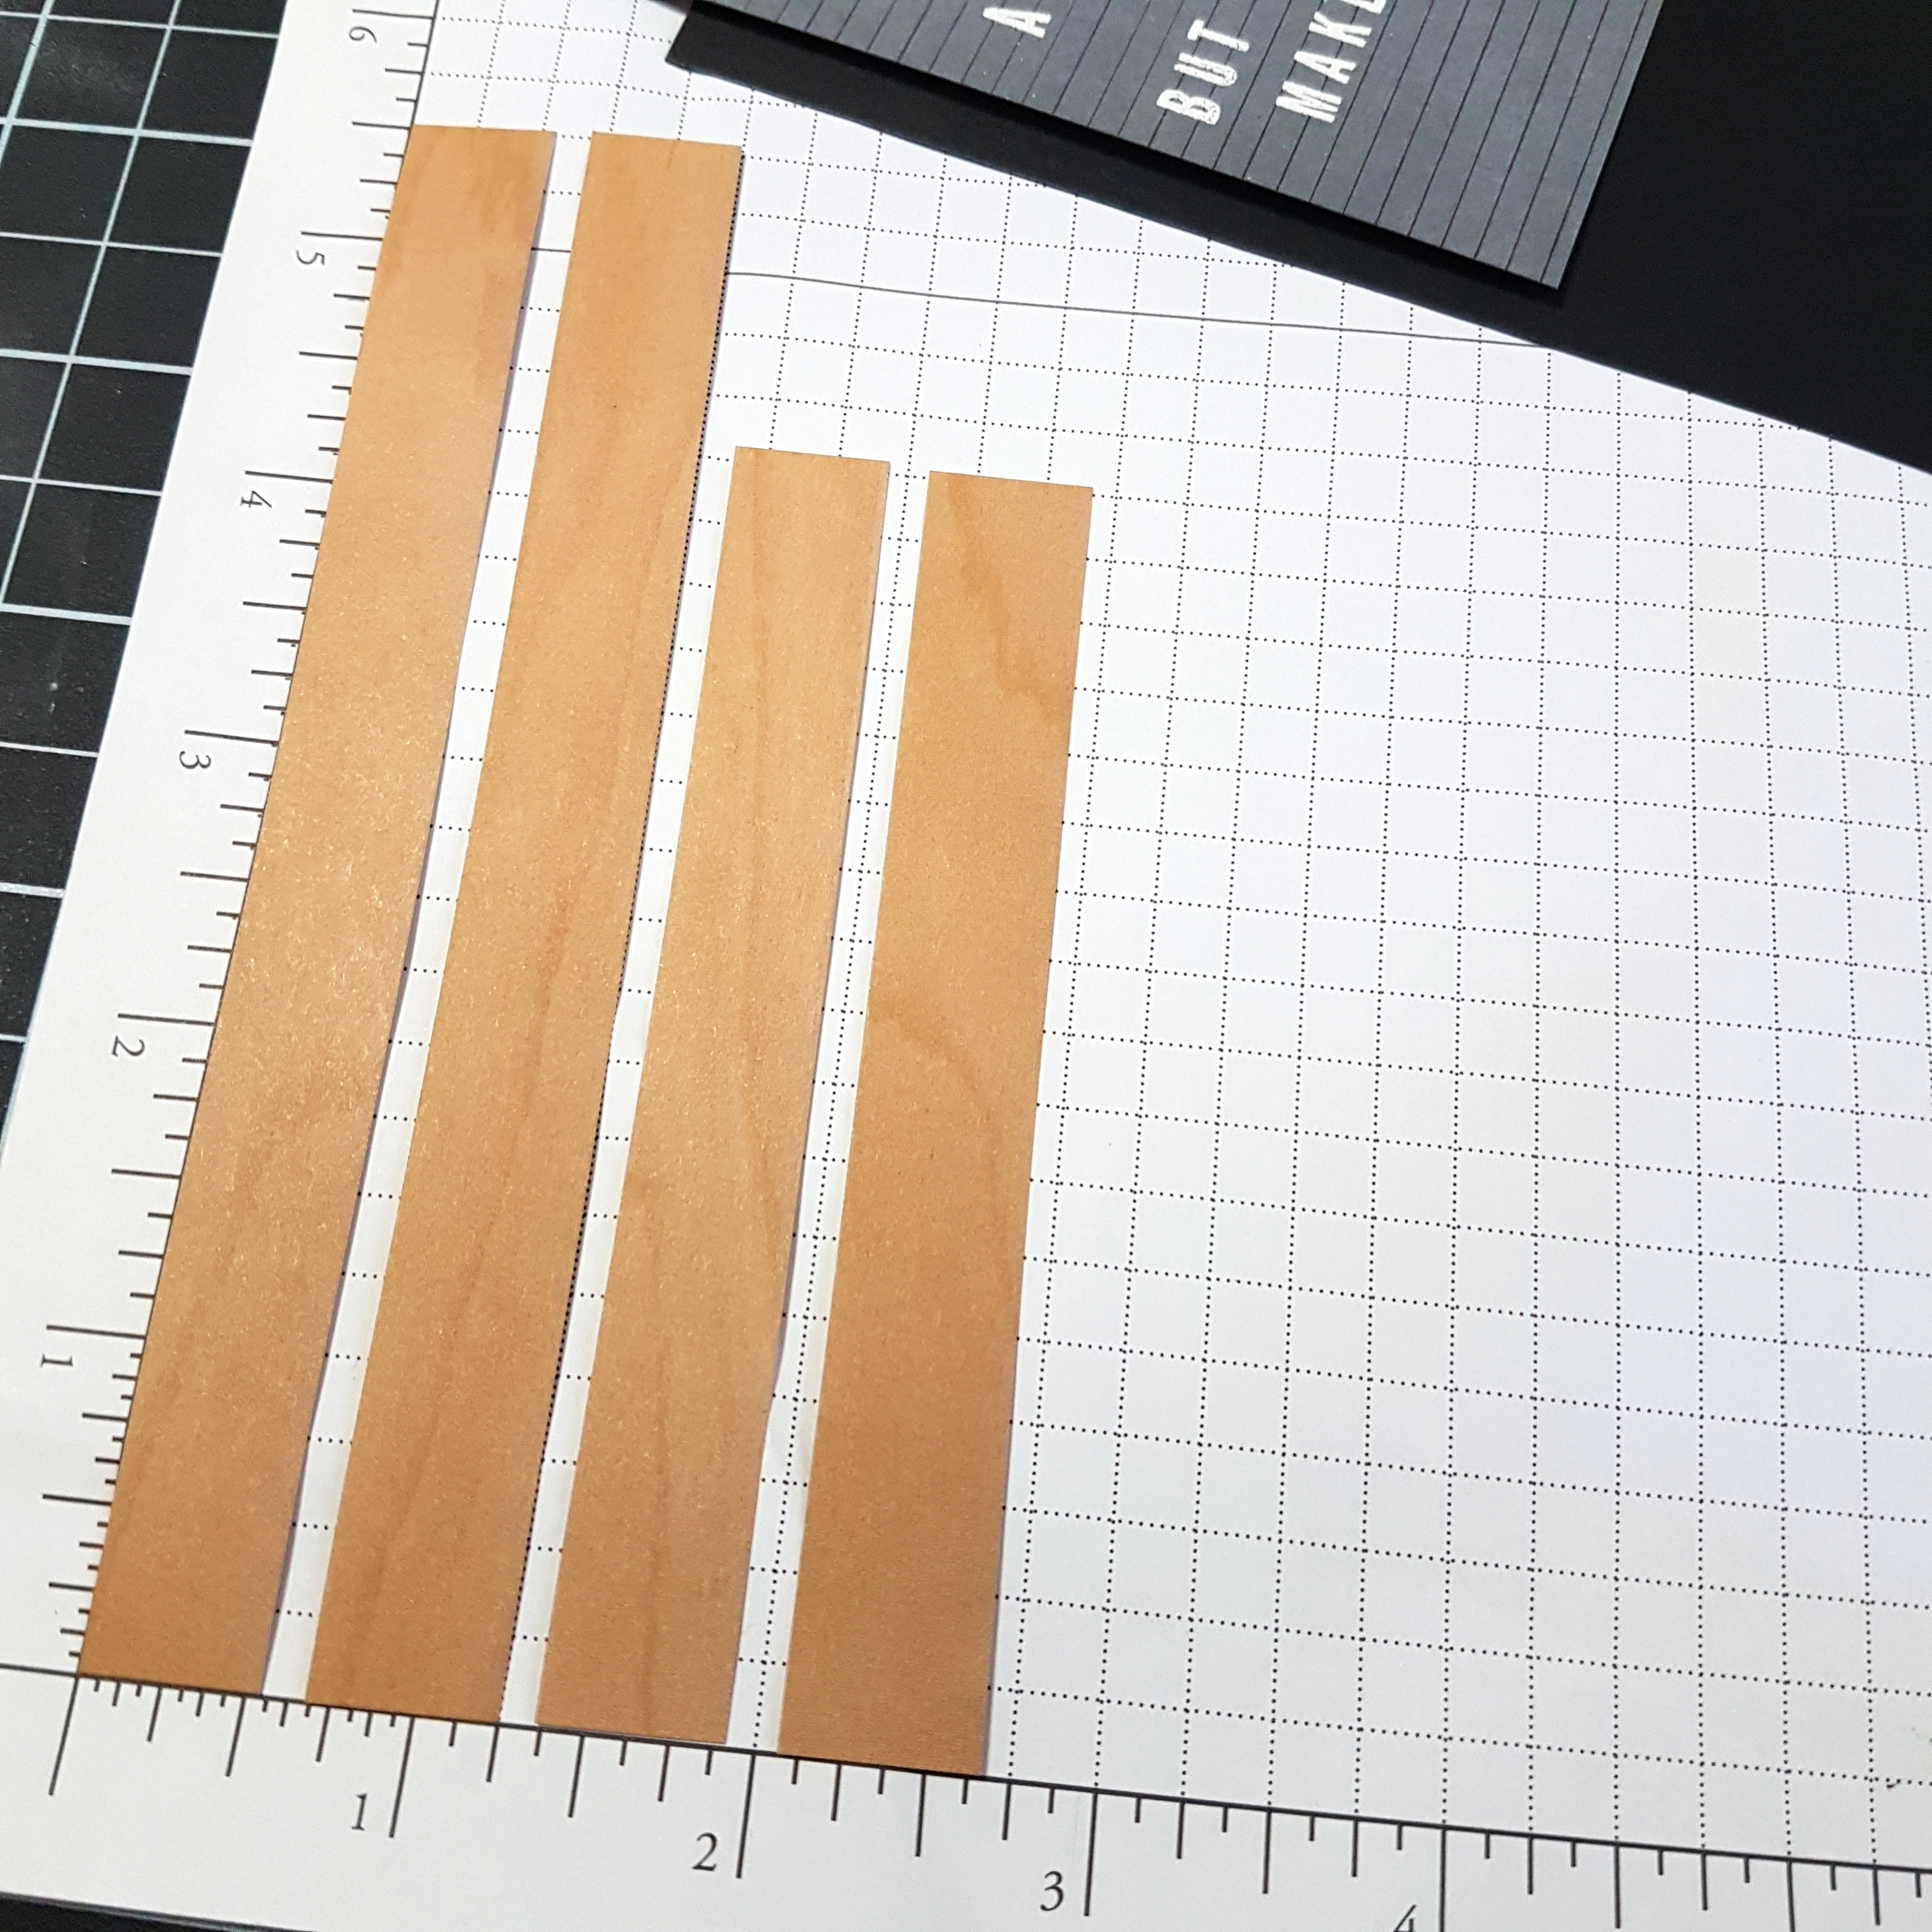
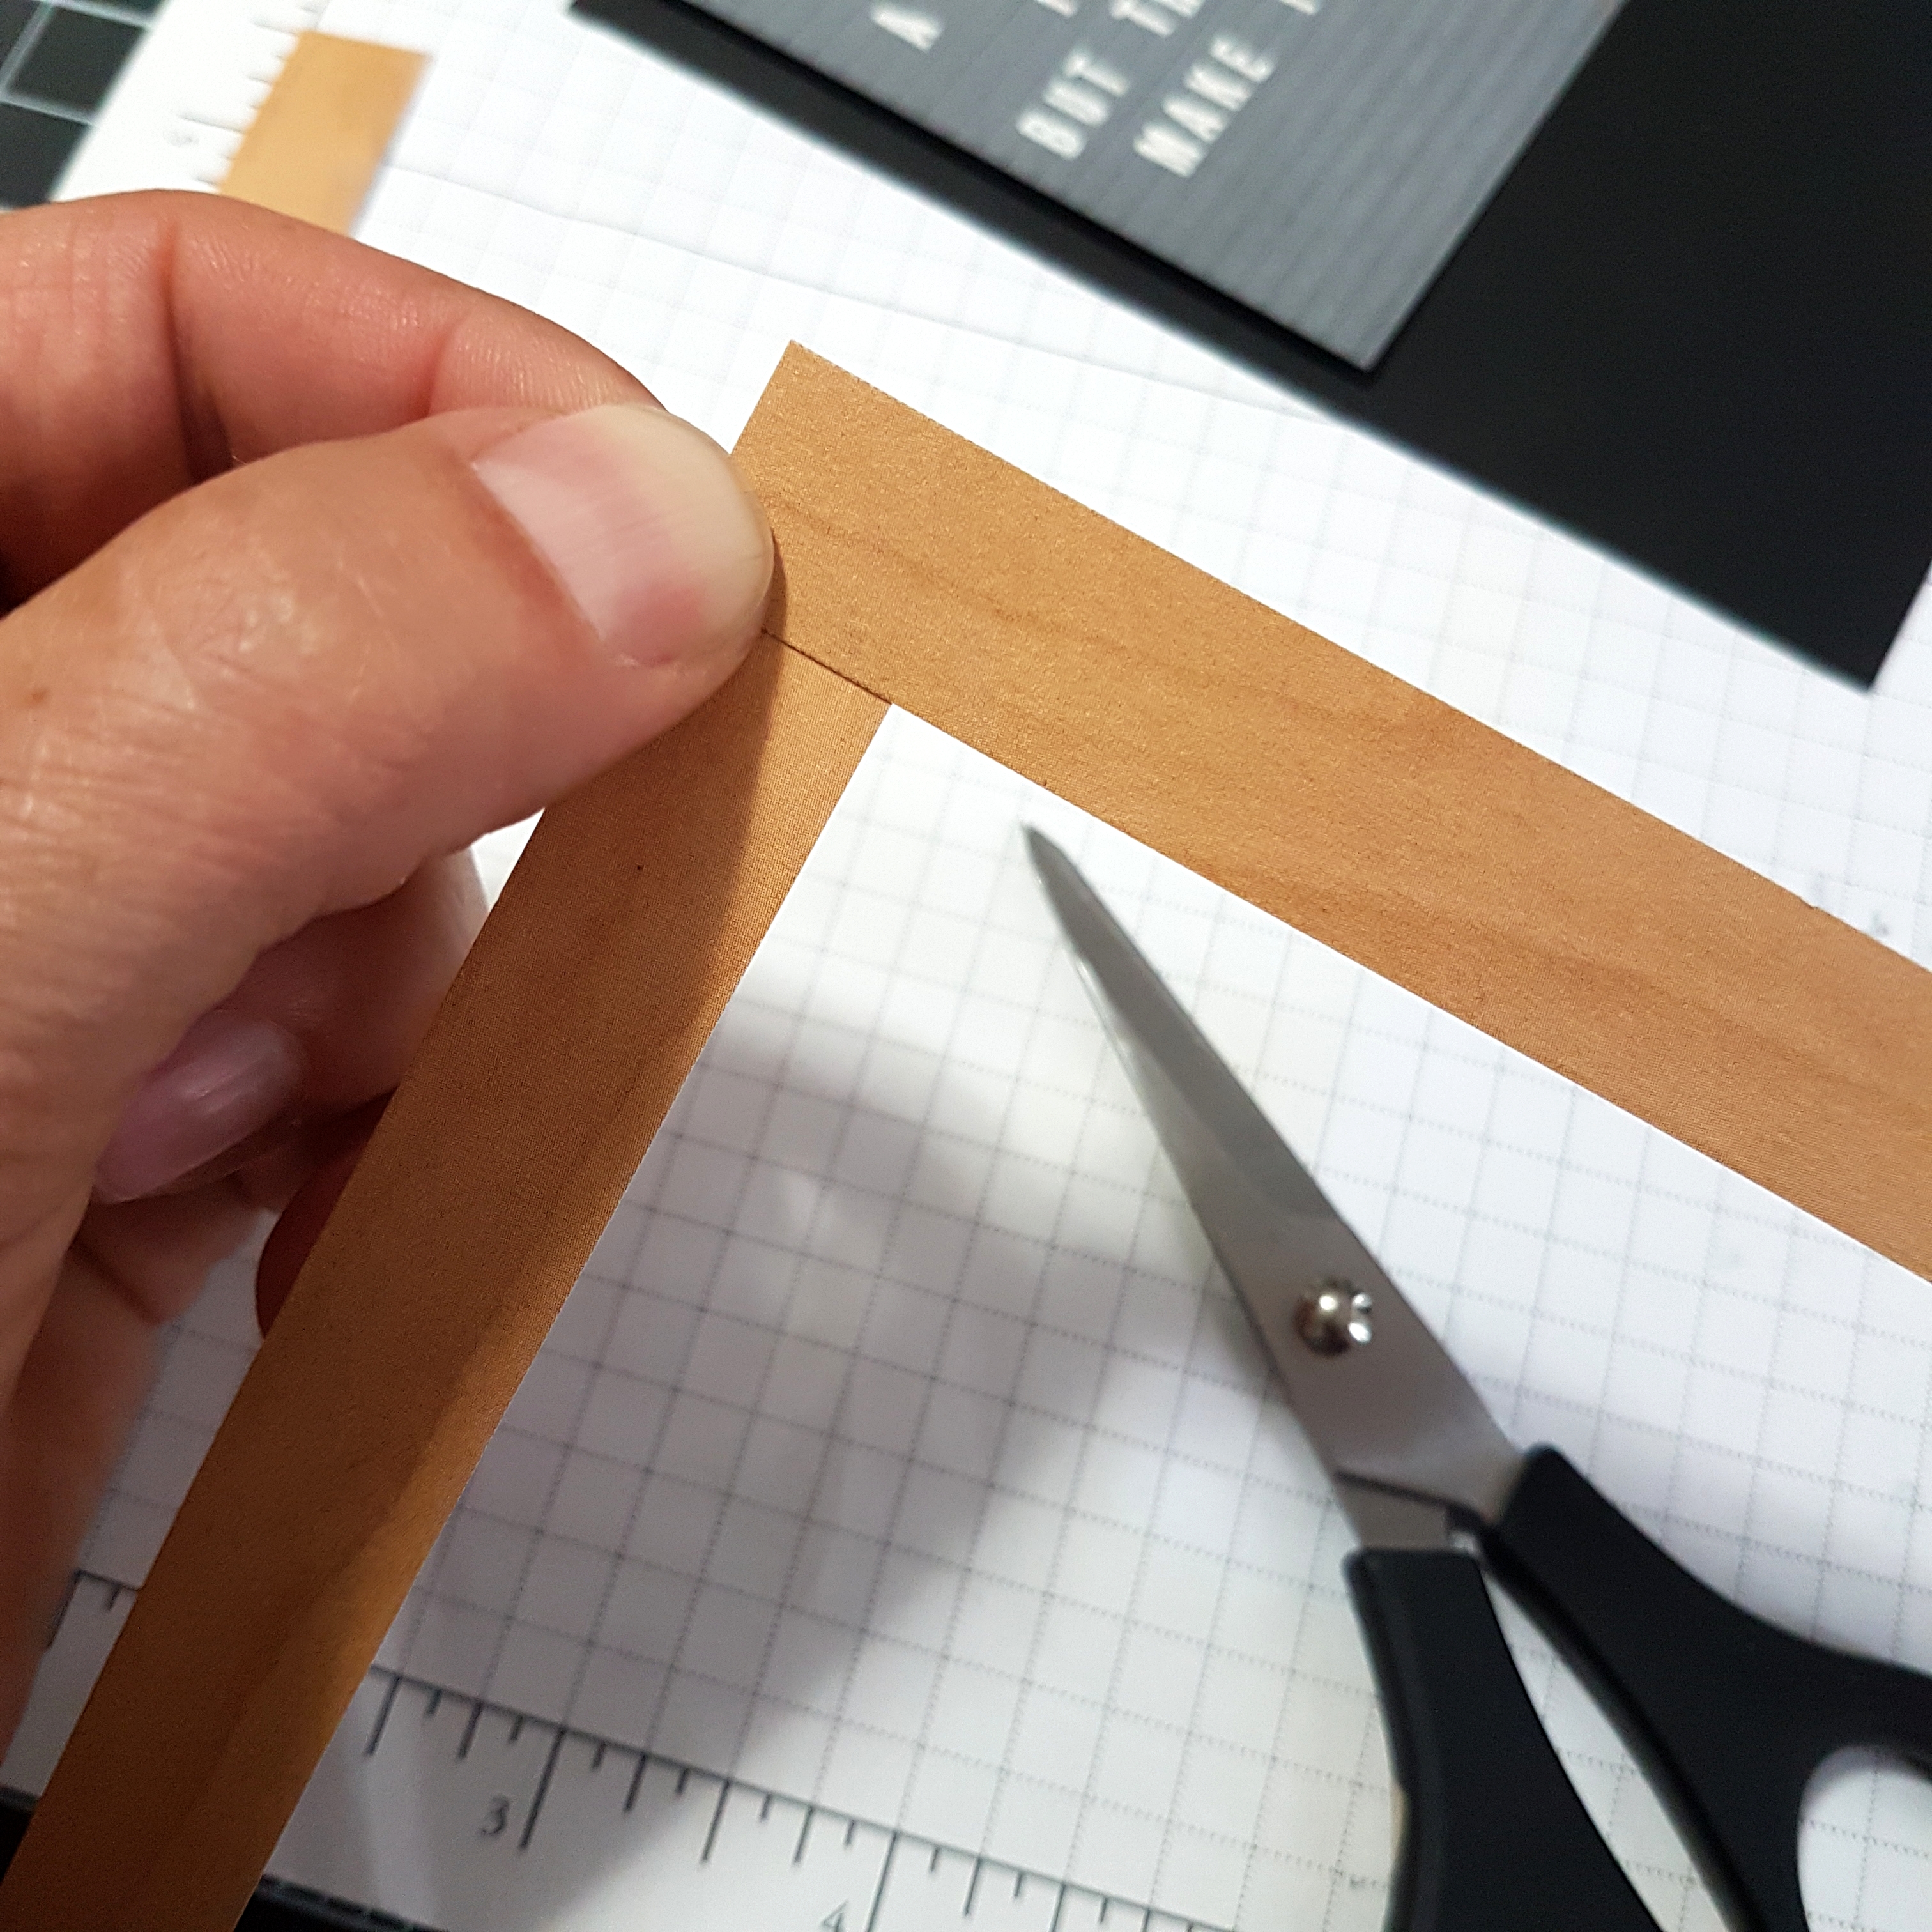
I did one line at a time, wiping my cardstock with the Embossing Buddy, stamping the letters in Versamark ink, sprinkling with White Embossing Powder, tapping off the excess, then heat setting the powder with the Heat Tool. One line. Then I would take out my Embossing Buddy and start the process again with the next line. Eventually, I realized if I placed a piece of washi tape on my block, it made it a bit easier to get my words straight. It was challenging to create the words with appropriate spaces for any letters that I needed more than one of, then add any missing letters afterward.The next thing to do was to create a frame for my letter board. Many of the boards I’ve seen have a simple natural light-coloured wood frame. Thankfully, Stampin’ Up! has just the right paper with lots of wood patterns to choose from! The Wood Textures Designer Series paper is one of my favourites and it is included in the Buy 3, Get One Free offer for paper packs now until the end of July.To create the look of a frame, I cut the desired length of paper for the size of frame I wanted. Two pieces cut at 5-1/2″ and two pieces cut at 4-1/4″. I made each piece 9/16th wide so that I could keep a black matte visible around my 3″ x 4-1/4″ letter board cardstock. I wanted to create the appearance of mitered corners, so I held two strips of the Wood Texture paper together and cut from the inner corner to the outer corner with my Paper Snips.
I really only needed to trim one end of each of the strips of paper. That way the angled end of one strip of the frame could overlap the straight cut end of the same corner. This allows for a nice clean corner that looks like a well-glued mitered wood frame. The strips were attached using Stampin’ Up Dimensionals to give a three dimensional appearance, just like an actual frame.
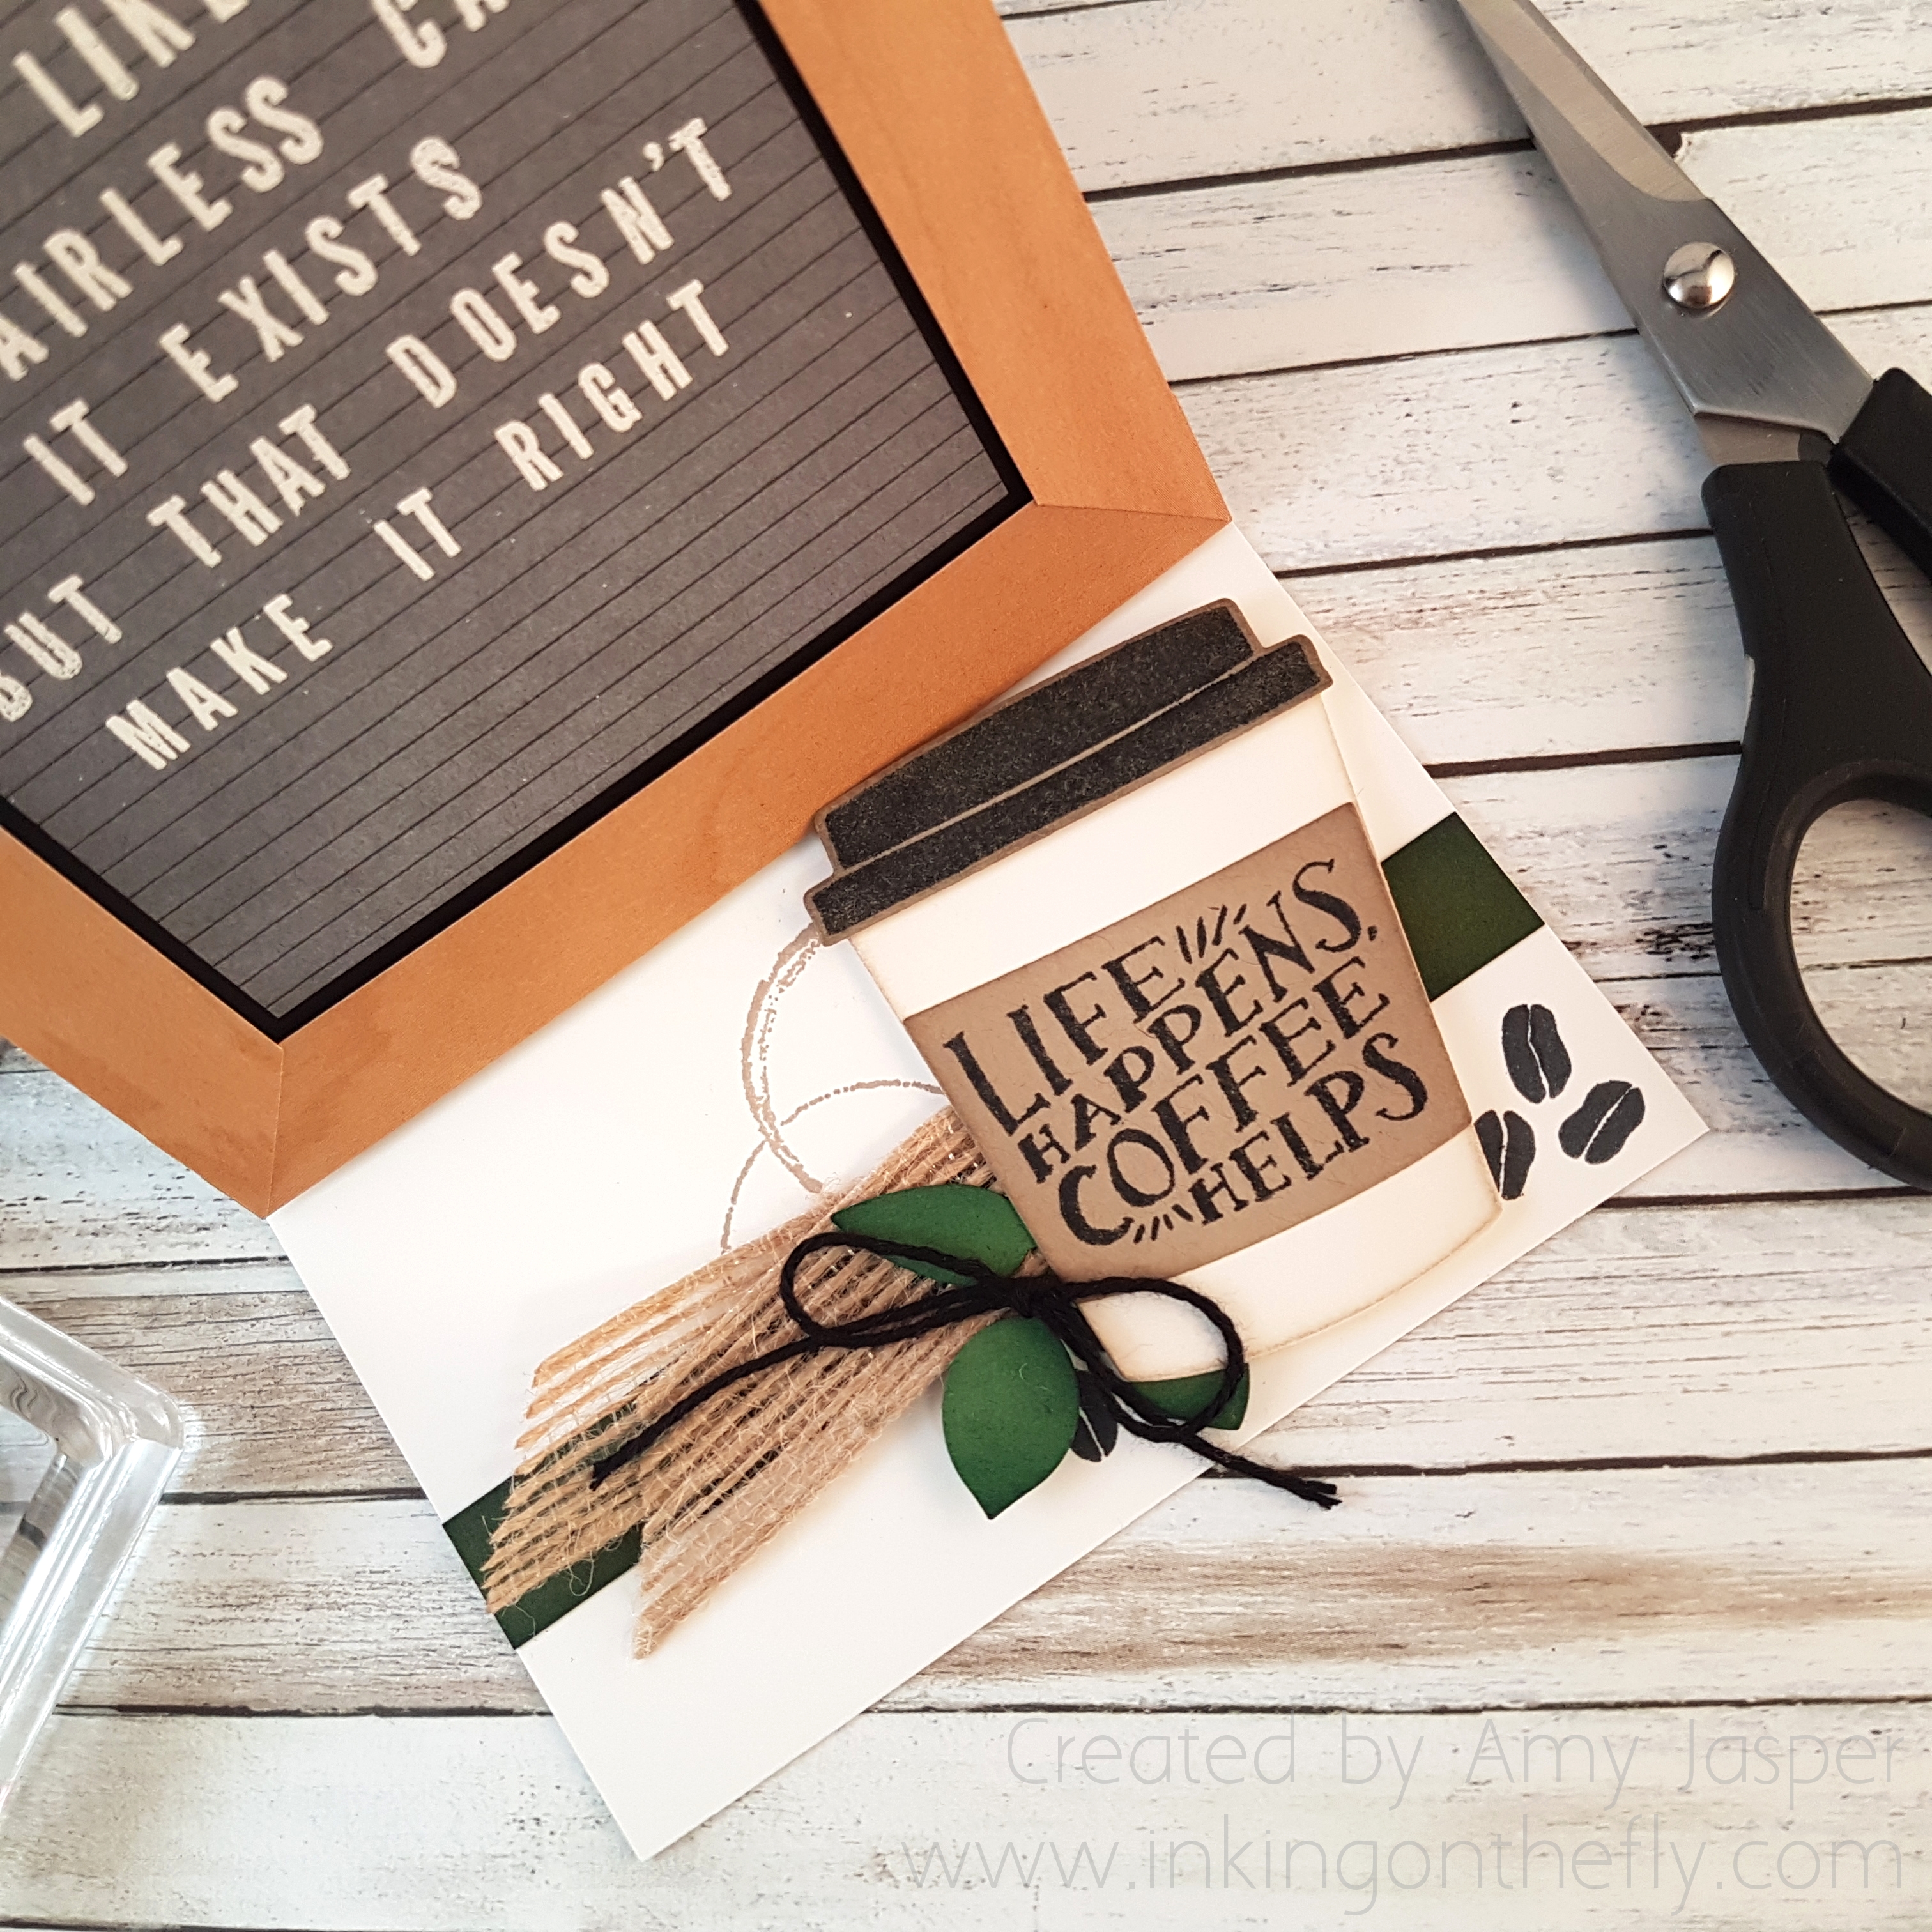
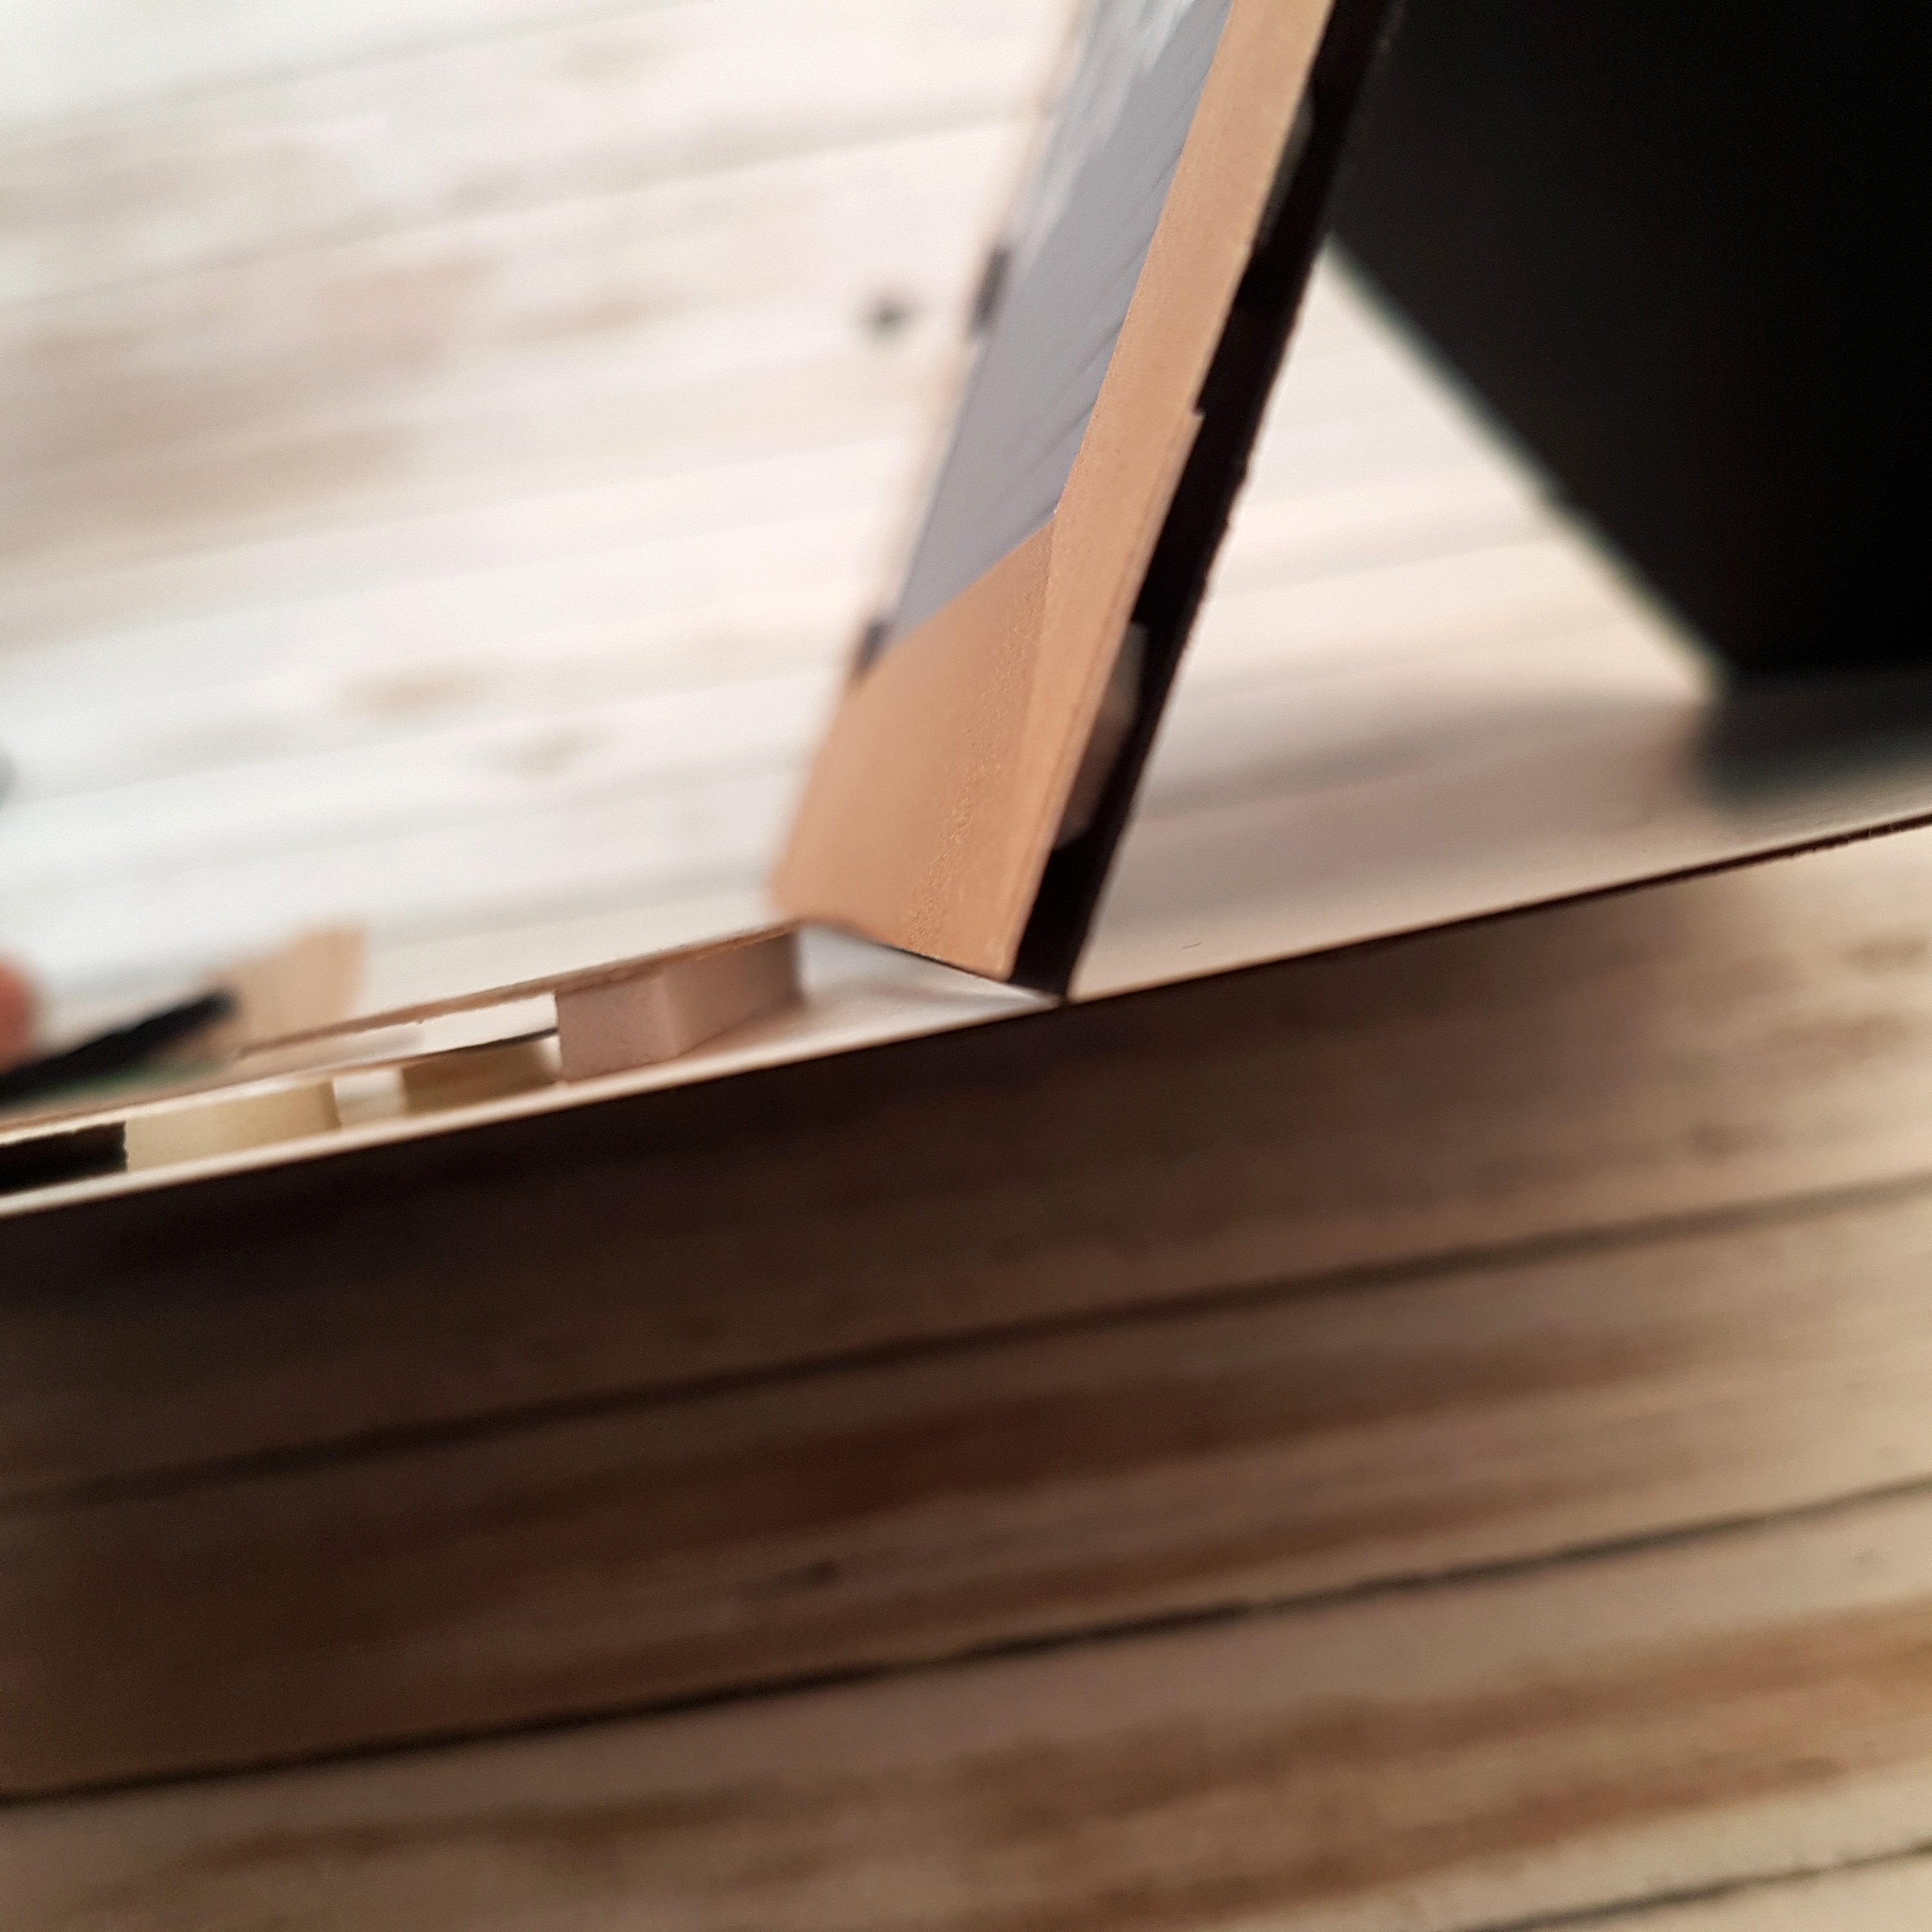
The thing that really makes this design work, is making it an easel card. If you’ve never made an easel card, be sure to google it and find a quick tutorial. It is a super easy thing to do.
My card base is made with Basic Black Cardstock. I used a piece of Whisper White cardstock as a layer inside the card as a blank canvas on which to create the lower portion of the easel design. For this, the Coffee Cafe stamp set and coordinating thinlits from Stampin’ Up! were the perfect choice! I also used an image from the Timeless Textures stamp set from Stampin’ Up! that looks like a coffee cup stain.
To prop up the front of the easel well, I made sure to add extra loft to the lid of the coffee cup with a piece of Adhesive Foam Strips. Additional Stampin’ Up! products used include: Leaf Punch, Solid Black Bakers Twine, 5/8″ Burlap Ribbon, Mossy Meadow cardstock, Garden Green cardstock, Crumb Cake cardstock, Stampin’ Sponges, Tranquil Tide ink (sponged on the Garden Green leaves and the Mossy Meadow paper strip), Crumb Cake ink (for the coffee stain image and sponging around the coffee cup, lid, and sleeve), Tuxedo Black Momento ink (for stamping the coffee happens sentiment, coffee beans, and coffee cup lid).Now it’s your turn. What are YOU obsessed with? Share it on the As You See It Challenge blog as a card design and/or leave a comment on this blog post!
When I was nine years old, we moved into a new home – well, new to us. The yard was full of tall yellow wild grass and grasshoppers. So many grasshoppers! The house was built in the 80s, I think. It was a two story, white stucco house with a nice layout where the staircase was at the center. When you walked in through the front door, you were welcomed with a large foyer that was as tall as the two floors of the whole house! The large entry way was a great spot for happy hellos and long, lingering good-byes.
I remember skipping with my jump rope on that open foyer space. I played board games on that floor. I remember the comforting “click click” sound of dog nails on the floor as our small honey-coloured maltese/cocker spaniel made her way through the house. We raced around the staircase and would watch the floor flash past as it changed under our feet – beige carpet in the living room, linoleum in the kitchen, beige carpet in the TV room, parquet flooring in the foyer – carpet, lino, carpet, parquet, carpet, lino, carpet, parquet.
The parquet pattern was in squares. It has since been updated and now there is laminate wood flooring throughout the foyer, TV room and kitchen. My own kids have raced around the house when we visit my parents for Sunday dinner – lately it’s during a rubber band war.
Good times. Good memories.
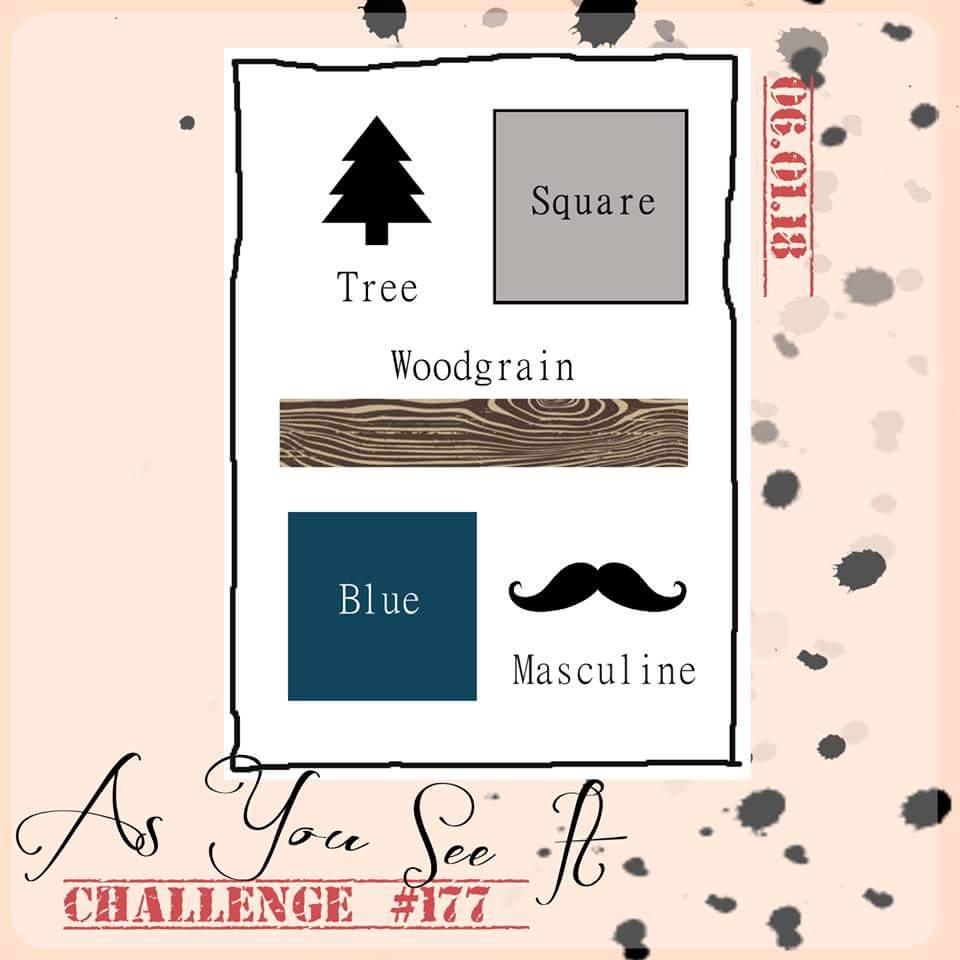
My card design today reminds me of that parquet flooring. Instead of squares, I tried a herringbone pattern. Of course, it all begins with some prompting to get that creative mojo going. Here’s the assortment challenge from the As You See it Challenge blog:
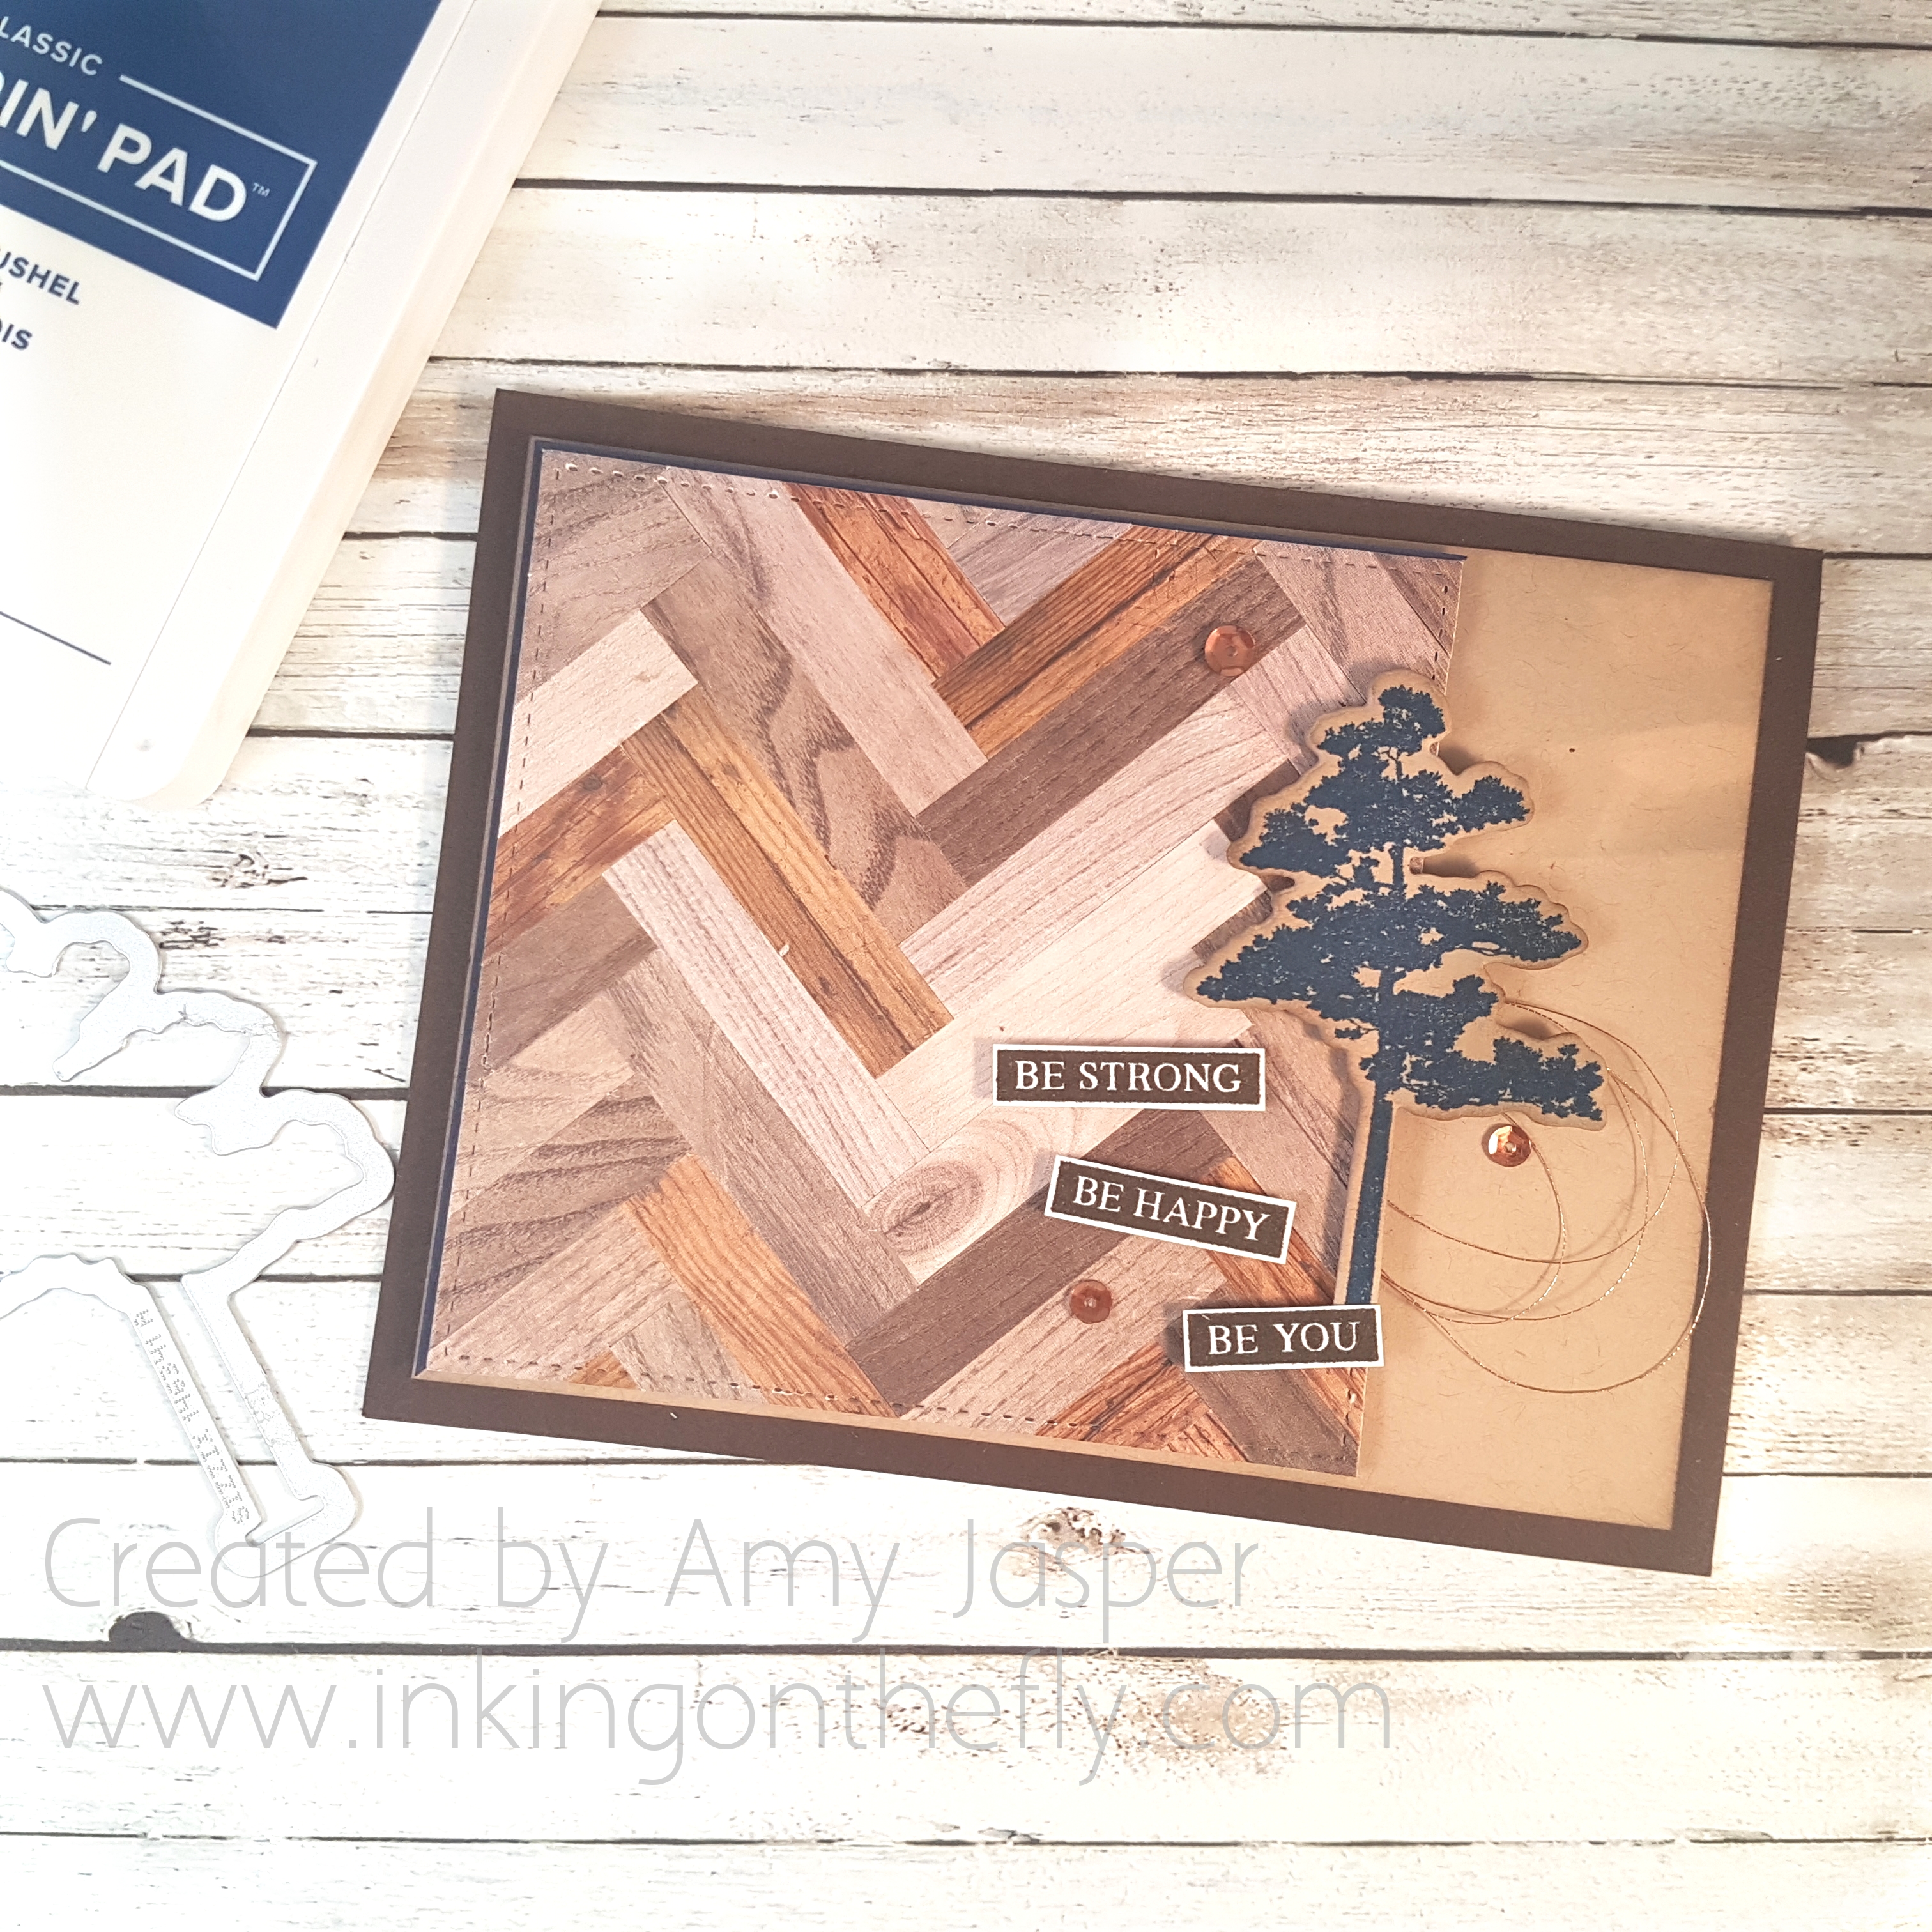
I get pretty excited when I find a fun way to use paper scraps, especially with paper that I LOVE! The Wood Textures Designer Series paper is on the top of my list, so you you can imagine how satisfying it was to turn my scraps into something awesome!
The herringbone pattern is created using short, narrow strips of patterned paper and adhering them to a piece of cardstock. I used my Multipurpose Liquid Glue to adhere the strips (remember, less is more – nobody wants a sticky oozy mess!).
I started by scoring a line in the center of the paper and laying my first five strips down without adhesive first, so that I could use the line as a guide for straight placement. Then I was able to pick up and adhere one piece at a time until my piece of cardstock was full. Once full, I trimmed the paper to size and carried on with the rest of the card.
I trimmed my herringbone parquet into a square and then thought about something crazy – what if I used my Stitched Shapes Framelits to add a decorative stitched edge to this large square!?
I know – CRAZY!!
But it worked! And it wasn’t even that hard!!
I used the largest square from the Stitched Shapes Framelits and placed it, blade up, on my Big Shot clear plate so that I could see the cutting edges clearly. I placed my parquet piece right side facing down, so that the paper lined up in the corner of the framelit.
(Oh my goodness, I need to give you photos of this process! SERIOUSLY! … I’ll try to add them later)
I put my top plate over the corner that I wanted to cut (and ONLY over that corner) and ran it through the Big Shot. The Big Shot cuts when there is pressure, so where the top plate didn’t make contact with the die, cutting did not occur. I repeated this process three more times to make a border around my entire 3-3/4″ parquet.
So cool!!
The rest is detail.
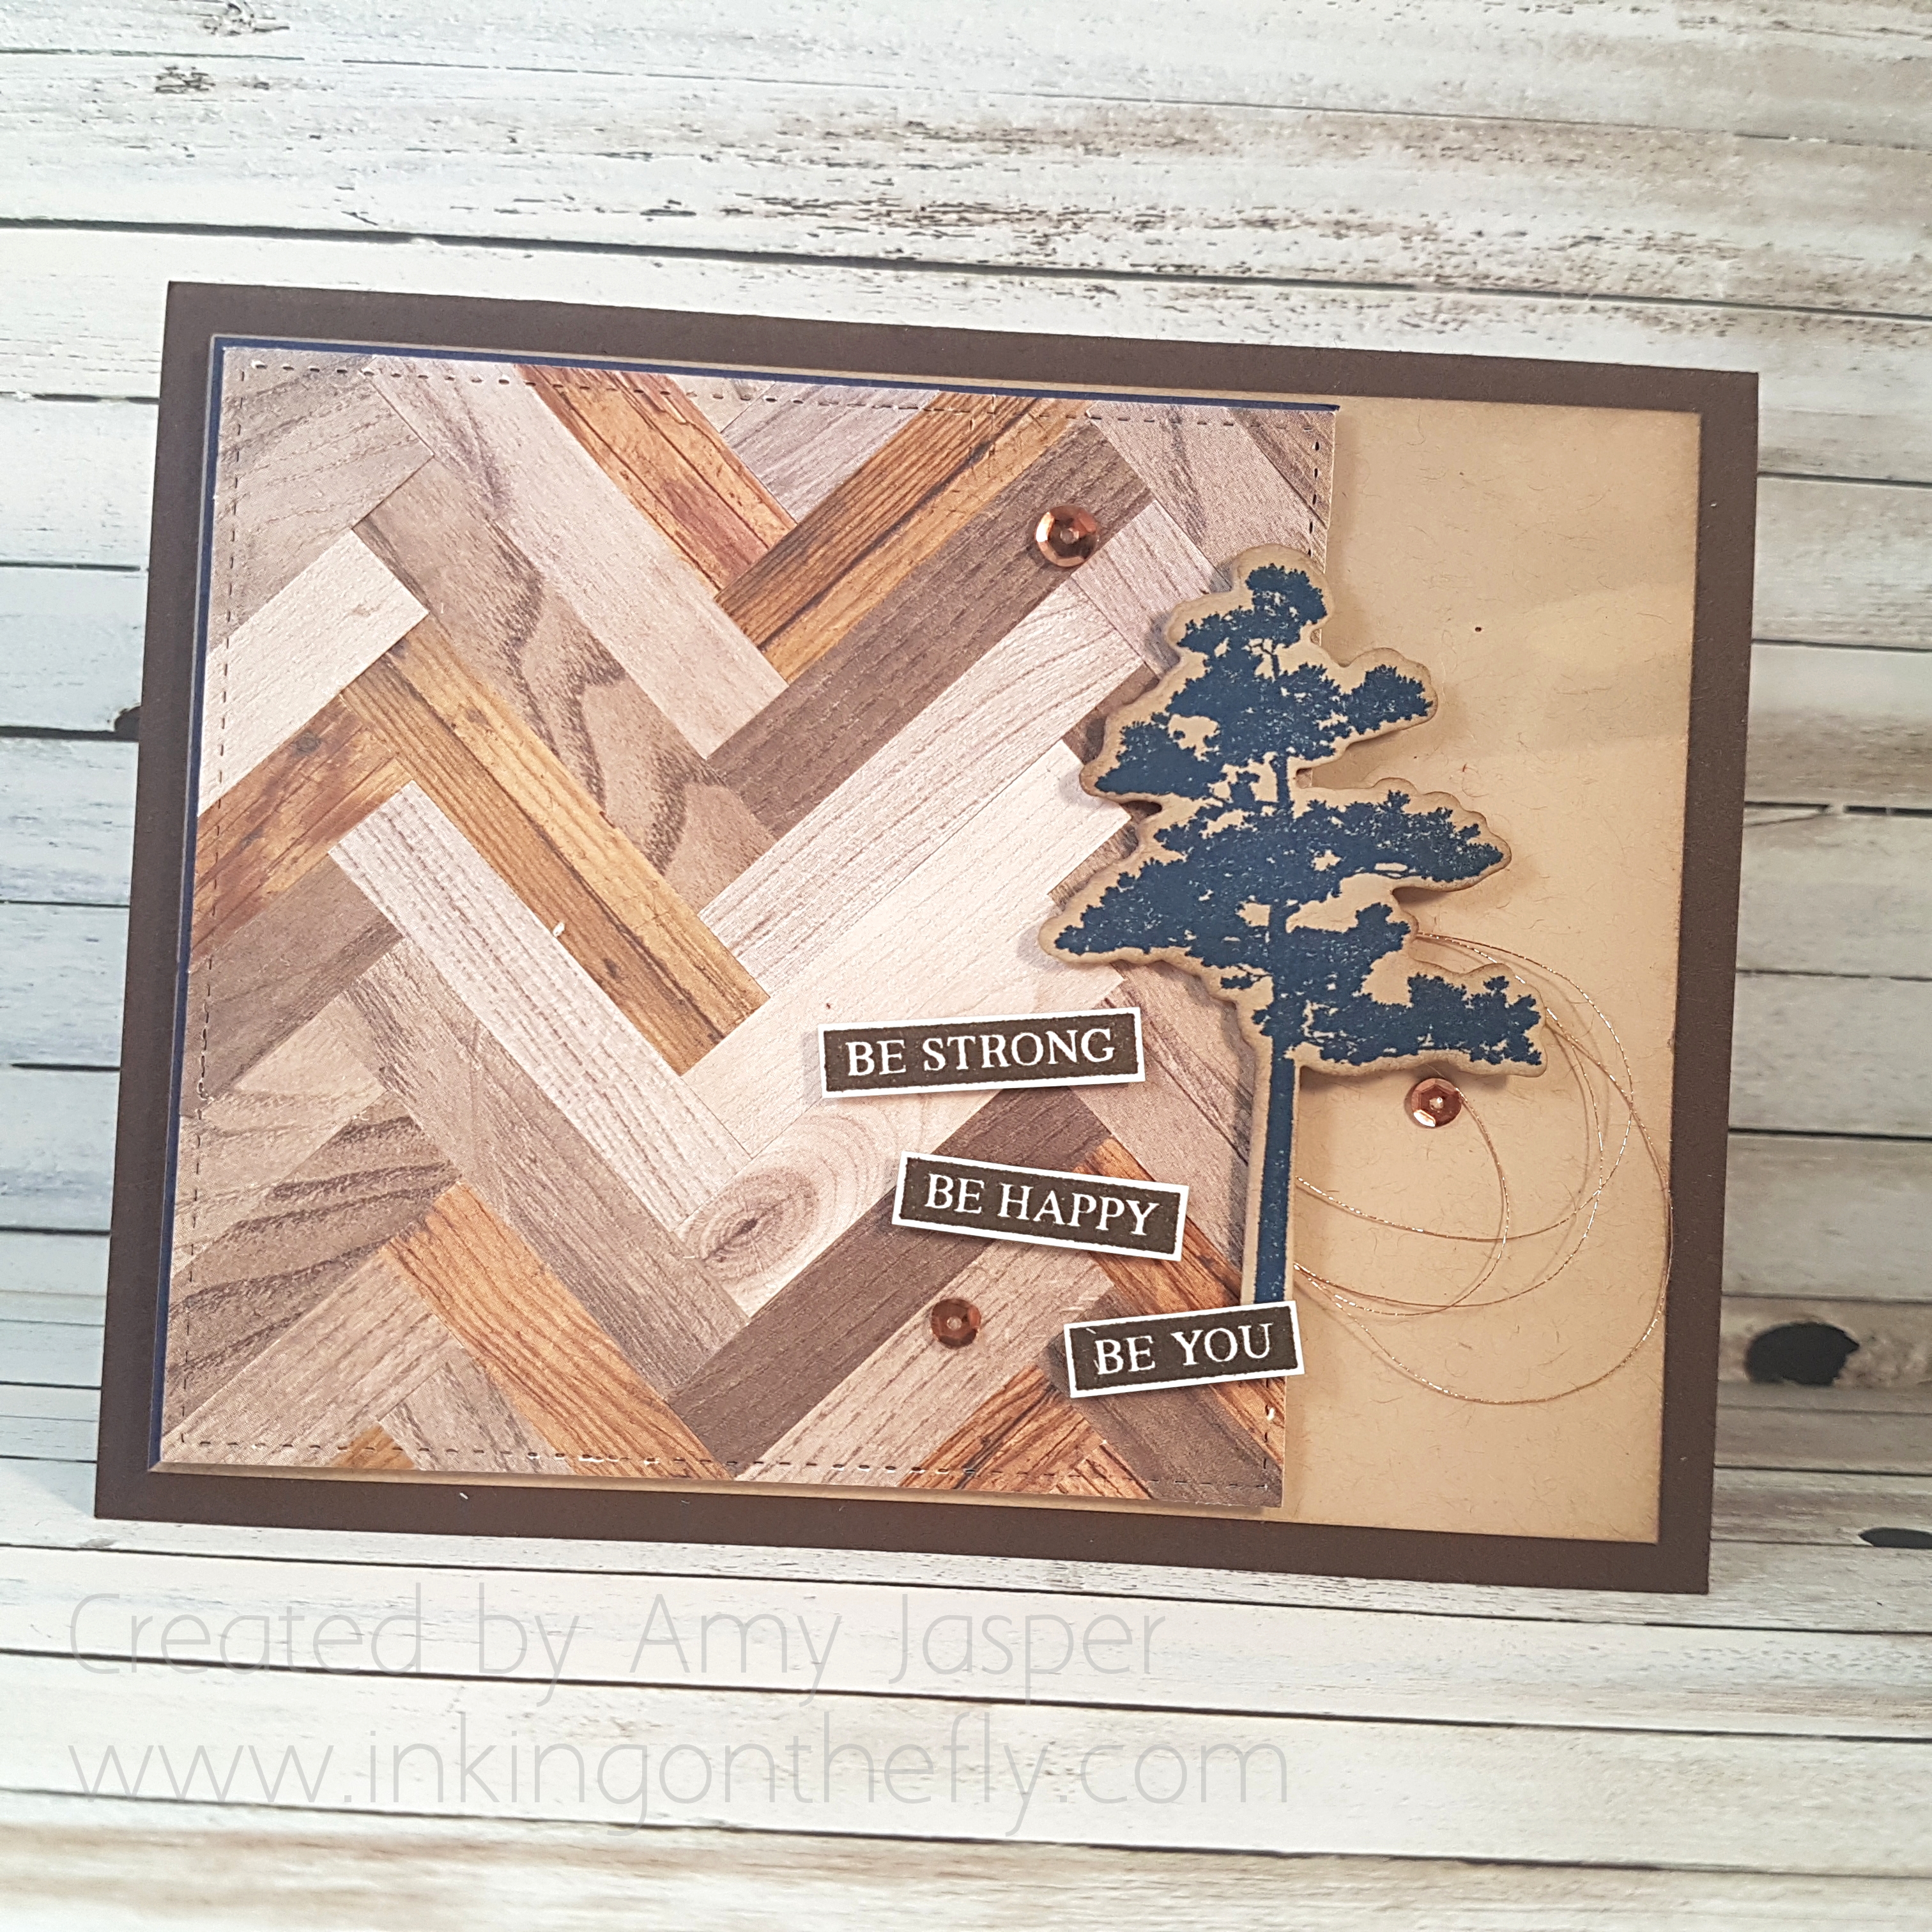
I sponged Crumb Cake ink all around the edges of a layer of Crumb Cake cardstock, then adhered it to my Early Espresso card base.
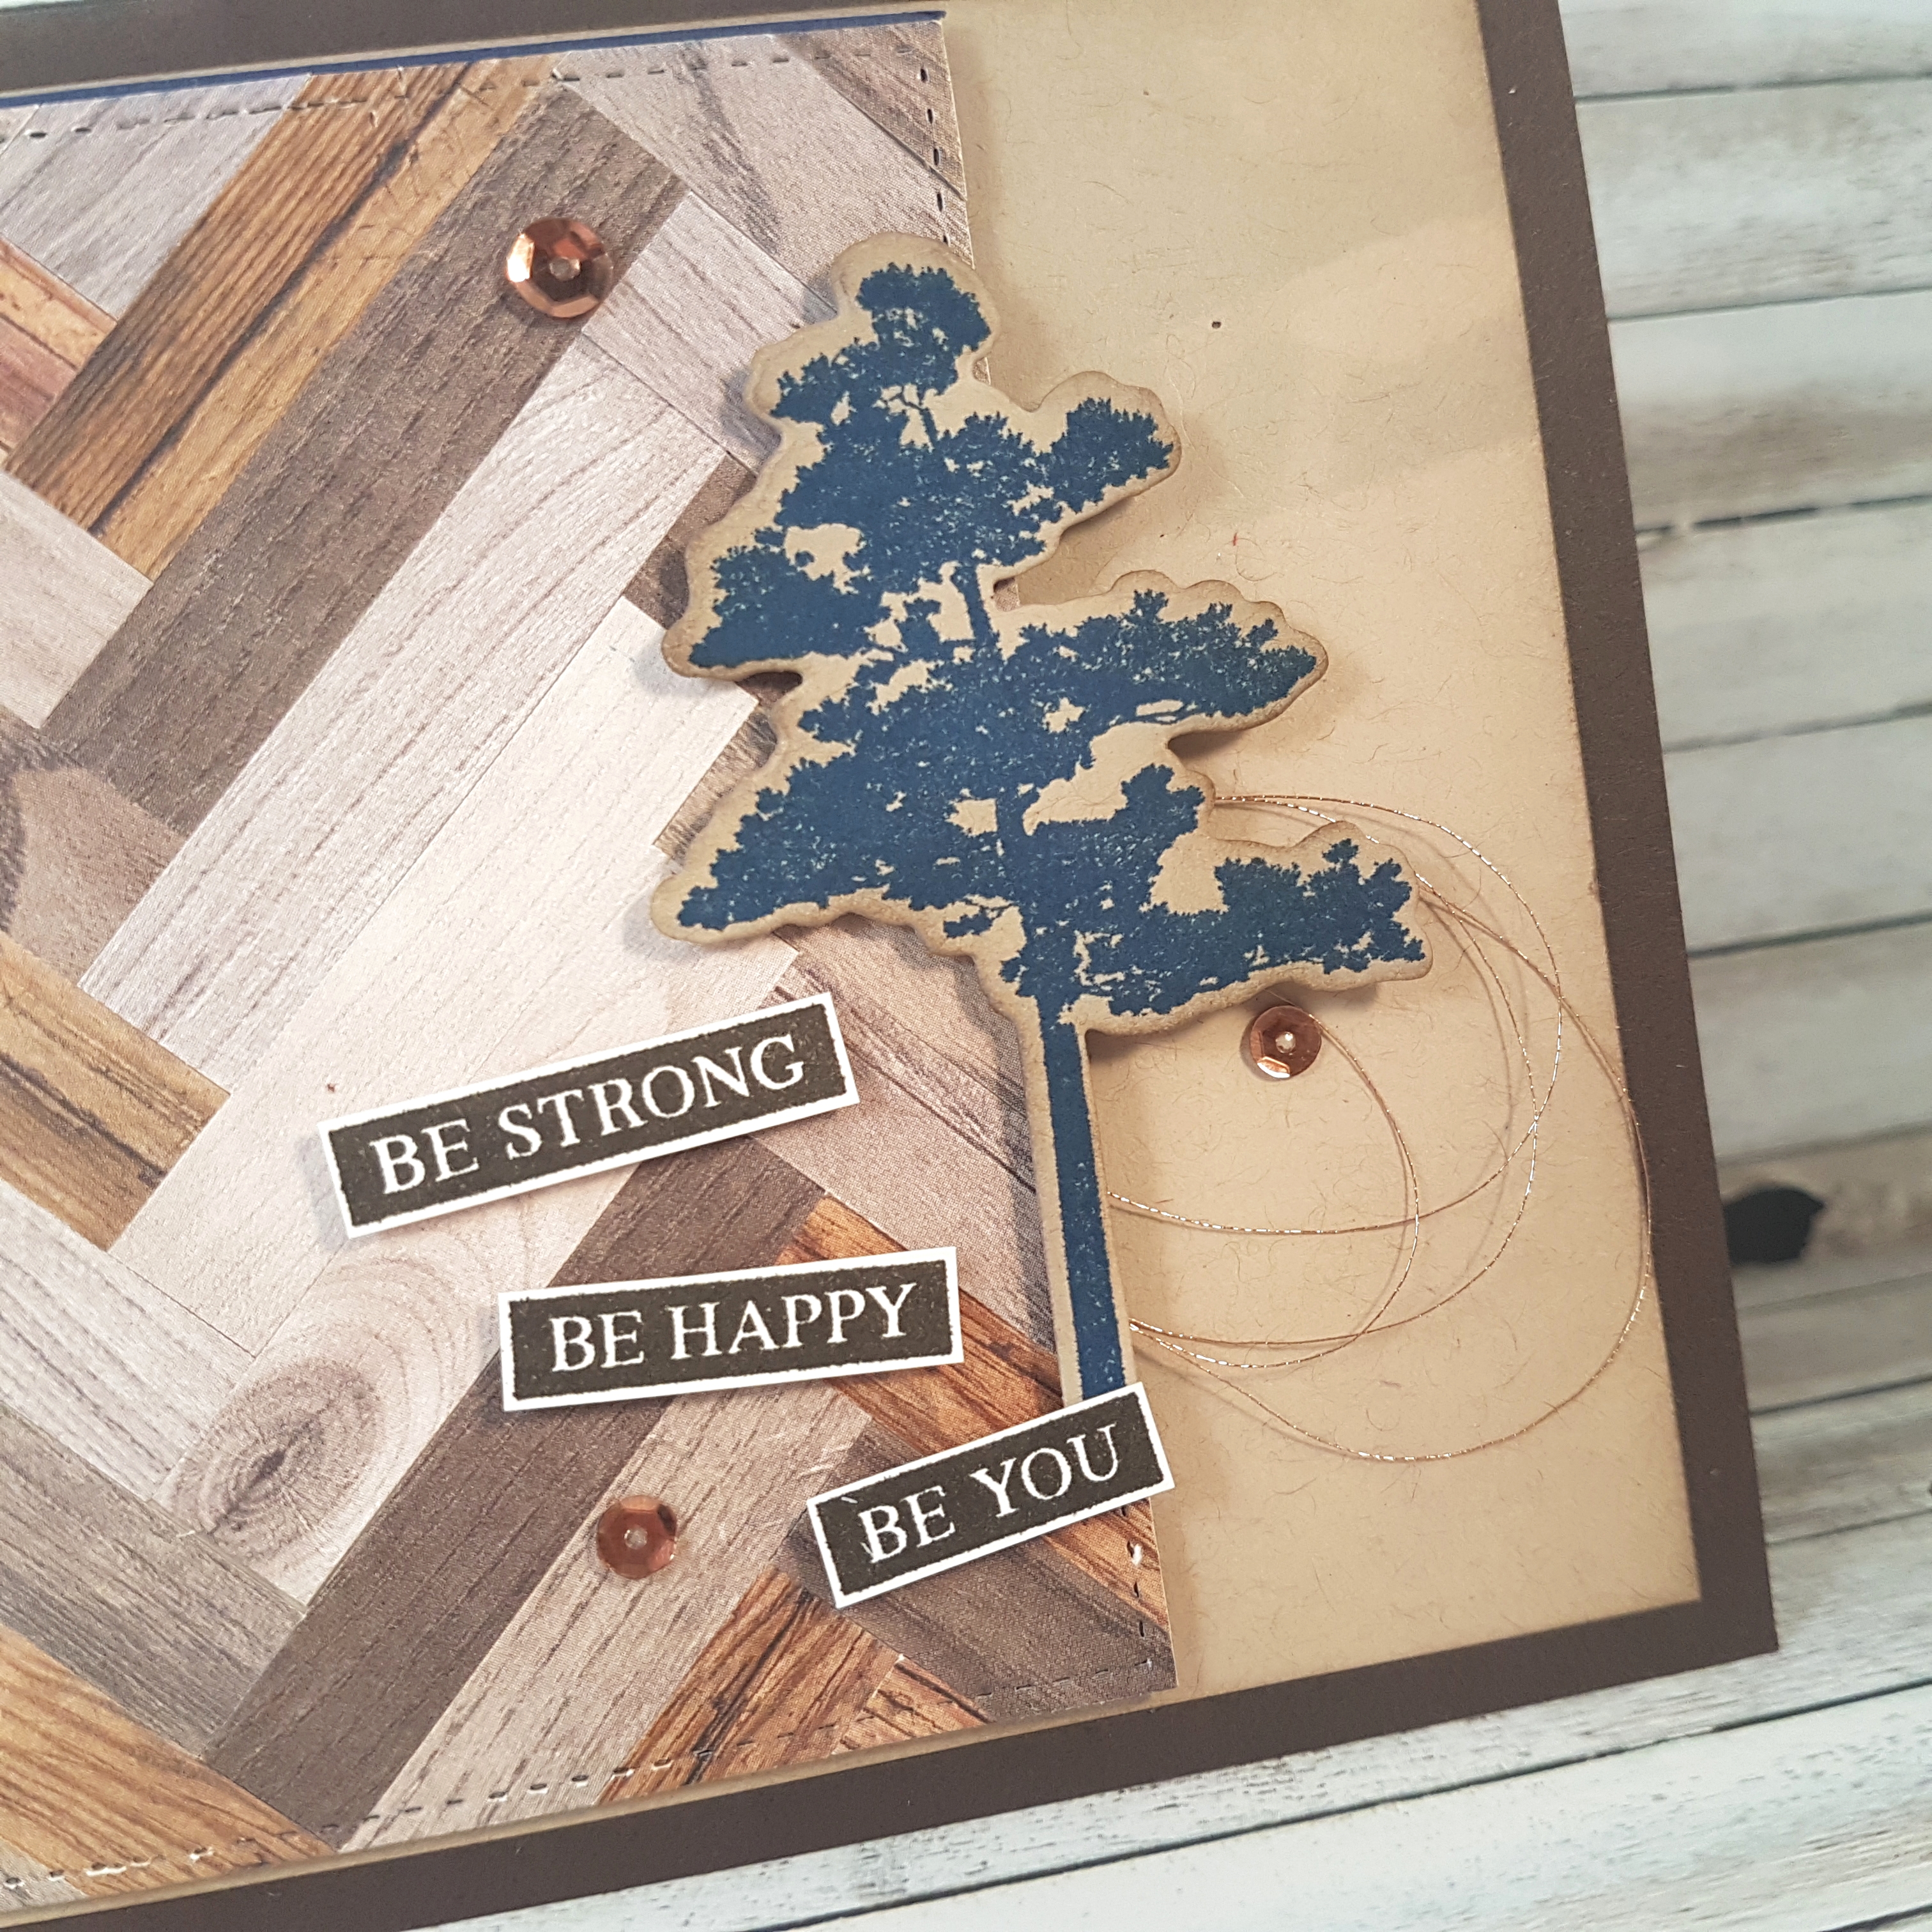
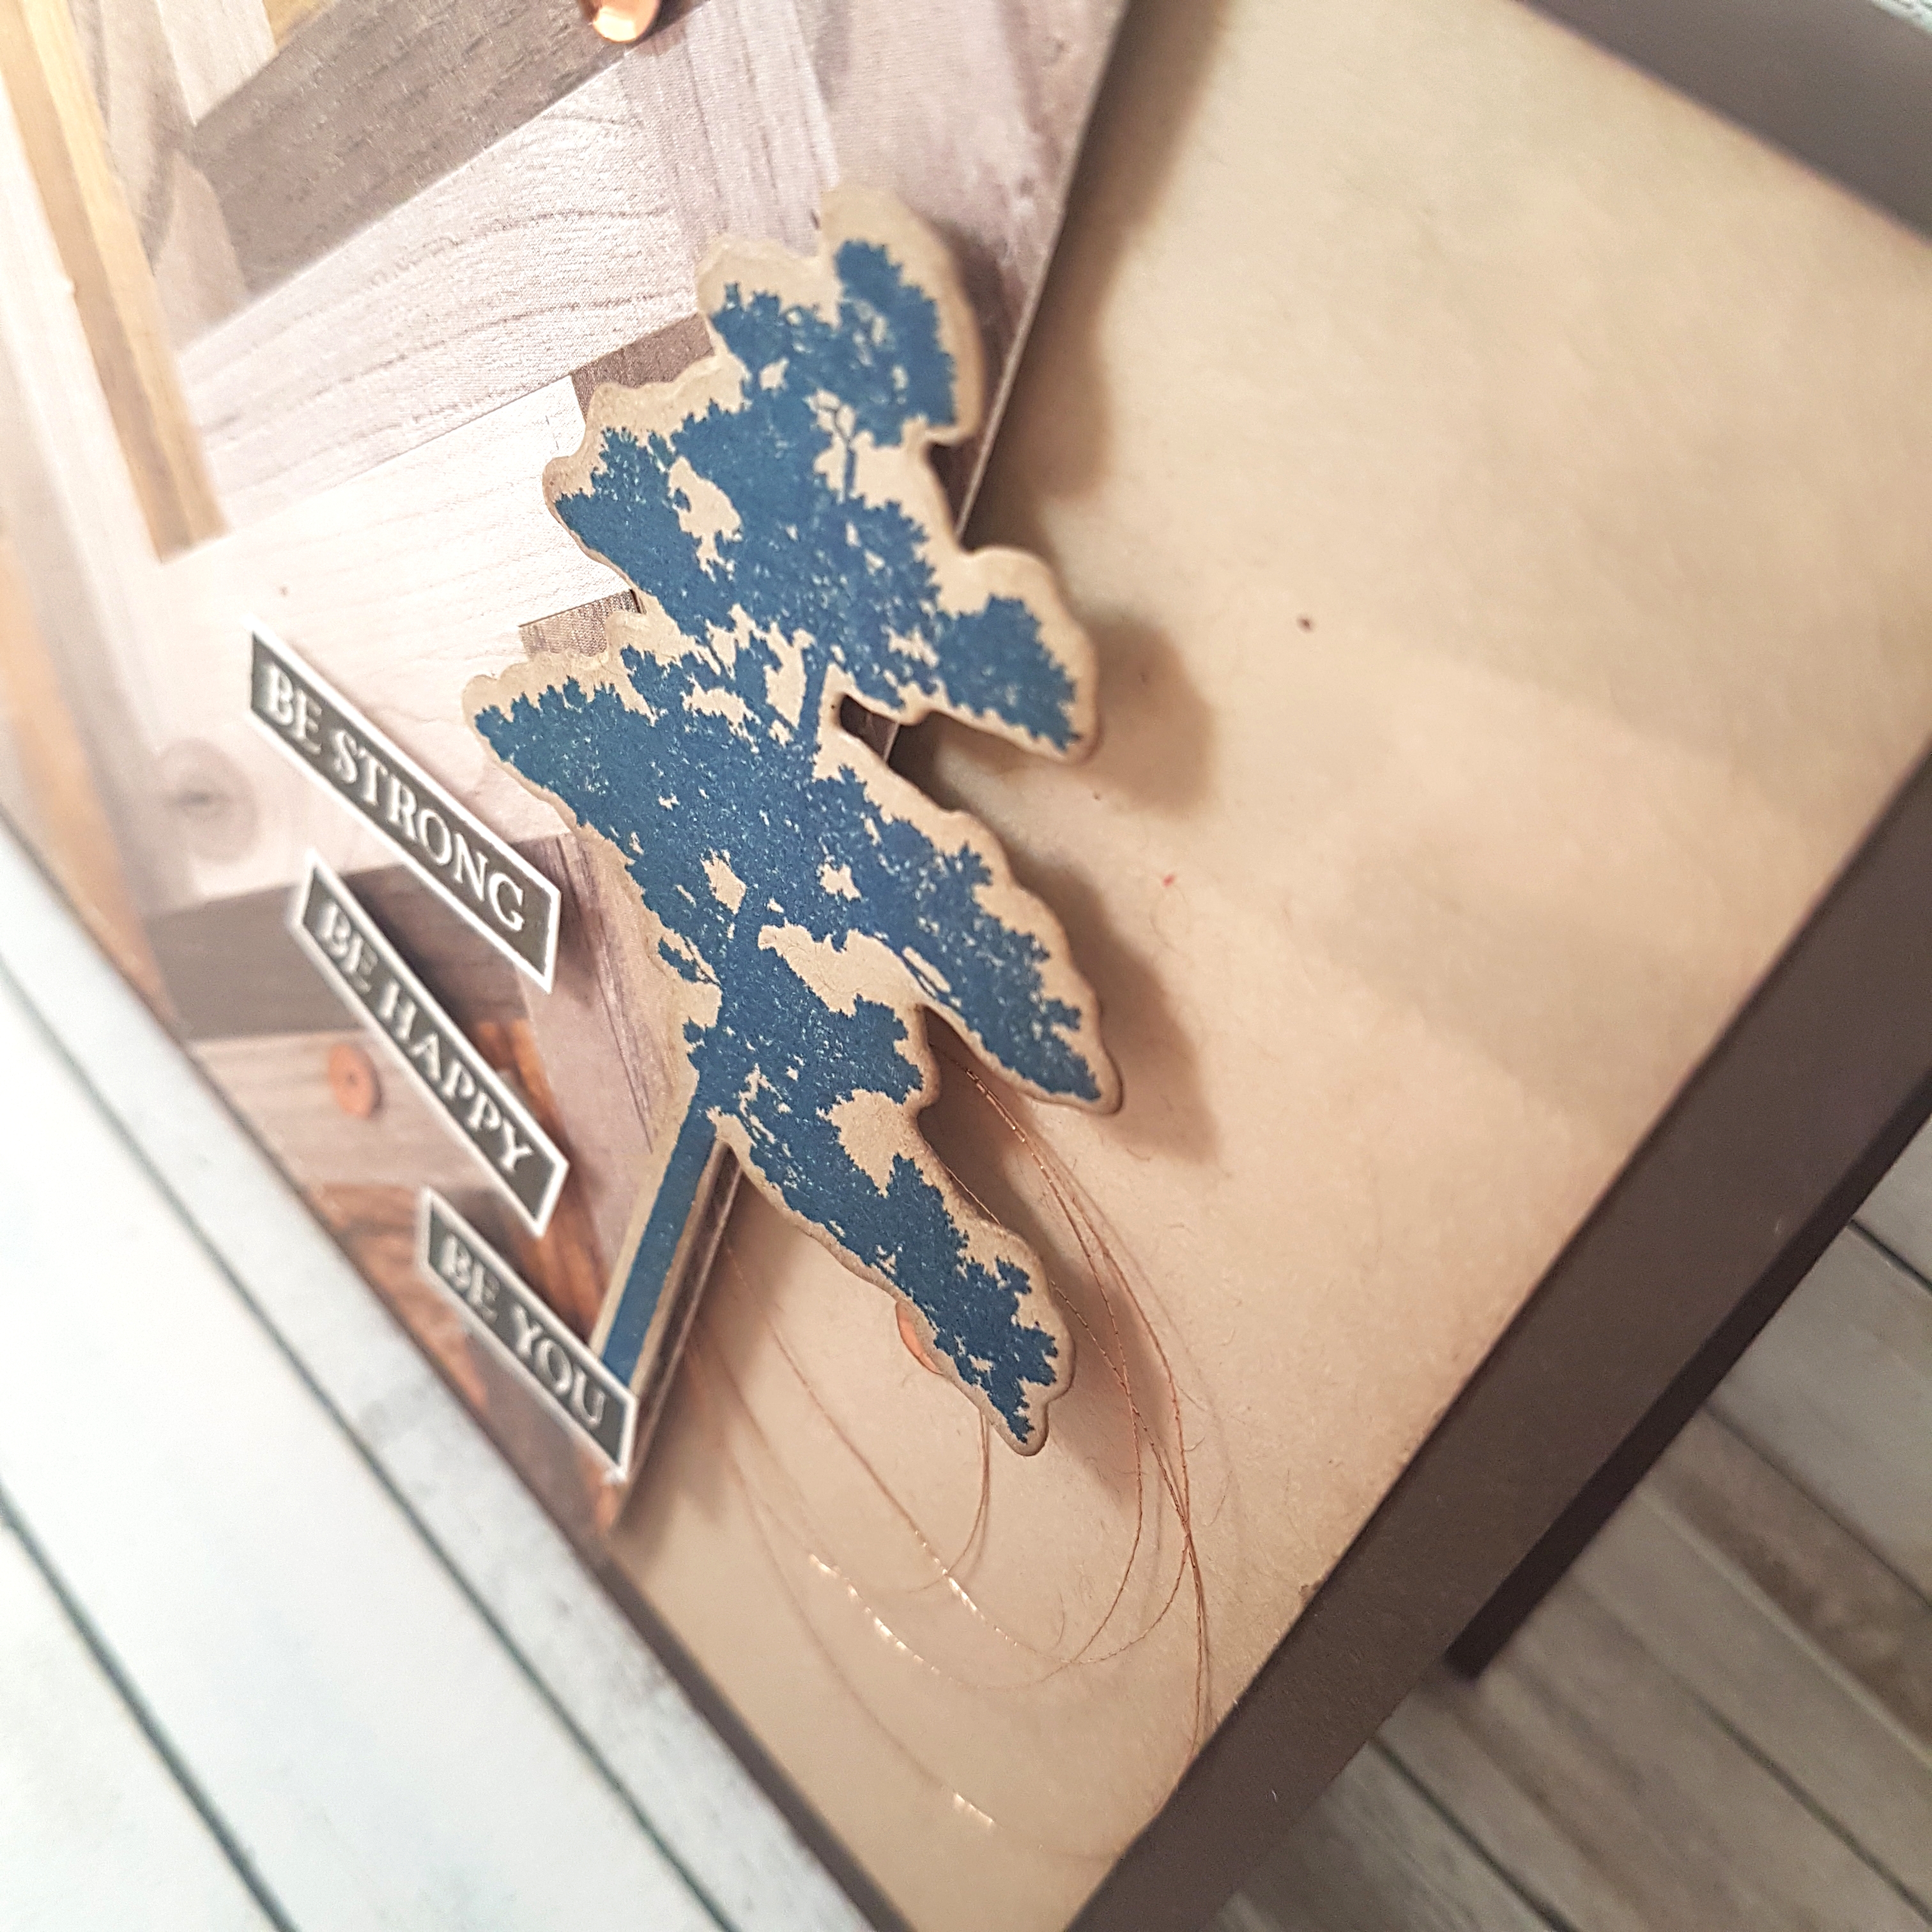
It’s not super noticeable in the photos, but there is a piece of Night of Navy cardstock matting the upper left corner of my parquet square, which is adhered to the Crumb Cake layer with Mini Stampin’ Dimensionals. The tree image from the new Rooted in Nature stamp set, is stamped on Crumb Cake cardstock with Blueberry Bushel ink (new ink! new ink!), then die cut with the coordinating framelit. To make it pop a bit more on the card, I sponged the edges of the tree with more Crumb Cake ink.
The sentiment is also from the Rooted in Nature Stamp Set. I stamped it on Whisper White Cardstock with Early Espresso ink, then cut it out by hand to use the pieces individually. I adhered the tree and the sentiment with Mini Dimensionals, cut in half so they would fit.
The Copper Metallic Thread was looped and stuck on one of those Dimensionals before that tree was planted on my card.The final step was to add a few copper sequin from the Metallics Sequin Assortment to the card front using Mini Glue Dots.
And there you have it! It has a tree. It has a square. It has woodgrain. It has blue. AND it is masculine! It has it all, Folks!
I think I like it!
What will you do with this assortment challenge? Give it a try and share it on the As You See it Challenge blog!