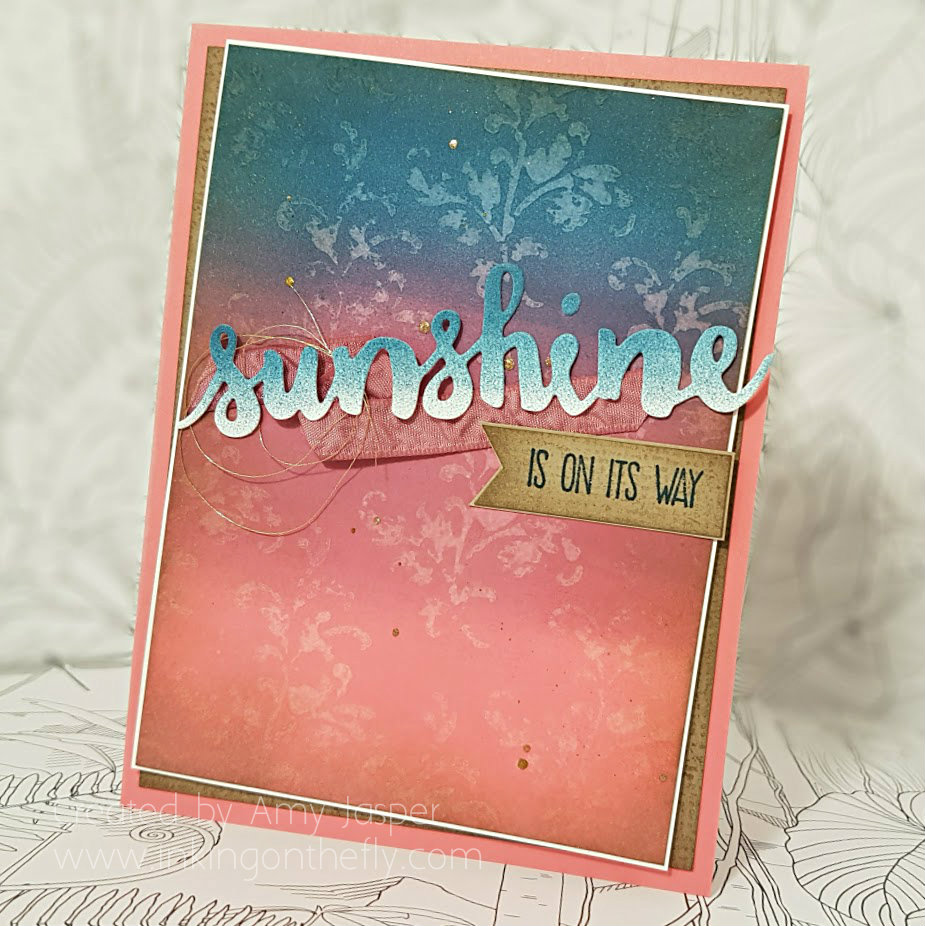
Sunshine is on Its Way
It’s still winter. Yup, sure is. There are road closures and travel advisories and delayed UPS packages. There is snow where there normally isn’t snow, like the west coast of BC, where they’ve closed schools because the city isn’t equipped to handle so much snow and the average person doesn’t have proper tired to drive in those kind of conditions.
So. Much. Snow.
I like snow. I like how it covers everything with a quiet, peaceful, clean, white, cotton-batting of fluff. It’s beautiful and it’s cozy somehow.
But, I have about had enough. It’s only the beginning of February and I have been longing for spring for about a month already. Mostly, for the warmer air and the sunshine. But I’d settle for just the sun at this point.
The card I have to share with you today is a reflection of my desire for better days ahead. They will come and it won’t be long before I’ll be cursing the heat and complaining that it’s too hot to move! That’s our weather here. We get all seasons, which I really love. and hate. and love. (mostly love).
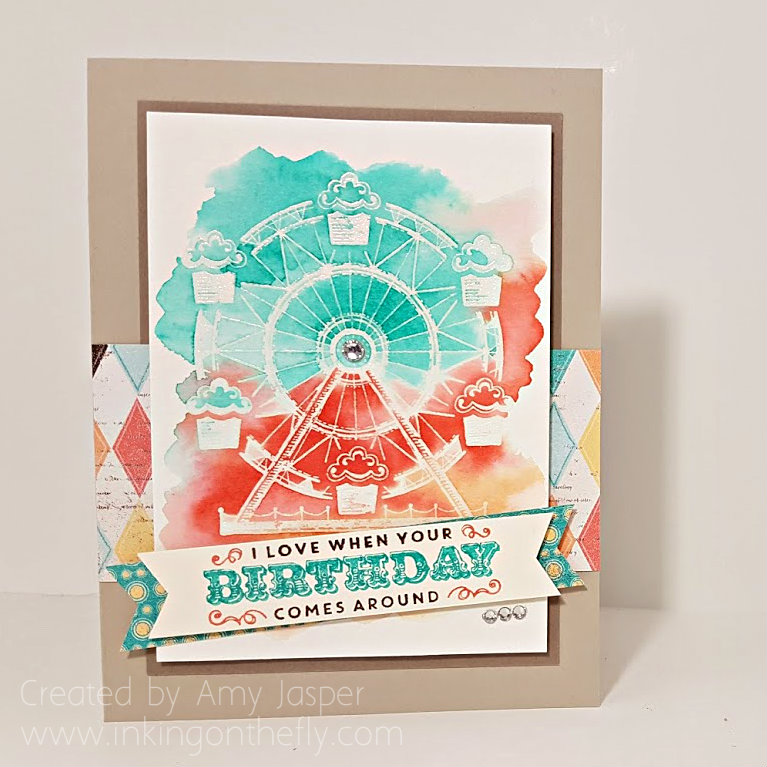
Here’s the colour challenge that inspired this week’s card. It is from the As You See It Challenge Blog for which I am a designer. The challenges stretch my creative mojo and keep me bloggin’.
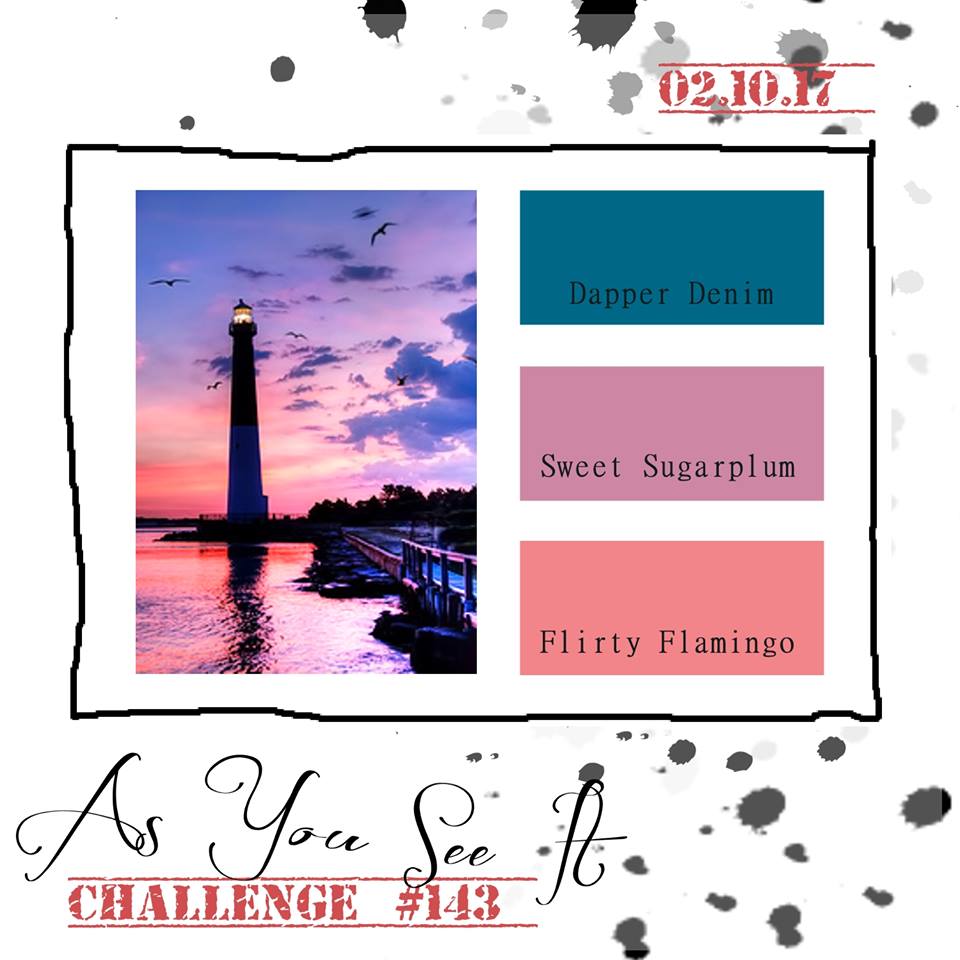 I not only took inspiration from the colours, but also from the sunset image. I used a Sponge Brayer to apply the colours to the Whisper White cardstock, Dapper Denim on top, Sweet Sugarplum in the middle, and Flirty Flamingo on the bottom.
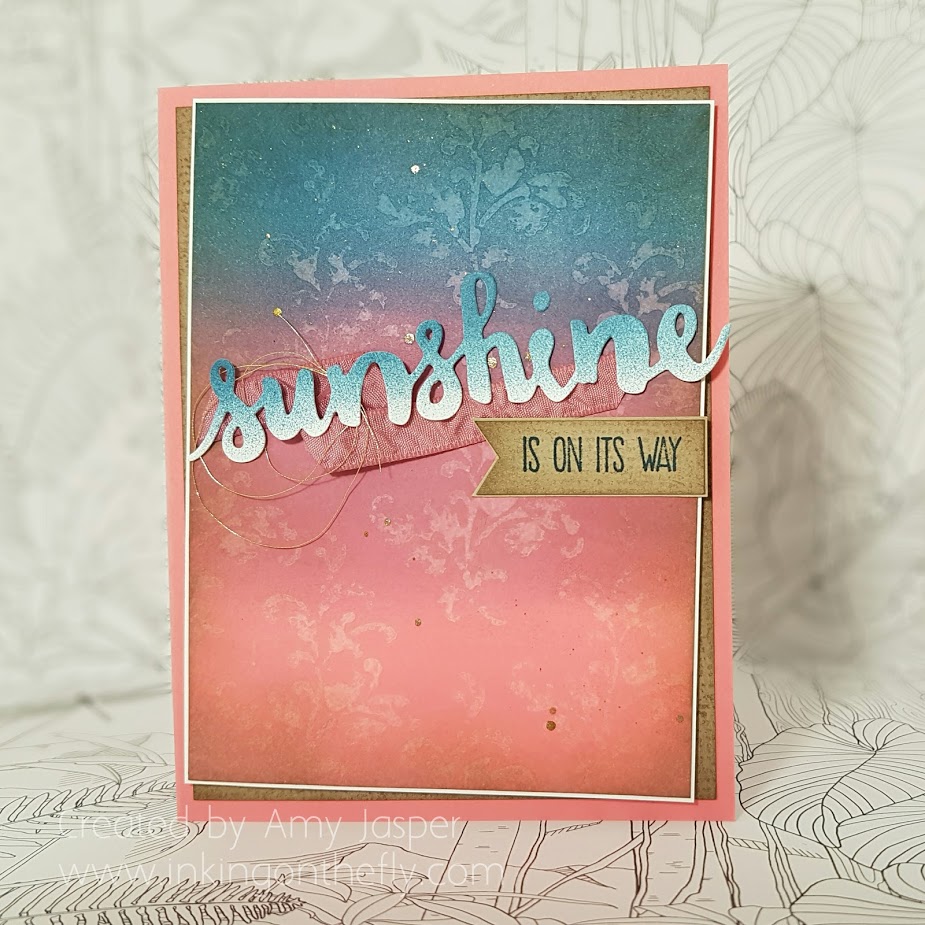 With the flourish from the Timeless Textures stamp set, I stamped a repeating pattern on the sponged cardstock using only water. If you haven’t tried this yet, it is very cool. Basically, the water picks up the ink that you laid down with the sponging and leaves a lighter tone image behind. I added a sponging of Crumb Cake ink with a regular Stampin’ Up sponge around the edges of the inked piece of Whisper White cardstock, then flicked my Gold Wink of Stella over the paper to add some pretty sparkly spatter.
The ombre word, sunshine, was created by first using the Sponge Brayer on Whisper White cardstock with Dapper Denim ink, then die cutting the word using the Sunshine Wishes Thinlits dies and my Big Shot. By sponging the cardstock first, I have more control of ink placement. The words “is on its way” is from the Sunshine Sayings stamp set. It was stamped with Dapper Denim ink on a strip of Crumb Cake cardstock. I hand cut the flagged end of the strip of cardstock, sponged around the edges with Crumb Cake ink, then used another image from the Timeless Textures Stamp Set to add the appearance of texture to the cardstock with Crumb Cake ink (I stamped it off first on a scrap piece of paper so it wouldn’t stamp too dark). I used the same texture stamp and more sponging around the edges of the Crumb Cake layer on the card base as well.
 A layer of clean Crumb Cake cardstock was added behind the sponged and stamped Crumb Cake banner, hand cut for a close fit. Behind the brayered denim to flamingo piece of Whisper White cardstock is a narrow layer of plain Whisper White cardstock and this layer is toggled on the card front. There is a 3 loop nest of Gold Metallic Thread and a swag of the Ruched Sweet Sugarplum ribbon tucked in behind the sunshine die cut.
I quite enjoyed making this card. My creativity was satisfied with the finished result. All thanks to a colour challenge and the weather!