pop-up

How to Make a Pop-Up with Paper Pumpkin

Somehow I managed to do it!

I made an alternative project for this stellar Paper Pumpkin kit after already loving the design of the original cards.

If you saw my earlier post about the kit, you would know how much I love it! I didn’t think it would be possible to make an alternative project that I loved as much.

My 17 year old son tells me that this pop-up card is definitely a step up. (This, from the amazing kid who got the highest possible mark on his Advanced Placement Physics exam! So proud of him!)

I’m very happy with this design, but I have to admit that you just can’t beat the simplicity of the original tri-fold cards in the kit. For how simple they are, they look fantastic!

My design is certainly not as simple.

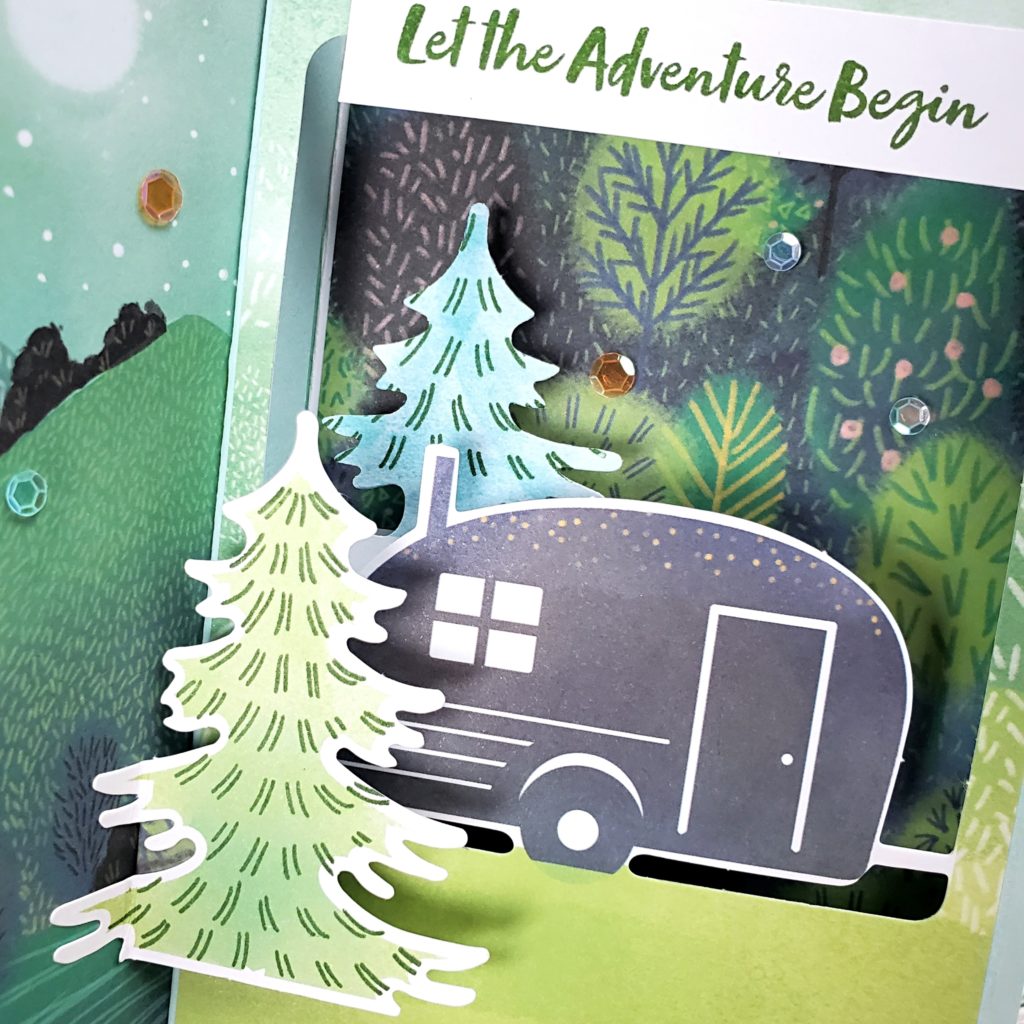
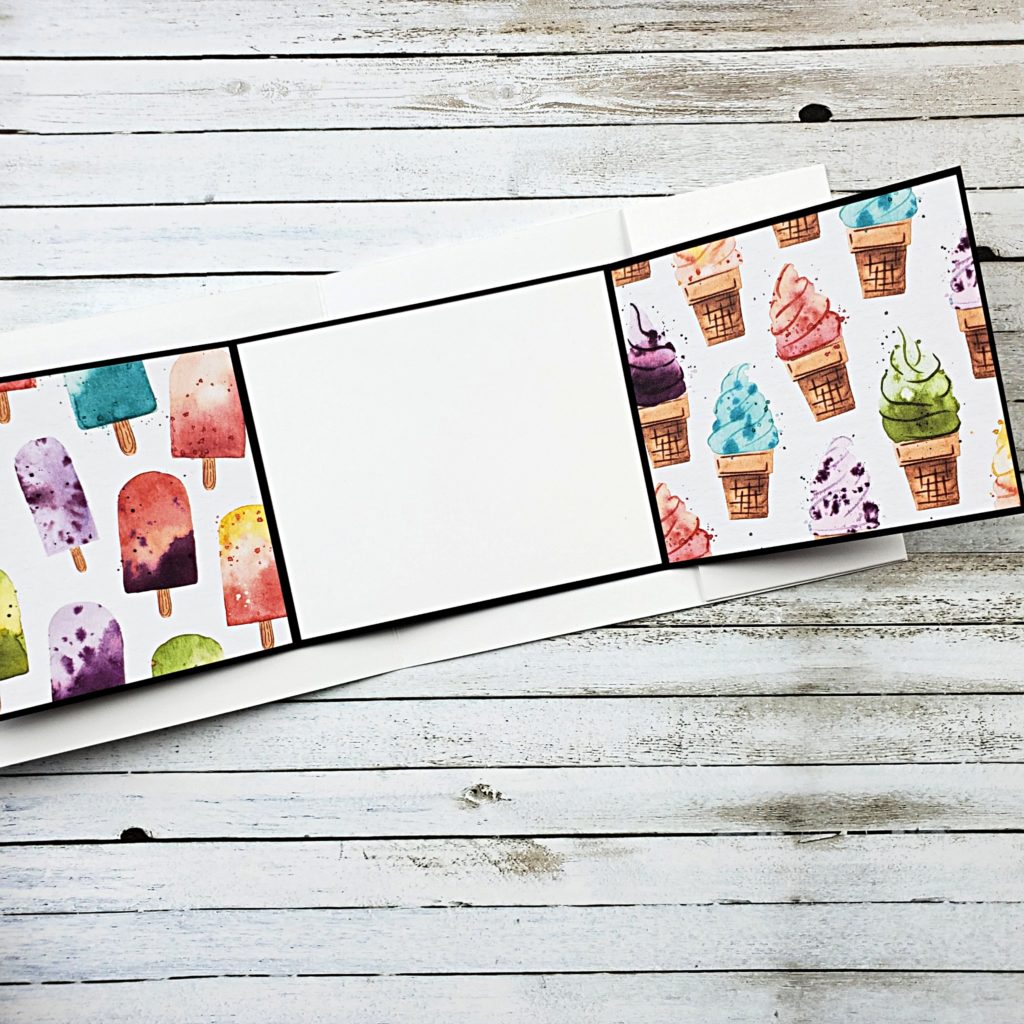
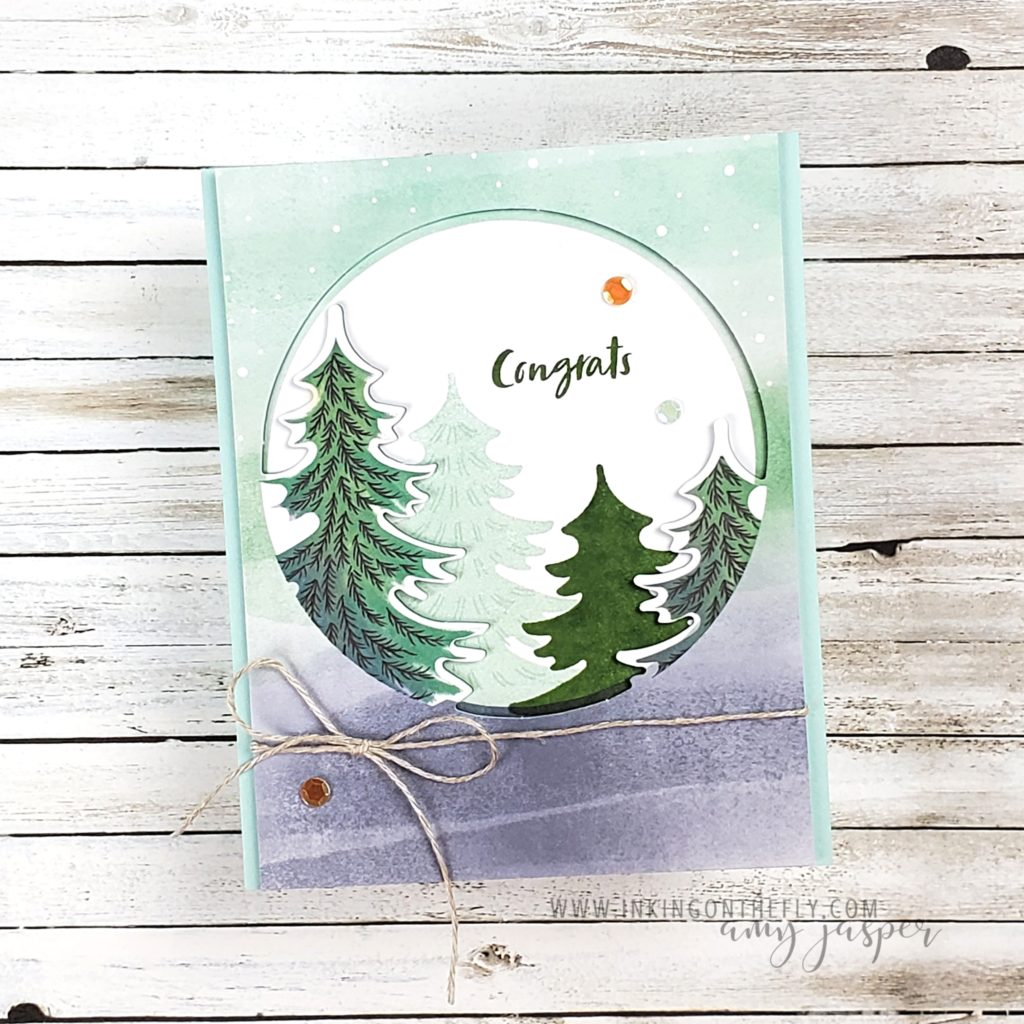
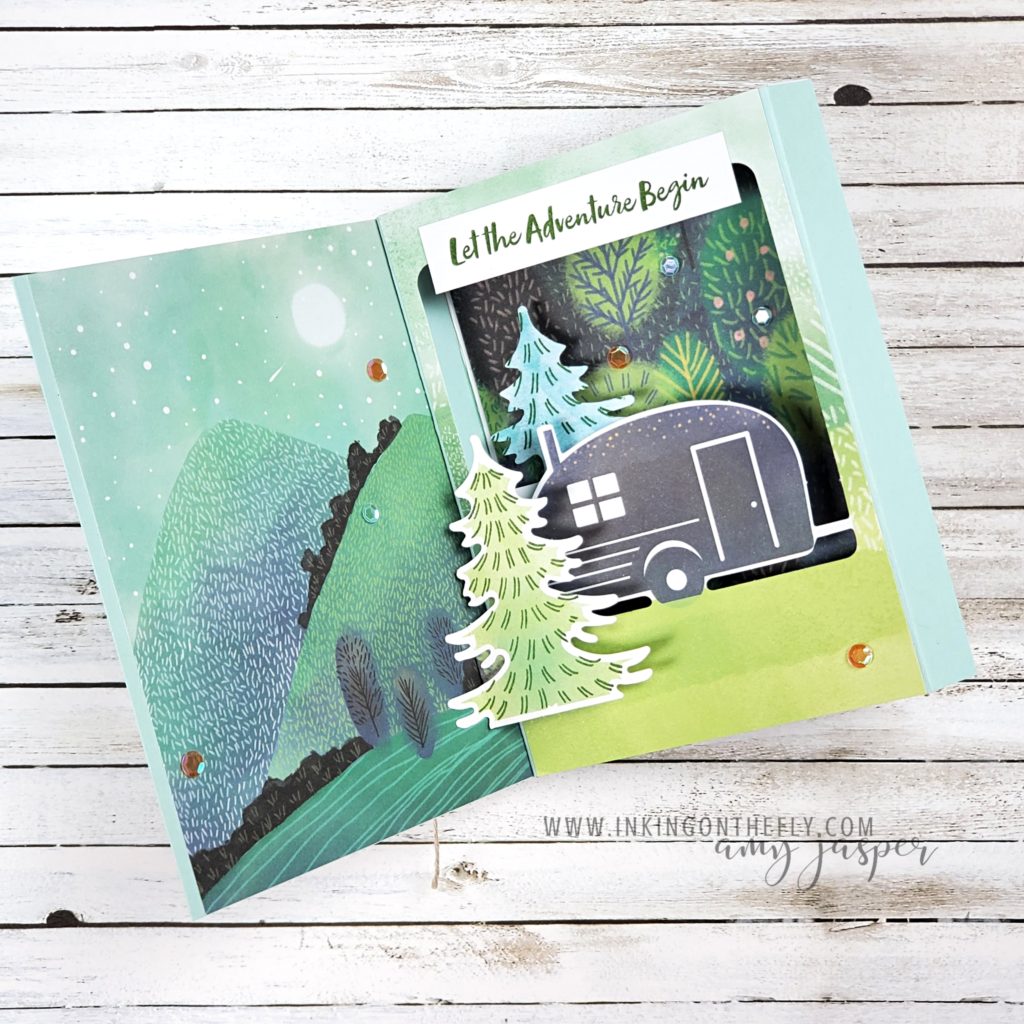
Two of the designs in the July Paper Pumpkin kit were used to create this diorama card. When you open the card, you can see that the inside is the best part with the printed scene on the left and the pop-up scene on the right. This shows off the printed parts of the cards.

How-to Video

Usually, I share my Paper Pumpkin projects in a live stream on Facebook. However, this week I’m taking a vacation, so I pre-recorded the video and scheduled it to post. (tech skills, don’t fail me now!)

Watch the video below to see how to make this fancy pop-up diorama card using the July 2021 Paper Pumpkin Kit – The Adventure Begins.

Start your Paper Pumpkin subscription today. You can choose to make the cards just as they are intended or you can stretch your creativity and make some alternatives. Either way, Paper Pumpkin is a fun escape!
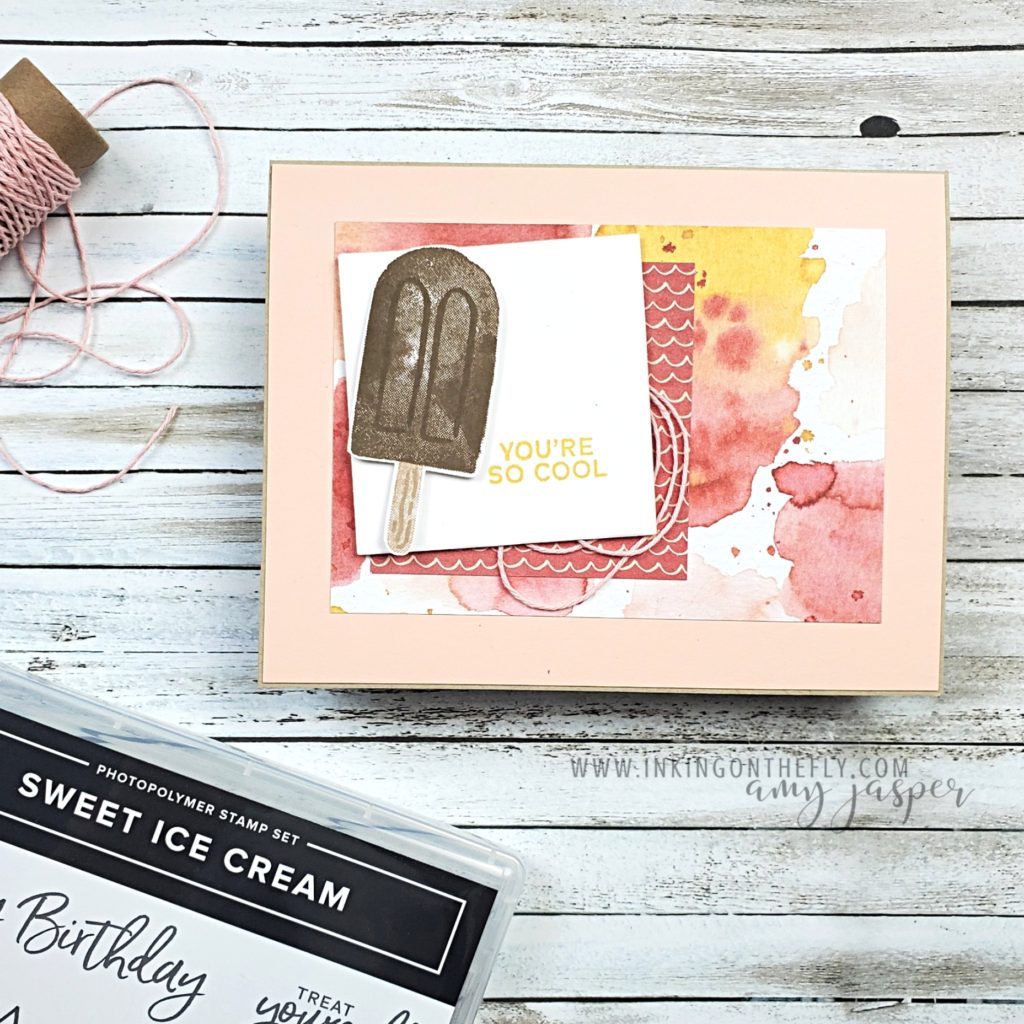
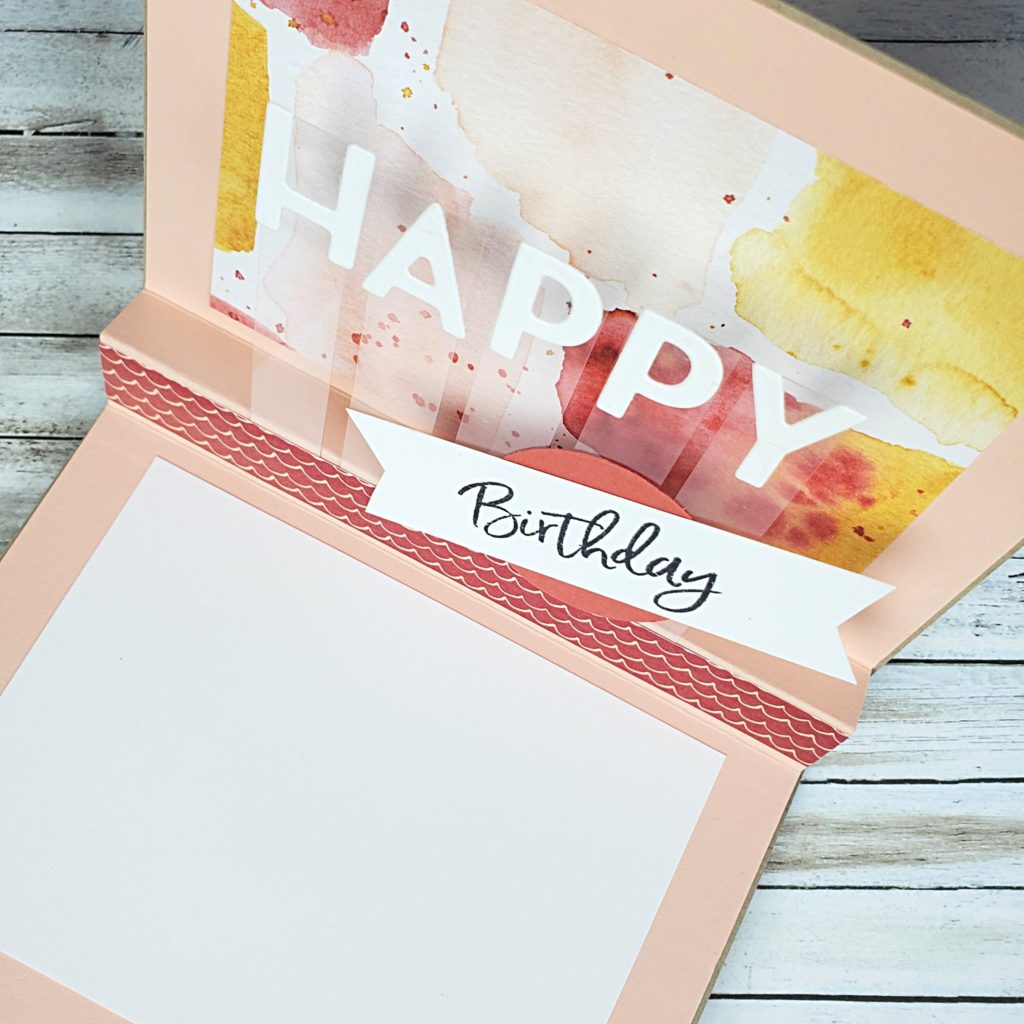
My How-to Video Makes this Fun Pop-up-flap Card Easy

I love pop-up cards and this design is one of my absolute favourites! I first discovered this style of pop-up by watching a video tutorial shared by Mitosu Crafts. You should definitely check out their great ideas on YouTube.

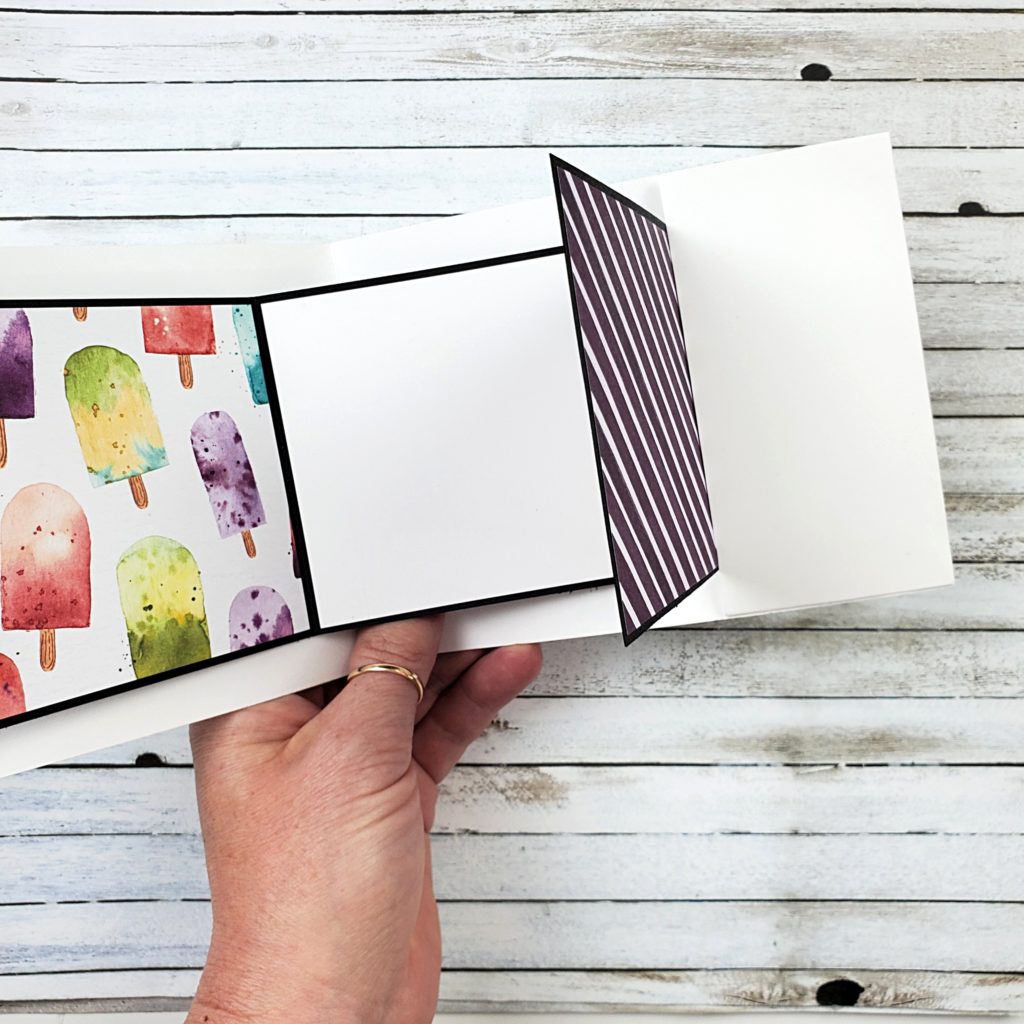
I didn’t follow their directions exactly. Instead, I made a few adaptations to the pop-up mechanism to make it a little less bulky and, hopefully, a little bit simpler.

The ice cream patterned paper pack is no longer available from Stampin’ Up! I don’t think that will be a problem for you because I know you’re very clever crafters and will be able to make a beautiful card with different paper. In fact, I’d like to make another card like this one and use some of the bright and cheerful paper from the Pattern Party Paper Pack. It has 48 sheets of 12″ x 12″ paper that you can only get with Host Rewards from hosting a workshop or placing an order for yourself that’s over $200 CAD.

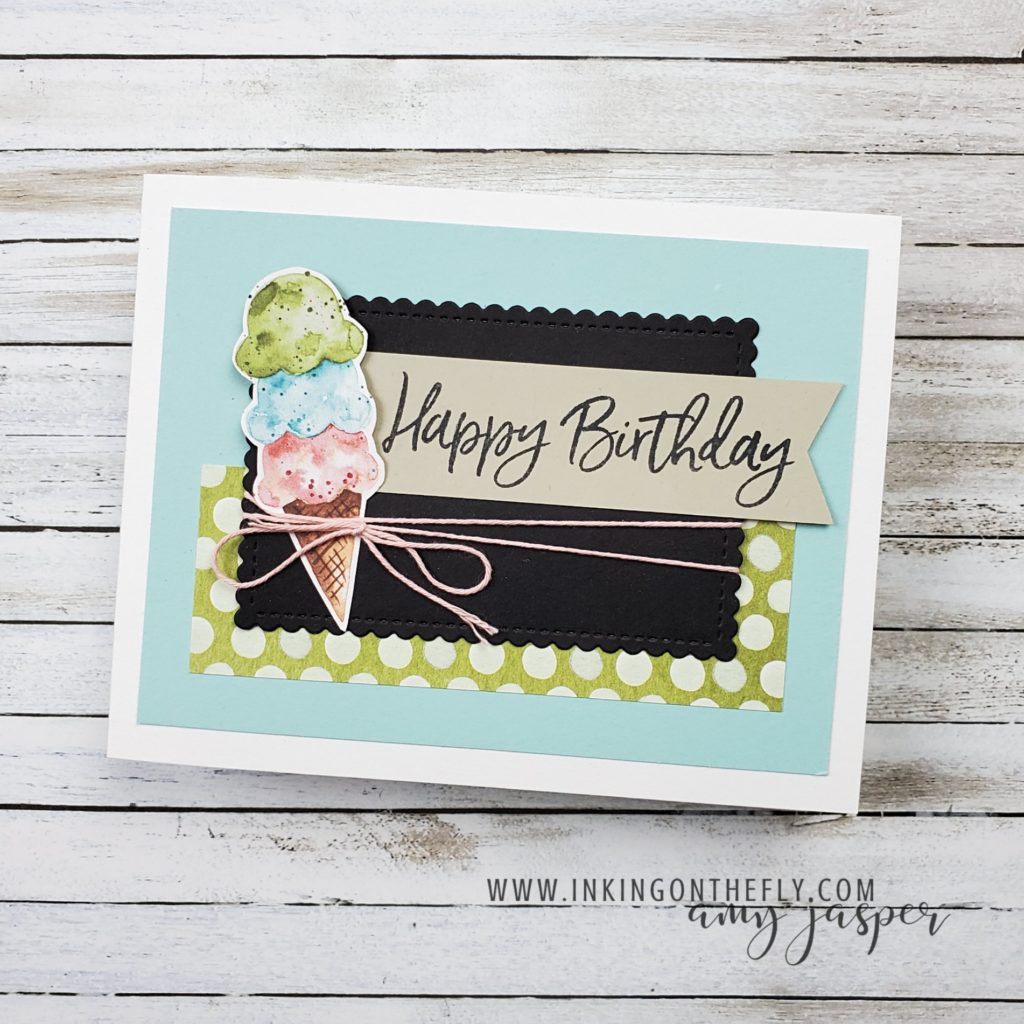
The ice cream cones on the front of this design are also from the retired Ice Cream Corner paper, but can easily be replaced using the Ice Cream Cone Builder Punch and the Sweet Ice Cream stamp set from Stampin’ Up!.

Follow along with my video tutorial below and give this pop-up card a try. I think you’ll be pleasantly surprised to find that it’s easier to make than you think! You’ll fine the cutting measurements at the bottom of this post.

Measurements for the Card Front

4 ¼” x 11” Thick Basic White, score at 5 ½”
5” x 3 ¾” Pool Party
1 ½” x 4 ¼” Ice Cream Corner paper
Fussy-cut ice cream cone from Ice Cream Corner paper
3 ⅝” x 2 ⅜” Basic Black Stitched So Sweetly die-cut
3 ¾” x 1” Sahara Sand
21” Baker’s Twine

Measurements for the Inside

2 ⅛” x 5” Thick Basic White, score at ⅜”, 4 ⅝”
2” x 3” Thick Basic White, score at 1”, 2”, 2 ½”
11” x 3 ¼” Basic Black, score at 3 ½”, 7 ½”
3 ⅞” x 3 ⅛” Basic White
2” x 2 ½” Clear envelope (or plastic bag)
3 ⅜” x 3 ⅛” Ice Cream Corner DSP (x3)

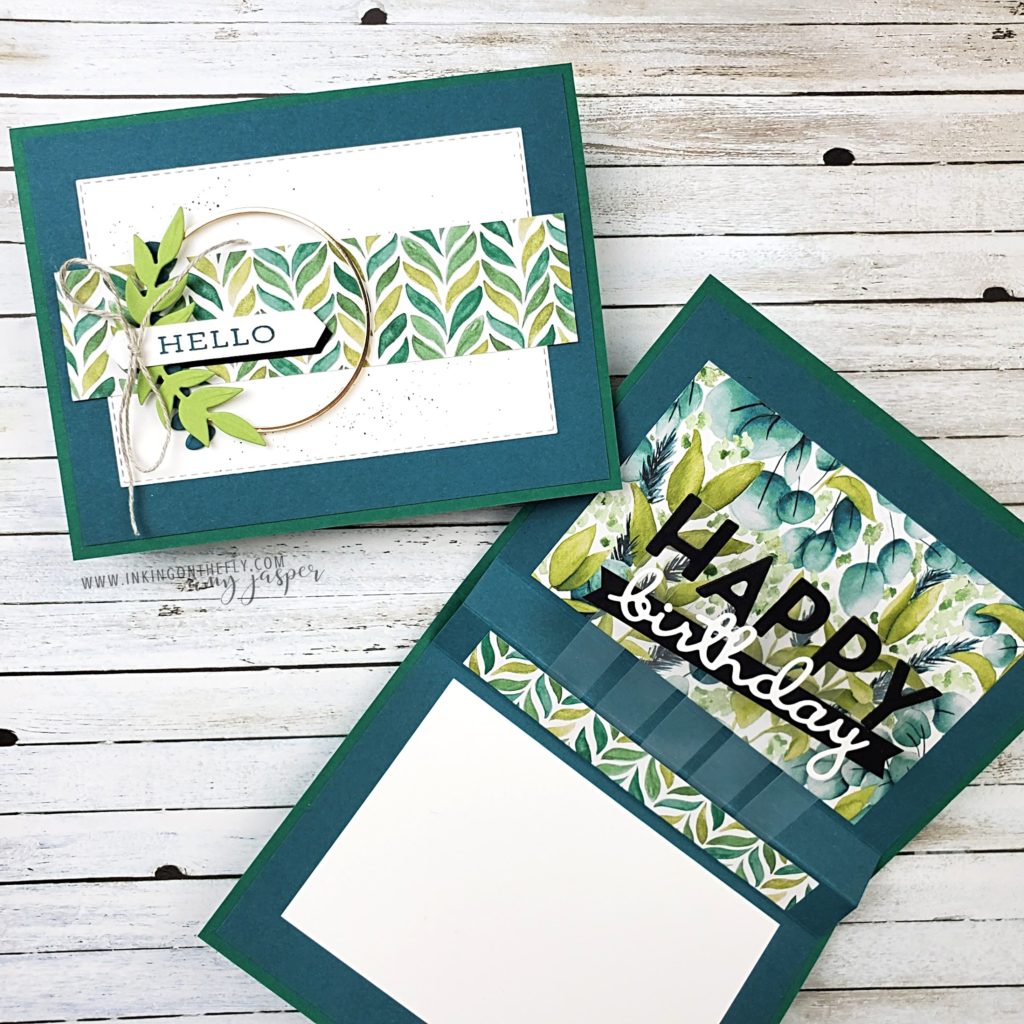
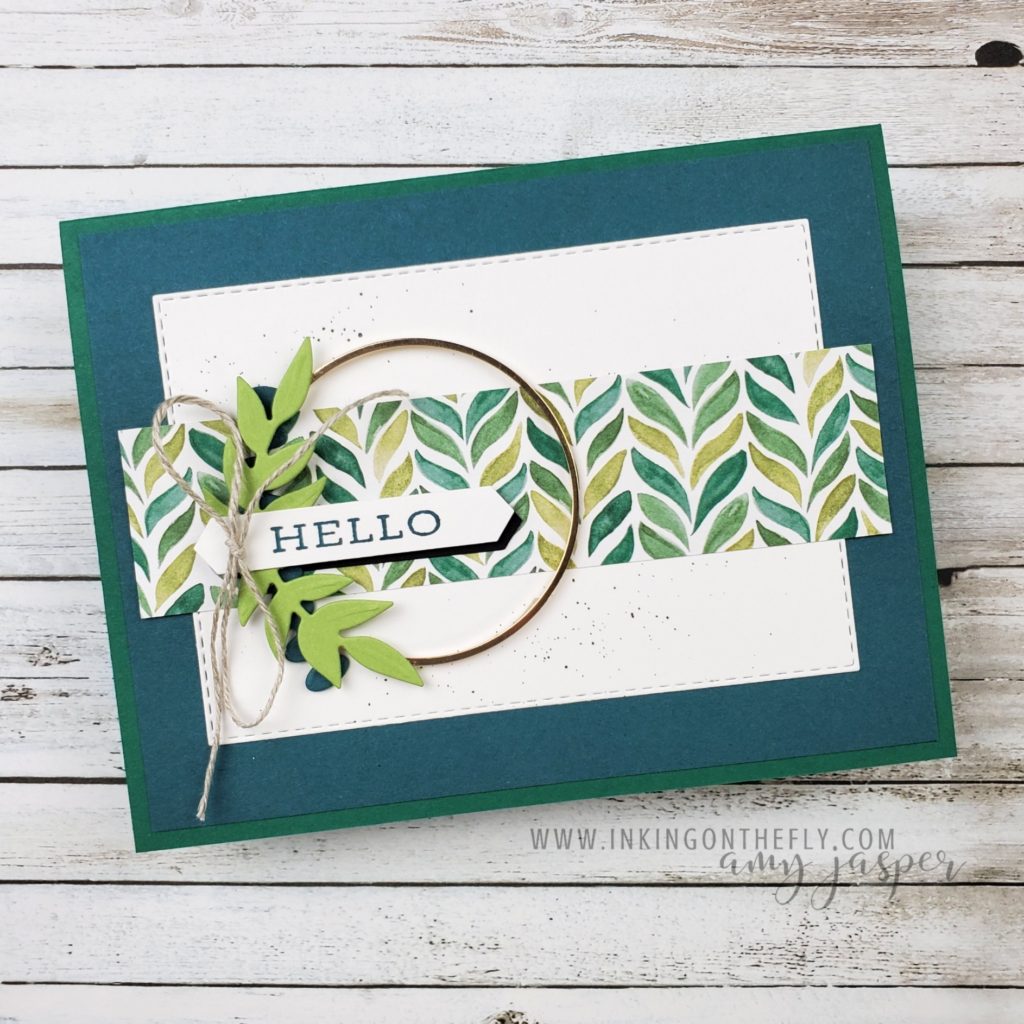
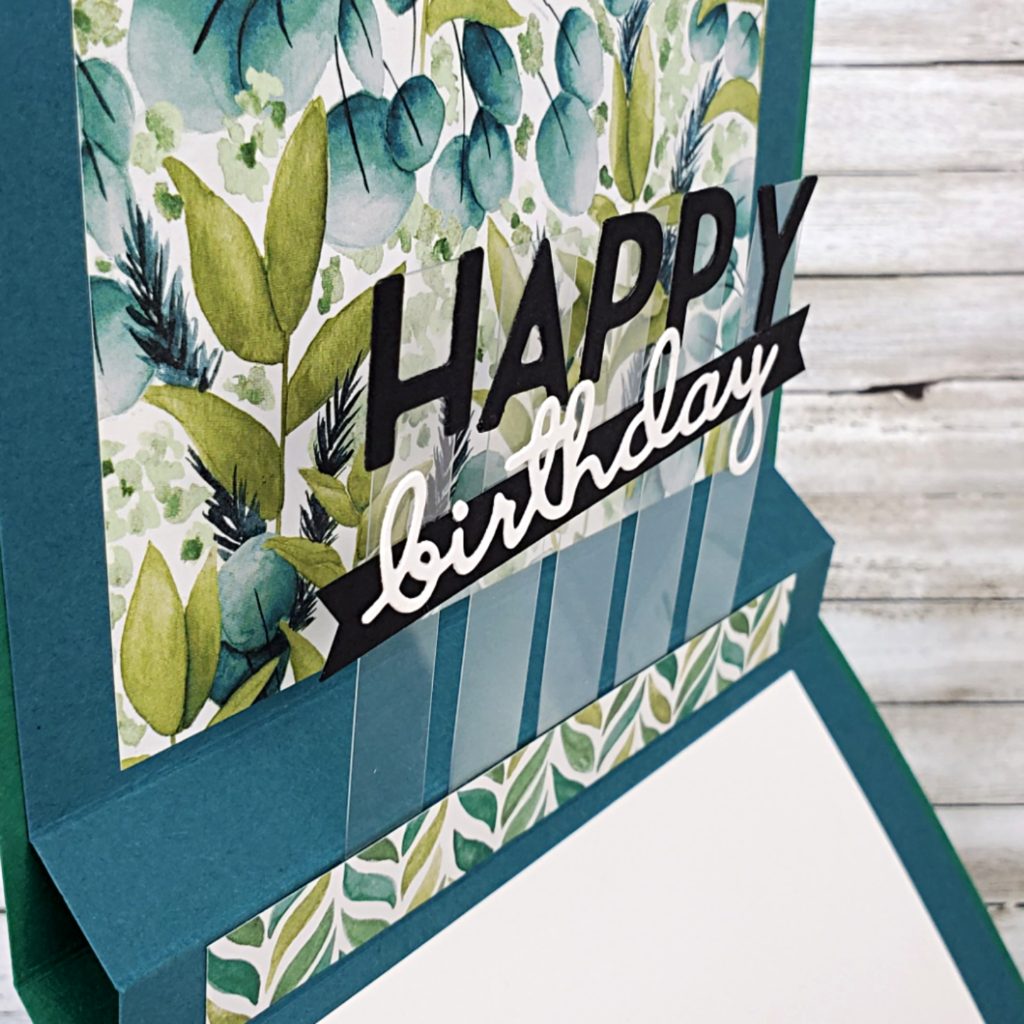
Pop-Up Forever Greenery Card

Hello and welcome back!

I have another card and tutorial video to share with you from my monthly technique class back in March. Some of the items on this card have retired since then, but I know you’re clever. You’ll be able to use the pop-up design with other products.

The Playful Alphabets Dies that you see on the inside of this card are a staple item in my craft room. They’re small enough to use on a card, but universal enough to use in scrapbooking and home decor projects as well. I’ve even used these dies to cut out iron-on vinyl to use on fabrics!

If you’re in Canada, you can join my technique classes on Zoom. As part of this class, you will receive all the pre-cut paper, the embellishments, and envelopes for two card designs. You will also receive an email with the link to join the Zoom class and the list of supplies you might need, such as stamps and ink.

During the virtual class, you follow along with me and we make the cards together. It’s very casually paced as I make sure each person has completed each step before I proceed to the next one. If anyone struggles with a step or make a mistake, we can work it through together right then and there! My attendees also receive a PDF with the instructions as well as private access to each of the video tutorials on YouTube. The videos remain private for two months so that those with special access can revisit them as needed.

Sometimes people who purchase the pre-cut supplies aren’t able to attend the Zoom class. They register for the class to get the pre-cut supplies, then wait until the tutorials are available and make the cards on their own at their convenience.

If you’re outside of Canada, I’m not able to send you any supplies, but for $10 CAD, you can receive VIP Access to the videos at the same time as those who attend the class. No waiting two months for the videos to post! You can access the video tutorials and receive the PDF written instructions while the products are still available to purchase through Stampin’ Up! Sadly, those of you who aren’t in Canada can’t order from my online store, but if you need help finding a demonstrator near you, I’m happy to recommend someone if I can.

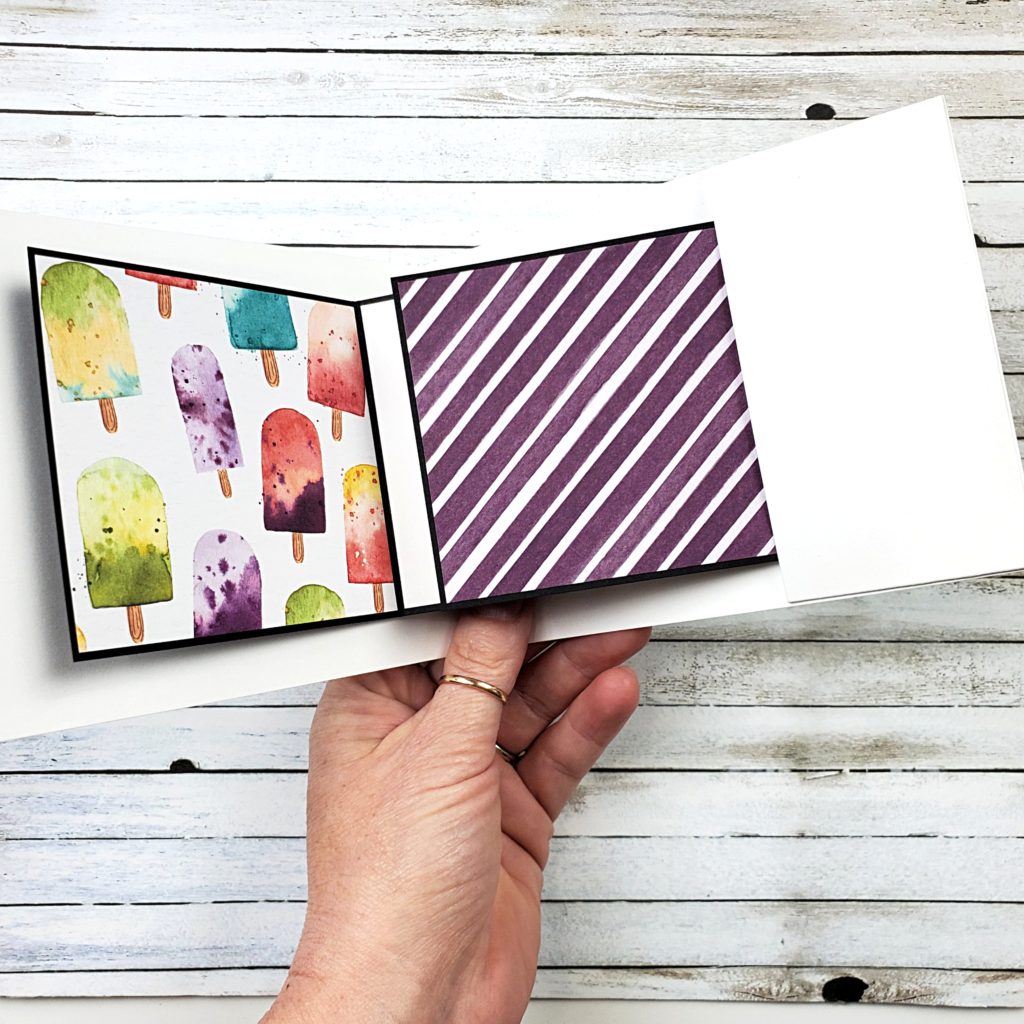
I originally shared this pop-up card design at a Stamp Camp event back in January using the Ice Cream Corner Designer Series Paper. This paper is still available in the January – June Stampin’ Up! Mini Catalogue.

The front of this card is a different layout, but the inside is very similar to the Forever Greenery version of this design. The only difference on the inside is that I used a stamp from the Sweet Ice Cream stamp set instead of a die-cut word.

To see how I made this pop-up design, follow along with the video tutorial. The measurements for the card on in the video description on YouTube if you need them! Go to my online store to see what beautiful options you have for patterned paper to use for cards like this!

Hey, why not take a moment to leave a comment and let me know that you stopped by. I love to hear from you!