Posts by Amy Jasper:

Little Bit Late

Welcome to 2021! This will be a year of hope and a promise of better days to come! I just know it!

It’s good to be back after a break over the Christmas holidays. I didn’t do much. It was glorious!

Question: Are you a person who’s often early for things? Or maybe you arrive right on time?

I can be early and I can be on time, but it doesn’t come easily for me. I have a very poor concept of time and often misjudge how long it will take me to get ready to go somewhere or how long it takes to actually get there. I’m late for a lot of things – including sending birthday cards.

The card I designed for the As You See It Challenge this week has a sentiment that is a great choice for acknowledging a late birthday wish. As You See It has some new graphics on the blog, too!
We have a speed challenge, folks! This is undoubtedly my favourite challenge because it helps train me to be more aware of my time and it gets my creative mojo flowing!
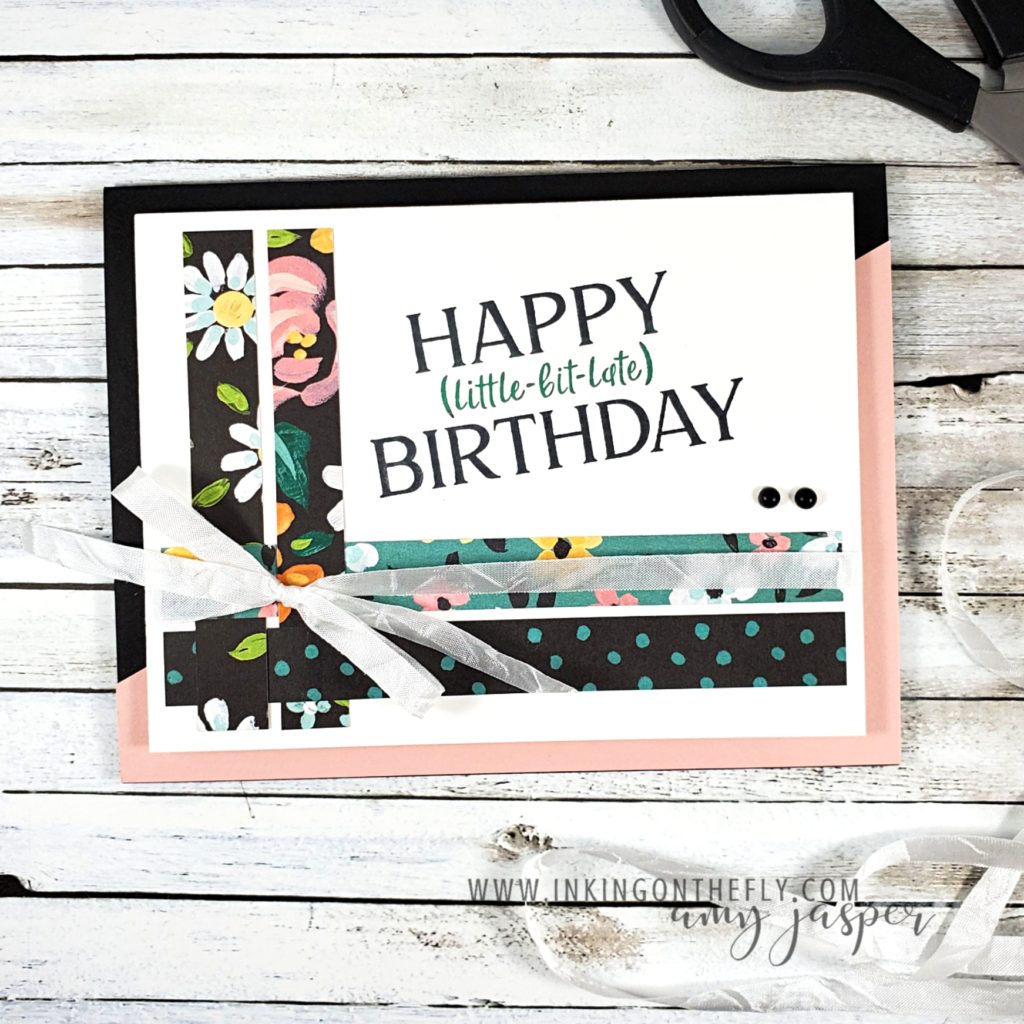
I used scraps from some cards I was preparing for an upcoming event. The patterned paper is one that you can get for FREE during the Sale-a-bration Promotion with Stampin’ Up! – Flower & Field Designer Series Paper. I thought using scraps would make my card come together faster, but I still used up extra time as I fussed to get my bow straight, so this card took 9 minutes and 28 seconds to complete. I cut it a bit close!
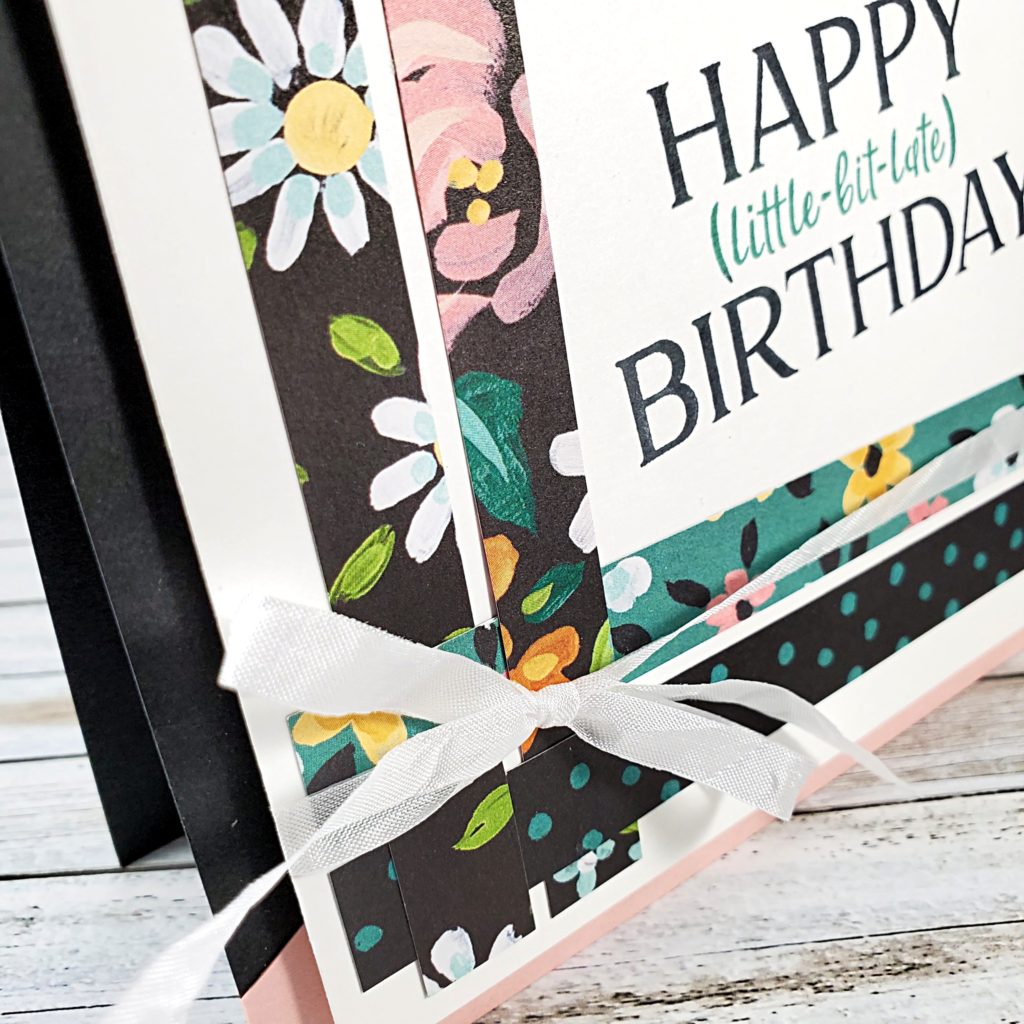
After placing the 1/2″ strips of patterned paper (see the subtle weaving I did in the corner?), I inked up the sentiment from the Happiest of Birthdays stamp set from Stampin’ Up! with Just Jade ink, then I carefully inked over the “happy” and the “birthday” with Tuxedo Black Momento ink, before stamping it on my Whisper White cardstock. The little Matte Black Dots that I placed on the card are a new item in the January – June Mini Catalogue, while the Crinkled Seam Binding Ribbon is an old favourite of mine. So lovely to work with and one that I often like to colour using the Stampin’ Blends Markers, though the white was just what I needed for this design.
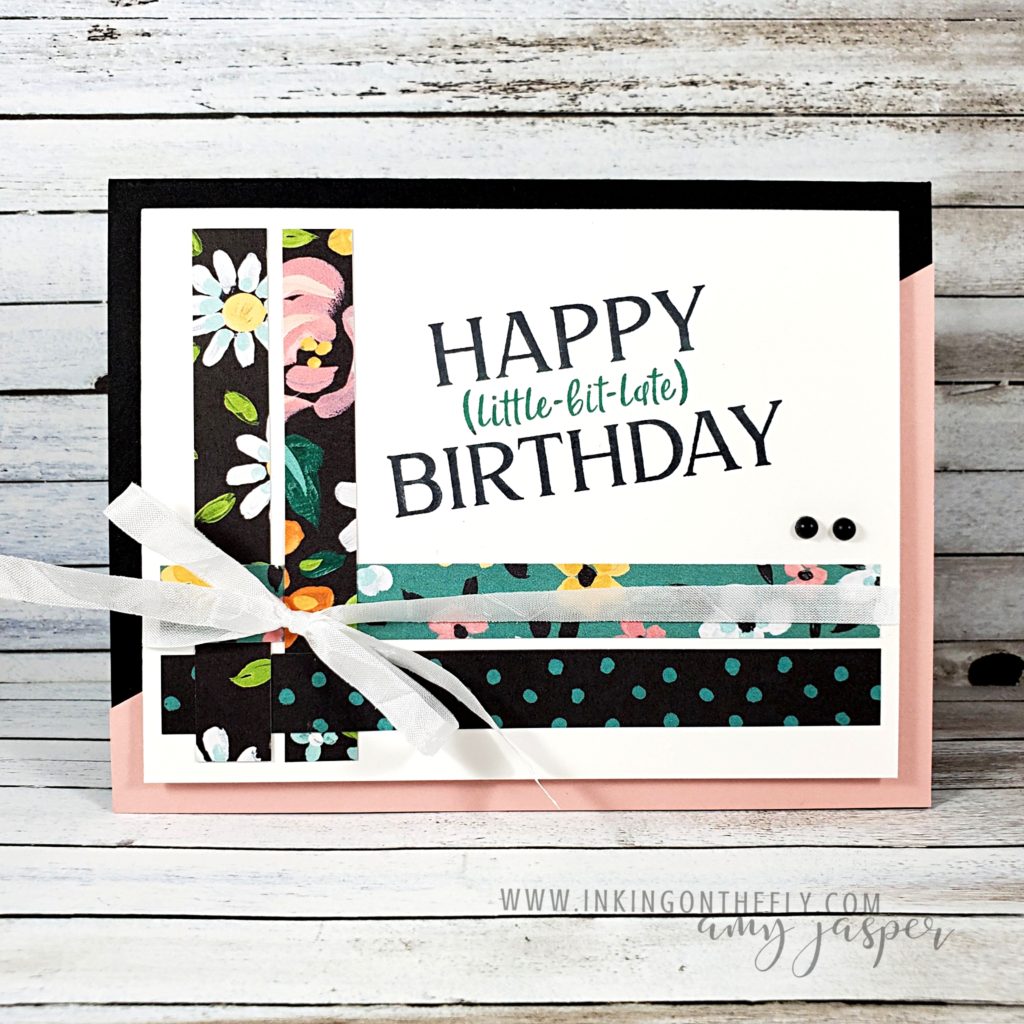
I really like the simplicity of the angled background on the card base. I used Basic Black for the base, then cut a 4 1/4″ x 5 1/2″ piece of Blushing Bride cardstock in half on an angle and attached it to the front of the black base, before adhering my white layer with Stampin’ Dimensionals.

I have a few birthday wishes that are running late … late enough that if I send this card out, maybe it should actually read HAPPY little-bit-early BIRTHDAY.

Oh man. I’m just going to have to put my shame aside and send it, one way or another!

Click the SHOP button on this page to browse the online store and see what new products are available. There are so many beautiful things just waiting for you to make them!

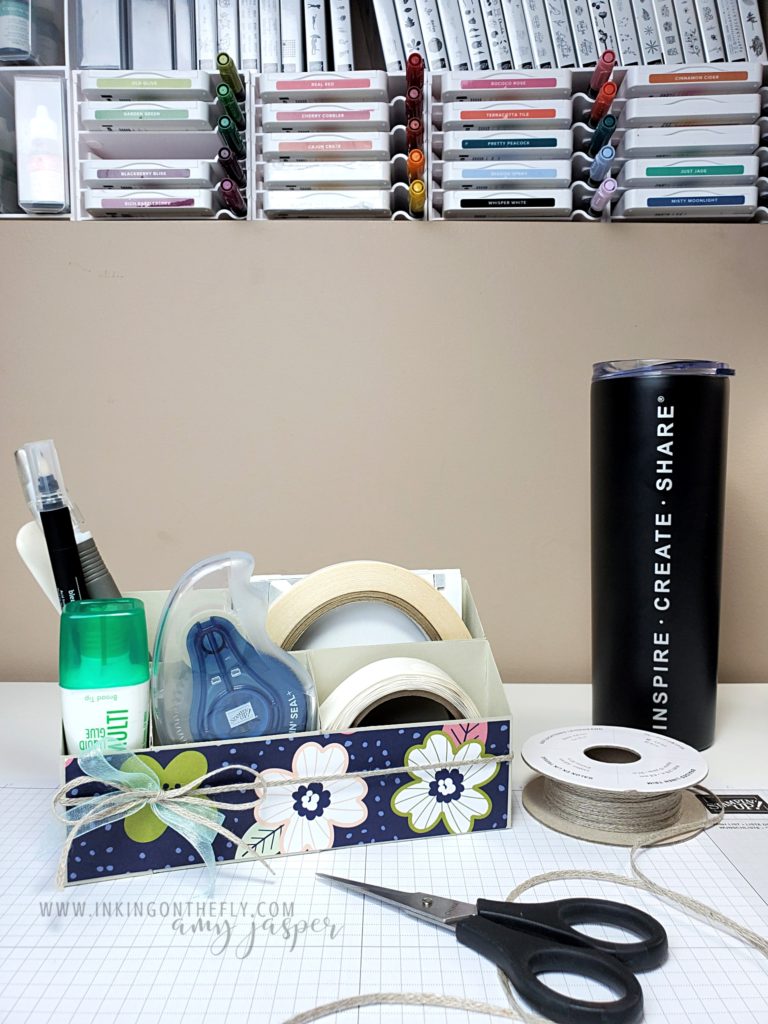
Desktop Adhesive Caddy

At the end of each year, I try to offer a special project for my customers.

Usually, I have a Christmas party in my home with goodies, prizes, and cheerful holiday music, while we craft together in our festive attire. It’s a wonderful time! The evening always ends with warmed hearts and a final Merry Christmas greeting to all, as each person bundles up against the snow and cold to make their way home again.

This year was a little bit different as we weren’t able to get together in person. Instead, we were able to meet together virtually on Zoom and enjoy each other’s company while we created the project that I prepared for everyone. The thing about virtual classes is that customers from out of town, who normally couldn’t attend my classes in person, were able to join in on the event. What a gift! We still had prizes and cheerful holiday music and we still ended with warmed hearts and a final Merry Christmas as we signed off and settled into our own space in our own homes. It was delightful! I feel incredibly blessed with the friends I’ve made because of my Stampin’ Up! business.

That said, I thought I would share the project with you as well, dear reader. We made a desktop adhesive  caddy that was inspired by the project shared on sallystampers.com. I made some changes to the individual boxes and added a couple more sections for the Stampin’ Seal and Stampin’ Seal Plus. The only adhesive that doesn’t fit in my caddy is the Fine-Tip Glue Pen (I might have to create an additional section and share that with you another day).

The designer series paper I used for this project will be available in January along with many more beautiful stamps, paper, and embellishments launch of the Sale-a-bration brochure and the January – June 2021 Mini Catalogue.

Follow along with my video tutorial to make this beautiful and functional desktop adhesive caddy.

I wish you a very warm heart and a safe and happy holiday! Merry Christmas!

Delight in the Snow

Snow came so early this year. It wasn’t just a little bit either, it was one huge blanket of snowman-worthy snow. It’s always so strange to see the fall leaves still on the trees when there’s snow on the ground!

I wasn’t ready for it. I had to scramble to get my winter tires on my car and try to find winter boots to fit my kids who keep growing and have their own sense of fashion. It’s harder to buy clothes for them now that they have an opinion! LOL! Though, I had a “mom win” moment this week after I bought a winter jacket for my 14 year old daughter and surprised her with it. When I saw it advertised in a flyer, I just knew it was perfect for her AND it was a door crasher Black Friday deal! It fit! She loved it! I won SO HARD!!

We weren’t ready for the snow. We didn’t build a snowman and we didn’t even enjoy the snow. It was more of an annoyance, really.

Now the snow is melted. Now I’m wishing for it to come back. I’m ready.  I’m ready to be delighted by the winter wonderland.

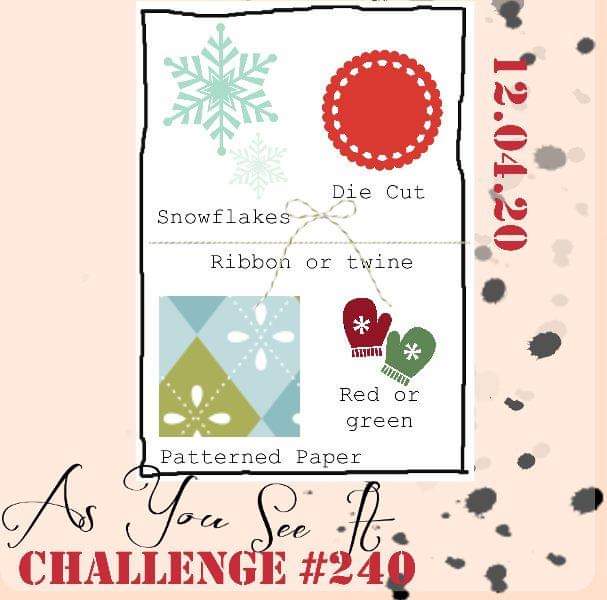
Today’s card is a design inspired by the As You See It Challenge blog. It’s an assortment or recipe challenge!

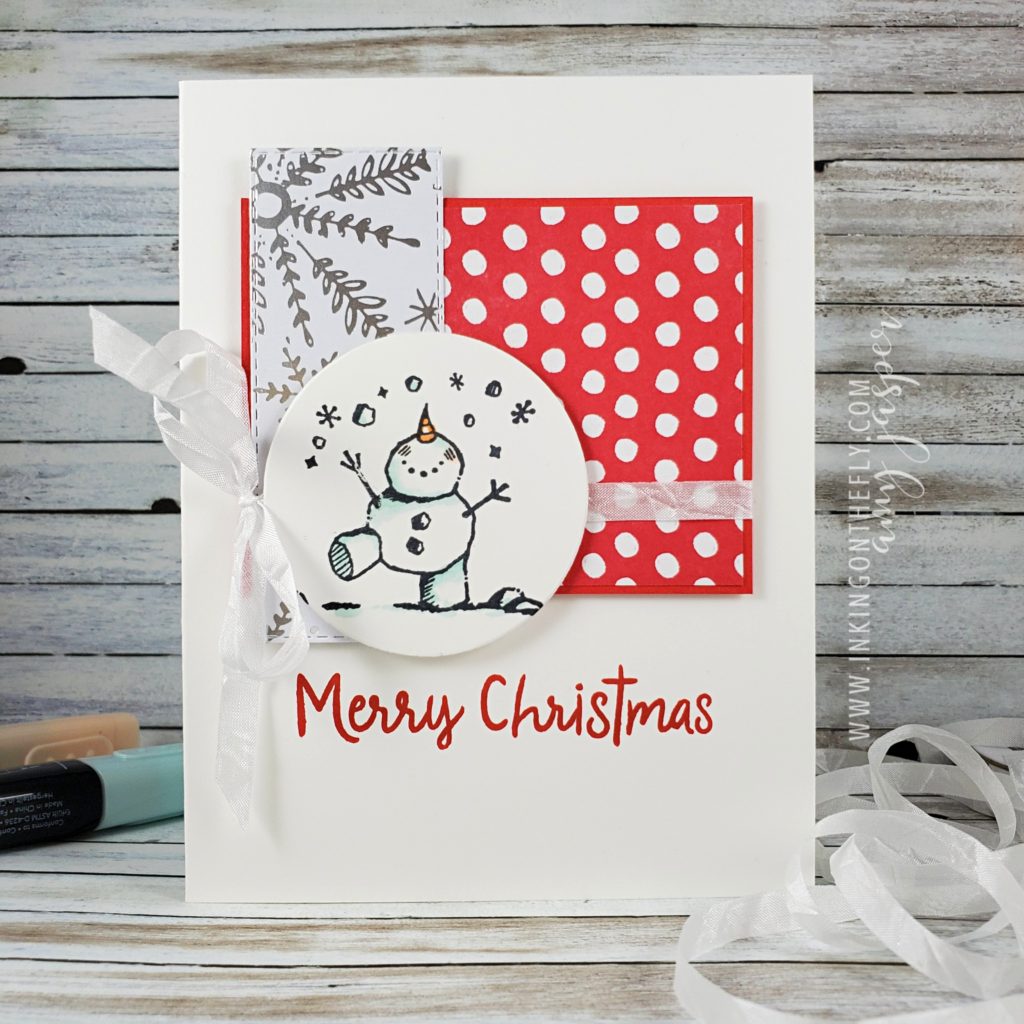
The only current snowflakes I have are in the Feels Like Frost DSP and my Snowman Season stamp set, so I used BOTH!

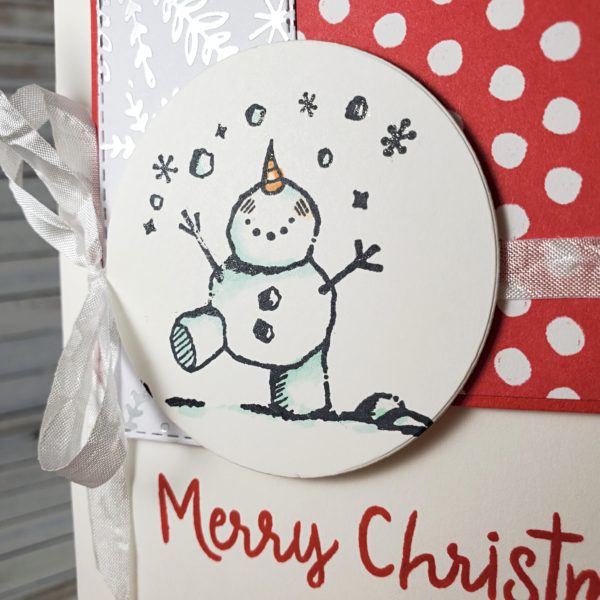
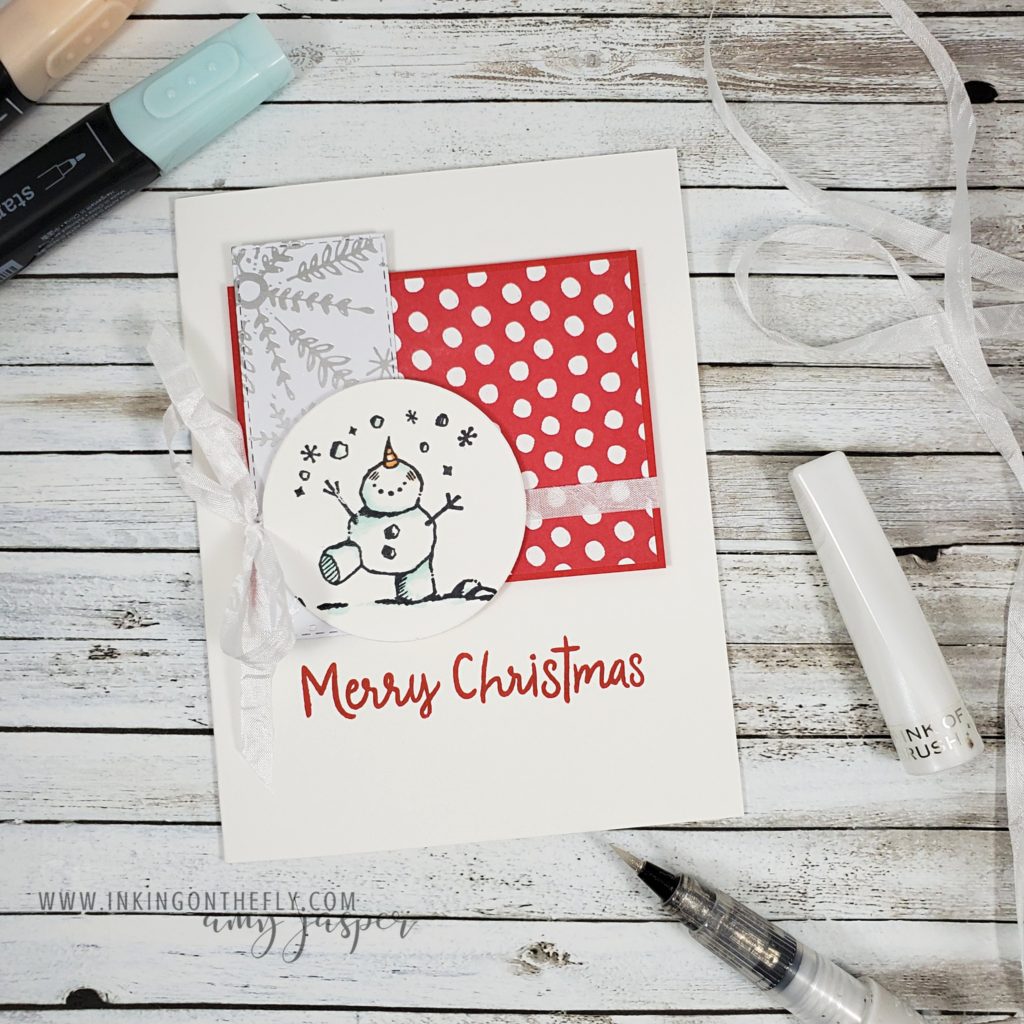
This little snowman is so cheerful and delighted, don’t you think! I stamped him on Whisper White cardstock with Tuxedo Black Momento ink and die-cut the it with a circle from the Circle Layers Dies. Pool Party and Pumpkin Pie Stampin Blends Markers give him a spot of colour. Wink of Stella gives him a bit of a frosty sparkle. It’s so hard to capture that sparkle in a photograph!

The Feels Like Frost Designer Series Paper was cut with one of the dies from the Stitched Rectangle Dies (a staple in my die collection!)

I layered these over the Poppy Parade cardstock and the polka-dot patterned paper from the Trimming the Town Designer Series Paper. Some white Crinkle Seam Binding ribbon wrapped around the layers behind the circle and tied in a bow, adds a touch of softness to this playful layout.

A couple of the layers are raised with Stampin’ Dimensionals – another staple in my craft supplies!

The design is complete with the large Merry Christmas sentiment stamped in Poppy Parade ink on the Thick Whisper White card base.

This card makes me feel very merry! How ’bout you?