Posts by Amy Jasper:

How to Make a Pop-Up with Paper Pumpkin

Somehow I managed to do it!

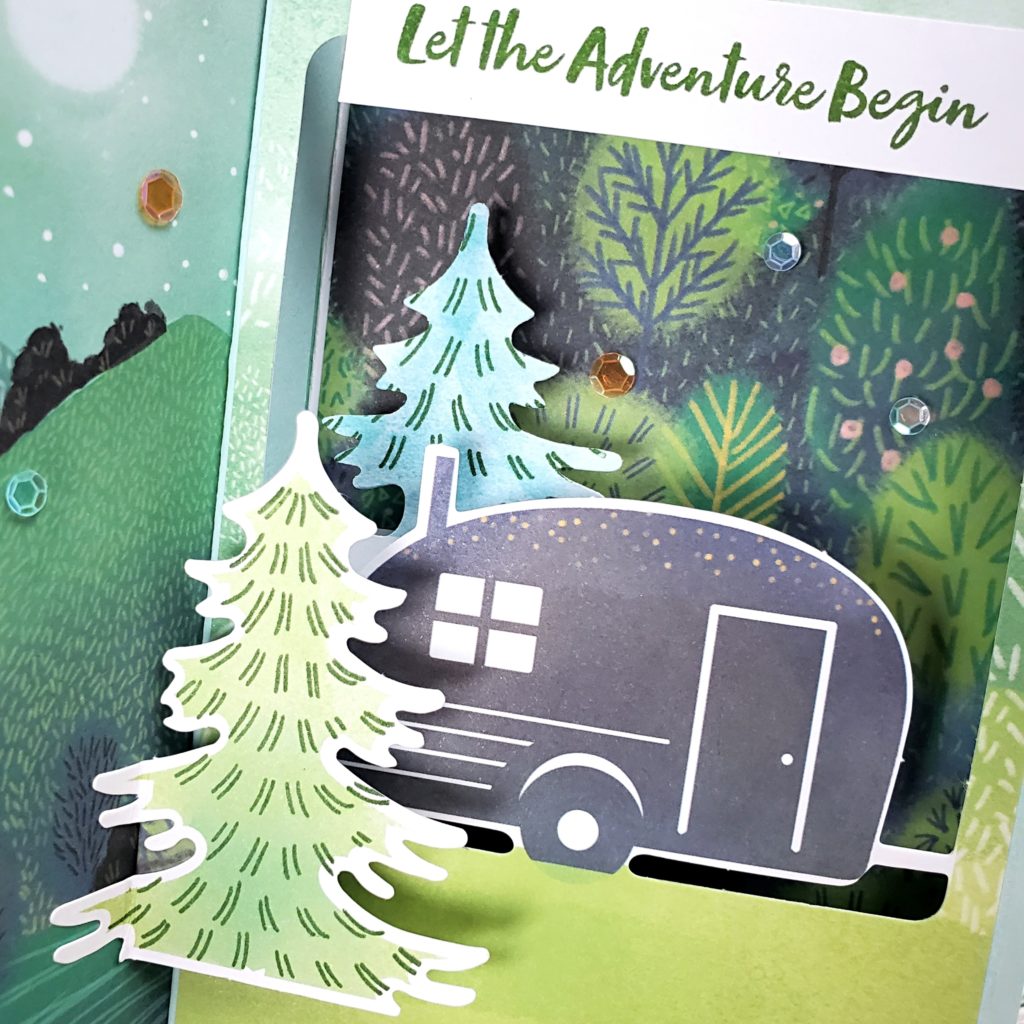
I made an alternative project for this stellar Paper Pumpkin kit after already loving the design of the original cards.

If you saw my earlier post about the kit, you would know how much I love it! I didn’t think it would be possible to make an alternative project that I loved as much.

My 17 year old son tells me that this pop-up card is definitely a step up. (This, from the amazing kid who got the highest possible mark on his Advanced Placement Physics exam! So proud of him!)

I’m very happy with this design, but I have to admit that you just can’t beat the simplicity of the original tri-fold cards in the kit. For how simple they are, they look fantastic!

My design is certainly not as simple.

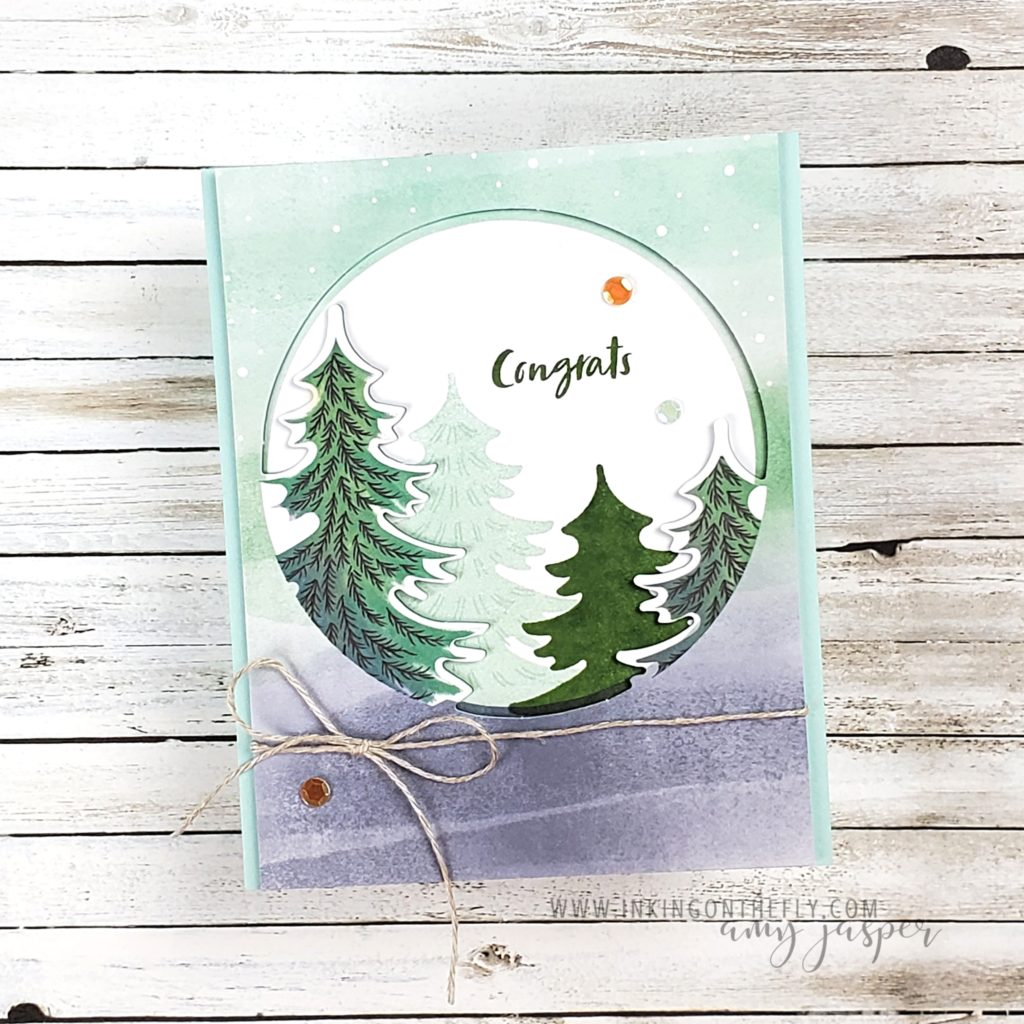
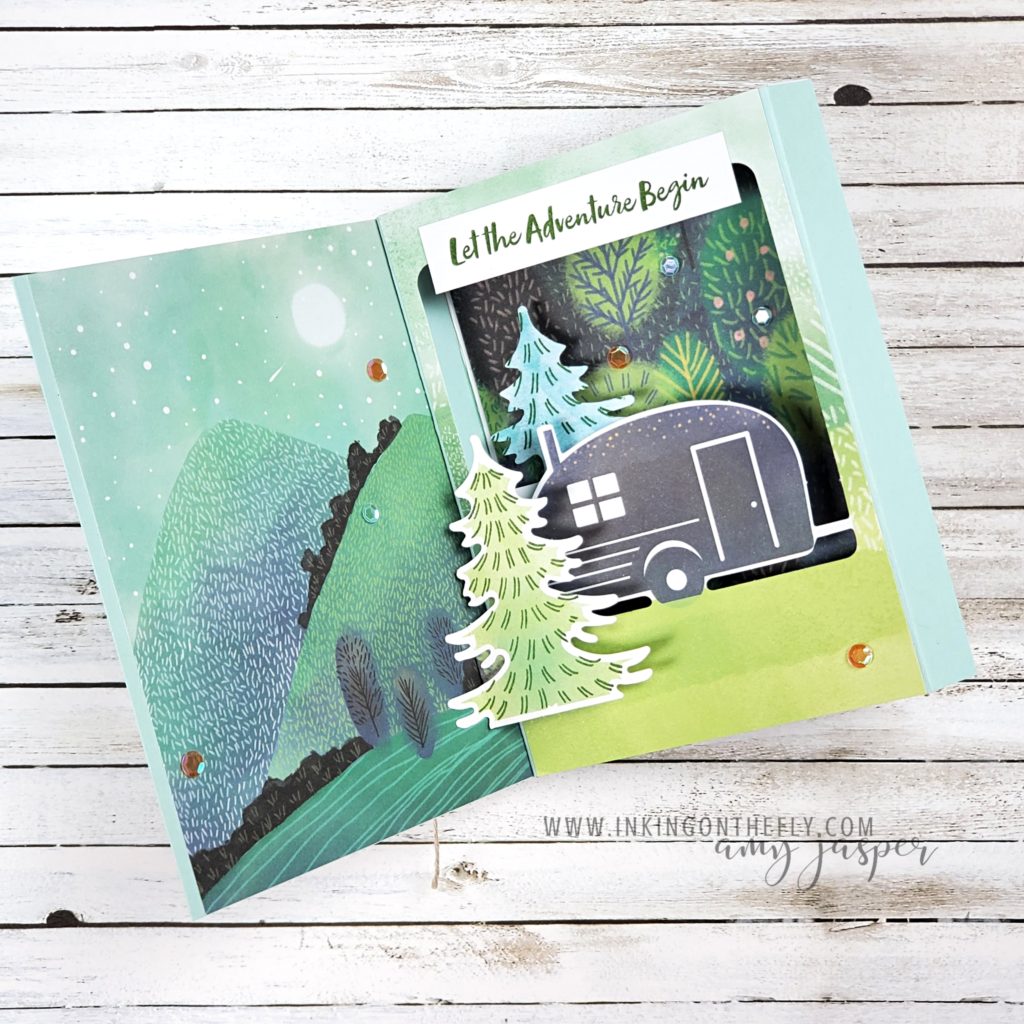
Two of the designs in the July Paper Pumpkin kit were used to create this diorama card. When you open the card, you can see that the inside is the best part with the printed scene on the left and the pop-up scene on the right. This shows off the printed parts of the cards.

How-to Video

Usually, I share my Paper Pumpkin projects in a live stream on Facebook. However, this week I’m taking a vacation, so I pre-recorded the video and scheduled it to post. (tech skills, don’t fail me now!)

Watch the video below to see how to make this fancy pop-up diorama card using the July 2021 Paper Pumpkin Kit – The Adventure Begins.

Start your Paper Pumpkin subscription today. You can choose to make the cards just as they are intended or you can stretch your creativity and make some alternatives. Either way, Paper Pumpkin is a fun escape!
Designer Paper Makes it Easy

Welcome to a simple Sunday post.

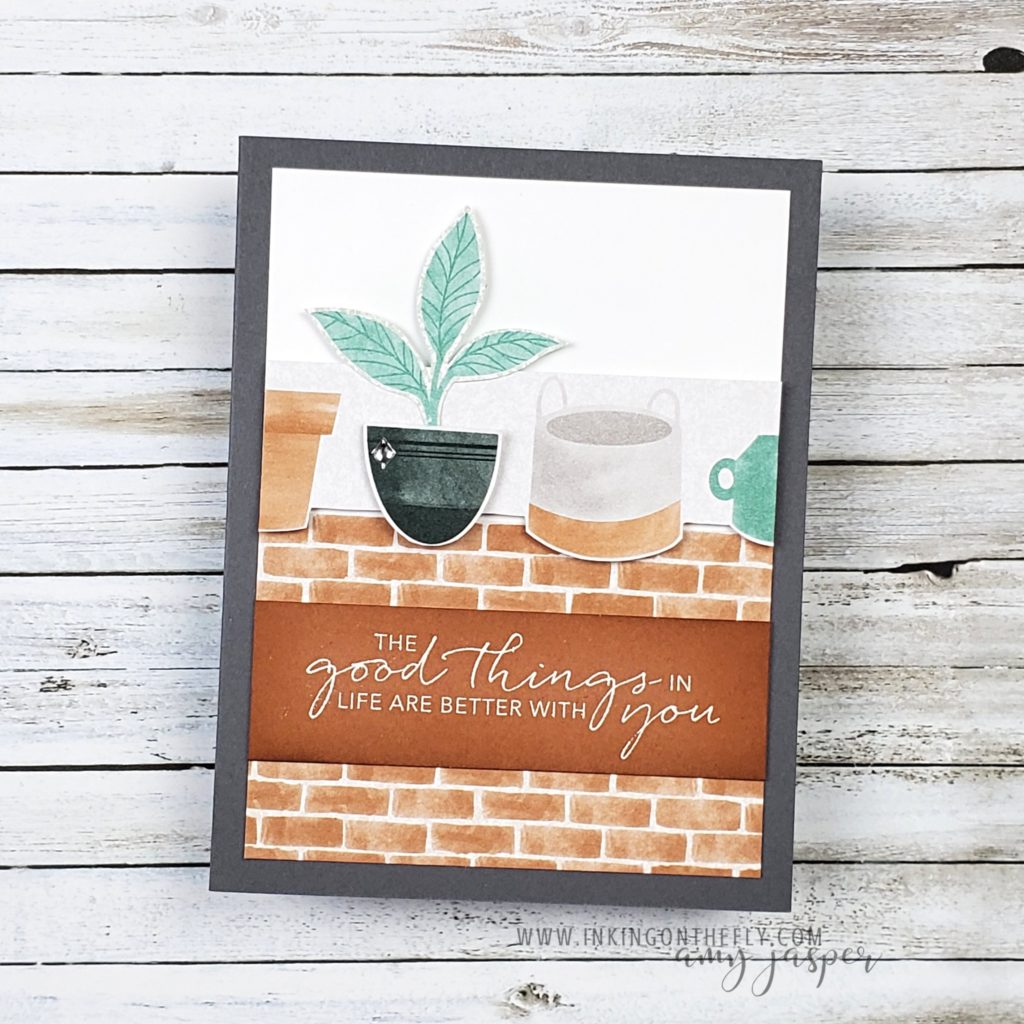
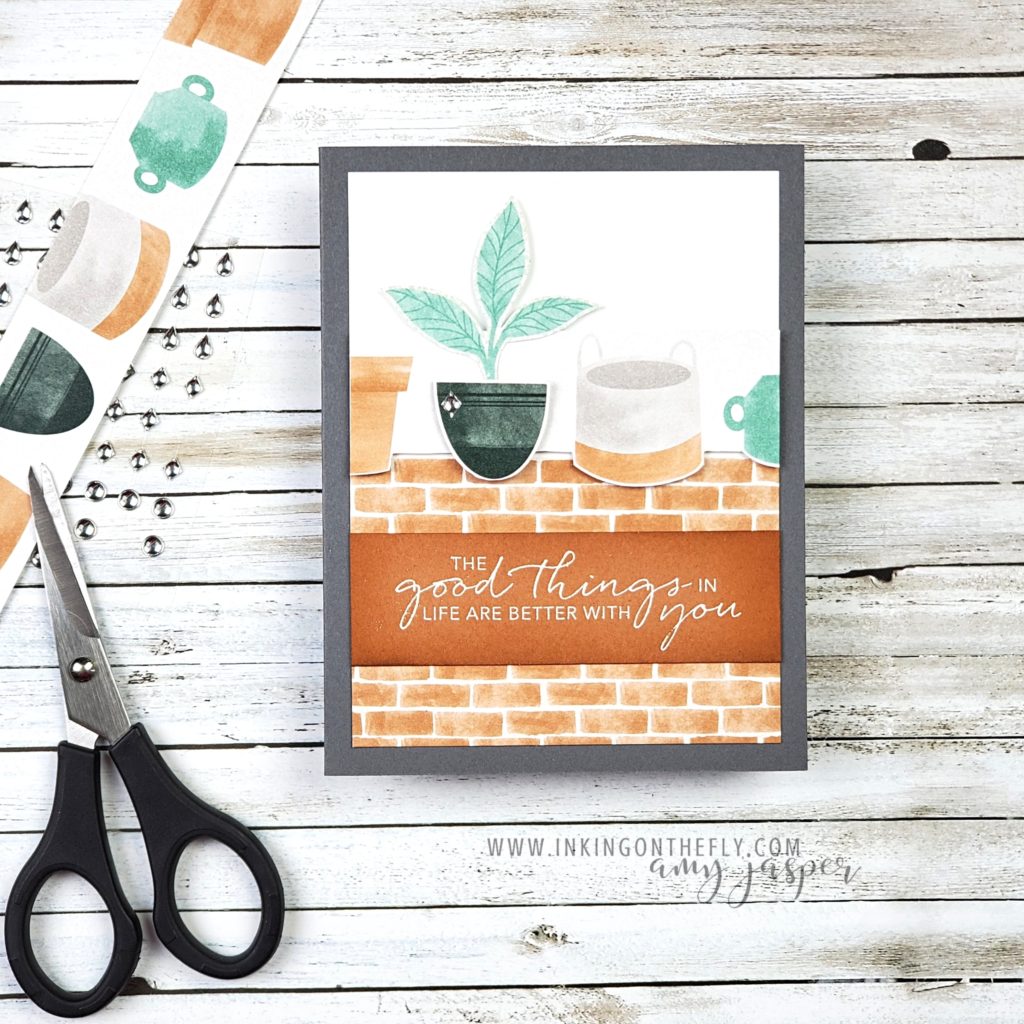
I have a plant lovers card to share with you! Not only is it easy, but it’s also quick to make!

Paper Sale

This card features the Bloom Where You’re Planted Designer Series Paper from Stampin’ Up!®️, which so happens to be on sale! The Designer Series Paper Sale runs until August 2nd, so head on over to my online store or contact me to order.

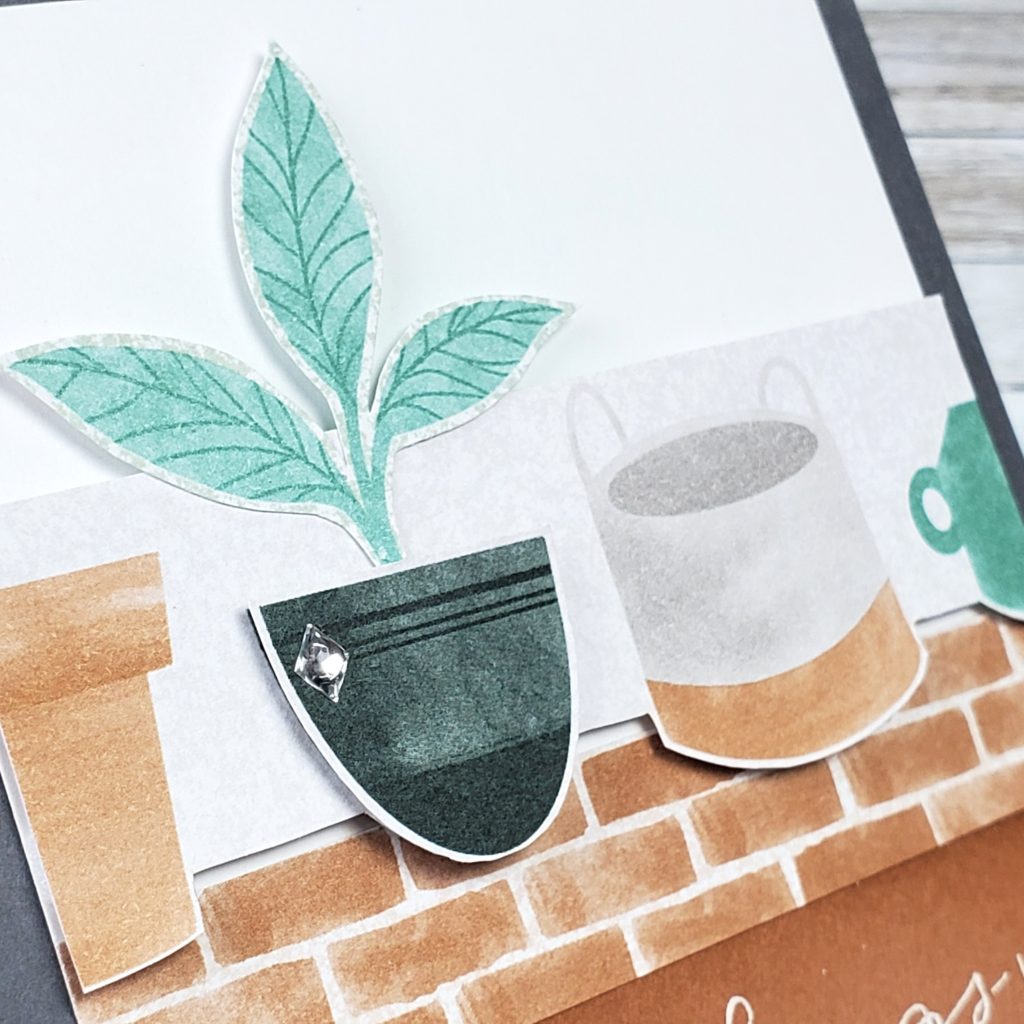
In case you can’t tell in the photos, the plant and pot were fussy-cut from the patterned paper! That means, the only thing on this card that is stamped is the sentiment.

It’s all in the paper!

I started with a strip of the paper that has pots in a row, then used a ruler to draw a pencil line indicating where I wanted to cut. After I was happy with the placement of the line, my scissors went to work to fussy-cut around the base of all the pots and along my line between them.

The dark coloured pot was fussy cut from another piece of paper and used as an additional layer over the paper strip. Adhering that second layer on Dimensionals makes that pot stand out a bit from the others. Combined with the fussy-cut plant and the little Silver Epoxy Essentials accent, it all comes together nicely.

While the sentiment would have looked great stamped with ink alone, I decided to incorporate some heat embossing for pizzazz. The Tasteful Touches stamp set has this lovely sentiment, which I stamped on Cinnamon Cider cardstock. After heat embossing with White Embossing powder, I used my Blending Brush to add some Cinnamon Cider ink to the edges of the paper. This adds such a lovely vignette effect and richness to the paper.

I’m glad you stopped by to check out this quick card.

Check back on Tuesday afternoon to see my Paper Pumpkin alternative project. You’re going to like it!

Exciting New Product Sneak Peek with Watercolouring

It’s always exciting when we have a new catalogue coming out! As a Stampin’ Up! demonstrator, I have the privilege to order new products before they’re released to customers. That means that I have new products to share with you today!

As You See It

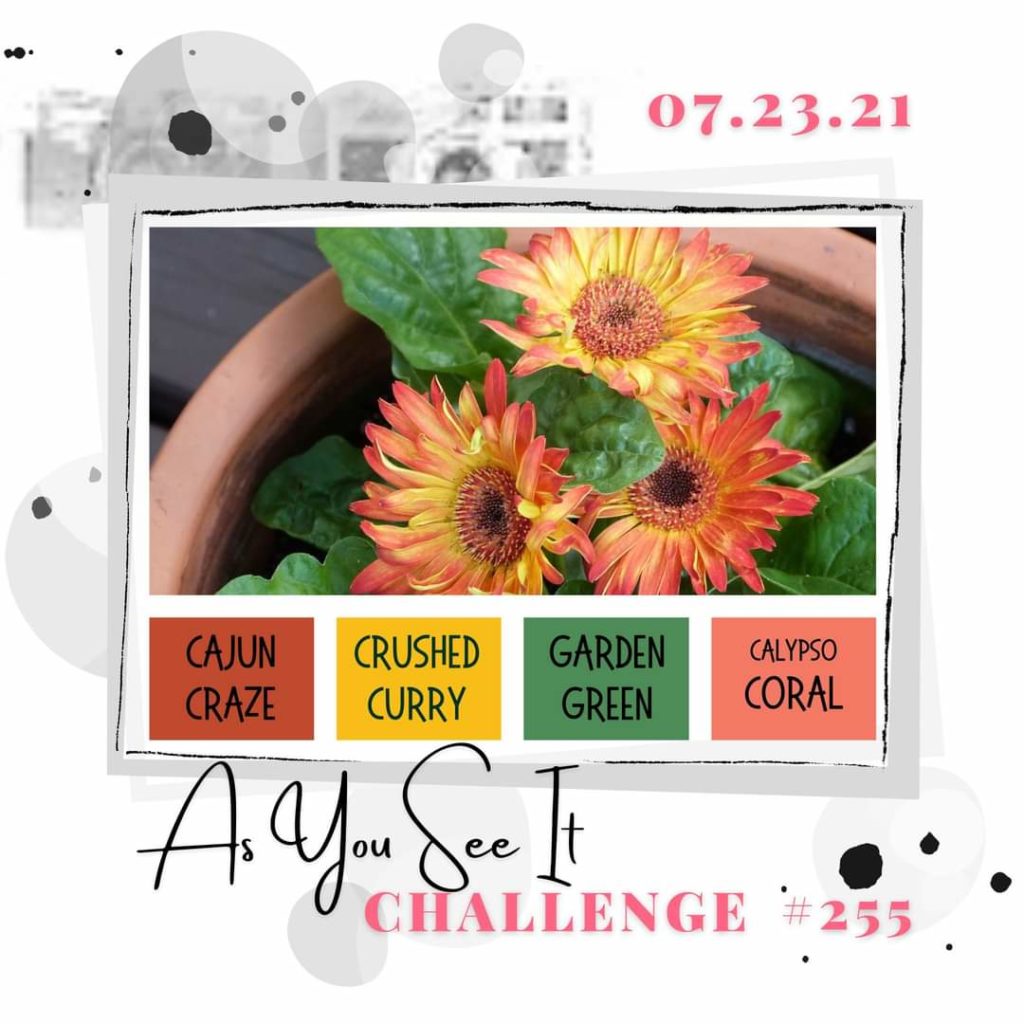
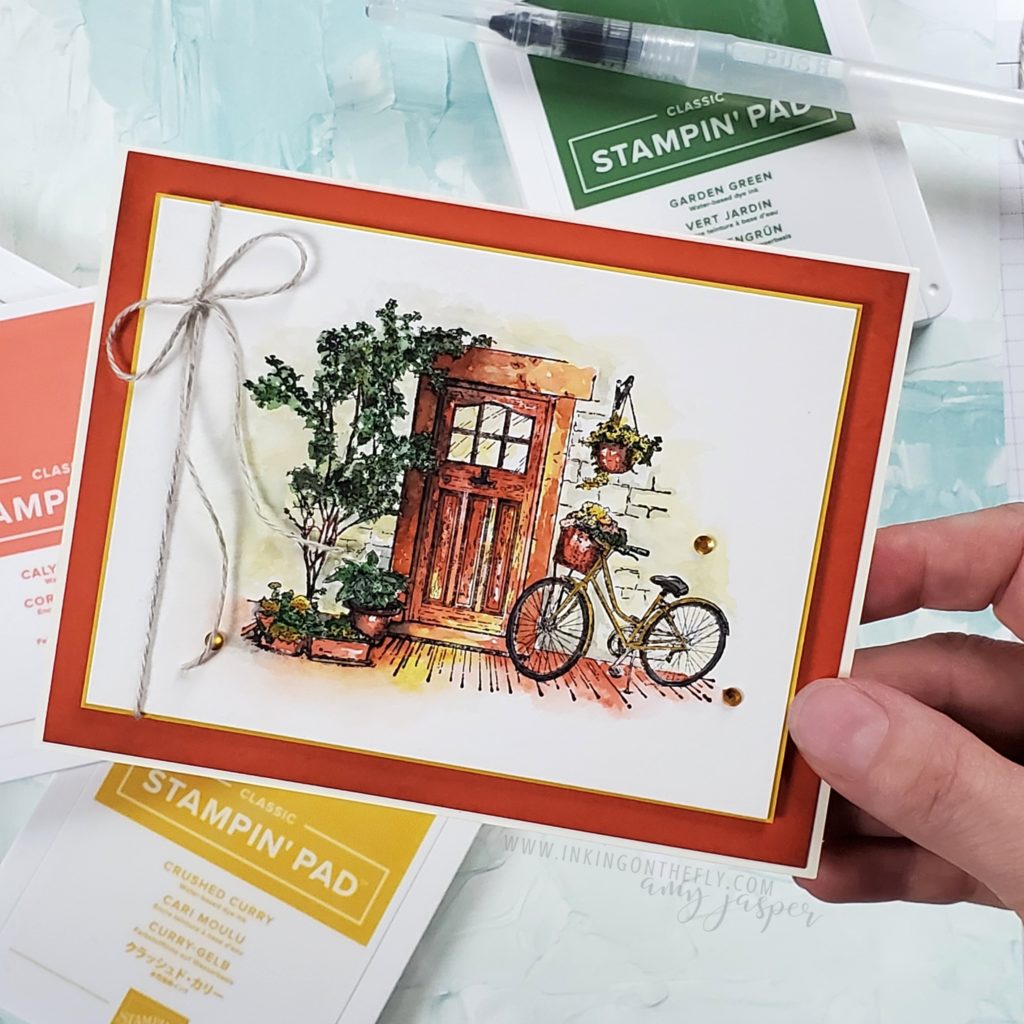
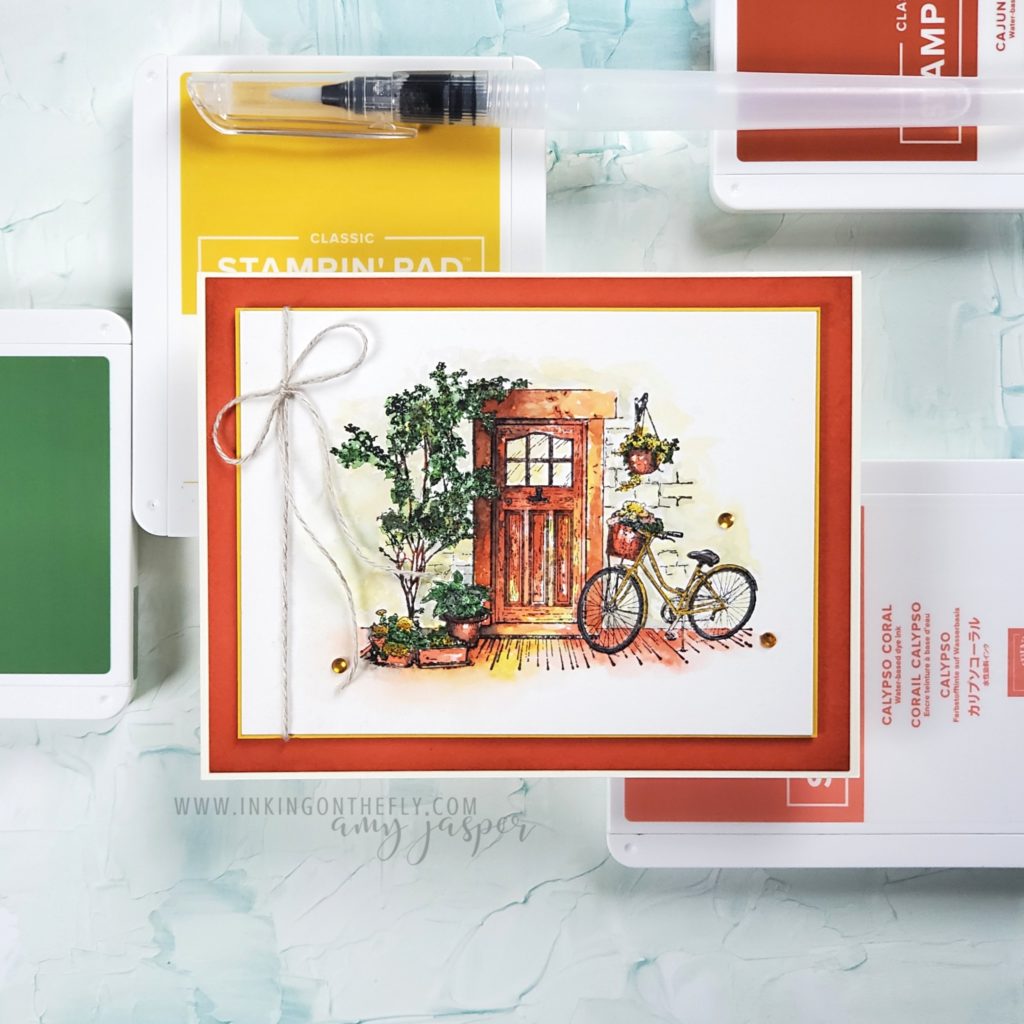
My card is inspired by the gorgeous fall colour combination in the As You See It colour challenge.

I have been on the As You See It Design Team for many years, which has helped to shape my creative skills. Each challenge invites me to push myself to work within the guidelines provided. You might think that working within limits would restrict creativity, but, in actual fact, it has helped me to learn how to use my creativity in different ways.

Challenging ourselves is how we grow and learn.

Free stuff!

The Feels Like Home stamp set is only available for free.

Yup, you read that right!

We have a summer Sale-a-bration starting August 3rd and running until September 30th. As you probably know, during that time, you choose a free item for every $60 CAD that you spend.

The process

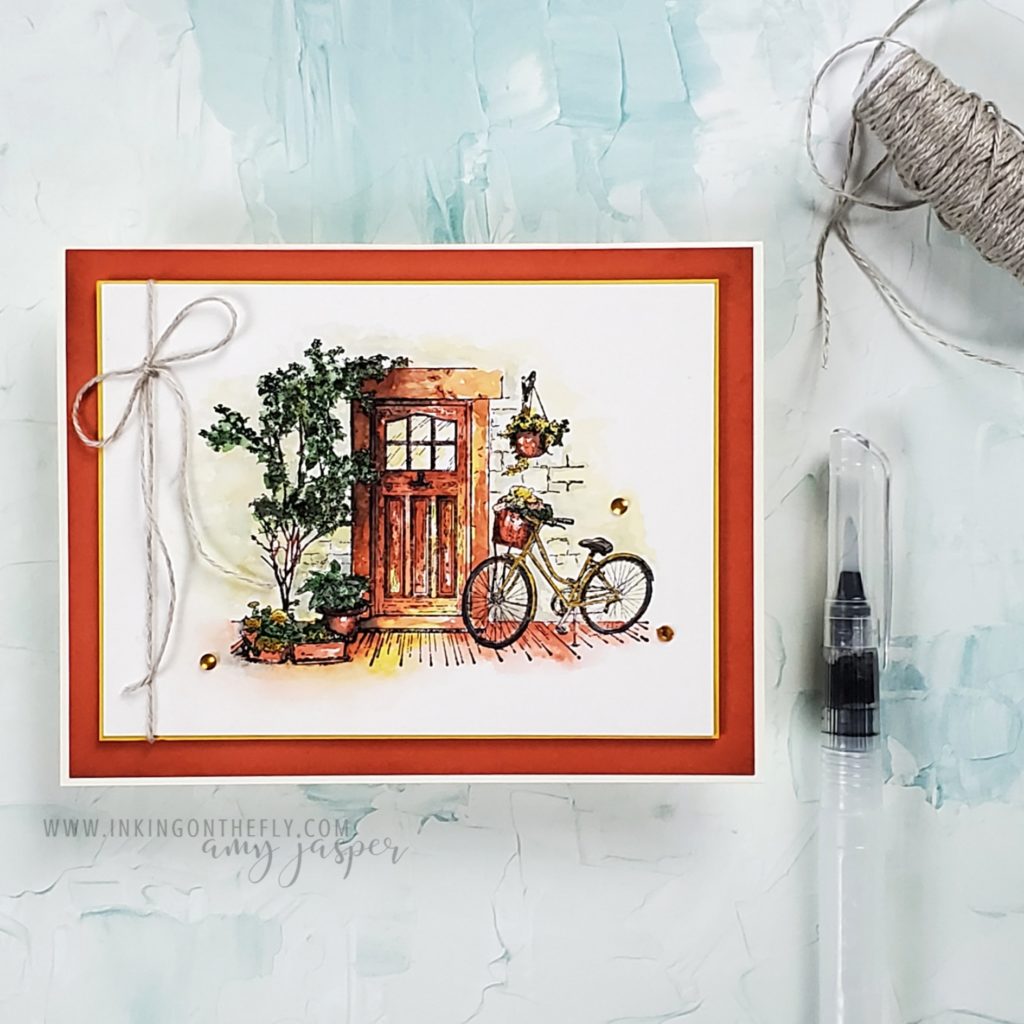
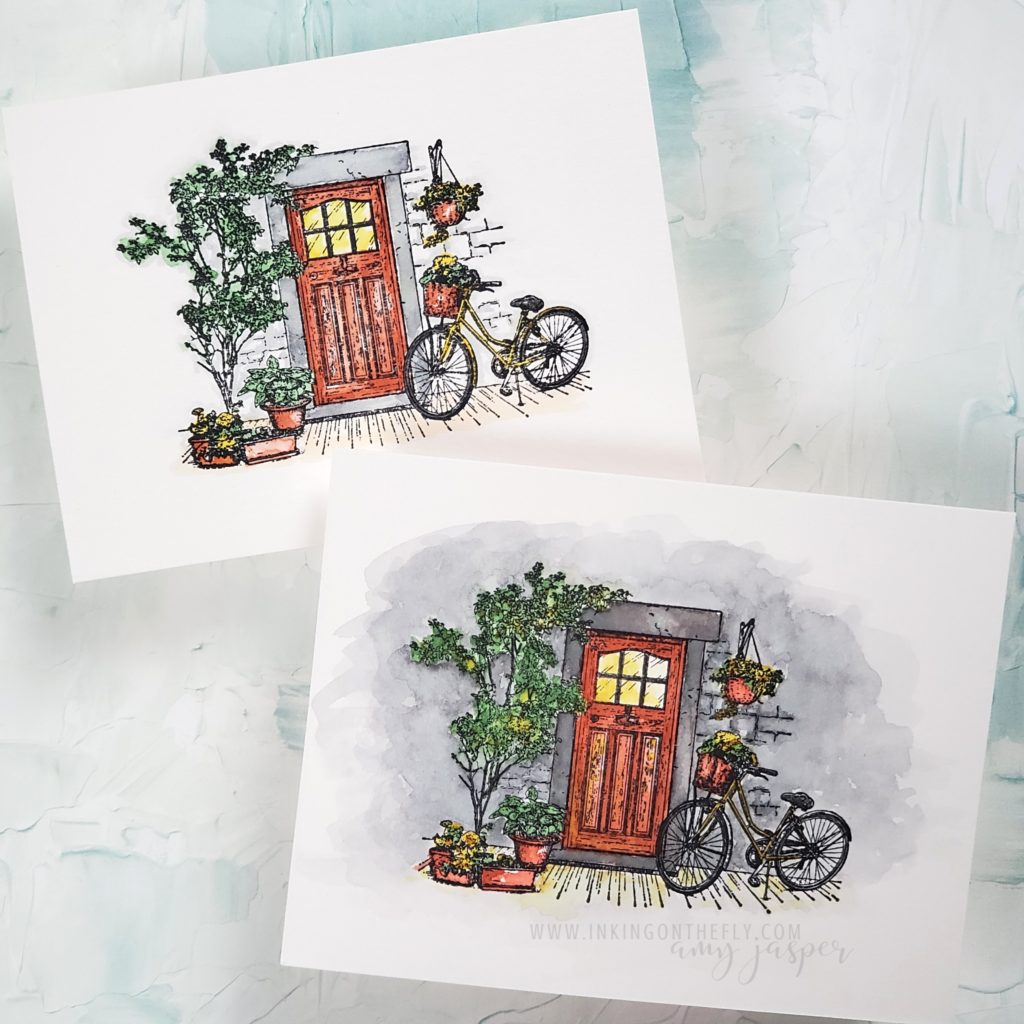
This Sale-a-bration stamp set just begs to be coloured, so I gave it a try. My first attempt looked a bit too “clean”, which didn’t meet my expectations. The second attempt looked a bit too dark, which also wasn’t what I was looking for.

I looked at some water colour artwork and used what I found as a guide for my third attempt. Third time’s a charm! I’m so happy with how it turned out!

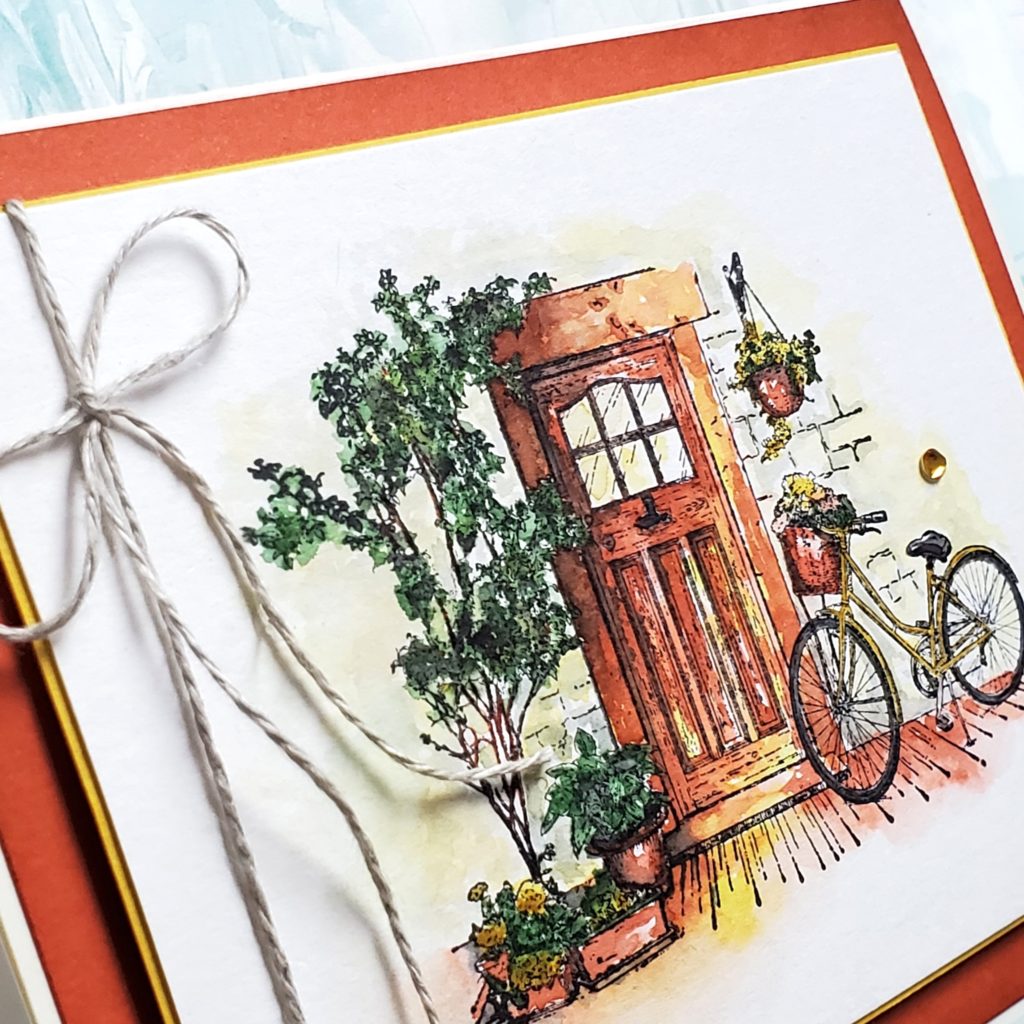
Once I was happy with my watercolouring, I added a thin matte of Crushed Curry cardstock behind the watercolor paper. Linen Thread is wrapped around the layers and tied in a bow.

Then, to keep things warm and bright, I used my Blending Brush to add some Cajun Craze ink to the edges of Calypso Coral cardstock. What a delightful effect!

I wanted to add a sentiment, but in the end decided I would let the image have all the attention. Instead of a sentiment, I placed some Holiday Rhinestones. As you can see, they give a sweet tickling of interest.

Join in!

Let me invite you to try this colour challenge, so as to exercise your creativity. The more you use it, the more easily your creativity flows!

Don’t forget to share it with us at the As You See It challenge blog. We love being inspired by your designs!