Fun Fold

How to Make a Pop-Up with Paper Pumpkin

Somehow I managed to do it!

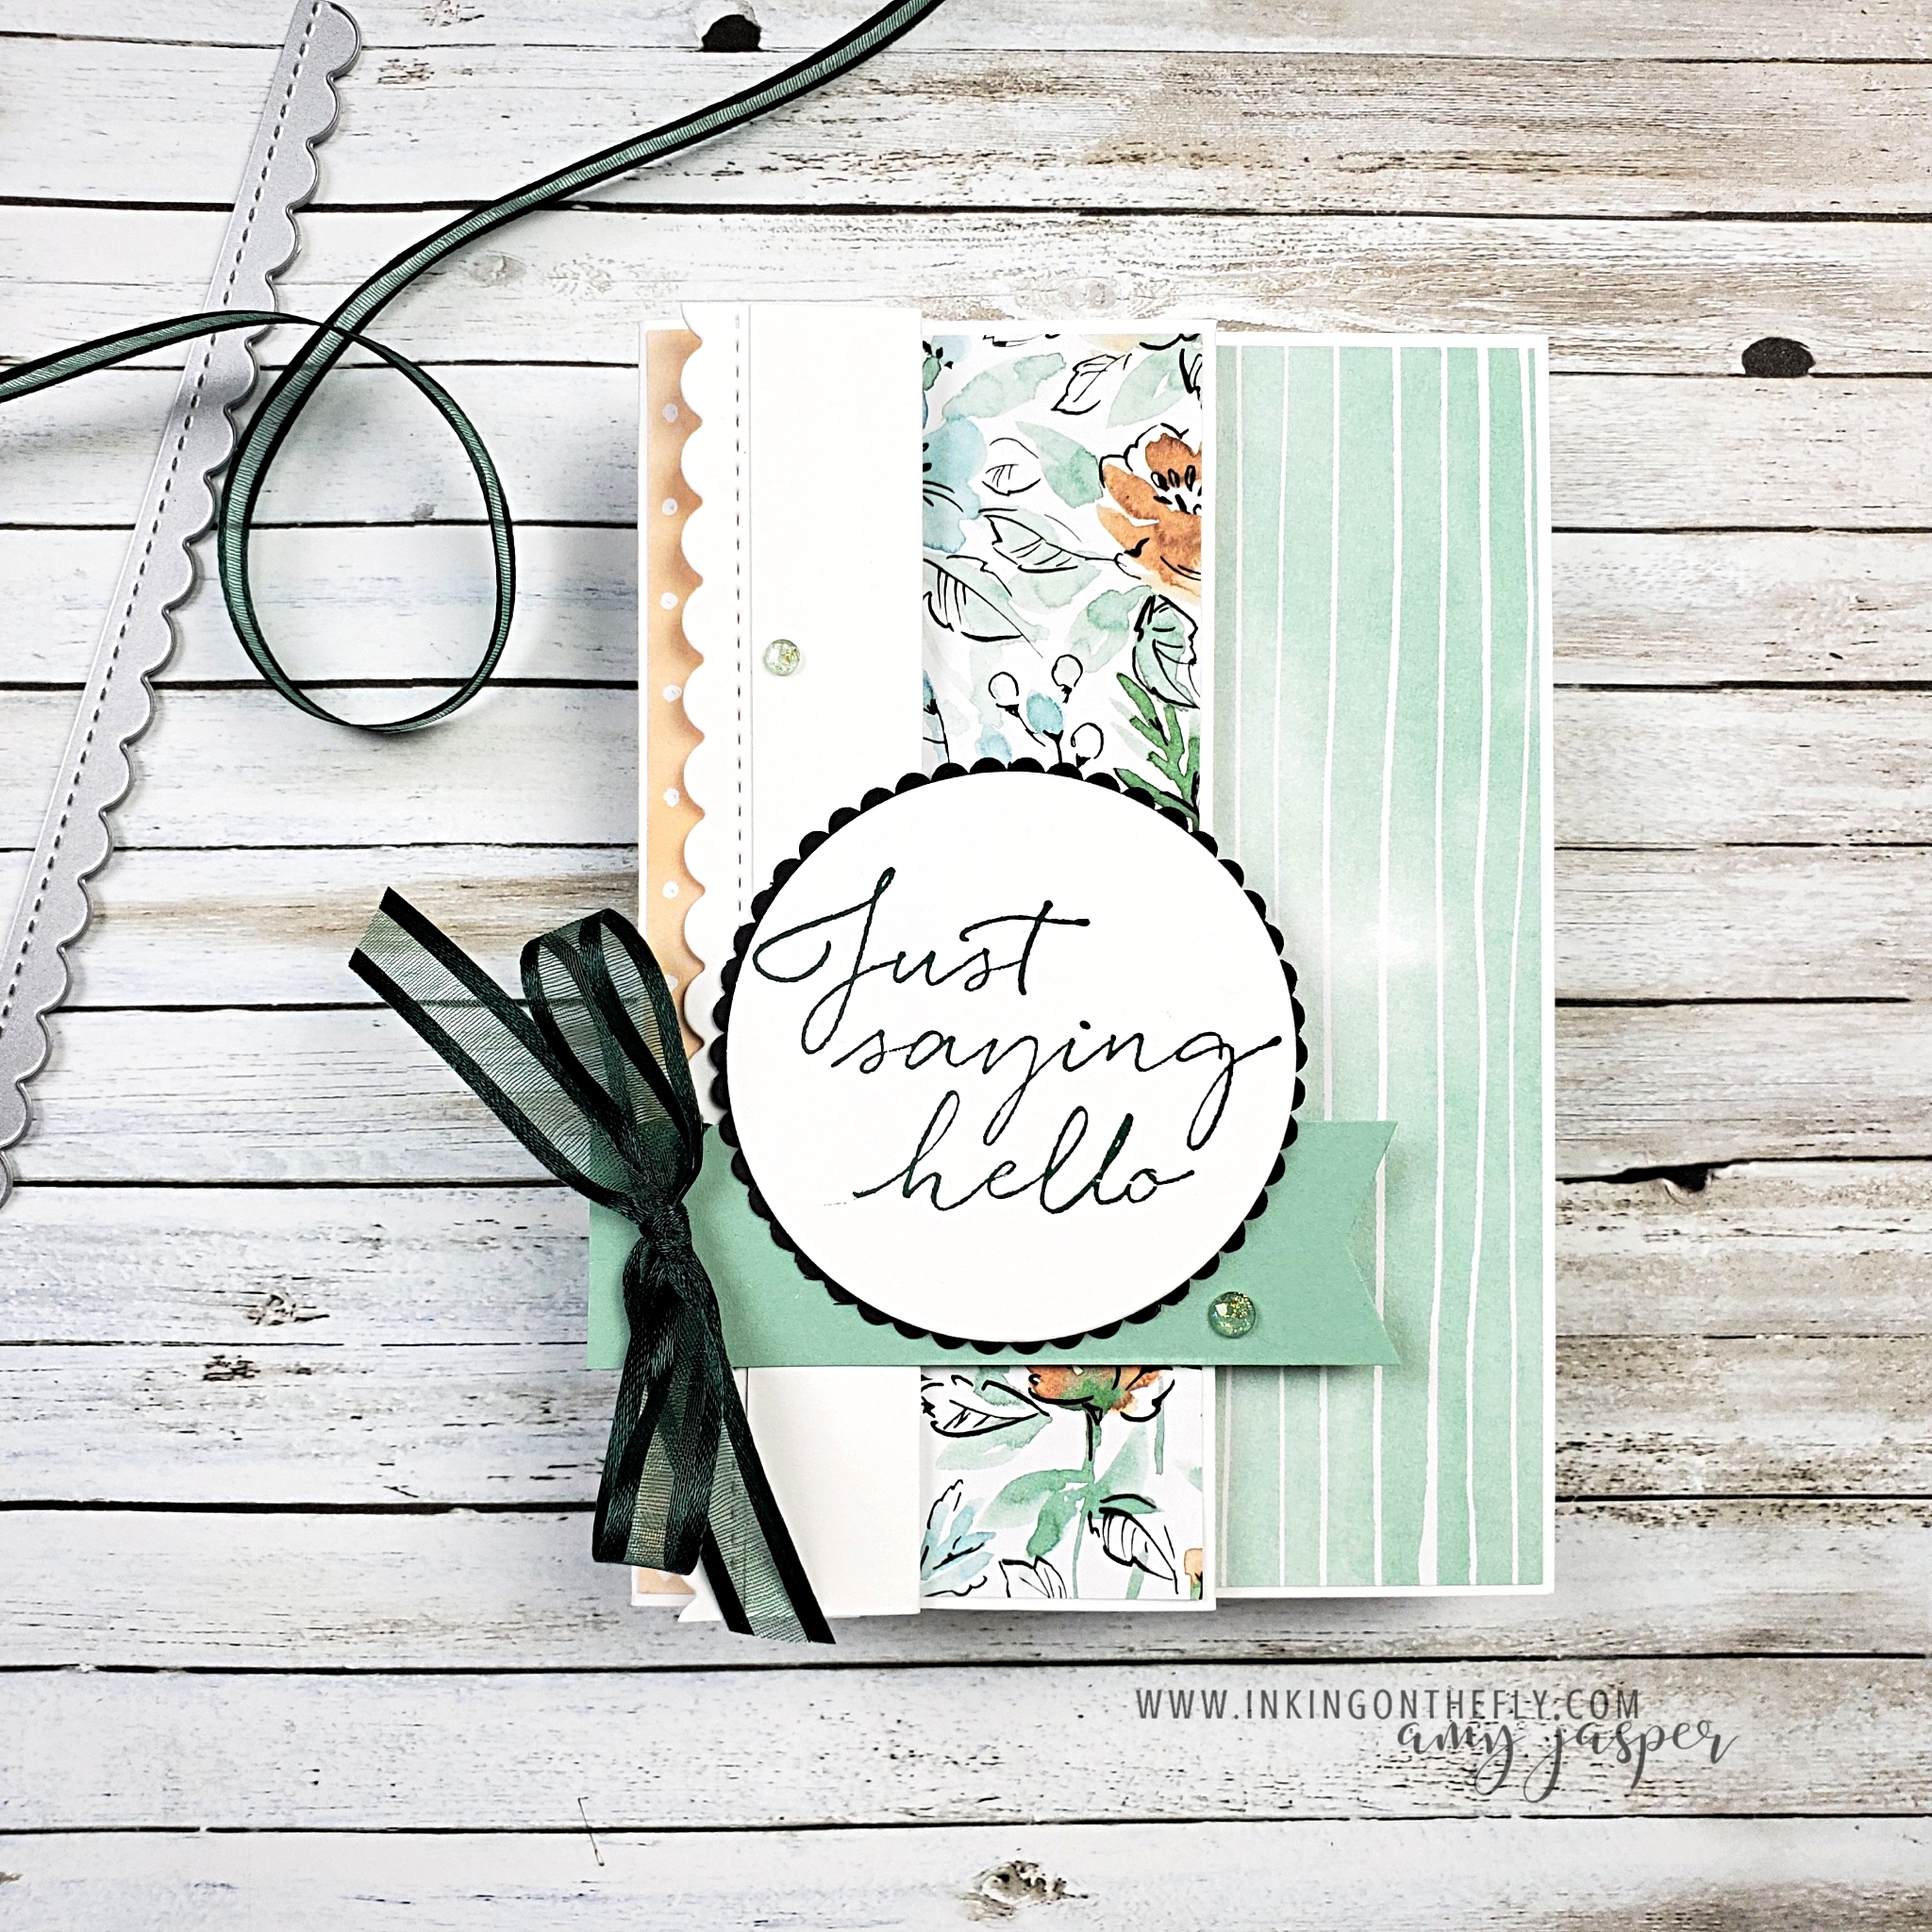
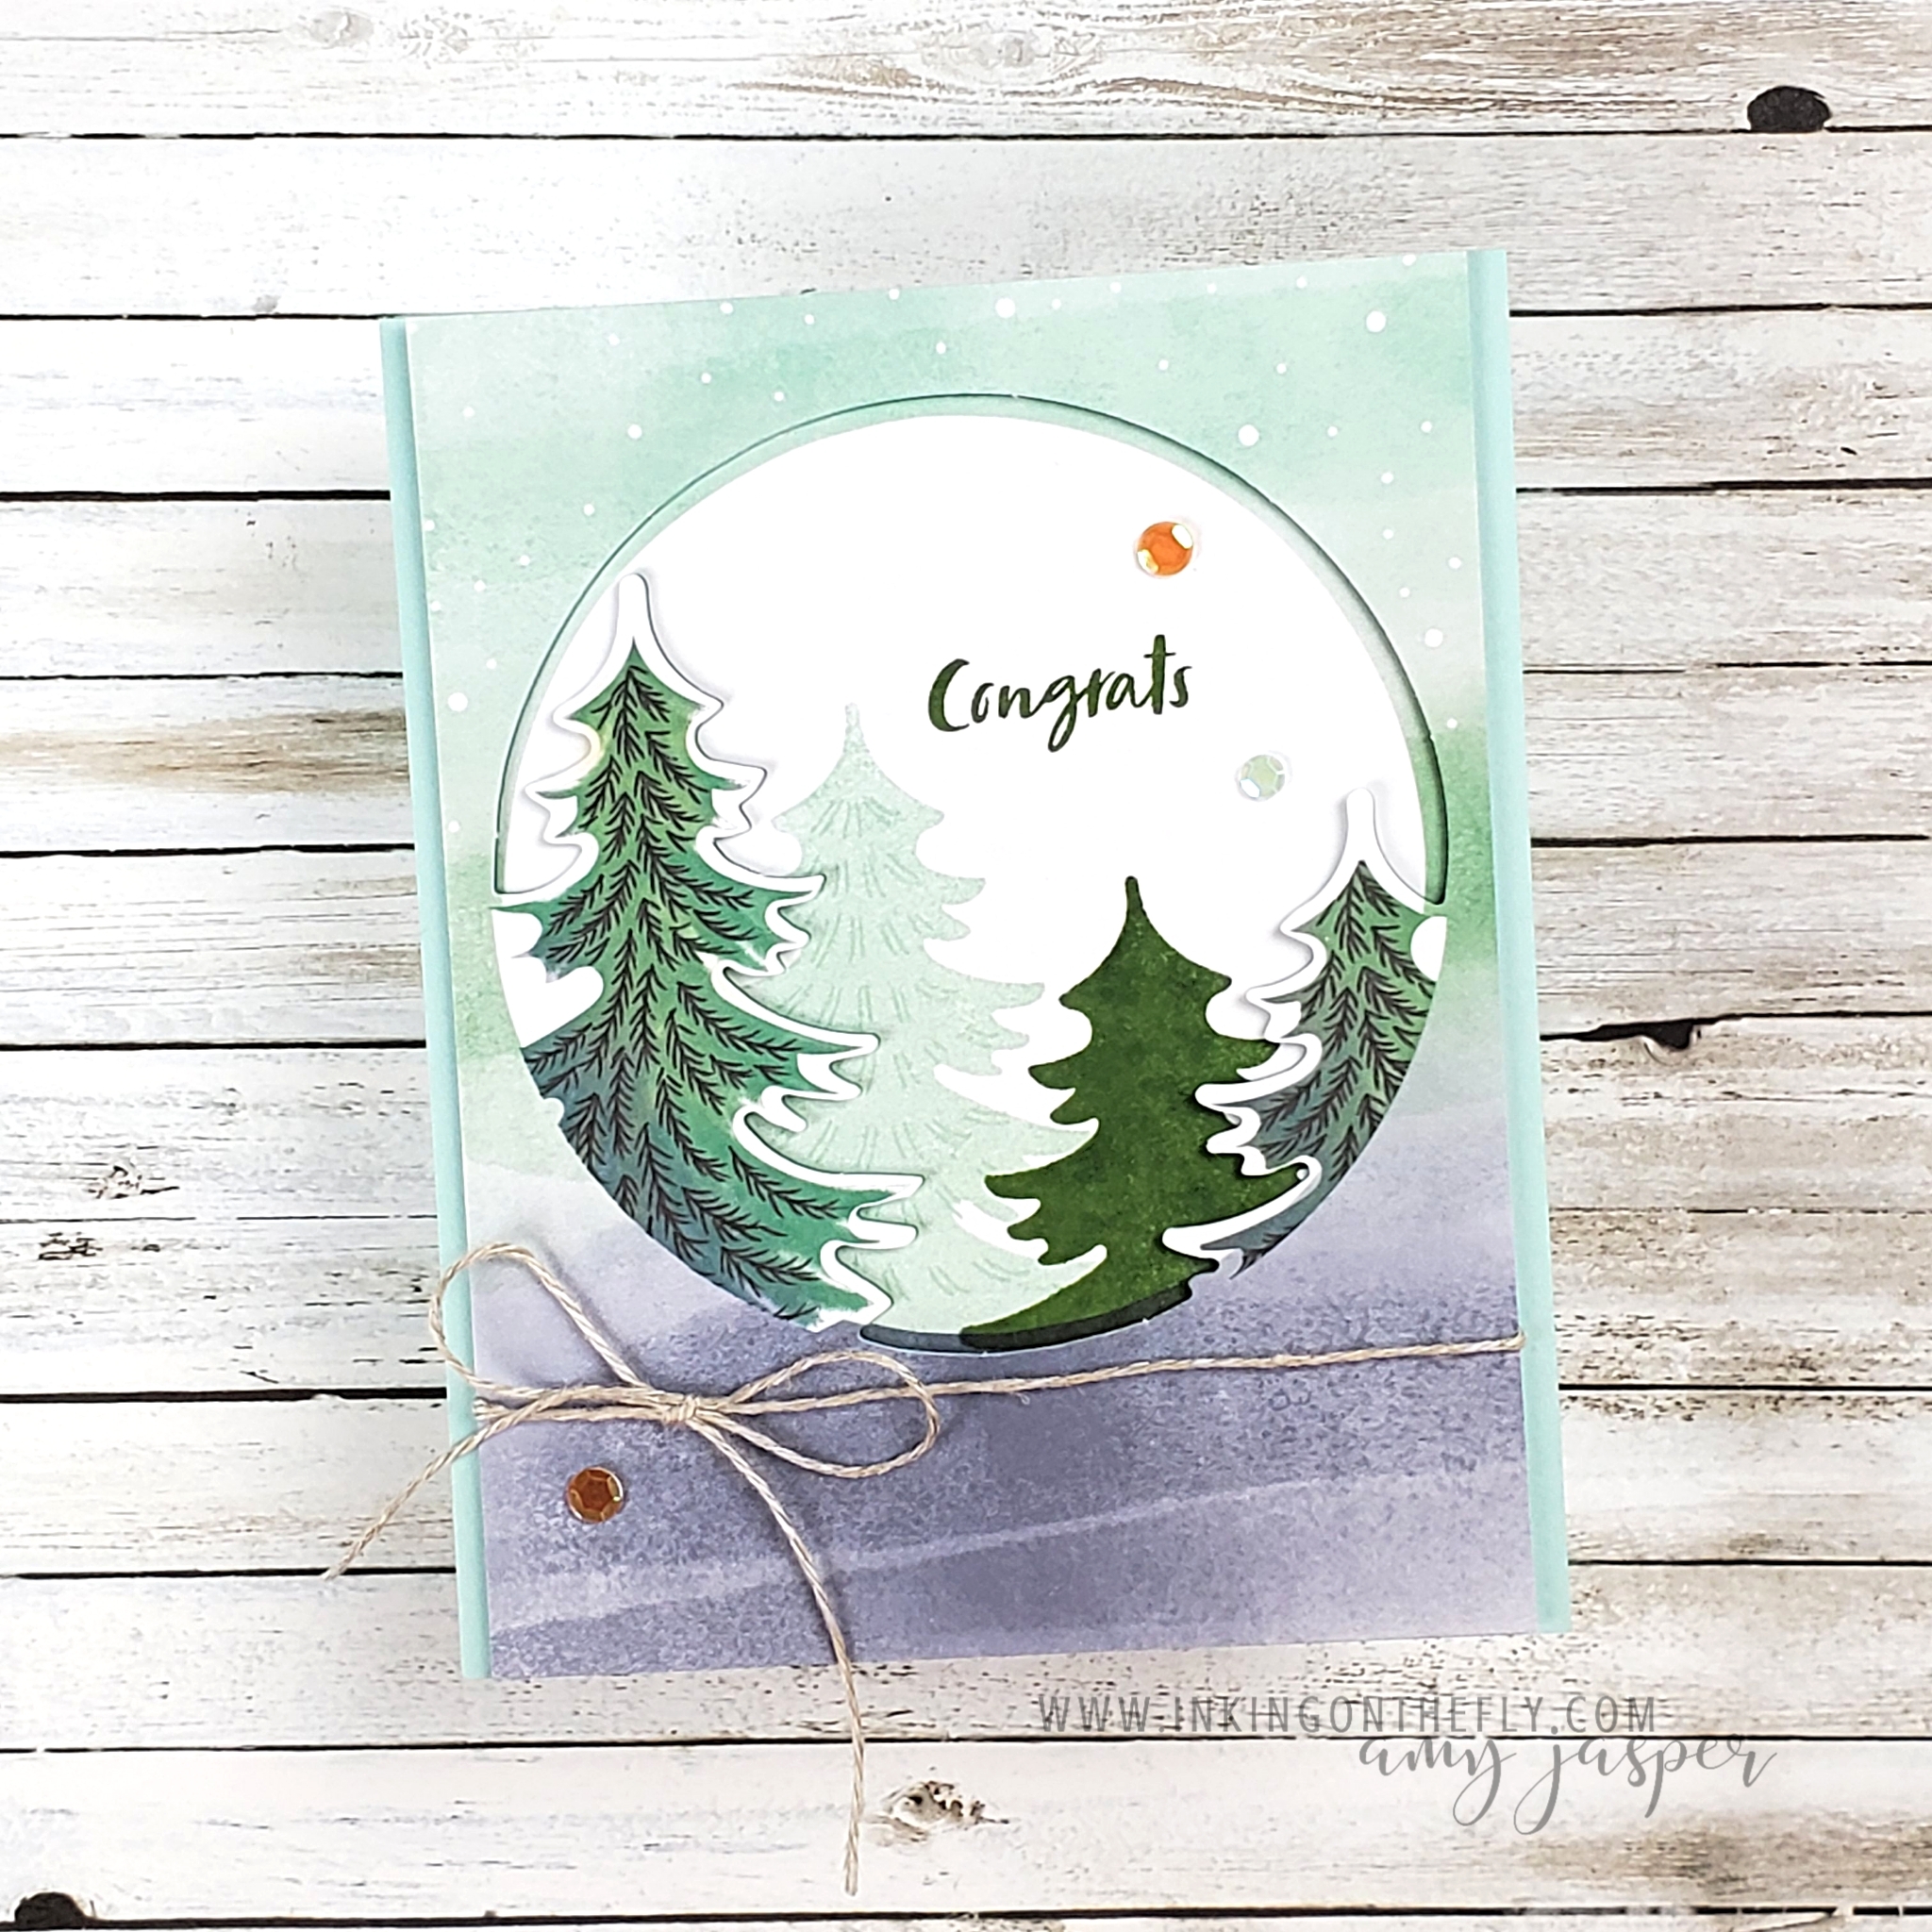
I made an alternative project for this stellar Paper Pumpkin kit after already loving the design of the original cards.

If you saw my earlier post about the kit, you would know how much I love it! I didn’t think it would be possible to make an alternative project that I loved as much.

My 17 year old son tells me that this pop-up card is definitely a step up. (This, from the amazing kid who got the highest possible mark on his Advanced Placement Physics exam! So proud of him!)

I’m very happy with this design, but I have to admit that you just can’t beat the simplicity of the original tri-fold cards in the kit. For how simple they are, they look fantastic!

My design is certainly not as simple.

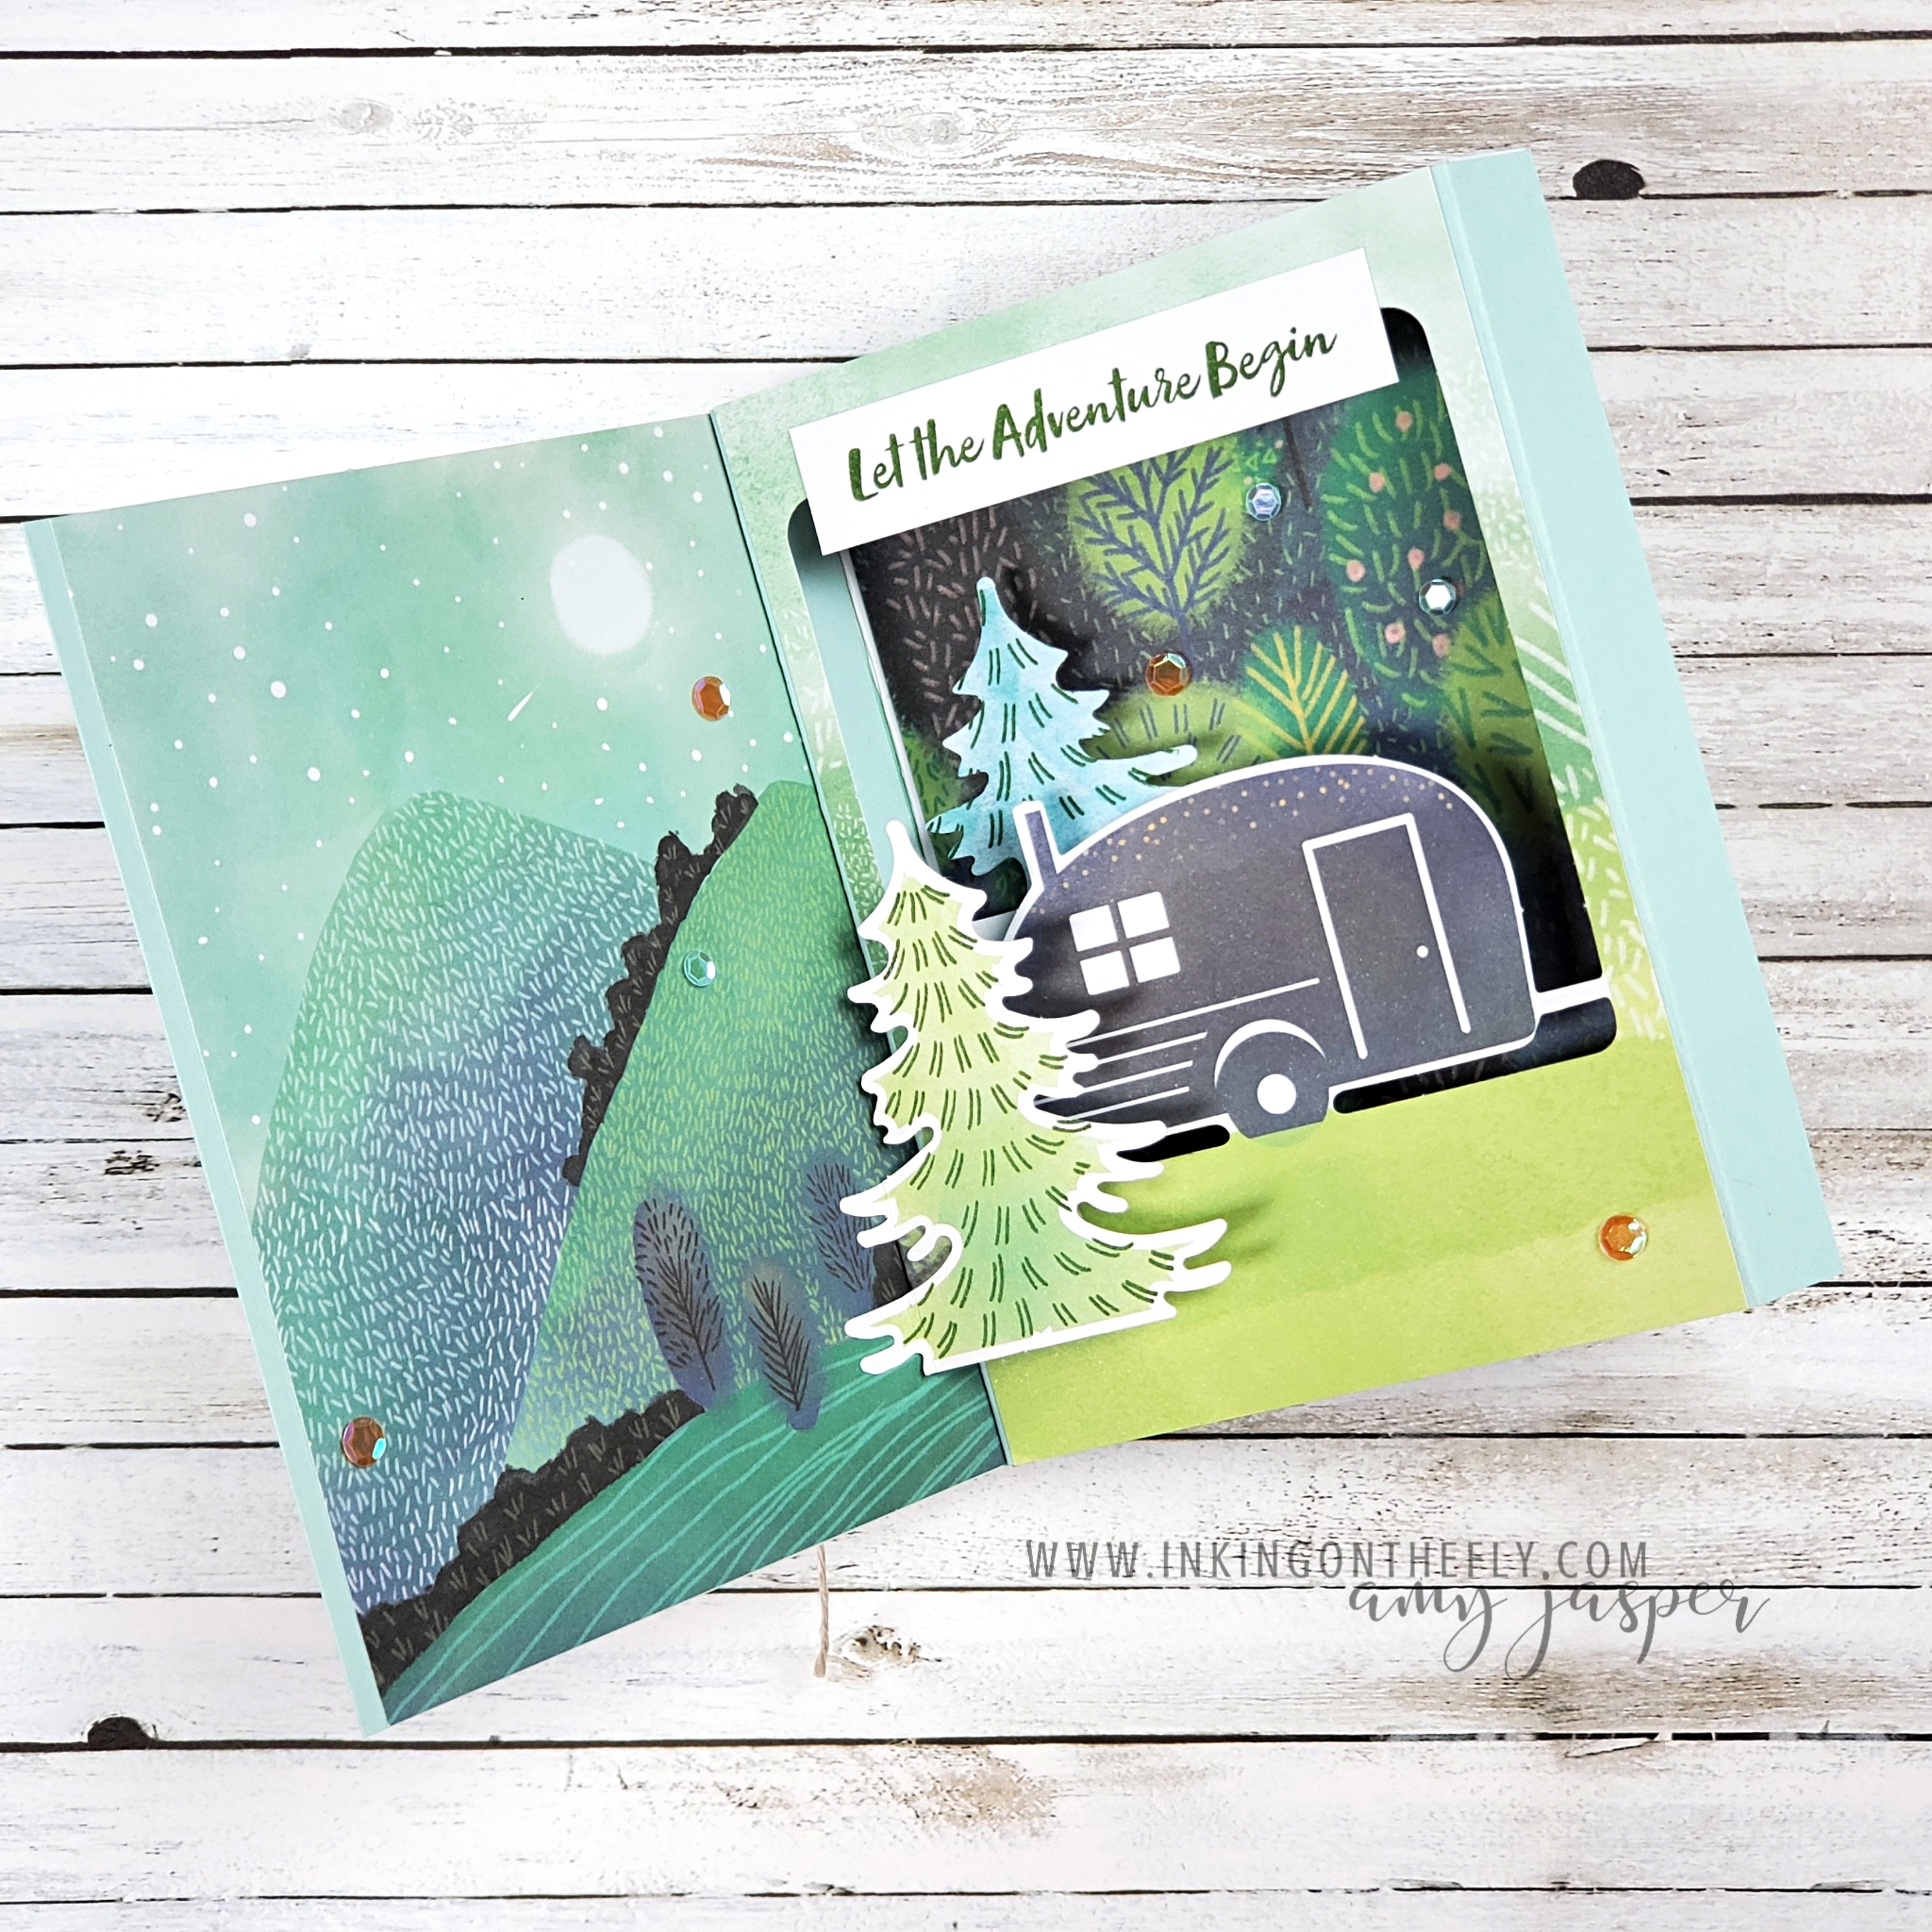
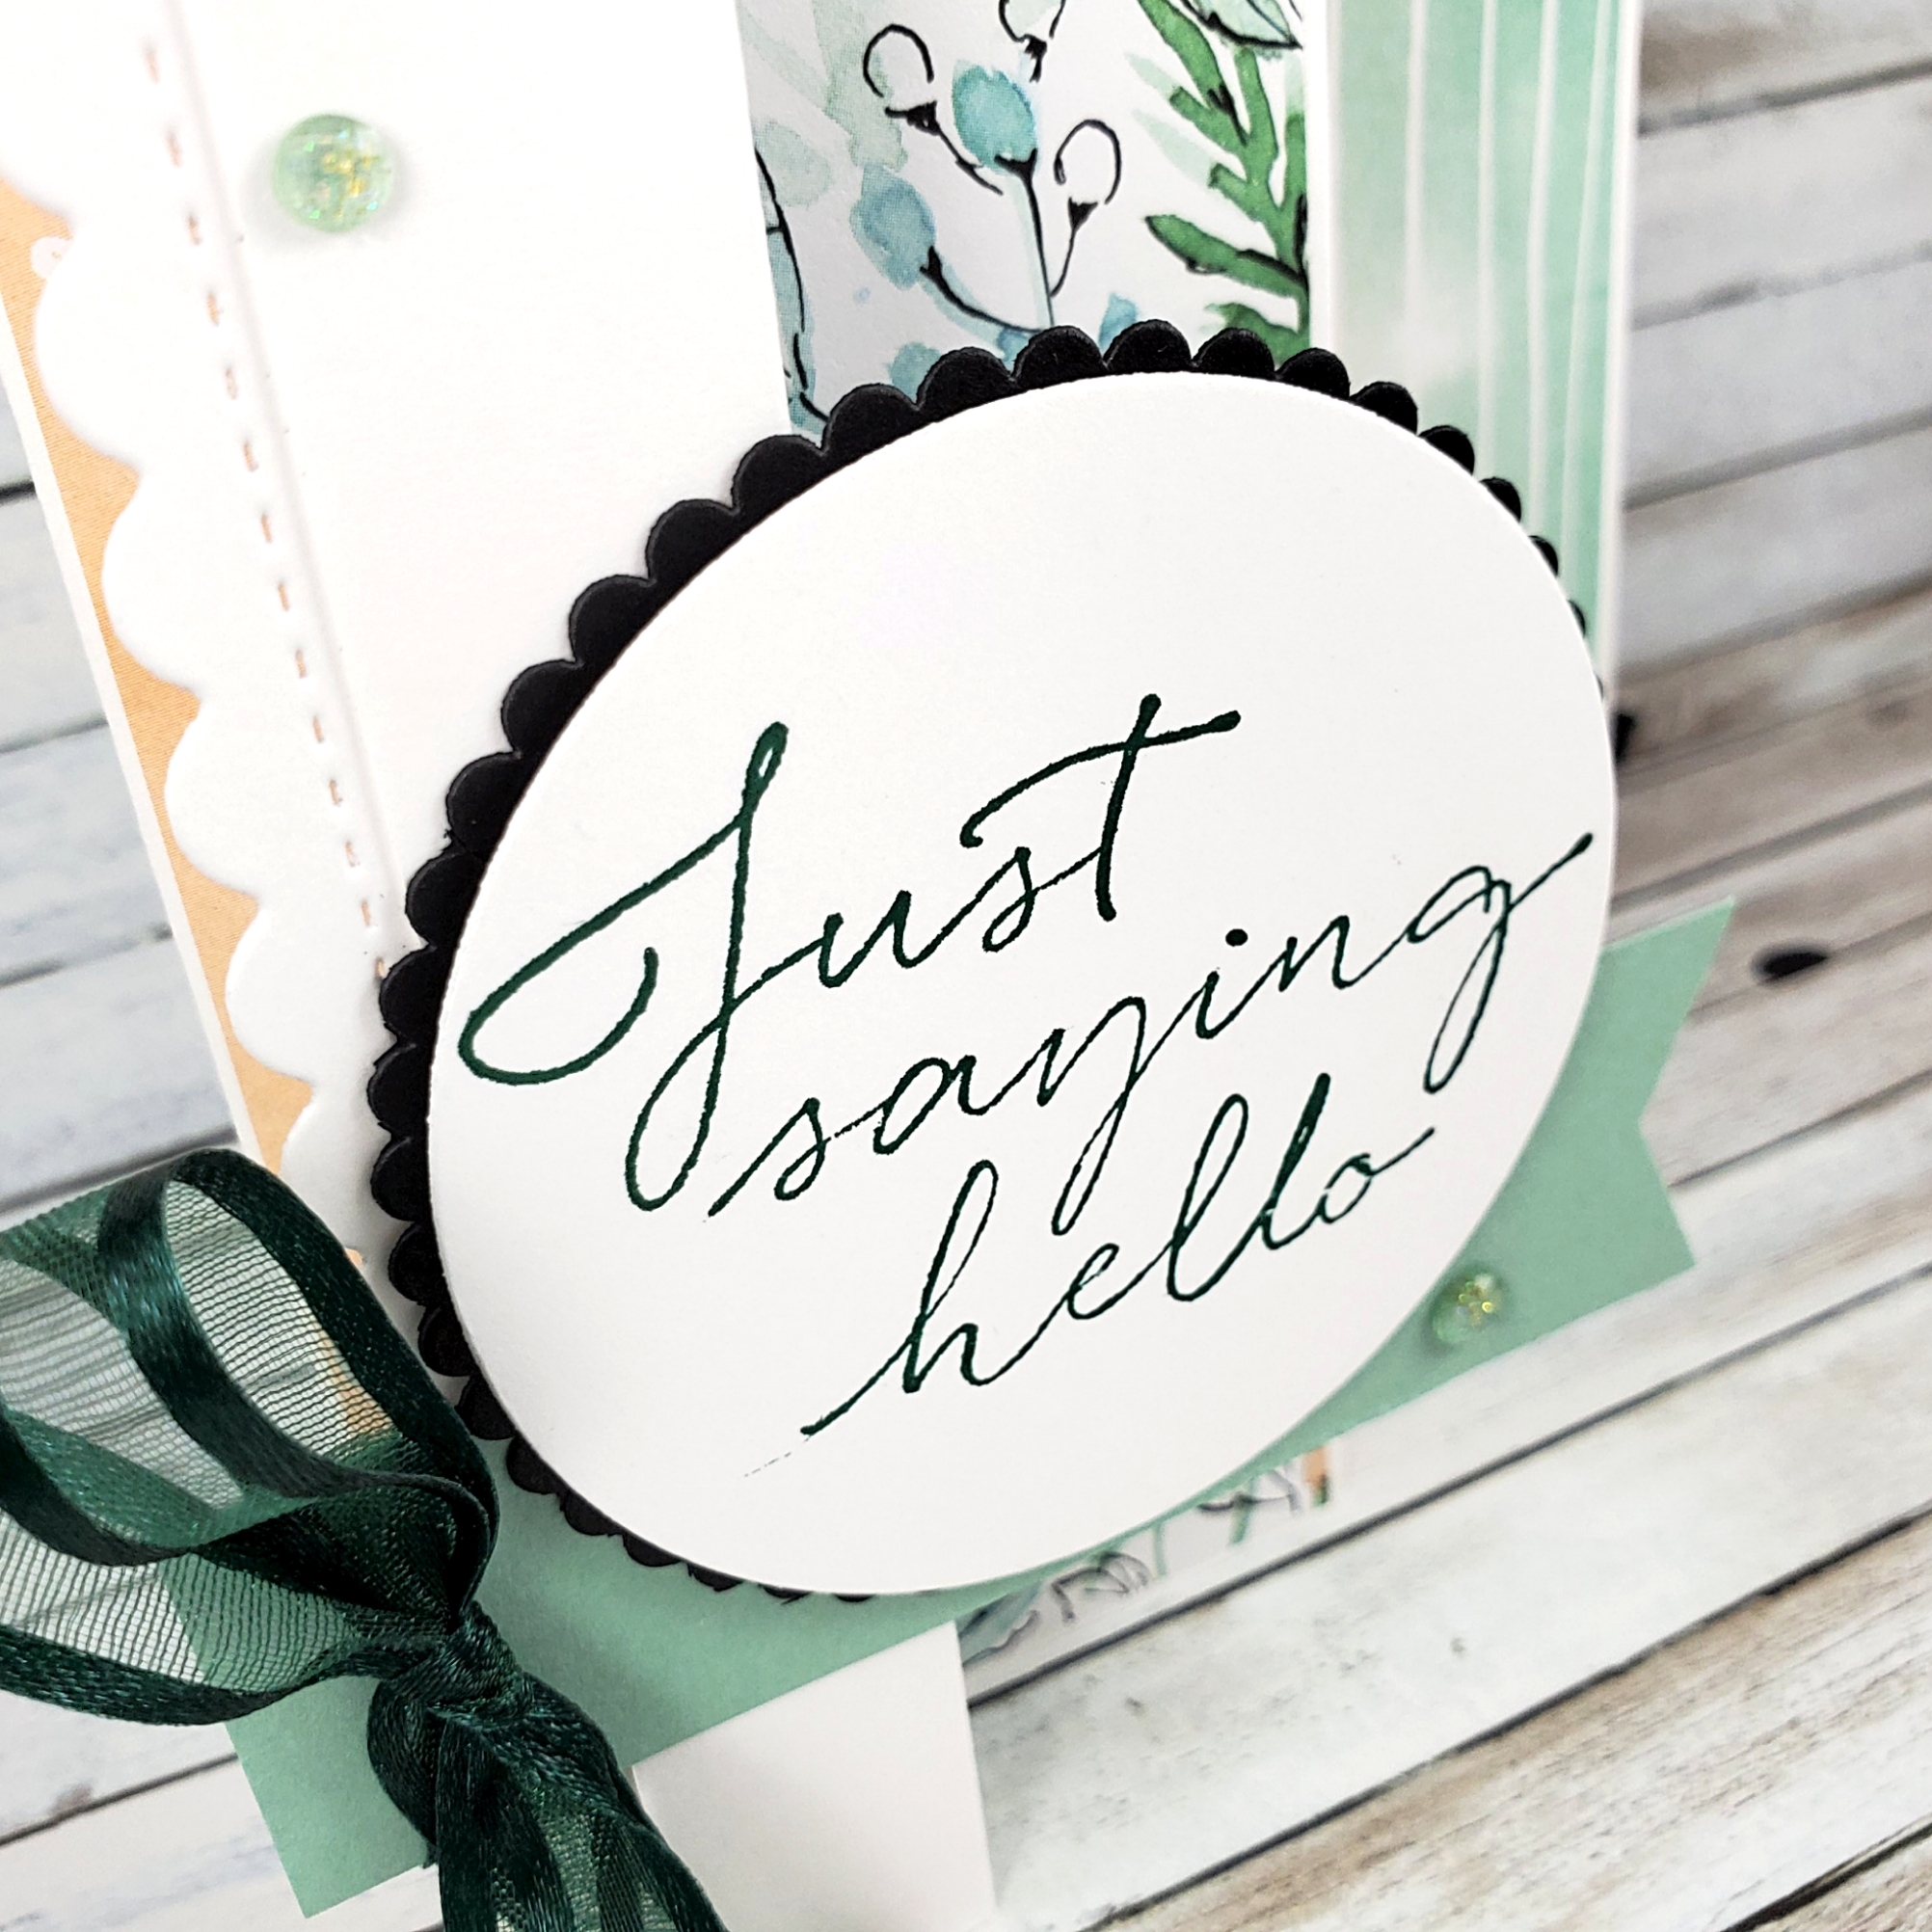
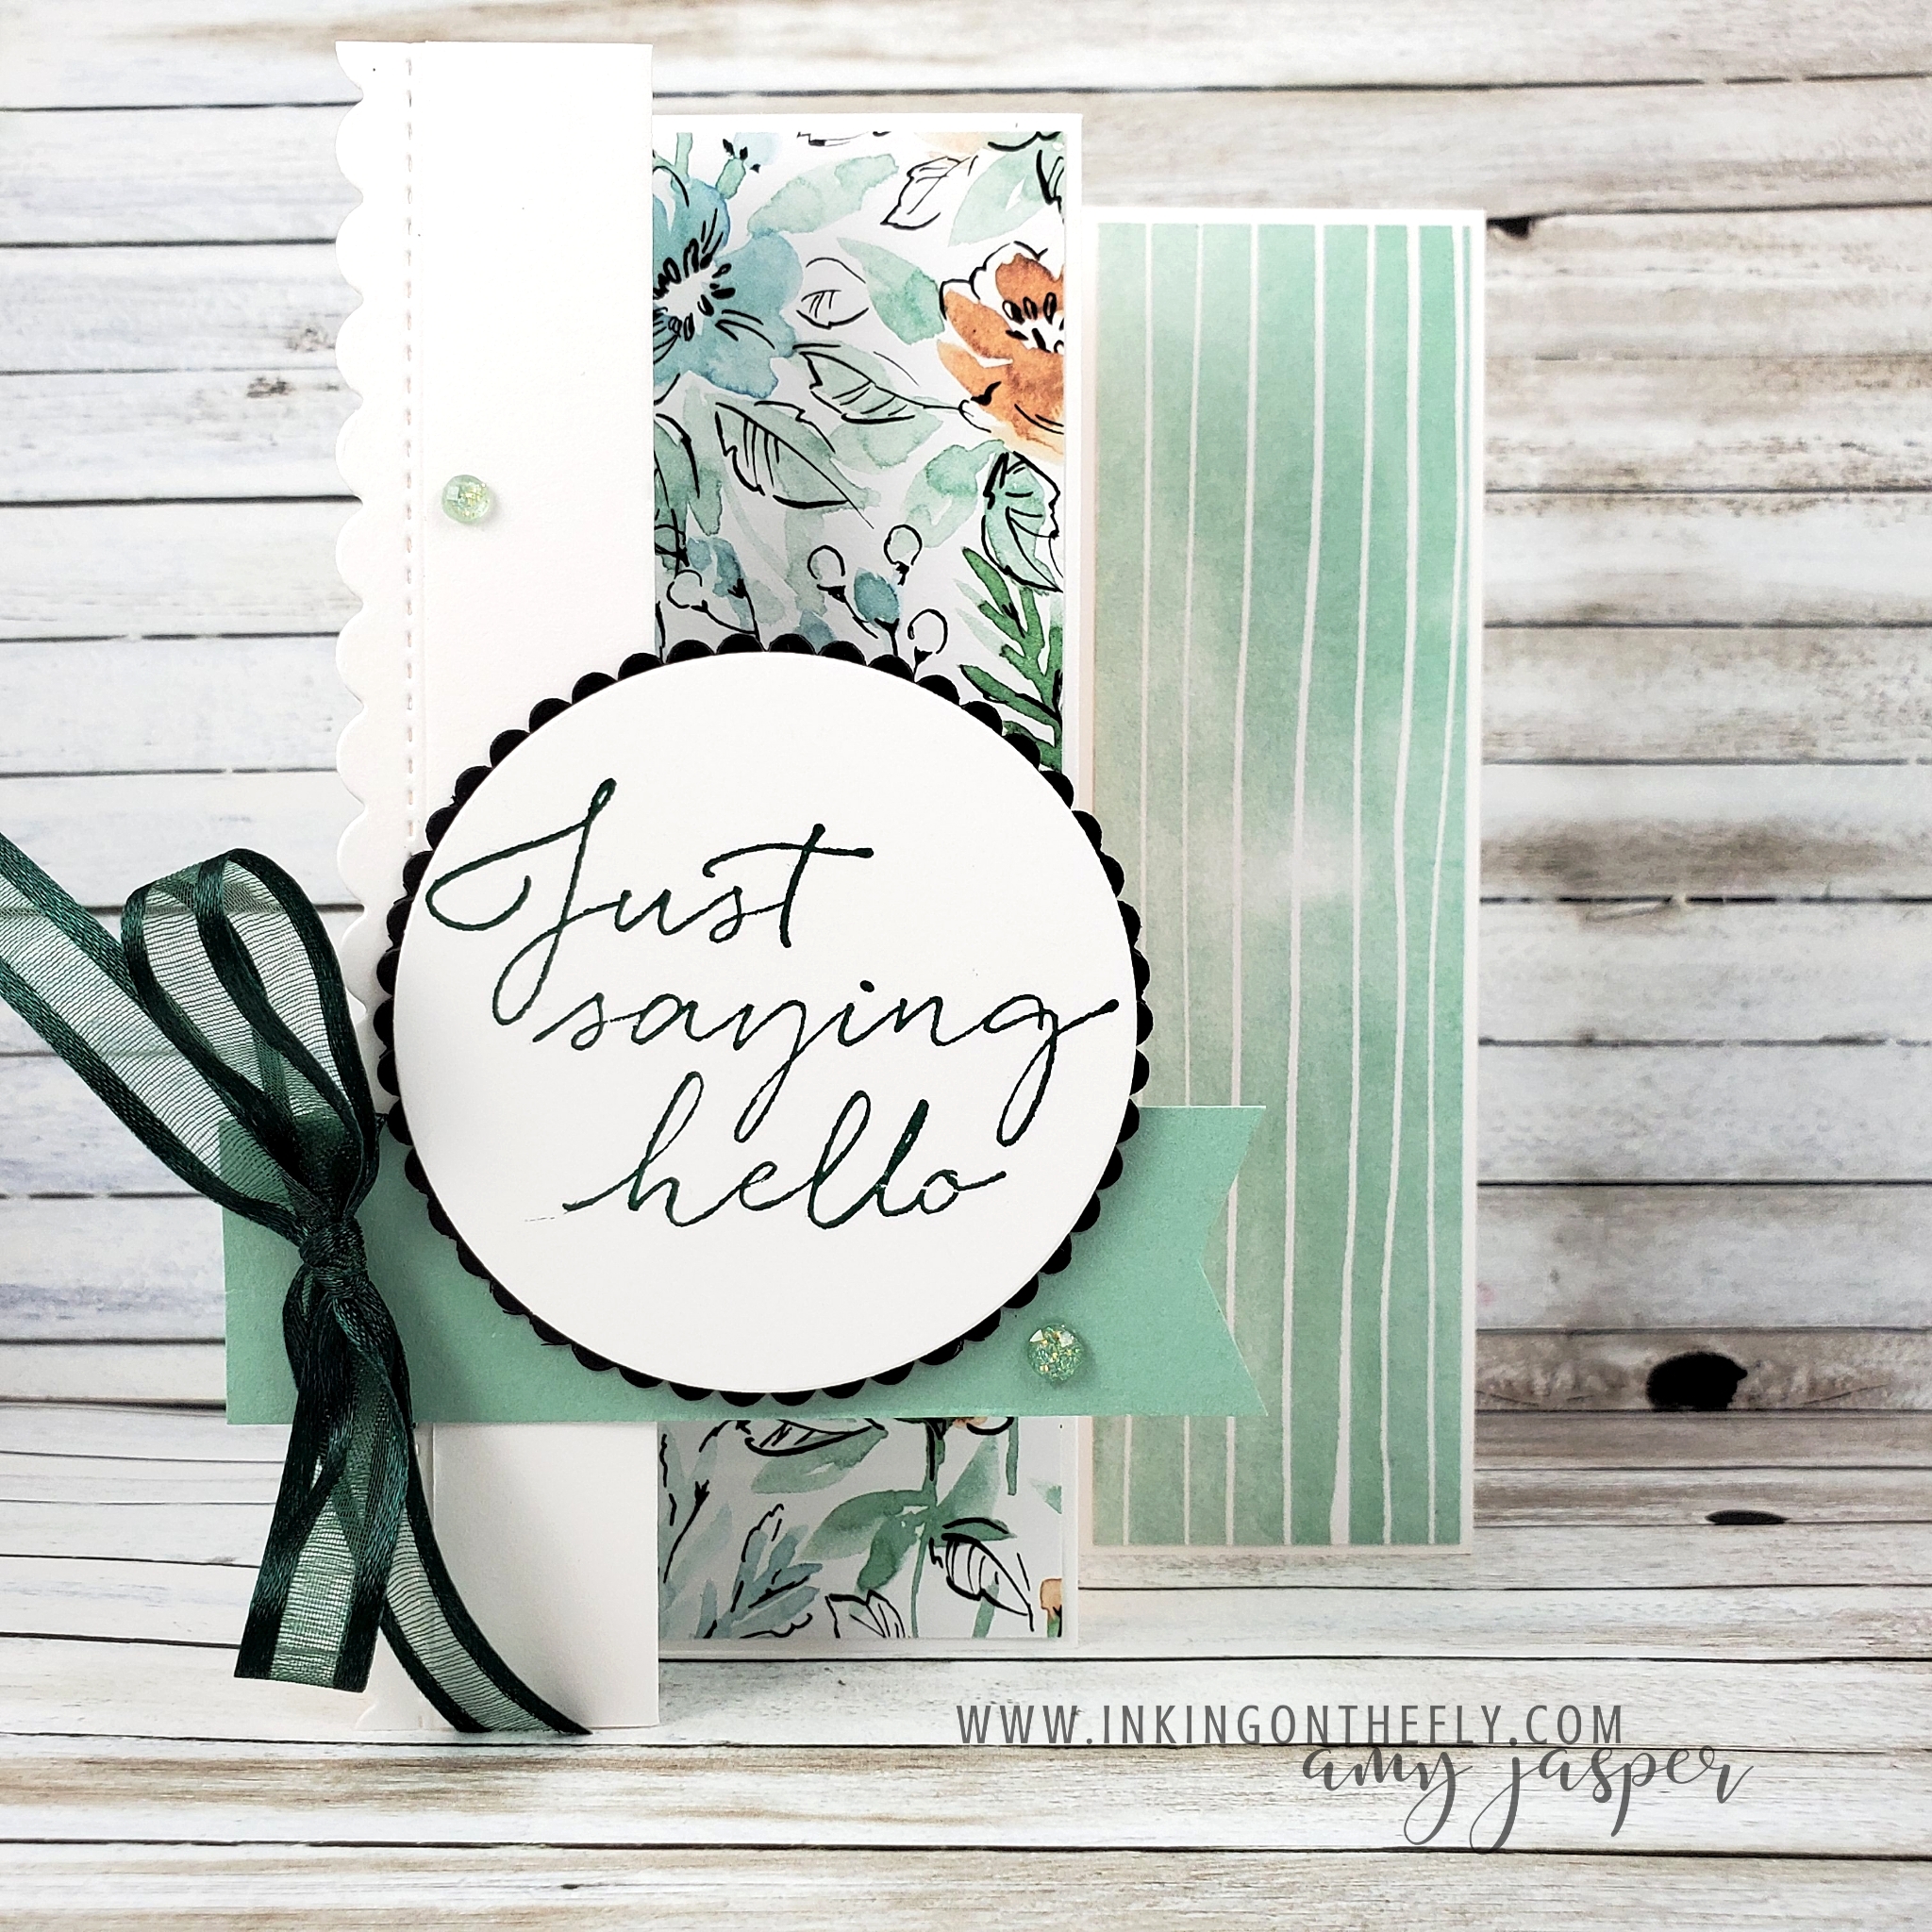
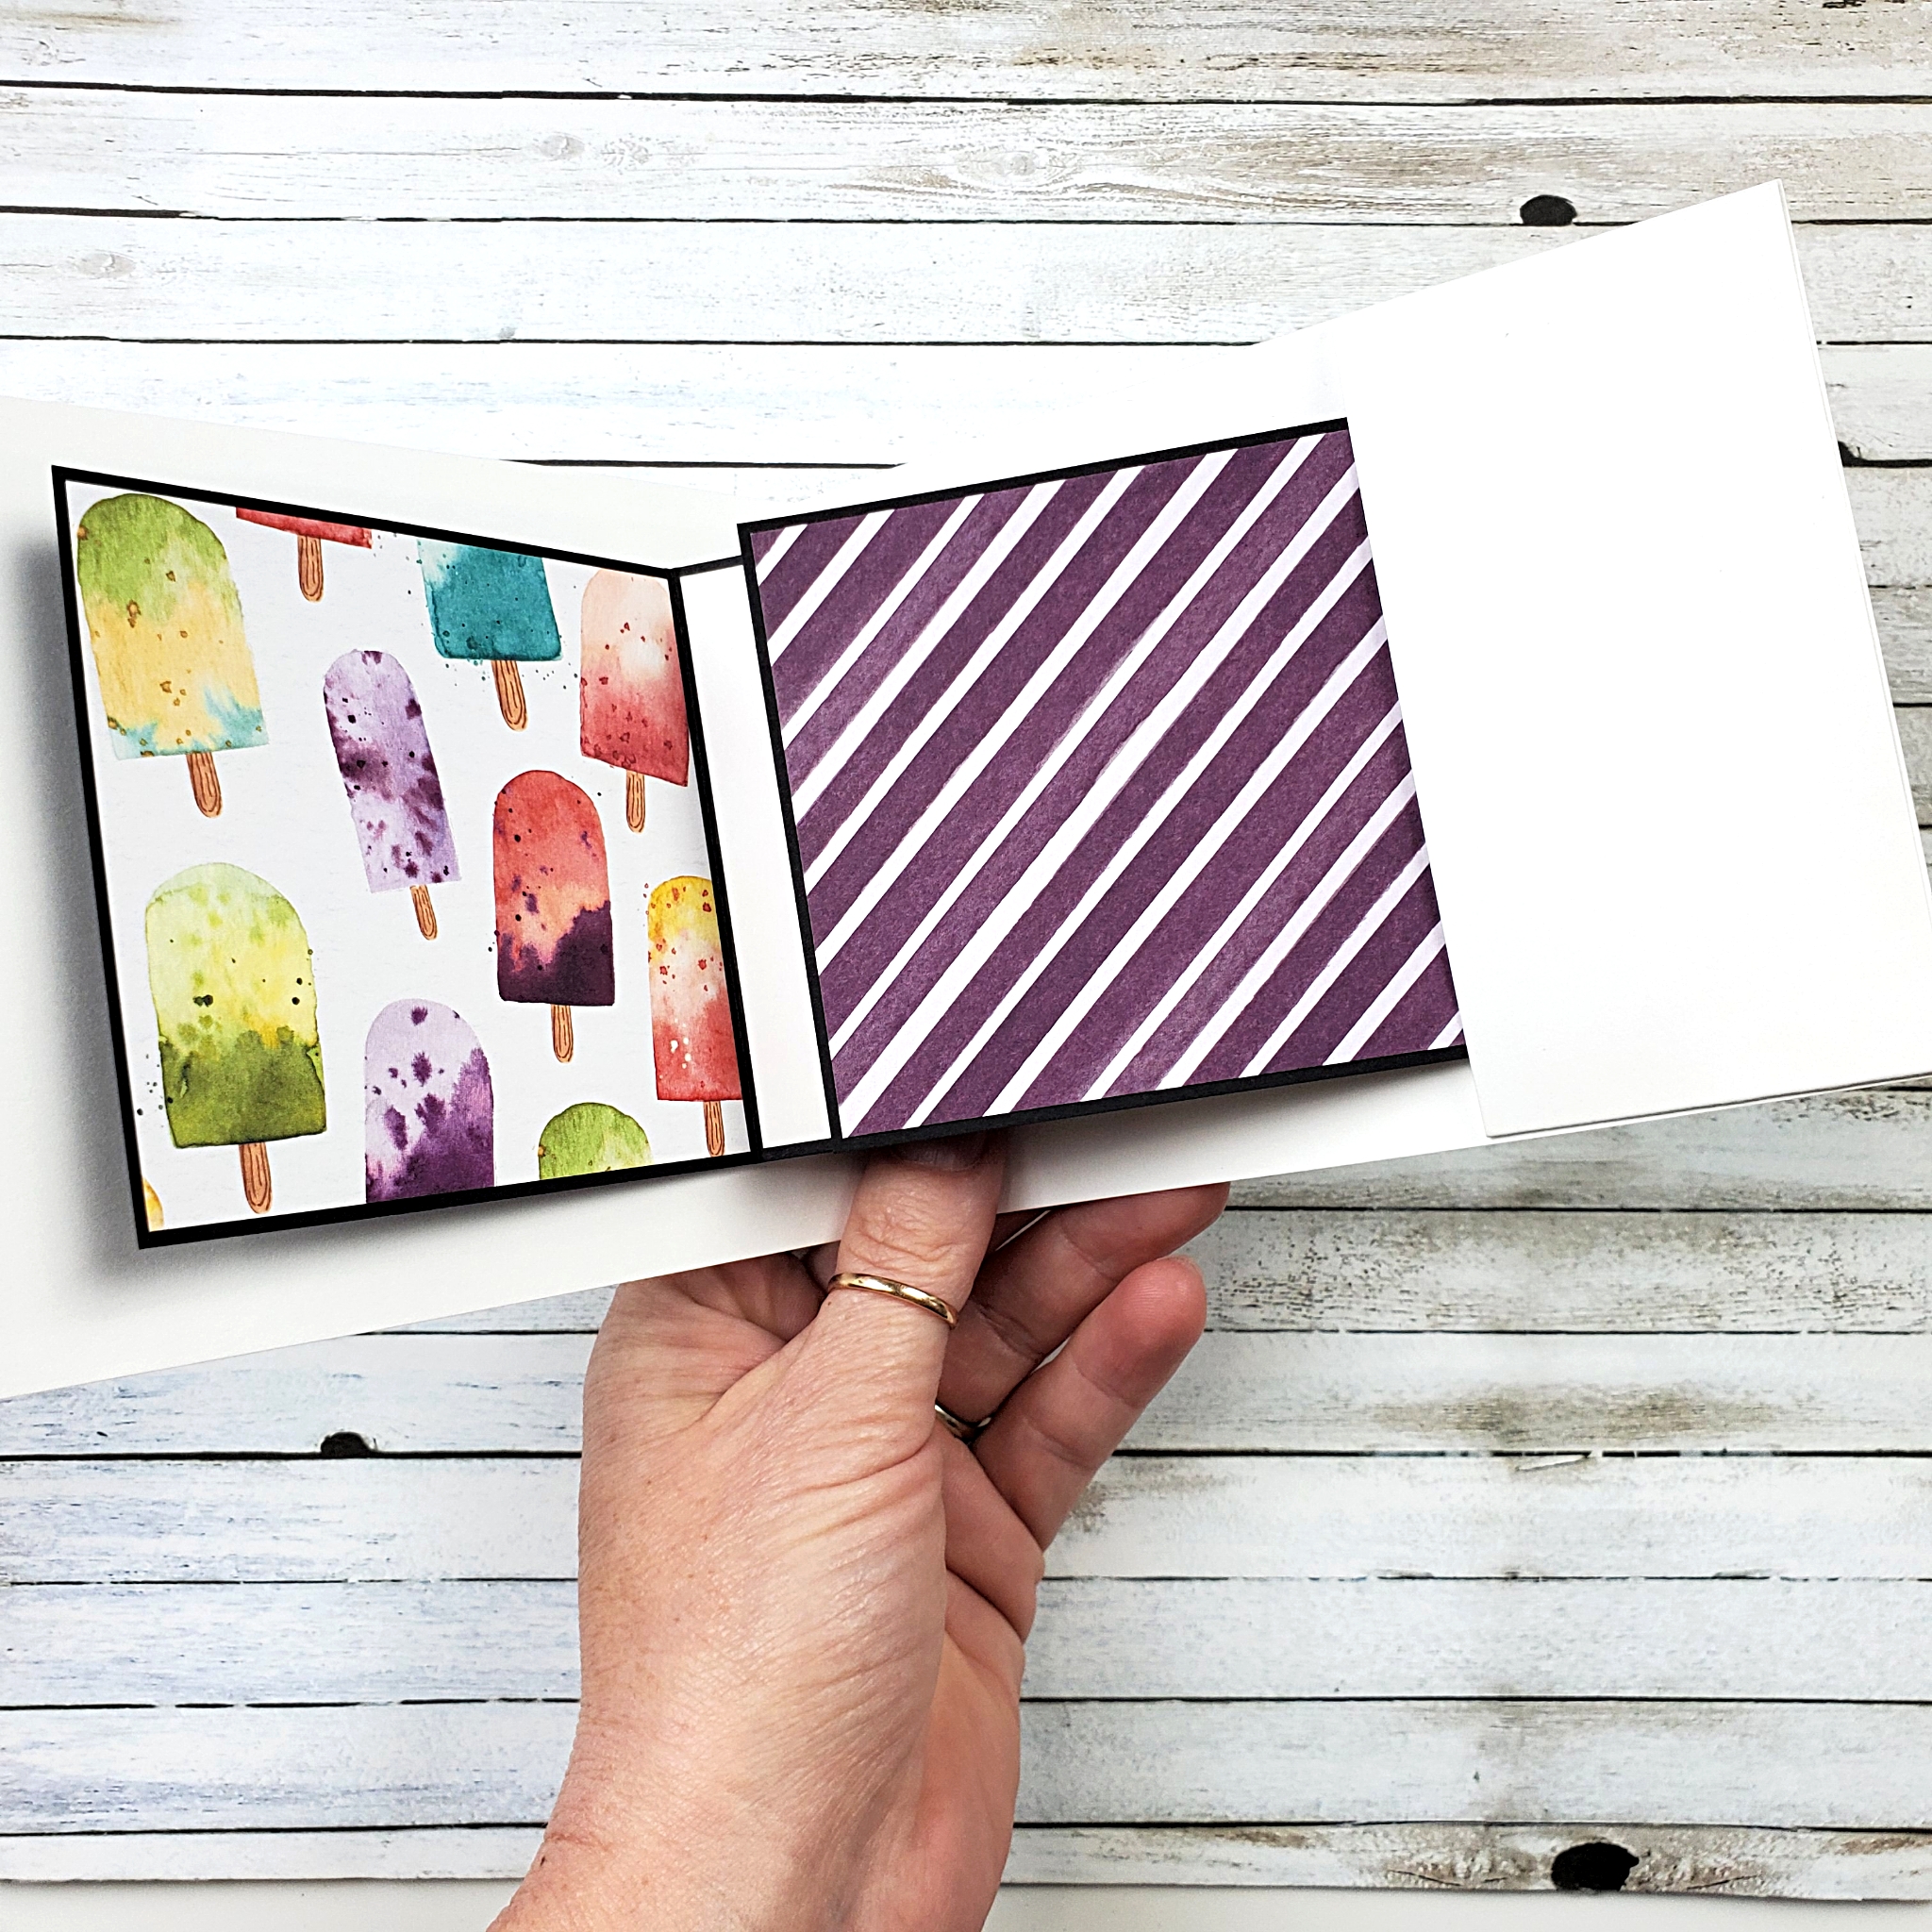
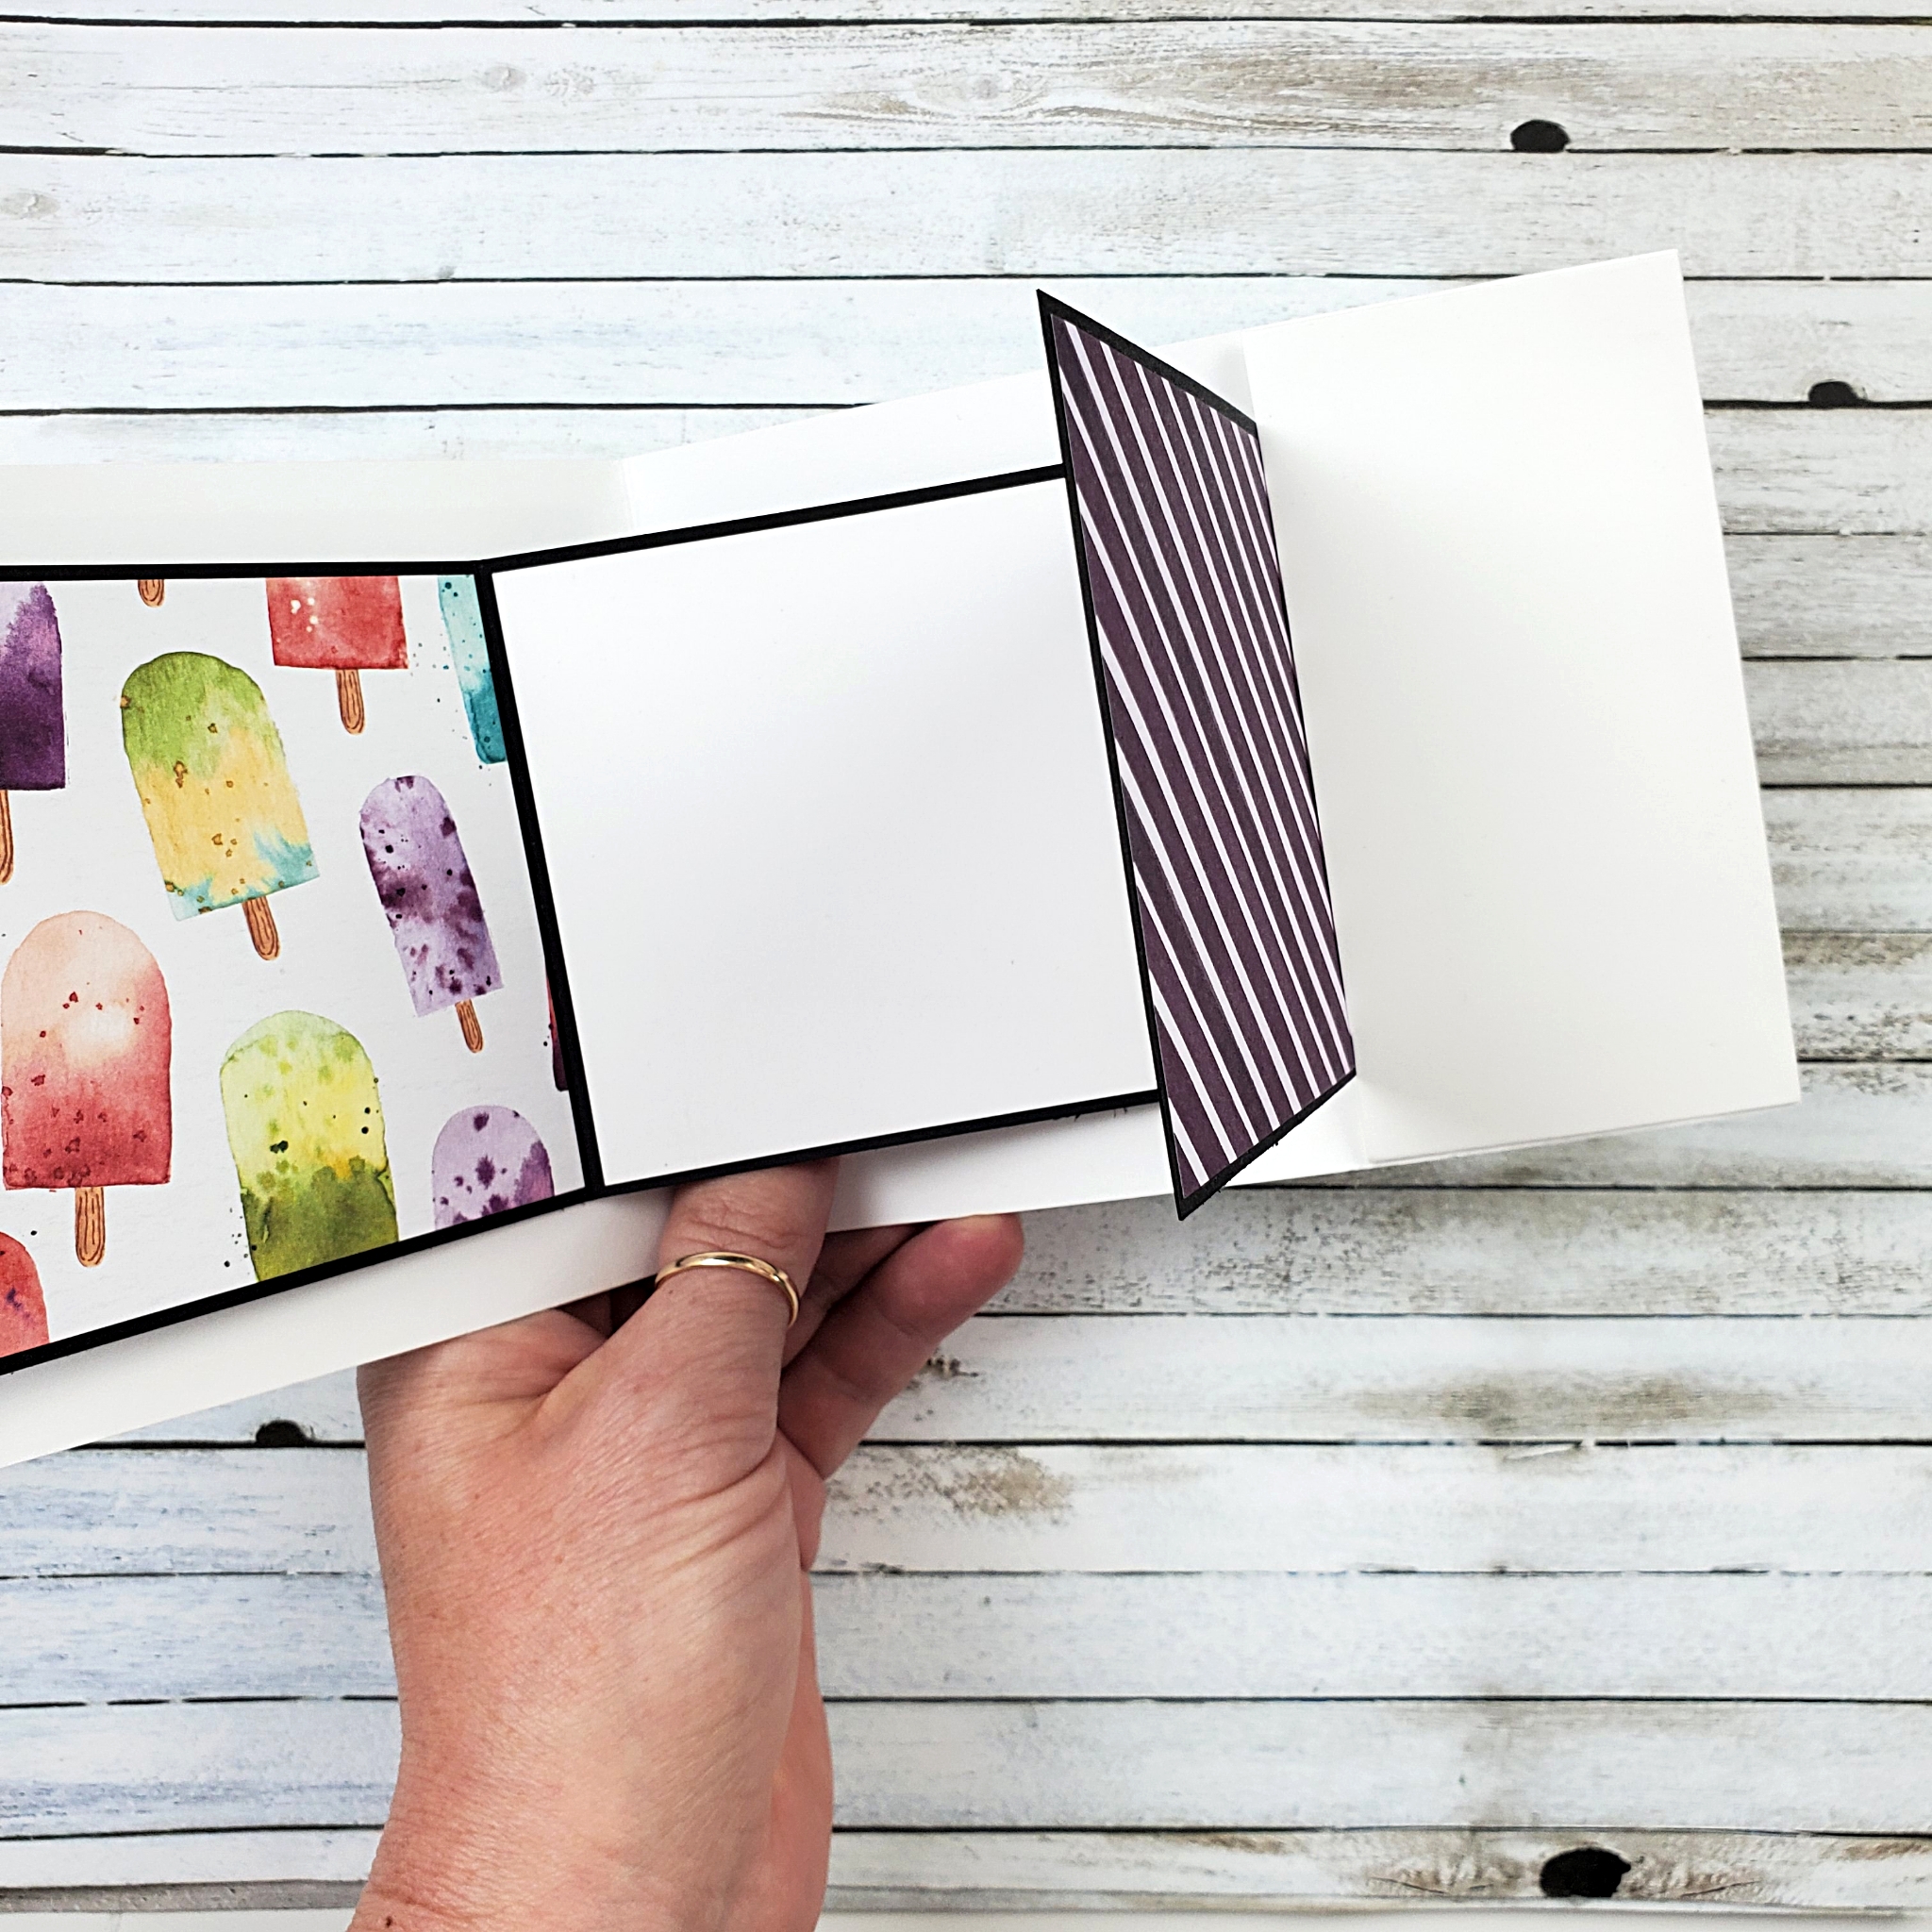
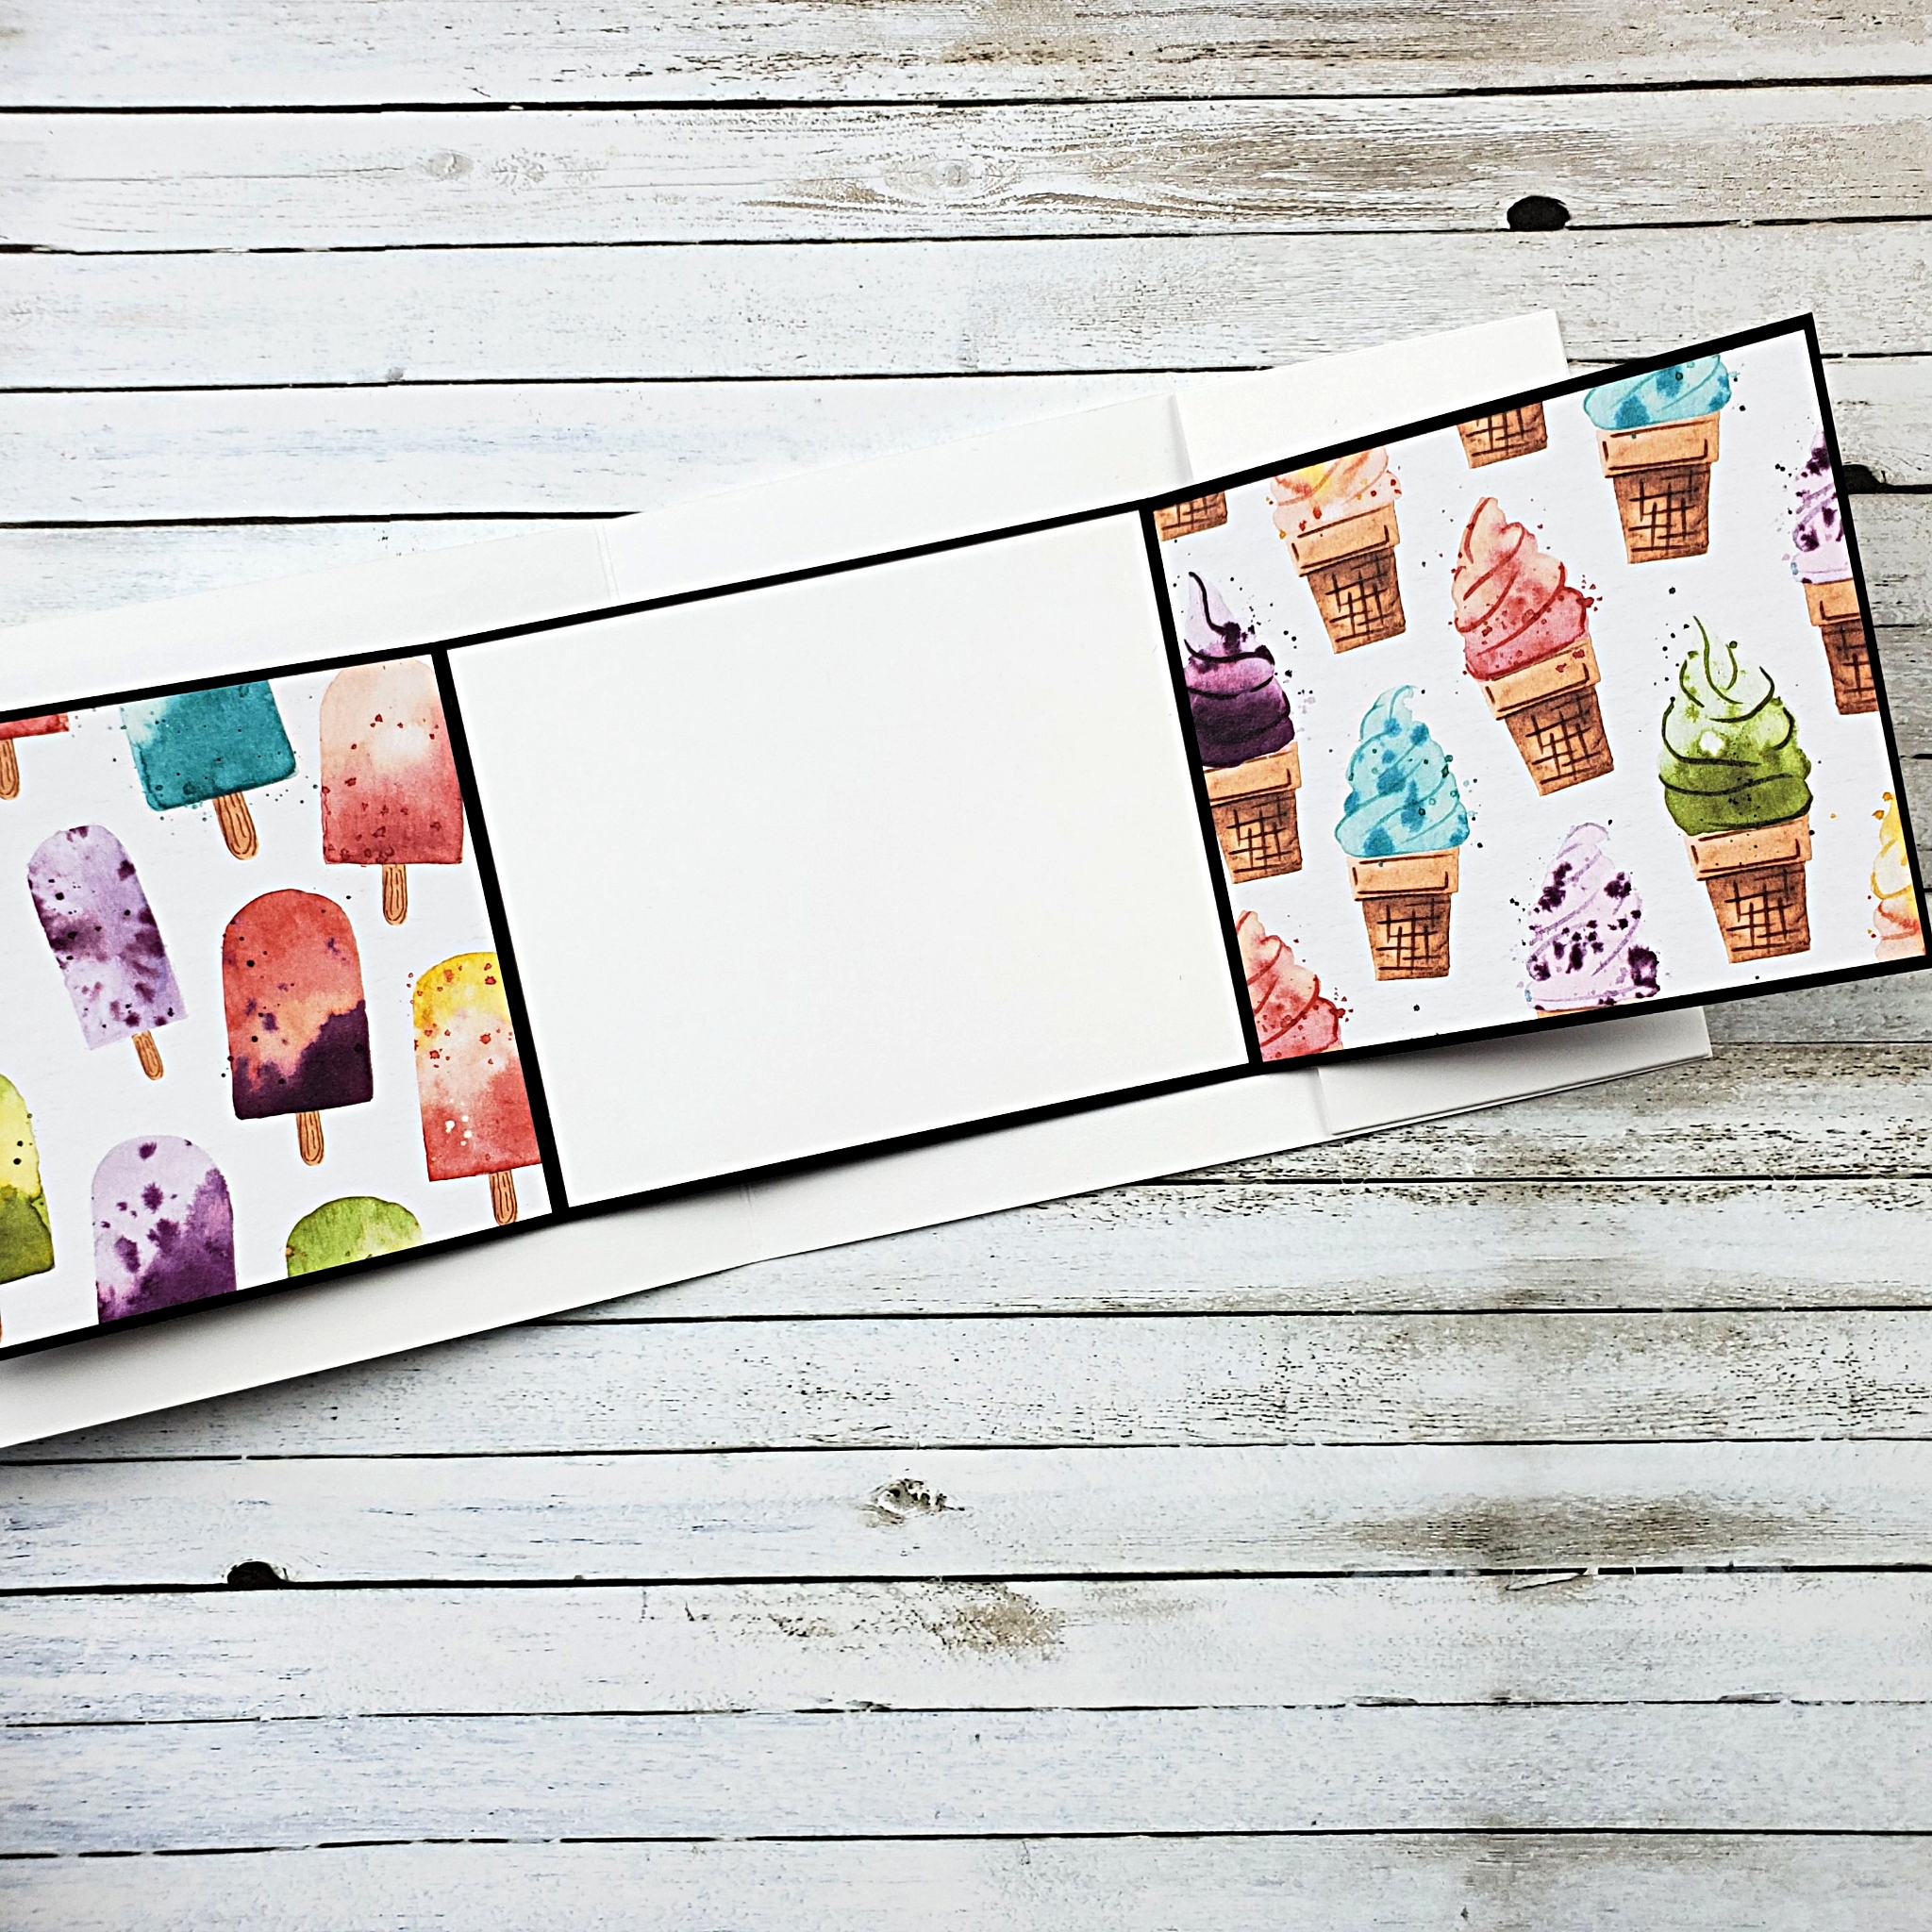
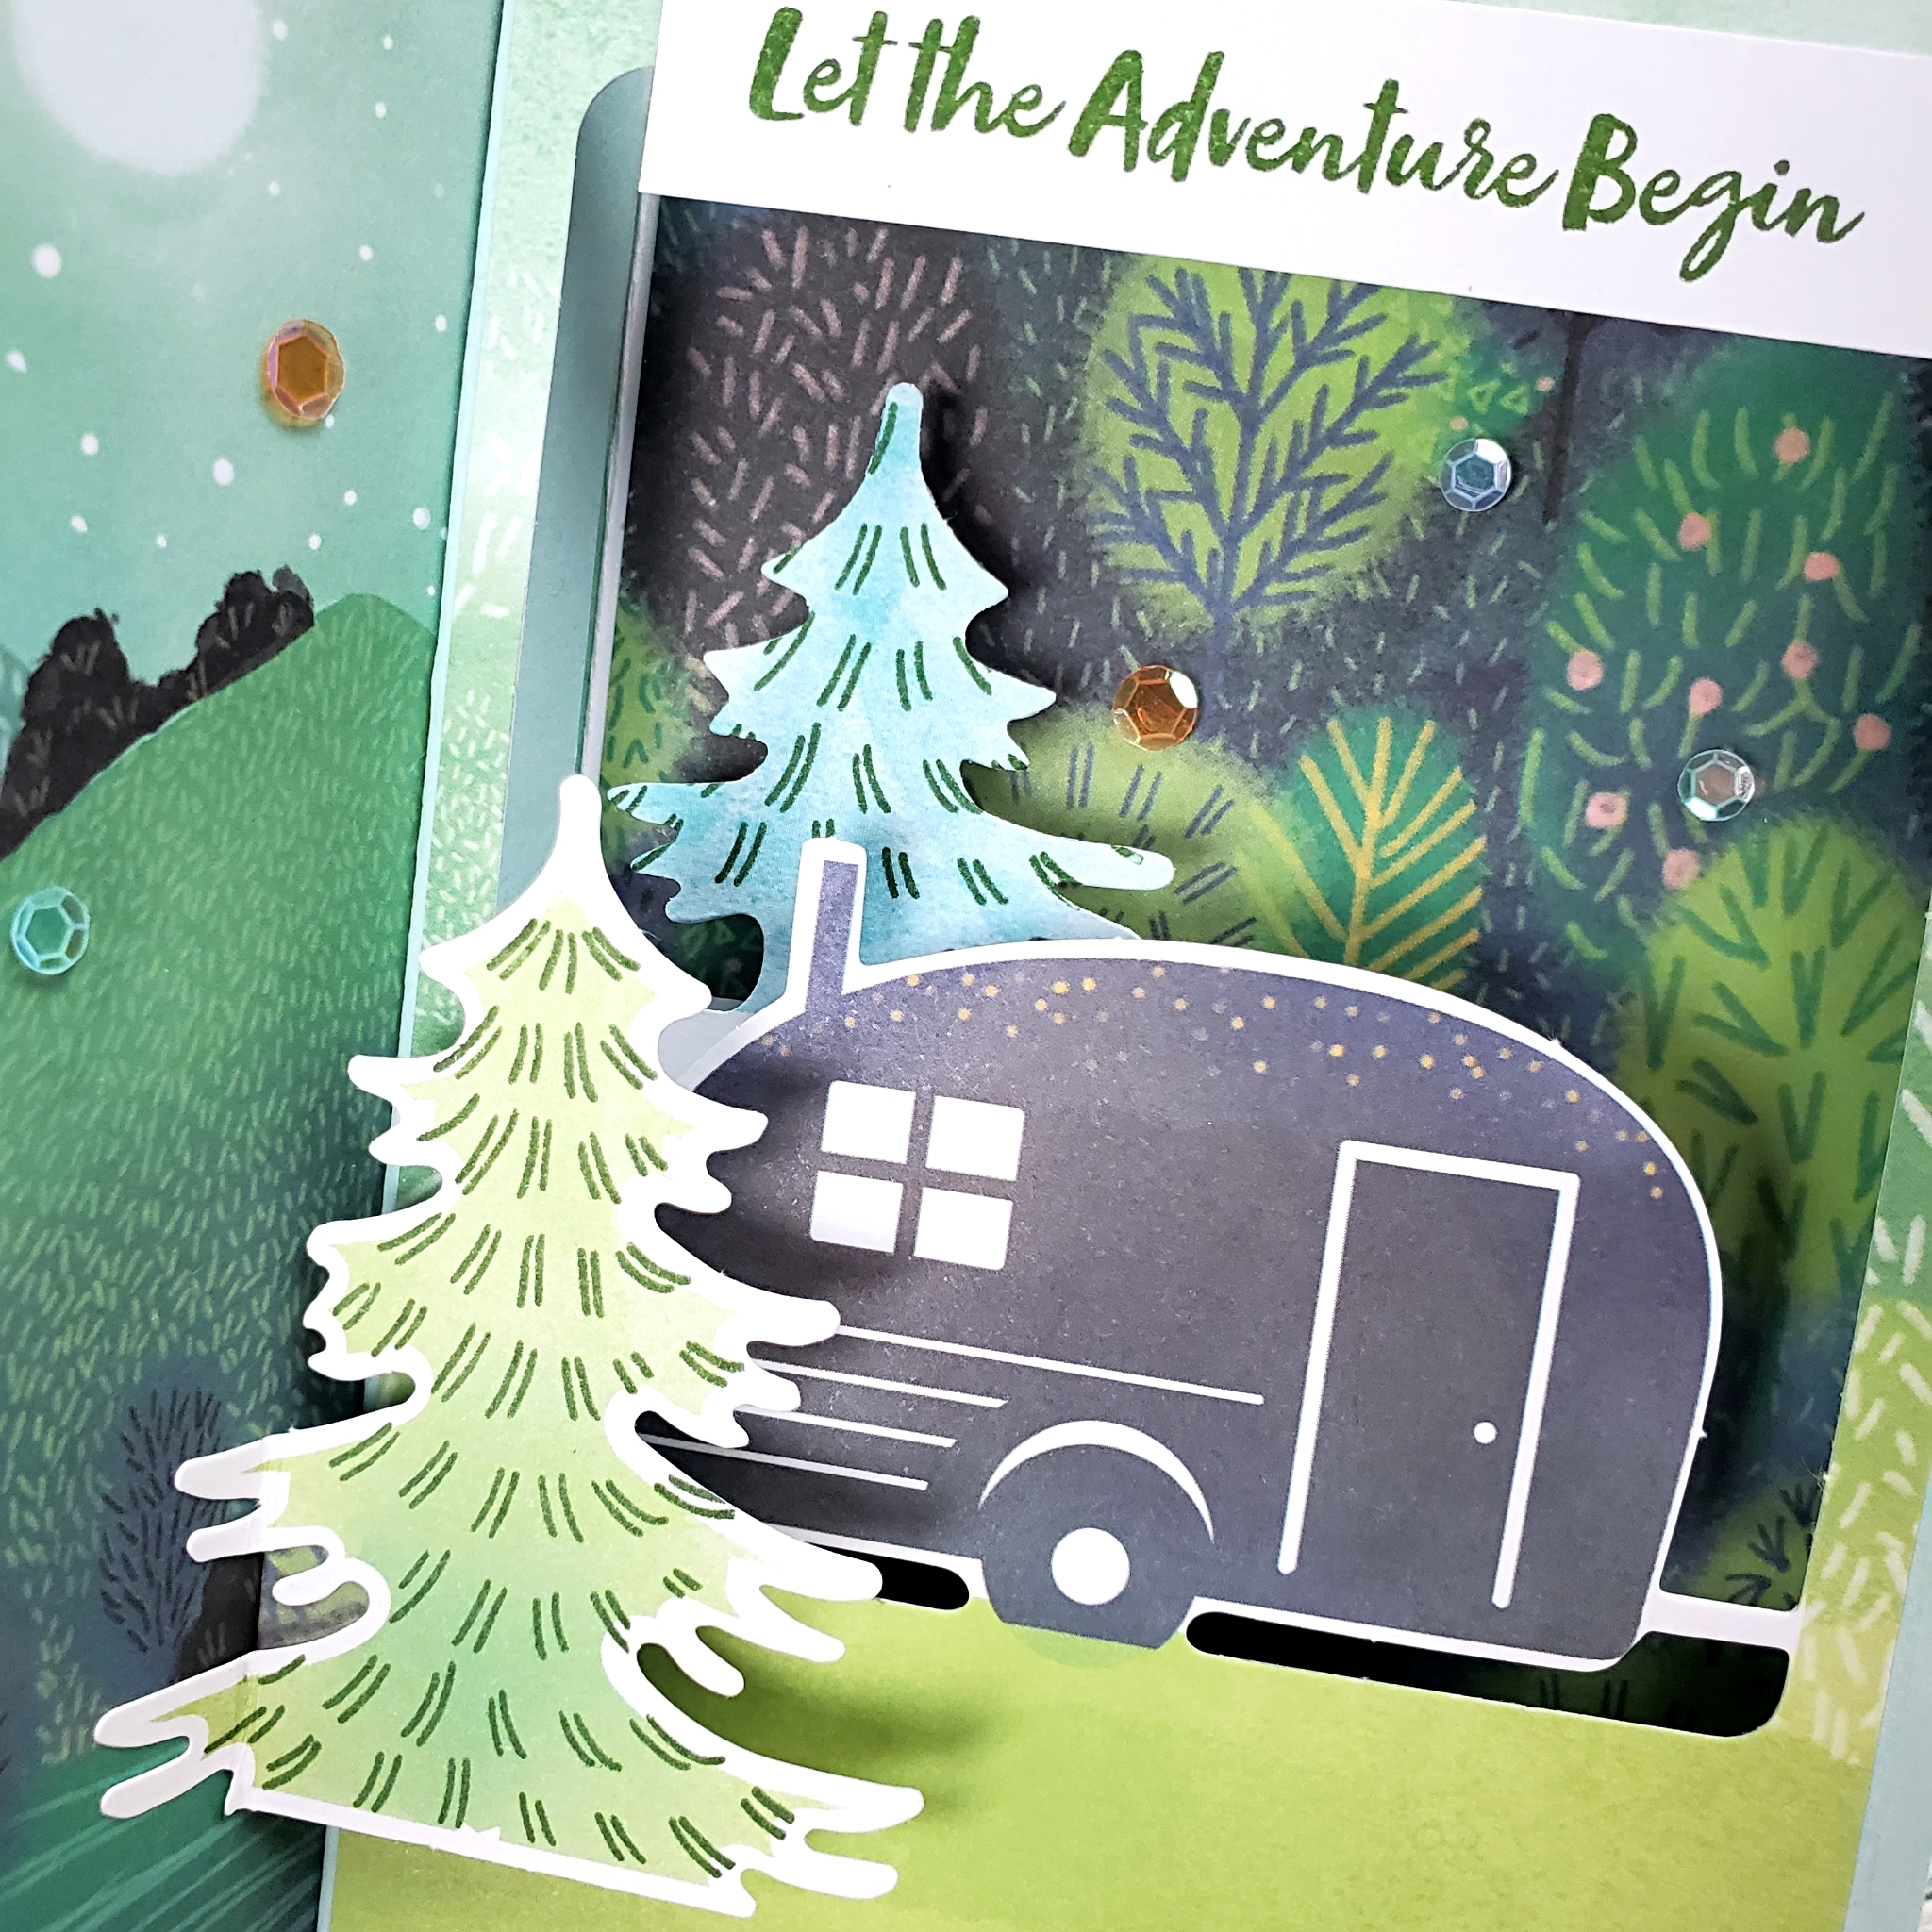
Two of the designs in the July Paper Pumpkin kit were used to create this diorama card. When you open the card, you can see that the inside is the best part with the printed scene on the left and the pop-up scene on the right. This shows off the printed parts of the cards.

How-to Video

Usually, I share my Paper Pumpkin projects in a live stream on Facebook. However, this week I’m taking a vacation, so I pre-recorded the video and scheduled it to post. (tech skills, don’t fail me now!)

Watch the video below to see how to make this fancy pop-up diorama card using the July 2021 Paper Pumpkin Kit – The Adventure Begins.

Start your Paper Pumpkin subscription today. You can choose to make the cards just as they are intended or you can stretch your creativity and make some alternatives. Either way, Paper Pumpkin is a fun escape!

Video: How to Make a Triple Panel Fancy Fold

It’s time to share a Technique Class project with you! This one was offered in my May class. One of the perks of attending my class each month is to receive a written tutorial and to have exclusive access to the video tutorials.

Most people who purchase the class, attend the live, virtual, step-by-step class instruction for the designs as they follow along with the pre-cut supplies included with the class. However, some people aren’t able to attend the virtual class and some aren’t able to receive the class kit (due to out-of-country restrictions). Those people rely heavily on the tutorials to complete their projects.

The videos remain exclusive to the class participants for two months. After that, my friends, the video becomes accessible to the public. Often, that means there will be products used for the design that are no longer available for purchase. However, as I have said before, I know that you’re a very clever crafter and will be able to substitute other products as needed.

Designer Series Paper Sale

As you may have noticed, this fancy fold design features the beautiful Hand-Penned Designer Series Paper from Stampin’ Up!. I have been enjoying working with this paper so very much. In fact, I’m a little surprised that I keep reaching for it and haven’t become tired of it! I hope you haven’t either! Lucky for us, it’s included in the designer paper sale until August 2nd!

Watch the video tutorial below to get the details on this fancy fold design.

I will let the video do the explaining today. The product list and measurements can be found in the video description on YouTube.

Don’t forget to subscribe to my channel. Your support helps my videos to be seen by more people and, as a result, will help me to grow my business. Not to mention, that by subscribing you’lll be less likely to miss my videos as they’re posted!

Whether you have the products used for this card or not, give this fancy fold a try! At the risk of sounding like a broken record, you are a clever crafter. I’m more than confident you will make something beautiful!

Have fun and get creating!

My How-to Video Makes this Fun Pop-up-flap Card Easy

I love pop-up cards and this design is one of my absolute favourites! I first discovered this style of pop-up by watching a video tutorial shared by Mitosu Crafts. You should definitely check out their great ideas on YouTube.

I didn’t follow their directions exactly. Instead, I made a few adaptations to the pop-up mechanism to make it a little less bulky and, hopefully, a little bit simpler.

The ice cream patterned paper pack is no longer available from Stampin’ Up! I don’t think that will be a problem for you because I know you’re very clever crafters and will be able to make a beautiful card with different paper. In fact, I’d like to make another card like this one and use some of the bright and cheerful paper from the Pattern Party Paper Pack. It has 48 sheets of 12″ x 12″ paper that you can only get with Host Rewards from hosting a workshop or placing an order for yourself that’s over $200 CAD.

The ice cream cones on the front of this design are also from the retired Ice Cream Corner paper, but can easily be replaced using the Ice Cream Cone Builder Punch and the Sweet Ice Cream stamp set from Stampin’ Up!.

Follow along with my video tutorial below and give this pop-up card a try. I think you’ll be pleasantly surprised to find that it’s easier to make than you think! You’ll fine the cutting measurements at the bottom of this post.

Measurements for the Card Front

4 ¼” x 11” Thick Basic White, score at 5 ½”
5” x 3 ¾” Pool Party
1 ½” x 4 ¼” Ice Cream Corner paper
Fussy-cut ice cream cone from Ice Cream Corner paper
3 ⅝” x 2 ⅜” Basic Black Stitched So Sweetly die-cut
3 ¾” x 1” Sahara Sand
21” Baker’s Twine

Measurements for the Inside

2 ⅛” x 5” Thick Basic White, score at ⅜”, 4 ⅝”
2” x 3” Thick Basic White, score at 1”, 2”, 2 ½”
11” x 3 ¼” Basic Black, score at 3 ½”, 7 ½”
3 ⅞” x 3 ⅛” Basic White
2” x 2 ½” Clear envelope (or plastic bag)
3 ⅜” x 3 ⅛” Ice Cream Corner DSP (x3)