simple and cute

Beautiful Hand-Penned Petals in Ombré

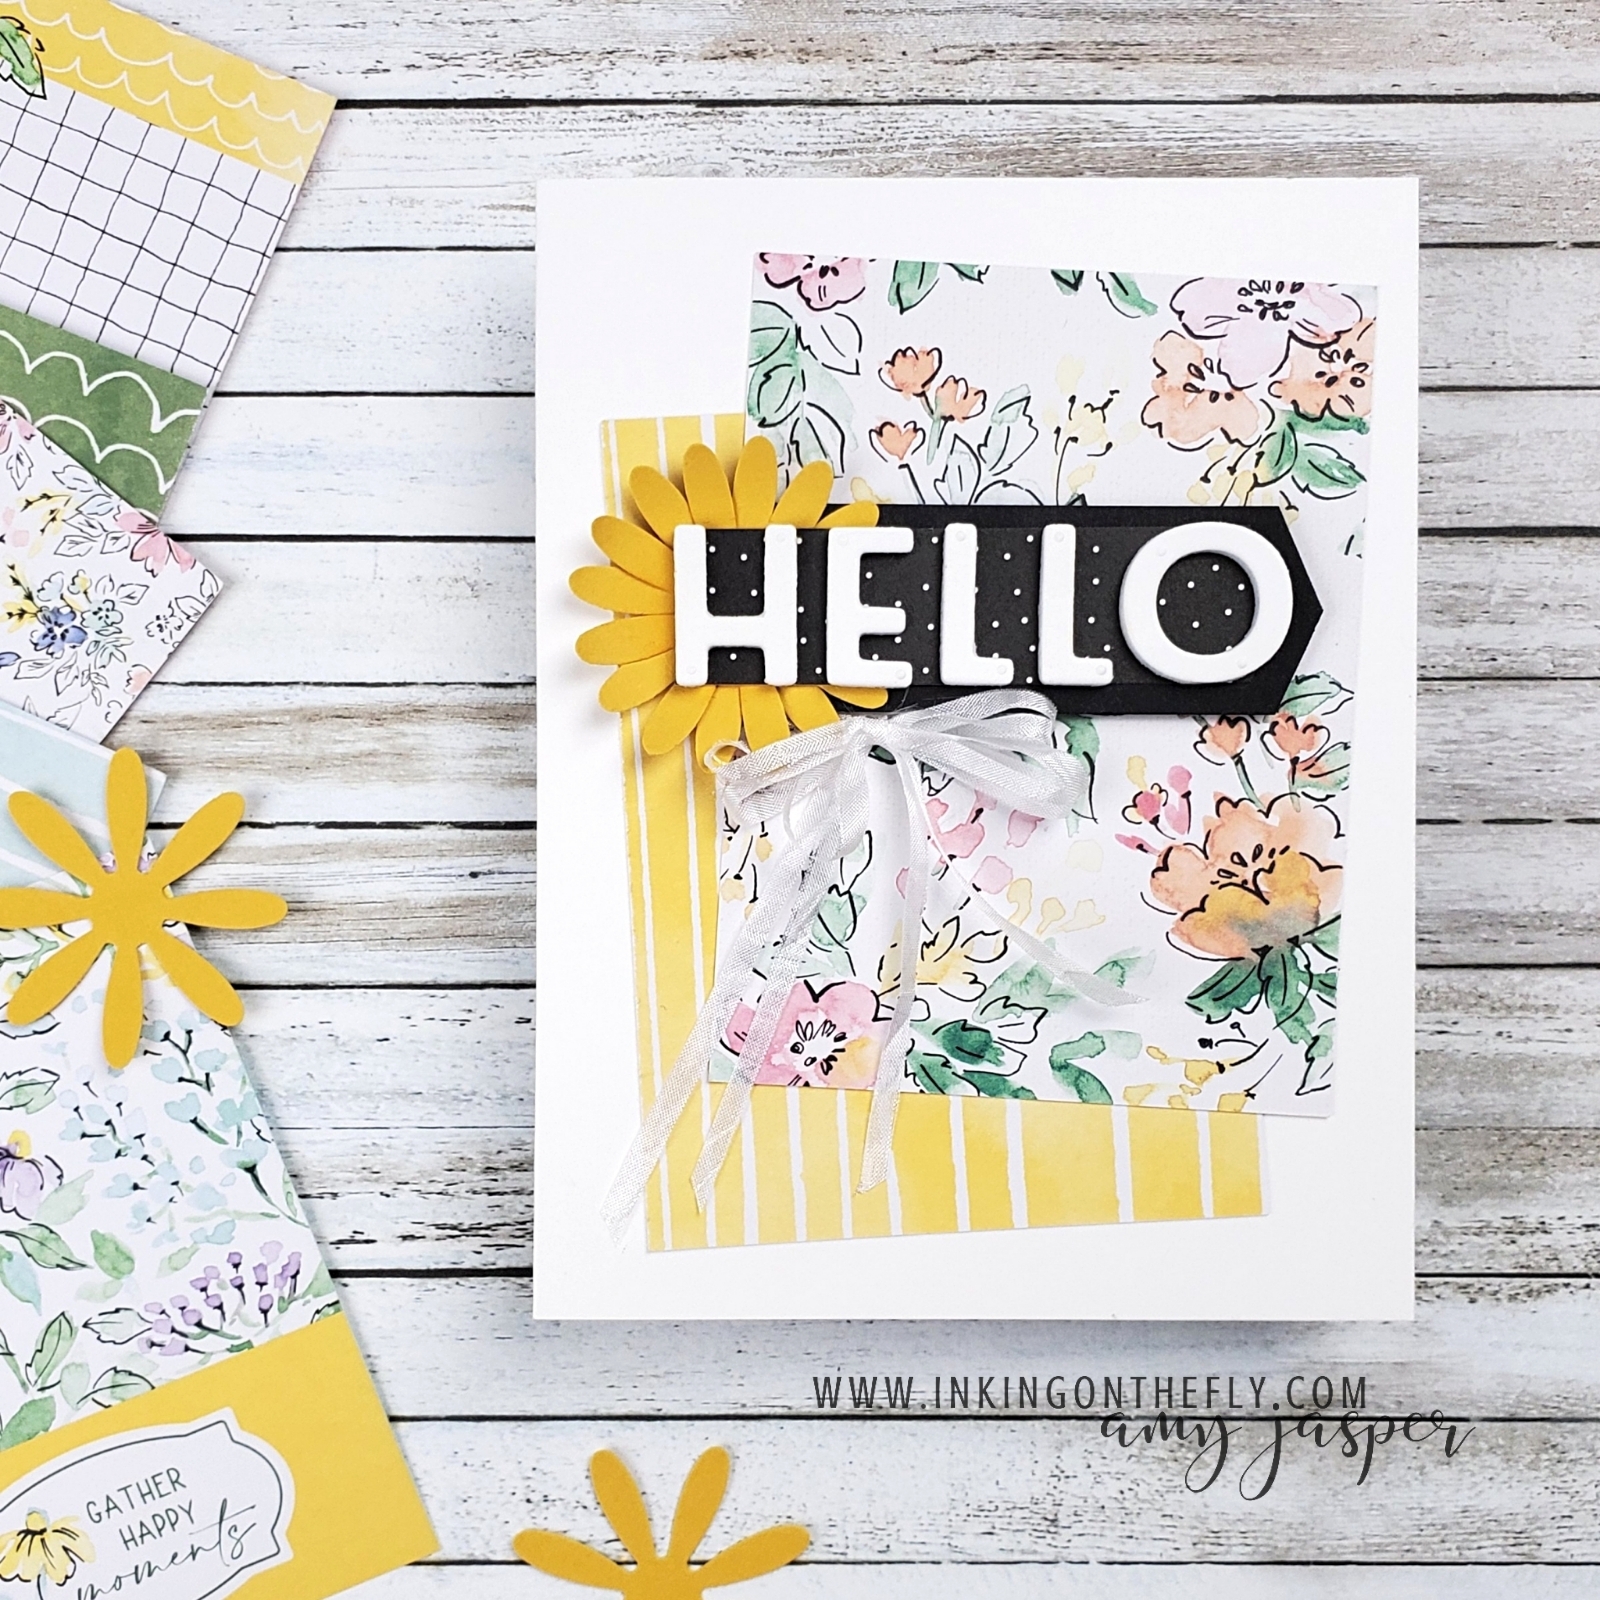
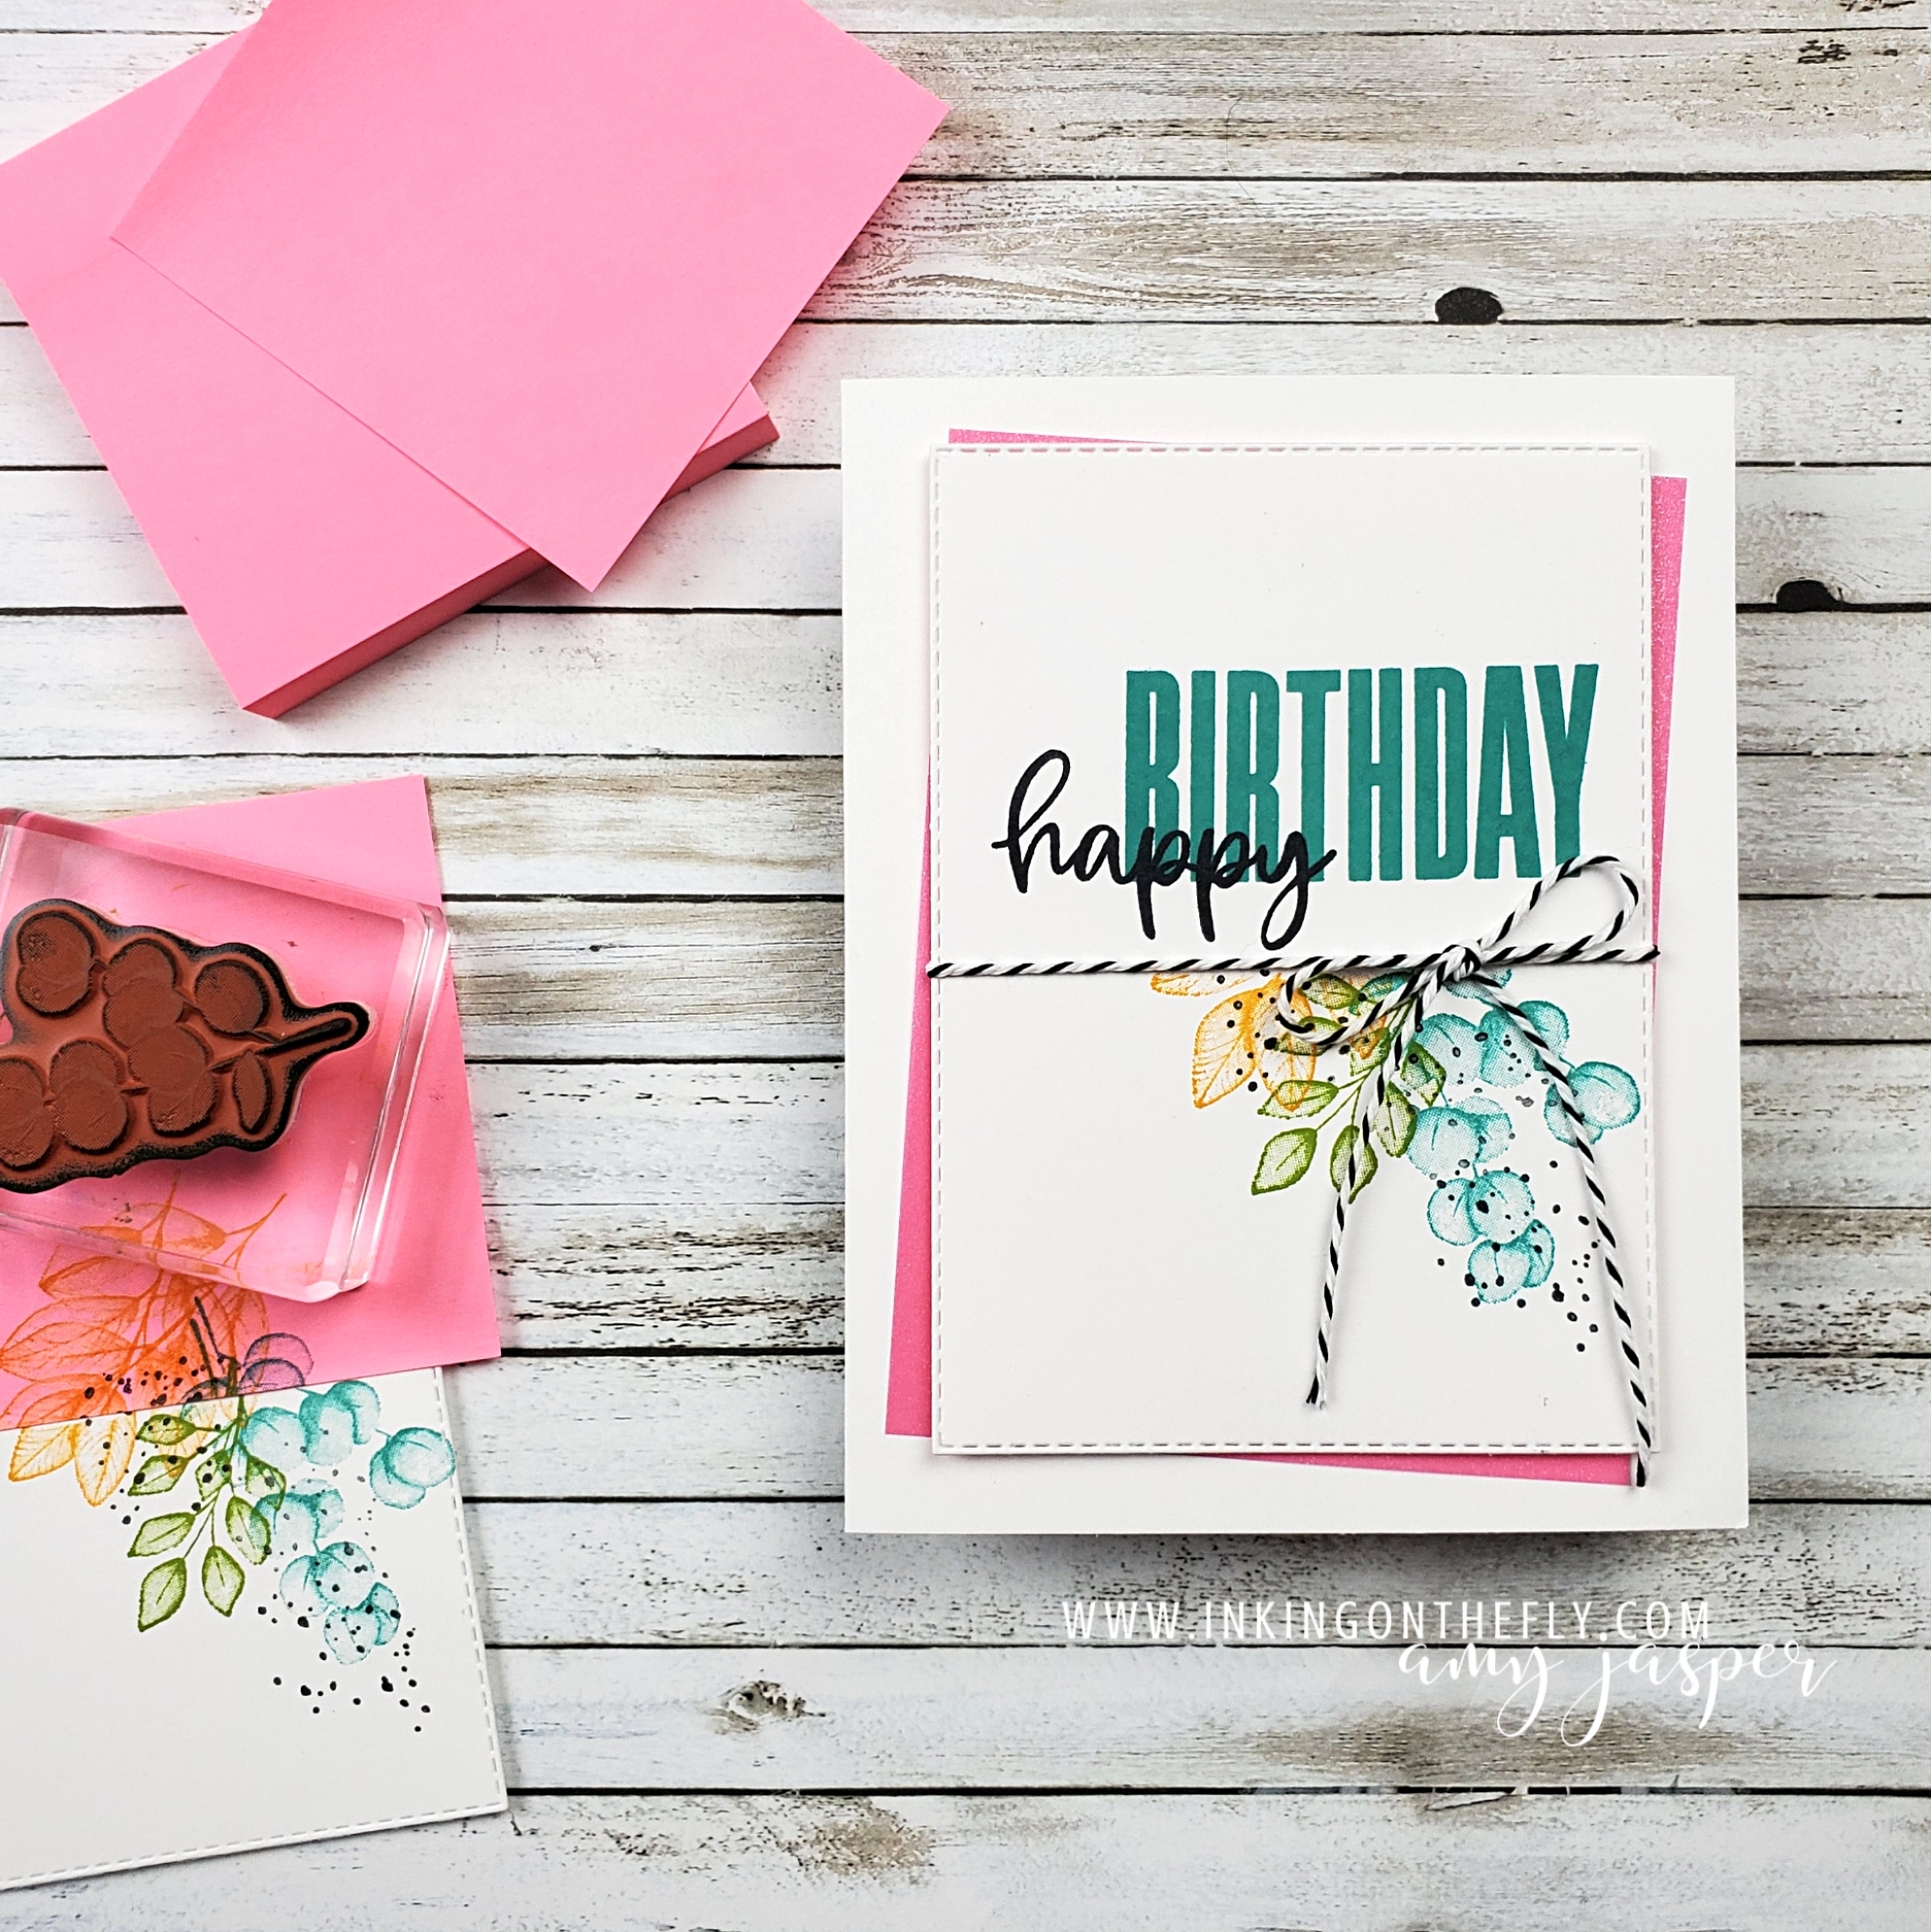
I have a sweet and simple card to share with you today featuring the Hand-Penned Petals stamp set from Stampin’ Up!® and the Brilliant Wings Dies.

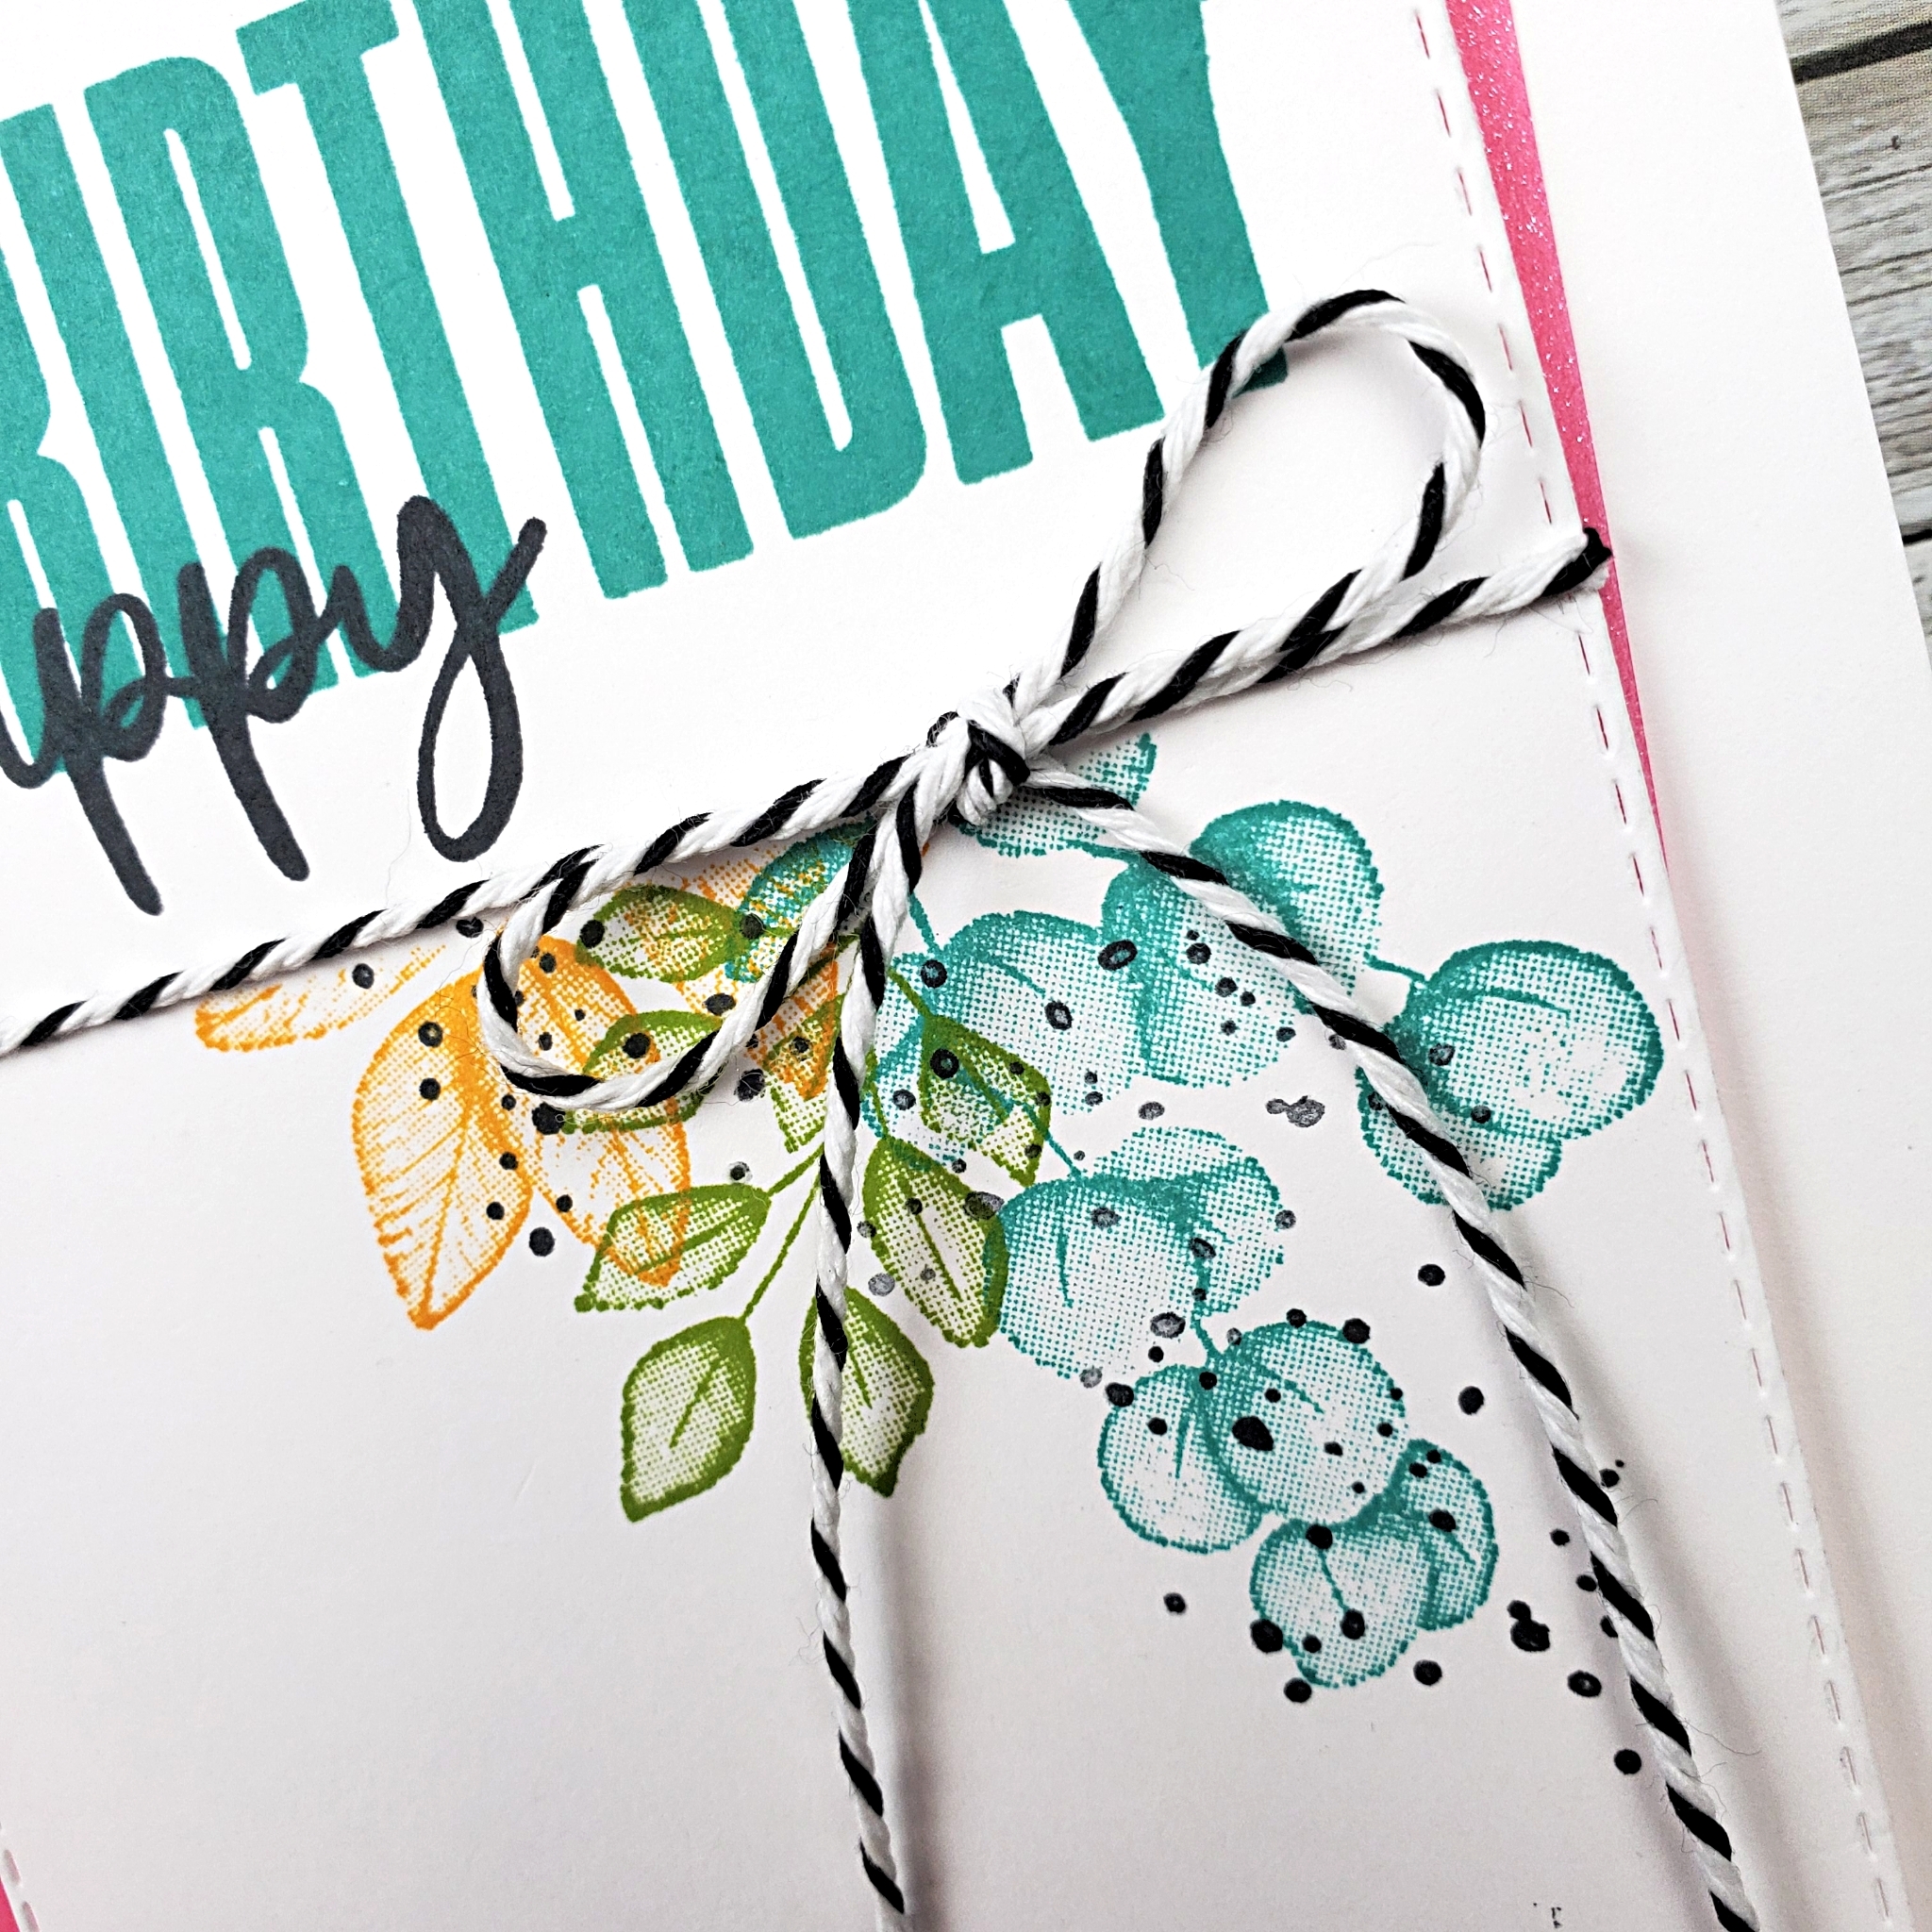
The delicate lined floral images in this stamp set work so nicely with the butterfly die-cuts. I’ve combined the two a few times now and they always look great!

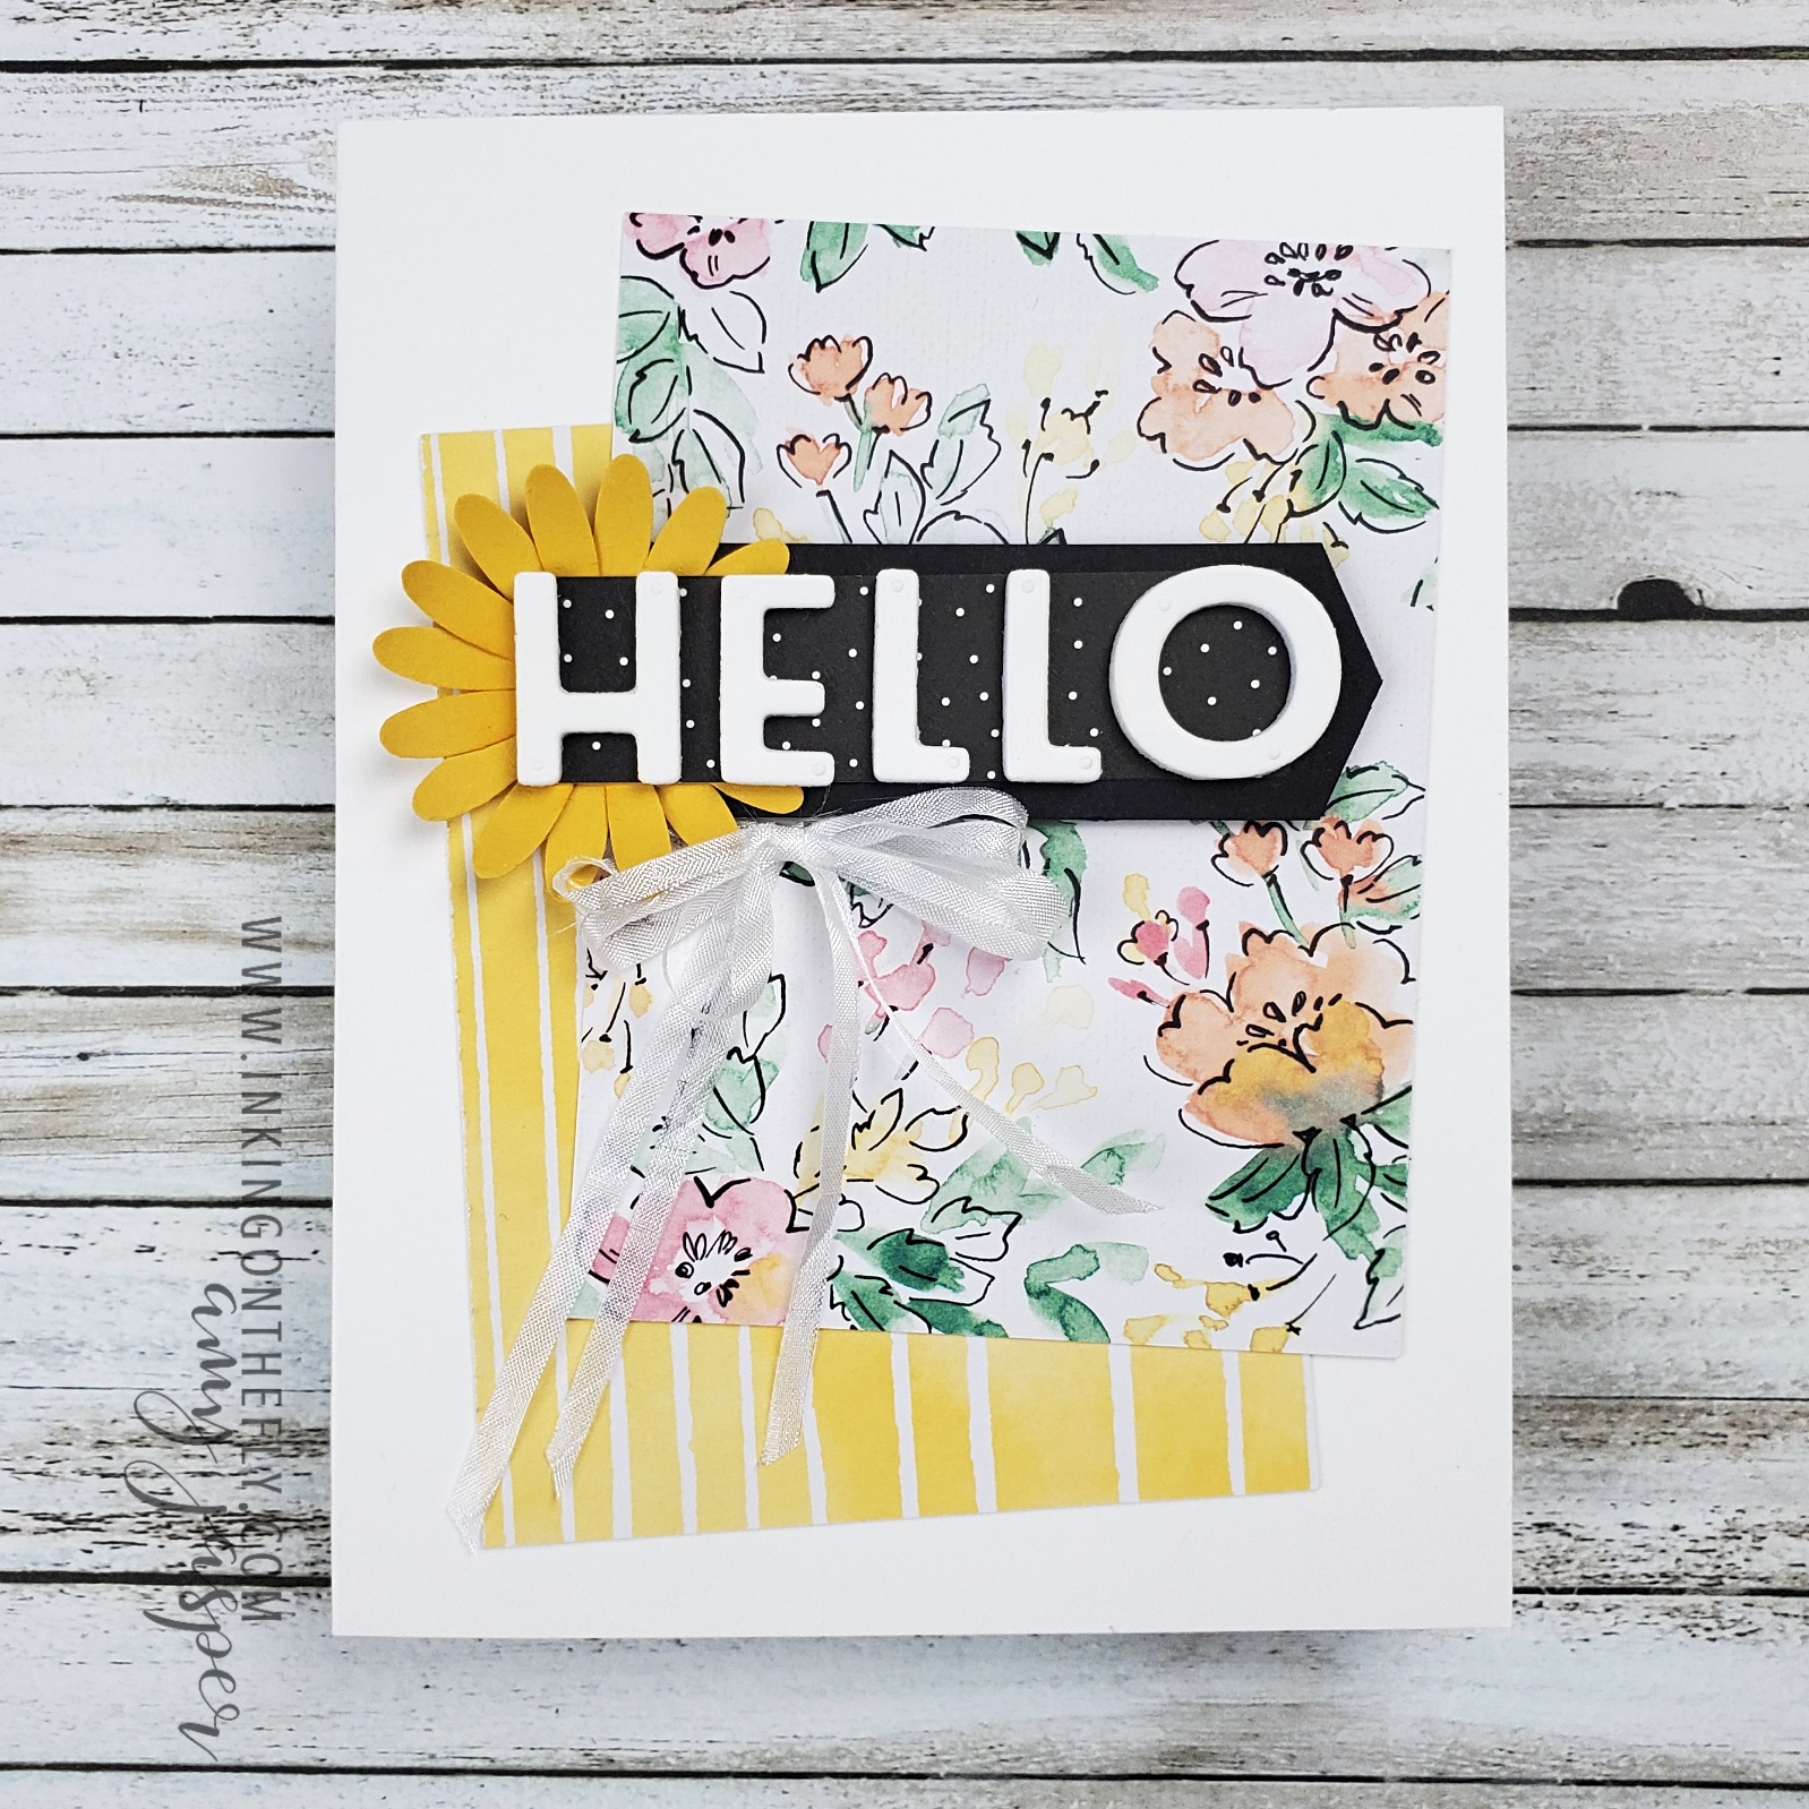
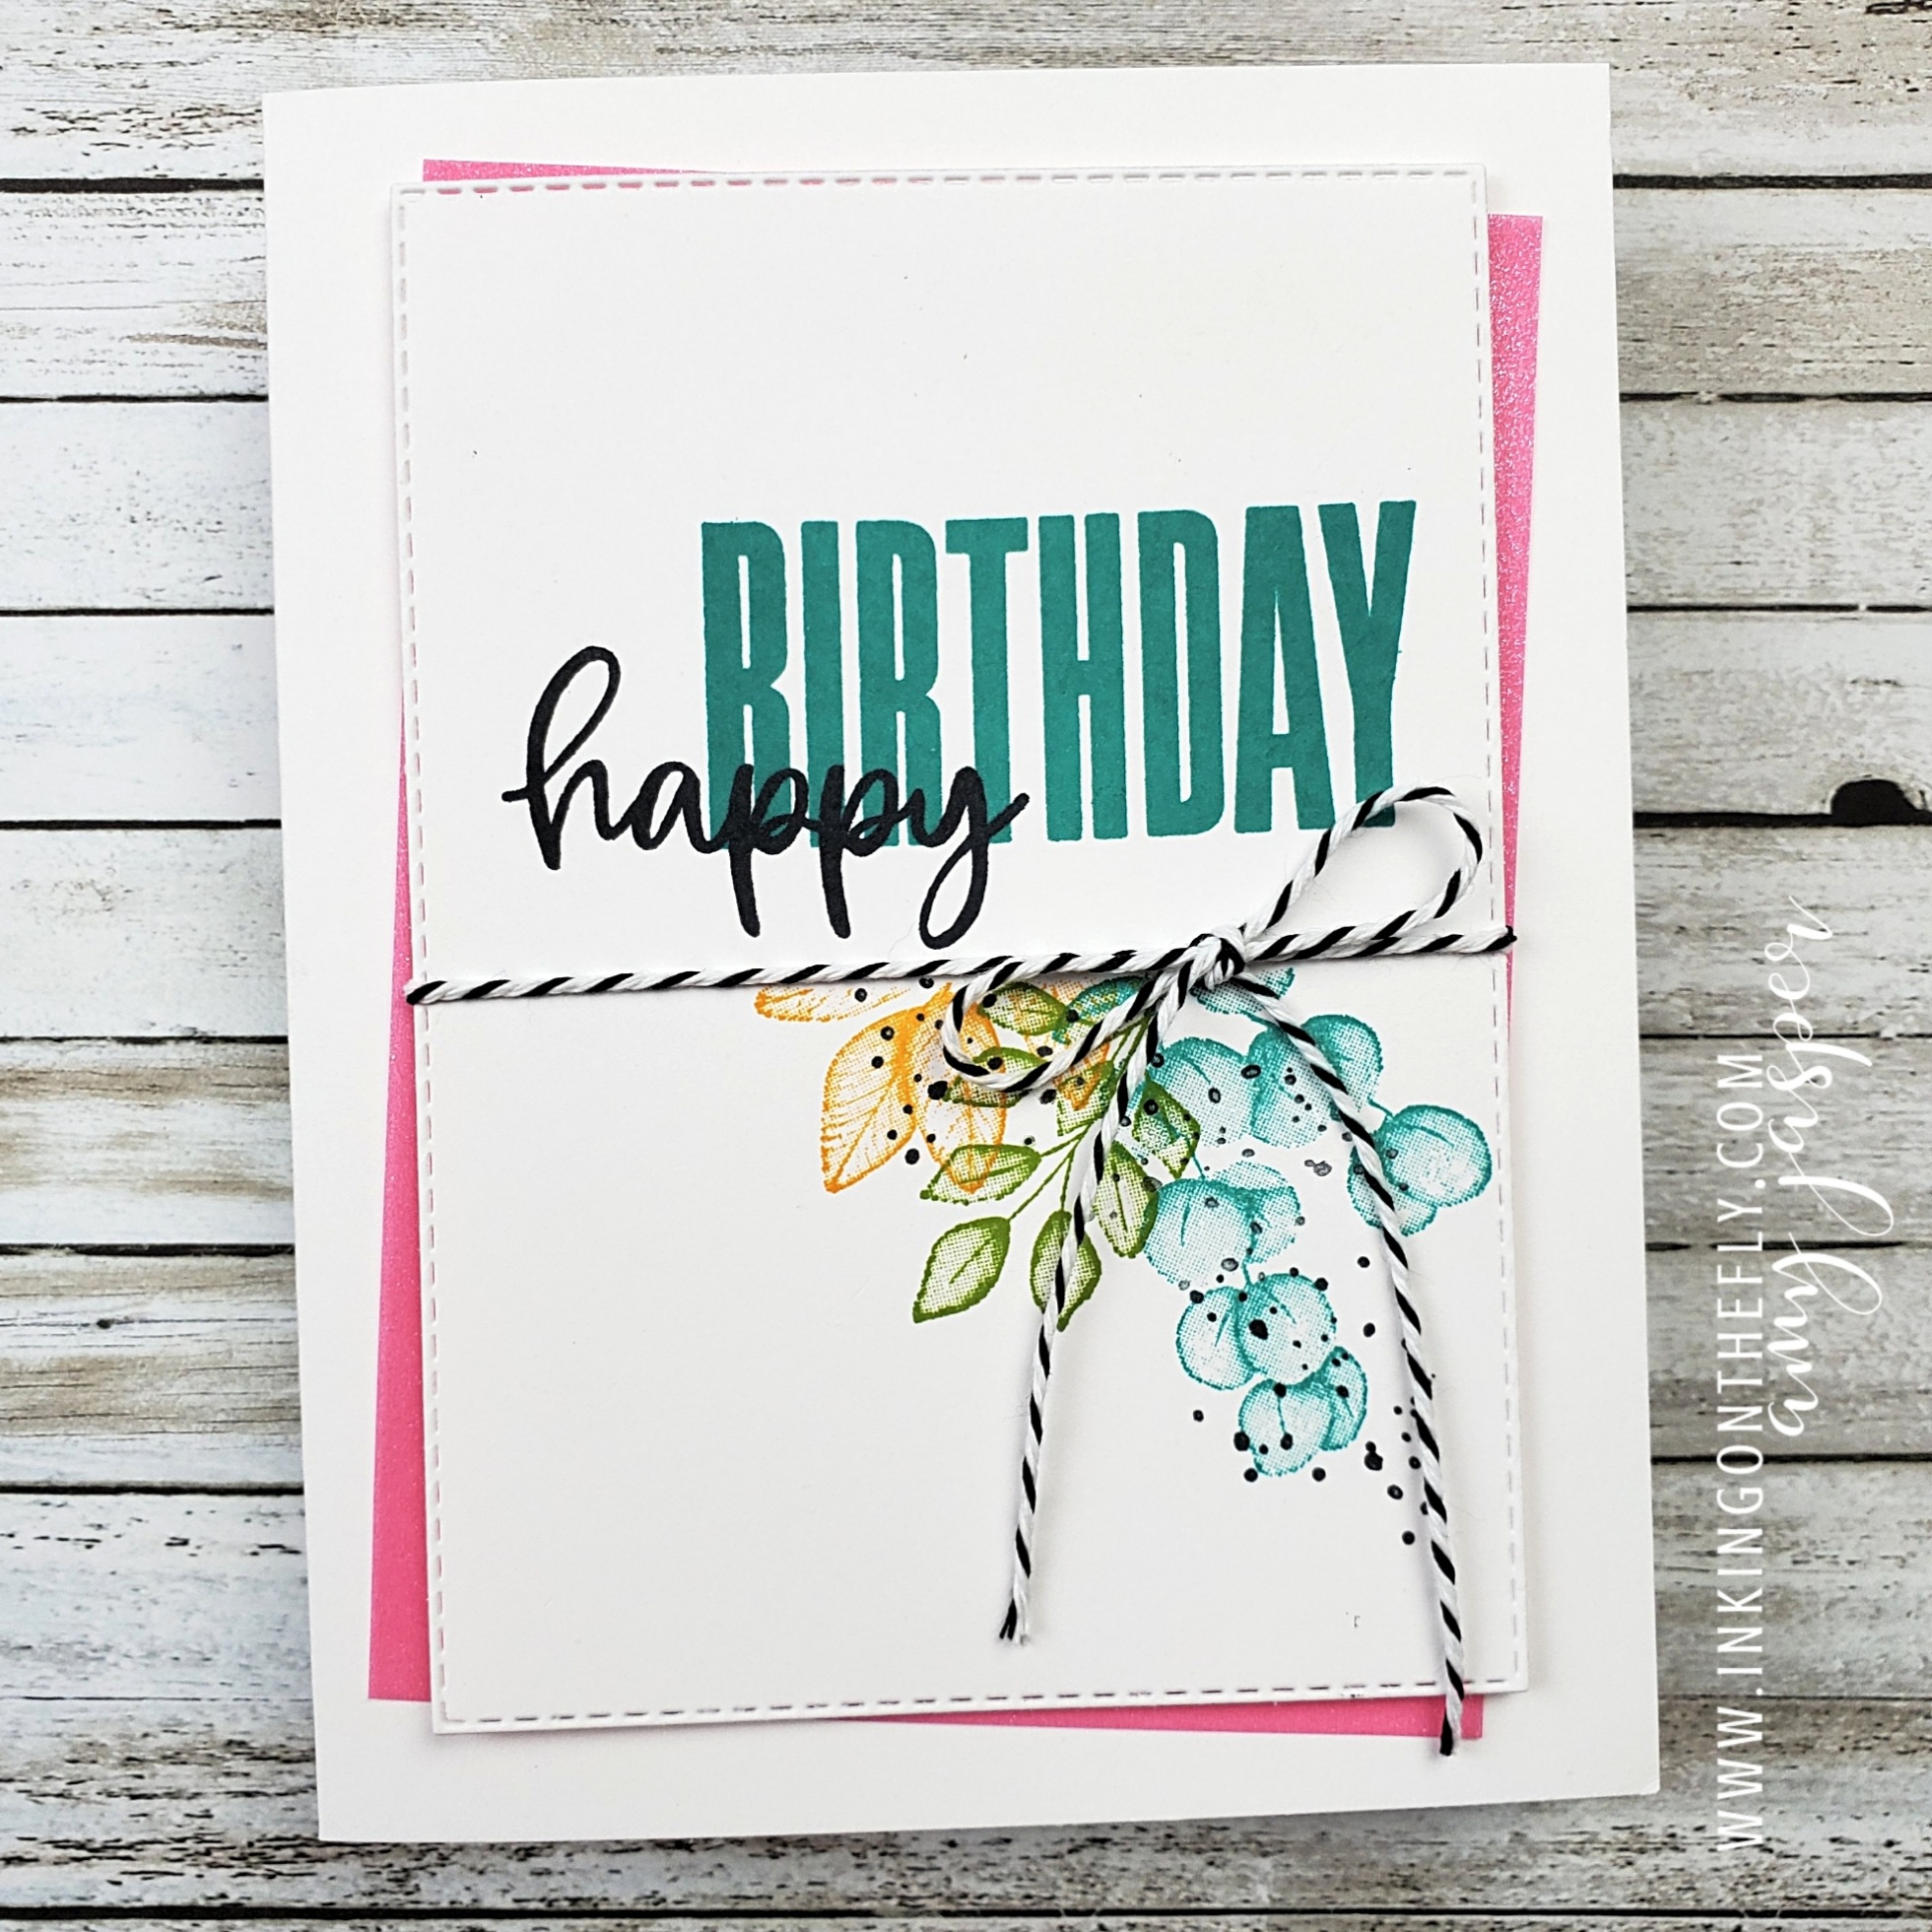
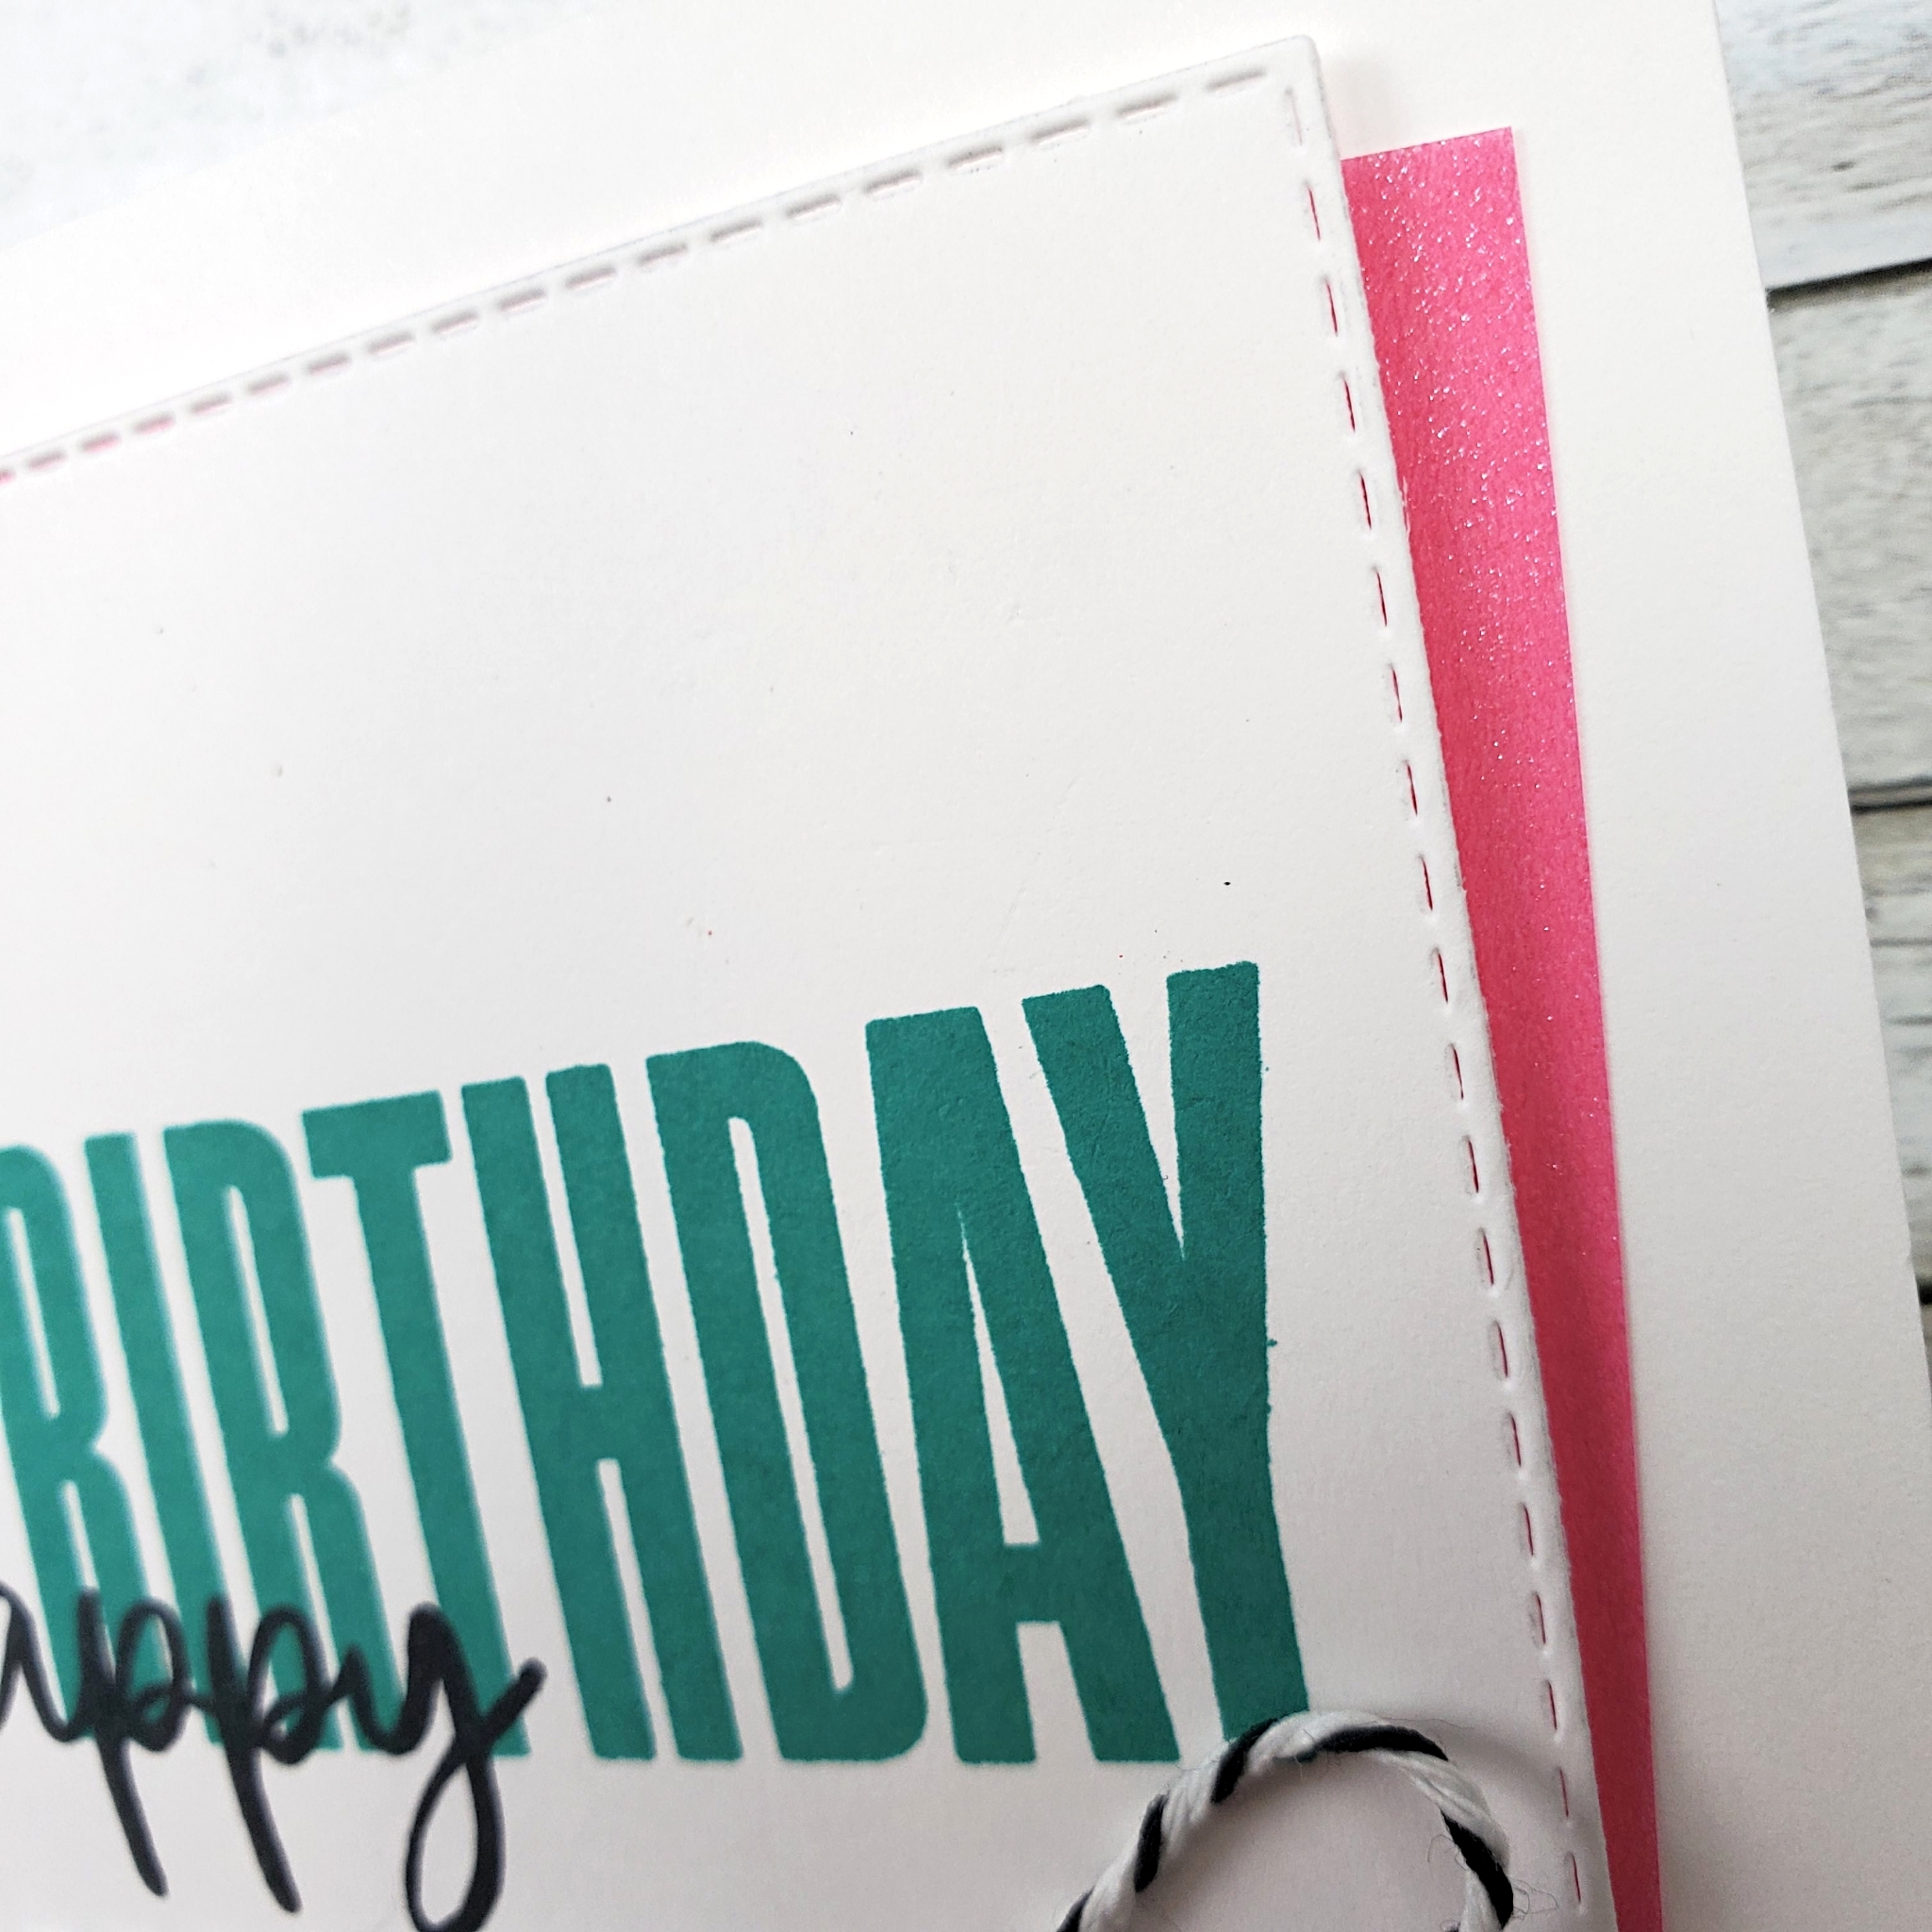
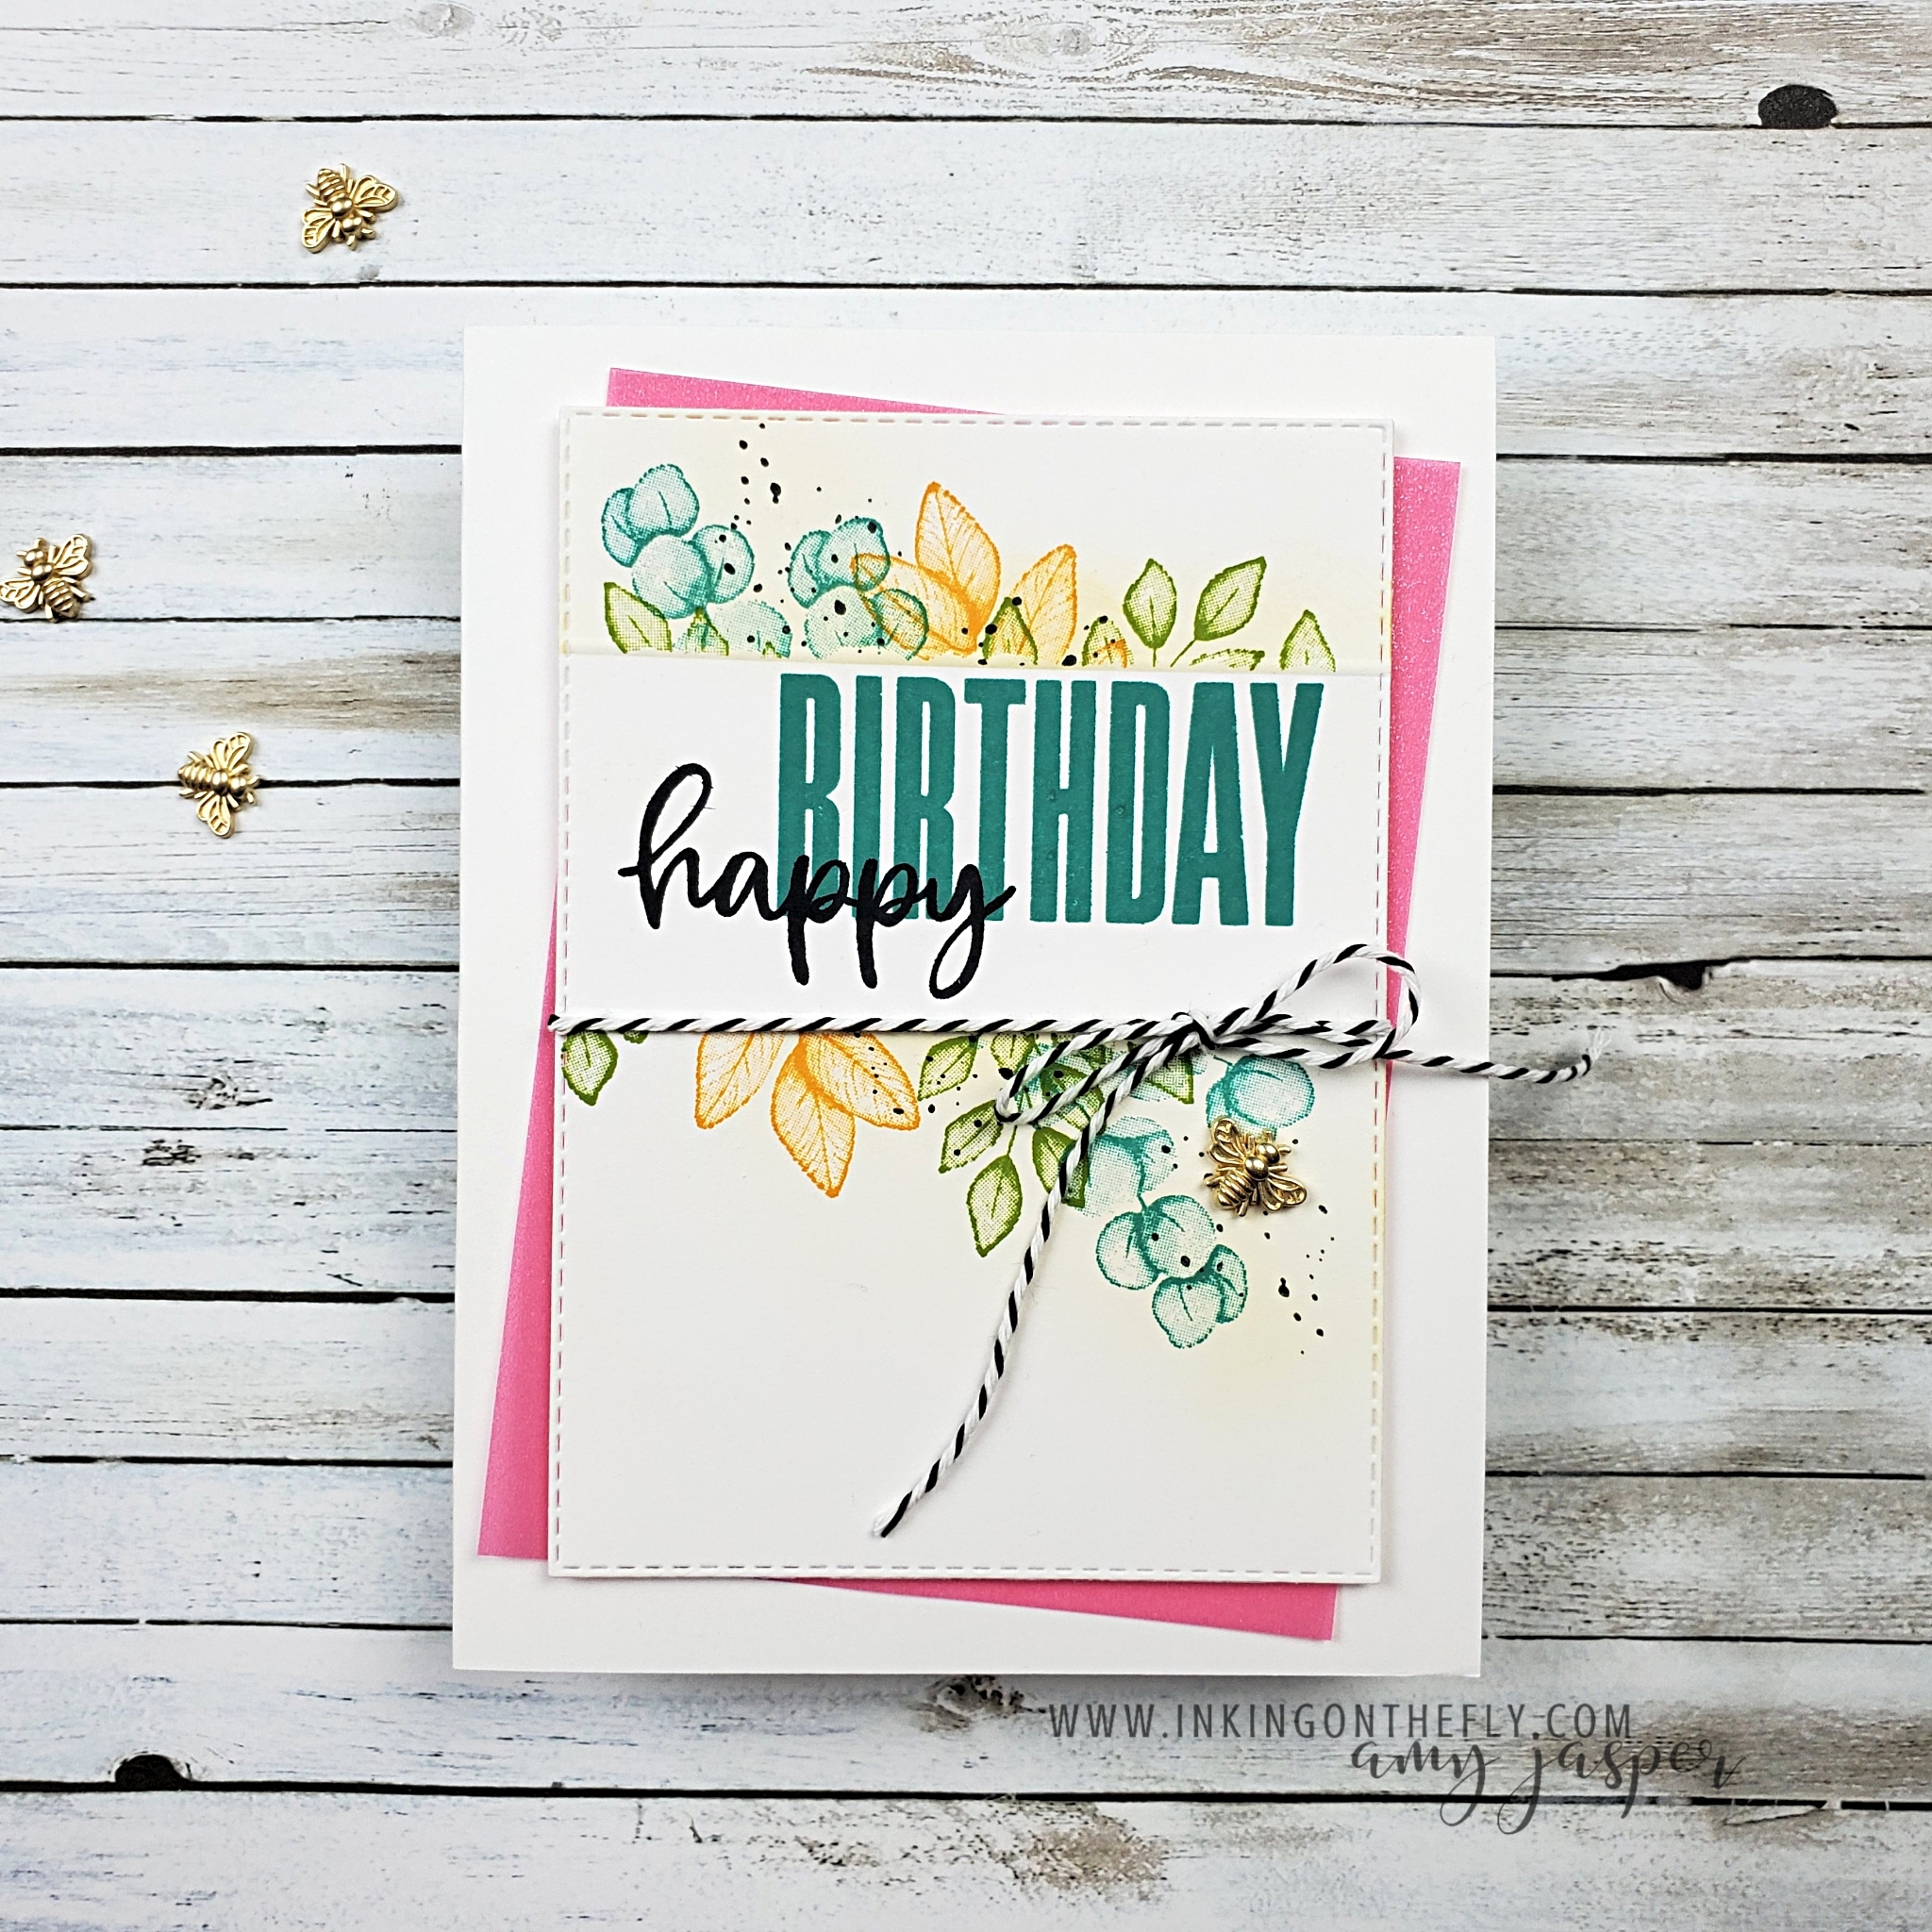
The card base is Thick Basic White with a double mat layer of Basic White cardstock. This is an easy way to create a soft and subtle frame around your card base without drawing the eye away from your focal point.

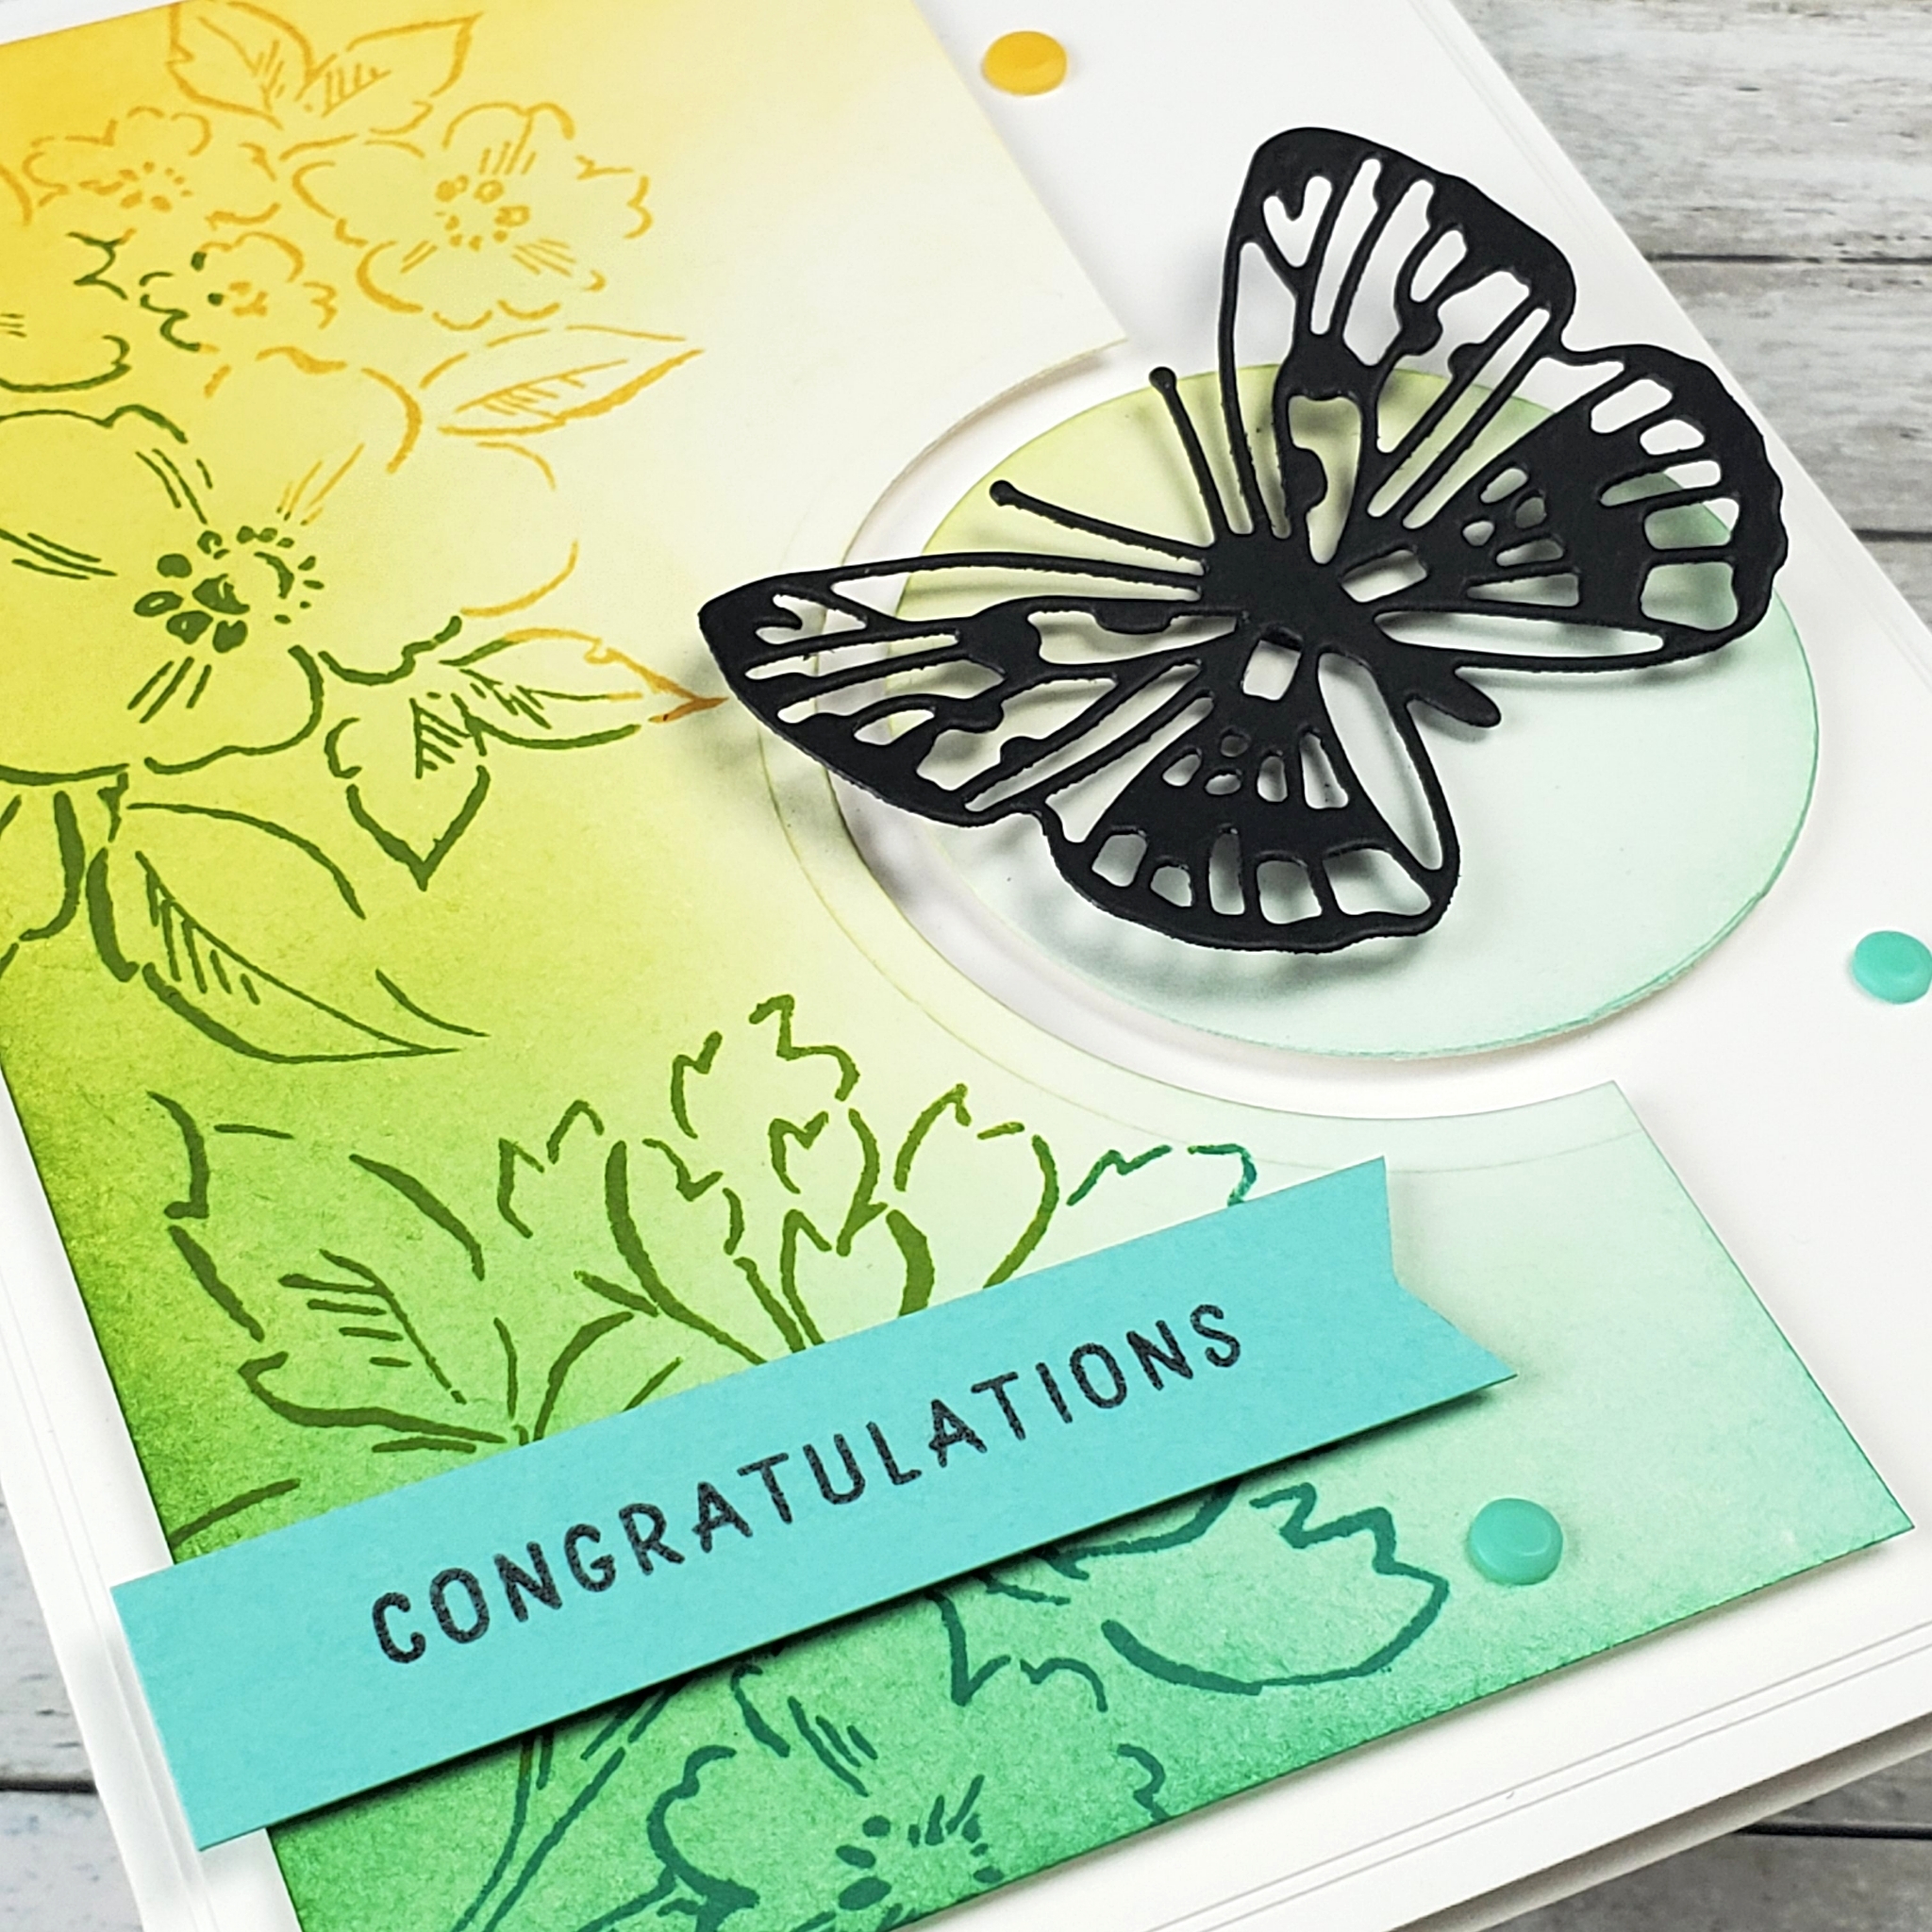
I used my Blending Brushes to add some colour to the card. Daffodil Delight at the top, then Granny Apple Green, and finally Bermuda Bay. This gives a wonderful ombré gradient effect. To build on that, I also inked the stamps to coordinate with the gradient.

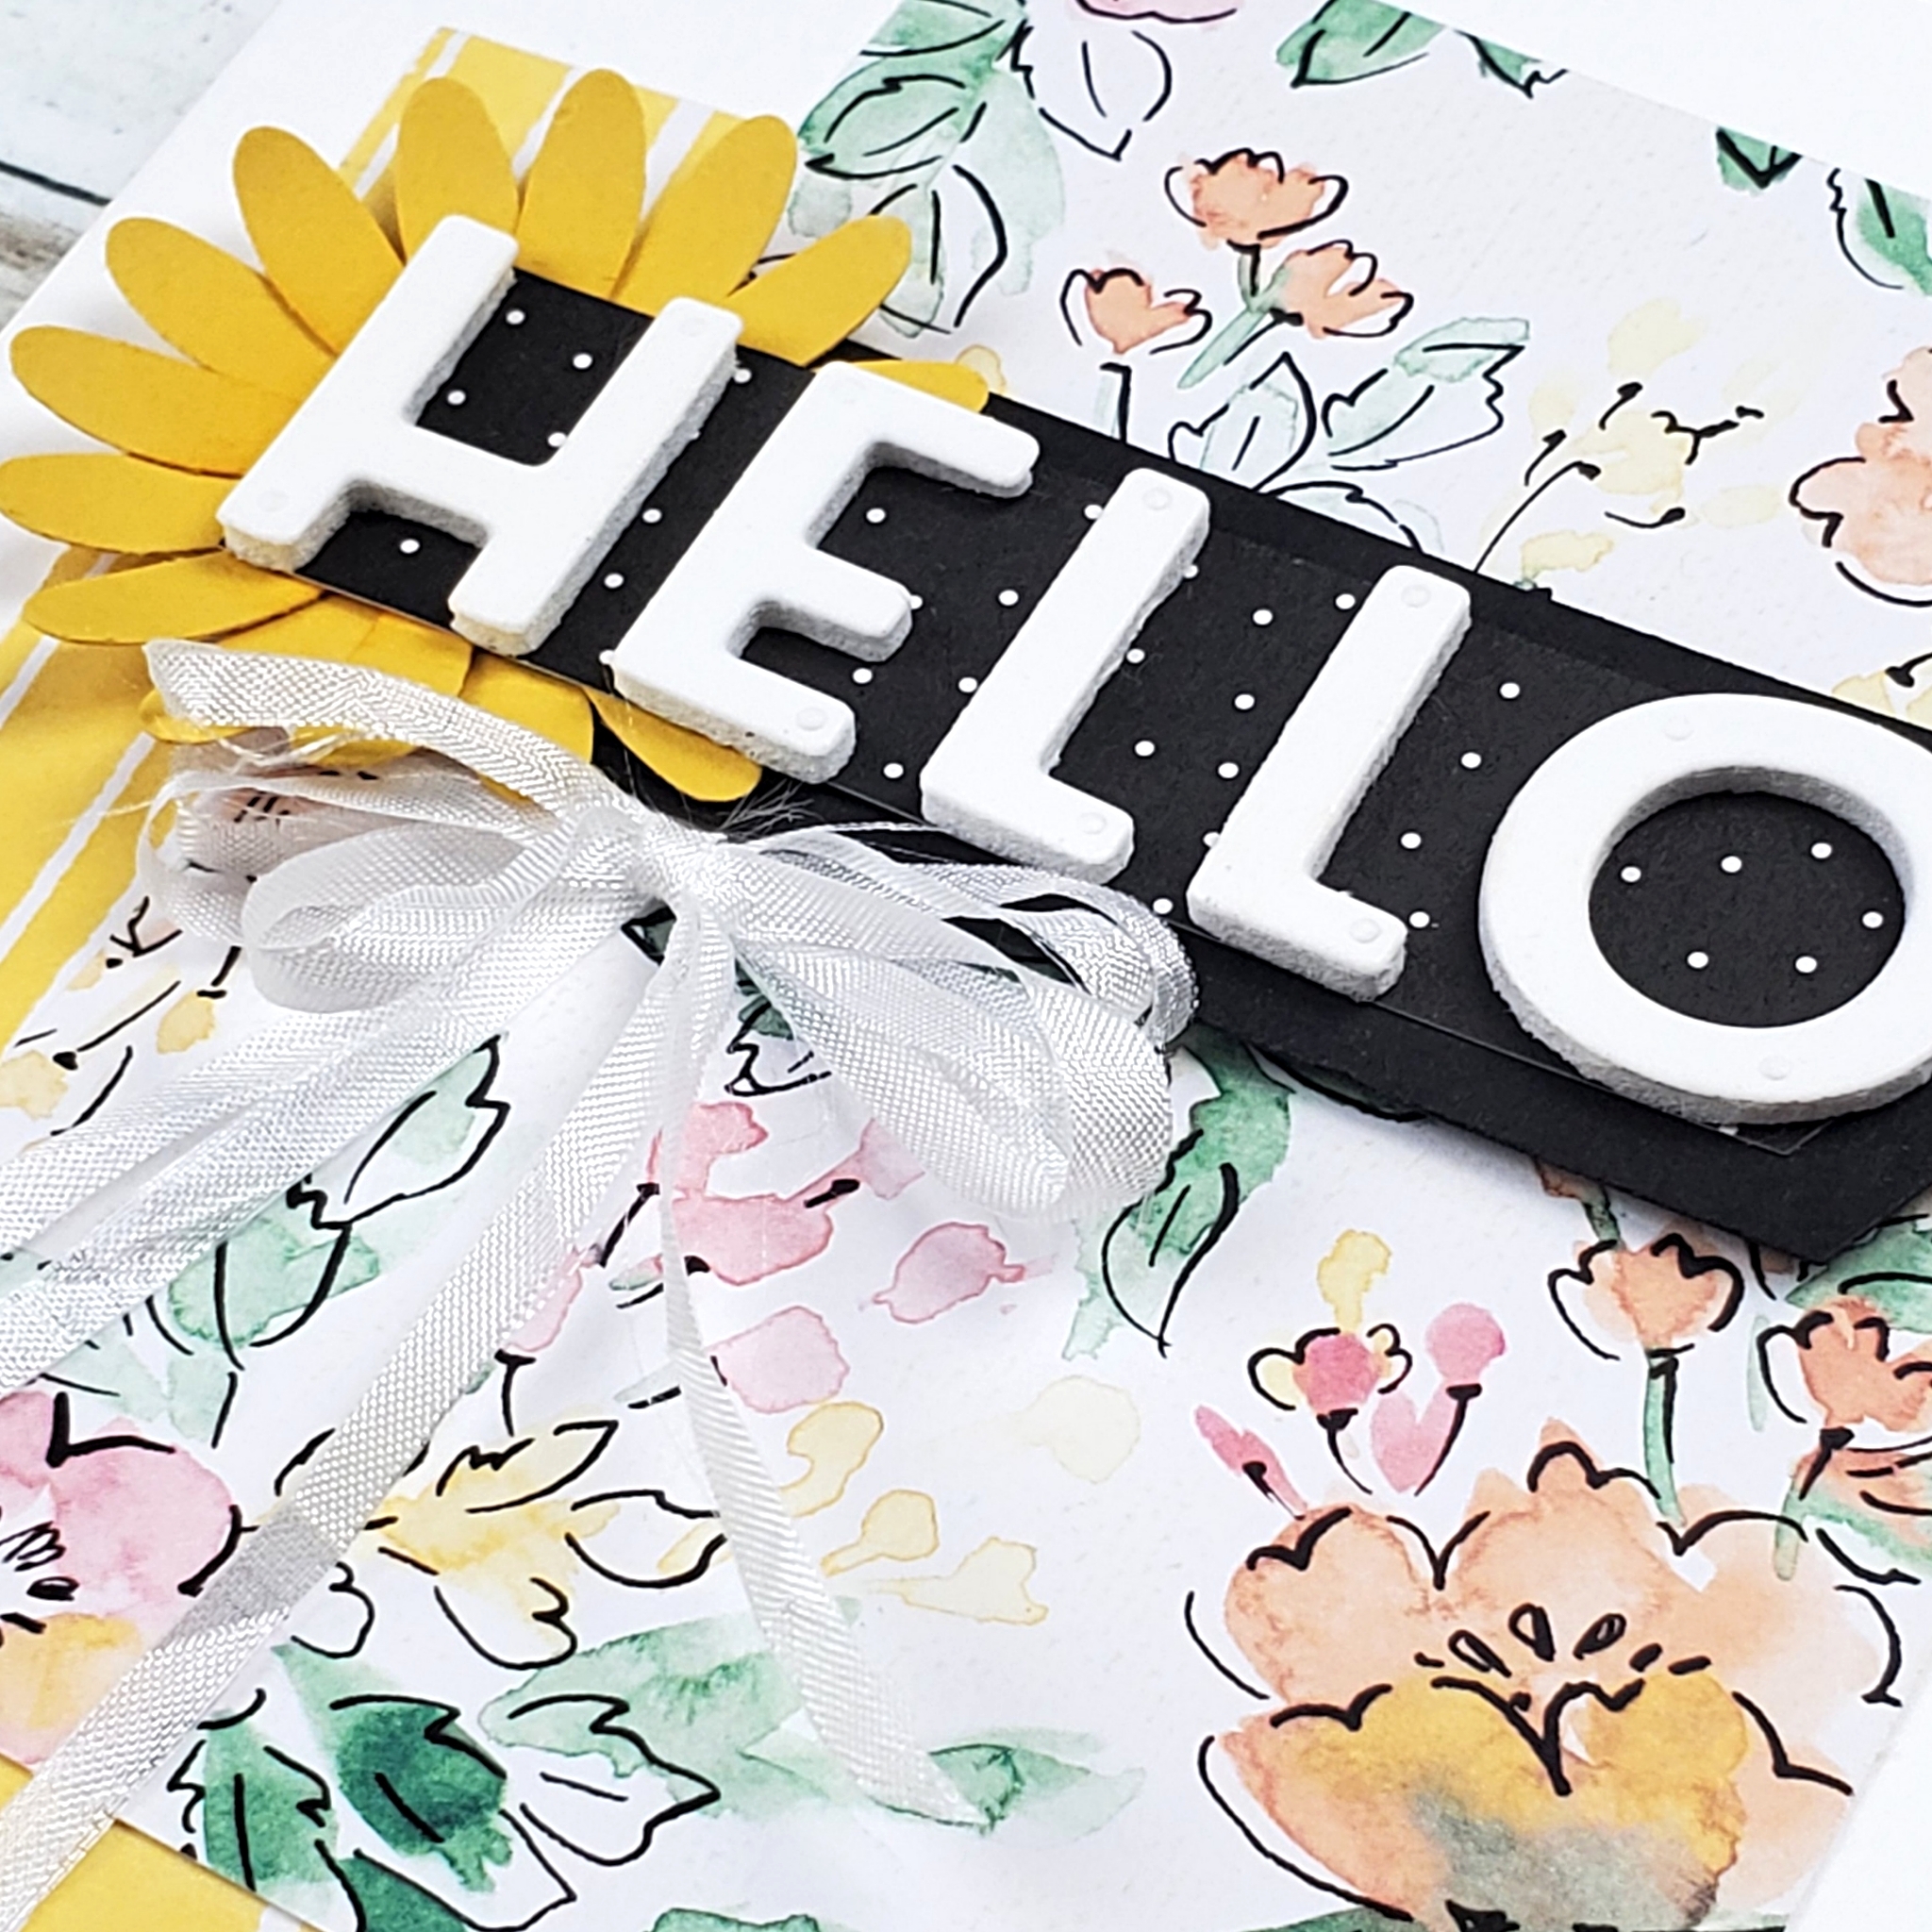
The sentiment is stamped on a strip of Coastal Cabana cardstock. I flagged the end with my very loved Banners Pick-a-Punch (seriously my favourite punch right now!).

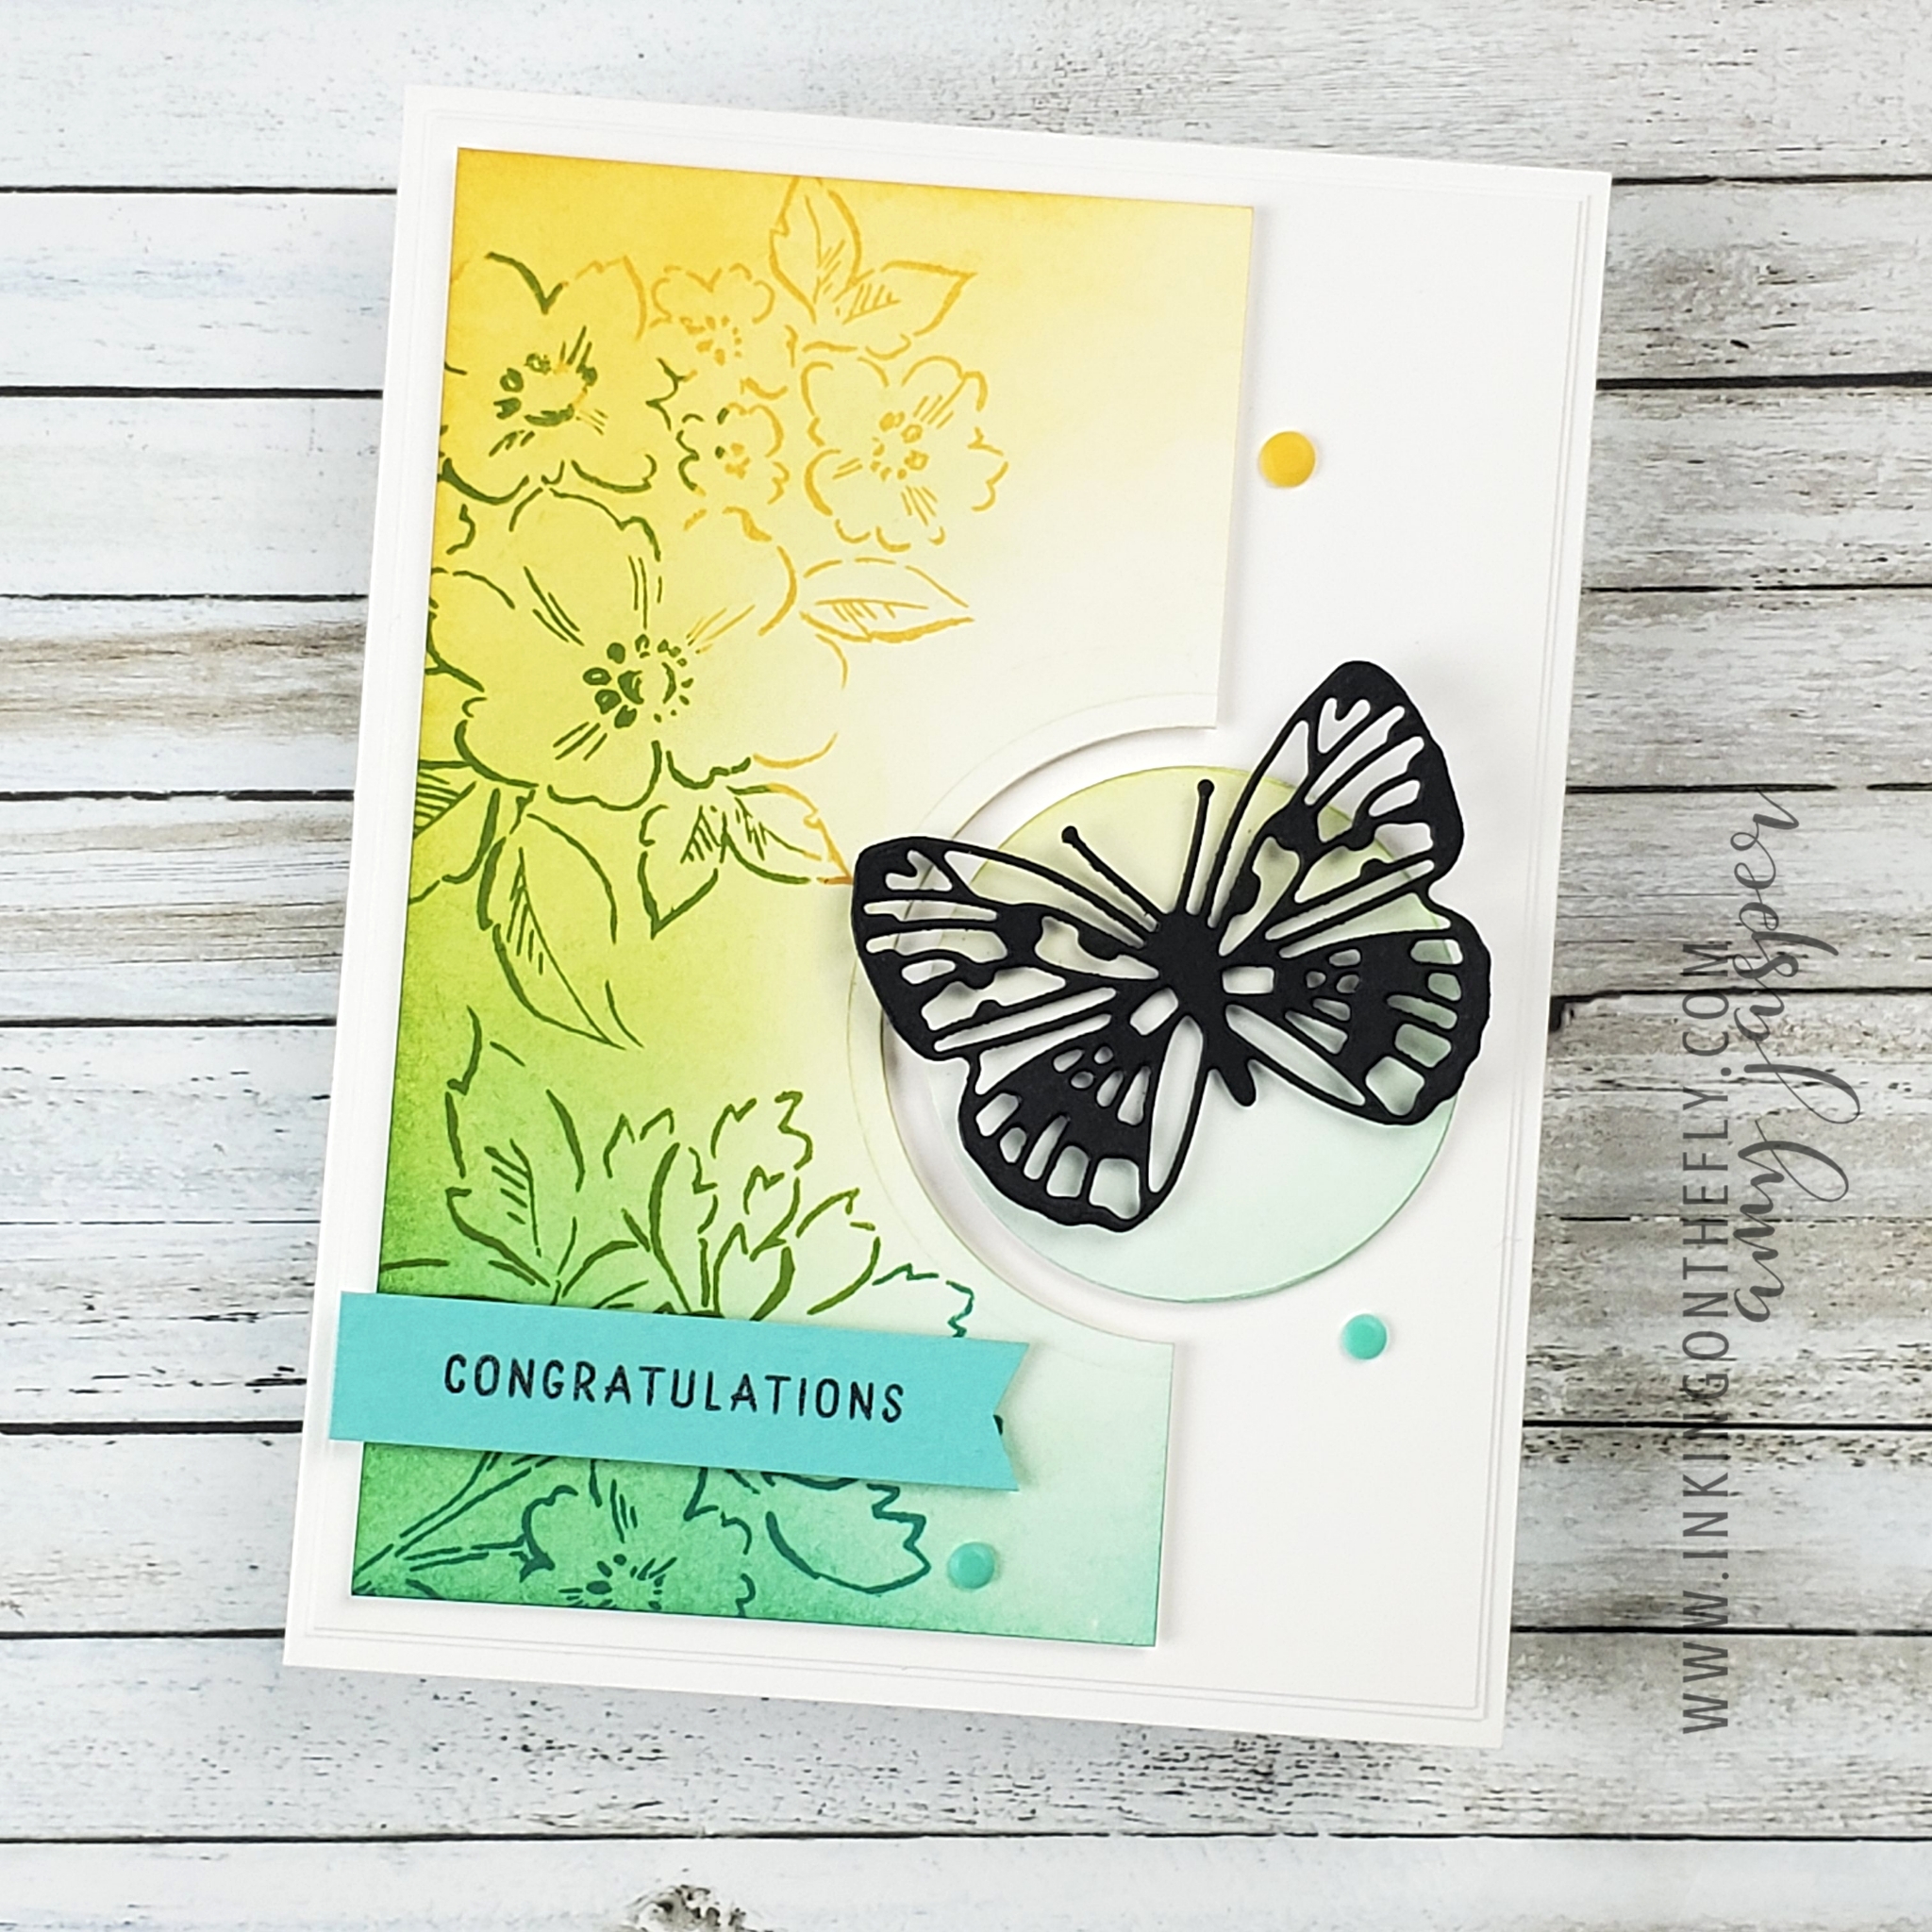
The Playing with Patterns Resin Dots are just the right finishing touch, don’t you agree!? I’ve had them for a while, yet haven’t had a chance to use them! I love that these dots are flat and matte. There are a lot of times when I’m looking to add interest to the card, but I don’t necessarily want “bling”. These dots are just right. Now, if they could be available in more colours, please!

I hope you’re having a great weekend. Get lots of crafting time in whenever you can and make something beautiful!

A Happy Hello to make You Smile

Most of the time, the things that I receive in the mail are bills and flyers. Not very fun.

So, when I get a card in the mail (or blessed be the day that I get an actual package!), it is a reason to smile! Most packages that I receive are, of course, items that I ordered online. I get a thrill when they finally arrive, even though I know what’s inside.

The other day, I had a rather large package in the mail. It didn’t order it and I wasn’t expecting anything.

It was an ACTUAL package!

And it was for ME!

It was a care package from my best friend who, because of pandemic restrictions, I hadn’t seen in over a year. It was filled with all sorts of gifts, some silly and fun, some personalized just for me, and some lovely and surprising. A hand-made card was there as well, to say hello.

The card that I have to share with you today is one that would make anyone smile.

Making the card

I punched a couple of daisies using the Medium Daisy Punch. Crushed Curry is just the right contrast with the Daffodil Delight in the paper pattern. Do you recognize the paper I used? It’s from the Hand-Penned Memories and More Card Pack. The pack is designed with scrapbooking in mind, but is great for cards, too! I don’t scrapbook nearly as much as I’d like.

The HELLO is created with the Playful Alphabet DIes, some Basic White Cardstock, and Foam Adhesive Sheets. I adhered those letters to a layer of Basic Black and patterned paper from the Pattern Party Designer Series paper. The Banners Pick-a-Punch is one of my new favourites, and was used to created that nice flagged end to the black layers.

I trimmed the White Crinkled Seam Binding Ribbon in half along it’s length, tying it into a double bow. The delicate texture is the perfect finishing touch to this pretty design.

Send some joy today!

Happy mail, whether it’s a card or a full package from someone who cares about you is incredibly meaningful. The joy is in knowing that someone is thinking of you and cares about you.

Send some happy mail and make someone smile, knowing that you’re thinking about them.

After receiving my package, you can bet that I was smiling plenty that day!

Fast Masking with Foliage

Haha! What kind of title is THAT!! “Fast masking with foliage”! Ah well. I’m just going to run with it.

And run I did! Figuratively speaking, of course, because the card that I have to share with you today is for the As You See It Speed Challenge.

What is a Speed Challenge?

A speed challenge is when you make a plan for the card you want to make, gather all your supplies (no pre-cutting allowed!), set your stopwatch, and make a card in 10 minutes or less!

It used to be really difficult for me to do this challenge. If you’ve seen other cards I’ve made, you may have noticed that my designs tend to be … involved. However, I’ve had lots of practice and now feel quite confident. More often than not, I am very happy with my finished design!

8 minutes 29 seconds

Making the Card

For this card, I used the Biggest Wish stamp set. The sentiment is stamped in Bermuda Bay Ink and Tuxedo Black Momento Ink on the Basic White die-cut Stitched Rectangle.

To stamp the images from the Forever Fern stamp set so that they didn’t end up with a mess of stems on top of my sentiment, I used a sticky note (aka a Post-It Note). I place the sticky note and stamped the fern images. Bermuda Bay, Granny Apple Green, and Mango Melody are colours that make me so happy! The dots from the same stamp set were added using Tuxedo Momento Black Ink.

After stamping the ferns, I removed the sticky note. I wrapped the twine from the Playful Pets Trim Combo Pack around the stitched rectangle and tied it in a bow.

This layer was then applied with Stampin’ Up! Dimensionals over the Thick Basic White card stock and the layer of Polished Pink Shimmer Vellum from the 2021-2023 In Color Vellum pack.

Step It Up

I made another version of this design with a few extra elements to step it up a bit!

For this one, I added more foliage above the sentiment and applied some Mango Melody ink along the masked edge before removing the sticky notes. I also created an embossed line above the sentiment with my Simply Scored Tool.

And do you see the little Bee Embellishment! So cute!

I’m not sure which version I like better! Which one do you prefer?

Try out the speed challenge and share it with us at the As You See It Challenge Blog. We love to see your beautiful creations!

If you’re in Canada and are interested in purchasing the products I used for this card or if you want to see what else Stampin’ Up! has to offer, click on the SHOP circle on my blog anytime, or click HERE.