simple and cute

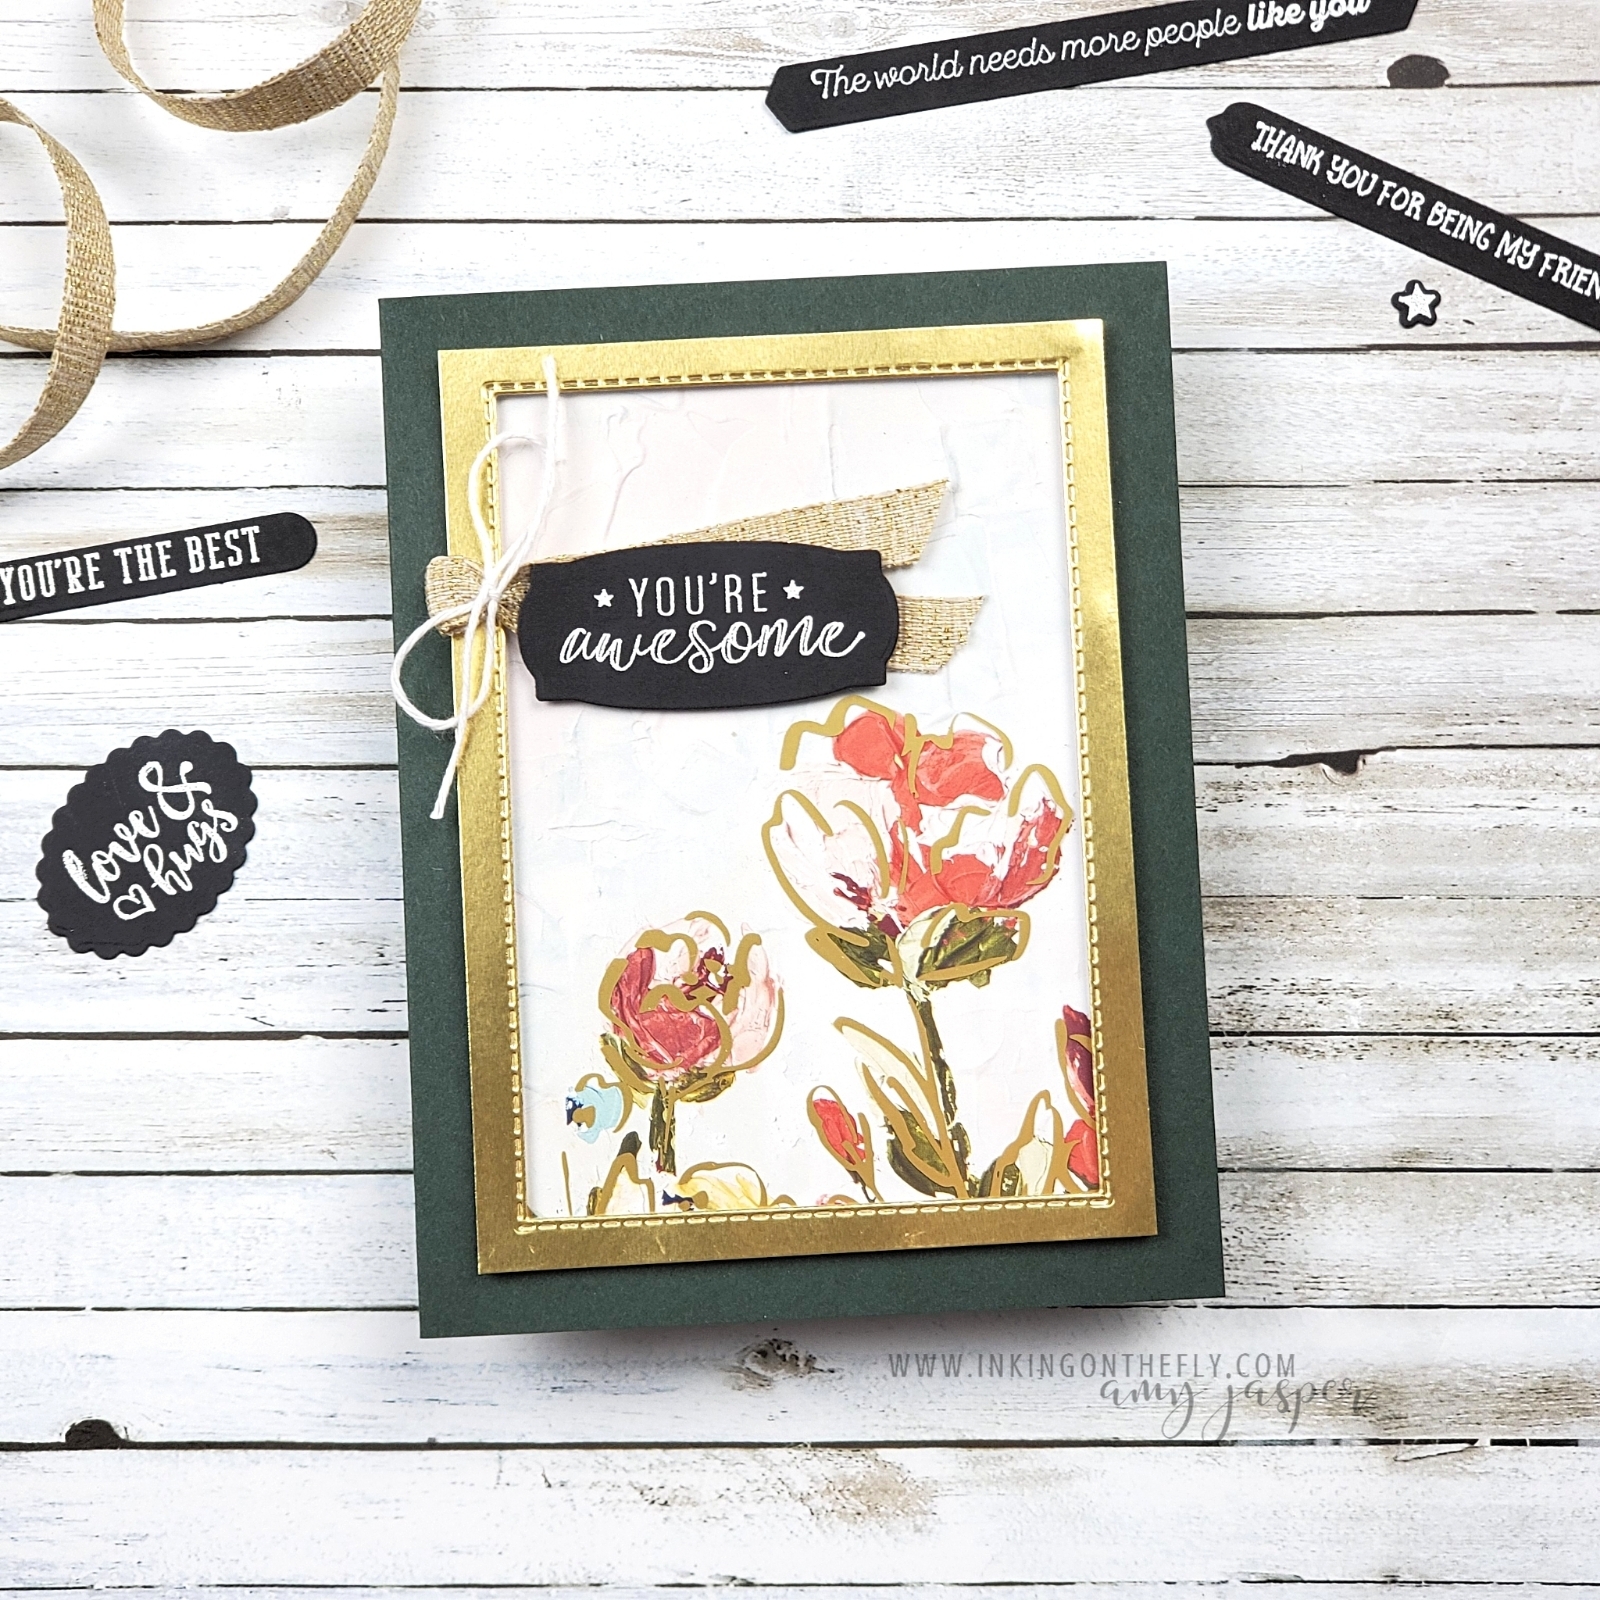
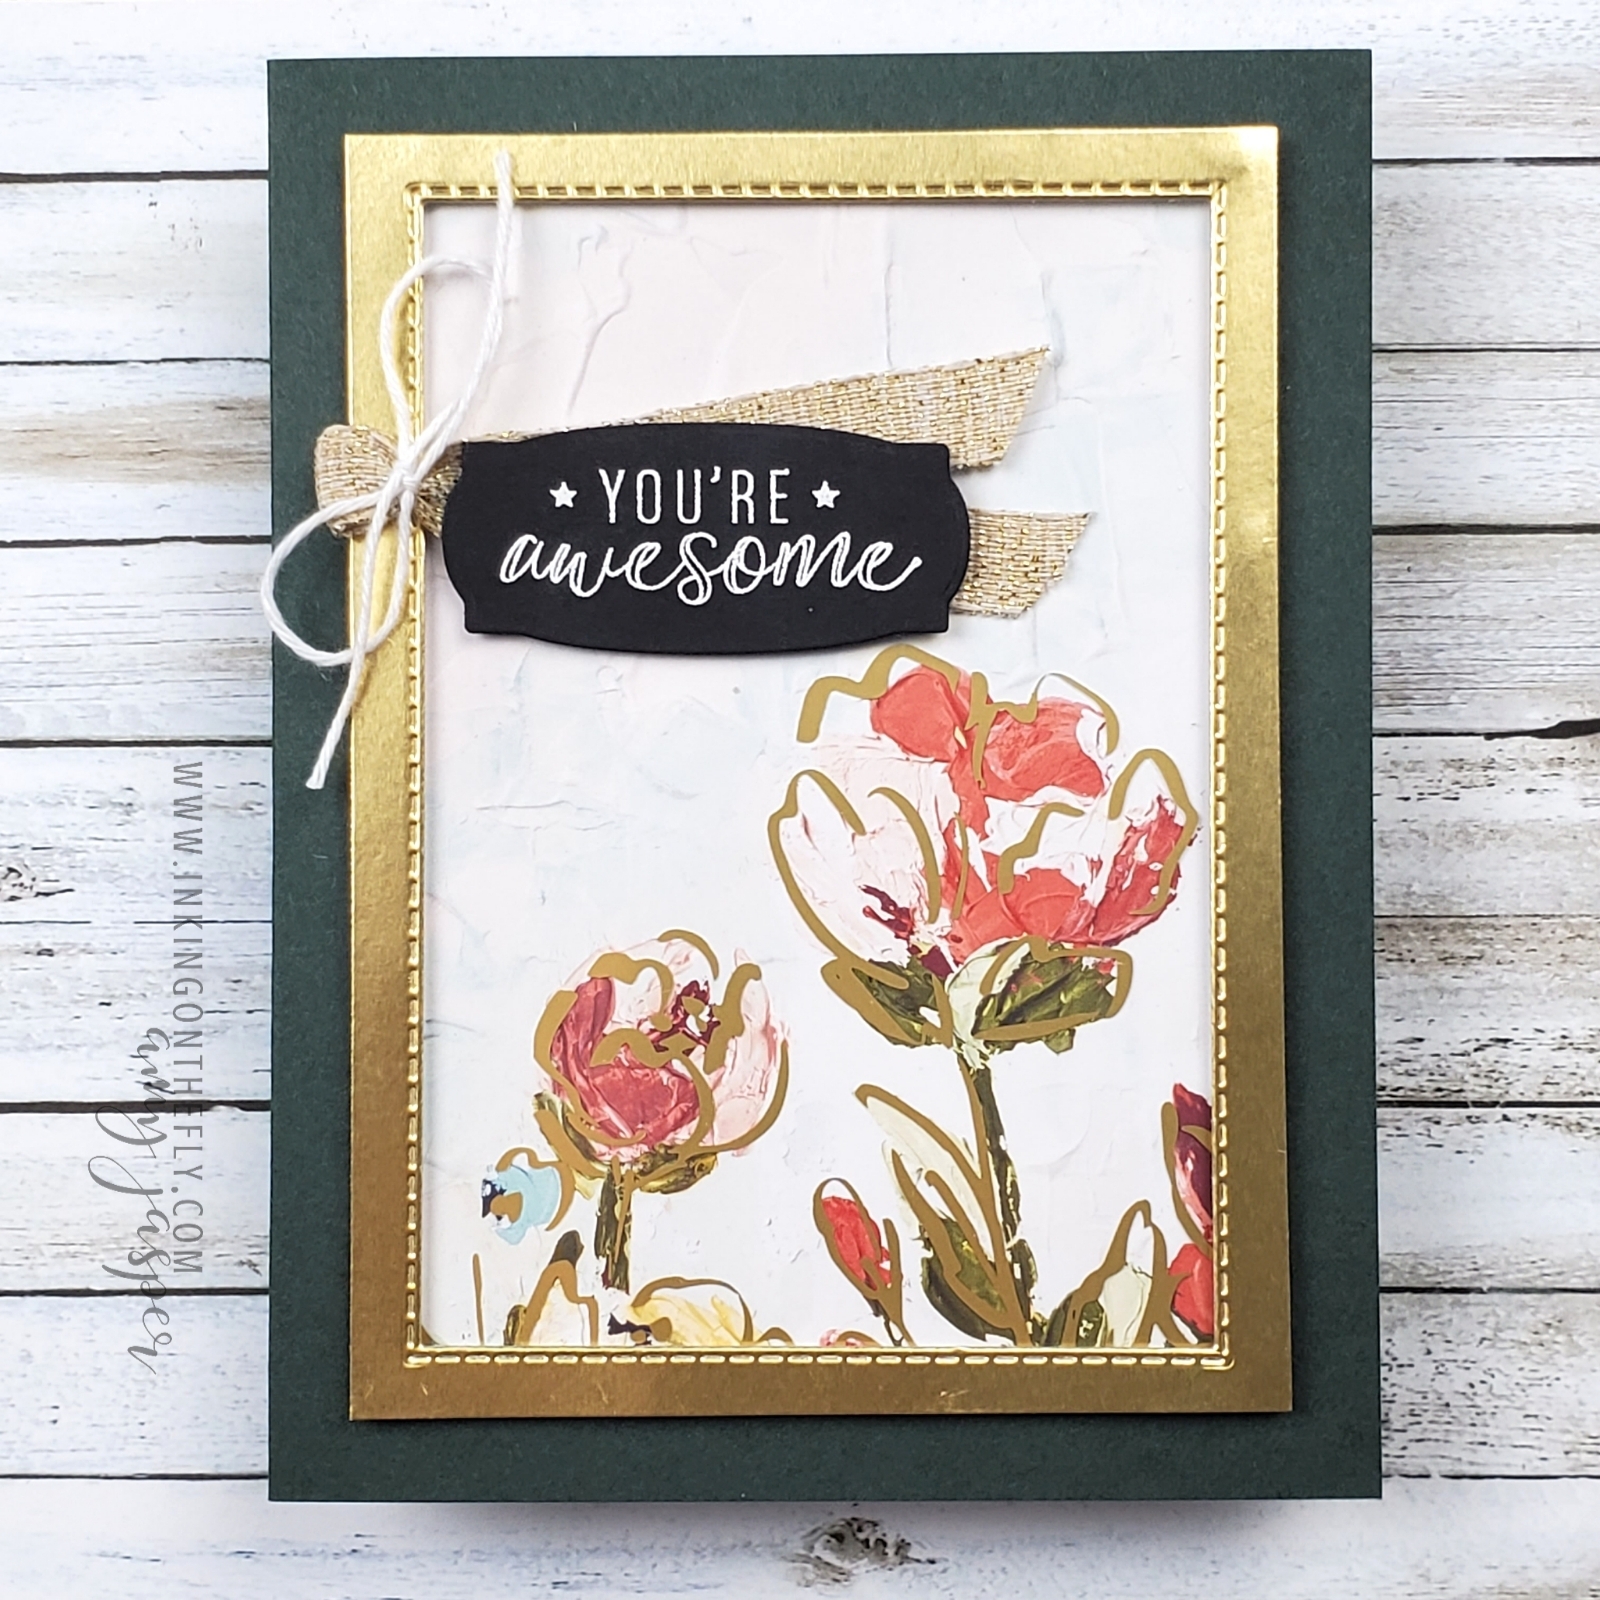
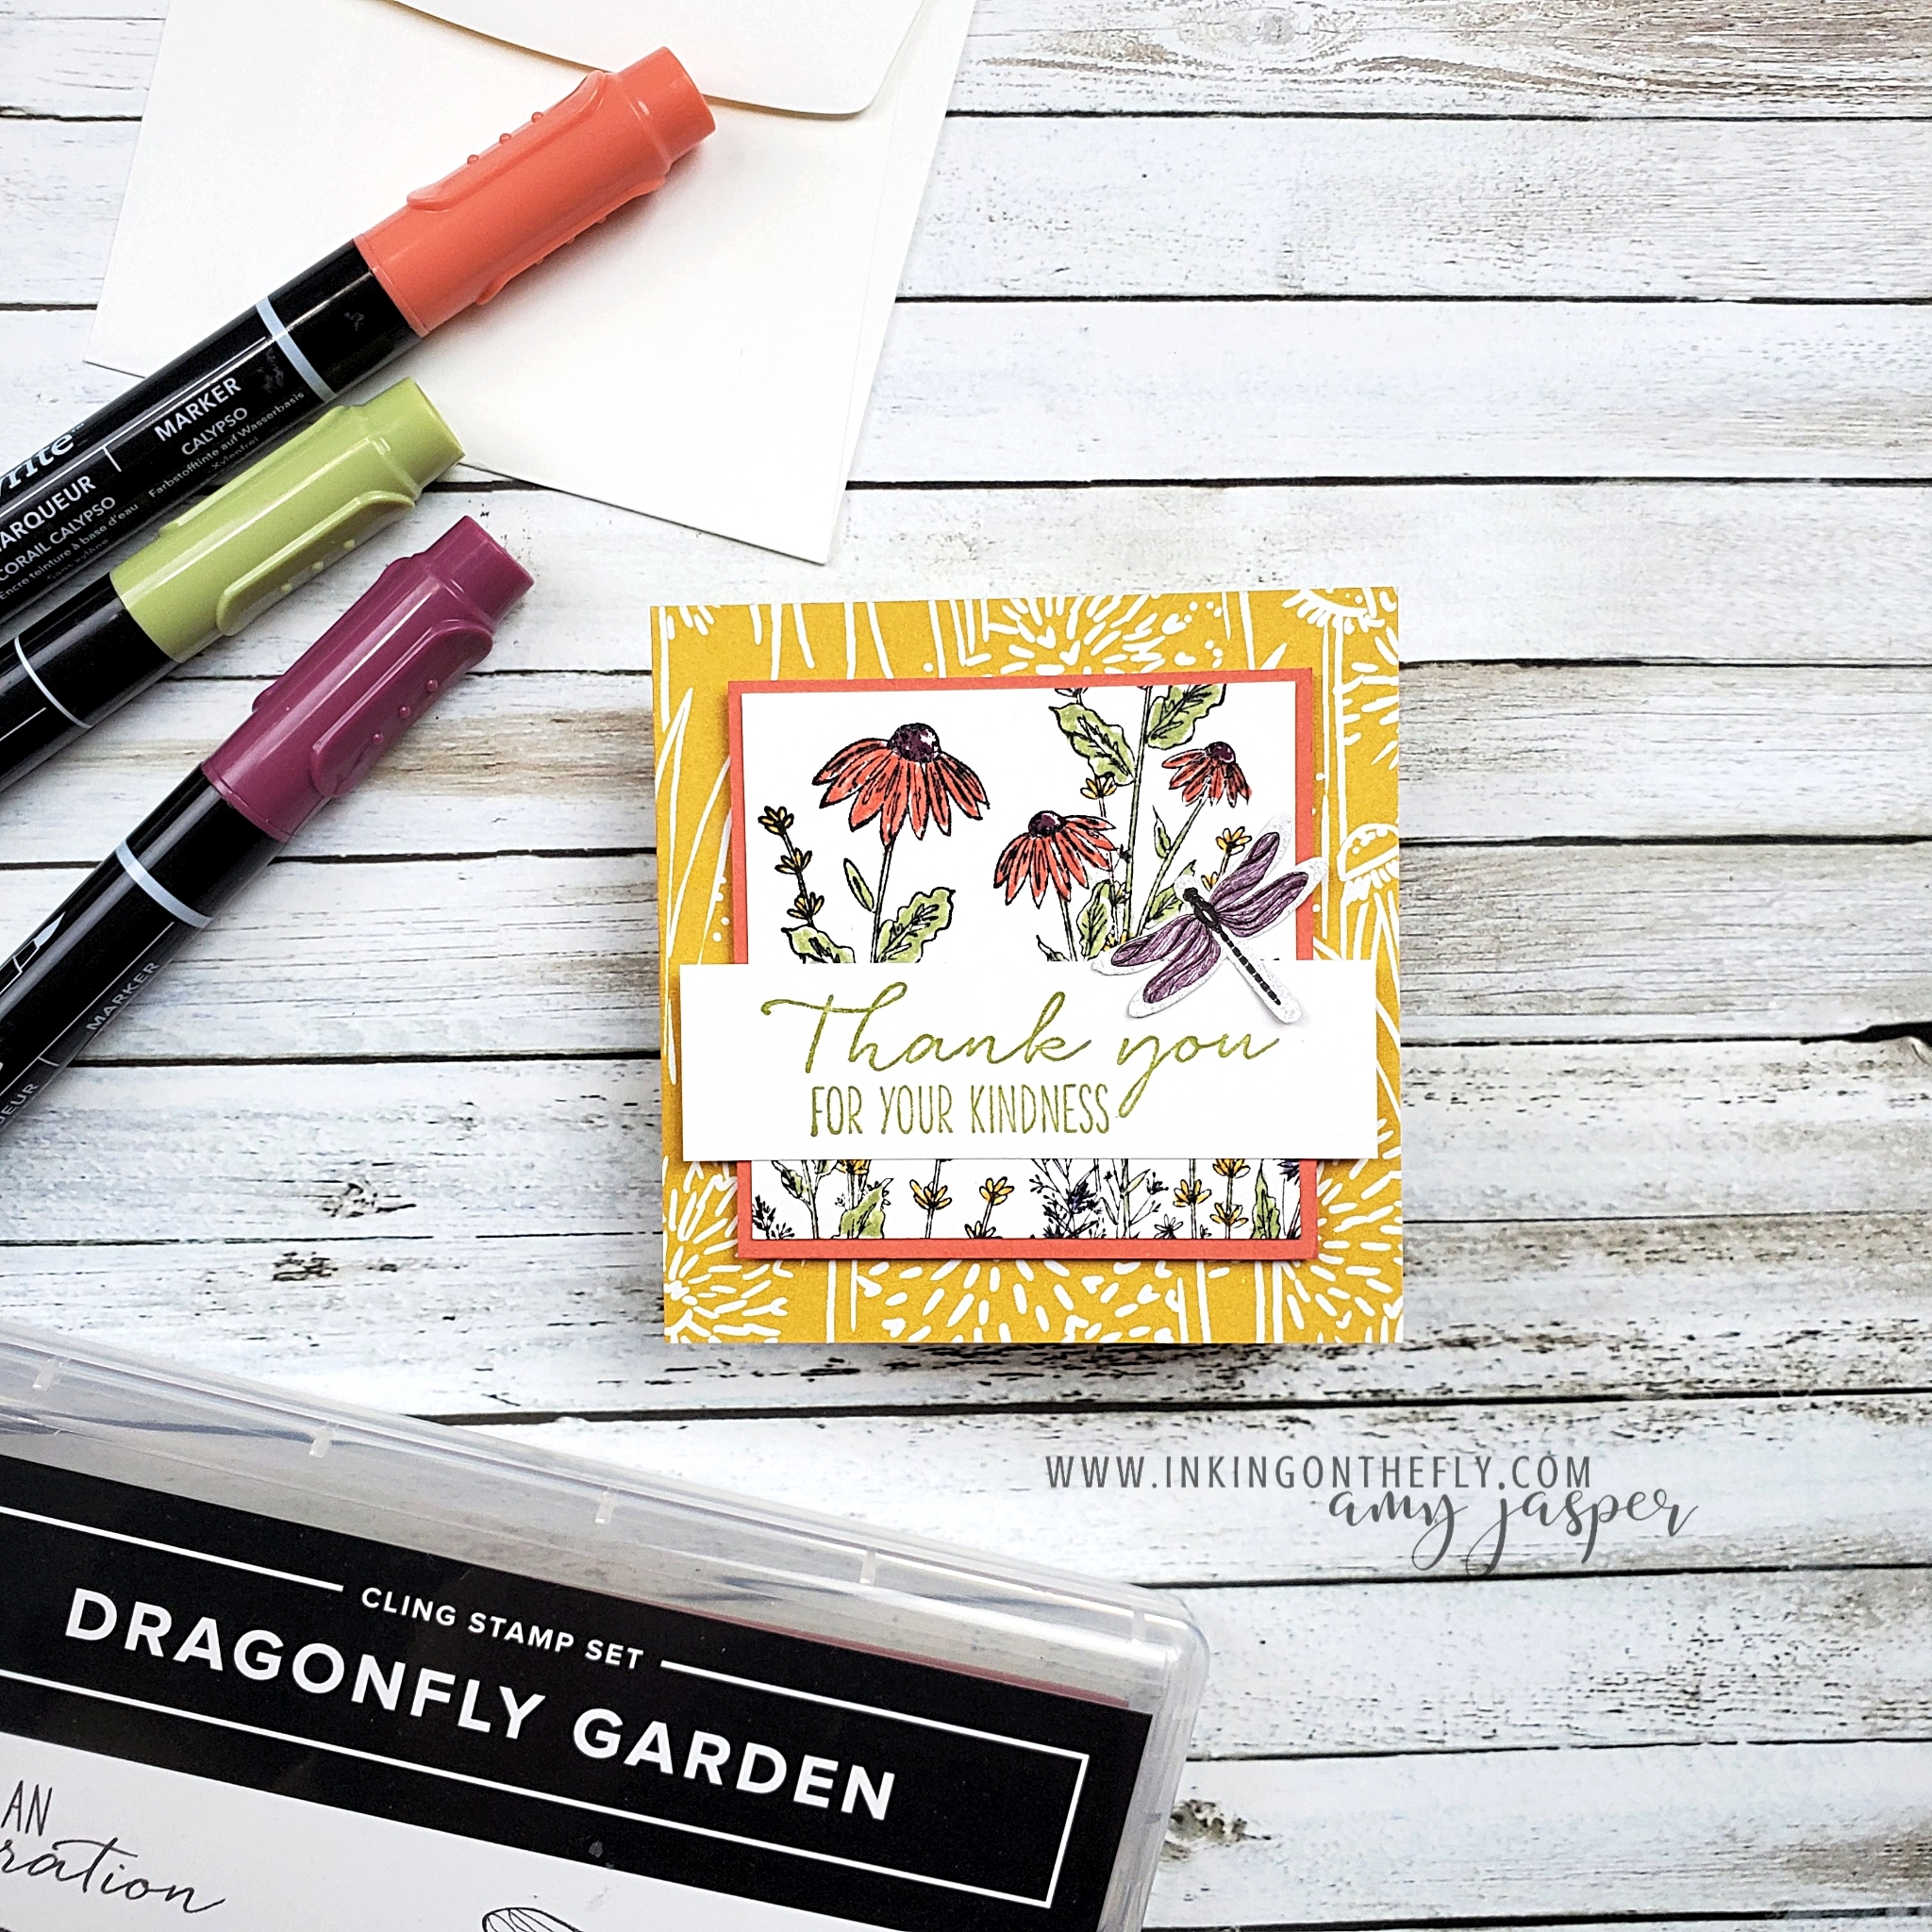
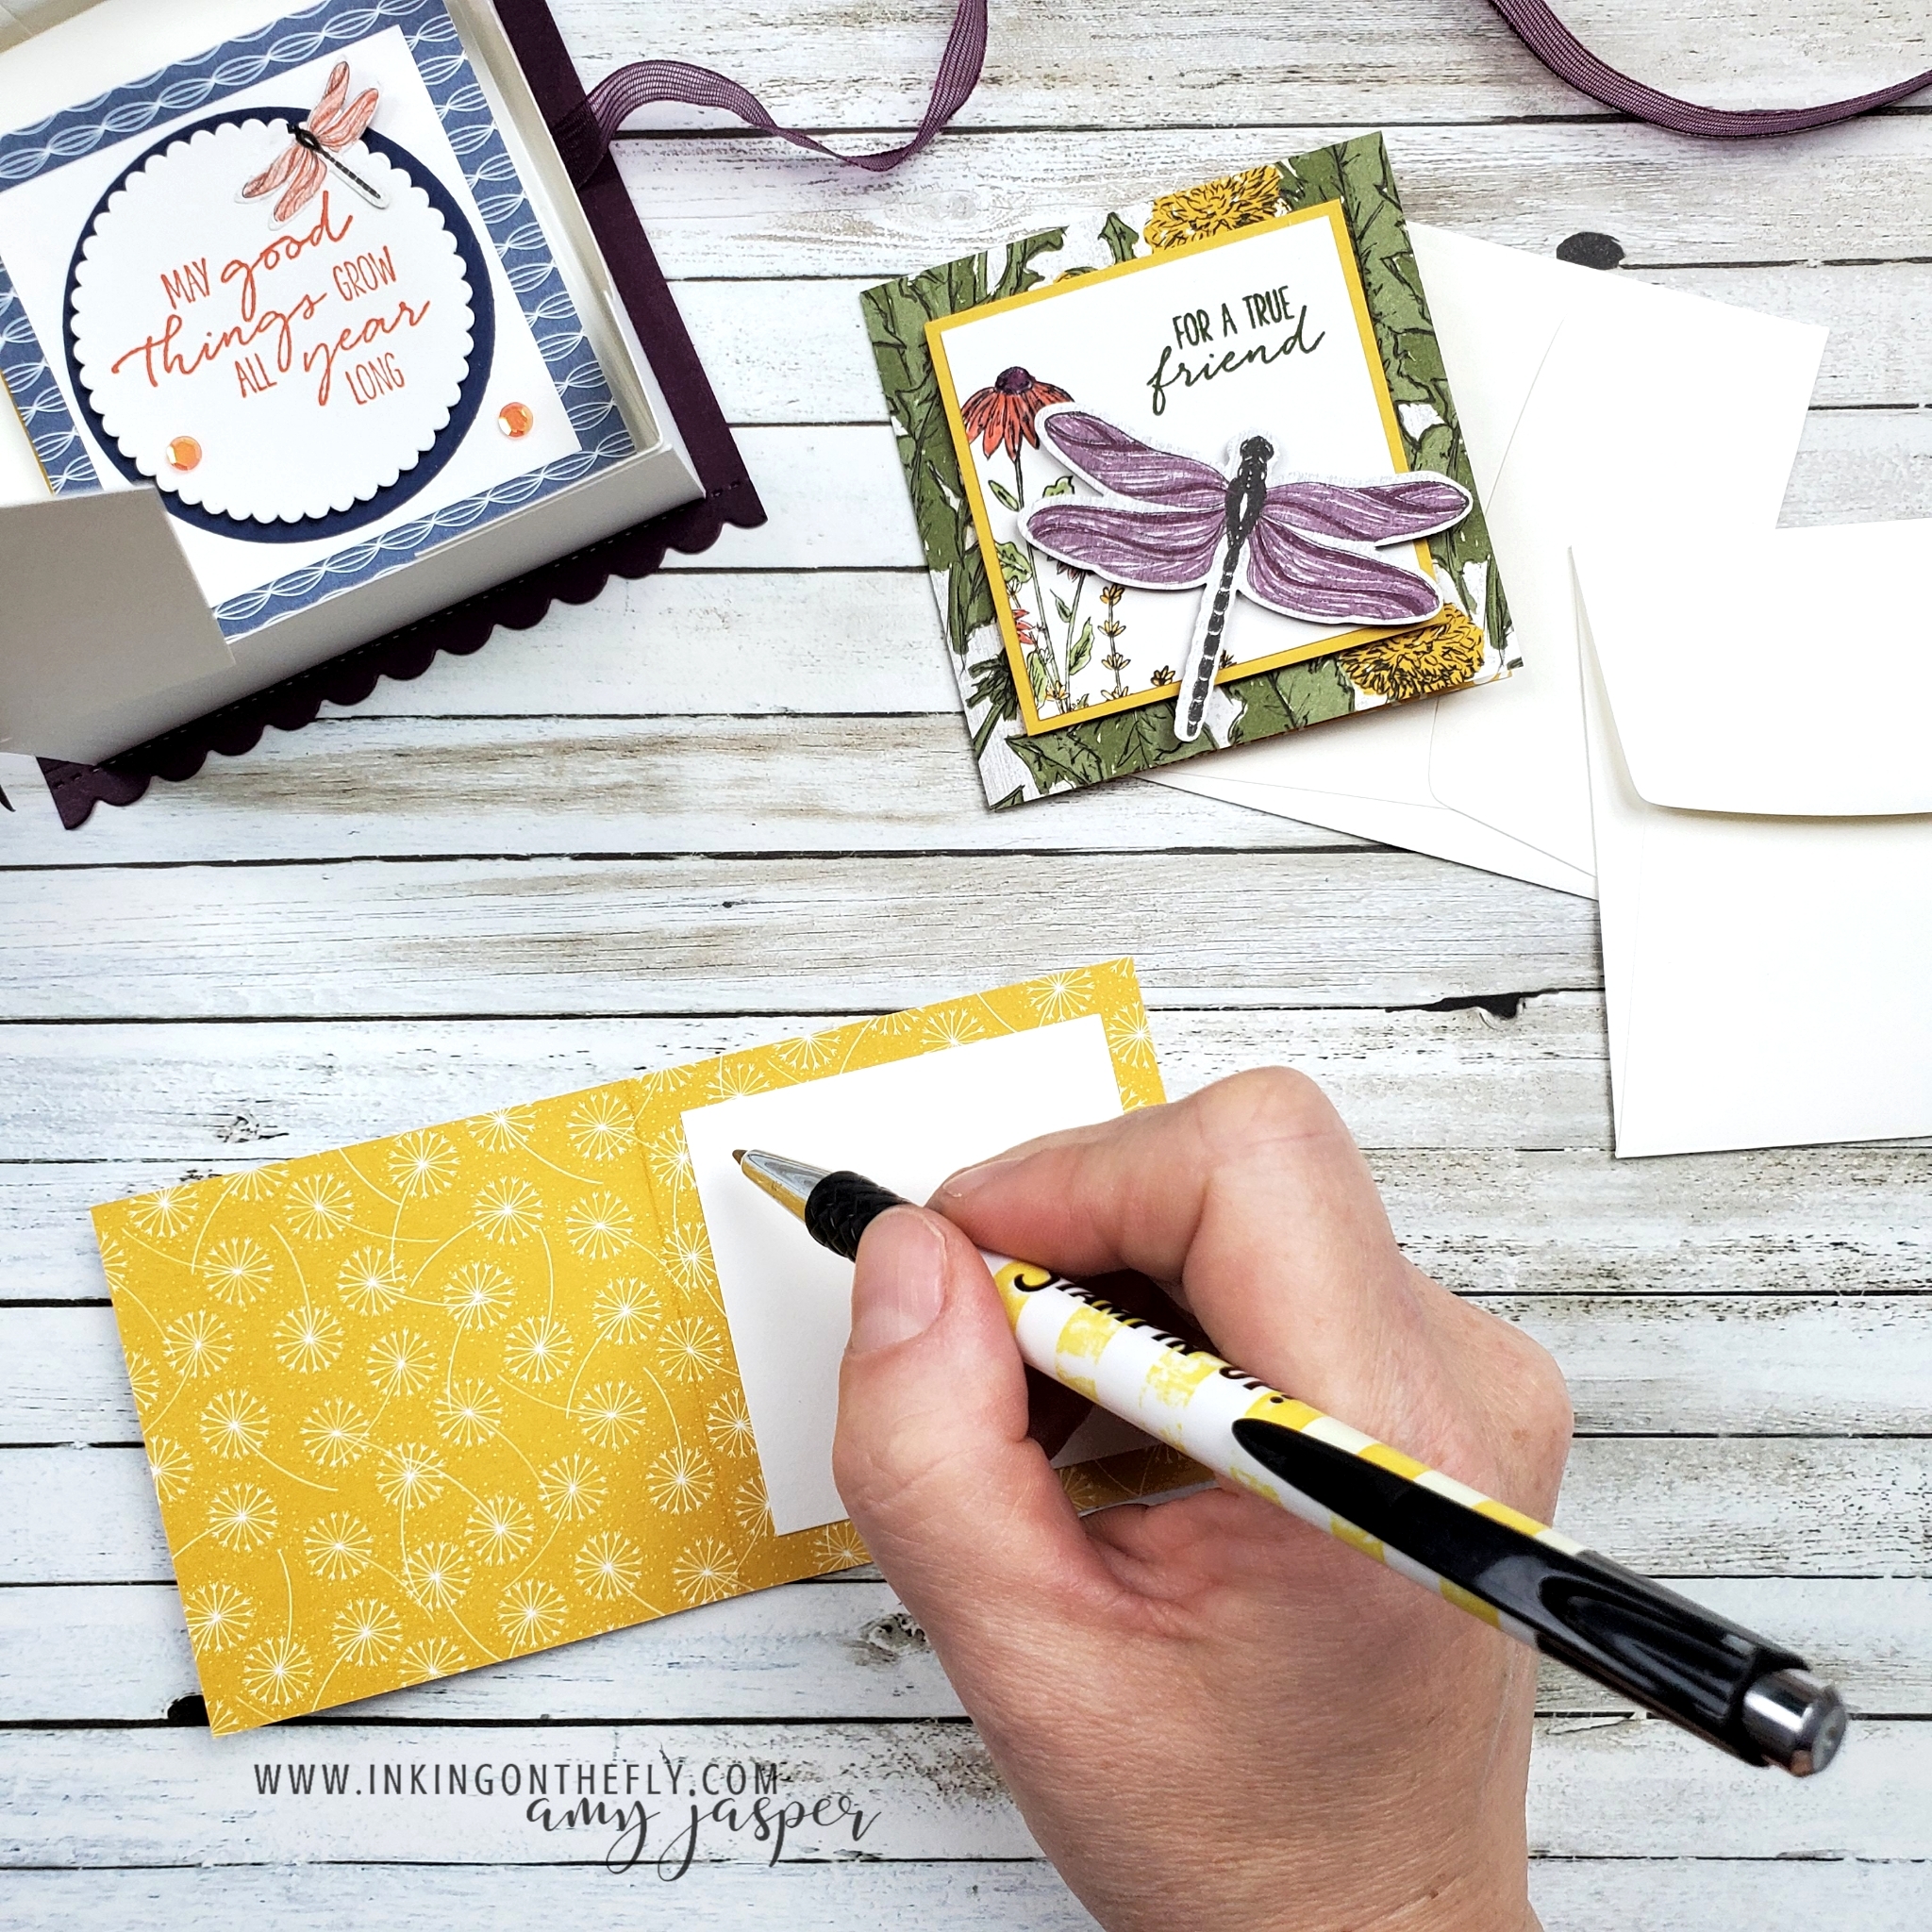
Expressions in Color Paper Pumpkin Kit

The Paper Pumpkin kit for June has stunning paper designs in the style of the Expressions in Ink Suite from Stampin’ Up!. If you don’t have any of the elements of this suite, you’ll definitely want to add them to your crafting supplies!

Paper Pumpkin is a subscription service that brings you a papercrafting kit each month – right to your door! The kit includes everything you need to make the projects designed exclusiveley for that month. You can subscribe or add them to an order as a pre-paid option.

If you’re in Canada, like me, you can SUBSCRIBE NOW and get your first box of creativity dropped at your door in July.

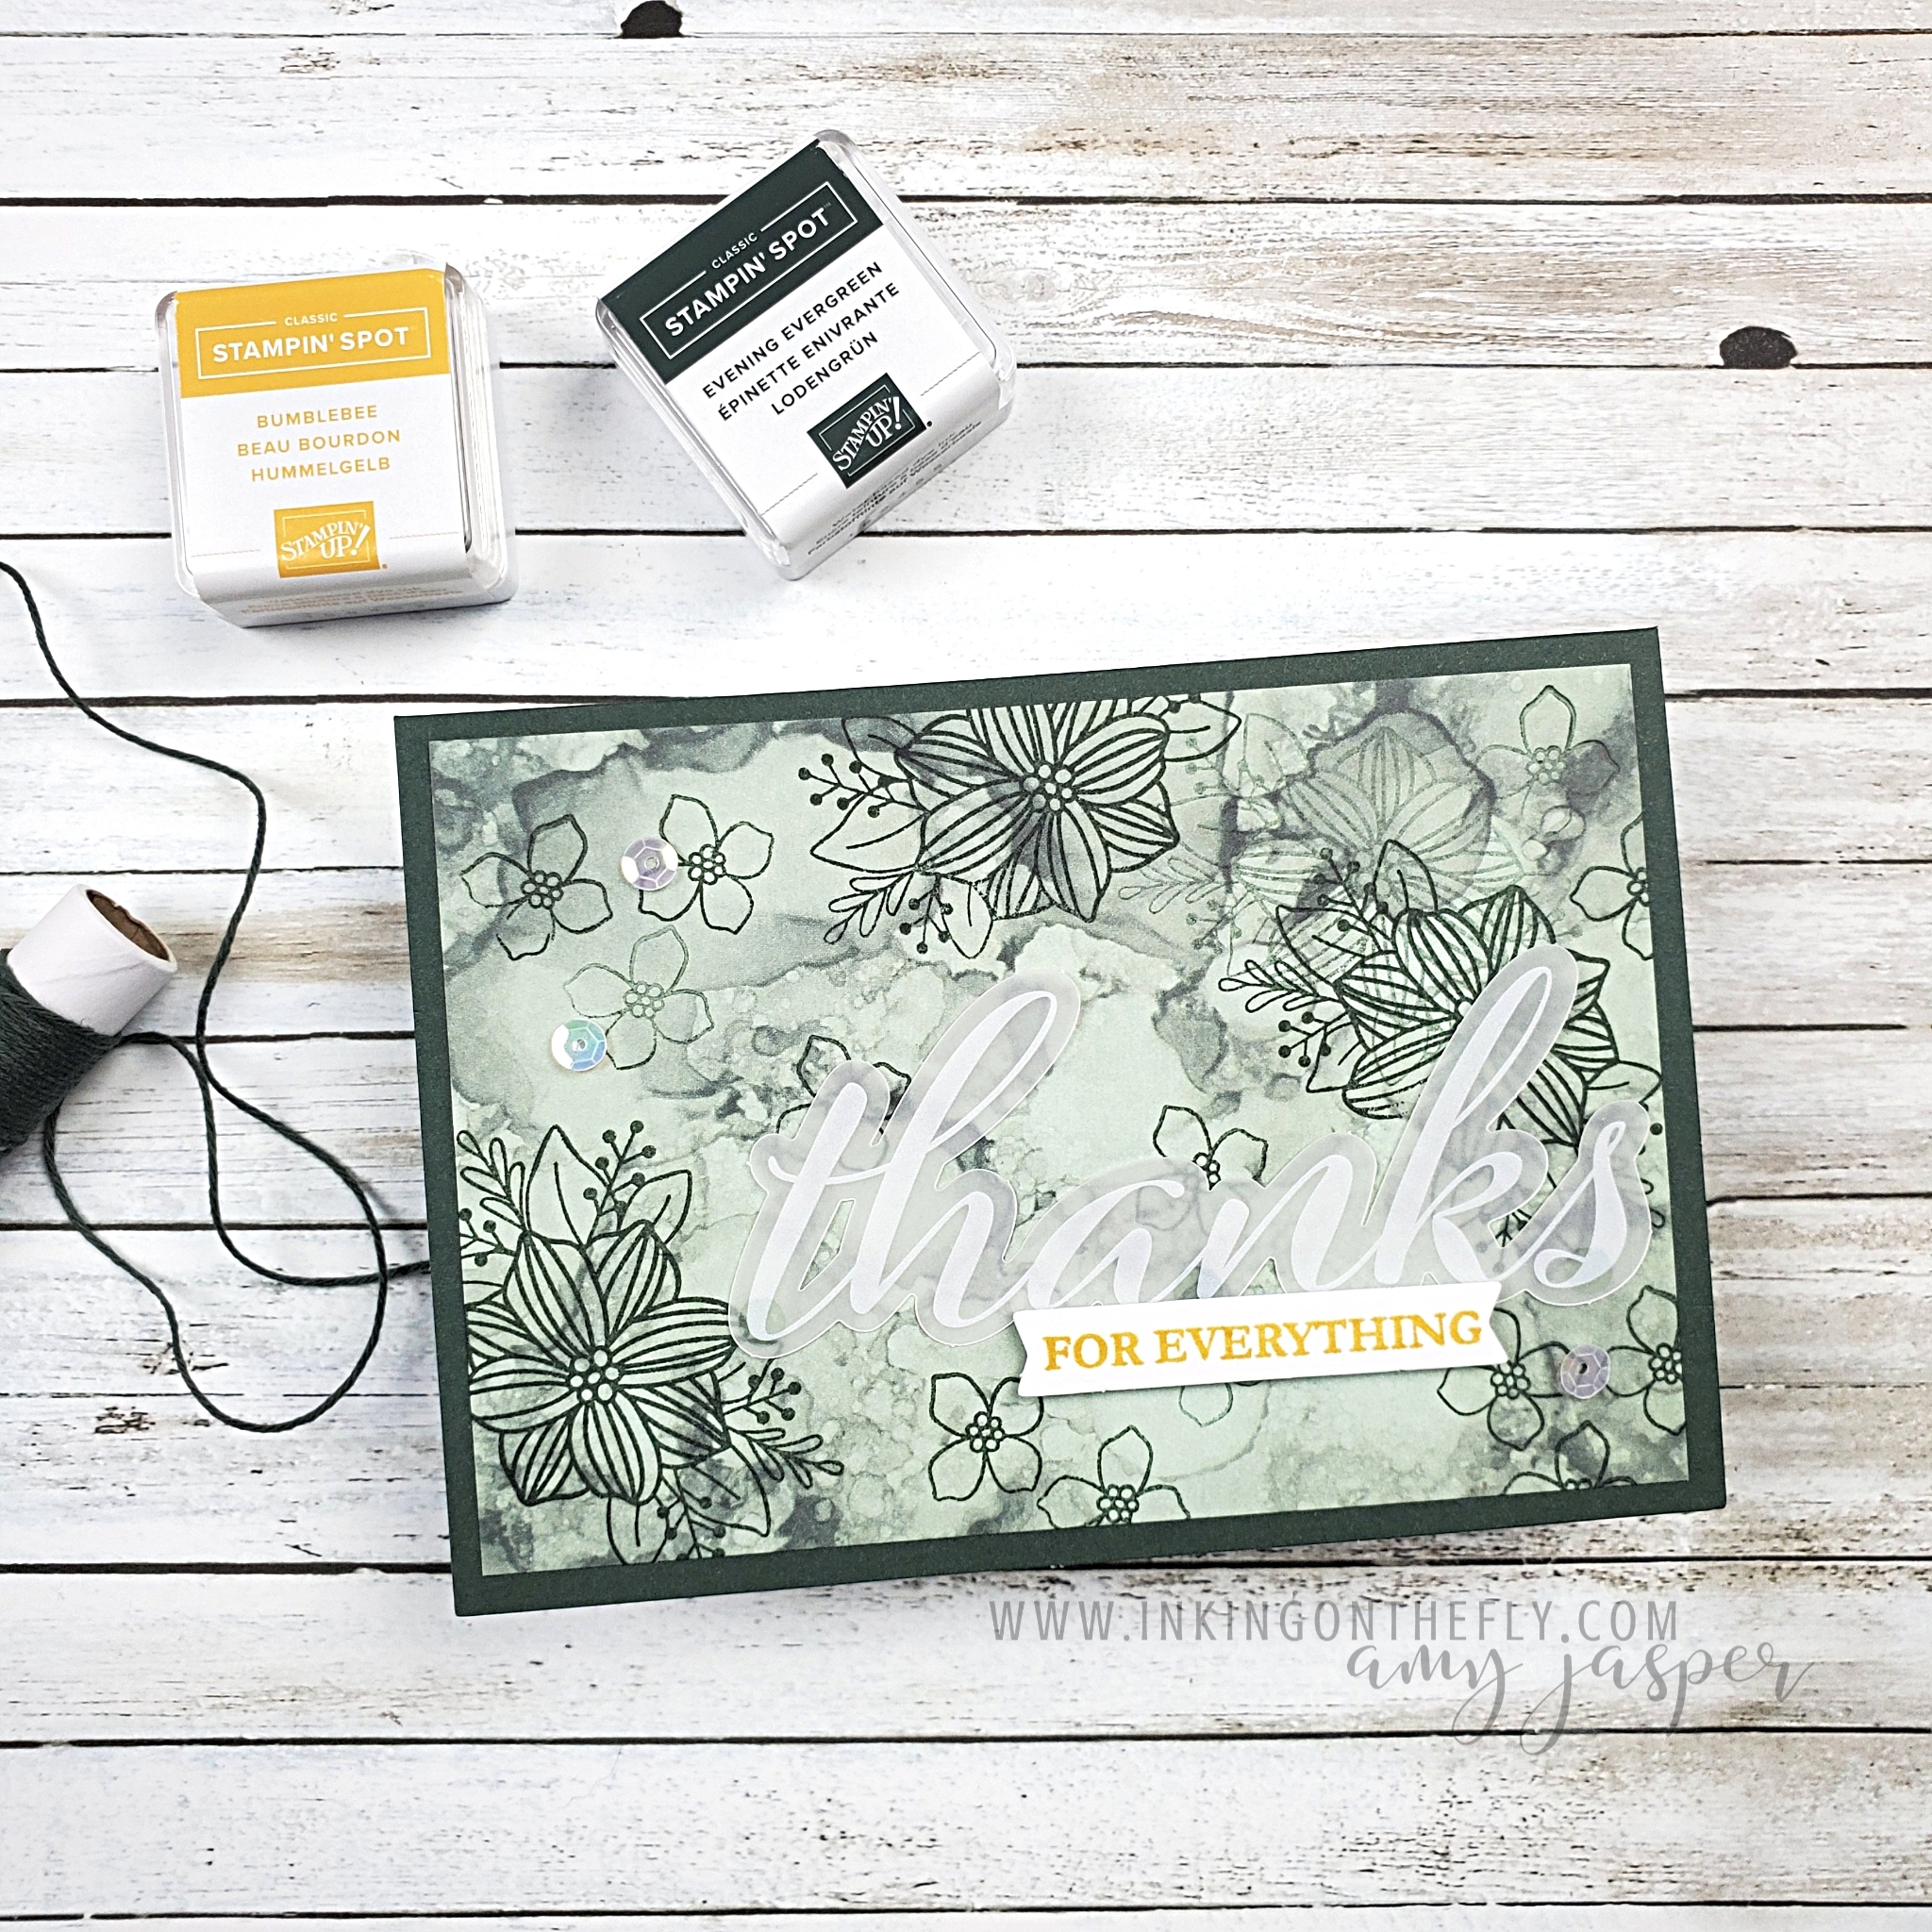
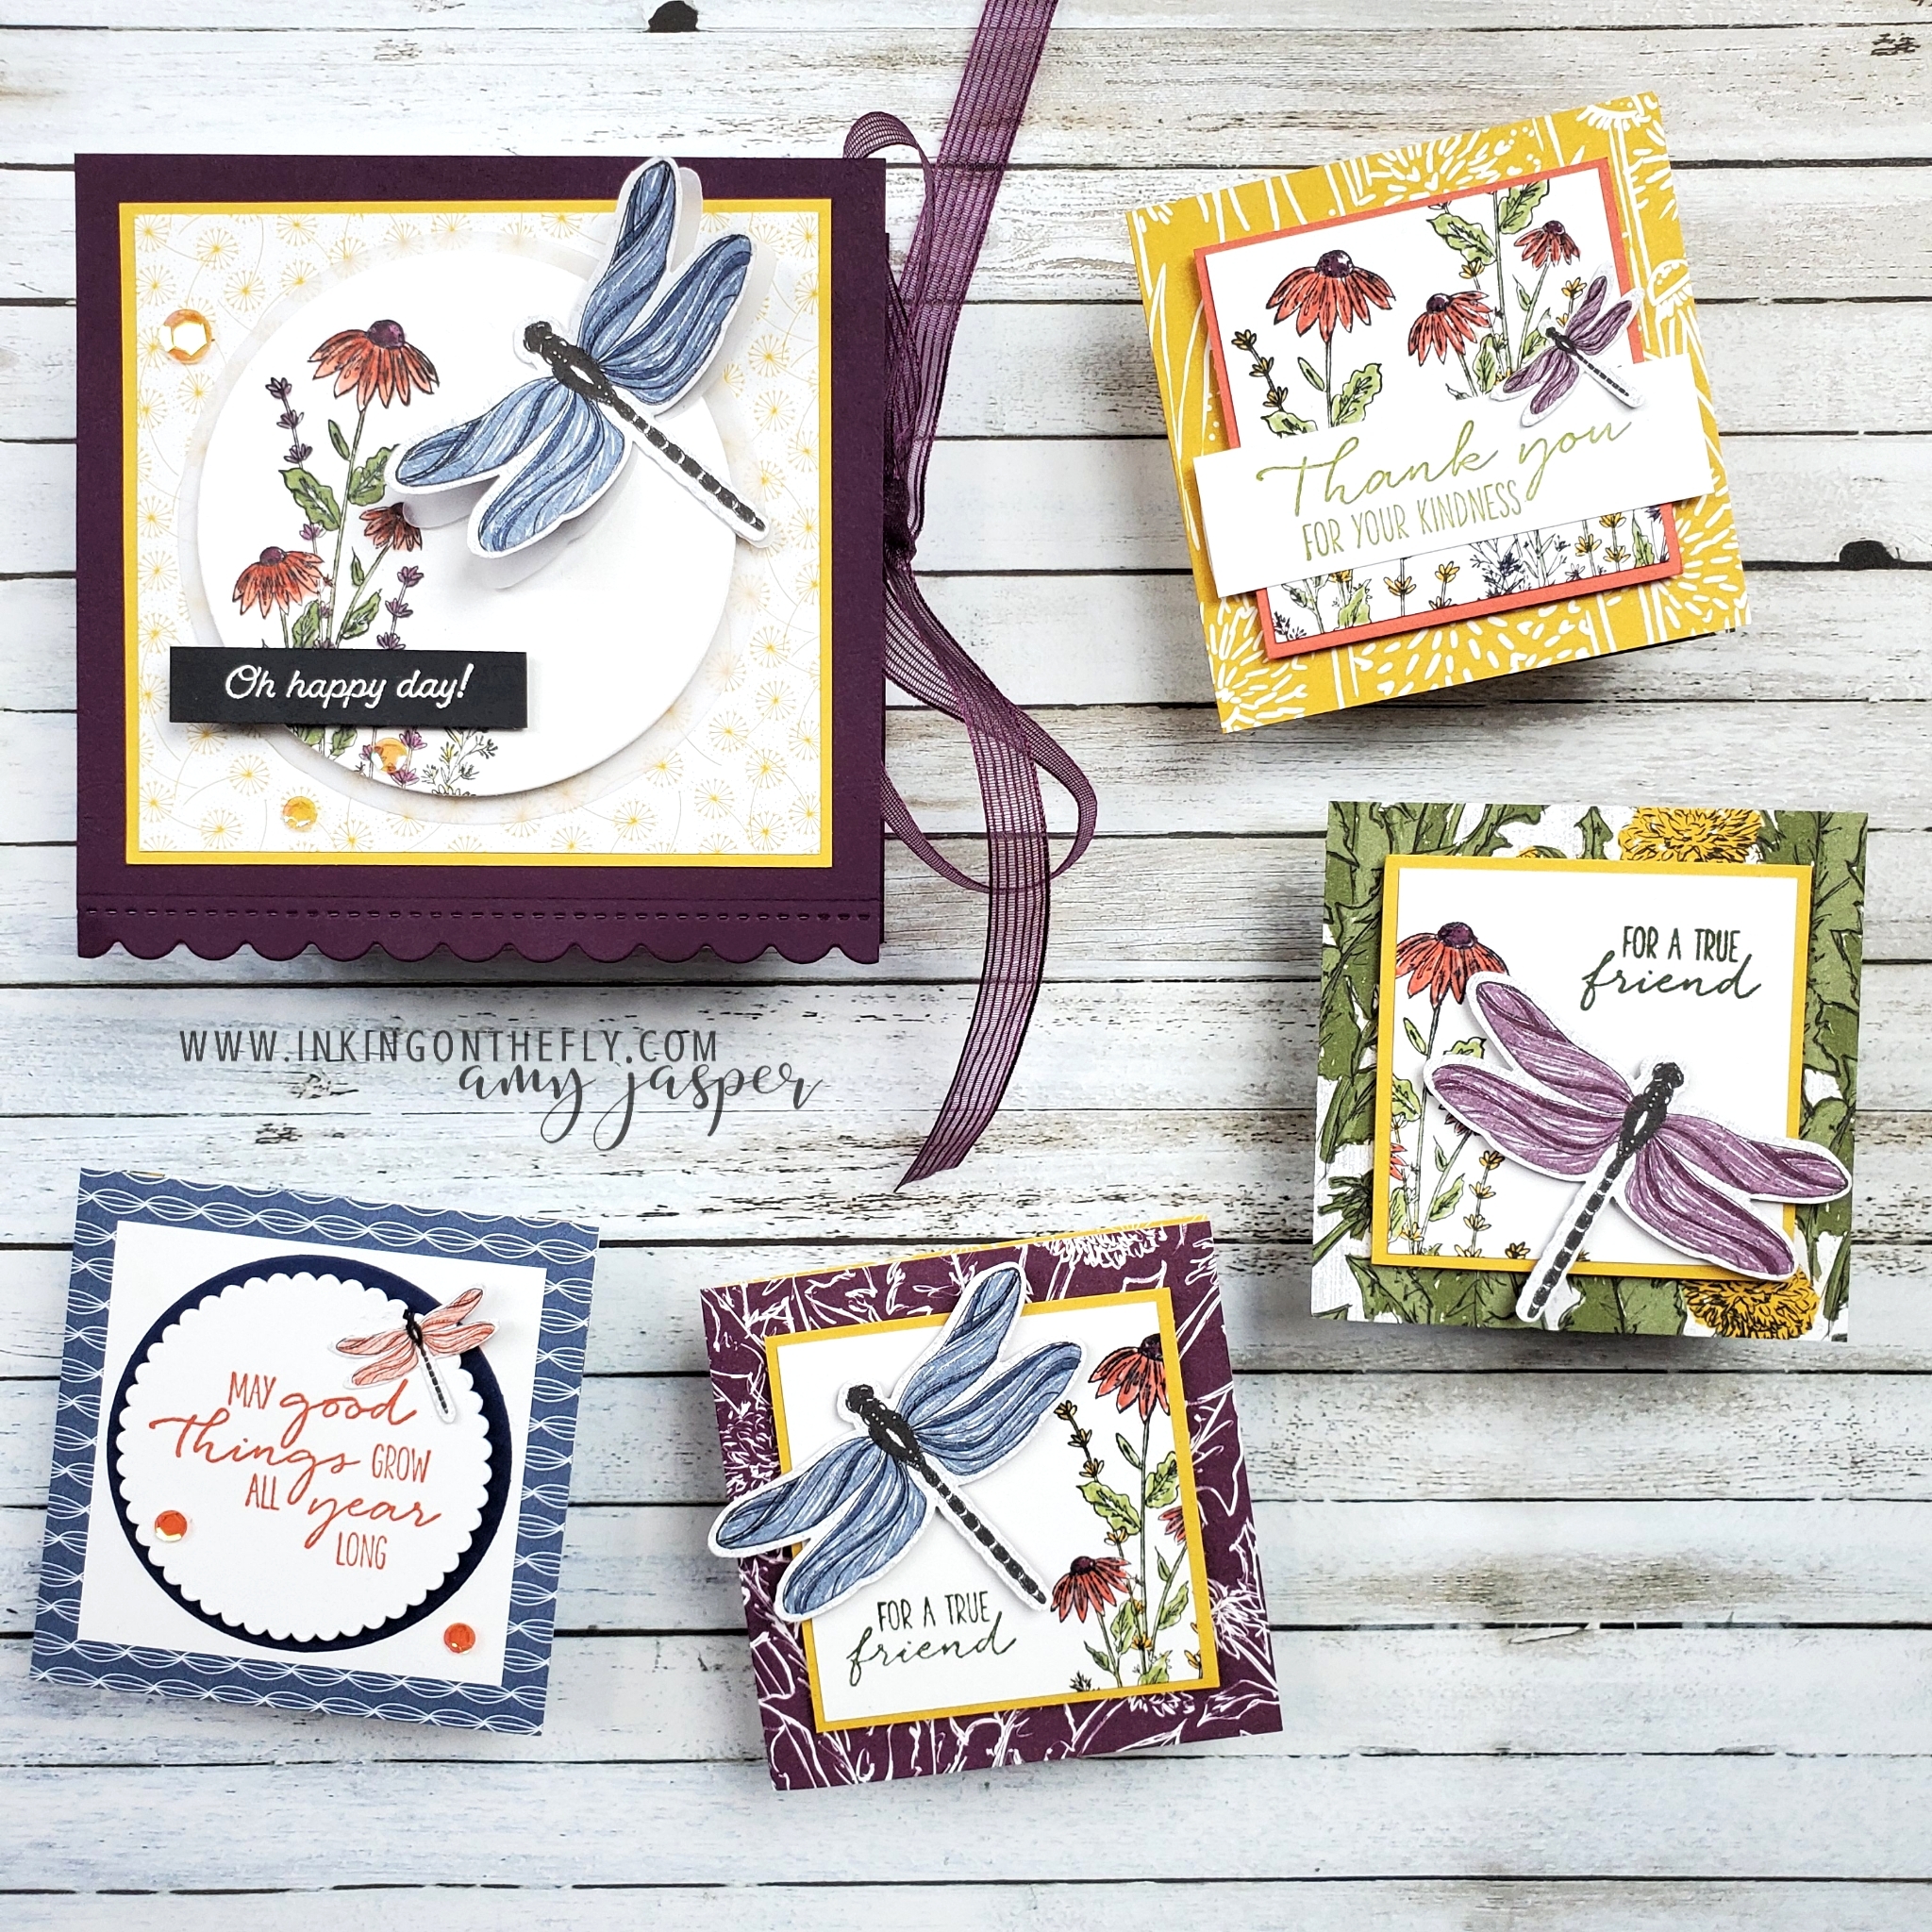
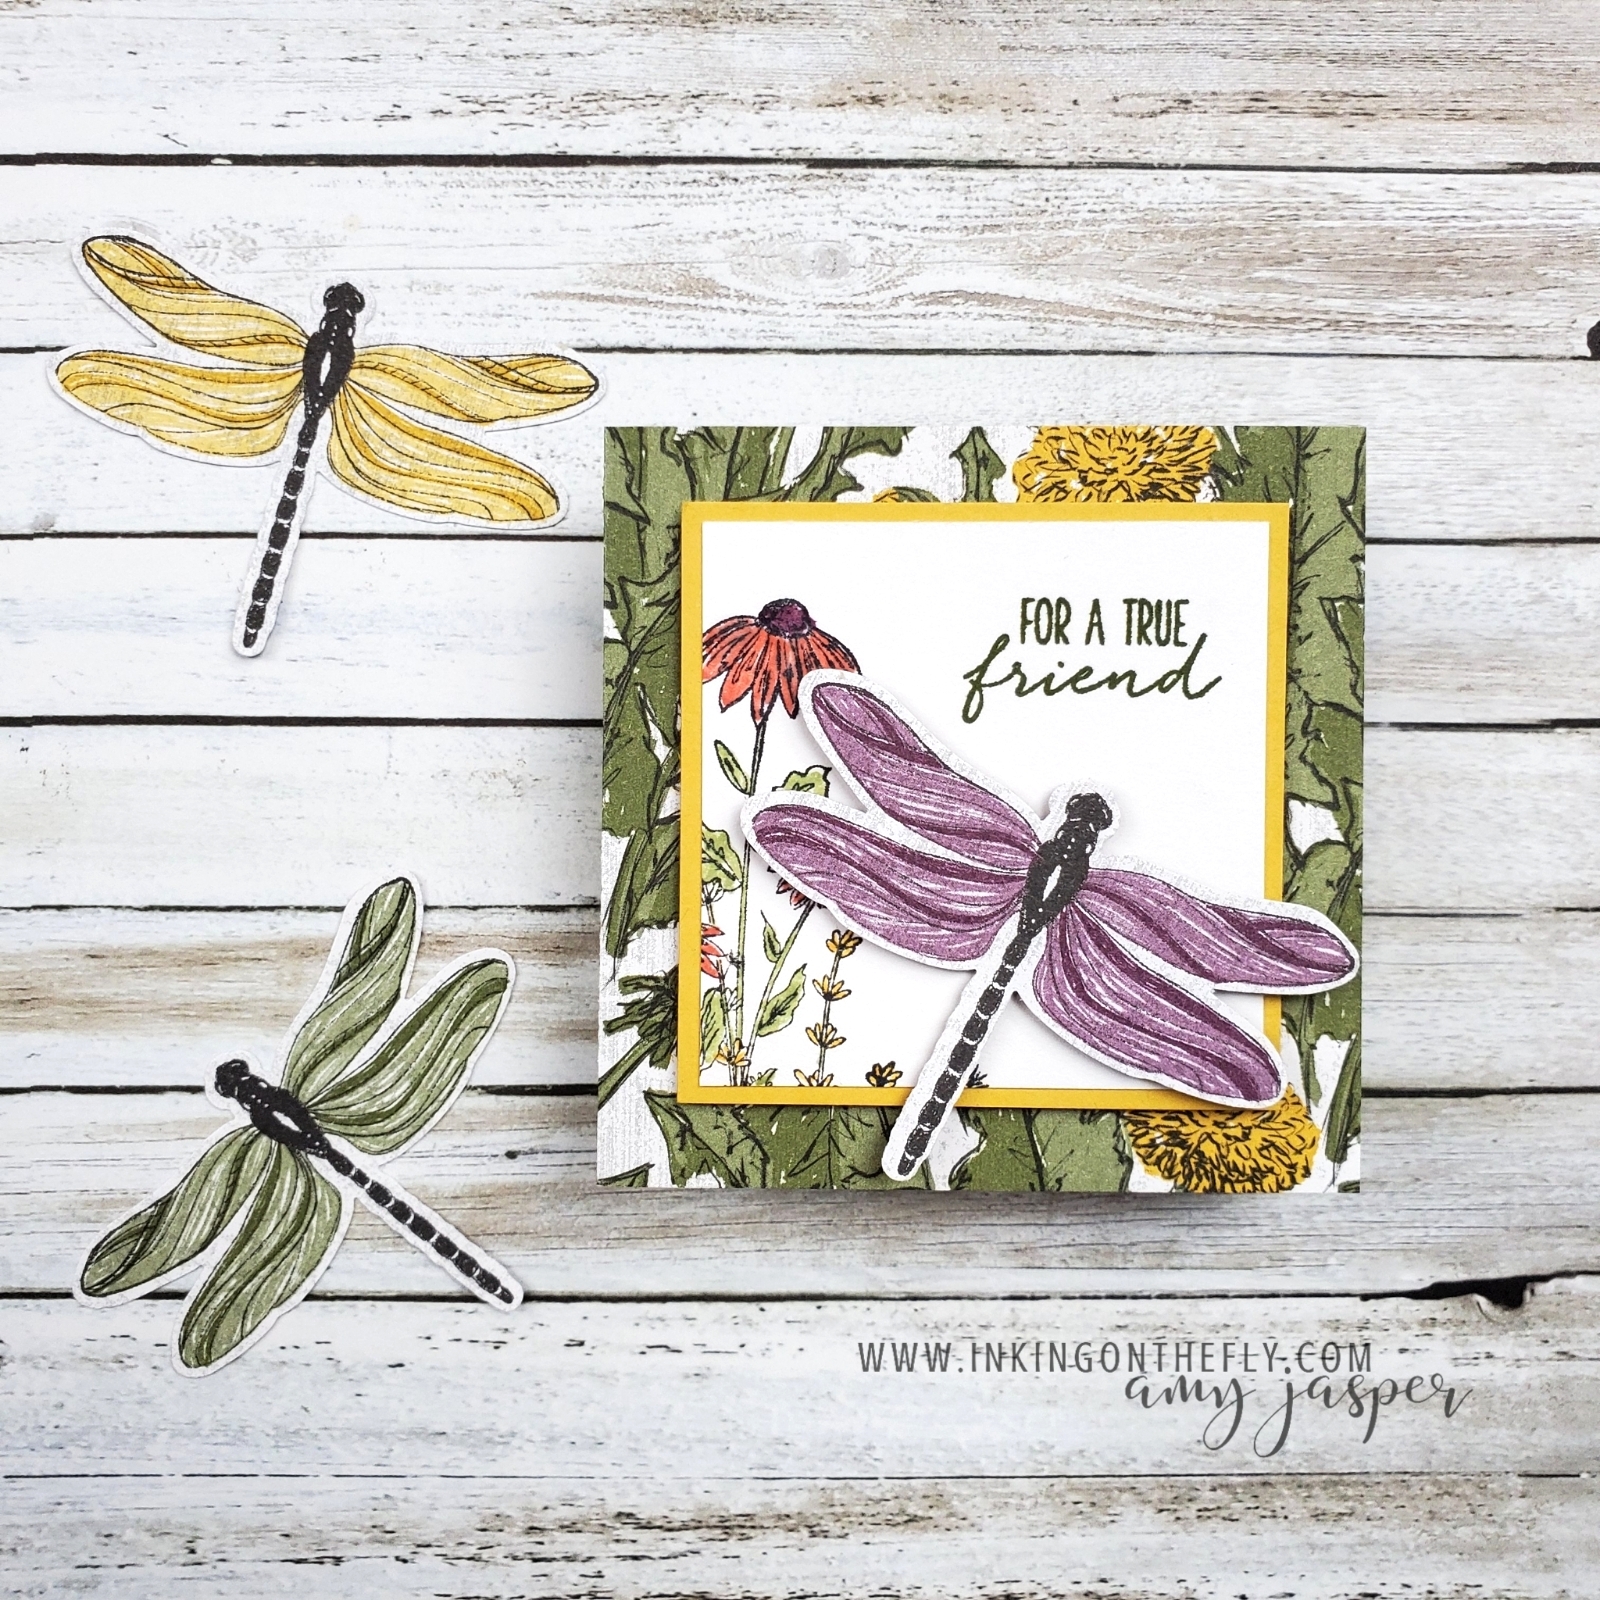
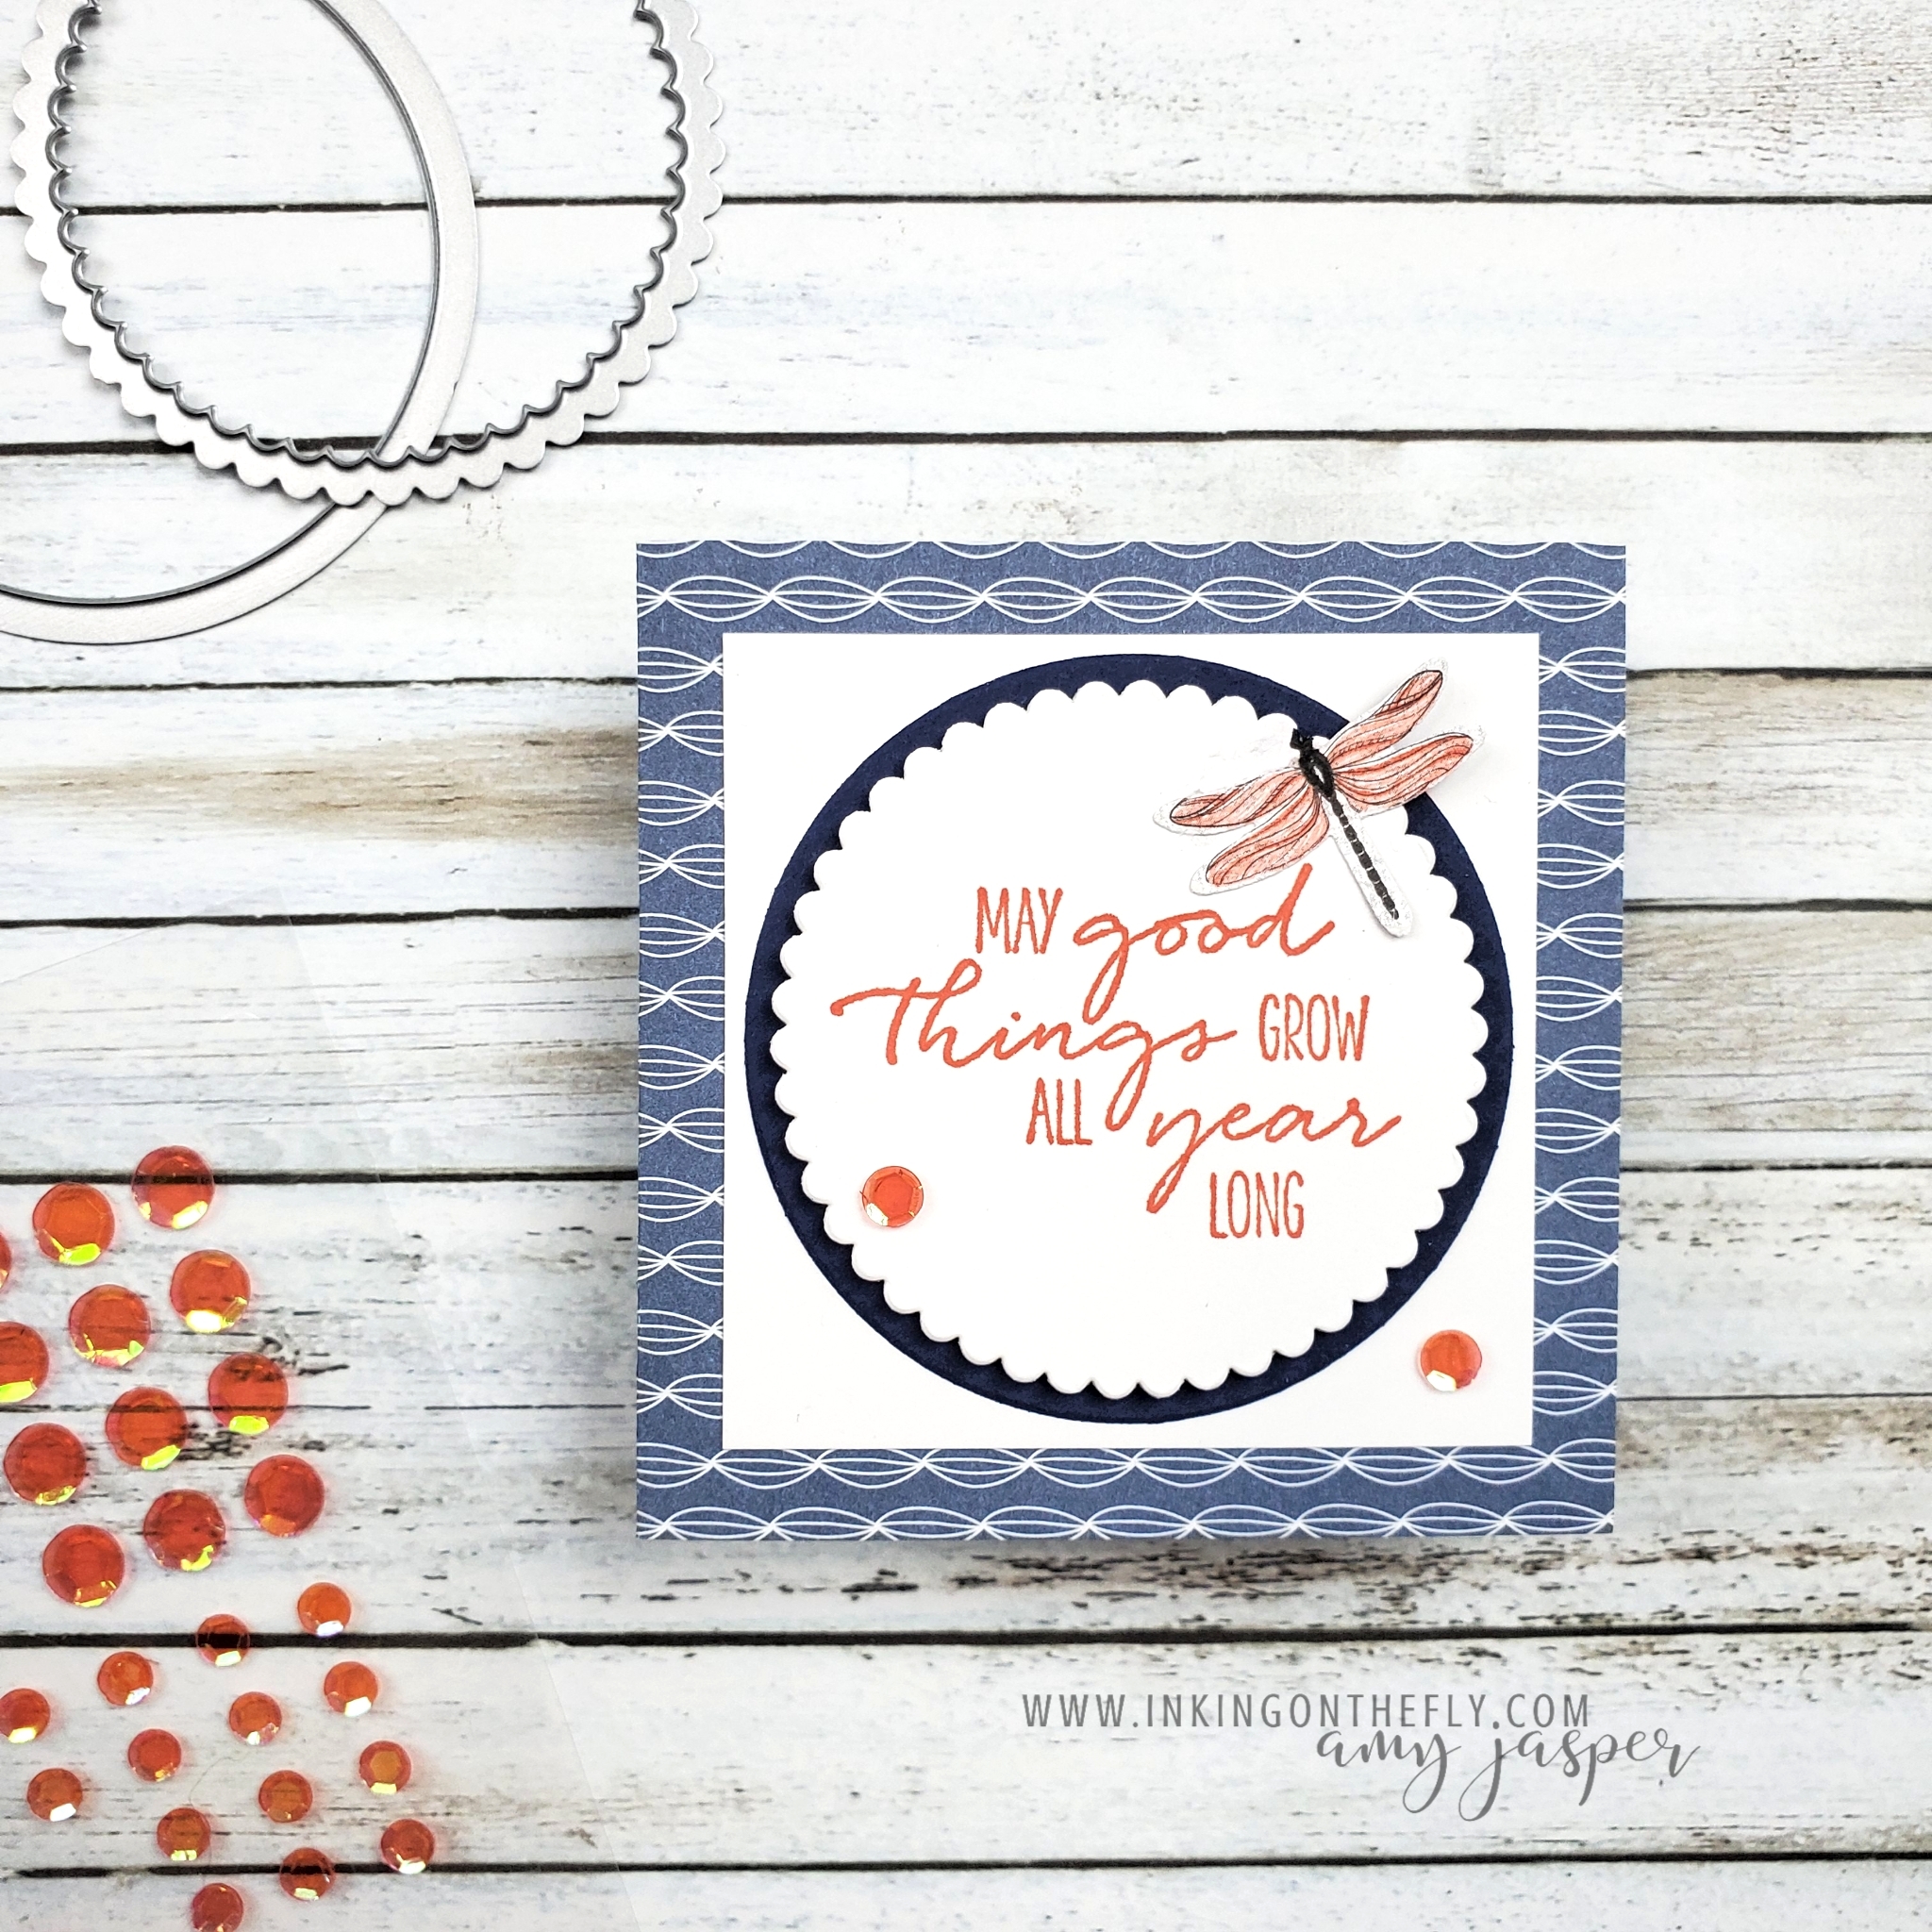
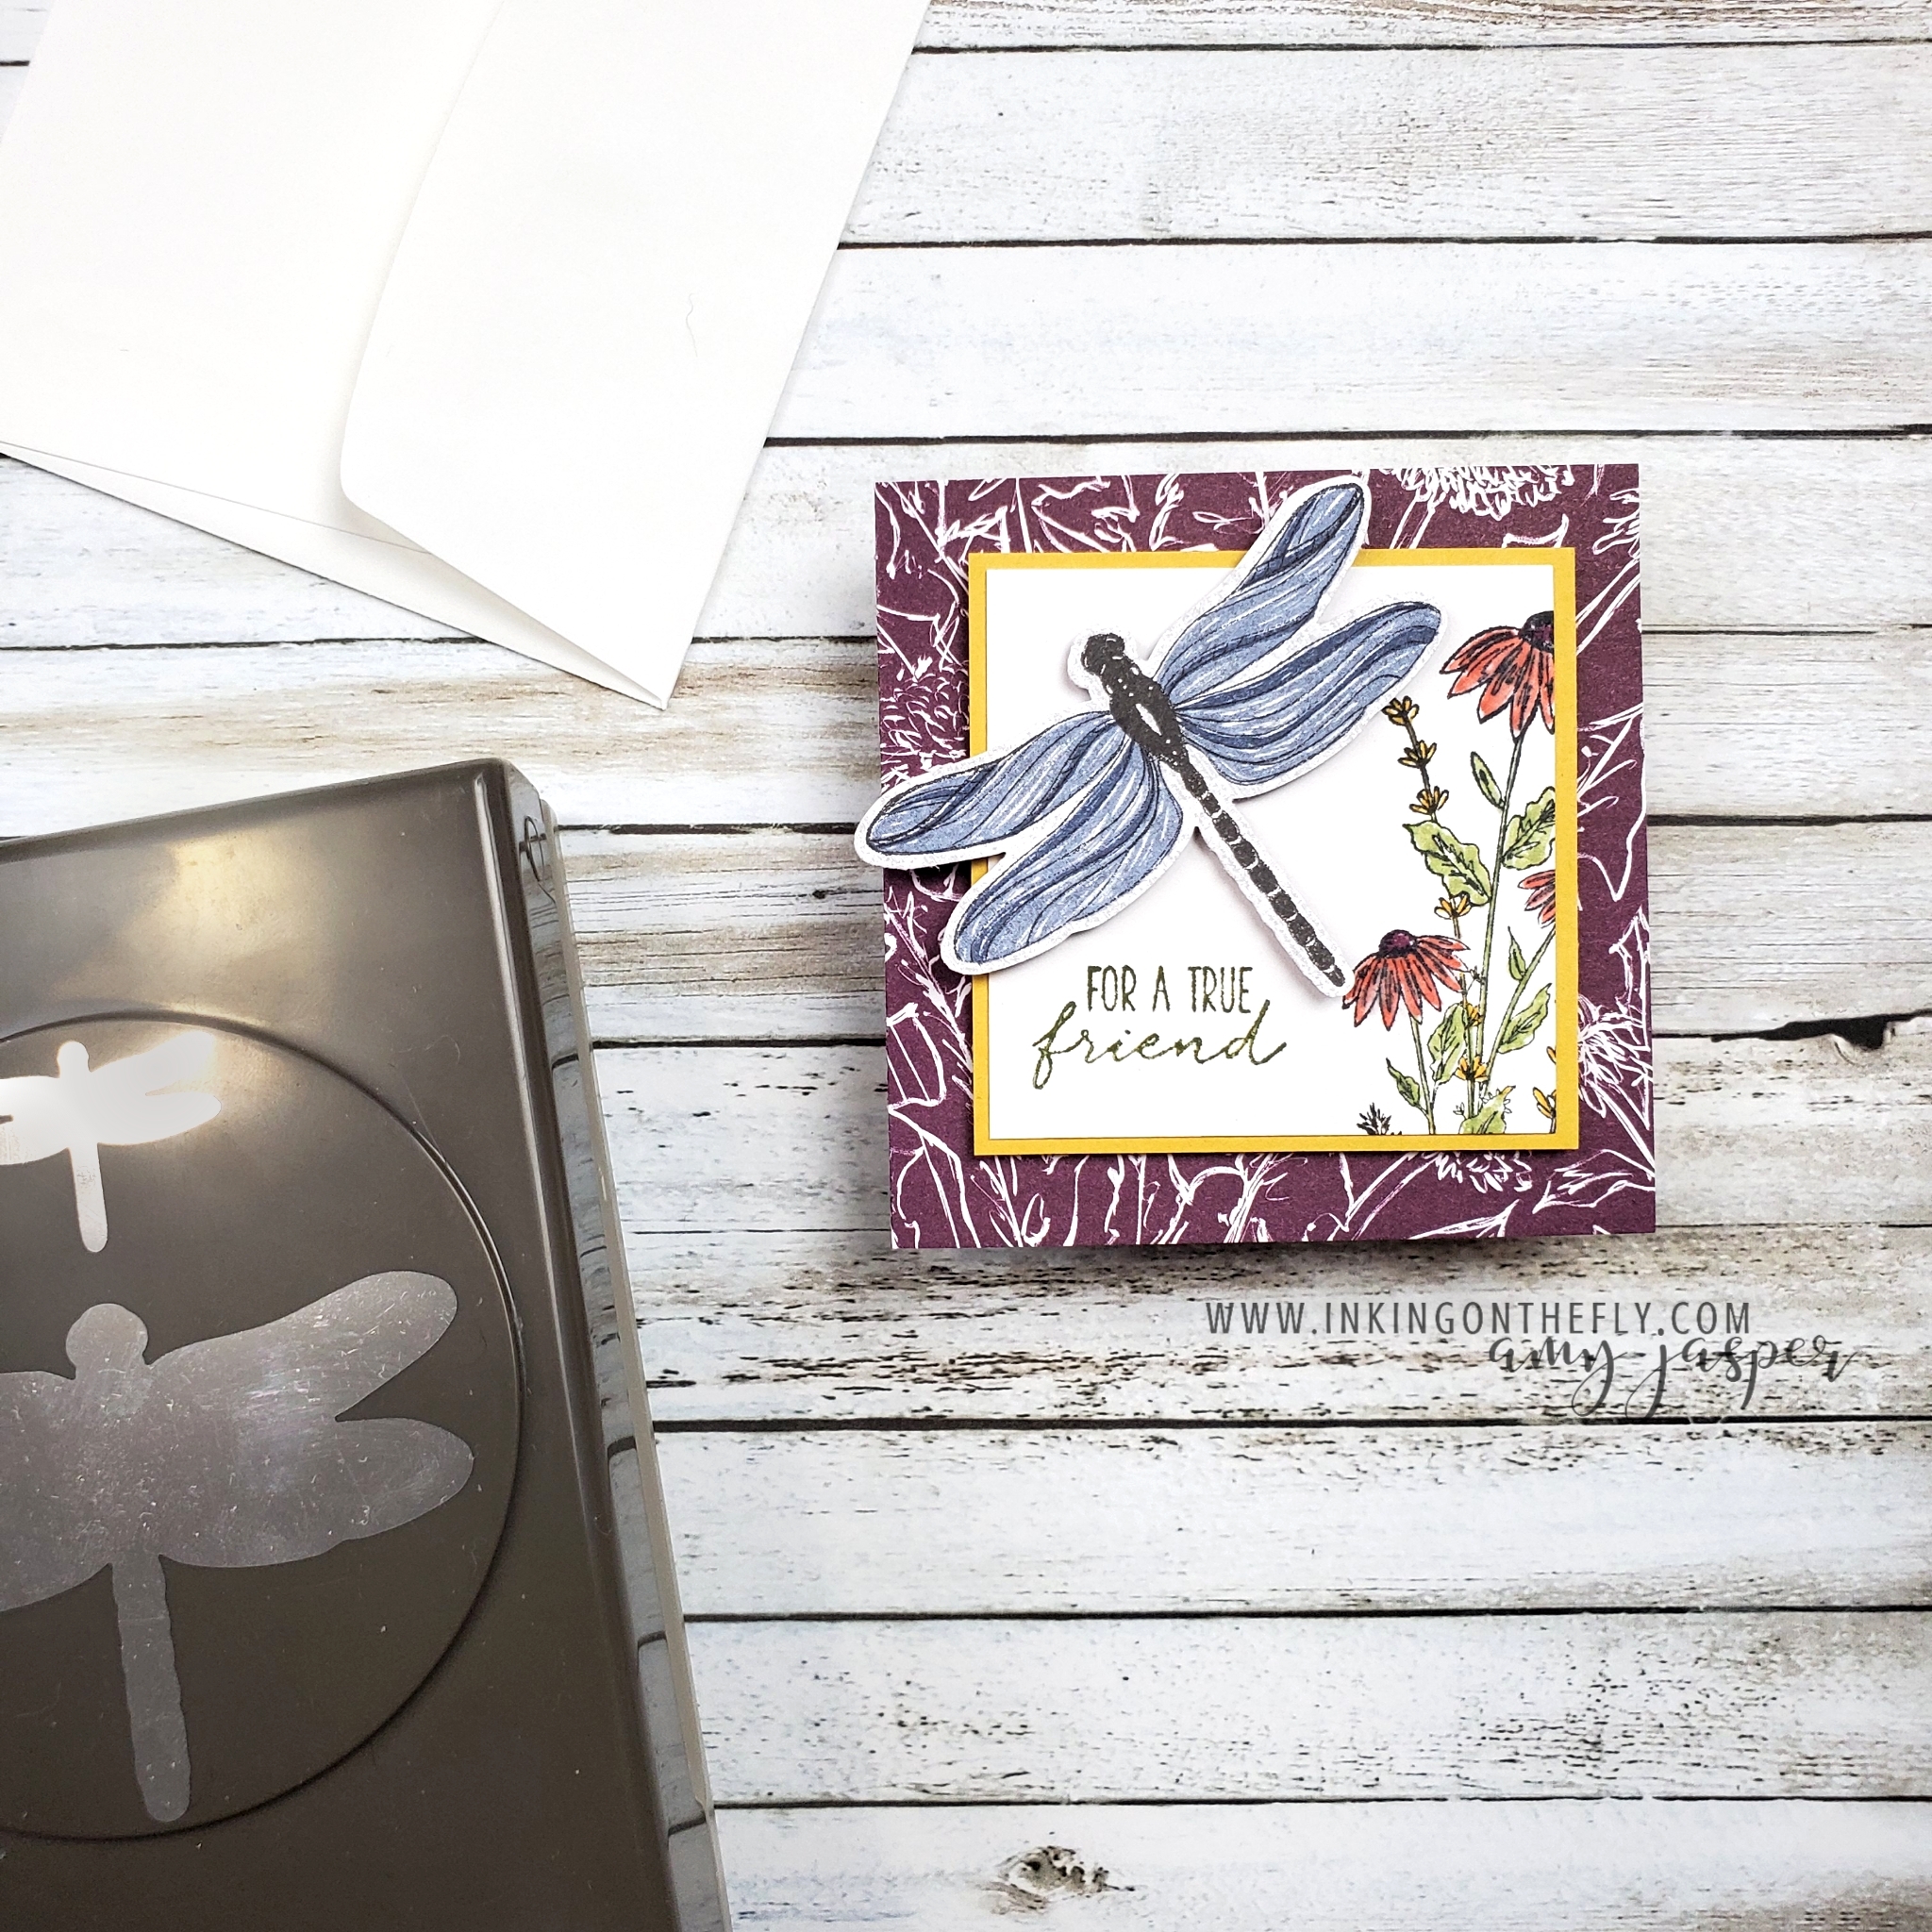
Whenever my Paper Pumpkin kit arrives, I always start with making one of each of the projects by following the instructions closely. I share my unboxing and assembly of the kit live on Facebook the Monday after I receive my kit. Usually, that will be the third or fourth Monday of the month. The following Monday, I share my alternative projects using elements of the kit.

I would love for you to join in on my Facebook Live videos every Monday morning at 10:30 (PT). It’s an absolute delight to chat and share my passion with you! I will be sharing my alternative projects this Monday, June 28th. You can join me there or check back here on the 29th to see what projects I create with the supplies in the kit.

Did you miss my unboxing of the June 2021 Expressions in Color Paper Pumpkin kit? No problem! Just watch it here!

If you like my videos, make sure you subscribe to my YouTube Channel.

Thanks so much for supporting me in my small business (or is it more of a big hobby?). I love being able to share my love of stamping, crafting and art.

Now go make something beautiful!

Floral Overlay Framed with Gold

Welcome to a send a card Sunday!

I wanted to show off the Fine Art Floral Designer Series Paper a few more times before it’s gone forever. I loved this paper and this entire suite of Stampin’ Up! products from the moment I saw it!

It’s always sad to see our favourite products retire. The January – June Mini Catalogue is coming to an end and many of the products will be selling out fast!

If you like this paper and the Golden Garden acetate, make sure you hurry over to my online store to grab some before it’s gone forever!

Look at how the acetate matches the patterned paper. So pretty! So Elegant!

I created a frame on this card by cutting out the center of the Gold Foil Paper with one of the Stitched Rectangle dies. The stitched edge adds a bit of texture and interest and is also a sneaky way to hide the adhesive beneath the clear acetate.

I think the gold is so striking with the Early Evergreen cardstock!

I stamped the Many Happenings stamp with Versamark ink on Basic Black cardstock and heat embossed it with White Embossing Powder before die-cutting. It’s so efficient to be able to use one stamp and one die to create a bunch of labels all at the same time!

Now I have a little collection of sentiments ready to use for my future projects.

Hello, time saver!

Dragonfly Note Cards

Welcome to a simple stamping Sunday.

Last Tuesday, I shared an easy small gift box that I made to fit note cards. Well, my friends, I whipped up some note cards lickety-split using the Dragonfly Garden stamp set and the Dandy Garden Designer Series Paper from Stampin’ Up!.

If you didn’t see the box I made, you can go to my blog post by clicking HERE. There is a handy video tutorial there as well for anyone who might find it useful. I suspect that it will be a video that I refer back to myself when I want to make another box like it. It’s so easy when you have the measurements and instructions at your fingertips!

Making these mini note cards are super quick and easy as well!

The card bases are patterned paper cut to 2 3/4″ x 5 1/2″, then folded in half. I like my note cards to fit easily into the 3″ x 3″ Mini Envelopes, so I choose to make the cards 2 3/4″ square.

I used my Stampin’ Write Markers to colour the floral image from the Dragonfly Garden stamp set. The dragonflies were punched out with the Dragonflies Punch from one of the patterns of the Designer Series Paper. I could have stamped the dragonfly and coloured it myself before punching it out, but, hey, I’m all about efficiency today! LOL!

Normally, I wouldn’t use designer paper for my card base, but these cards are so little that it doesn’t matter that the paper is thin. Adding the layers on the front and inside the card add structure and make up for the designer paper being so much thinner. The cool thing about using the patterned paper for the base is that you get to show off both sides!

Note cards like this are great for anyone with a small business. You can write a quick thank you note and pop it in with a customer’s purchase. I also like to use note cards to attach to a little gift. A box of chocolates for a friend. Flowers for your mom. A personalized mug with some fancy tea for a teacher. These cards give that little extra something without overshadowing the modest elegance that a small gift represents.

All of the products that I used on these cards and the box are available to purchase at my Canadian online store. Let me know if you have any questions about products. I’m always happy to help if I can!