simple and cute

Designer Paper Makes it Easy

Welcome to a simple Sunday post.

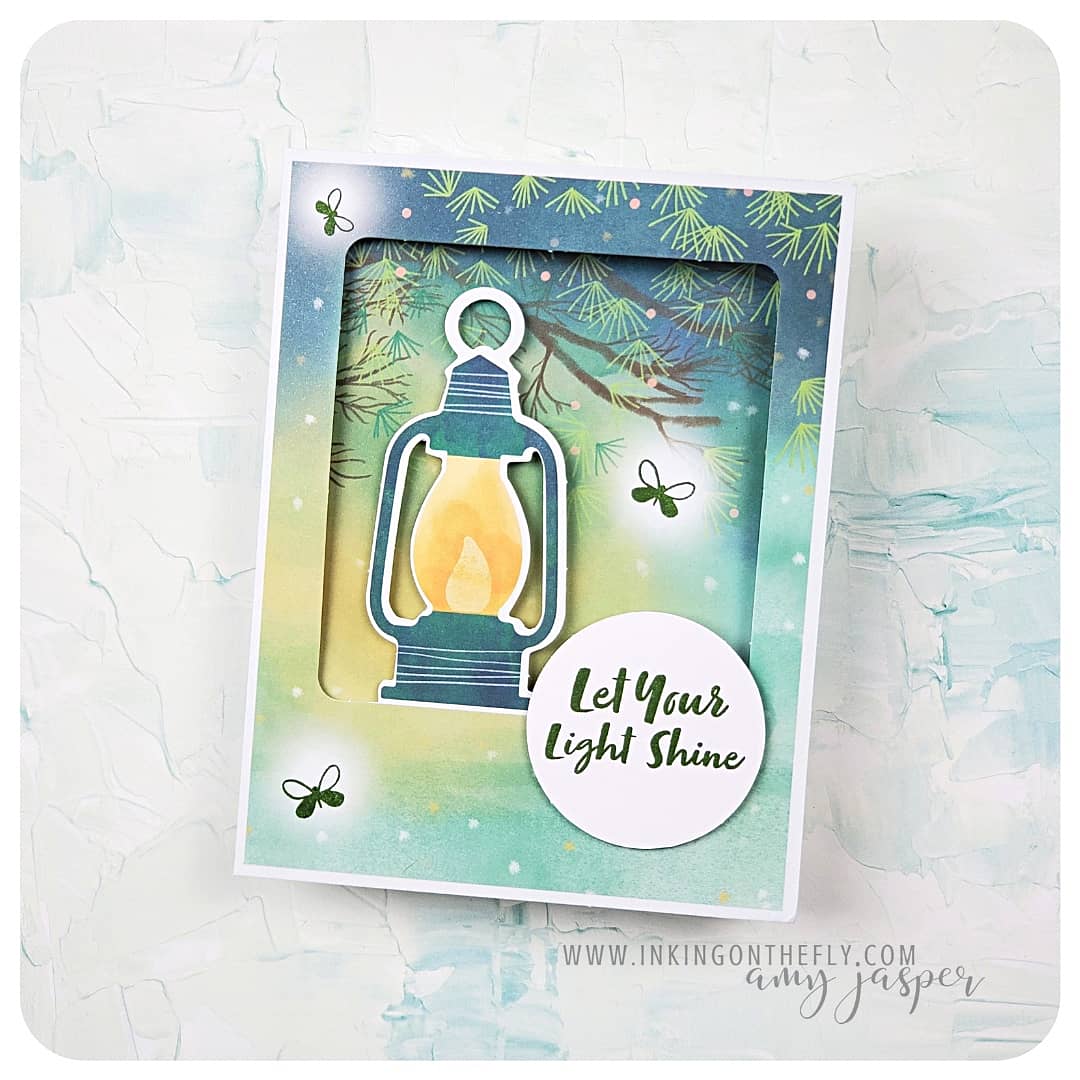
I have a plant lovers card to share with you! Not only is it easy, but it’s also quick to make!

Paper Sale

This card features the Bloom Where You’re Planted Designer Series Paper from Stampin’ Up!®️, which so happens to be on sale! The Designer Series Paper Sale runs until August 2nd, so head on over to my online store or contact me to order.

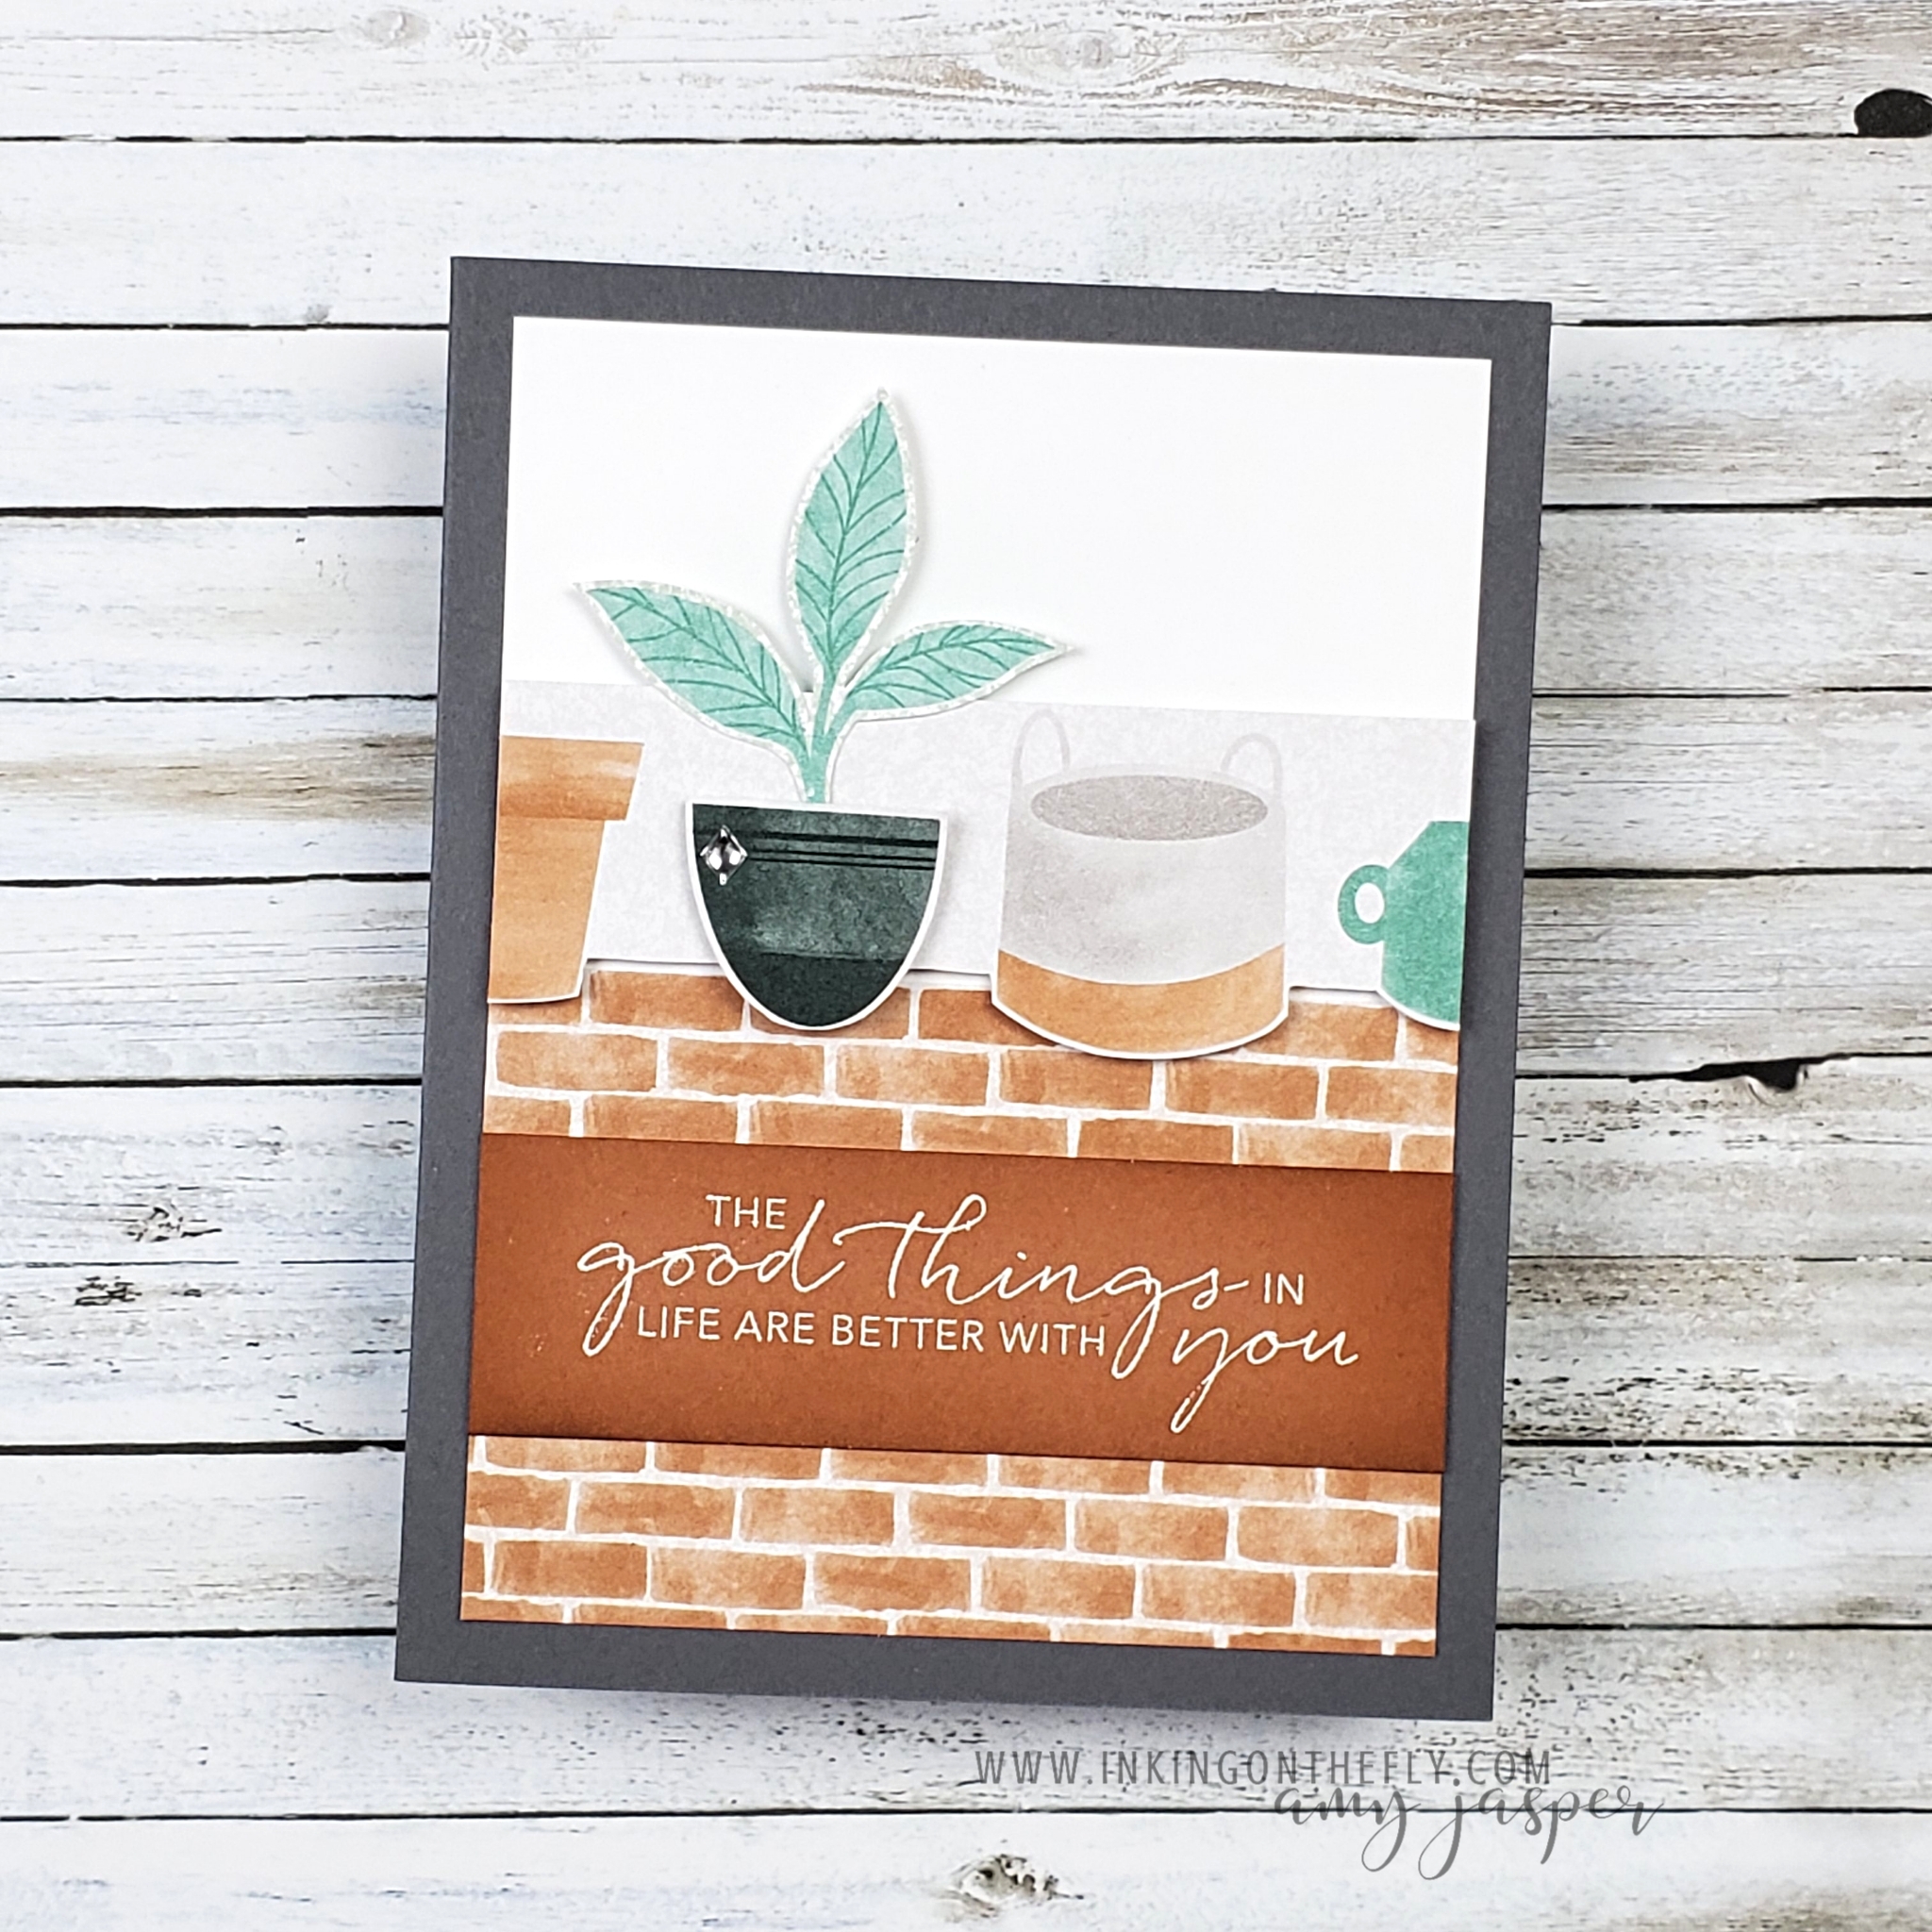
In case you can’t tell in the photos, the plant and pot were fussy-cut from the patterned paper! That means, the only thing on this card that is stamped is the sentiment.

It’s all in the paper!

I started with a strip of the paper that has pots in a row, then used a ruler to draw a pencil line indicating where I wanted to cut. After I was happy with the placement of the line, my scissors went to work to fussy-cut around the base of all the pots and along my line between them.

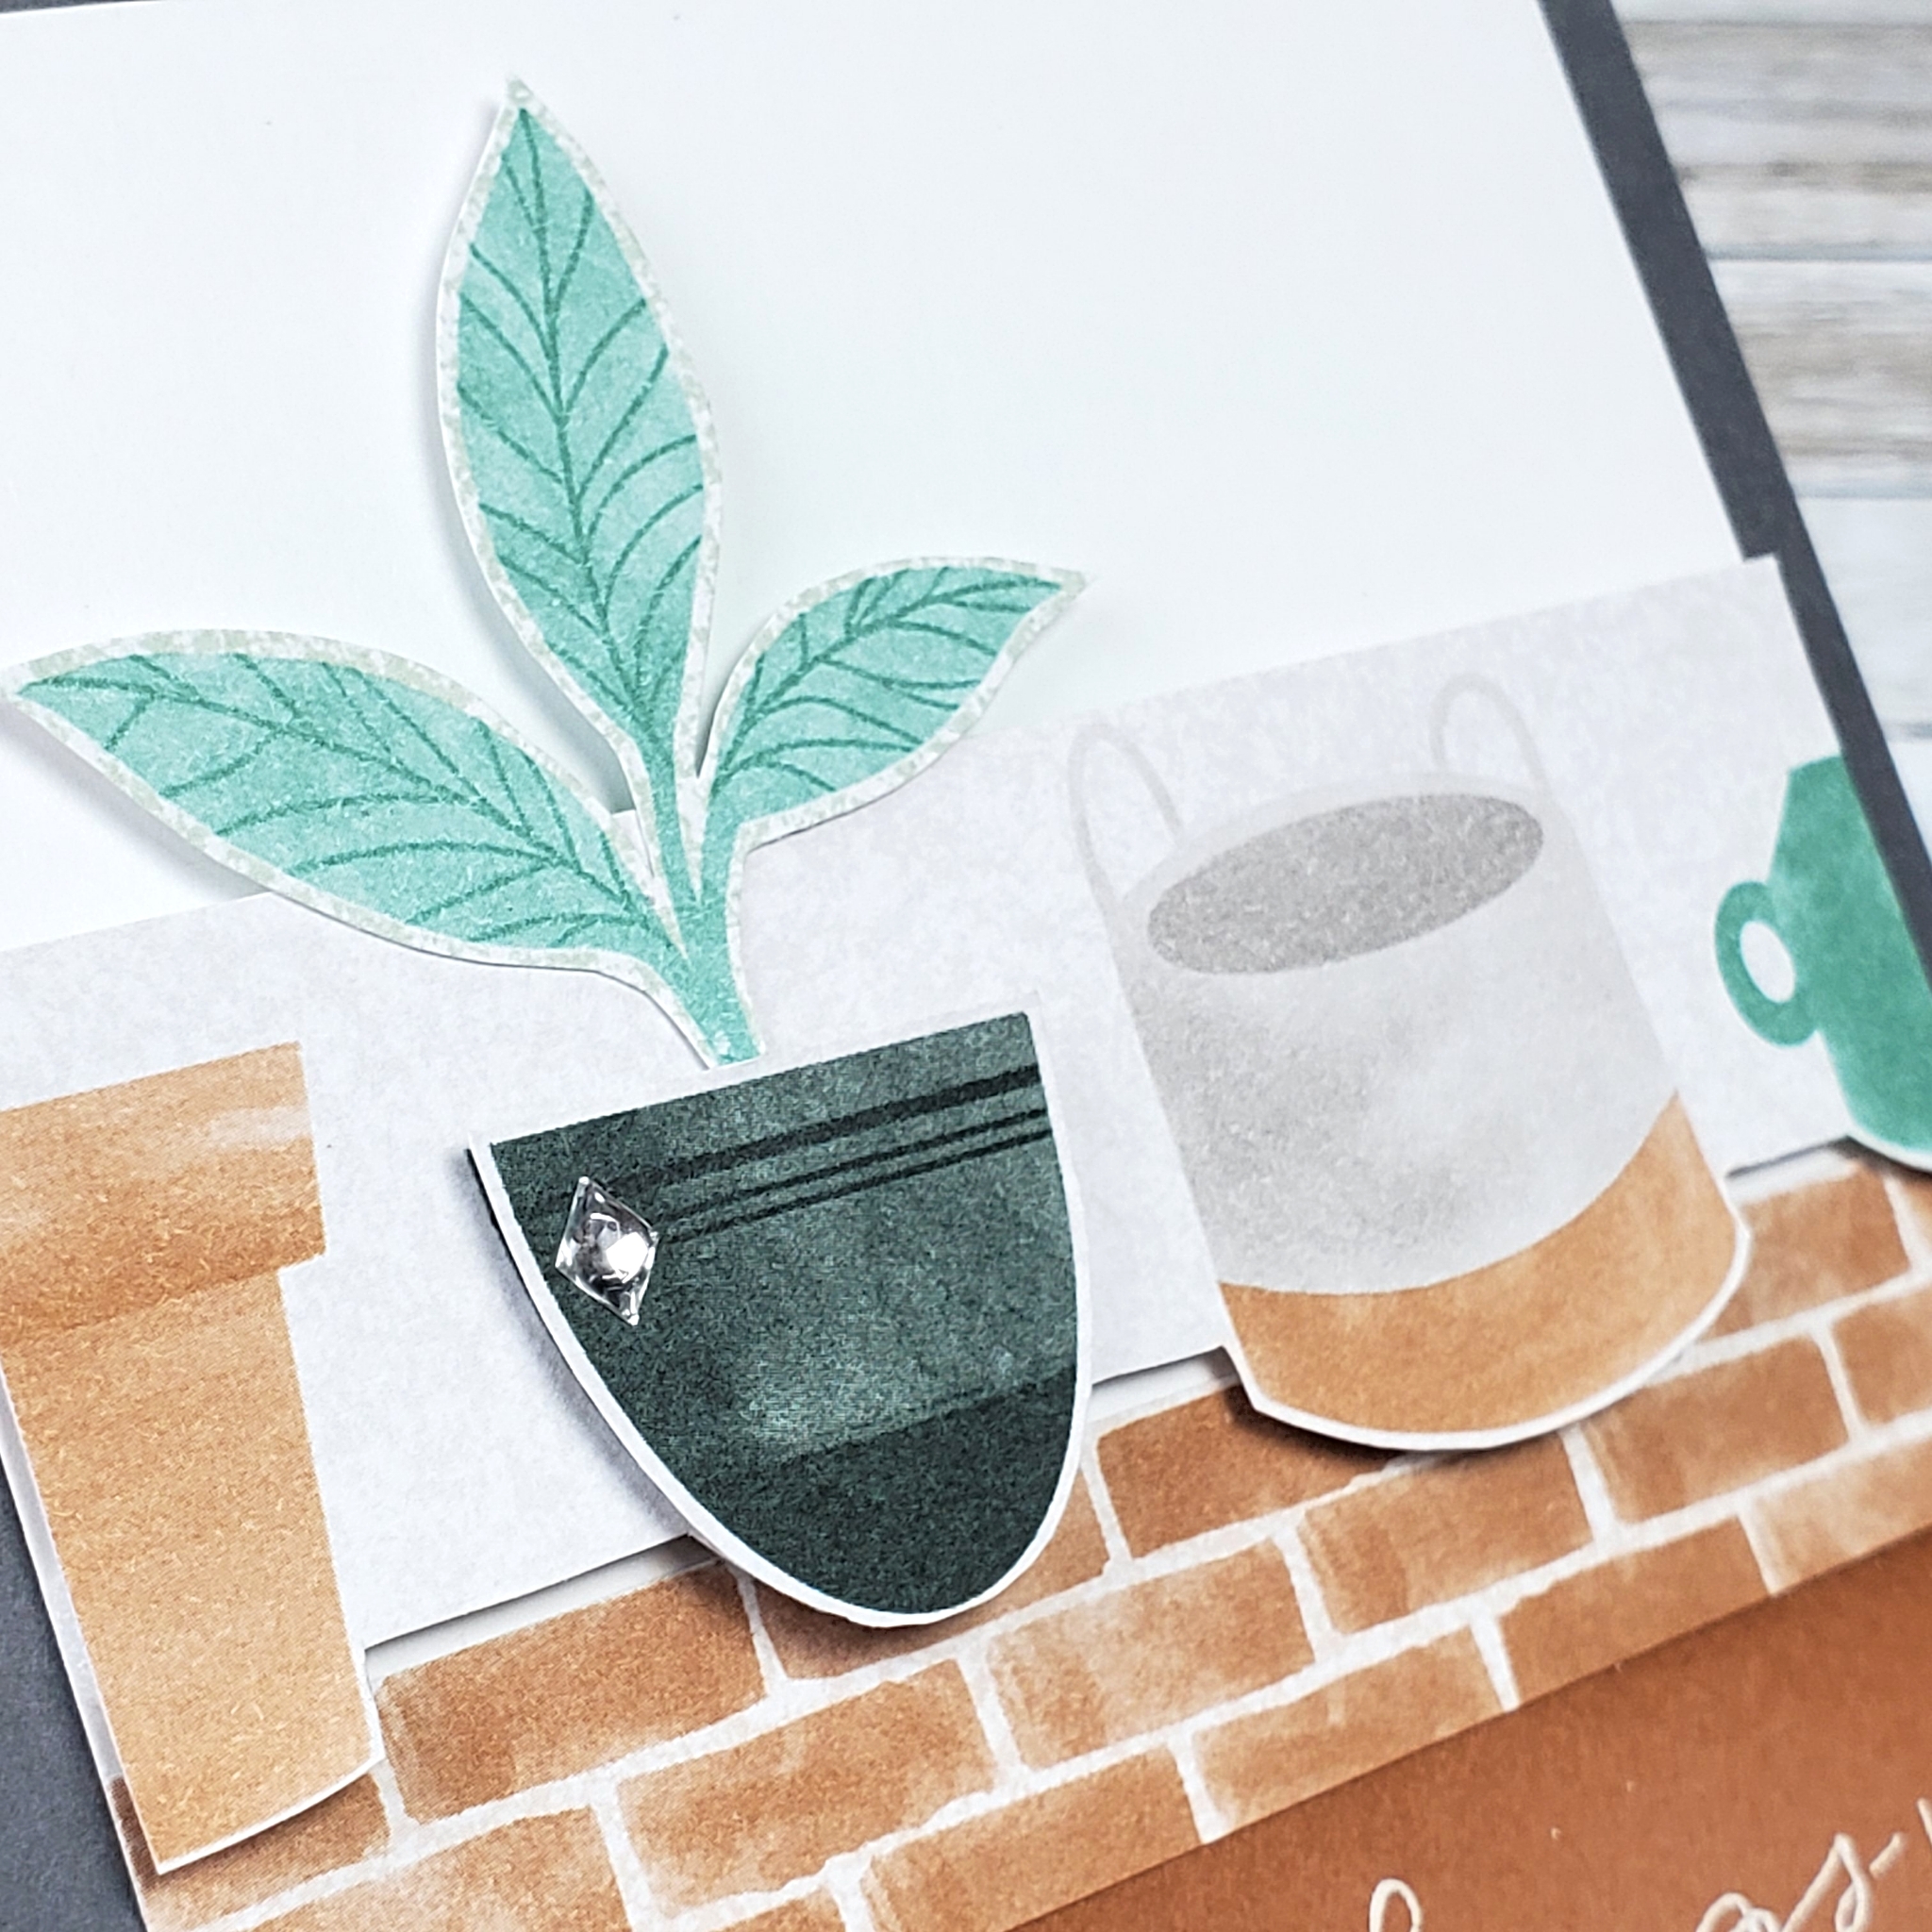
The dark coloured pot was fussy cut from another piece of paper and used as an additional layer over the paper strip. Adhering that second layer on Dimensionals makes that pot stand out a bit from the others. Combined with the fussy-cut plant and the little Silver Epoxy Essentials accent, it all comes together nicely.

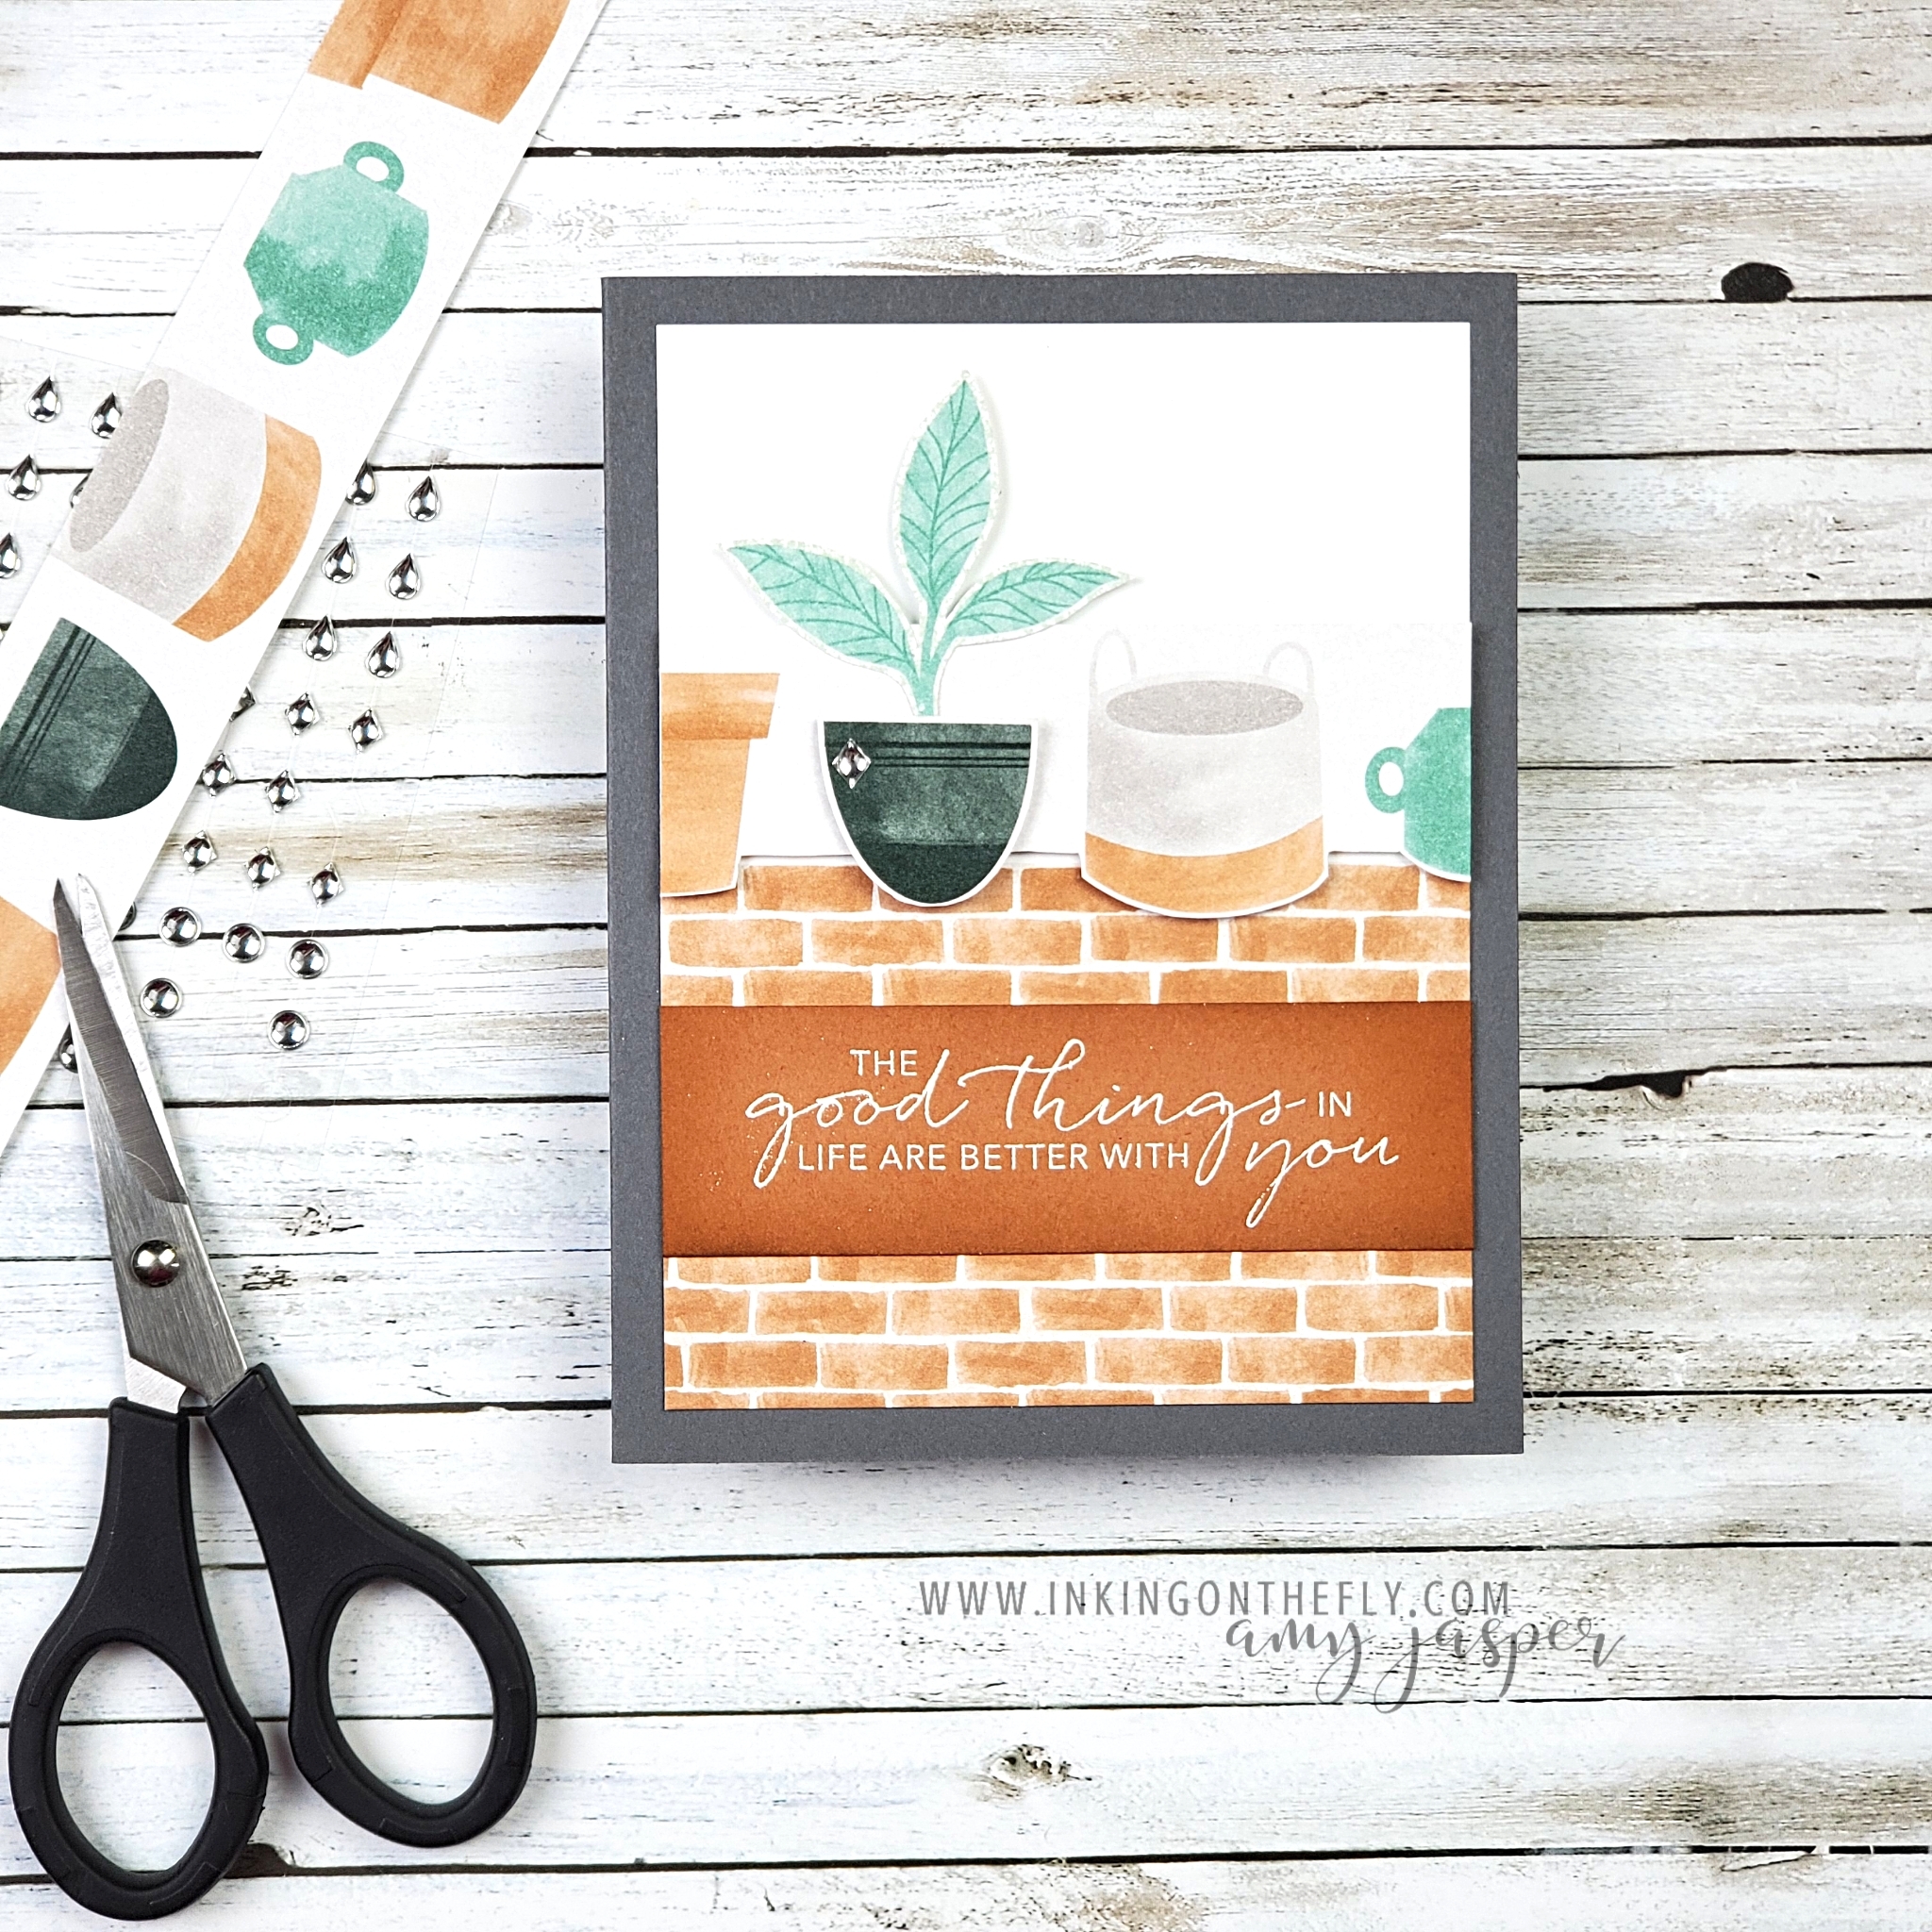
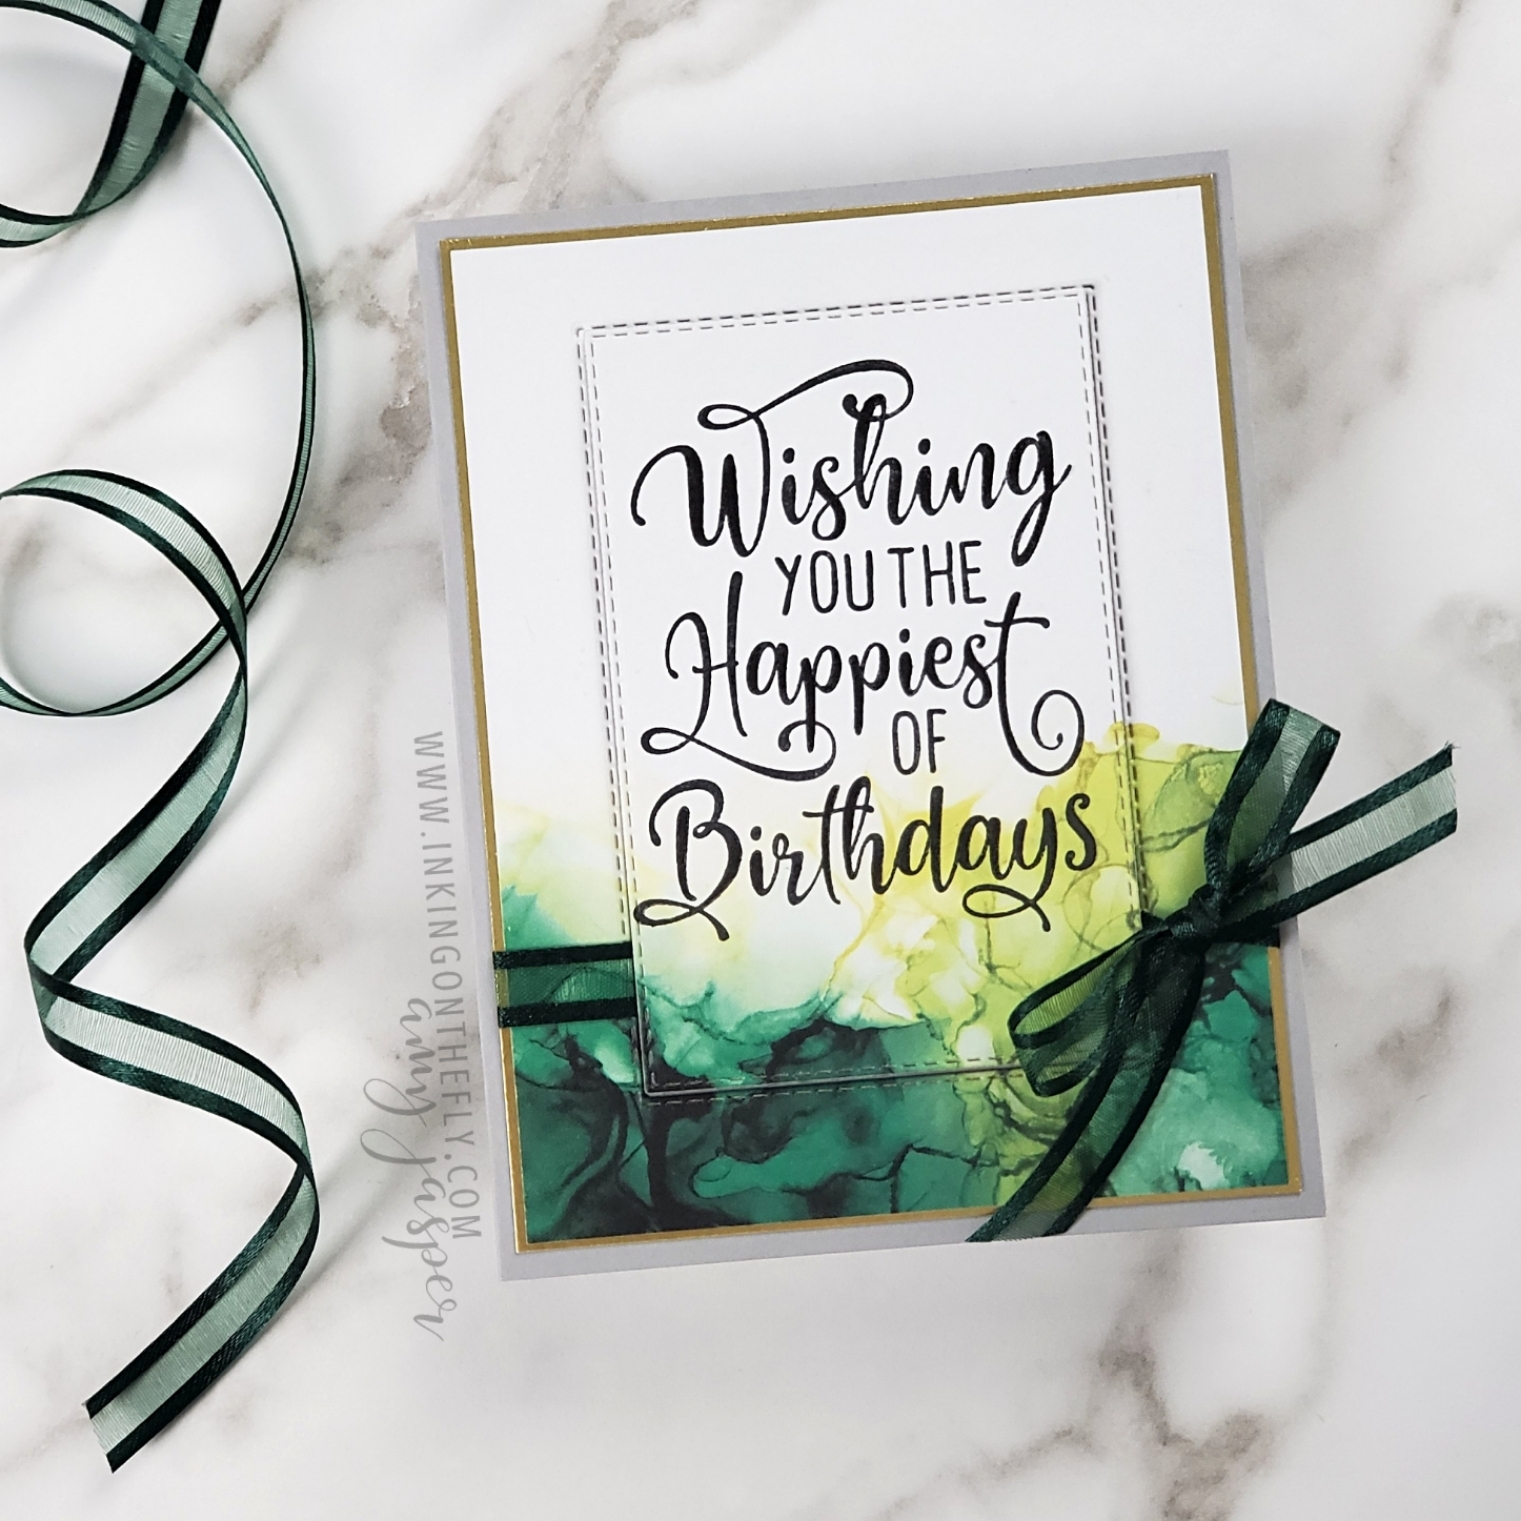
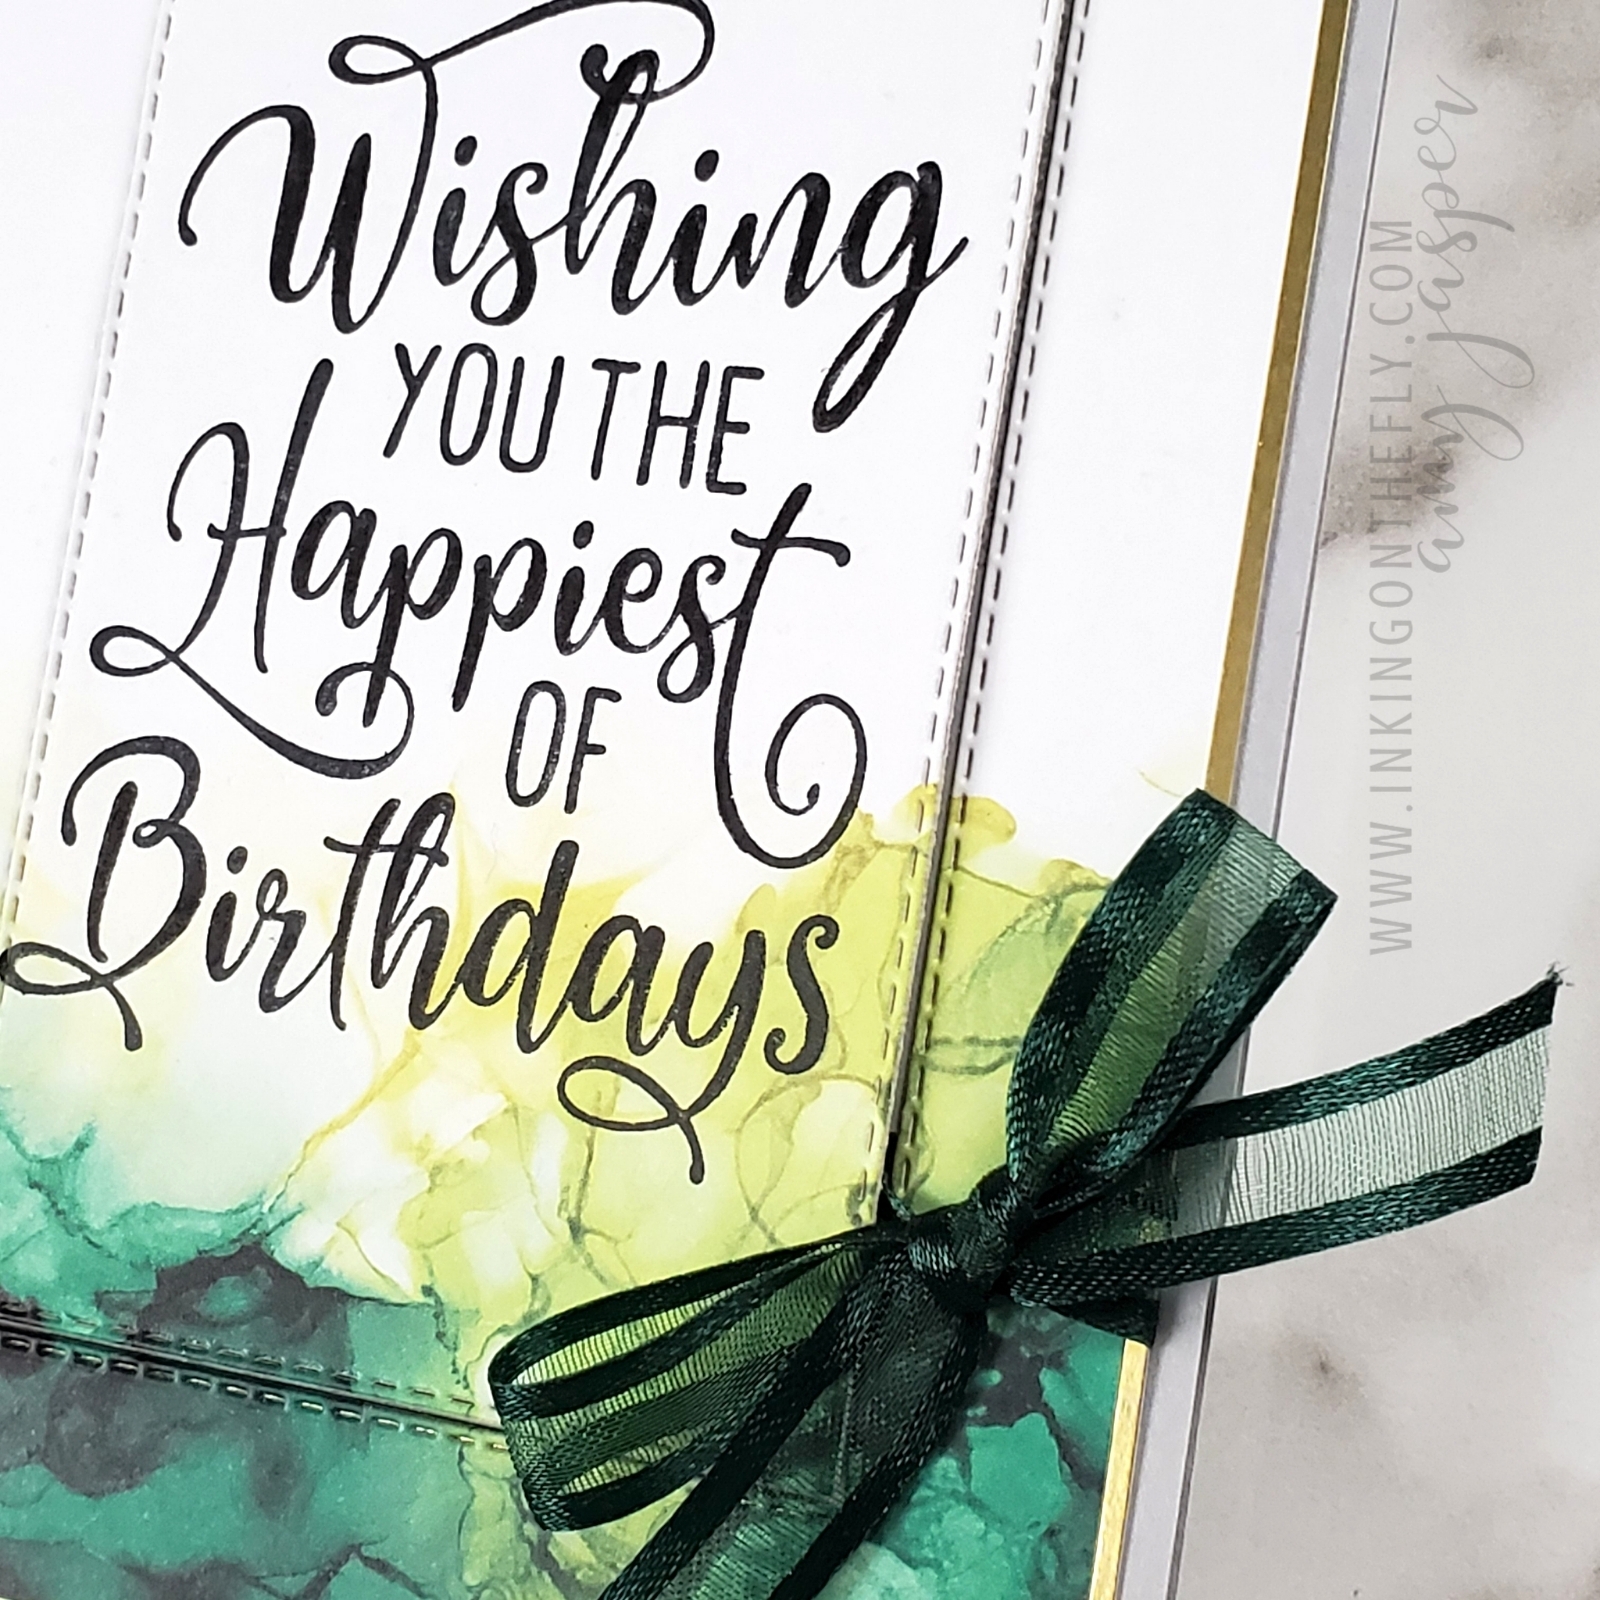
While the sentiment would have looked great stamped with ink alone, I decided to incorporate some heat embossing for pizzazz. The Tasteful Touches stamp set has this lovely sentiment, which I stamped on Cinnamon Cider cardstock. After heat embossing with White Embossing powder, I used my Blending Brush to add some Cinnamon Cider ink to the edges of the paper. This adds such a lovely vignette effect and richness to the paper.

I’m glad you stopped by to check out this quick card.

Check back on Tuesday afternoon to see my Paper Pumpkin alternative project. You’re going to like it!

Arguably, The Best Paper Pumpkin Kit to date!

First, can I even say that? Is it fair for me to say that this is the best Paper Pumpkin kit of all time? Show me one that you liked better and prove me wrong!

I love everything about this kit. I love the colours, the theme, the tri-fold design, not to mention how quick and easy these are to make! With all that in mind, it will be hard to make alternative projects that I like more than the original!

Oh, but I’ll certainly try!!

This is the July Paper Pumpkin Kit. It’s perfect for folks who appreciate the beauty of nature. Especially those who love camping. Indeed, my friends, that is likely why I love this kit so much!

If Paper Pumpkin isn’t yet coming to your door each month, you can subscribe now to receive the August kit.

The co-founder of Stampin’ Up! helped design the August projects. That alone tells me that the August kit will be gorgeous! You won’t want to miss it!

Did you know that Paper Pumpkin subscribers have special perks? It’s true! They have the opportunity to purchase any available past kits, as well as refill supplies for past kits. So, if you like this kit, then you might be lucky enough that it will become available for purchase..

Just another reason to subscribe to Paper Pumpkin!

Watch the video

Step into my crafting process and see how easy these cards are to put together. Click to watch the video below.

Easy and So Beautiful with Expressions in Ink

The Expressions in Ink Designer Series Paper is so beautiful that it can practically pull off a solo performance! In other words, it allows you to make a stunning card with hardly any effort!

The card I have to share with you today looks fancy, but is actually very easy. It all began with a piece of the Expressions in Ink Designer Series Paper from Stampin’ Up! ®️.

Making the card

I stamped the sentiment on the patterned paper, then used a die to cut around the sentiment. Setting the centre cut piece to the side, I layered the outside frame over the Gold Foil.

Considering that the open weave ribbon is so pretty and ties very cleanly, you can probably guess that I have all the colours! How could I not!? I wrapped it around the two layers and tied a tidy little bow.

Once the ribbon was in place, I could then adhere these elements to the card base. Finally, the die-cut piece with the sentiment could be adhered to the card front with Stampin’ Dimensionals. I love how the lifted cut-out provides interest and texture, yet still allows the paper to be the main feature of the design.

This card was quick and simple. I feel like I cheated somehow by letting the patterned paper do all the work for me!

A few supplies

In the event that you might want to make this card (or assist it to make itself, as the case may be, LOL!), you will certainly want to get your hands on this gorgeous specialty paper. Unfortunately, (or fortunately, depending on how you look at it), this paper is so popular that it keeps going on backorder! Stampin’ Up! just can’t keep up with the demand.

If you find that’s its on backorder and can’t be ordered, keep checking back. The supply will be restocked. Alternatively, you can contact me and I can notify you when it comes available again.

Click on the links below to find each item easily on my online store.

When you use this paper, don’t let it make you feel like you cheated. Instead, be proud at the discovery of a more efficient way to make something beautiful!

It’s not cheating, it’s a life hack!