Video

So Cool Alternatives

The sun is shining here in the beautiful Okanagan Valley in my little piece of Canada. I could almost imagine that it’s summer. My son mowed the lawn for the first time this year and it’s amazing how much better my yard looks when the grass is freshly cut. It’s the big thing that makes the yard look so much tidier – similar to how making your bed can make the whole bedroom look cleaner!

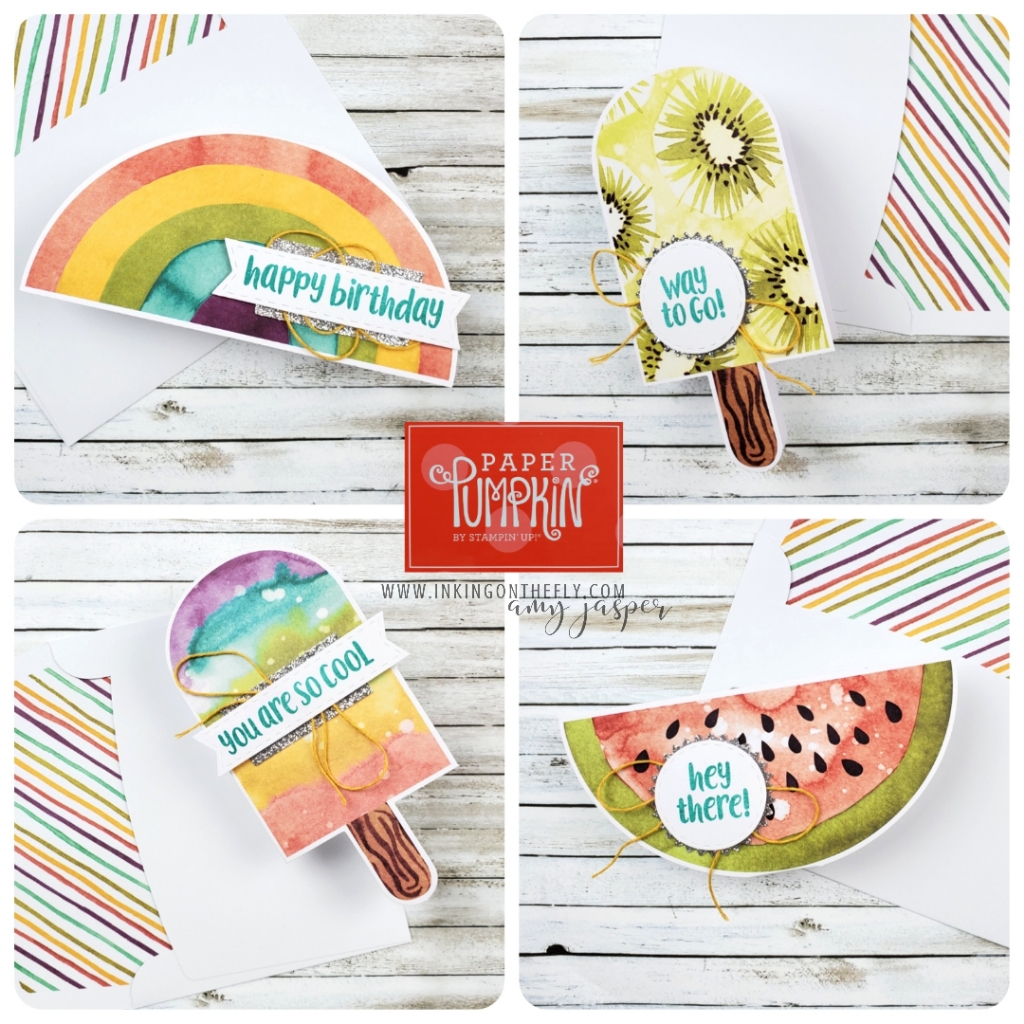
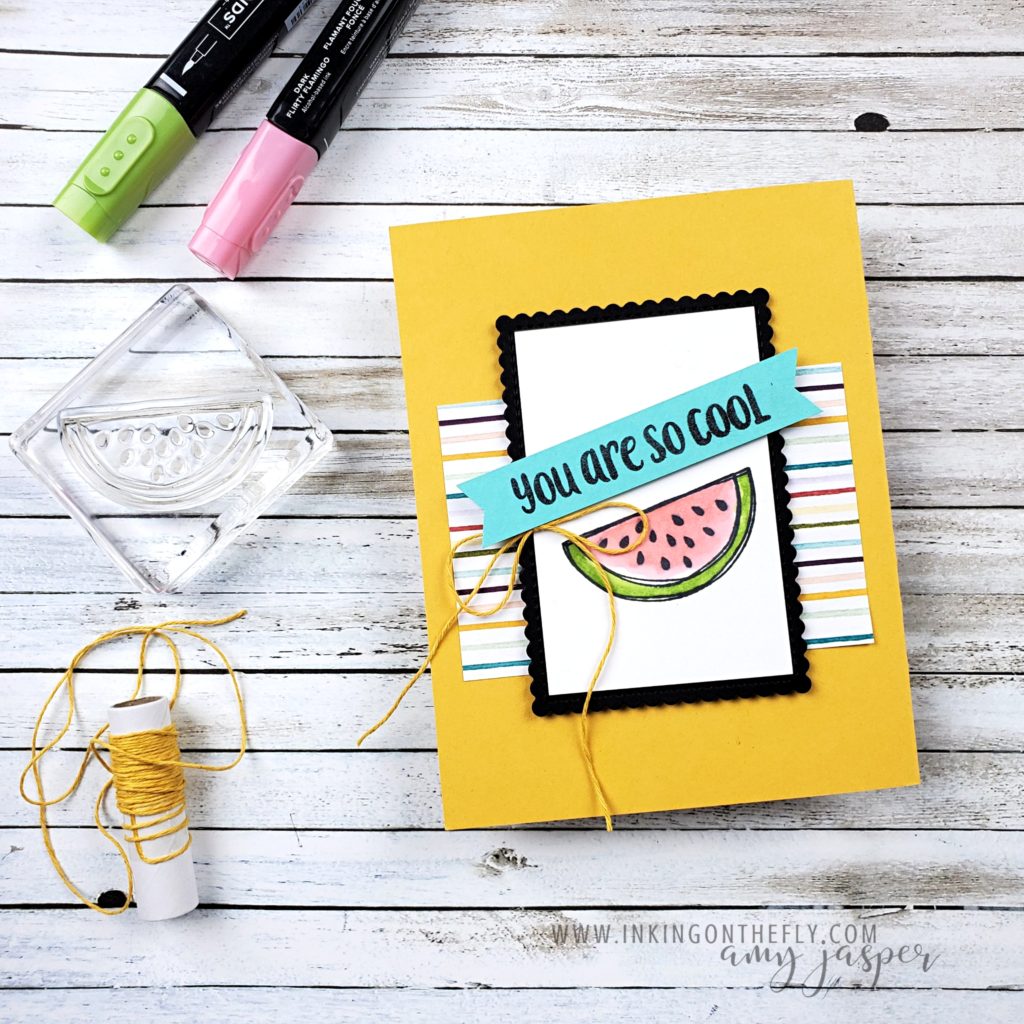
The April 2021 Paper Pumpkin kit definitely has that summery feel with images of watermelons and popsicles. I have a couple of alternative projects to share with you today using some of the supplies in the kit.

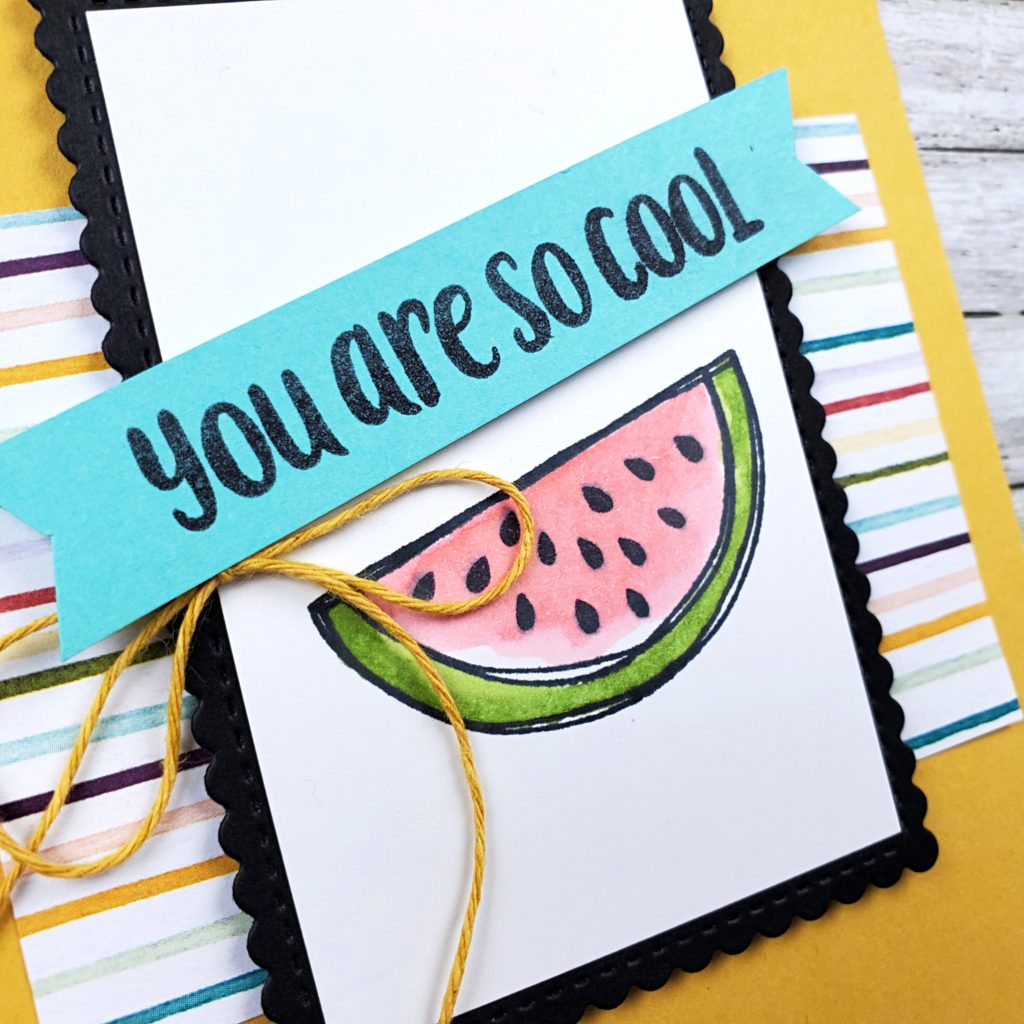
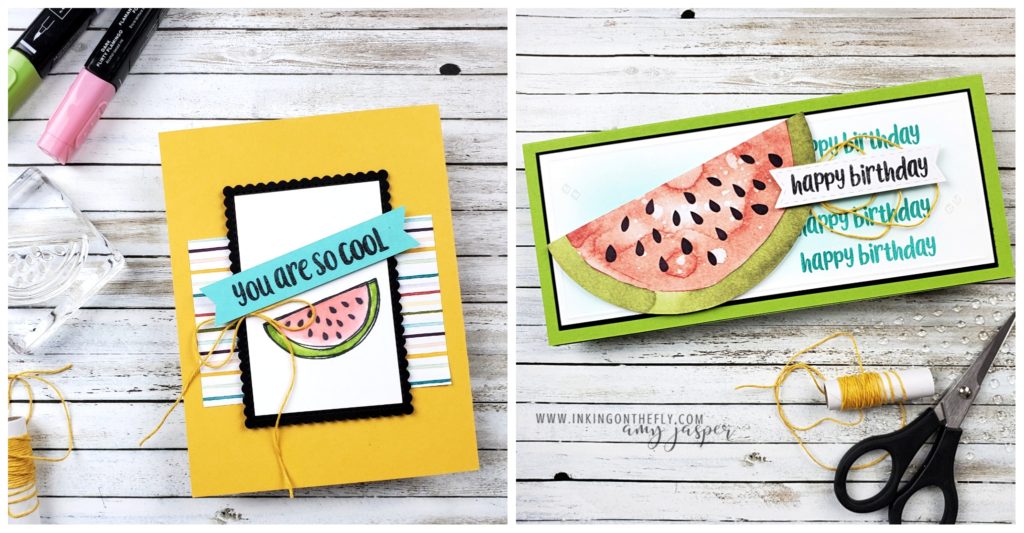
I used the Stitched So Sweetly dies to cut a scallop stitched rectangle from Basic Black cardstock for this card. The watermelon was coloured with Flirty Flamingo and Granny Apple Green Stampin’ Blends Markers.

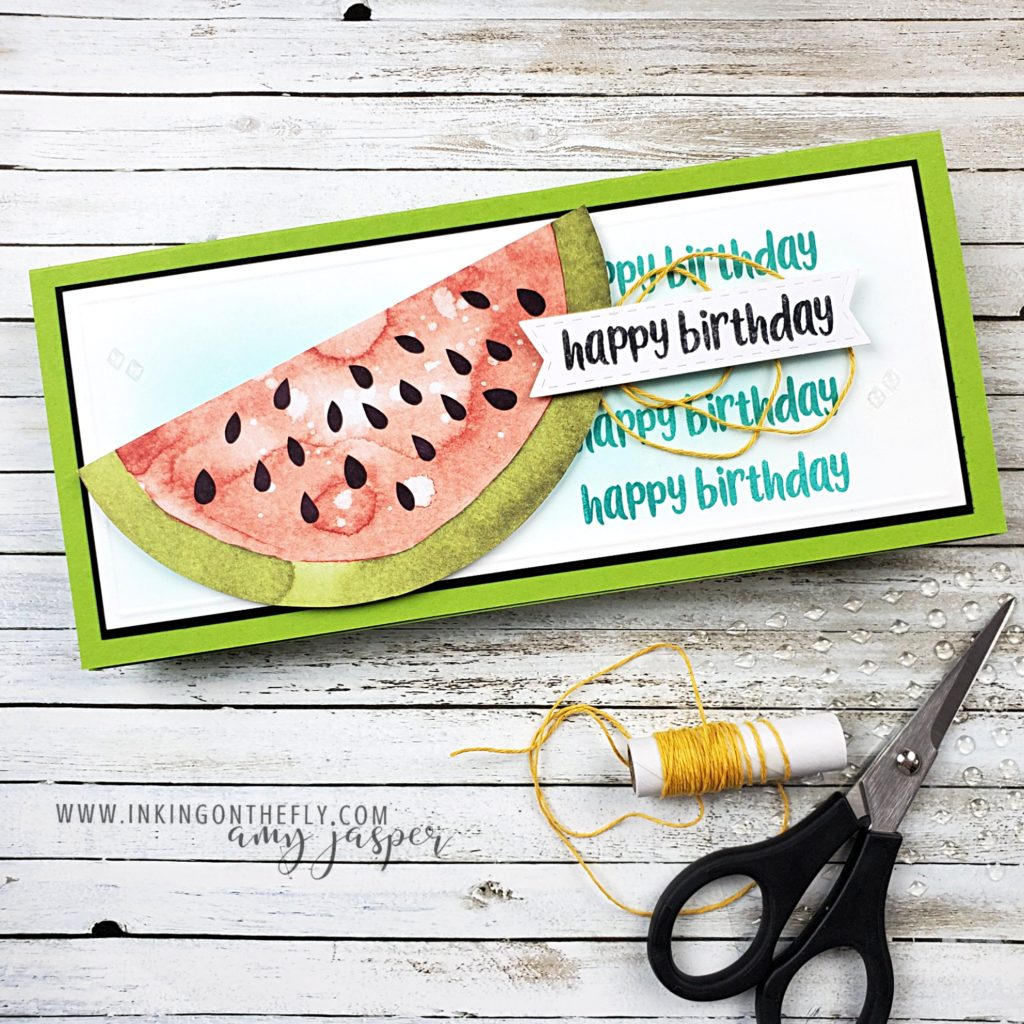
The second design is a slimline card in Granny Apple Green cardstock. I did some fancy ink blending with my Blending Brush for the background along with the added texture of an embossed outline using my Simply Scored Tool. See the little Clear Epoxy embellishments? They’re hiding an unsightly smudge and are not even available to customers until the new catalogue goes live on May 4th.

If you’re in Canada, you can sign up with me to receive your monthly Paper Pumpkin kit and have your own personal creative escape to enjoy each month.


Watch the video to see more on the making of these two Paper Pumpkin alternative designs.

Origami Window Frame Fun Fold

Check out this card design with a 3D folded frame — origami style!

I’m not sure where the folded frame idea originated, but this is my take on this fun fold technique.

This card was one of the designs I shared with my technique class a couple months ago. It’s such a great fun fold because it’s quick to make and is a beautiful way to feature both sides of your designer series paper.

If you’re in Canada, you can join in on my monthly technique class and receive the class packet of pre-cut card supplies so we can make the cards together virtually. Not in Canada? Ask me how you can get VIP Access to my technique video and PDF tutorials at the same time as my class participants. No need to wait!

Check out the video tutorial for this card.

Here is a list of the Stampin’ Up! products and measurements. Remember, this card was presented to my class back in February, which means that some of these products are no longer available for purchase.

8 ½” x 5 ½” Smoky Slate
3 ⅞” x 5 ⅛” Basic White (x2)
1 ⅝” Basic White square (die-cut with the Layered Squares Dies)
¾” high Basic White letters (die-cut with the Playful Alphabets Dies)
3 ¾” x 5” Night of Navy
3″ Night of Navy scallop square (die-cut with the Layered Squares Dies)
1″ Night of Navy scallop square (die-cut with the Layered Squares Dies)
3 ⅝” x 1 ⅝” Misty Moonlight (die-cut with the Stitched Rectangle Dies)
3 ⅝” x 1 ⅝” Seaside Spray (die-cut with the Stitched Rectangle Dies)
1 ½” x 1 ½” Rococo Rose
4” x 4” Paper Blooms Designer Series Paper
5 ½” Denim Ribbon
12” Night of Navy Baker’s Twine

🇨🇦 You can order any current Stampin’ Up! products with me here in Canada by clicking on the shop button. Contact me anytime to ask questions or to find out how you can become an Independent Stampin’ Up! Demonstrator, like me!

So Cool Paper Pumpkin Unboxing

Hey. Hey.

In case you missed it on my Monday Facebook Live, you can watch the replay of my unboxing video of the fun and cheerful April Paper Pumpkin kit from Stampin’ Up!. This kit coordinates with the Ice Cream Corner Suite from Stampin’ Up! and is embarrassingly easy to stamp and assemble!

I can’t wait to share some alternatives for this one next week! You can join me live at 10:30 (ish) every Monday on Facebook where I share stamping projects and Paper Pumpkin each week. If you’re not on Facebook, you can watch the replay here every Tuesday.

Click here to get your monthly Paper Pumpkin box with me here in Canada.