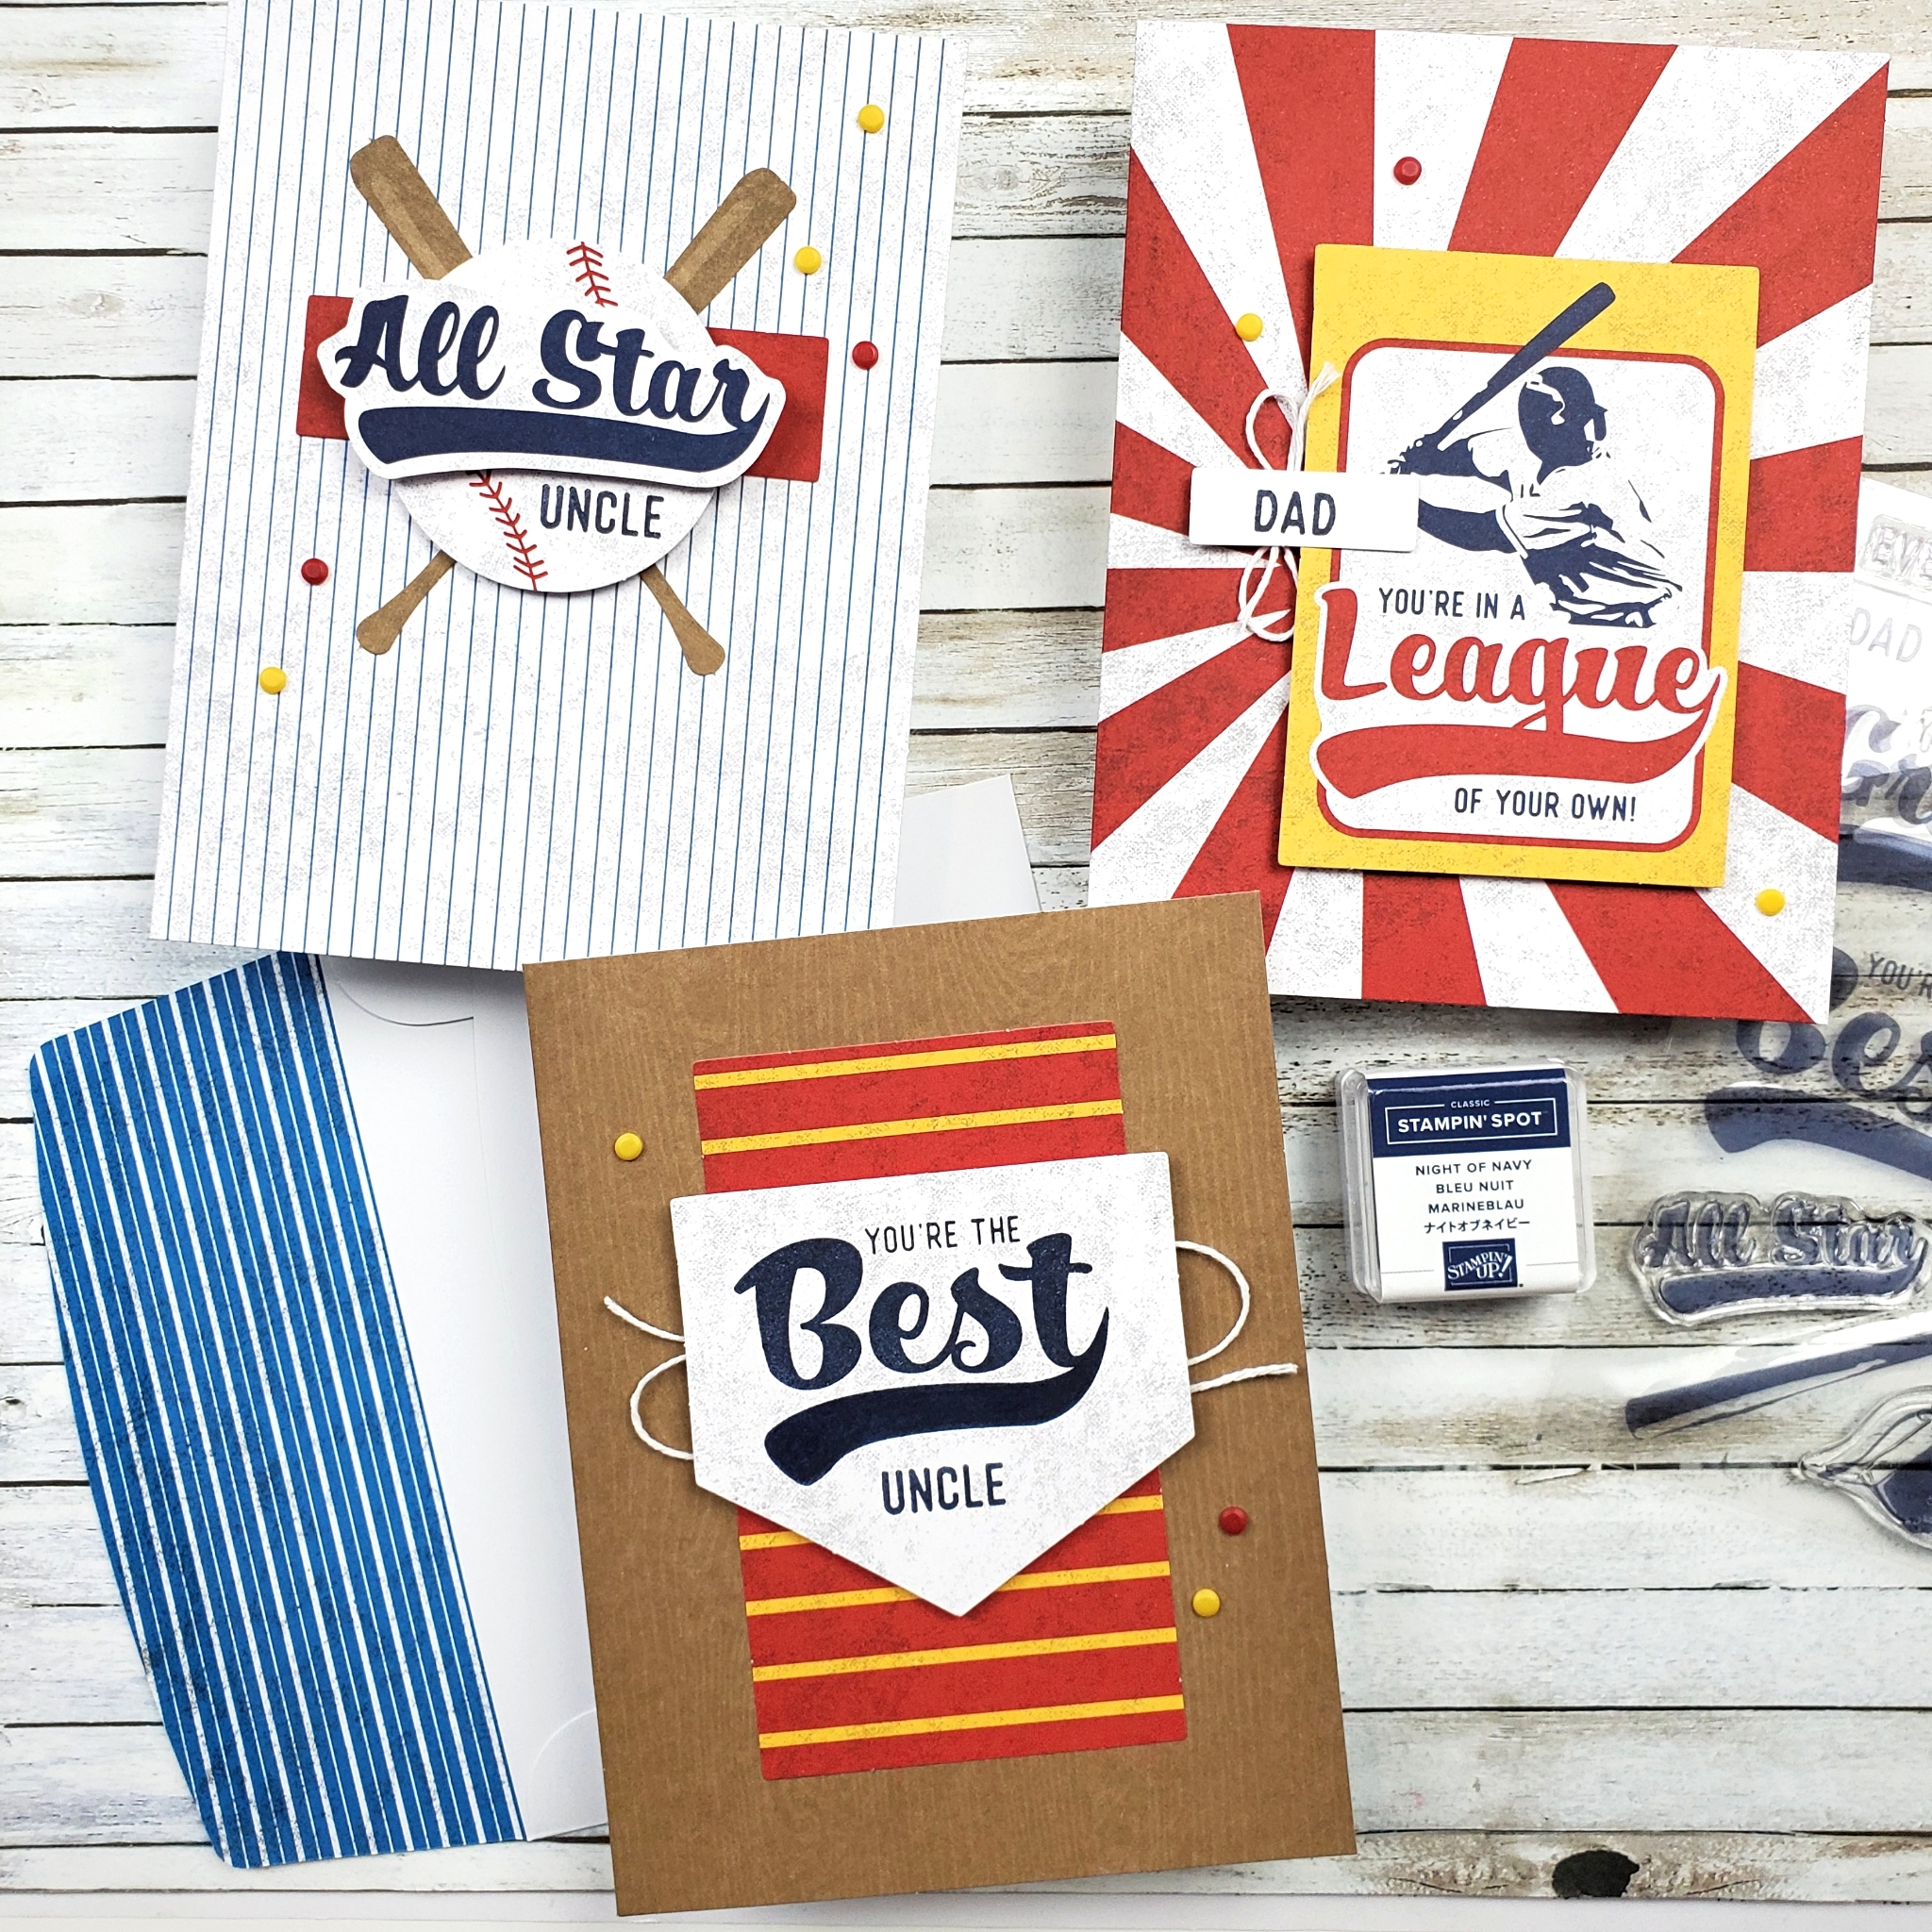
Yesterday, on my Facebook Live, I opened and assembled the May Paper Pumpkin Kit – Batter Up. Even with the obvious baseball theme, this kit can help you celebrate the best of the best, the greatest of all time and the all-stars in your life! I’ve added the video to the end of this post for you, in case you aren’t on Facebook.
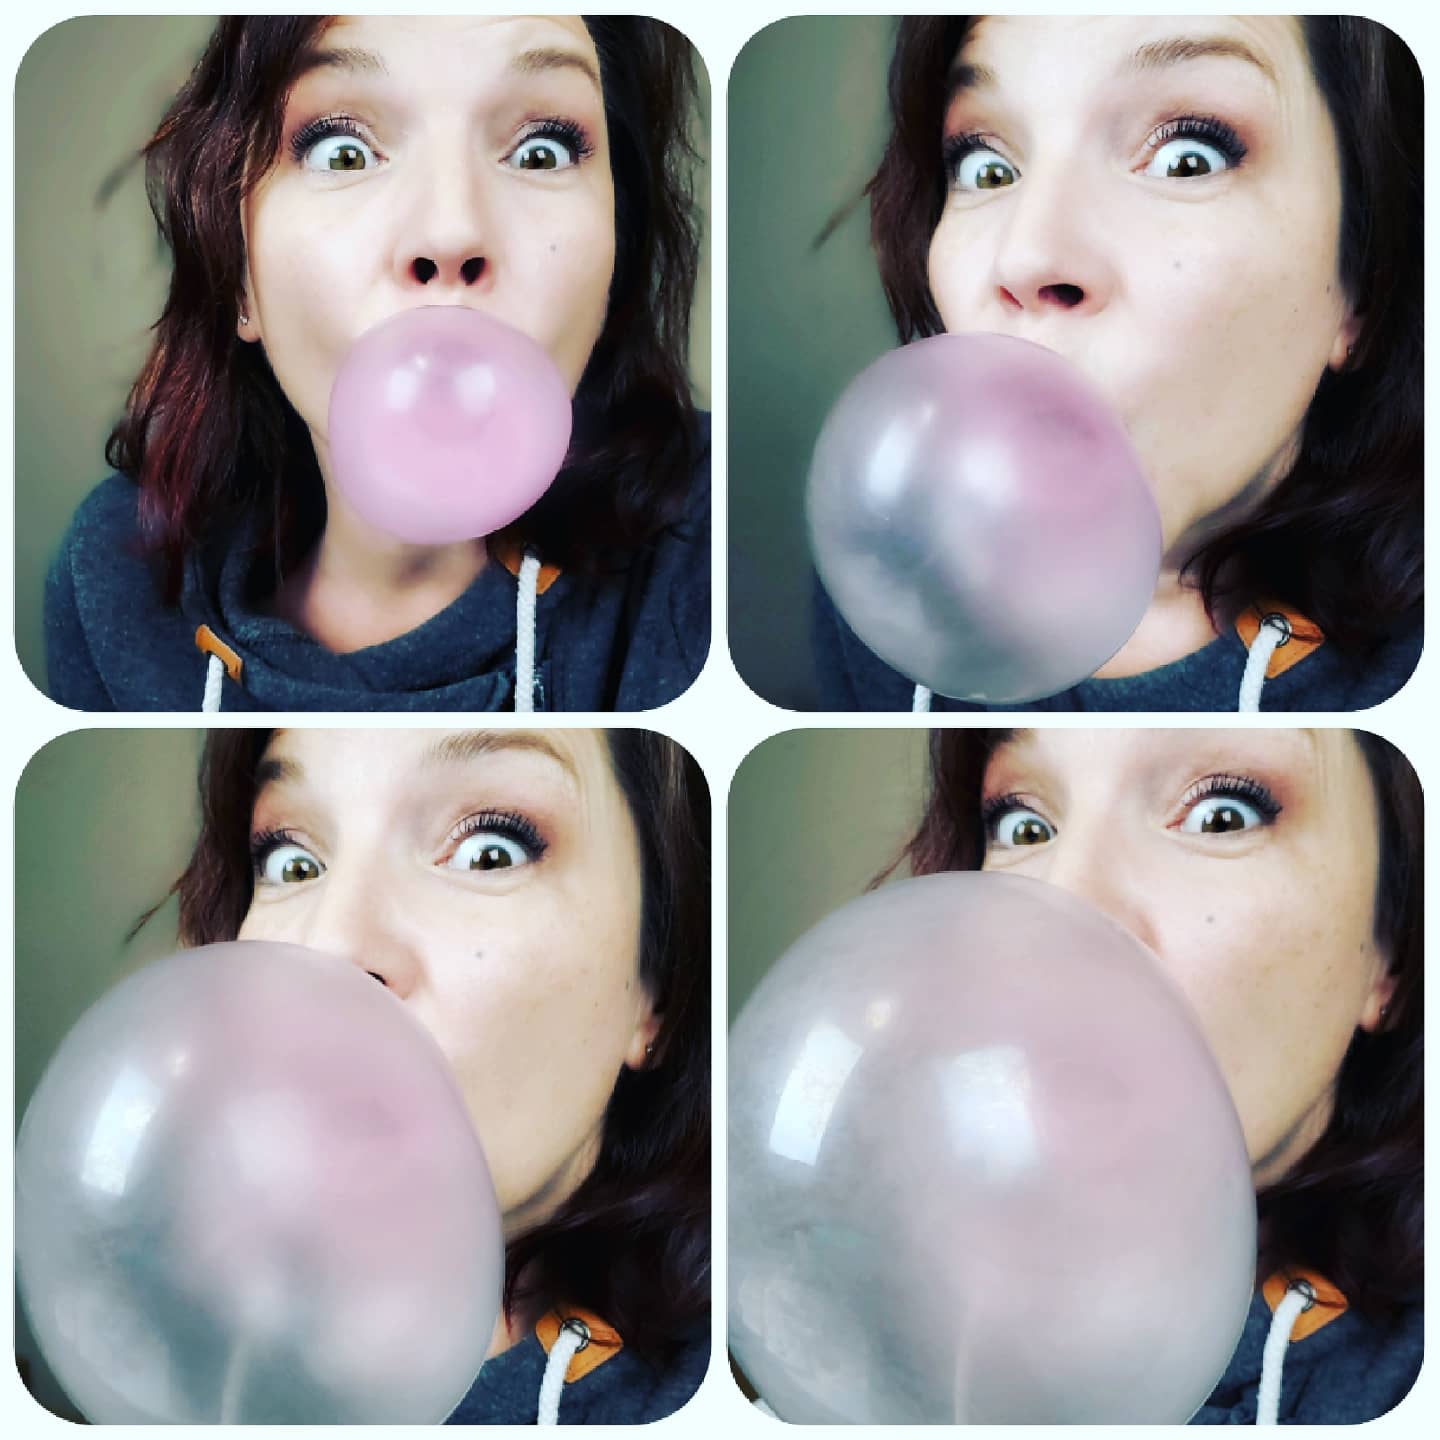
The kit has all the supplies to make 9 cards, 3 of each design, and it even had 3 pieces of Double Bubble gum! Of course, I had to try out the gum and see if I could blow a bubble. I wasn’t disappointed!
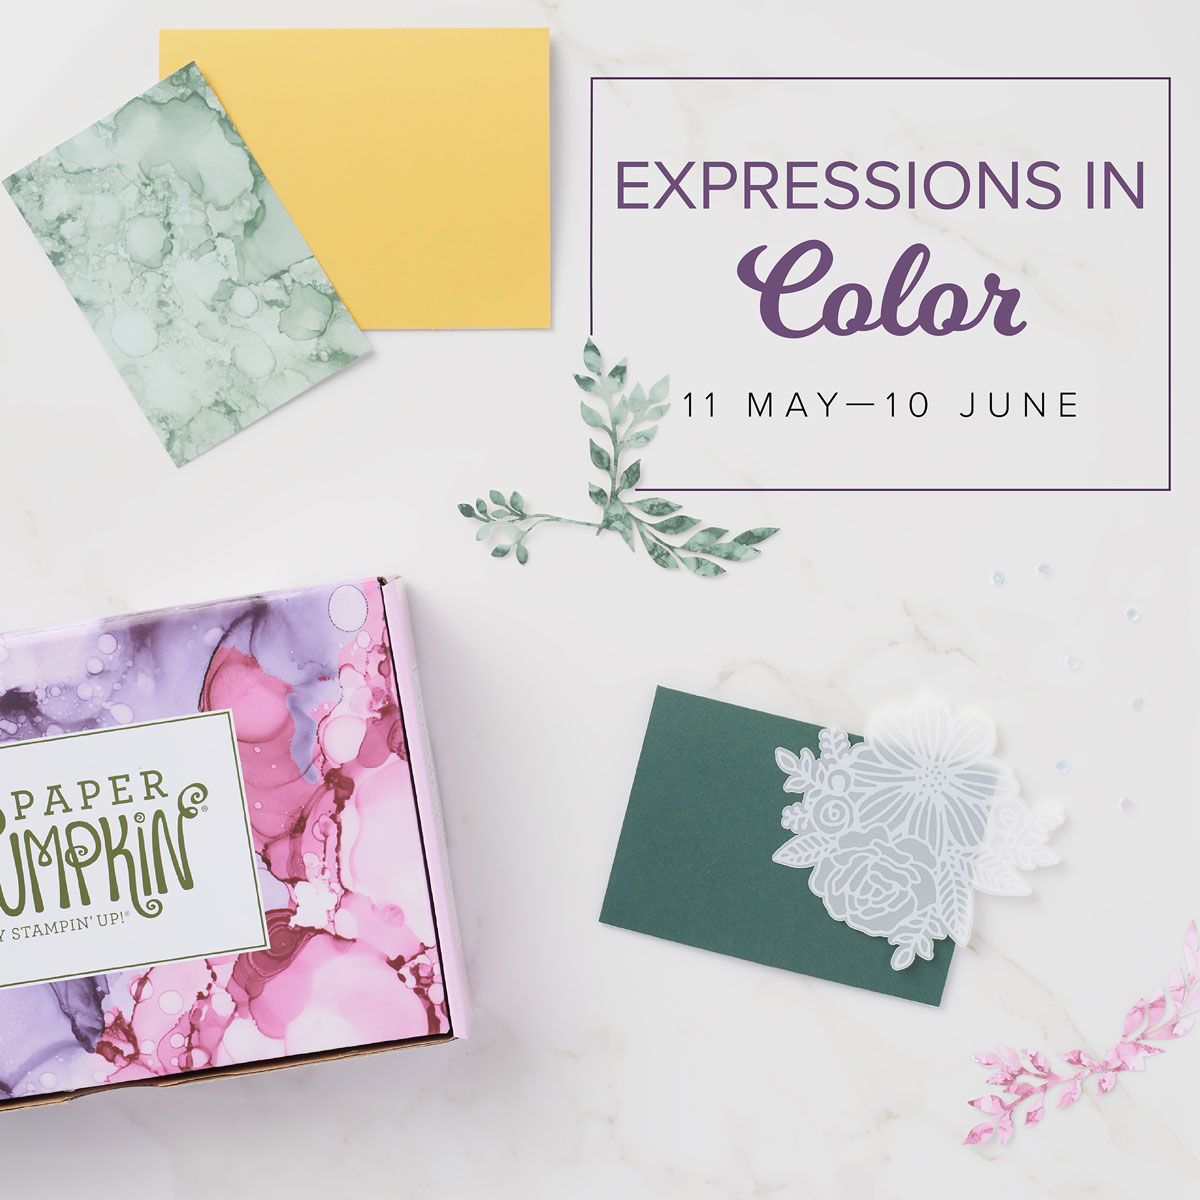
If you’re in Canada, you can start your Paper Pumpkin subscription with me by clicking HERE. Next months kit looks like it’s going to be gorgeous! Sign up before June 10th so that you won’t miss it. Look at the beautiful box in the sneak peek photo!
I can only imagine if the box is THAT beautiful, what the 9 cards will be like! My intel tells me that there will also be not one, but TWO ink spots in this kit! Can’t wait!!
You can watch the unboxing and the assembly of the three different card designs in the video below. Next week, I’ll be sharing alternative cards using the kit. Why not join me for my Facebook Live on Monday at 10:30am (pacific time). I love having the opportunity to interact with you through the chat and comments while I share my projects.
You can also see more of my videos on YouTube. Make sure you take a moment to like and subscribe to my channel and leave me a comment to say hello.
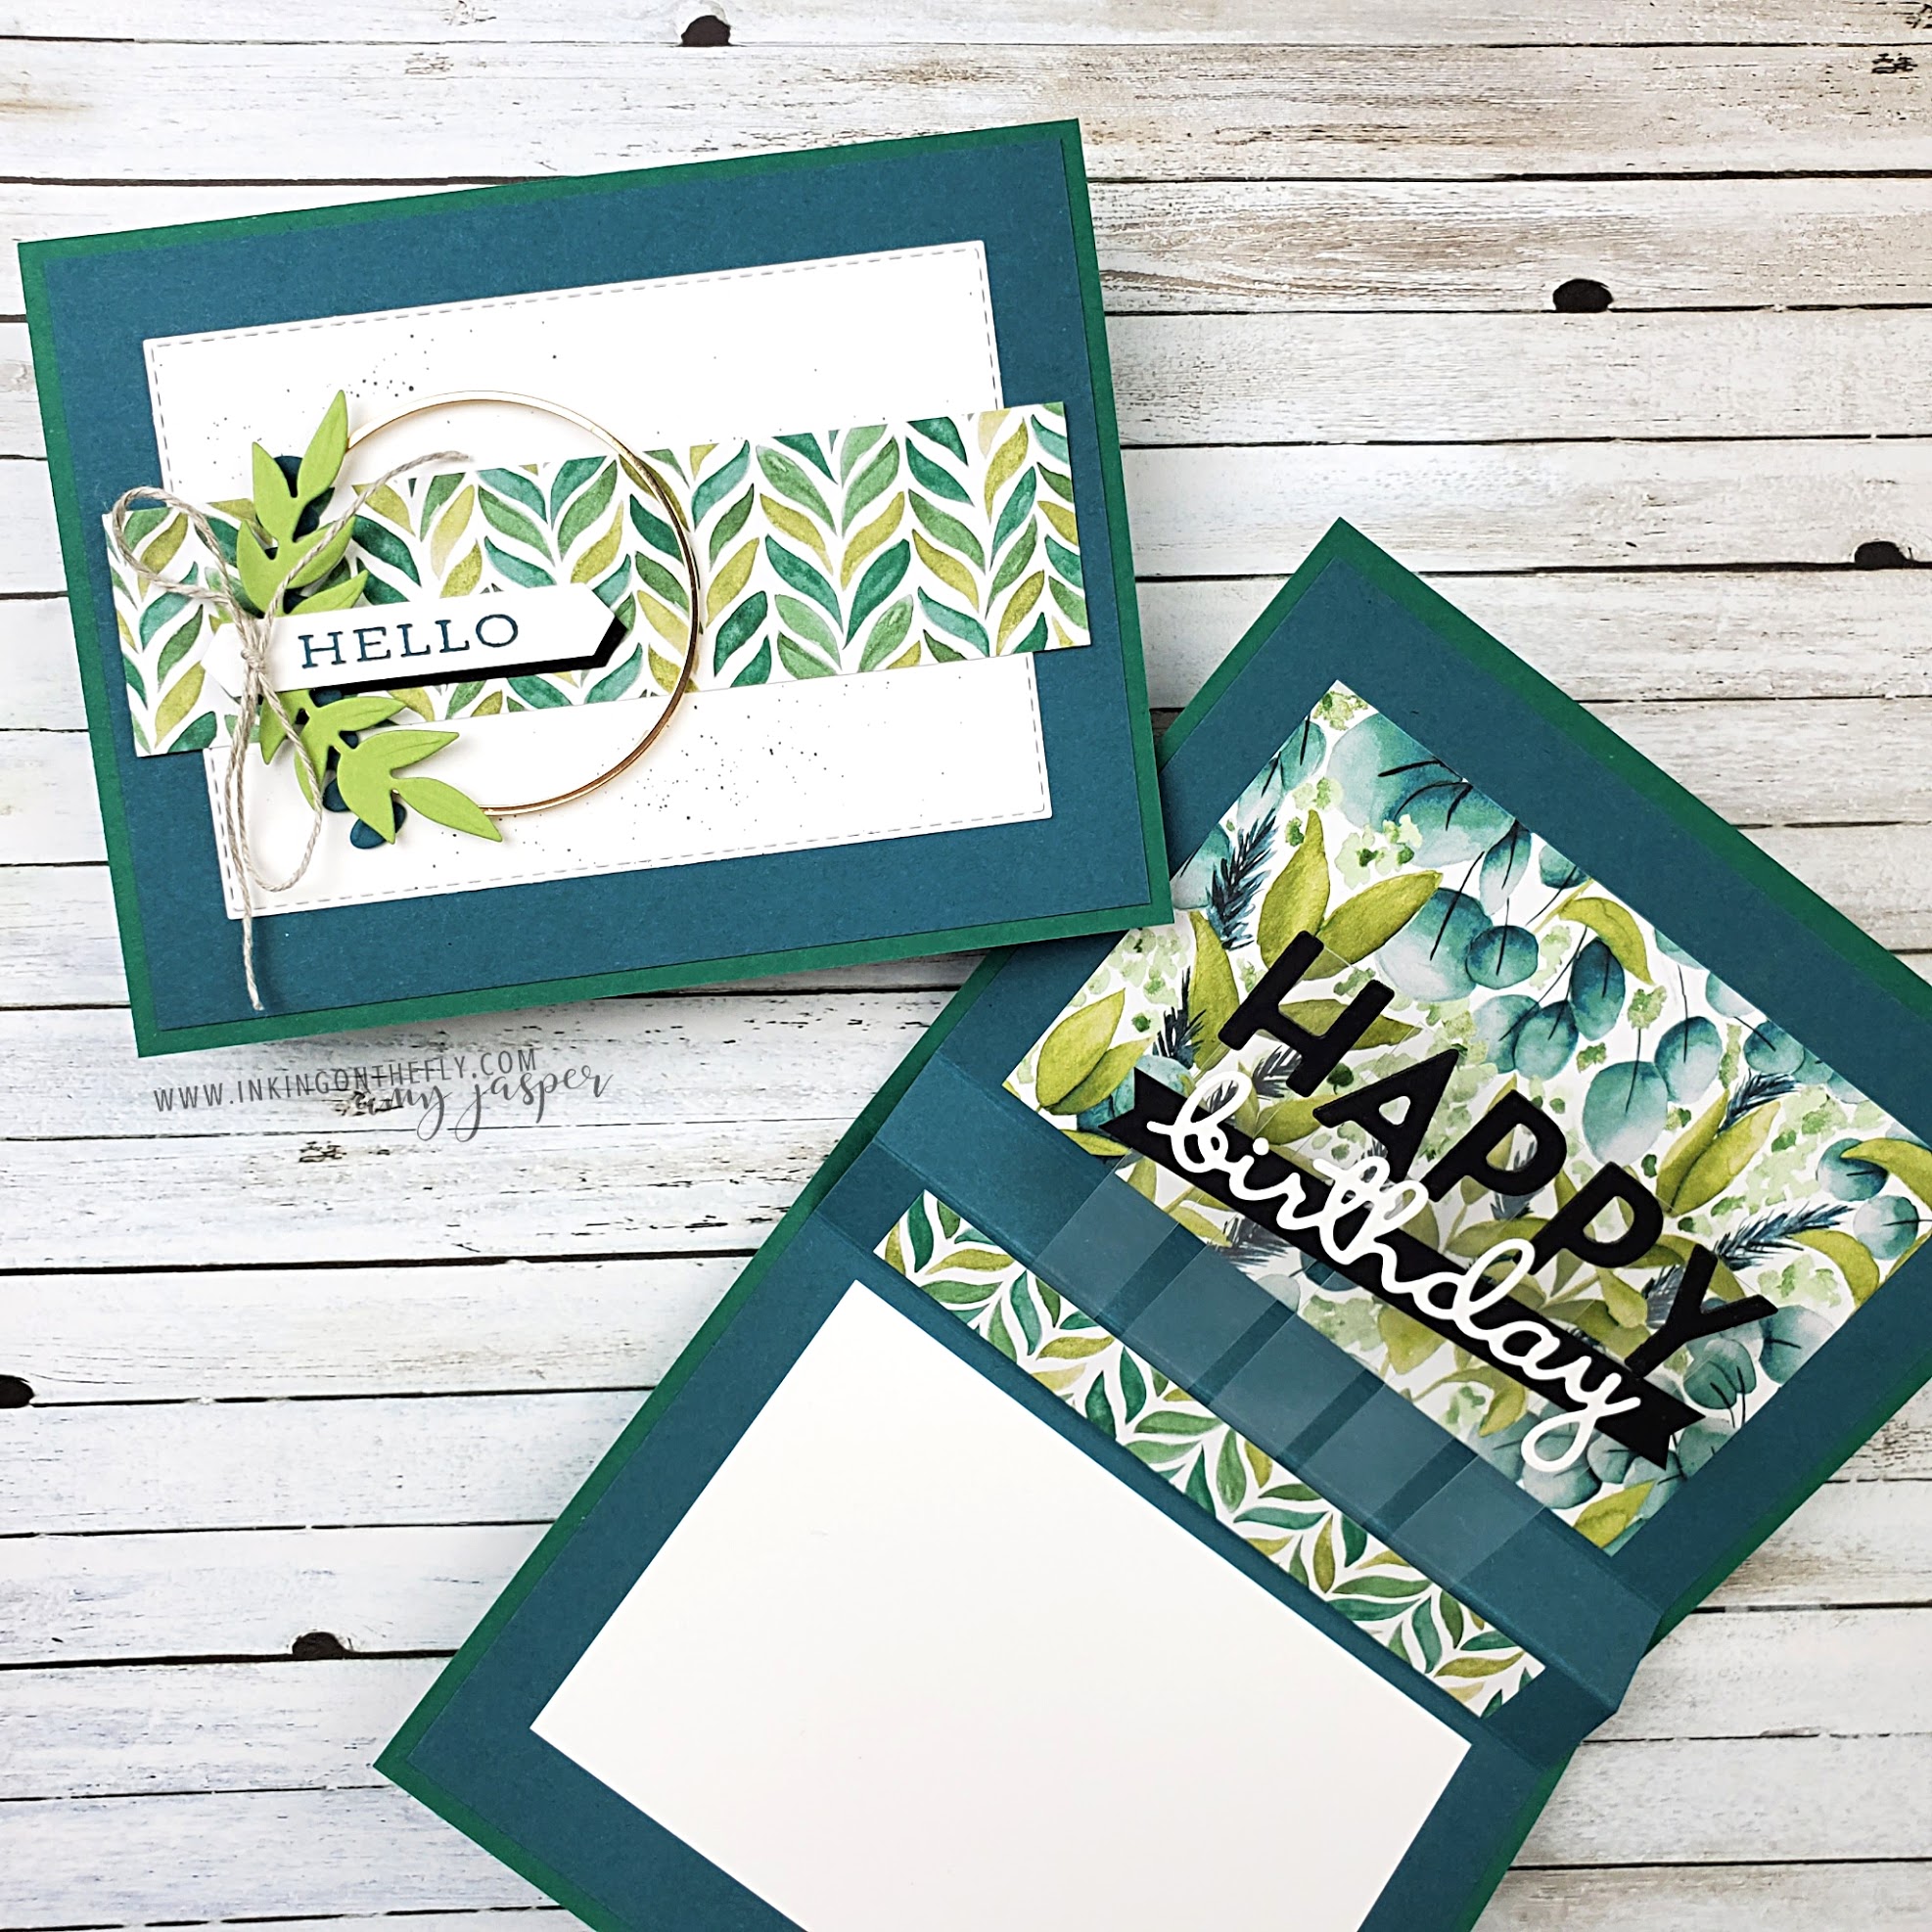
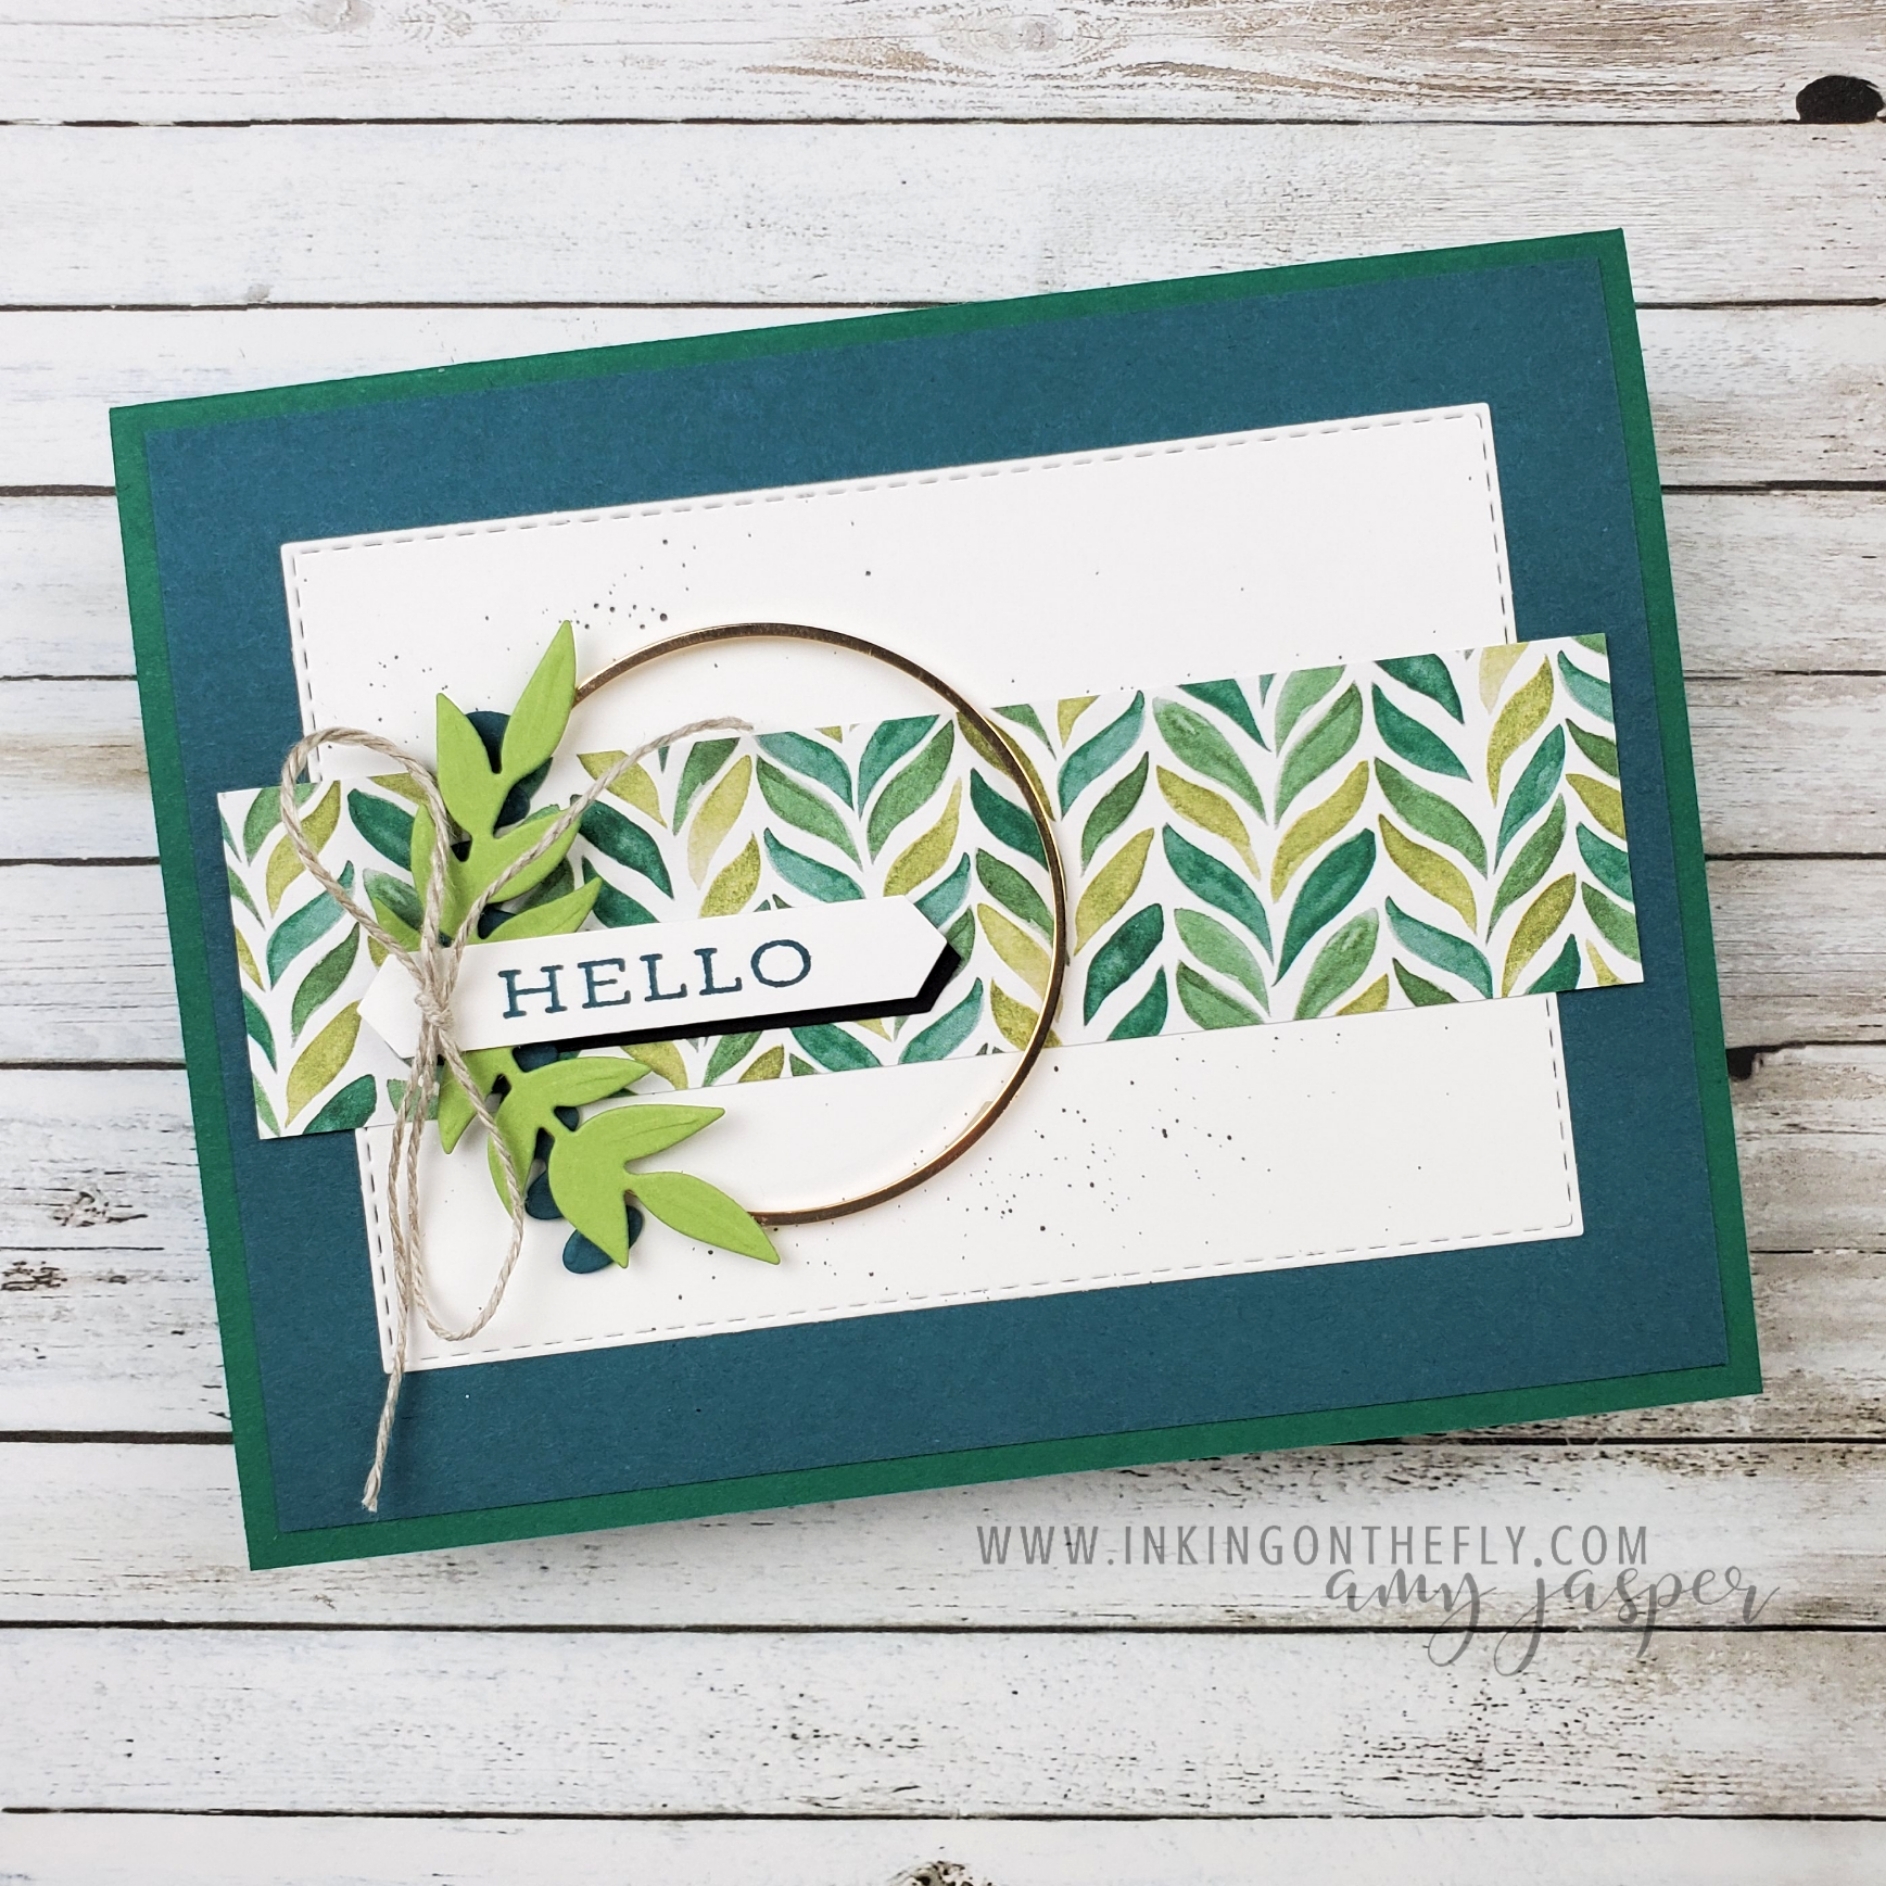
I have another card and tutorial video to share with you from my monthly technique class back in March. Some of the items on this card have retired since then, but I know you’re clever. You’ll be able to use the pop-up design with other products.
The Playful Alphabets Dies that you see on the inside of this card are a staple item in my craft room. They’re small enough to use on a card, but universal enough to use in scrapbooking and home decor projects as well. I’ve even used these dies to cut out iron-on vinyl to use on fabrics!
If you’re in Canada, you can join my technique classes on Zoom. As part of this class, you will receive all the pre-cut paper, the embellishments, and envelopes for two card designs. You will also receive an email with the link to join the Zoom class and the list of supplies you might need, such as stamps and ink.
During the virtual class, you follow along with me and we make the cards together. It’s very casually paced as I make sure each person has completed each step before I proceed to the next one. If anyone struggles with a step or make a mistake, we can work it through together right then and there! My attendees also receive a PDF with the instructions as well as private access to each of the video tutorials on YouTube. The videos remain private for two months so that those with special access can revisit them as needed.
Sometimes people who purchase the pre-cut supplies aren’t able to attend the Zoom class. They register for the class to get the pre-cut supplies, then wait until the tutorials are available and make the cards on their own at their convenience.
If you’re outside of Canada, I’m not able to send you any supplies, but for $10 CAD, you can receive VIP Access to the videos at the same time as those who attend the class. No waiting two months for the videos to post! You can access the video tutorials and receive the PDF written instructions while the products are still available to purchase through Stampin’ Up! Sadly, those of you who aren’t in Canada can’t order from my online store, but if you need help finding a demonstrator near you, I’m happy to recommend someone if I can.
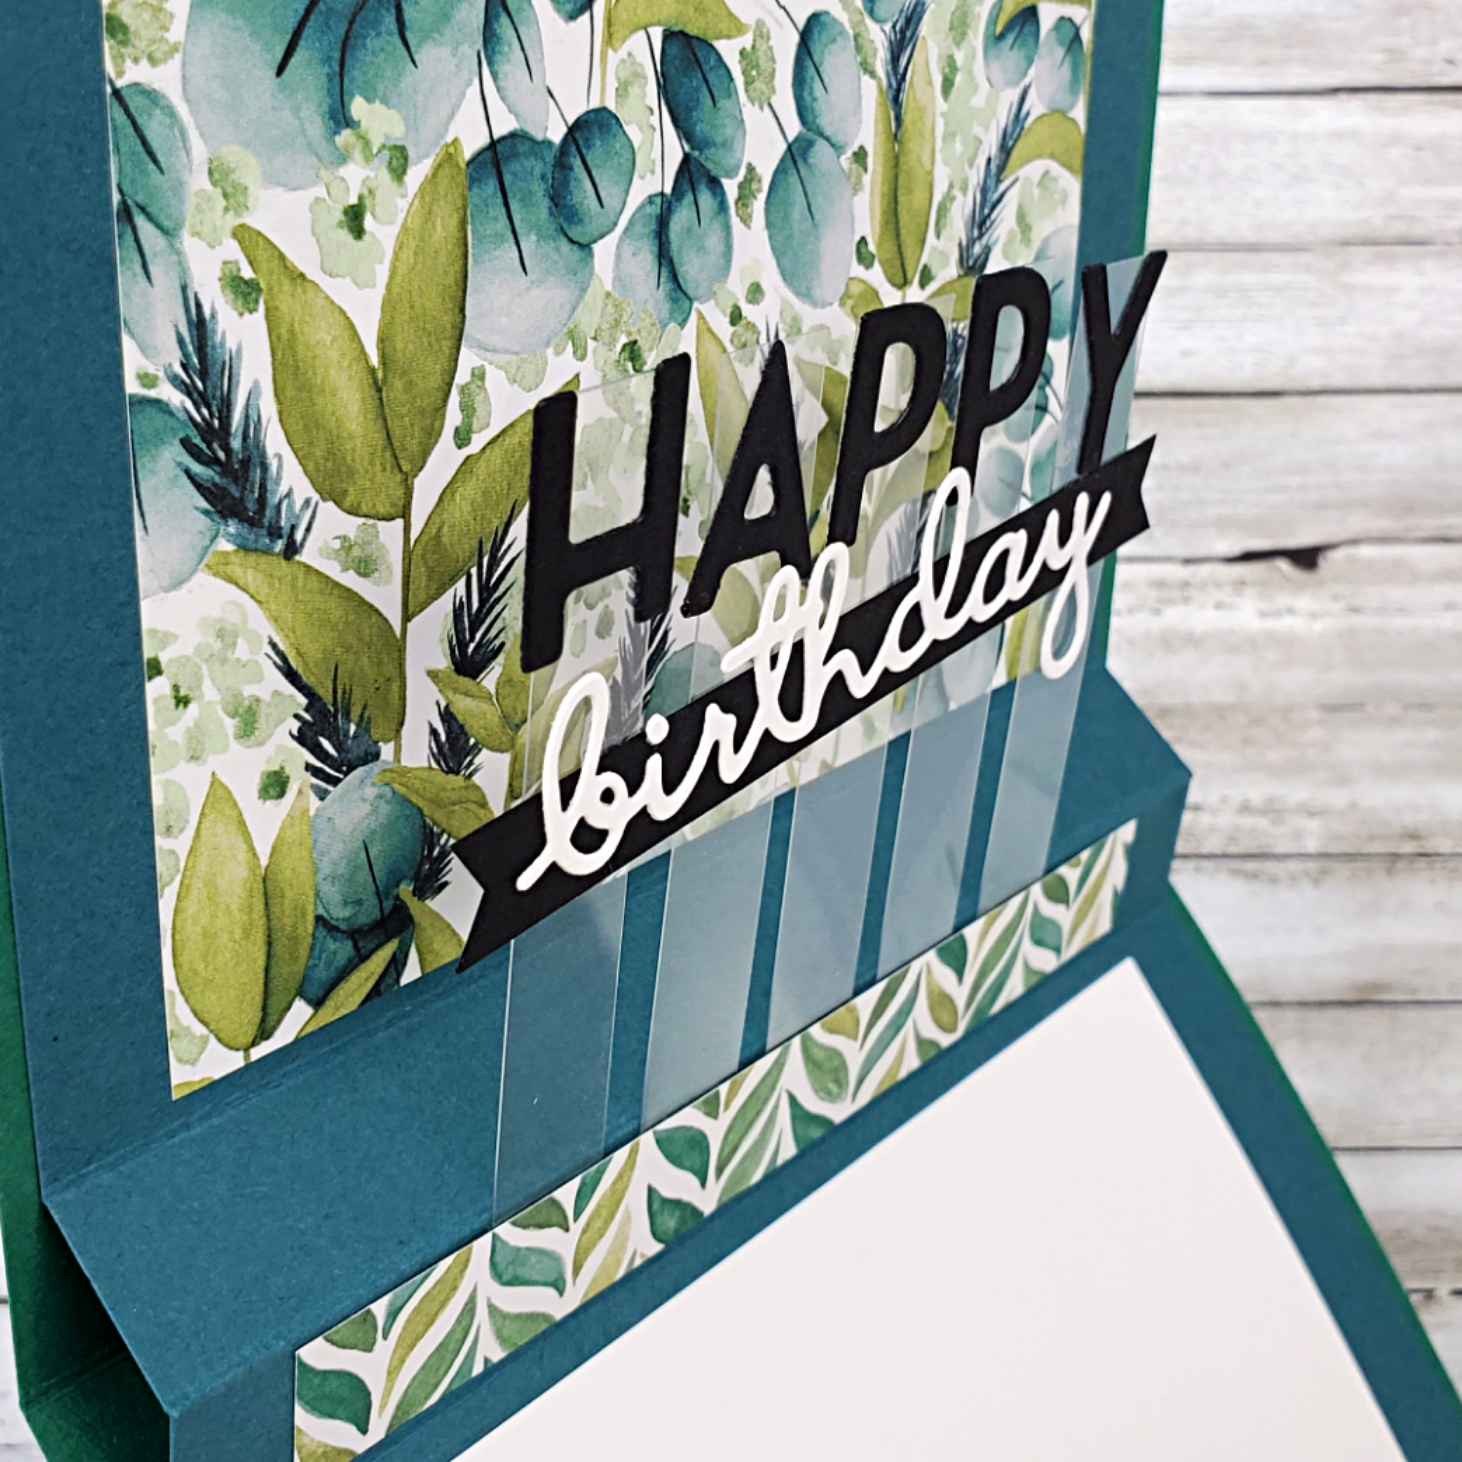
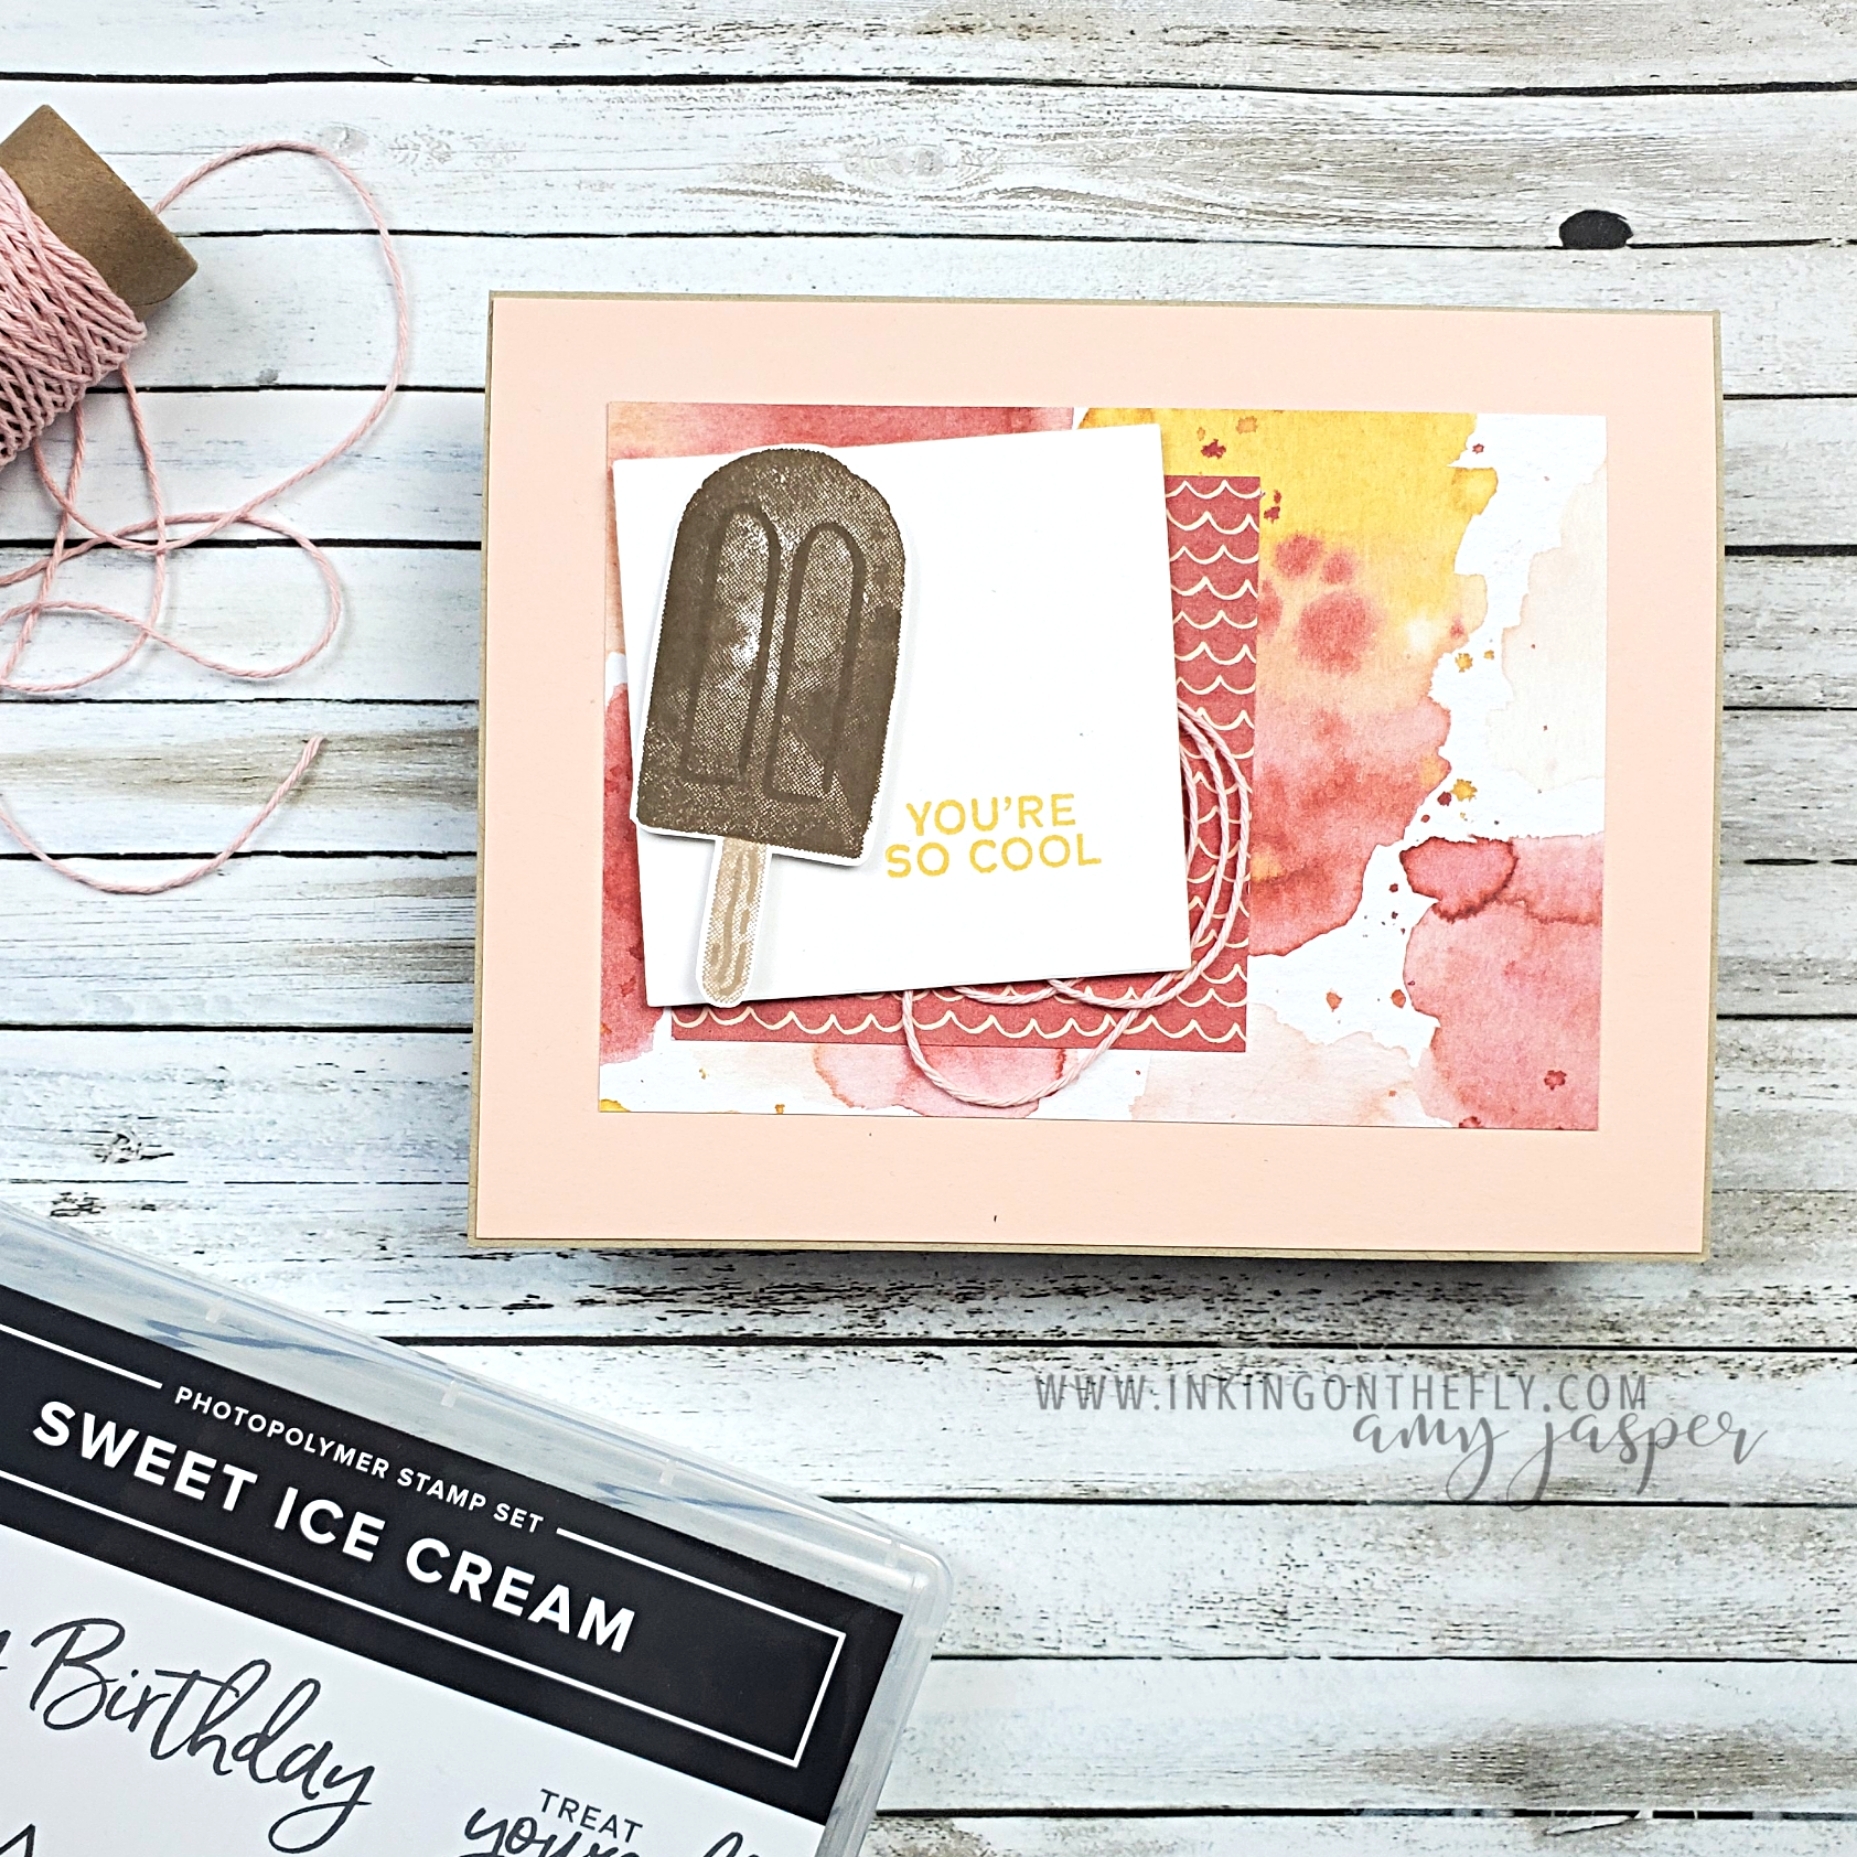
I originally shared this pop-up card design at a Stamp Camp event back in January using the Ice Cream Corner Designer Series Paper. This paper is still available in the January – June Stampin’ Up! Mini Catalogue.
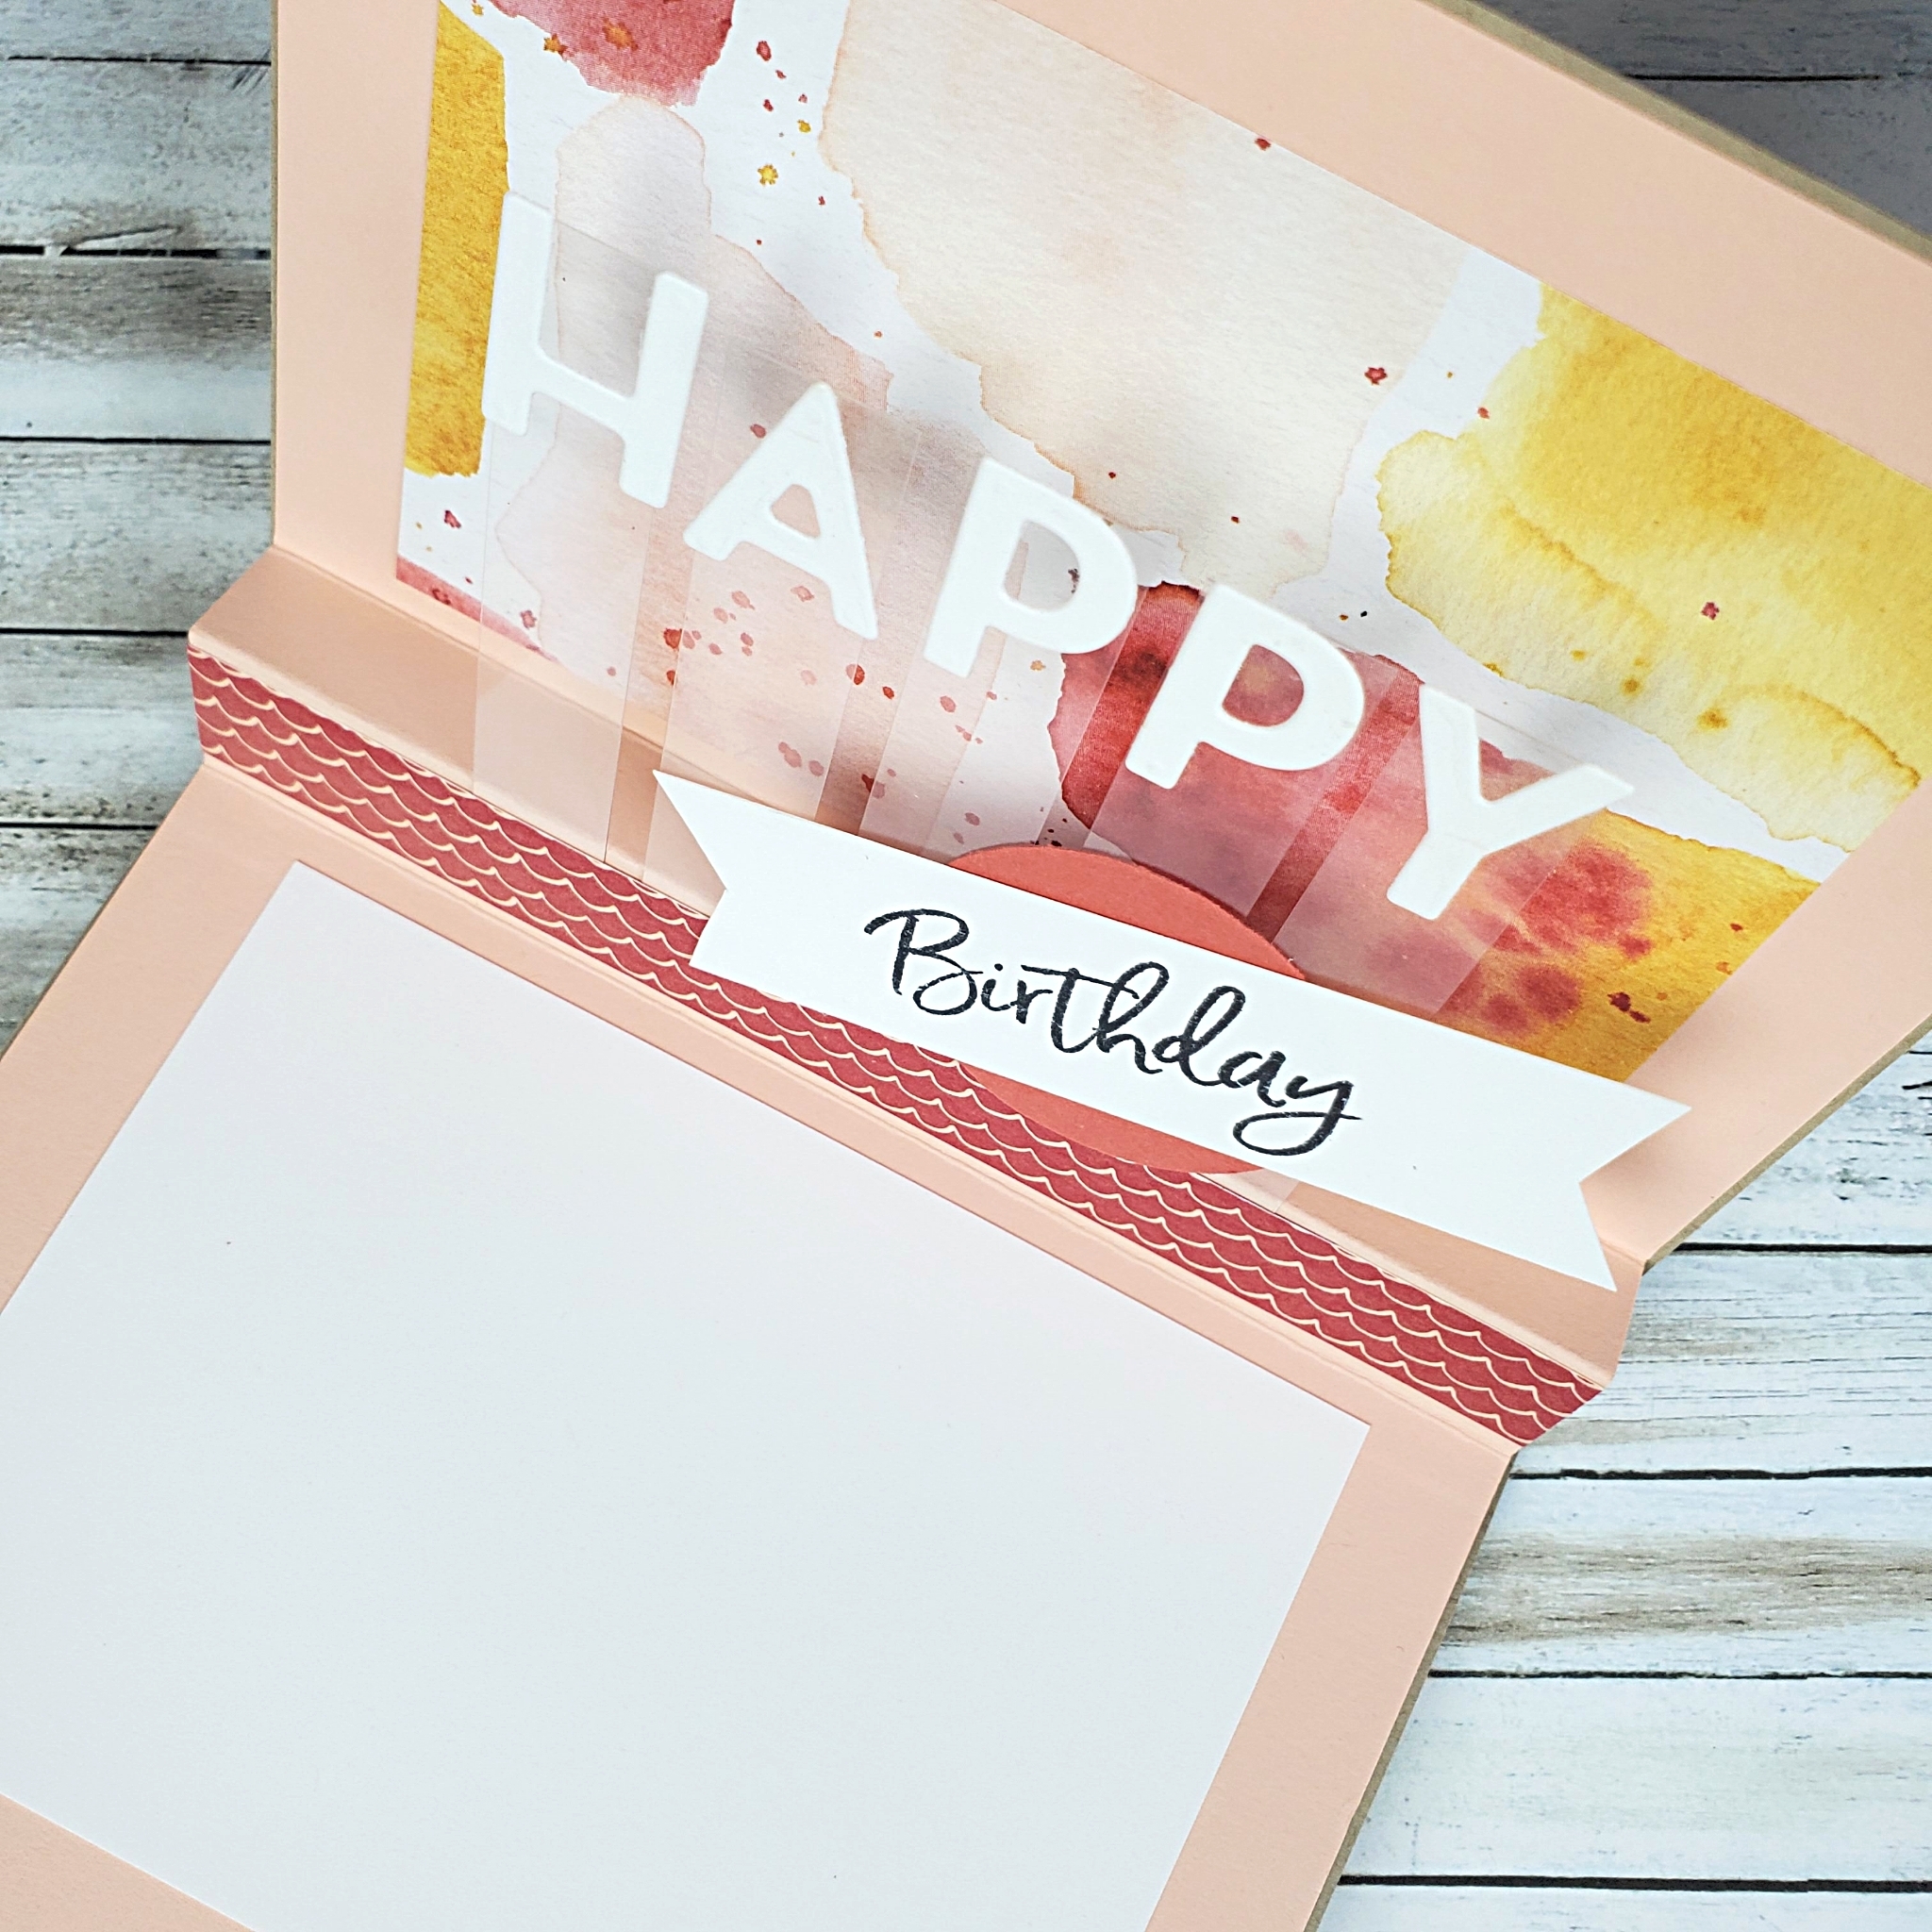
The front of this card is a different layout, but the inside is very similar to the Forever Greenery version of this design. The only difference on the inside is that I used a stamp from the Sweet Ice Cream stamp set instead of a die-cut word.
To see how I made this pop-up design, follow along with the video tutorial. The measurements for the card on in the video description on YouTube if you need them! Go to my online store to see what beautiful options you have for patterned paper to use for cards like this!
Hey, why not take a moment to leave a comment and let me know that you stopped by. I love to hear from you!
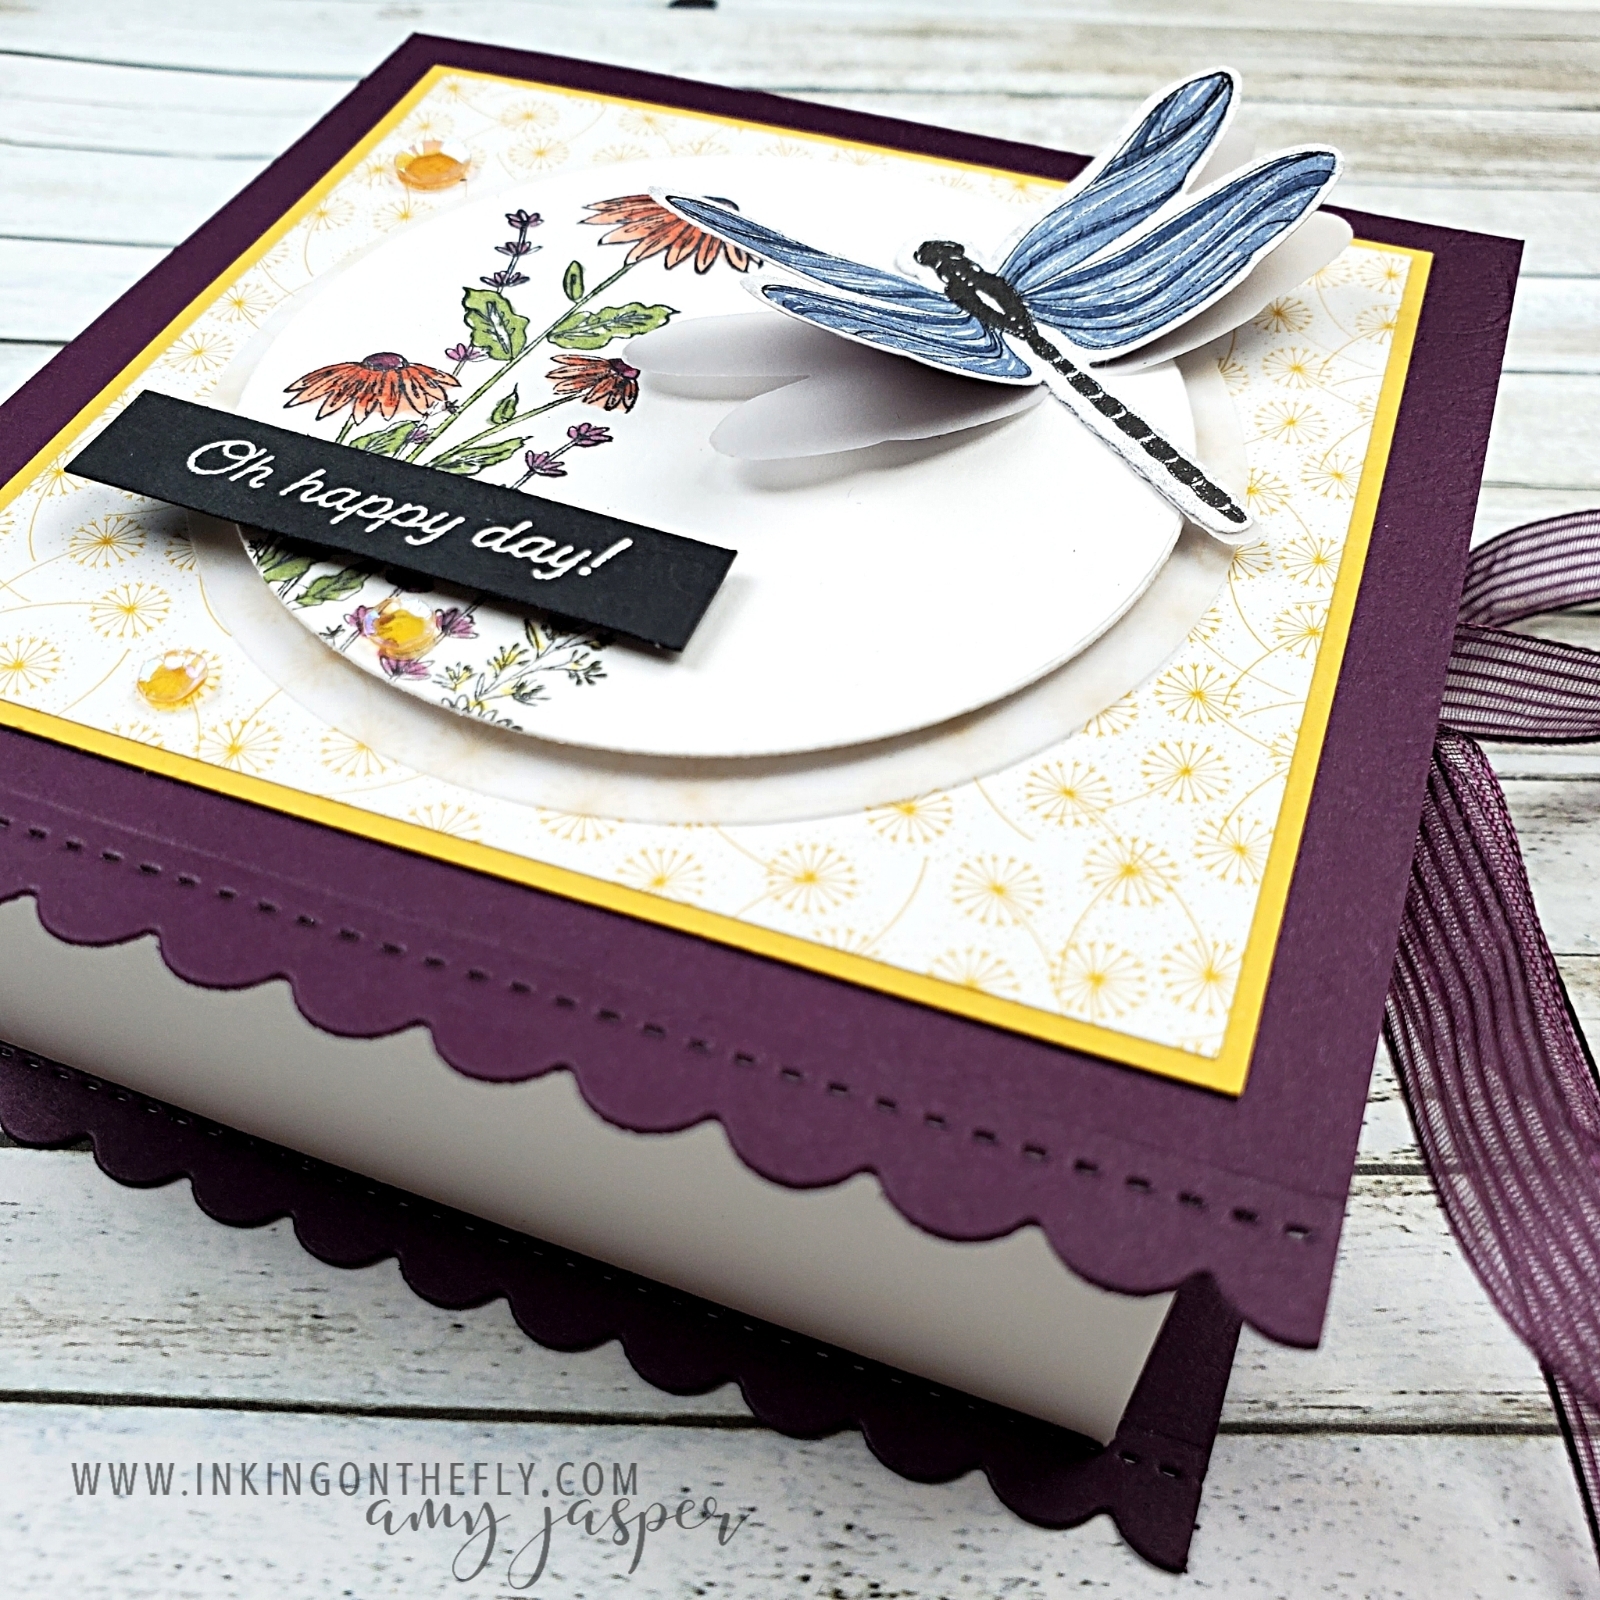
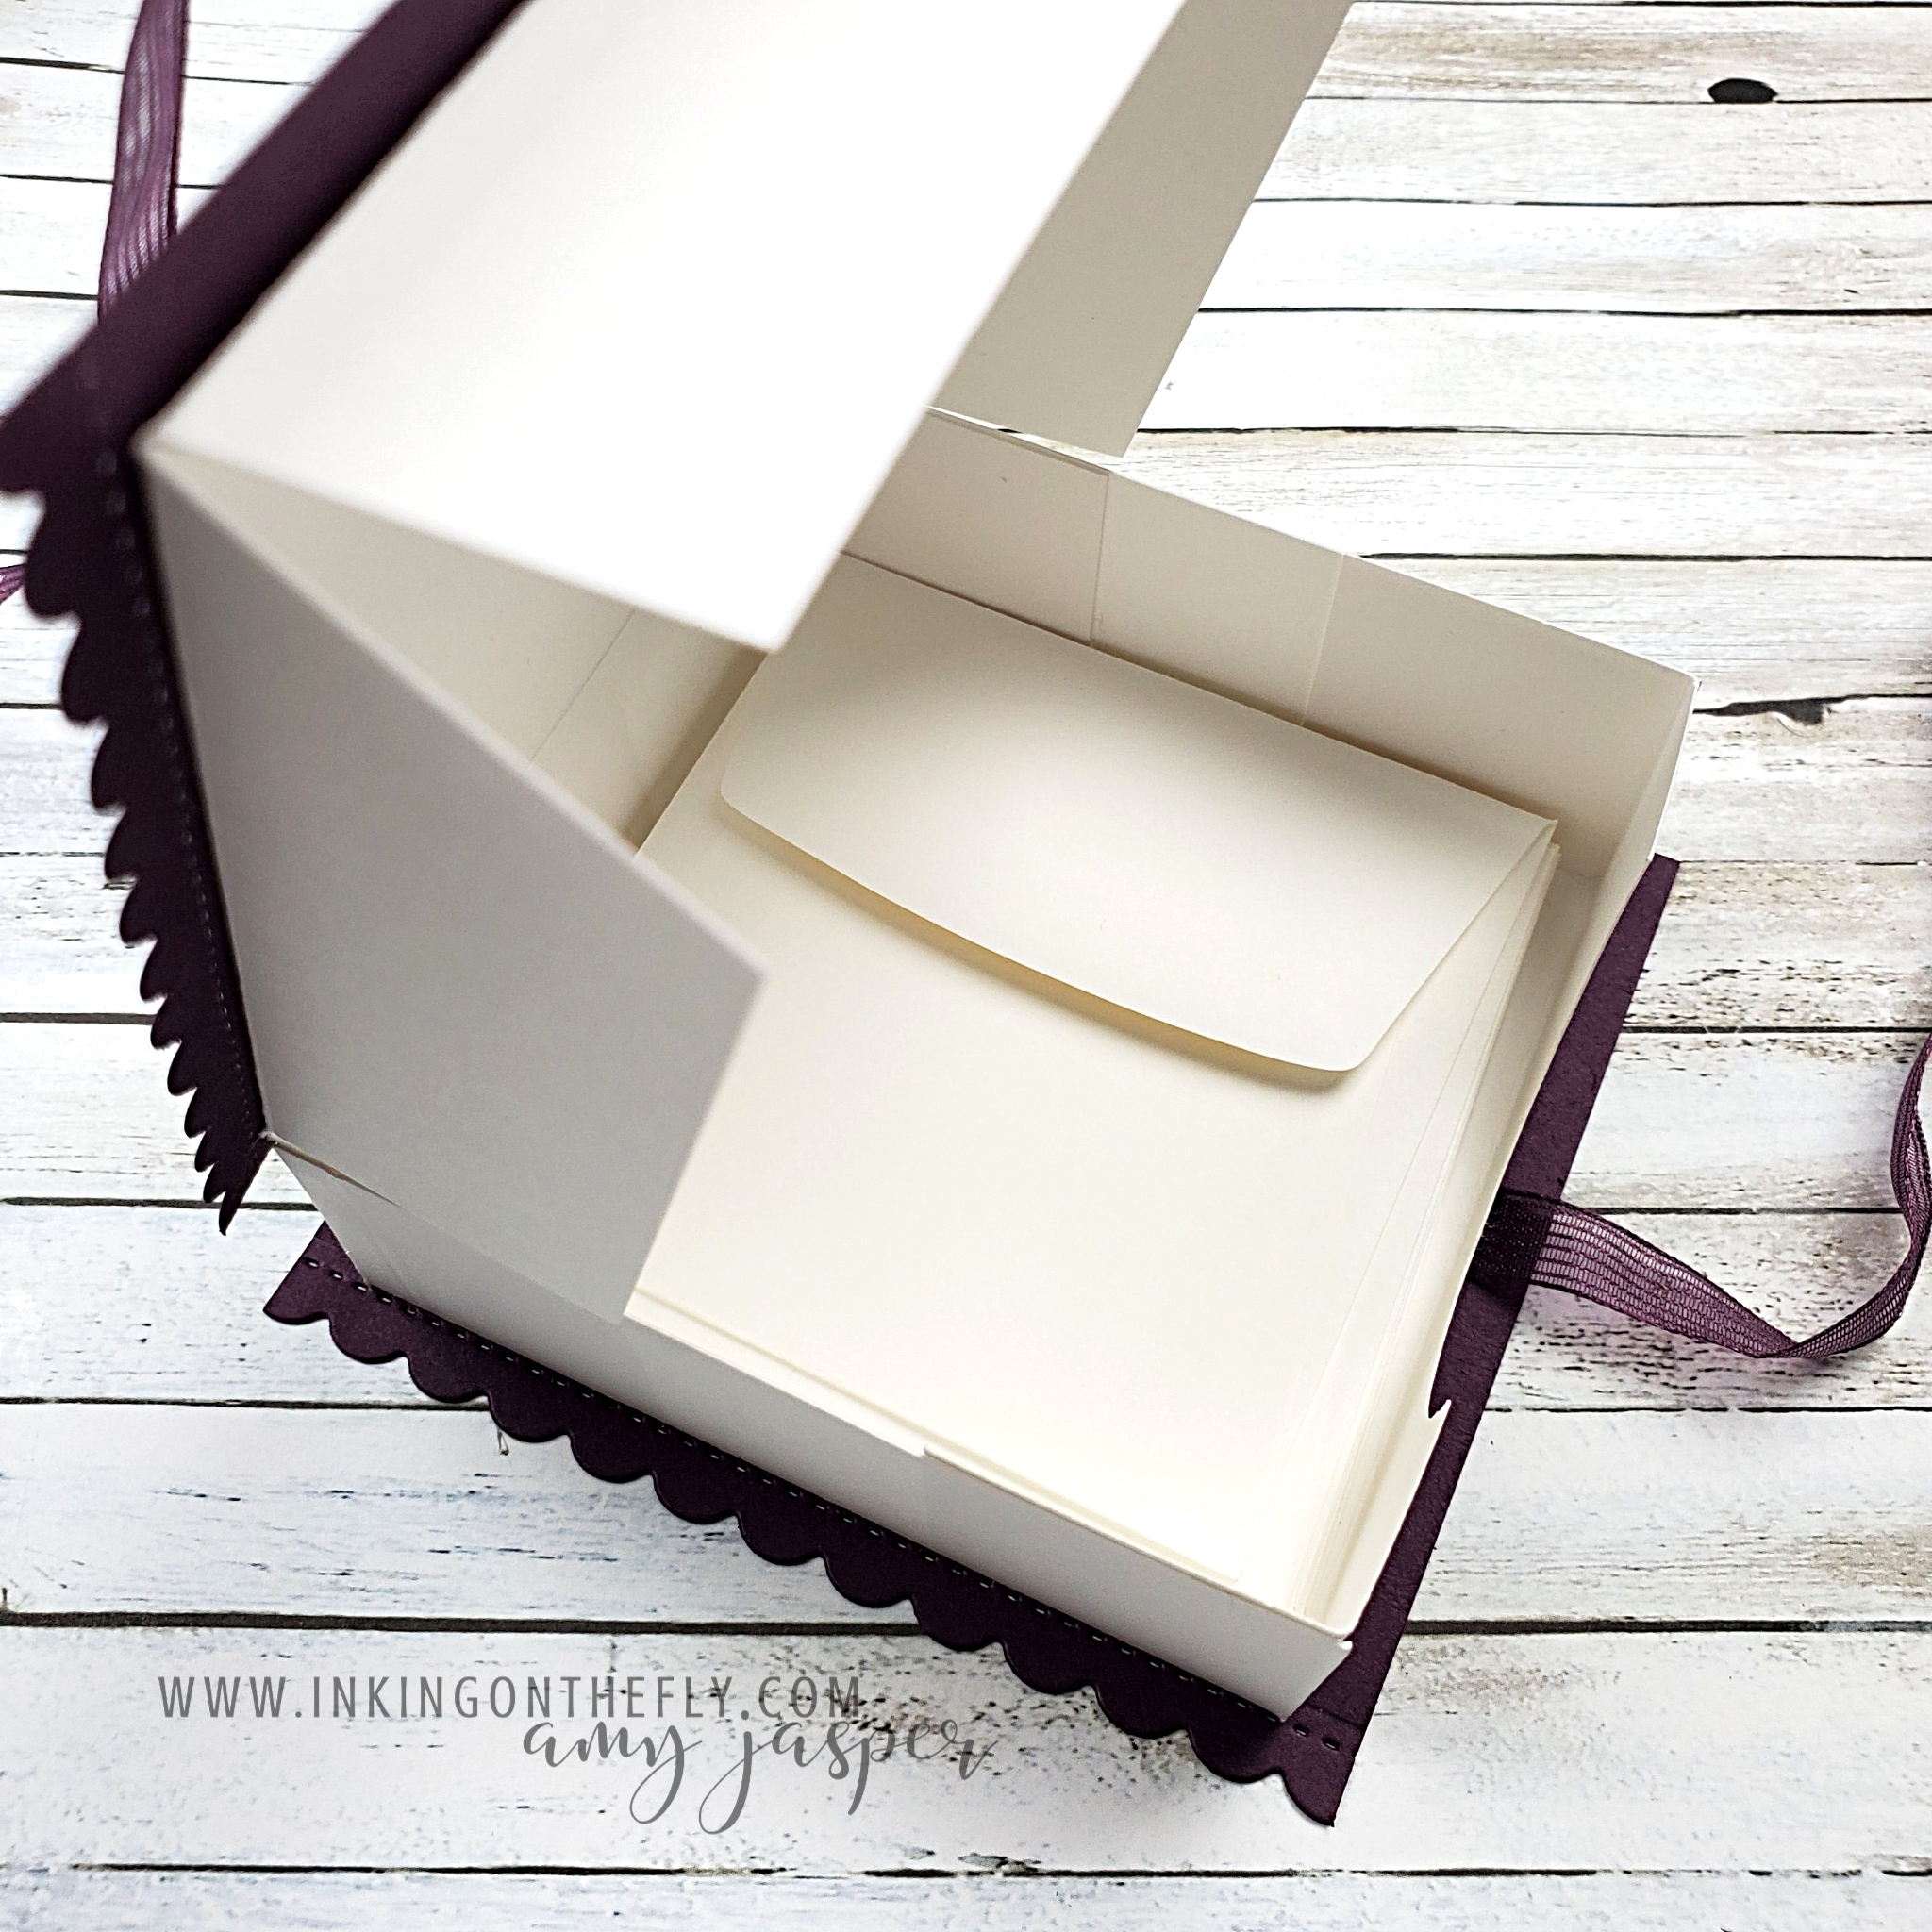
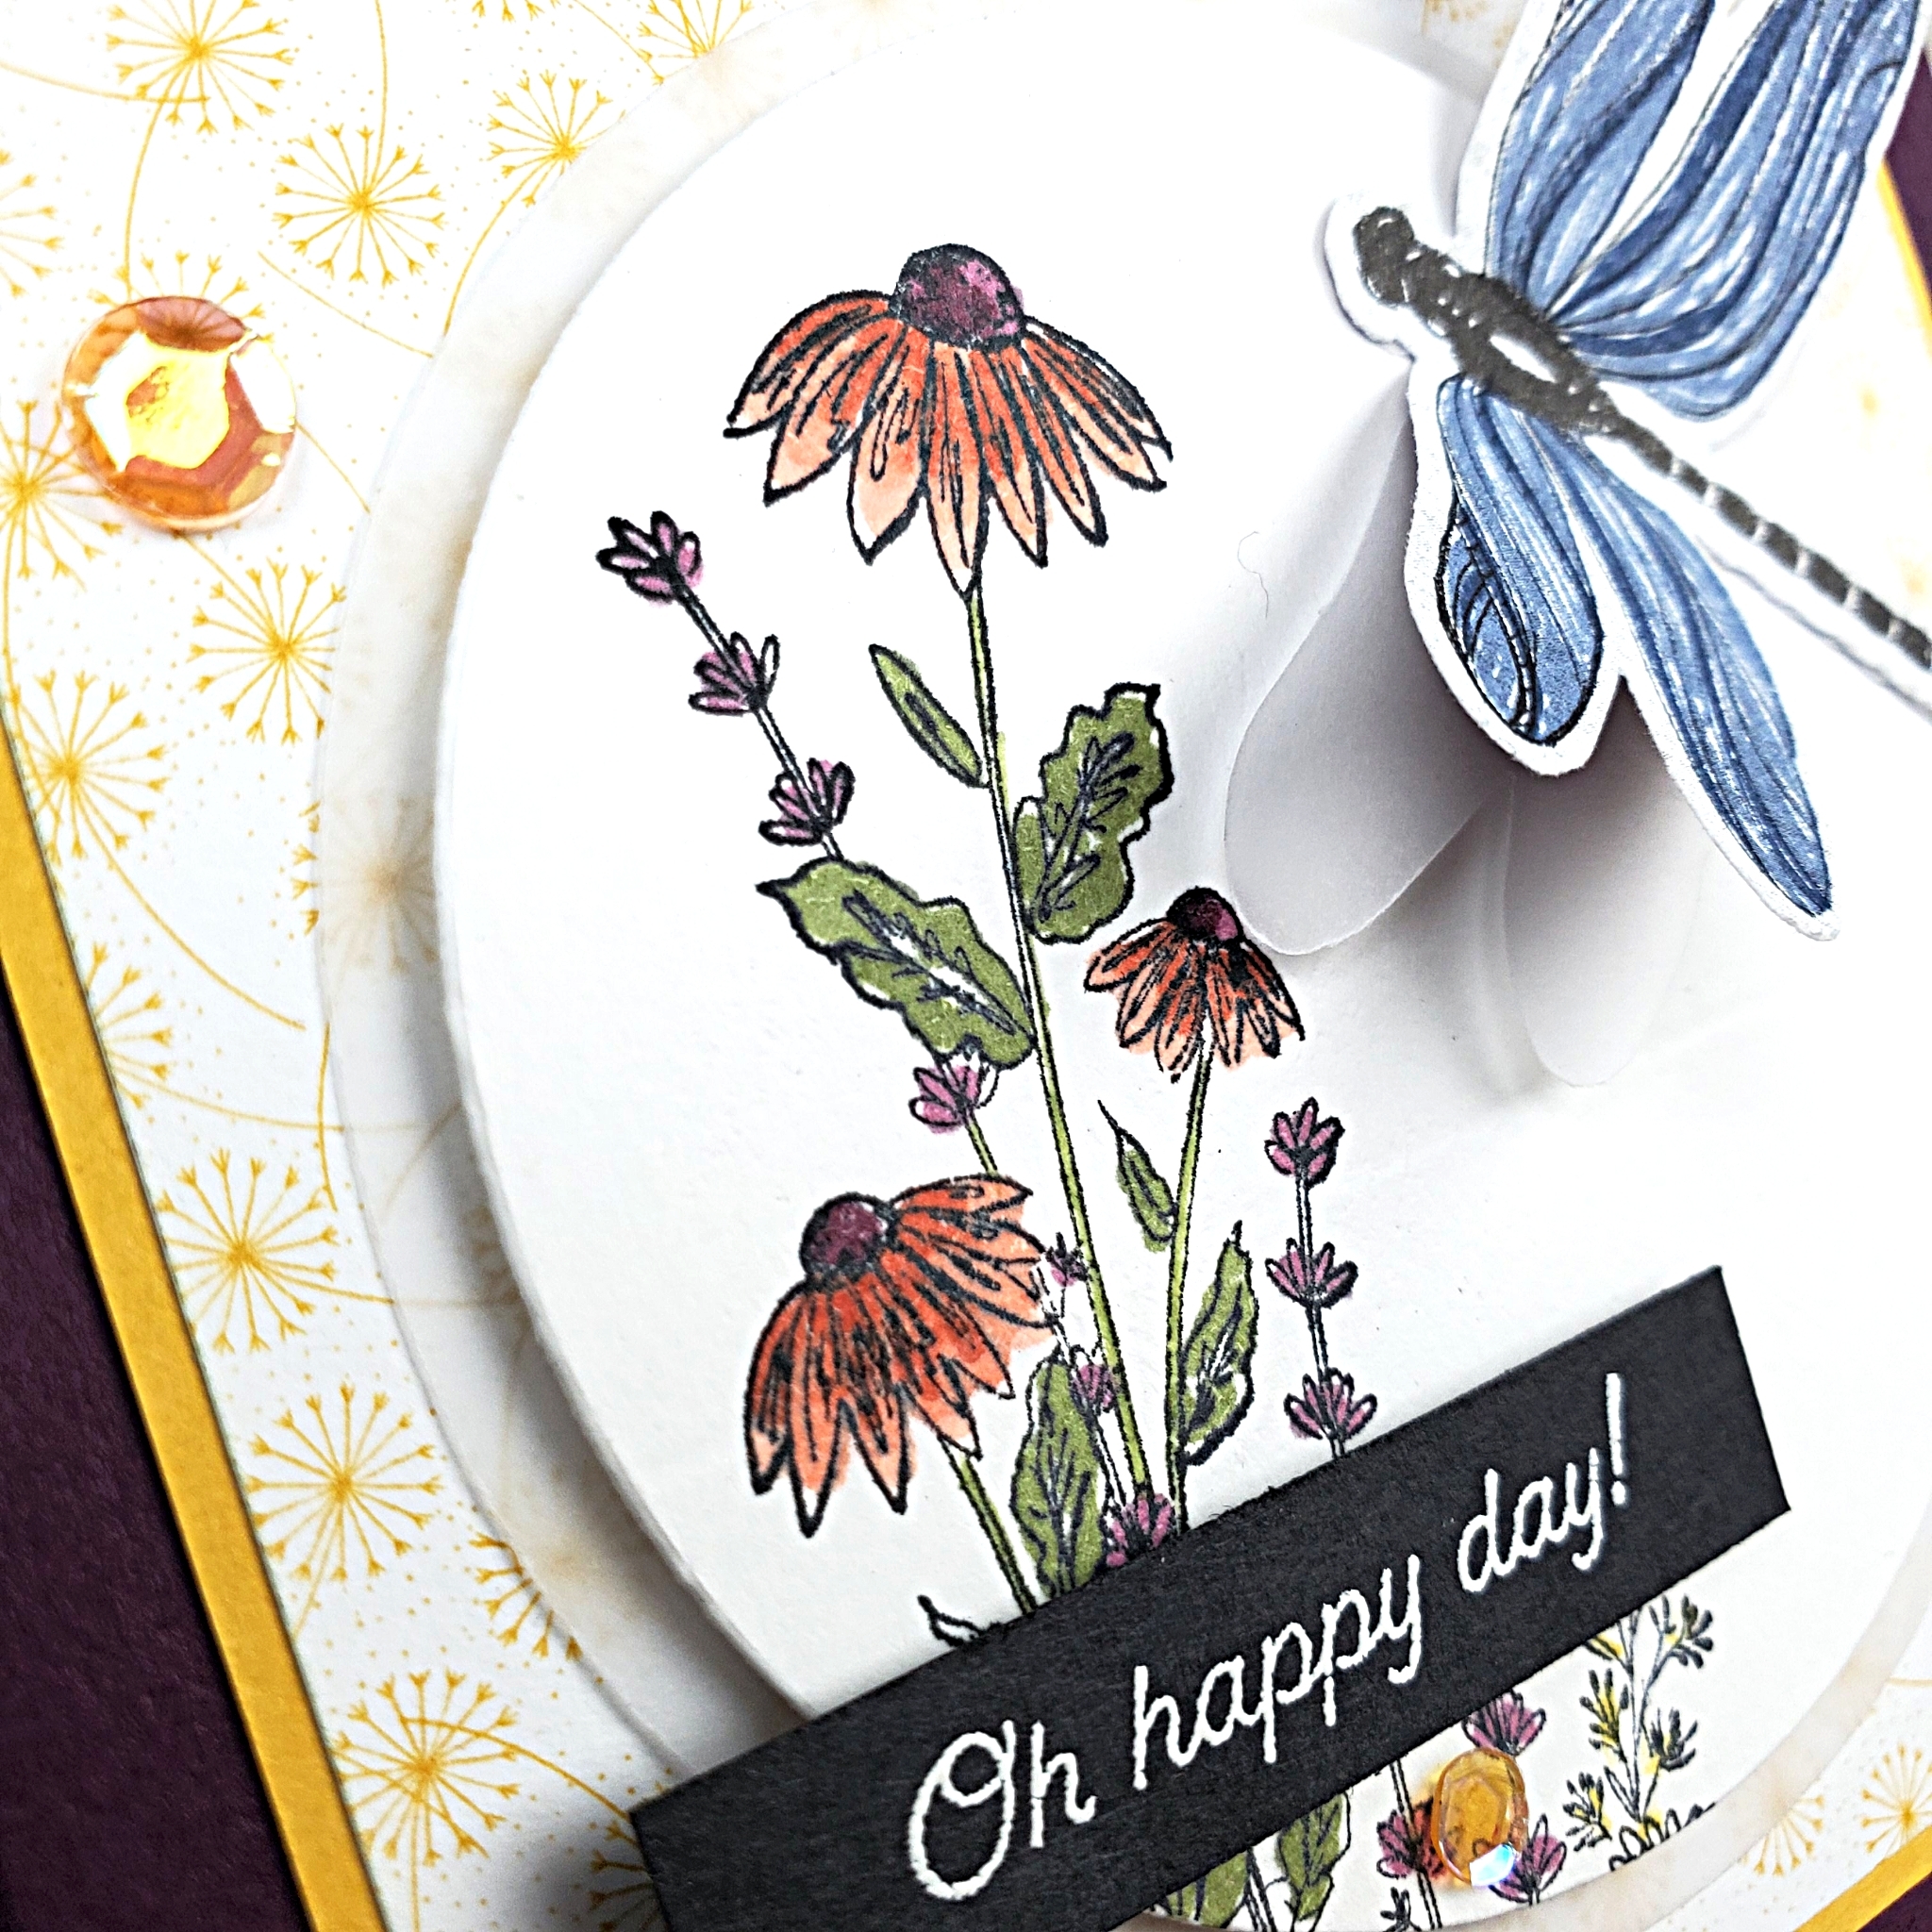
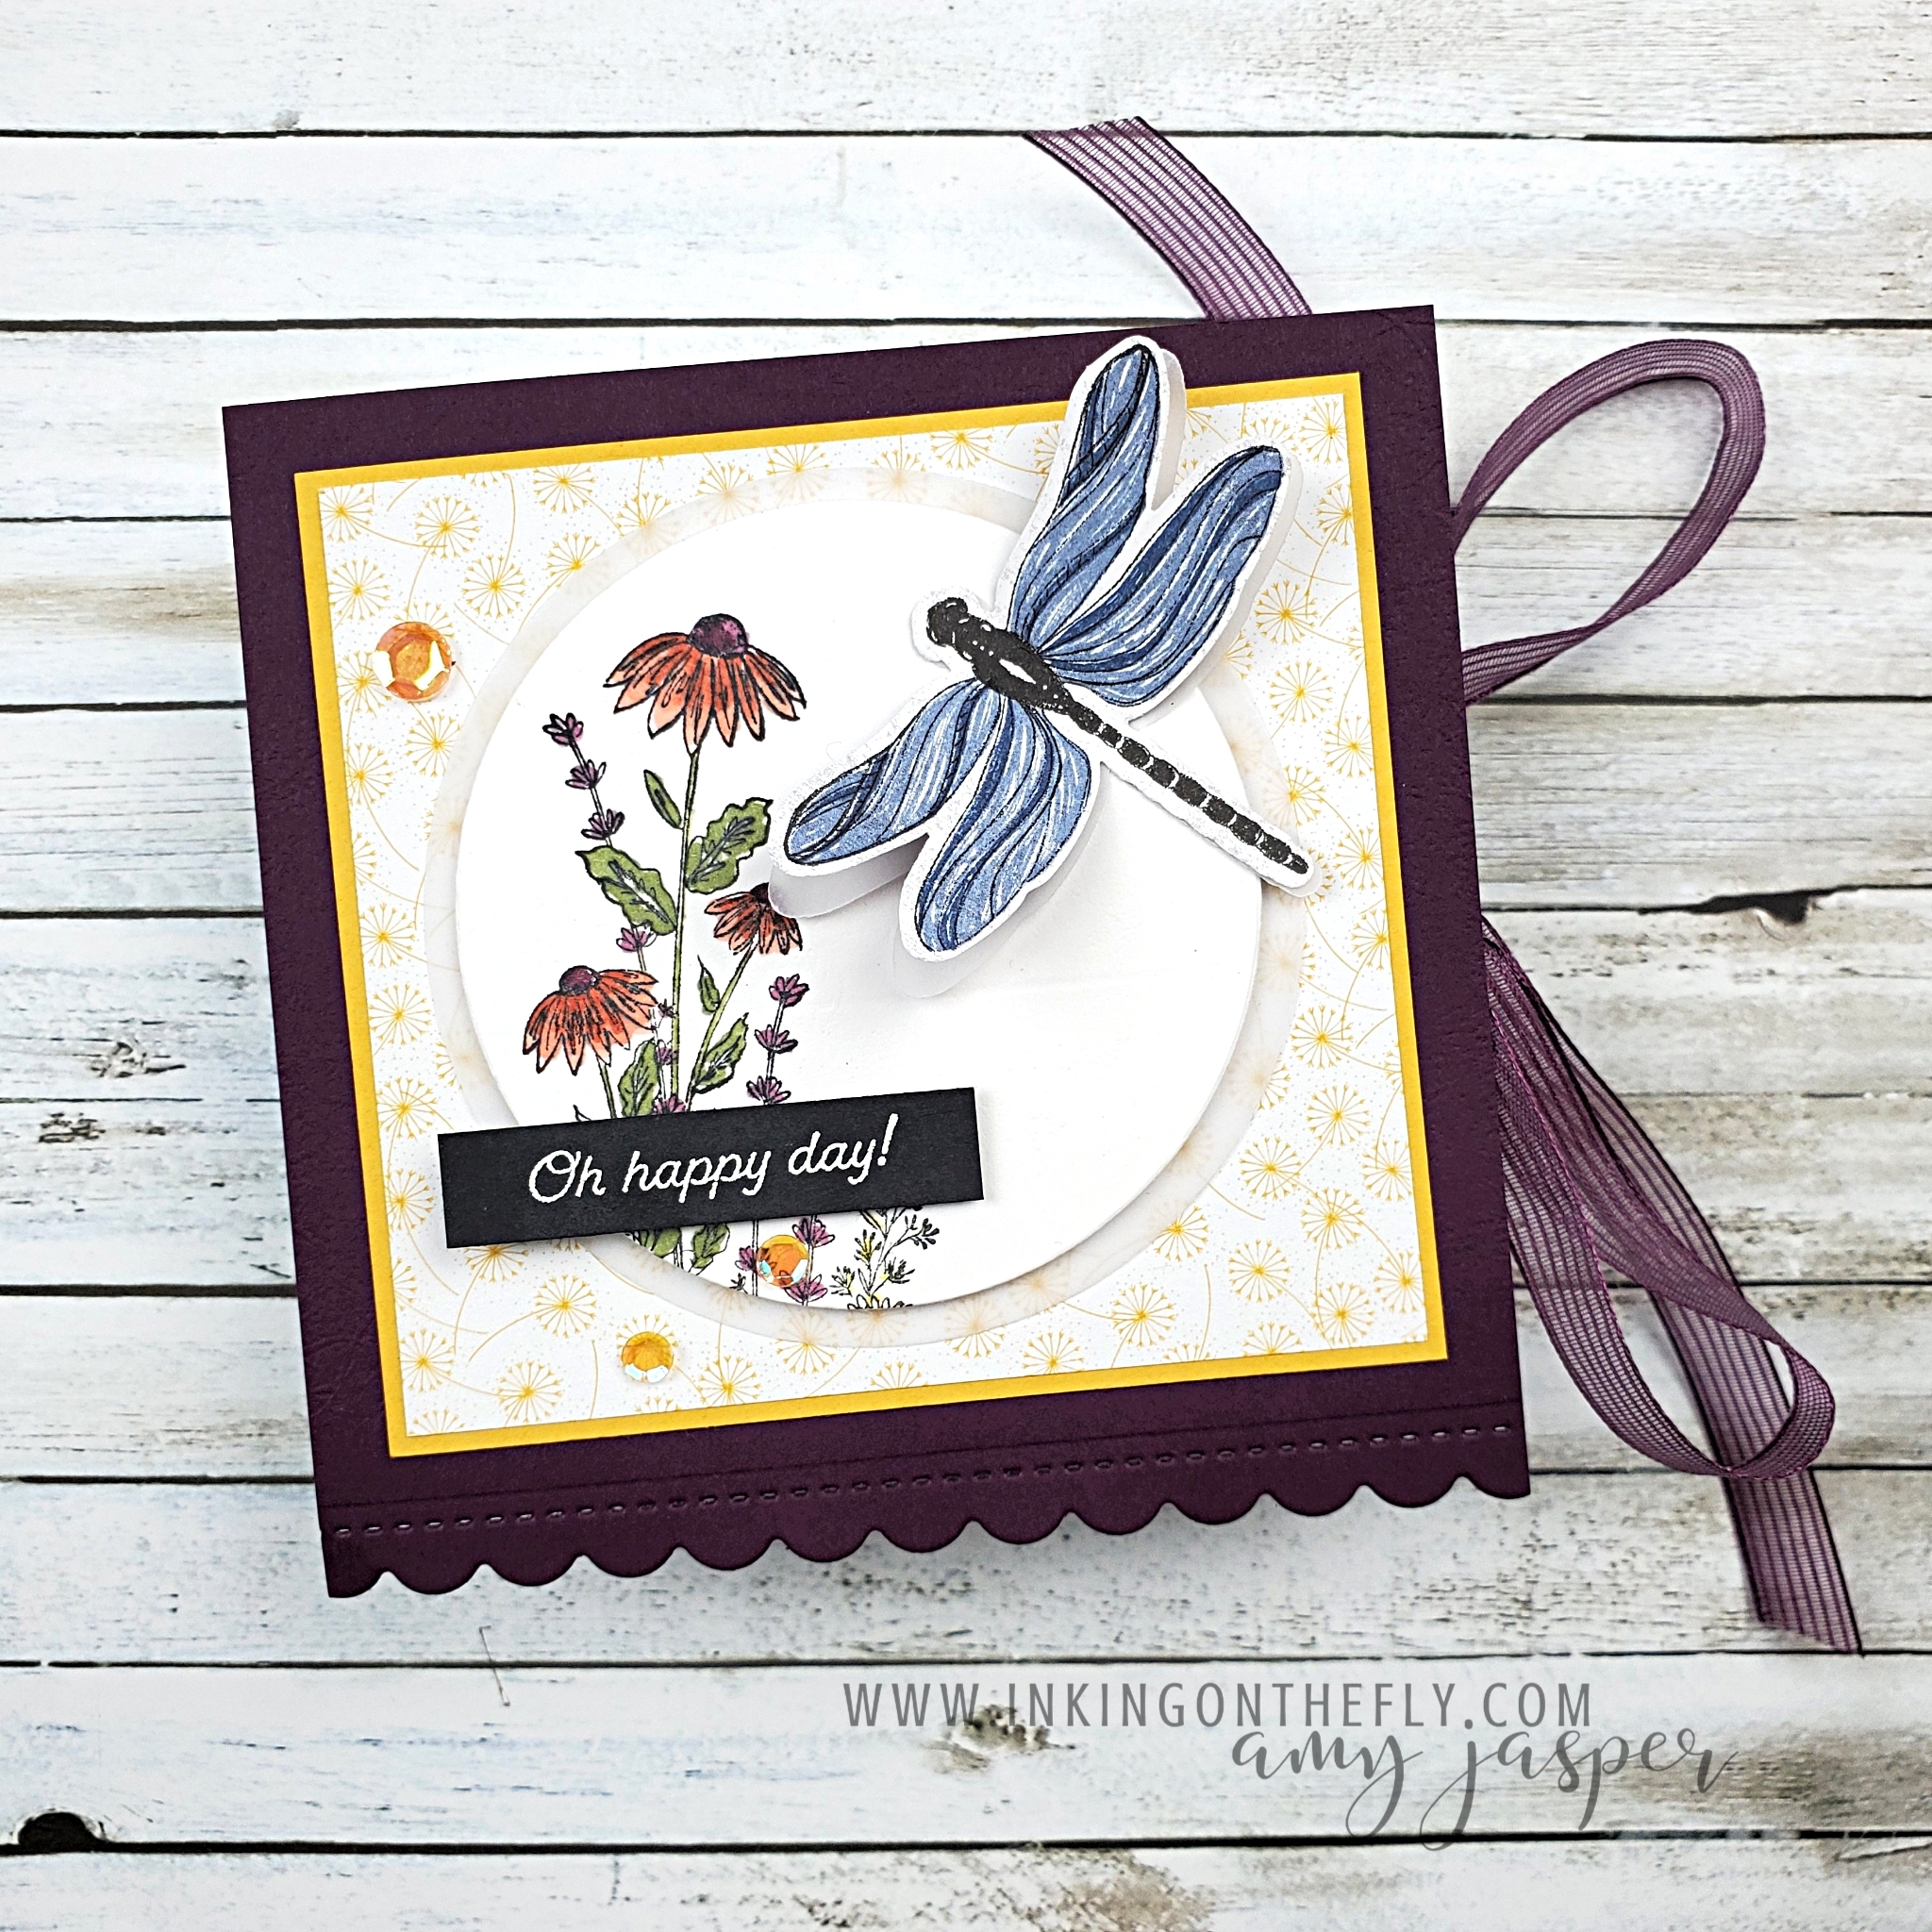
On my Facebook Live video yesterday, I shared how to make this cute box! It’s the perfect size for Mini Envelopes and 3″ x 3″ handmade cards. The Dragonfly Garden stamp set, Dragonflies Punch, and the Dandy Garden Designer Series Paper work together beautifully to create this easy box.
Show your appreciation to someone by giving them a box of handmade note cards!
It doesn’t have to be for note cards, though! This size box will fit lots of other things. You could fill it with candy or chocolates, but anything that fits would work: Jewelry, seed packs, candles, figurines, tea, snacks, car keys, ear buds, money, a face mask, make-up, a pair of socks … whatever! LOL!
It would be really funny to get a pair of socks!
The box is an adaptation of a smaller rectangular box that my friend and fellow Canadian Stampin’ Up! Demonstrator, Desirée Spenst made. It was a cute box, but not big enough to fit cards. I just had to adjust the measurements for the base of the box, then I could decorate it my own way. I chose the dragonflies.
It makes me happy.
To make this 3 1/2″ x 3 1/2″ square box that is 1 1/4″ high, start with a piece of Thick Basic White cardstock, measuring 6″ x 10 1/2″. Score the long side at 1″, 4 1/2″, 5 3/4″, and 9 1/4″. Score the short side at 1 1/4″ and 4 3/4″. With this as your base, you can use my video tutorial to complete the base of the box. Once you see how I put it together and decorated it, you can do the same or you can decorate it anyway you like! It’s easier than you might think!
After I finished recording the video tutorial, I added some Artistry Blooms Adhesive Backed Sequins and a white heat embossed sentiment from the Many Messages stamp. I think these elements complete the box nicely.
The video below is a recording of my Monday Facebook Live. You can join me live on Facebook at 10:30 PST every Monday morning and interact with me while I share projects with you. Next week I’ll be unboxing the May Paper Pumpkin kit!
Leave a reply or comment and say hello! I love to know that you stopped by!