2020

Moving Arm Pop-Up

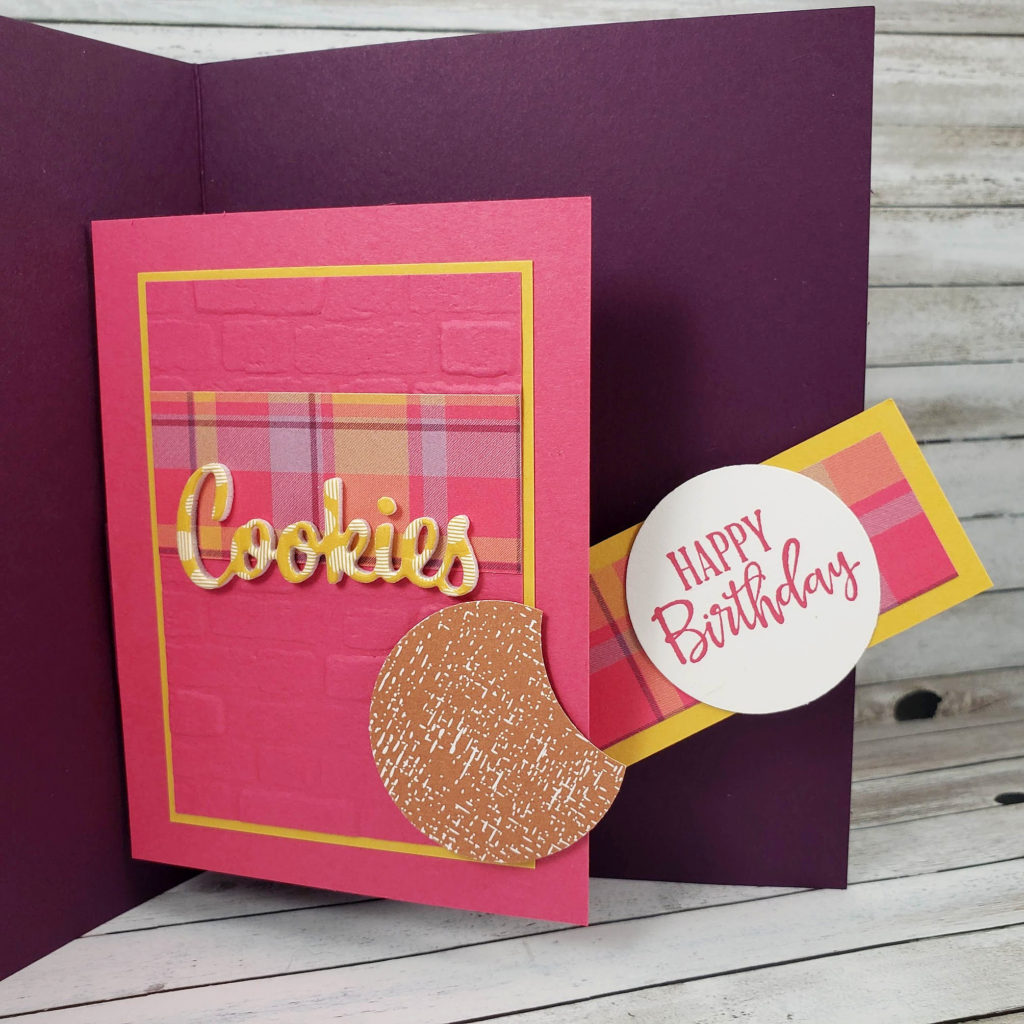
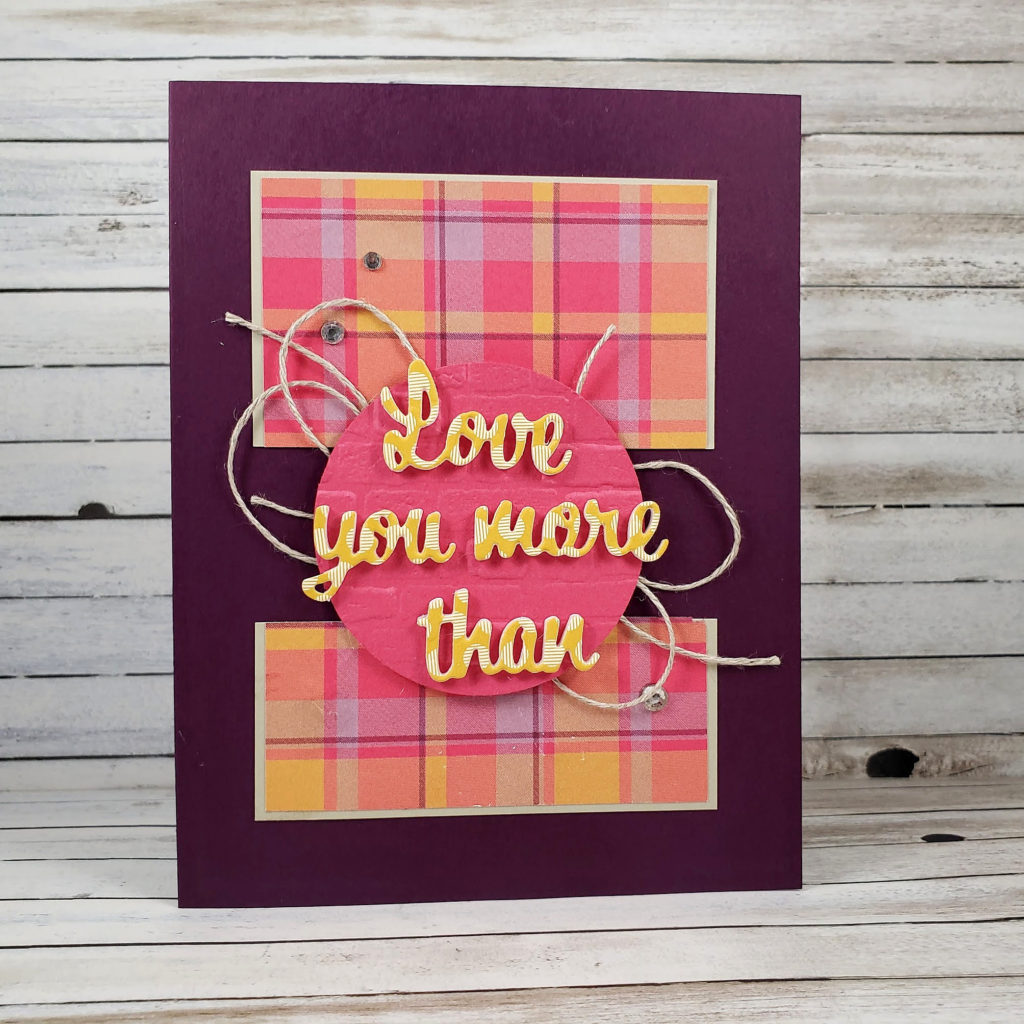
Waaaay back in September, I enjoyed teaching how to make this moving arm card in my technique class. This card is a slightly adapted version of a design shared on Mitosu Crafts. After seeing their card, I did a bit more research on the moving arm concept and used what I learned to make some minor adjustments.

This pop-up design is much easier than you might think! Watch my video tutorial at the end of this post to see for yourself!

Since this design was created last fall, some of the supplies used in this project are no longer available to purchase. However, you are very clever, so I know you’ll be able to use my tutorial to make something amazing with alternate supplies! Check back on my blog on Sunday to see another version of this moving arm pop-up card using current supplies. I’ll be using the Nothing’s Better Than stamp set and the Love You More dies from Stampin’ Up!, just like I did on this card – but it will be a whole new look.

Blackberry Bliss, Melon Mambo and Bumblebee are a fun combination of colours that coordinate with the patterned paper on this card. You may have noticed that this project doesn’t use much in the way of stamping. That’s because, my focus for this virtual class was to show the paper technique and allow those attending to use any sentiment stamp they already had at home. That way, almost anyone can join in on my class!

Below is the video tutorial provided to those who attended my September technique class. I like that they could refer back to it and easily make more cards with this technique.

I decided it was time, dear reader, to share it with you as well. Enjoy!
Desktop Adhesive Caddy

At the end of each year, I try to offer a special project for my customers.

Usually, I have a Christmas party in my home with goodies, prizes, and cheerful holiday music, while we craft together in our festive attire. It’s a wonderful time! The evening always ends with warmed hearts and a final Merry Christmas greeting to all, as each person bundles up against the snow and cold to make their way home again.

This year was a little bit different as we weren’t able to get together in person. Instead, we were able to meet together virtually on Zoom and enjoy each other’s company while we created the project that I prepared for everyone. The thing about virtual classes is that customers from out of town, who normally couldn’t attend my classes in person, were able to join in on the event. What a gift! We still had prizes and cheerful holiday music and we still ended with warmed hearts and a final Merry Christmas as we signed off and settled into our own space in our own homes. It was delightful! I feel incredibly blessed with the friends I’ve made because of my Stampin’ Up! business.

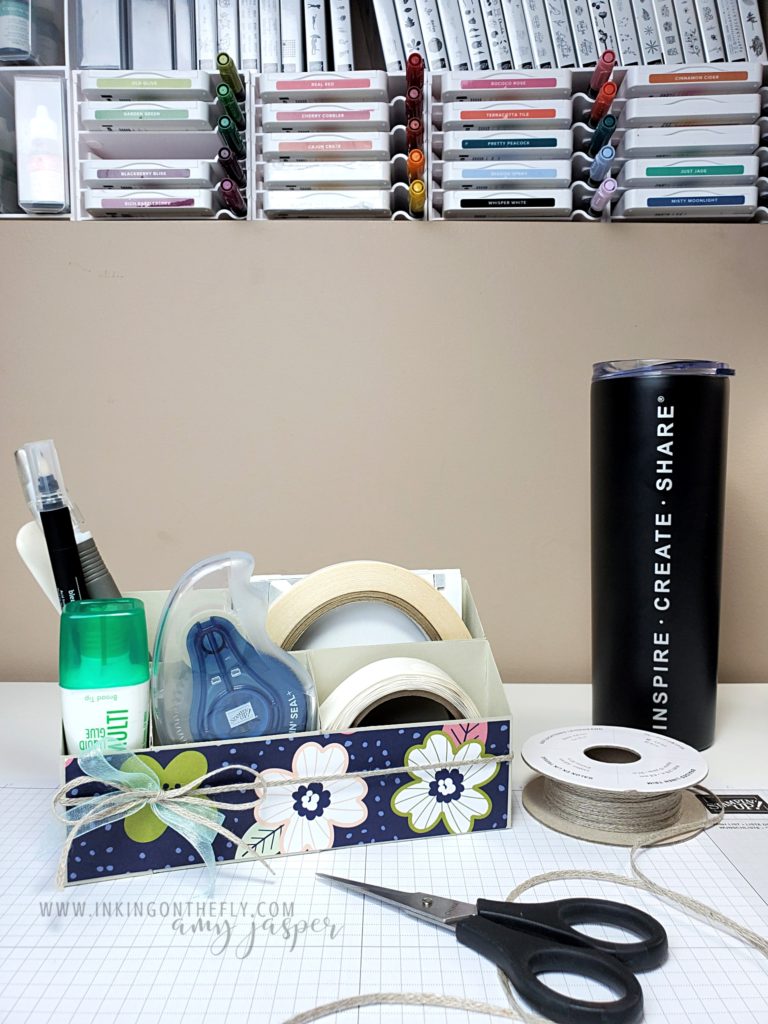
That said, I thought I would share the project with you as well, dear reader. We made a desktop adhesive  caddy that was inspired by the project shared on sallystampers.com. I made some changes to the individual boxes and added a couple more sections for the Stampin’ Seal and Stampin’ Seal Plus. The only adhesive that doesn’t fit in my caddy is the Fine-Tip Glue Pen (I might have to create an additional section and share that with you another day).

The designer series paper I used for this project will be available in January along with many more beautiful stamps, paper, and embellishments launch of the Sale-a-bration brochure and the January – June 2021 Mini Catalogue.

Follow along with my video tutorial to make this beautiful and functional desktop adhesive caddy.

I wish you a very warm heart and a safe and happy holiday! Merry Christmas!

Delight in the Snow

Snow came so early this year. It wasn’t just a little bit either, it was one huge blanket of snowman-worthy snow. It’s always so strange to see the fall leaves still on the trees when there’s snow on the ground!

I wasn’t ready for it. I had to scramble to get my winter tires on my car and try to find winter boots to fit my kids who keep growing and have their own sense of fashion. It’s harder to buy clothes for them now that they have an opinion! LOL! Though, I had a “mom win” moment this week after I bought a winter jacket for my 14 year old daughter and surprised her with it. When I saw it advertised in a flyer, I just knew it was perfect for her AND it was a door crasher Black Friday deal! It fit! She loved it! I won SO HARD!!

We weren’t ready for the snow. We didn’t build a snowman and we didn’t even enjoy the snow. It was more of an annoyance, really.

Now the snow is melted. Now I’m wishing for it to come back. I’m ready.  I’m ready to be delighted by the winter wonderland.

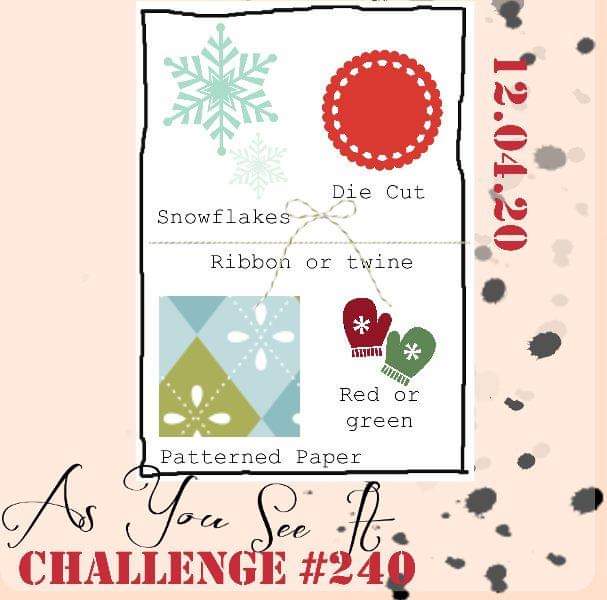
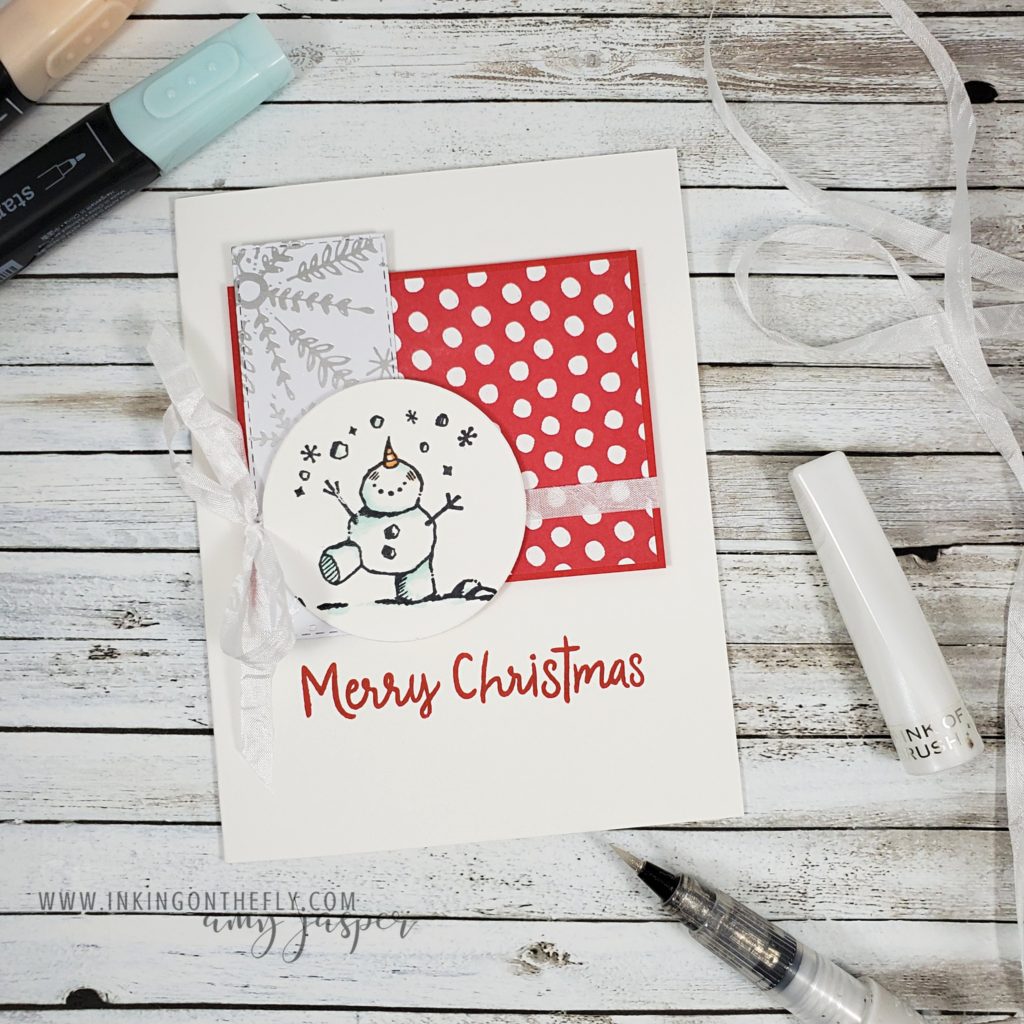
Today’s card is a design inspired by the As You See It Challenge blog. It’s an assortment or recipe challenge!

The only current snowflakes I have are in the Feels Like Frost DSP and my Snowman Season stamp set, so I used BOTH!

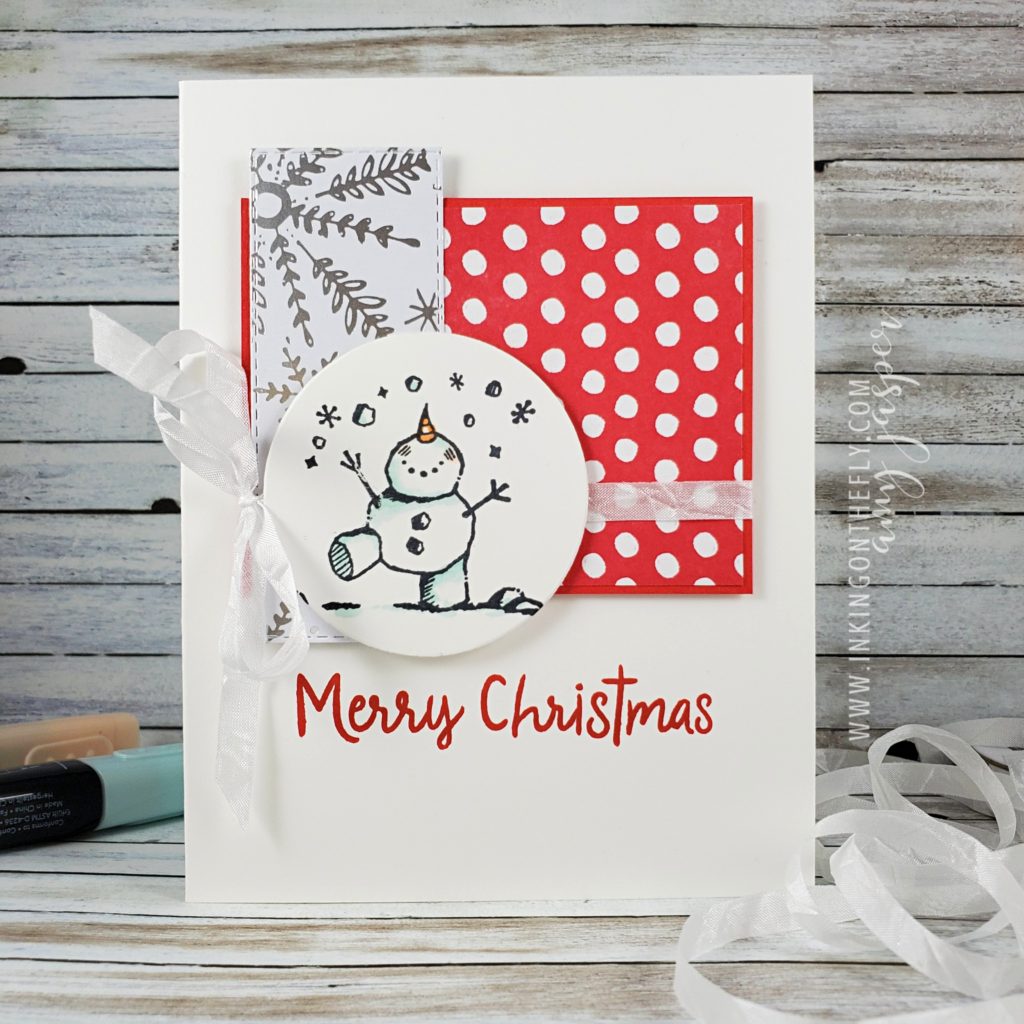
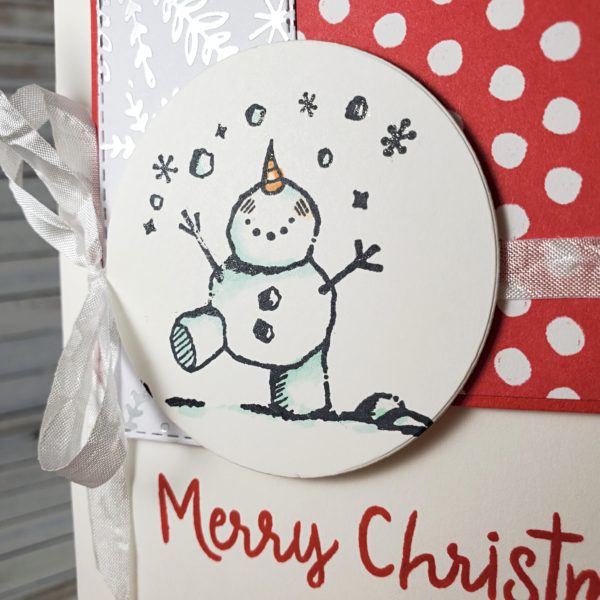
This little snowman is so cheerful and delighted, don’t you think! I stamped him on Whisper White cardstock with Tuxedo Black Momento ink and die-cut the it with a circle from the Circle Layers Dies. Pool Party and Pumpkin Pie Stampin Blends Markers give him a spot of colour. Wink of Stella gives him a bit of a frosty sparkle. It’s so hard to capture that sparkle in a photograph!

The Feels Like Frost Designer Series Paper was cut with one of the dies from the Stitched Rectangle Dies (a staple in my die collection!)

I layered these over the Poppy Parade cardstock and the polka-dot patterned paper from the Trimming the Town Designer Series Paper. Some white Crinkle Seam Binding ribbon wrapped around the layers behind the circle and tied in a bow, adds a touch of softness to this playful layout.

A couple of the layers are raised with Stampin’ Dimensionals – another staple in my craft supplies!

The design is complete with the large Merry Christmas sentiment stamped in Poppy Parade ink on the Thick Whisper White card base.

This card makes me feel very merry! How ’bout you?