As You See It

Speedy Spring Flowers


“Behold, my friends, the spring is come;

the earth has gladly received the embraces of the sun,

and we shall soon see the results of their love”

~ Sitting Bull

I know that spring has officially arrived when the crocuses in my front yard begin to bloom. I love when the grass gets greener and the street sweepers clean all the sand and grit from the neighborhood streets. You start to hear the red-winged blackbirds and the robins whistling their cheerful tunes. And the kids actually WANT to go outside.

Spring is a sign that the worst is over. Winter can’t throw much more at us. We can look forward to warmer days, barbecues on the patio, and longer hours of daylight. The earth wakes from it’s sleep and we, in turn, feel more alive! It’s a beautiful thing.

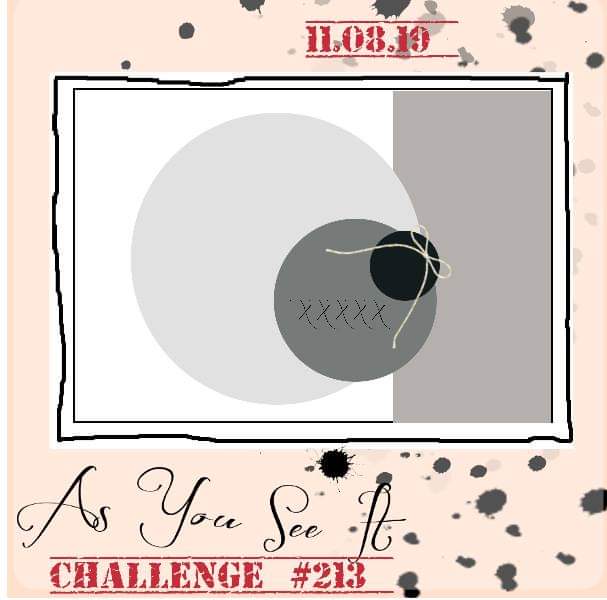
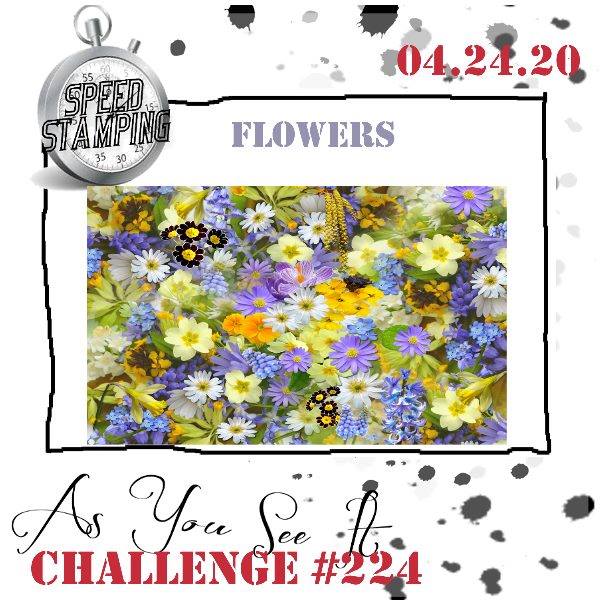
The theme for the speed stamping challenge today, is flowers. As in every speed challenge from the As You See It Challenge Blog, you have to make a card in 10 minutes or less. You can gather your supplies and have a plan, but you cannot pre-cut anything. I put my stamps on their blocks, I pull out the paper and inks that I want to use, and I start the clock!

I always seem to push it to the limit of my time. I usually know to avoid colouring, sponging, tying ribbon, or even die-cutting and embossing, as they just take too much time. I didn’t quite avoid all those things this time. Have a look at what I was able to create in 9 minutes an 50 seconds! Oh man! I just squeaked through, didn’t I?!!

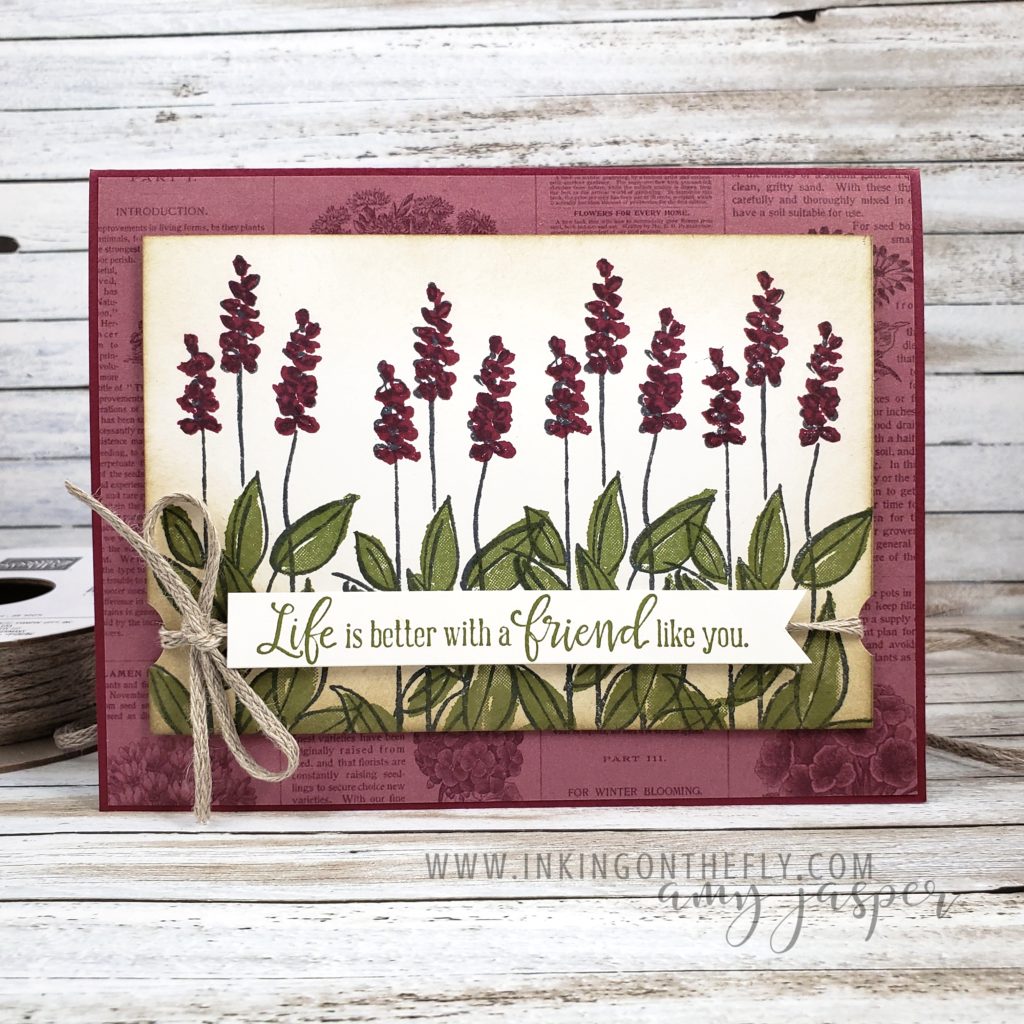
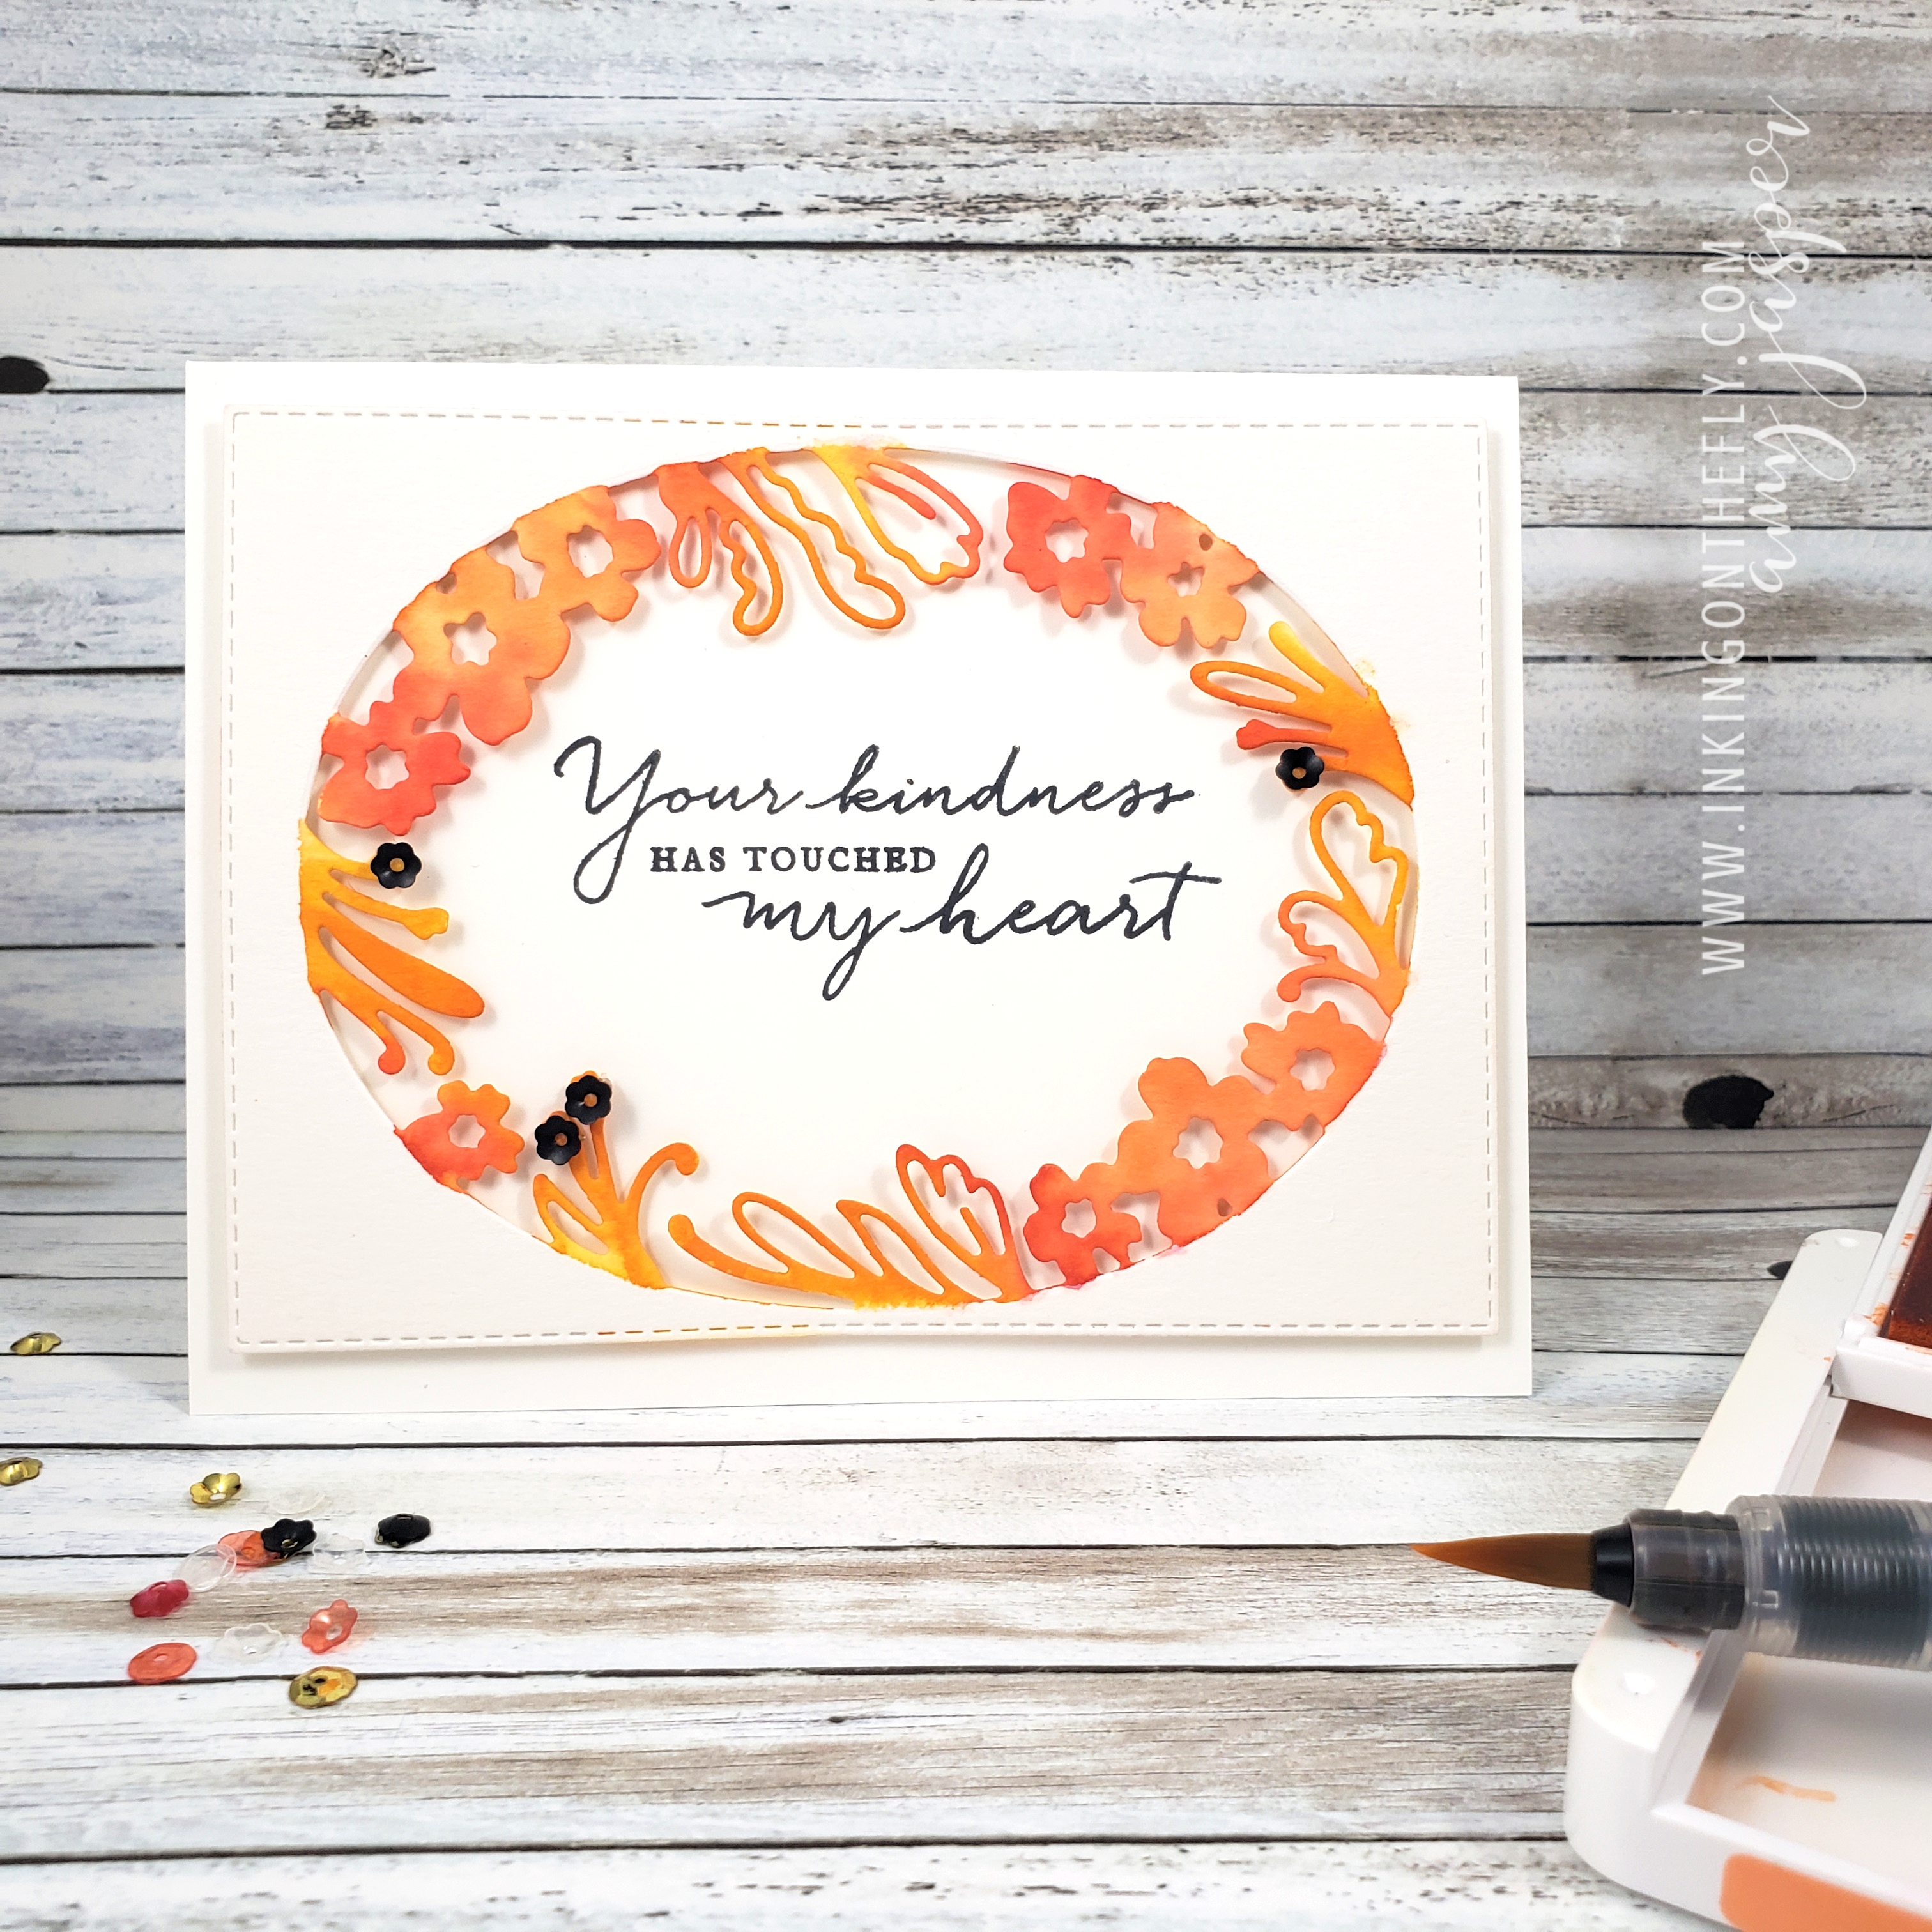
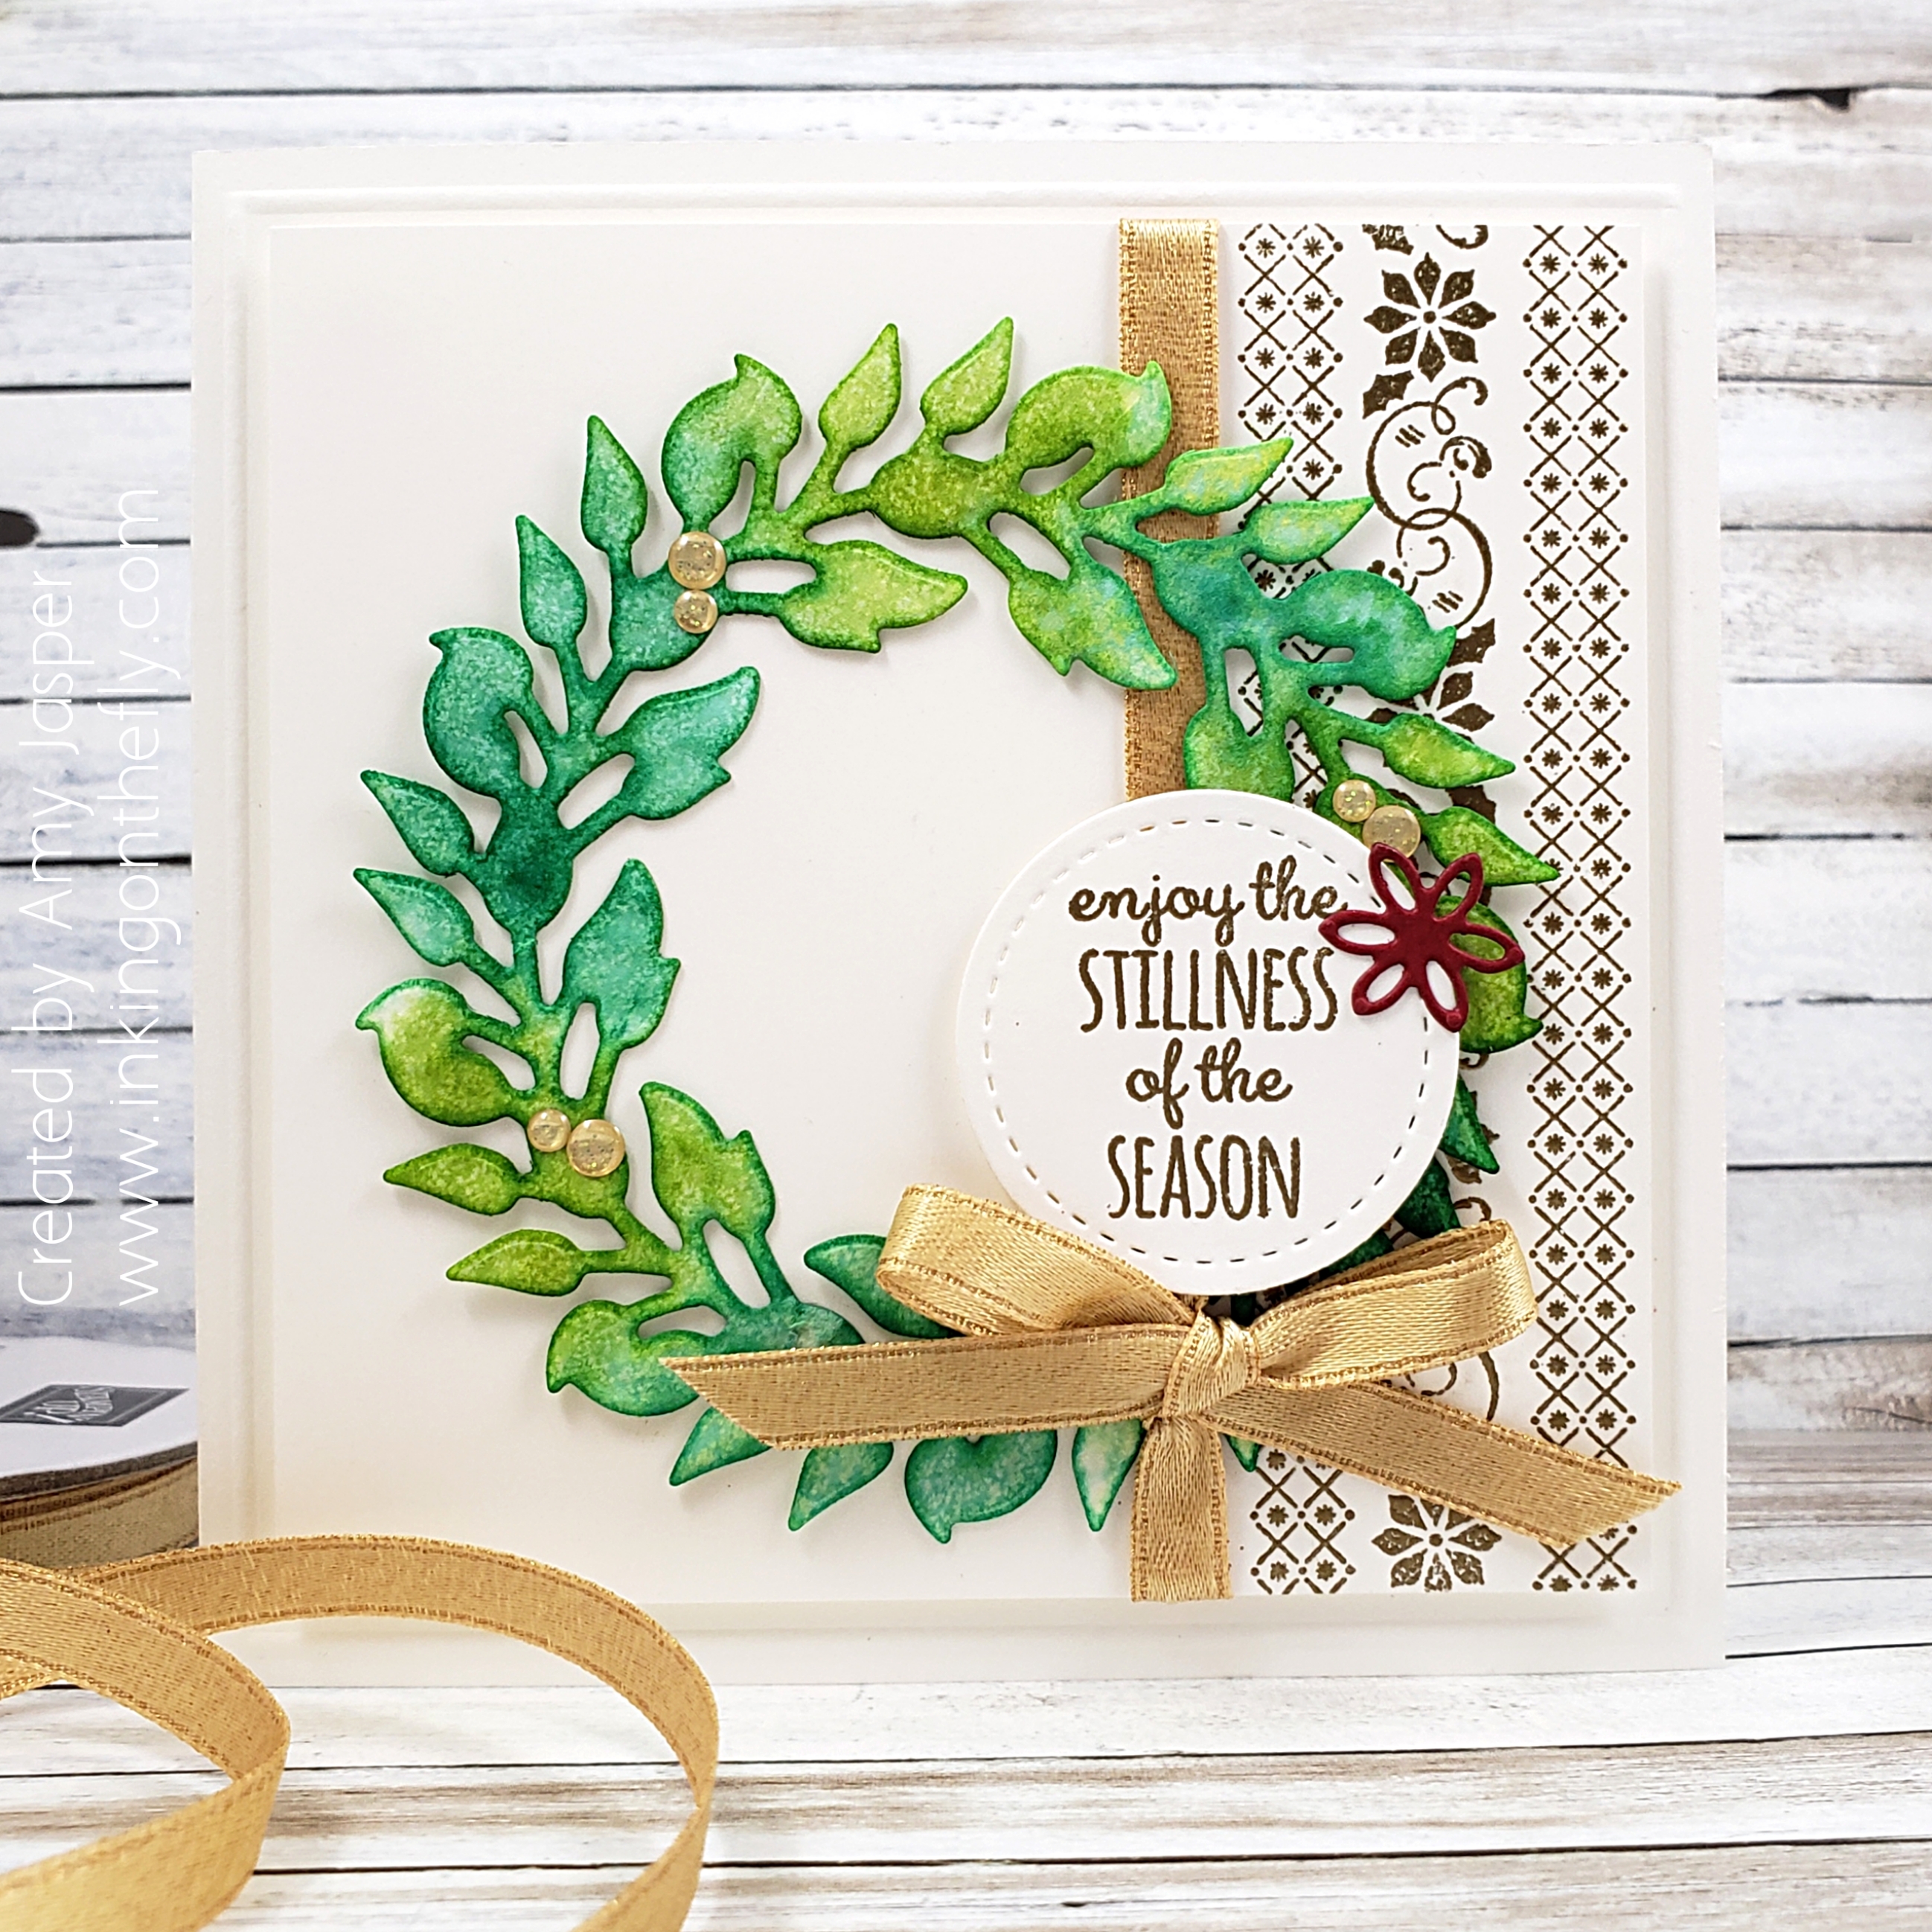
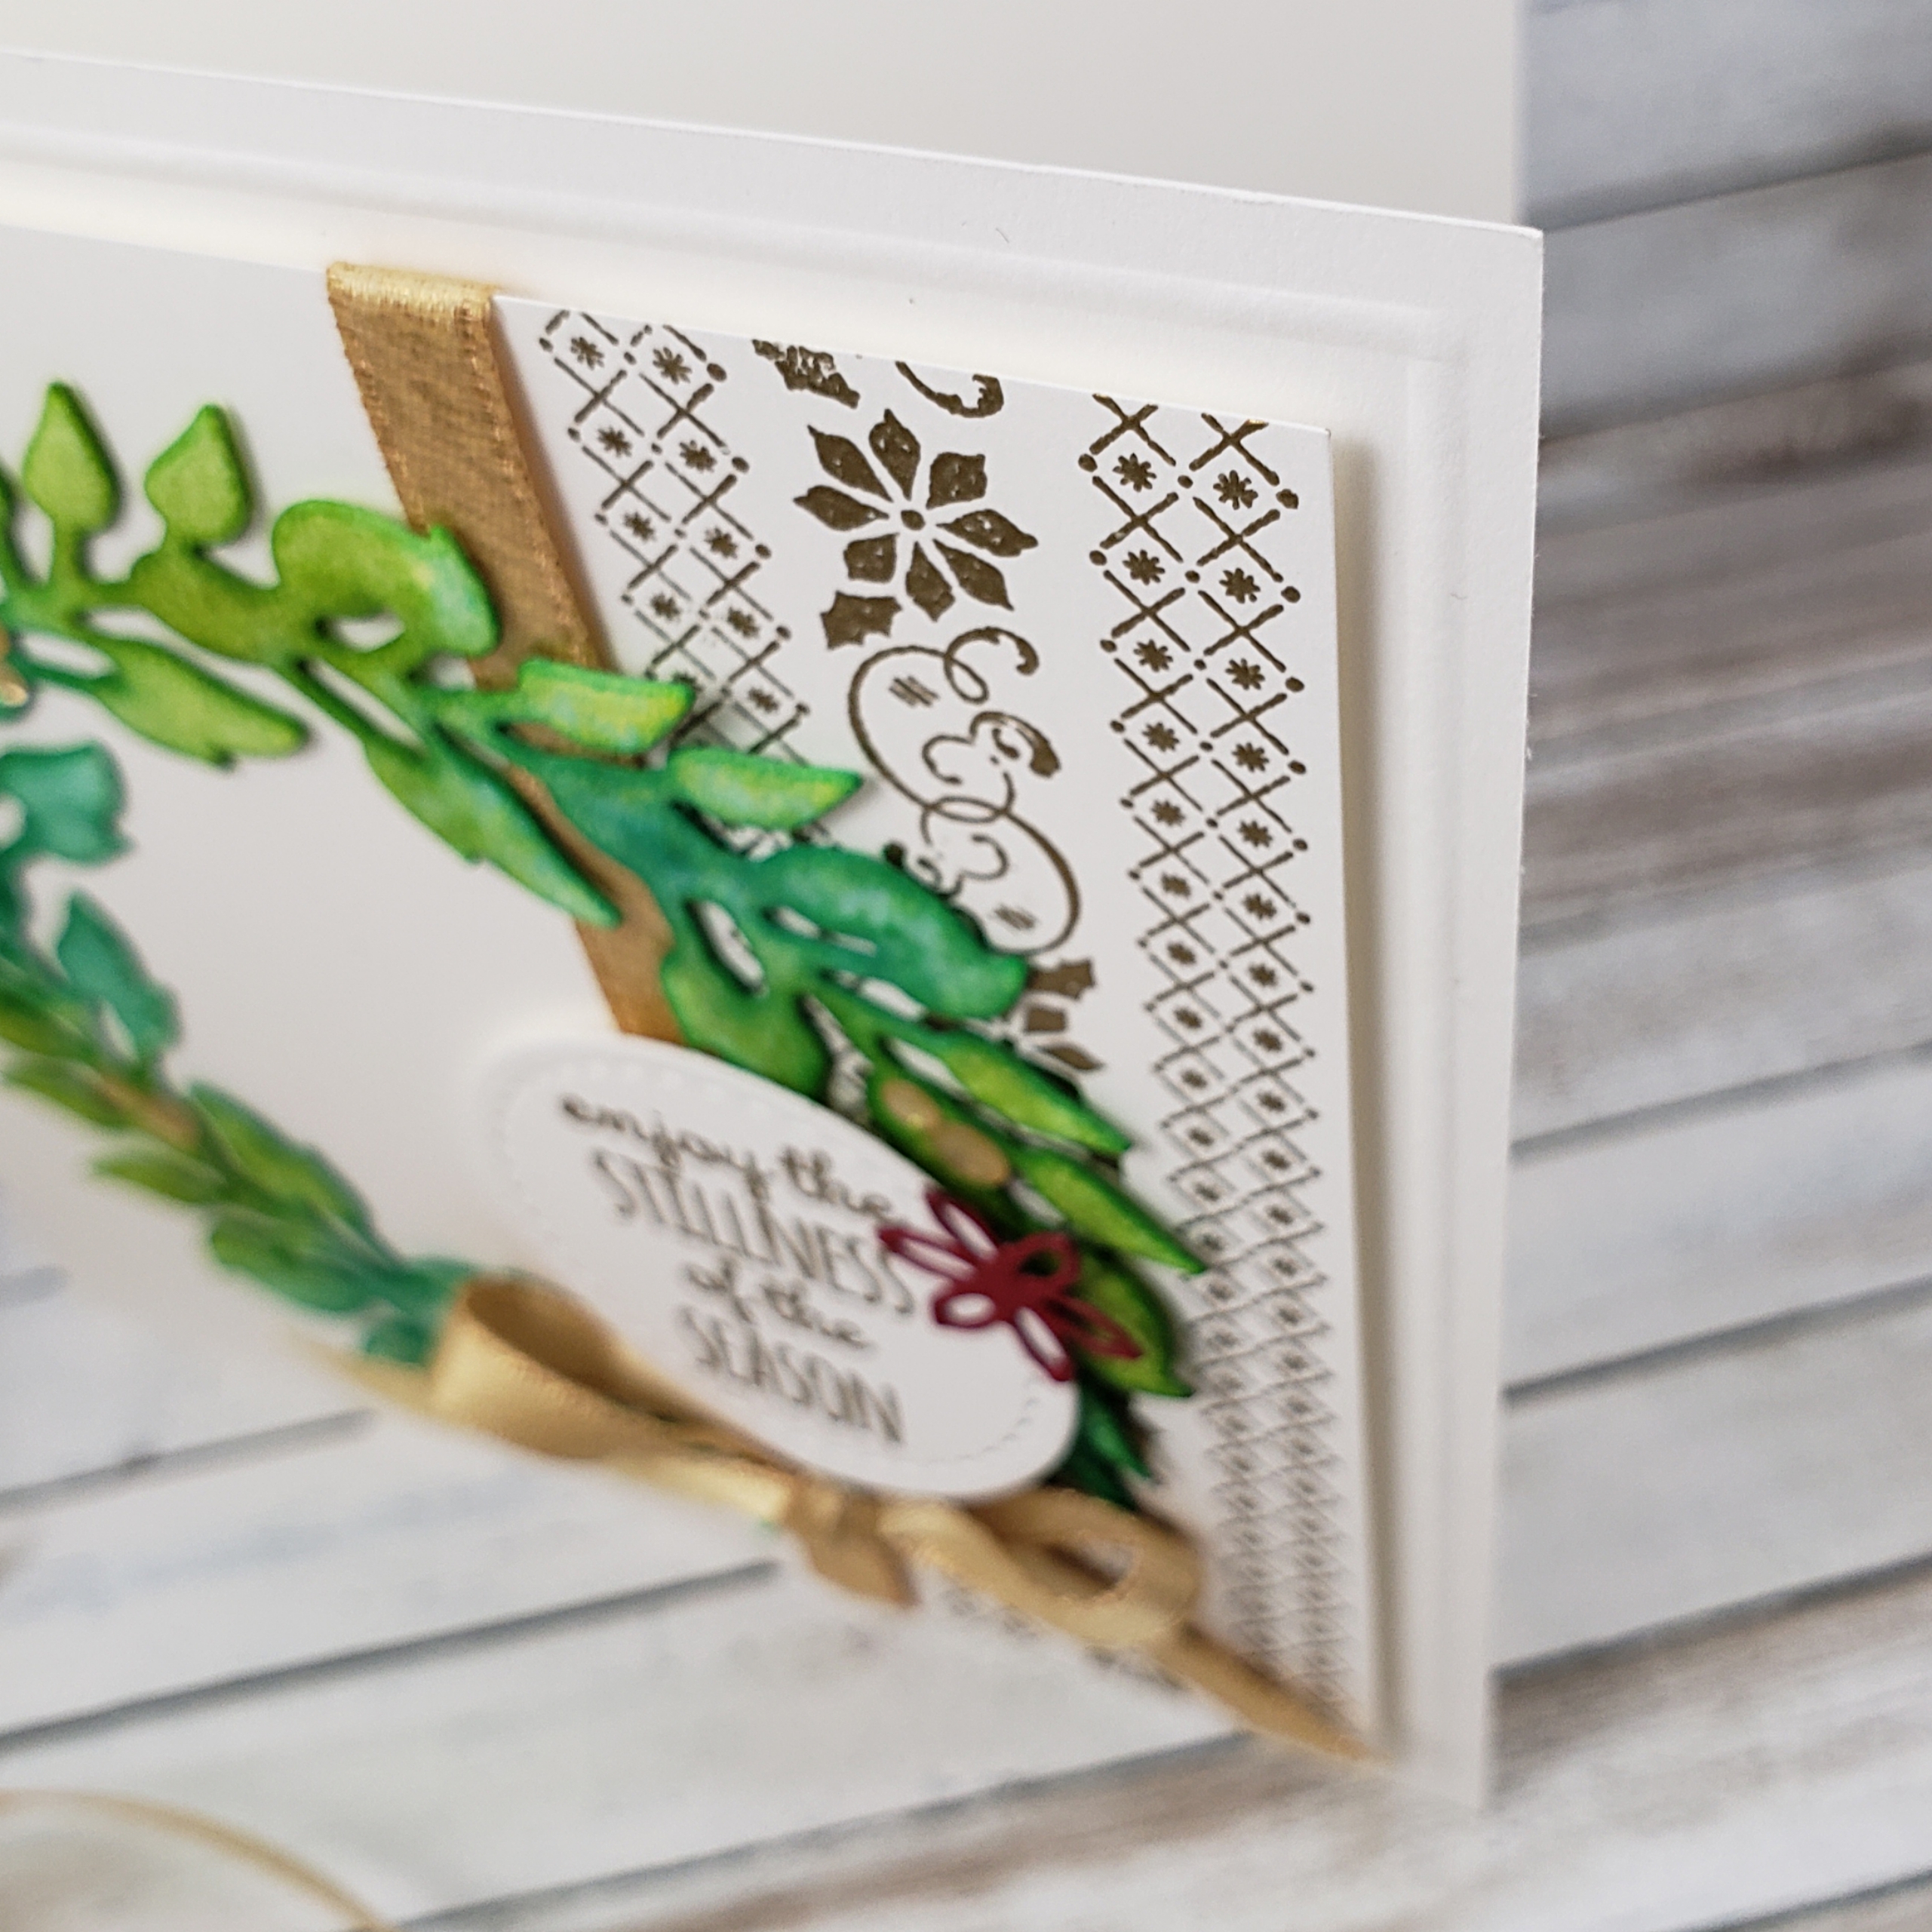
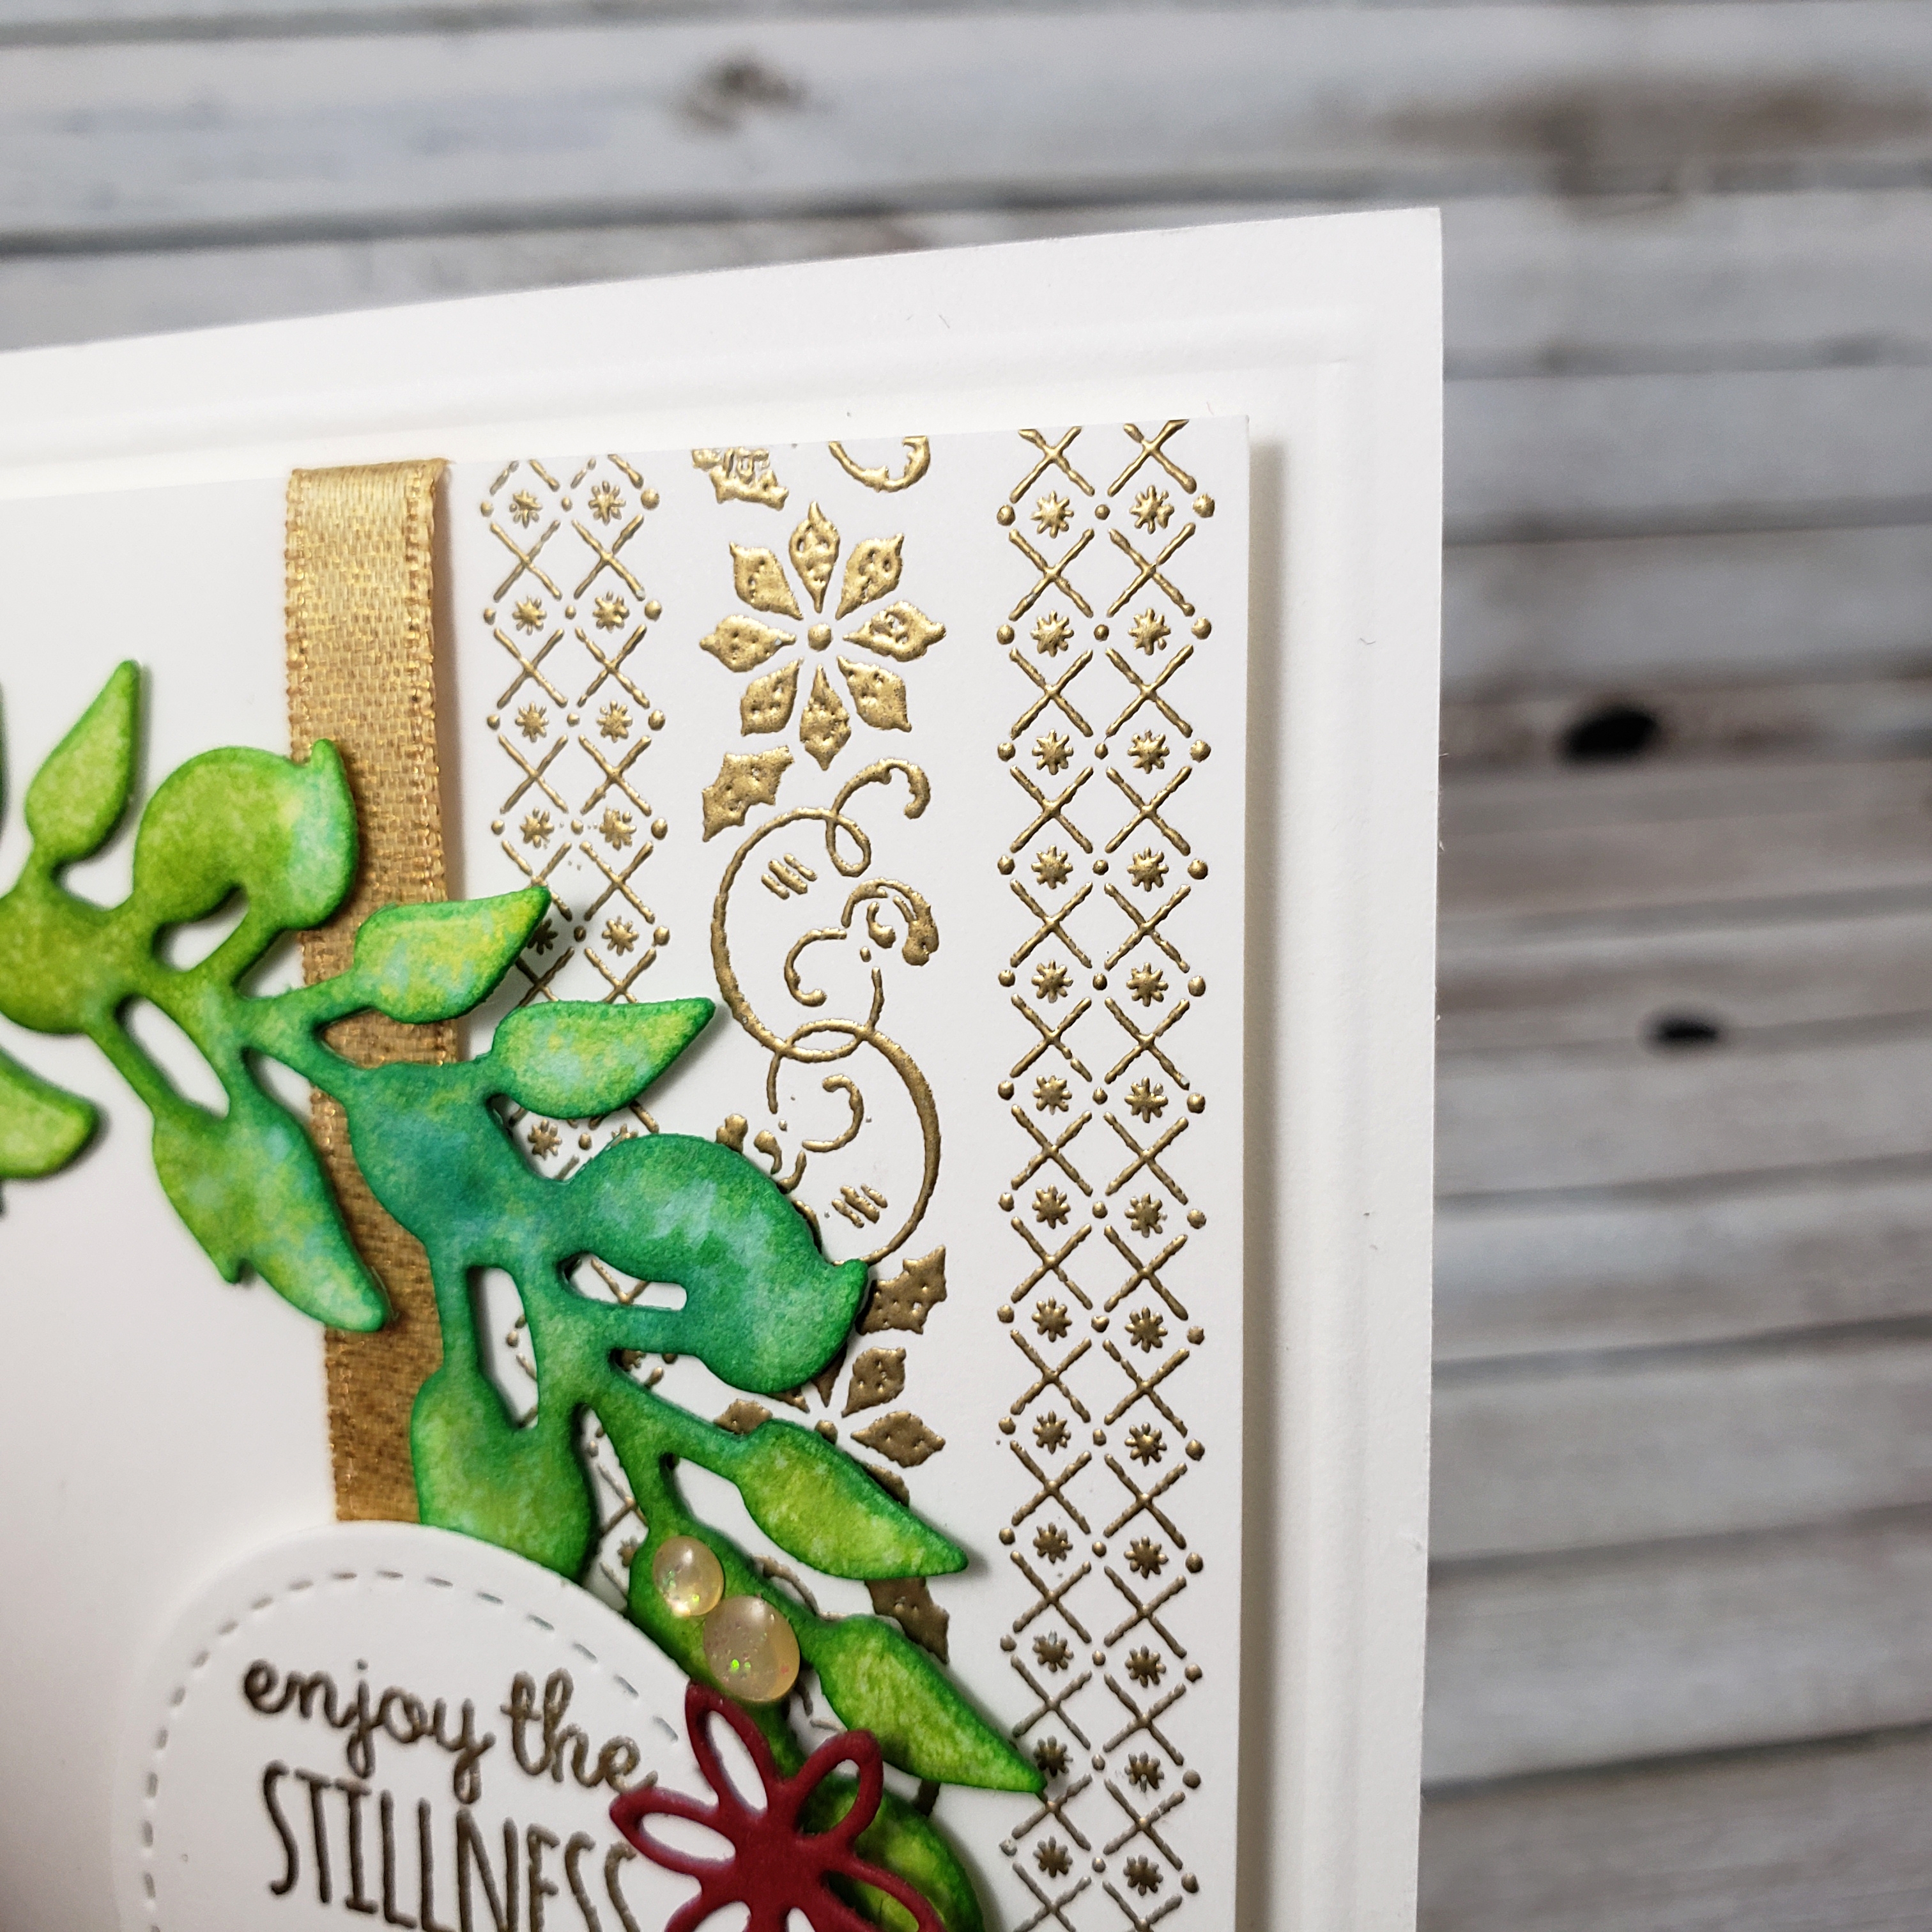
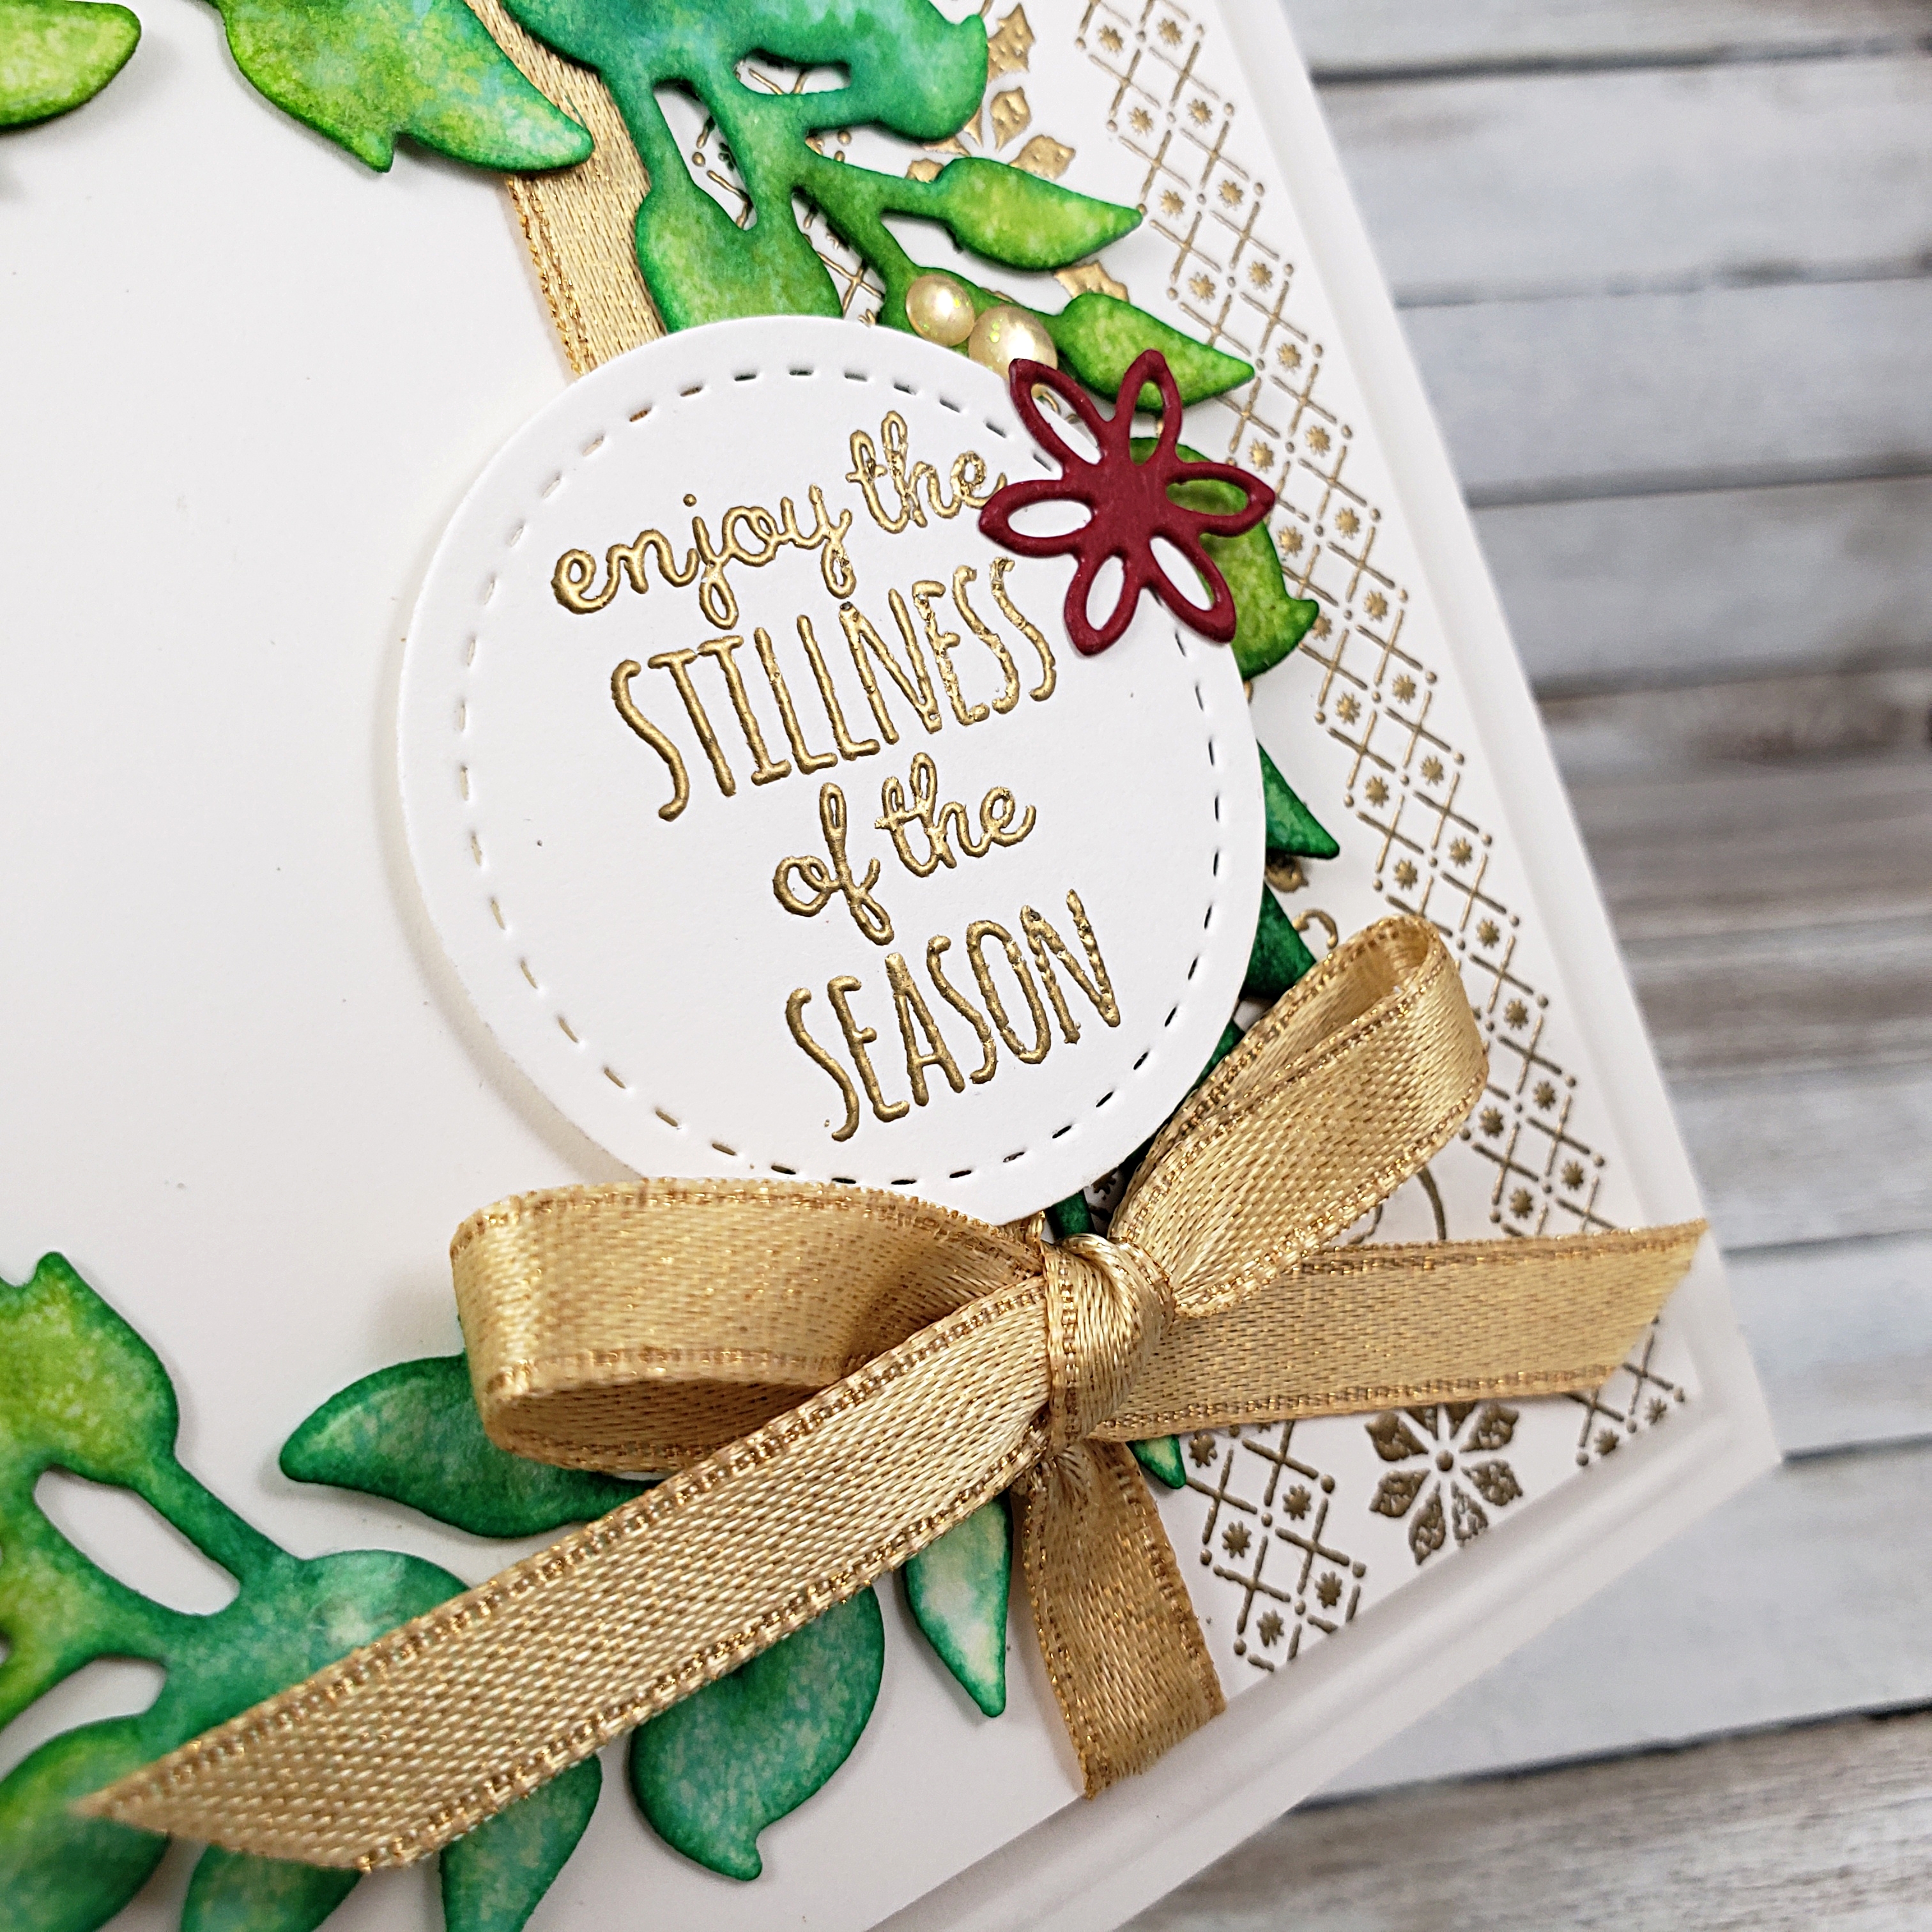
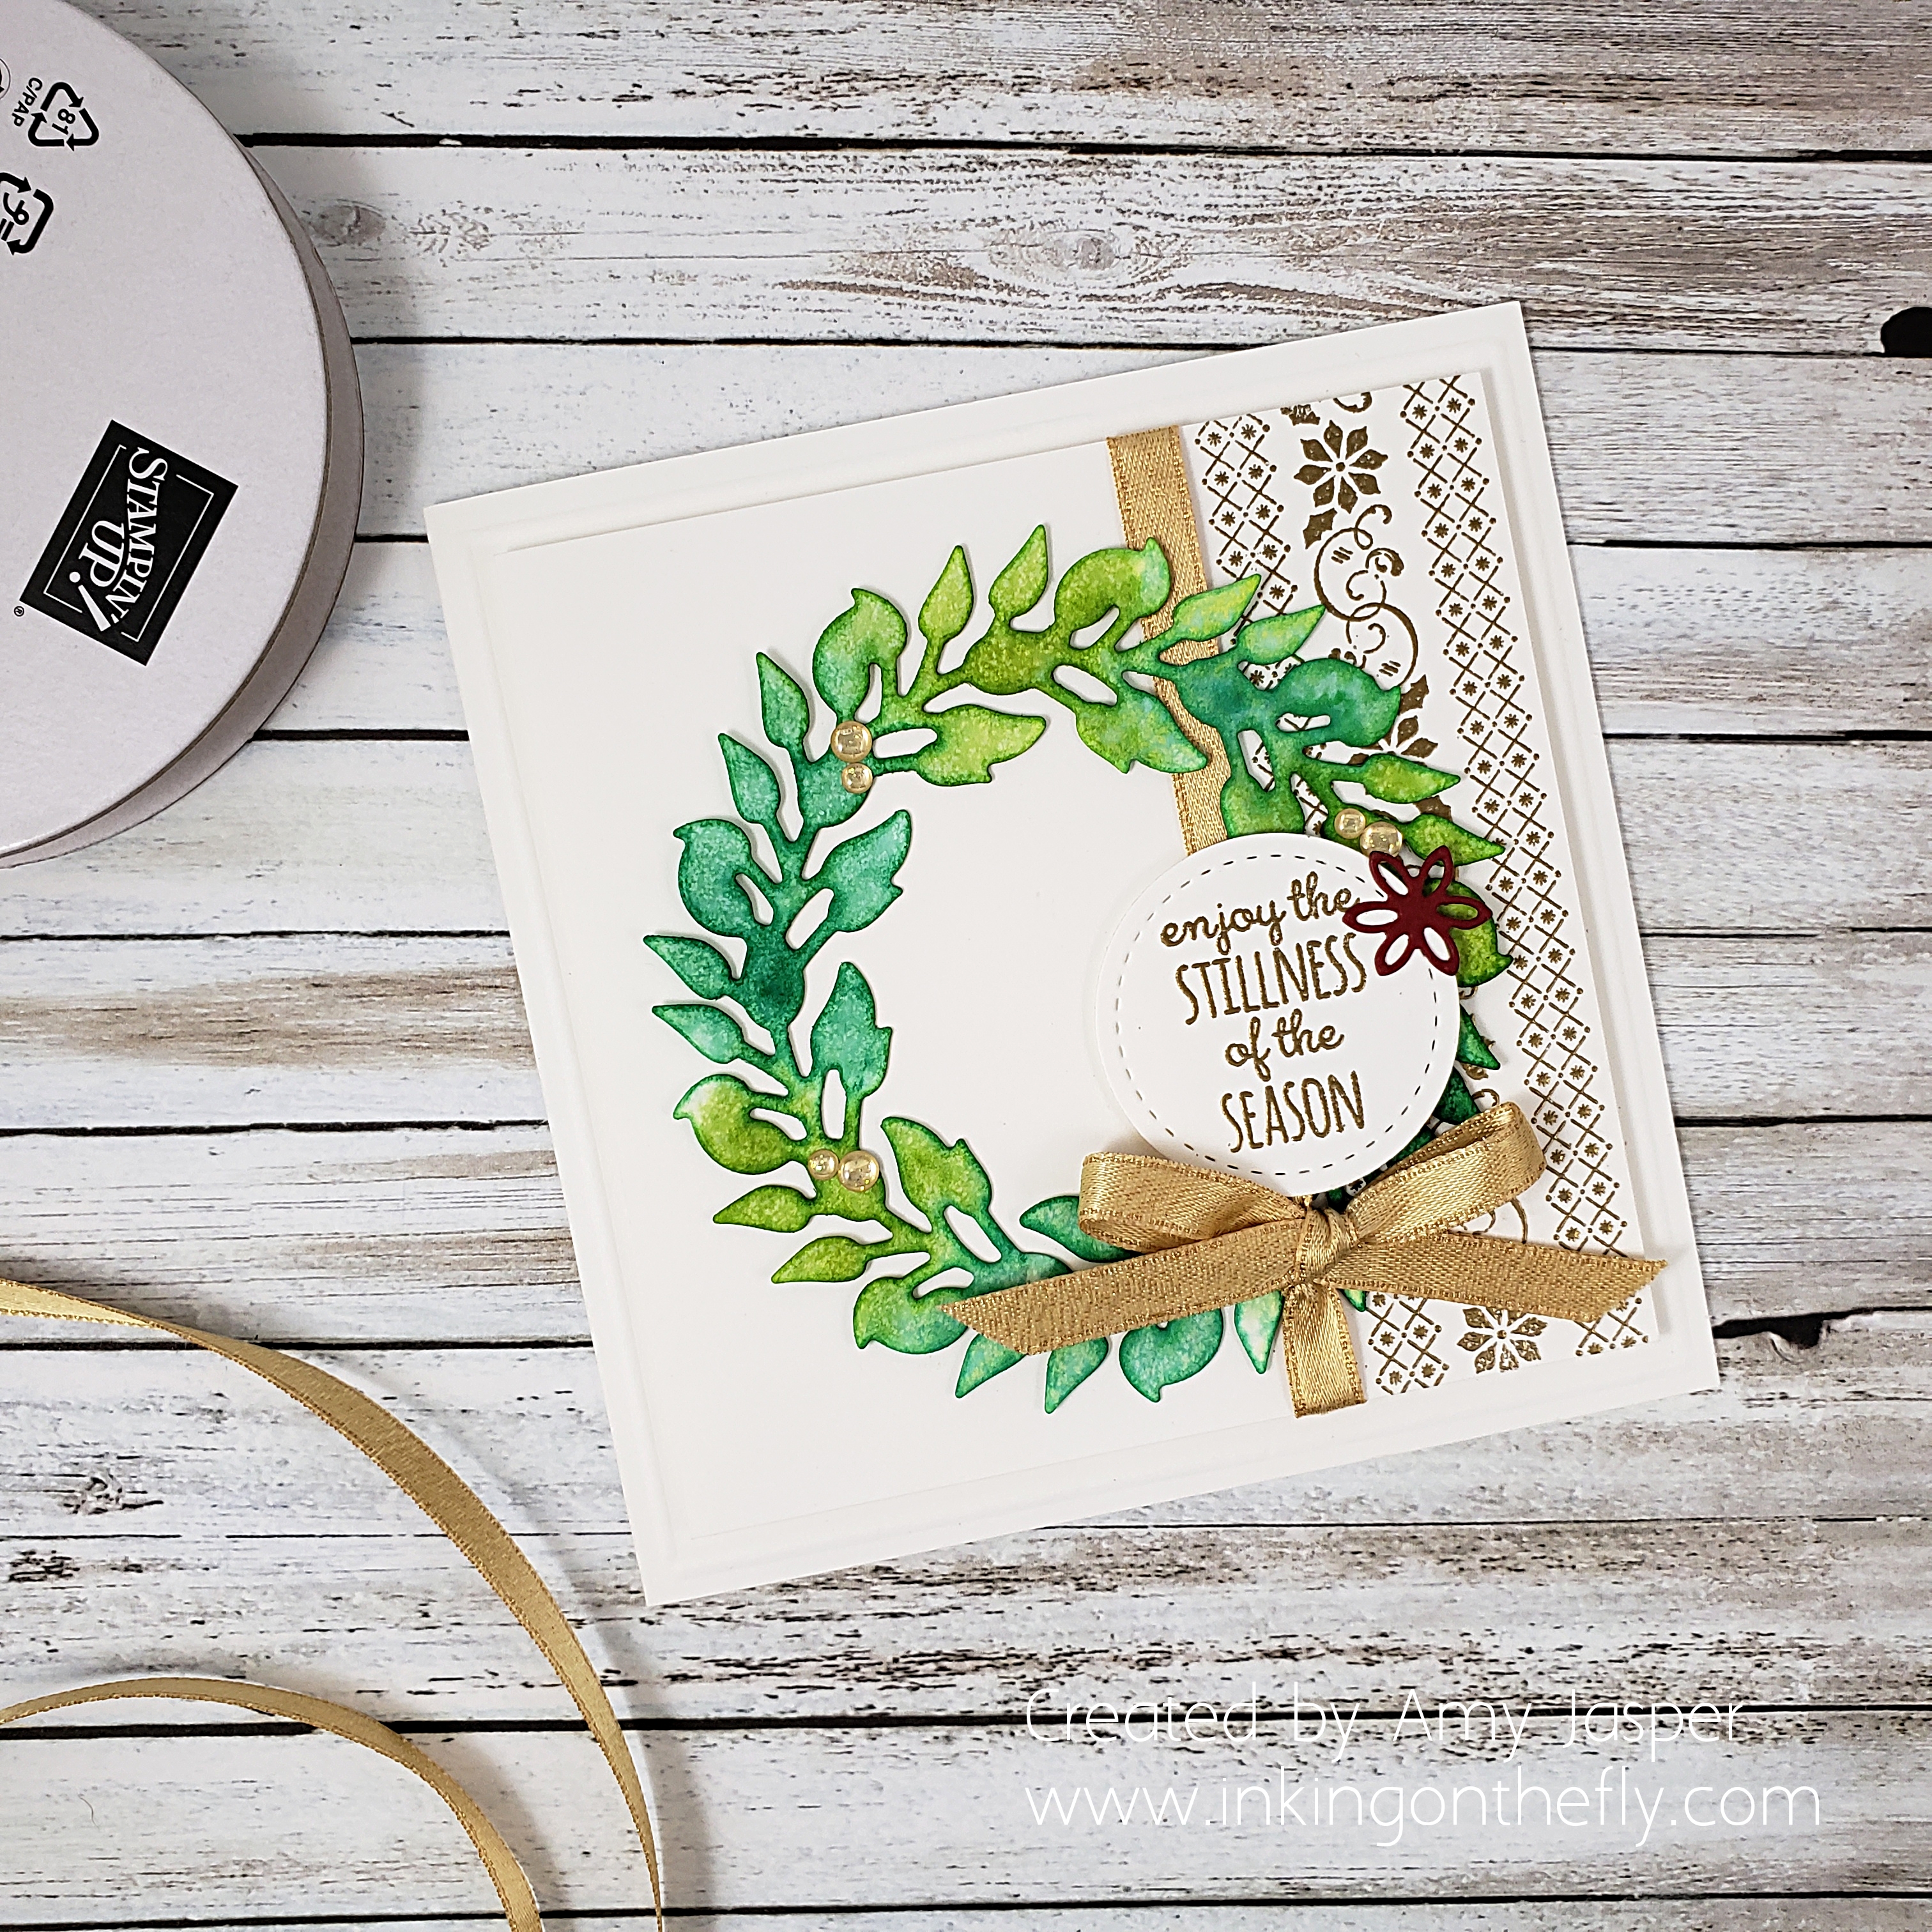
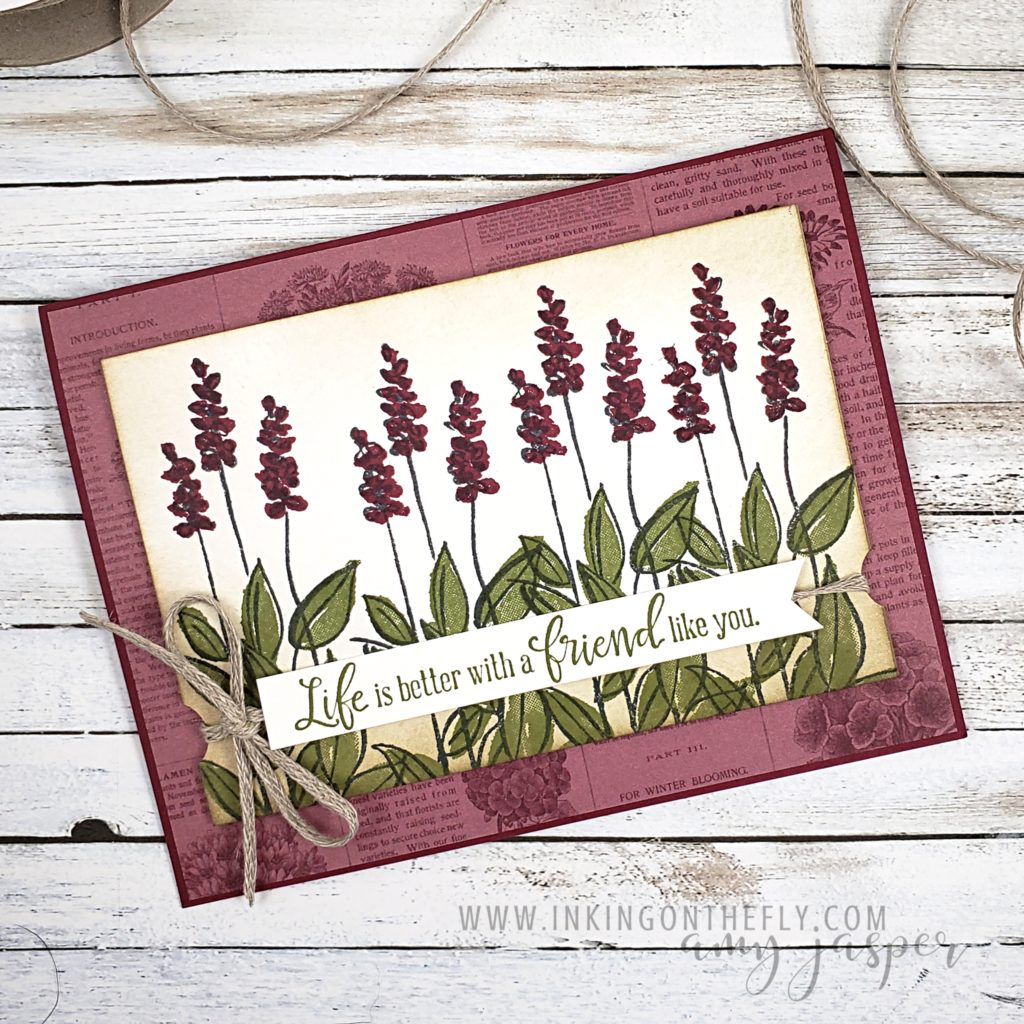
This card has a Merry Merlot Cardstock base, to which I added a layer of my favorite Pressed Petals Specialty Designer Series Paper. So pretty! The stamped layer is Whisper White Cardstock, on which I stamped the flower image from the host stamp set, Soft Spring. This is such a pretty stamp set with multi-step stamping. I stamped the outline of the flower image four time using Momento Tuxedo Black ink. Then I stamped the leaf filler using Old Olive ink. Finally, I added the Merry Merlot flower filler to complete the image. At first, I though these flowers were lupins, but I realize that the leaves are completely wrong. I spent some time trying to figure out what kind of flowers they are, but nothing I found looks right. Either the flowers are wrong, or the leaves are wrong, or the stems are too tall. Whatever flowers these images are supposed to be, they’re very pretty.

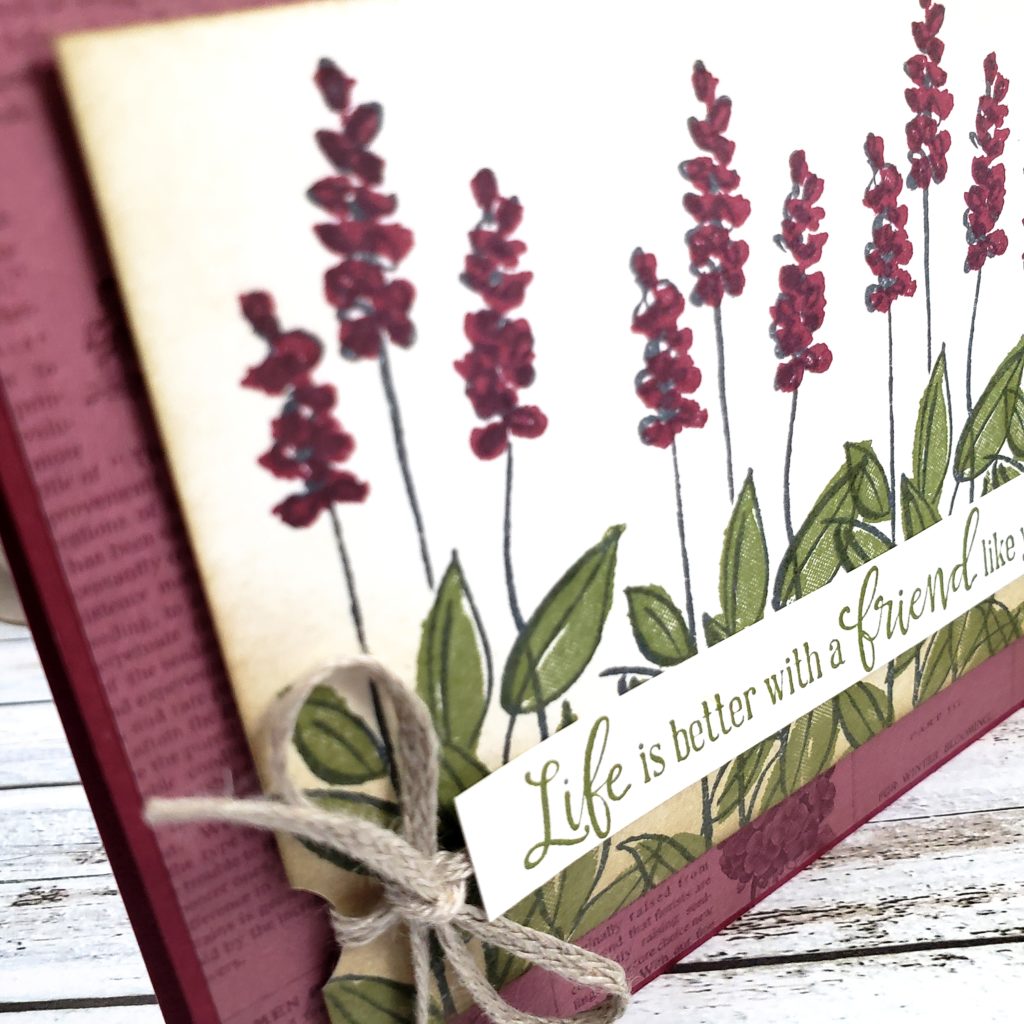
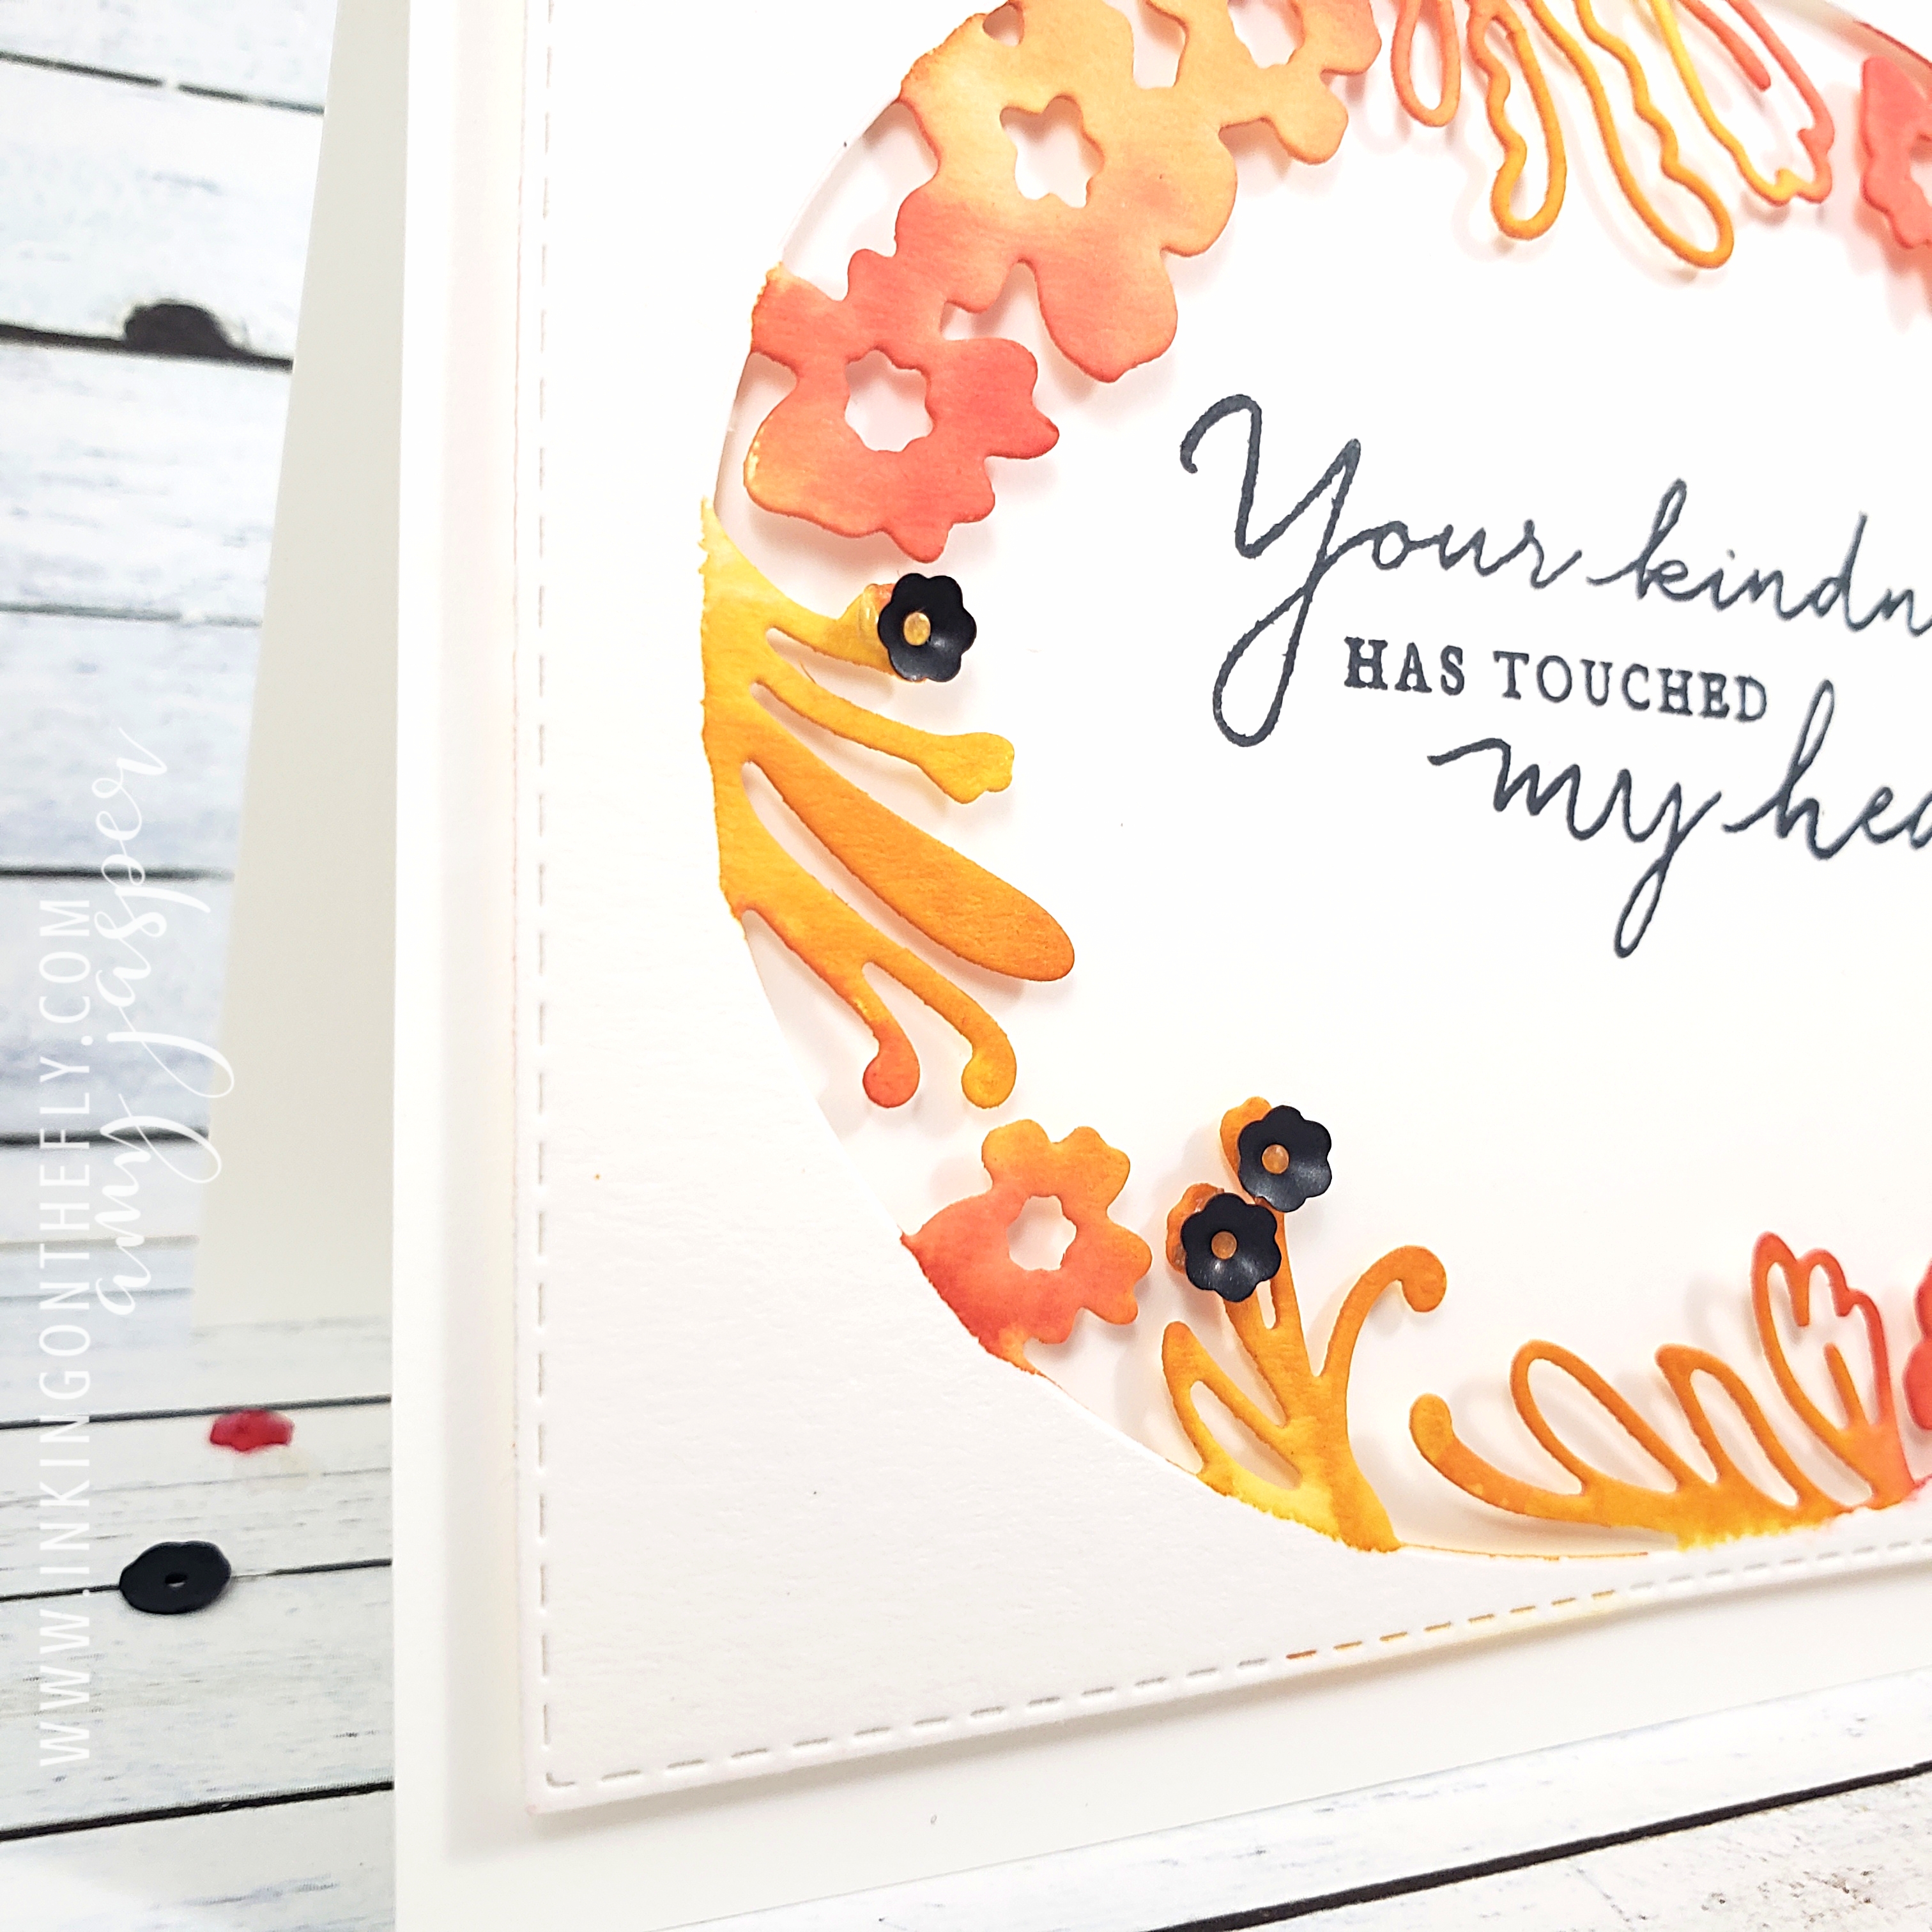
After stamping all the parts of the flowers, I used Crumb Cake ink and sponged aroung all the edges to give a bit more of a warmth to the image. I used a small circle punch on both sides of this stamped cardstock to make notches for the Braided Linen Trim. I wrapped the trim around the cardstock and tied it in a bow, then attached the cardstock to my card with Stampin’ Dimensionals.

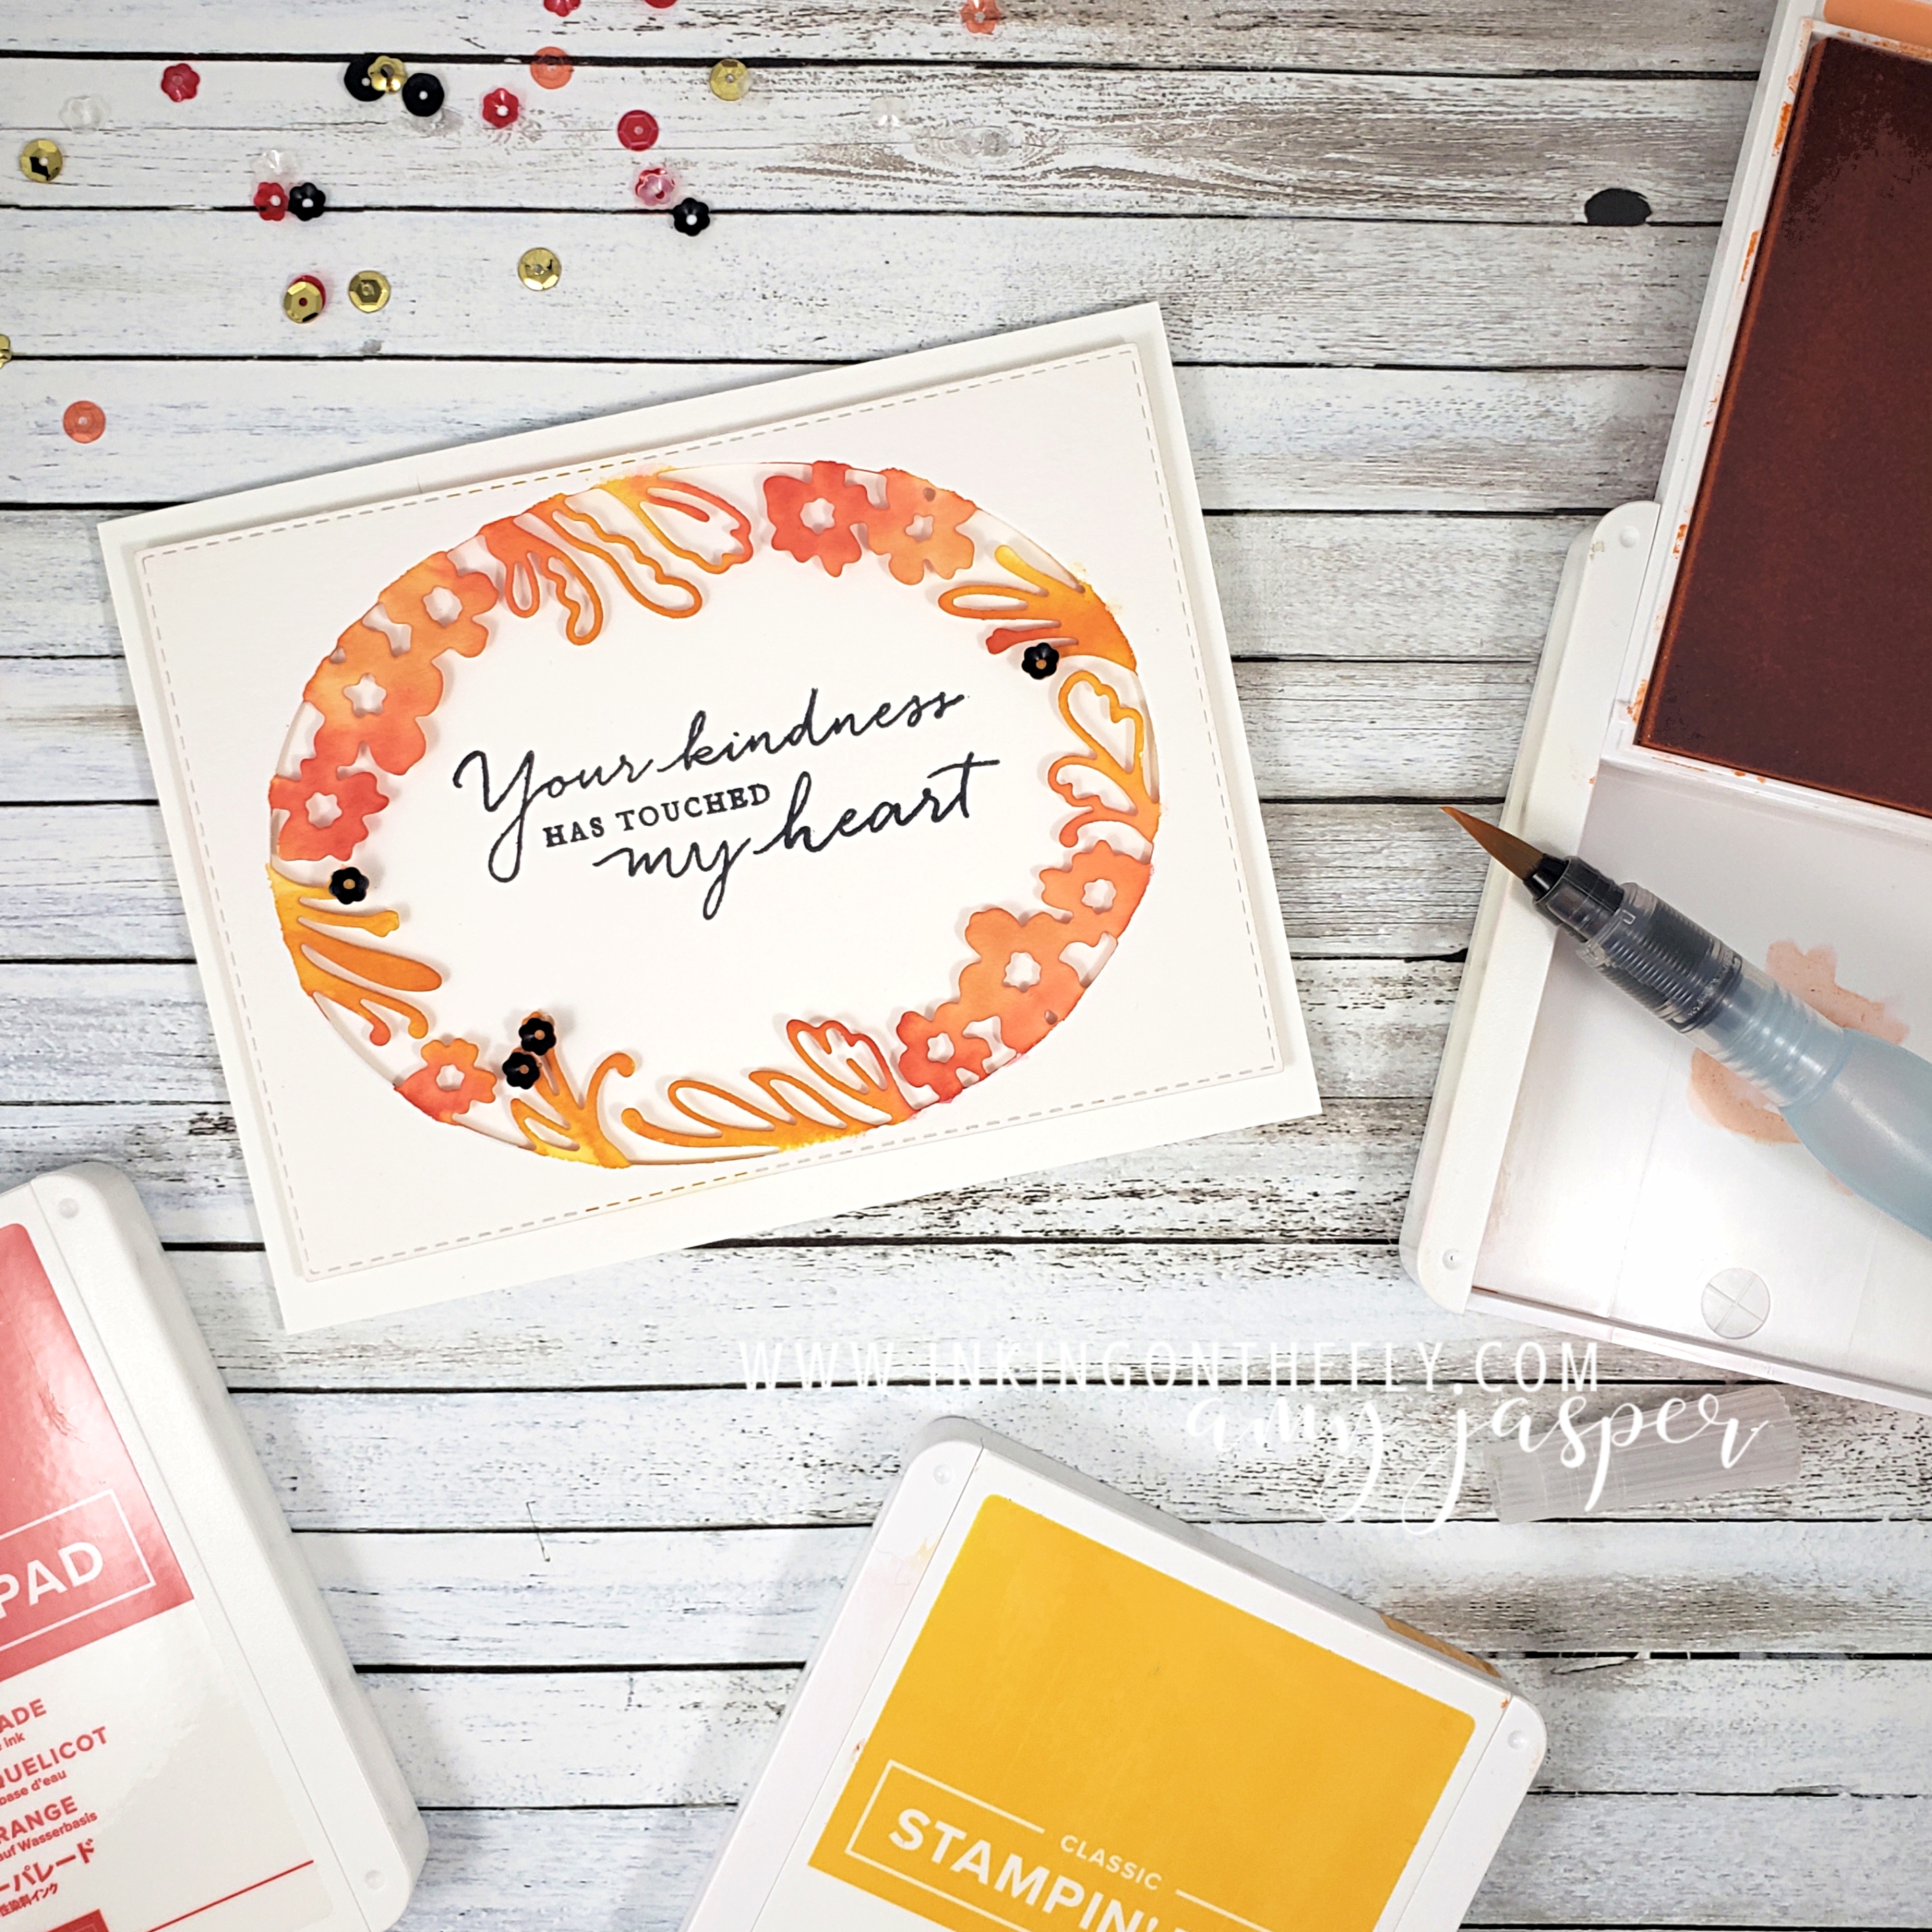
This is where I should have stopped and called it done, but I wanted to add a sentiment. I chose words from the Peaceful Moments Stamp set and stamped it on a strip of Whisper White cardstock with Old Olive ink. I flagged the end and realized I was RUNNING OUT OF TIME!!

I SLAPPED on a couple of Mini Glue Dots and POPPED it on my card, STOPPING the clock with only

10 SECONDS TO SPARE!

Phew!! DONE!

That was close! I think I’m getting pretty good at making quick cards, though. I feel like I’ve come a long way! Practice practice practice!

Oh my gosh! There’s dog hair in my picture! Can you see it? LOL! I can’t escape it. It’s everywhere! If you have a dog or a cat, then I know you understand. If not, then all you have to know is that I’m an imperfect person and you just have to take me as I am or go enjoy someone else’s dog-hair-free, perfect pictures! HA!

Thanks for stopping by, my stamping friends. I hope you try this speed challenge. It really is a great creative exercise to get your blood pumping and your creative juices flowing. Do share it with us at the As You See It Challenge blog. We love to see your creations!

Painted Petal Label

The As You See It Challenge has a very pretty and fresh colour challenge for us today! I thought I would try using the beautiful Petal Label Dies from Stampin’ Up! along with some watercolouring to create my design..

Here’s the colour combo that inspired the card in today’s blog post.

Isn’t it a precious image! The little swan makes me think of the Christmas ornaments my mom made out of felt one year. She never made a swan, but she did make a little dove. I get a lot of my creativity from her, of course. Thanks mom!

I used the Petal Labels Dies and the Stitched Retangle Dies to cut the Watercolor Paper for my card front. I don’t think the 2019-2020 Annual Stampin’ Up! Catalogue gives the Path of Petals Bundle enough air time. It really is a gorgeous bundle and is only part of the Pressed Petals Suite by Stampin’ Up!. The entire suite is so stunningly beautiful, but I feel like it has been lost in the shadows of the many show-stopping suites in the catalogue. I want to give this one a little more attention! The Petal Labels Dies are delicate and beautiful. The Path of Petals Photopolymer stamp set has the most beautiful fonts for the most eloquent sentiments.

I chose to use a Thick Whisper White card base for this card. Let’s be honest here, I use Thick Whisper White A LOT for my card bases. It is so easy to just add a layer to a white base. I don’t need to do anything fancy to the inside and it makes such a clean and crisp card every time! I struggle to use coloured cardstock for my card bases. I think I need to try to branch away from that a bit. Maybe, I’ll try Very Vanilla. LOL!

With an Aqua Painter and my three ink colours, Mango Melody, Grapefruit Grove, and Poppy Parade, I added colour to the floral edge of the oval die cut watercolour paper. I started with the lightest colour first, then worked up to the darkest colour. I was careful to colour only the floral shapes, trying to keep a clean edge so the oval area would remain defined.

To some of the fronds, I added black sequins from the Peaceful Poppies Sequins pack using Glue Dots to hold them in place.

On a separate piece of Whisper White cardstock, I stamped the beautiful sentiment from the Path of Petals Photopolymer stamp set using Tuxedo Black Momento Ink. I did stamp it a little bit crooked, but that’s why I did it on a separate piece rather than stamping it directly on the card base!! (I’m smart like that, LOL!). I adhered it (with the sentiment straight) to the water coloured, die cut layer using Stampin’ Dimensionals. I needed to do some trimming with my Paper Snips (since the Whisper White layer was now sticking out, crooked, under the die cut layer), then I was ready to attach those two layers to my card base using my trusty Multipurpose Liquid Glue.

Now it’s your turn. Get into your craft supplies and make a card using these colours (or colours as close to these as you can get). This is an opportunity for you to get creative and use this colour challenge as a jumping off point. Sometimes, you just don’t know where you might land!! Don’t forget to share your finished card on a public internet site (Pinterest, public Facebook Page, public Instagram page, Flicker, Splitcoast Stampers, your blog, etc), then share it with us on the As You See It Challenge Blog! We love to see what you’re creative brain does with the challenges.

As always, if you like any of these products, head on over to my Online Store and get them into your shopping cart! Stampin’ Up! makes it easy to create beautiful things!

If you’re outside of Canada, you can’t legally shop from me, but I hope you will continue to visit. Don’t forget to comment and let me know that you did!!

Gold and Green

I’m thinking of the ice cream in the freezer. I should probably go get it and eat it while I write my blog. You don’t mind, do you?

. . .

Okay. I’m back with my coffee Haagen-Dazs. Yum. Though, honestly, I really shouldn’t be eating it after all of the Halloween candy I’ve been consuming. Maybe, I’m just getting ready to hibernate.

That’s a thing, right?

Once again, I have a card for you and once again it is inspired by the As You See It Challenge for which I am a designer.

Sketch challenges are pretty great because they provide some clear parameters, but still offer so much opportunity for your own creative spin. I decided to take this sketch and create a square card, rather than the more common 4-1/4″ x 5-1/2″ size.

I have seen some beautiful watercolour wreaths created from the All Around Wreath Dies from Stampin’ Up!, so I thought I should give it a try. I cut the wreath from a piece of Watercolor Paper and placed it onto one of the clear plates of my Stamparatus. I then used an Aqua Painter to saturate the Watercolor Paper with plain water. Next, I applied ink using the Aqua Painter and Ink Refills. I used Call Me Clover, Granny Apple Green, and Coastal Cabana. As I applied each colour, I enjoyed watching it spread quickly over the paper because of the water that already prepared the way. Once I was happy with the saturation of colour, I used my Heat Tool to speed up the drying time so I could carry on with the rest of my card.

The card base is Thick Whisper White, which I cut to 8-1/2″ x 4-1/4″ so that I could have a completed 4-1/4″ x 4-1/4″ square card. This is a good size for a square, because it will still fit in Stampin’ Up! envelopes. I used the Simply Scored Tool to create an embossed outline around the card base. I like how that simple step somehow instantly makes a card more elegant.

The next layer is a Whisper White square on which I stamped the line stamps from the Christmas Countdown Cling Stamp Set from Stampin’ Up!. I stamped these in Versamark ink and applied the Gold Embossing Powder, melting it to a beautiful shine with my Heat Tool. I wrapped the Gold 1/4″ Shimmer Ribbon (from the new and only available while supplies last, Christmastime is Here Suite!) around this piece and tied it in a bow. This was attached to the card base with Stampin’ Dimensionals.

The dry watercoloured wreath was attached to the front of the card with glue dots, but I had to cut it to be able to tuck it under the bow of my ribbon. Pretty sneaky, right!

The sentiment is from the Merry Moose stamp set and was stamped with Versamark ink on Whisper White cardstock. Once again, I applied the Embossing Powder and heat it with my Heat Tool, before cutting it in my die cutting machine with one of the circle dies from the Stitched Shapes Dies. This was applied to the card with Stampin’ Dimensionals.

The last few things to add were the gorgeous Gold Glitter Enamel Dots (from the Christmastime is Here Suite), and the Cherry Cobbler flower, which I die cut with my die cutting machine and the Detailed Deer Dies from Stampin’ Up!.

I followed the perimeters of the sketch challenge. I would say that I moved the location of my bow, but the basic sketch is still apparent, don’t you agree?

If you like the products I used on this card, you might want to go to my ONLINE STORE and see what else there is to get excited about! Have you seen the products in the Christmastime is Here Suite? Just beautiful! Definitely have a look.

… and don’t forget to try this sketch and play along with us at the As You See It Challenge Blog!

Okay, my ice cream is done. It was yummy.