As You See It

Remember to Breathe

Today was a rough day. Lots of unplanned unpleasantness, resulting in a very frustrated, irritated, grumpy, and very spent, me. When I remembered that I hadn’t made my card for this challenge yet, I very reluctantly dragged myself into my messy and crowded craft room (I haven’t unpacked boxes from my last event yet and they’re all over the floor and completely in the way). I started to consider the card I would make and I realized that this card was going to be for me today. I reminded myself to breathe. The worst of the day is done. I got through it.

Just breathe.

Just breathe.

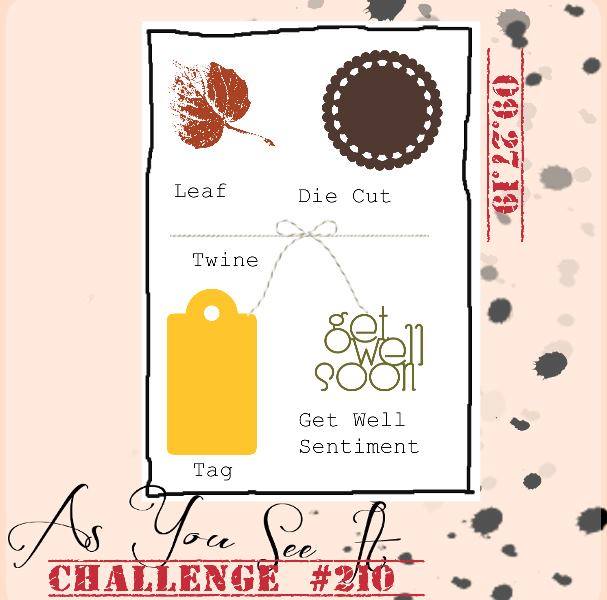
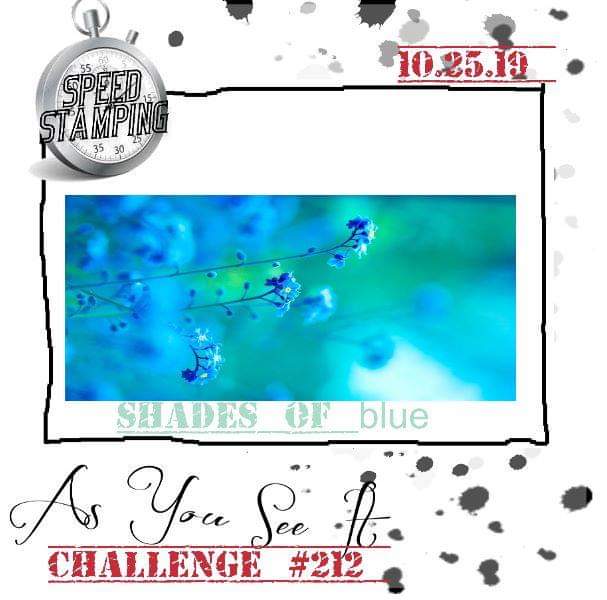
Today is a speed challenge on the As You See It Challenge blog. Not the best activity to take on at the end of the day when you’ve already been stressed and rushing around, but no problem. I didn’t rush. I knew what I wanted to do. I had a plan. I took it slow. (well, not too slow!)

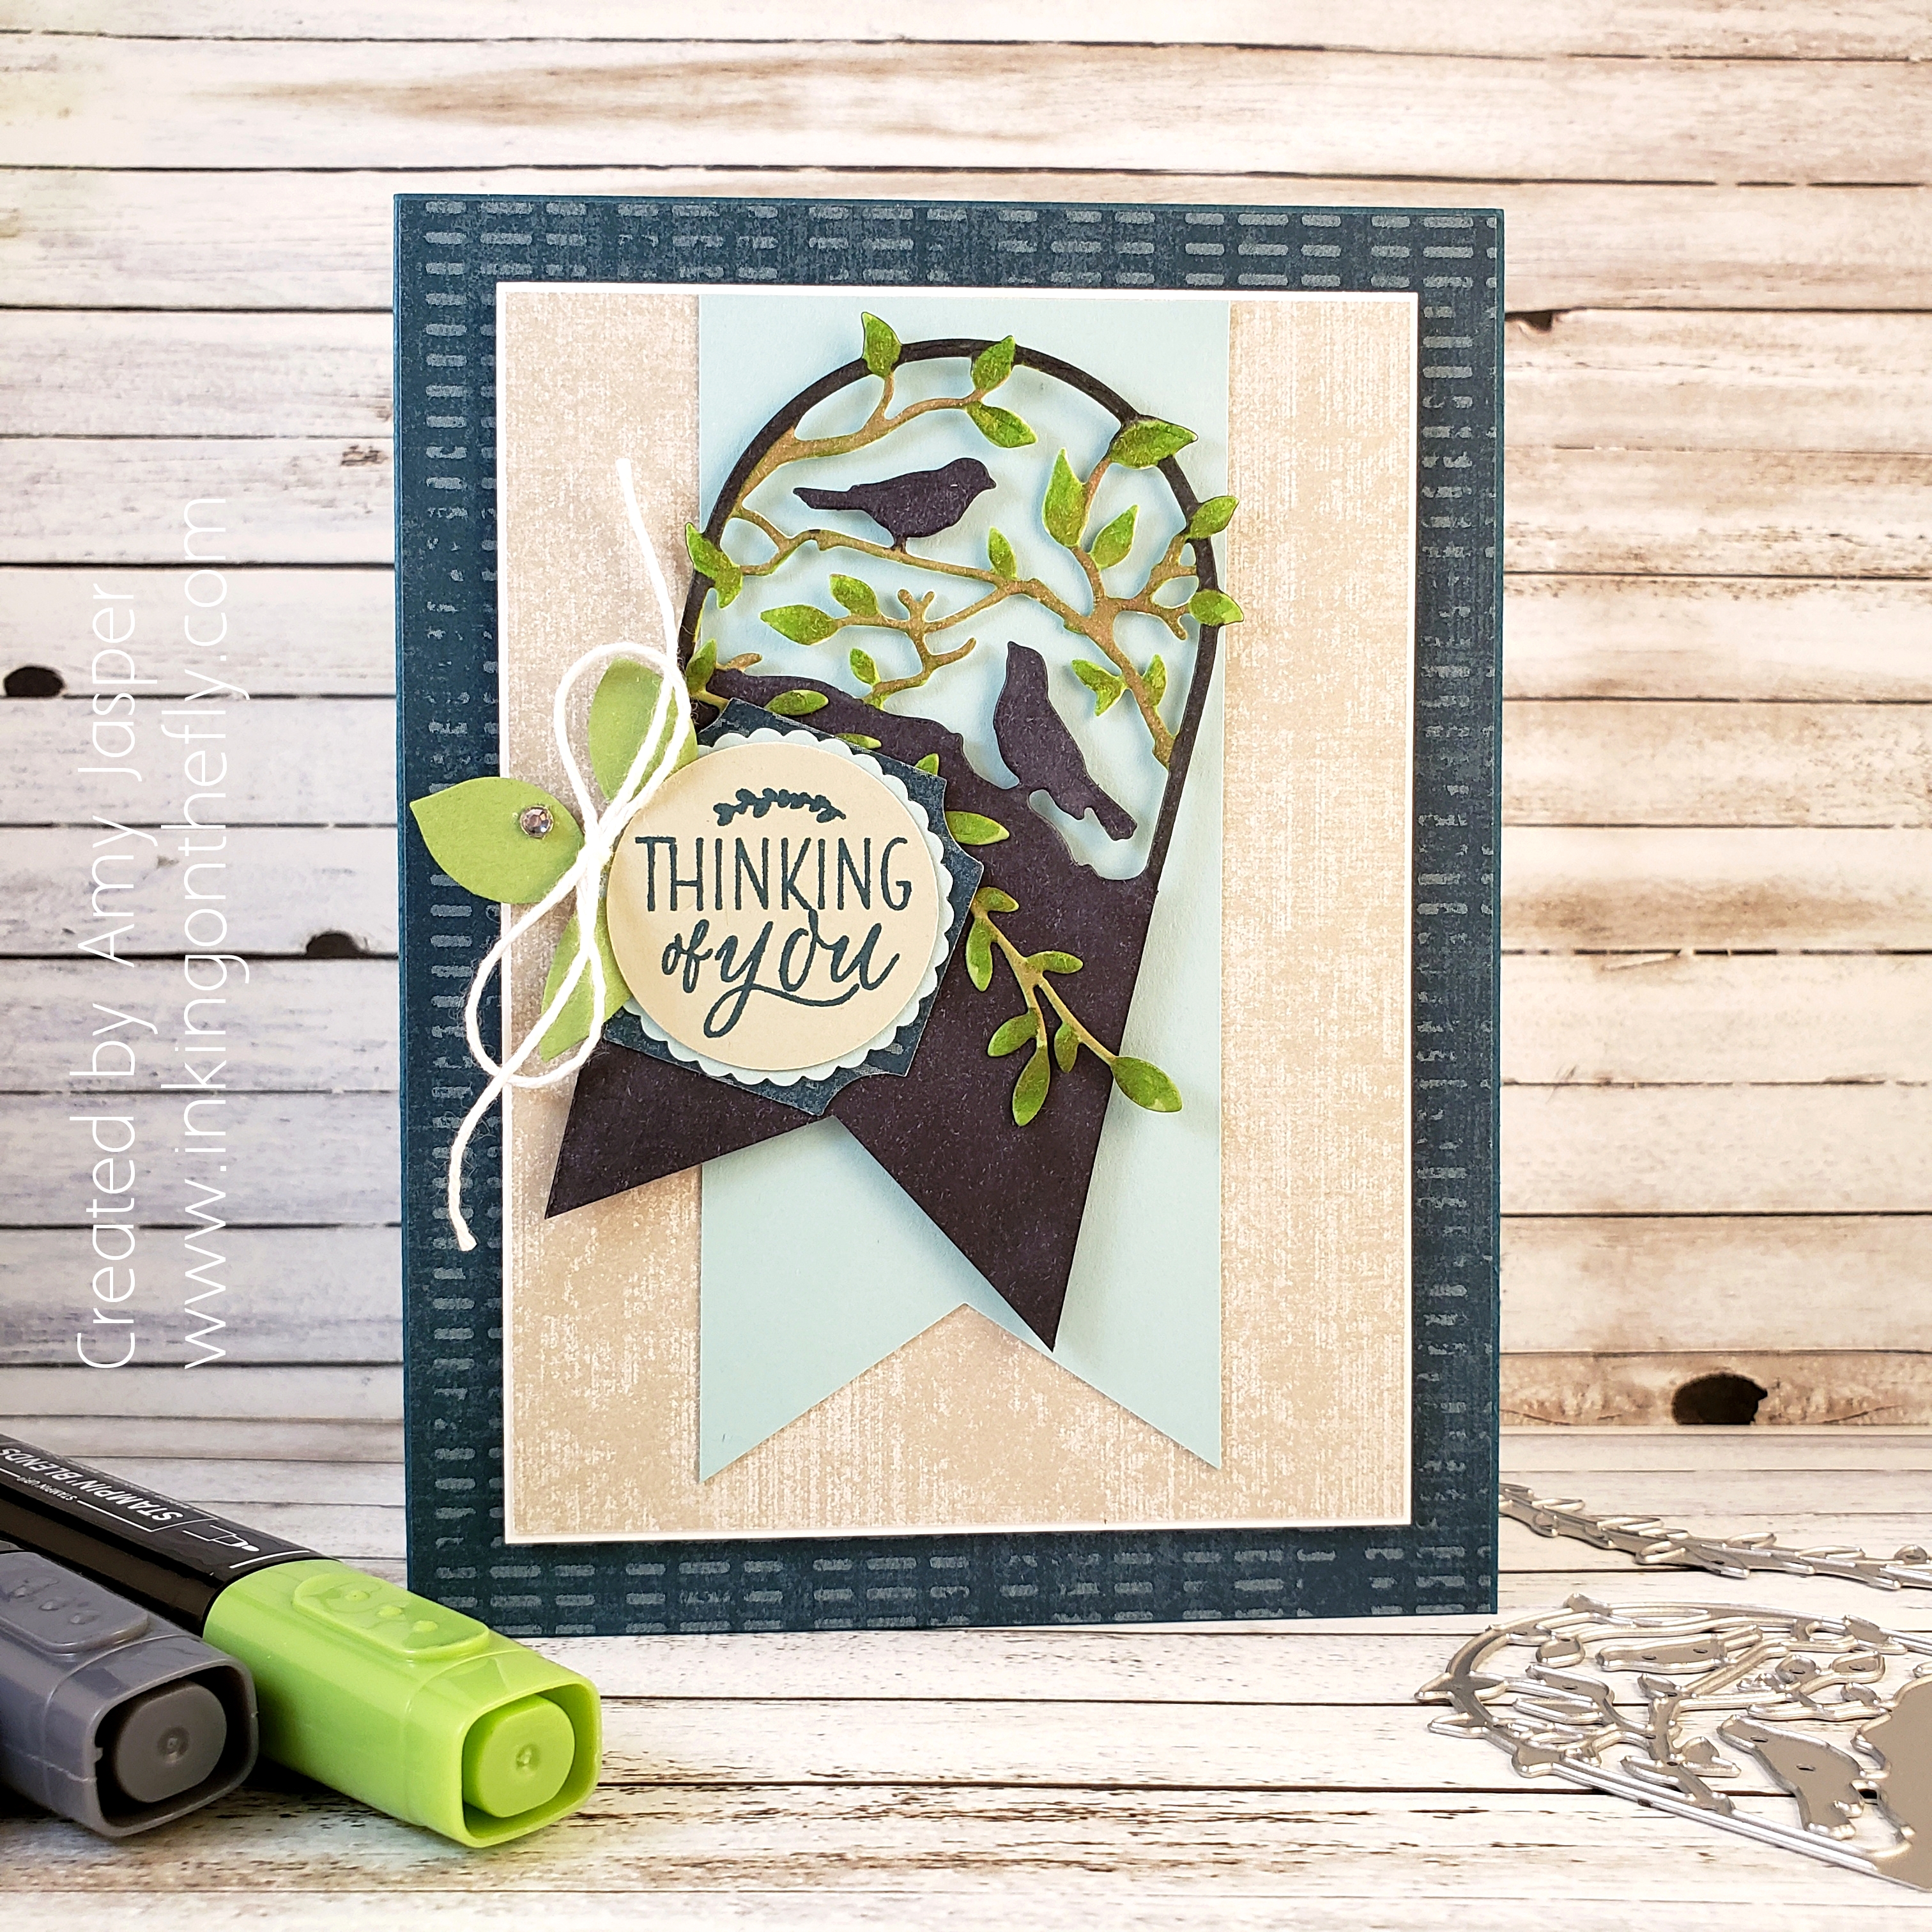
Even with taking it easy, I made this card in 8 minutes and 10 seconds. Attaching any kind of ribbon always adds a significant amount of time for me, but I think it was worth it.

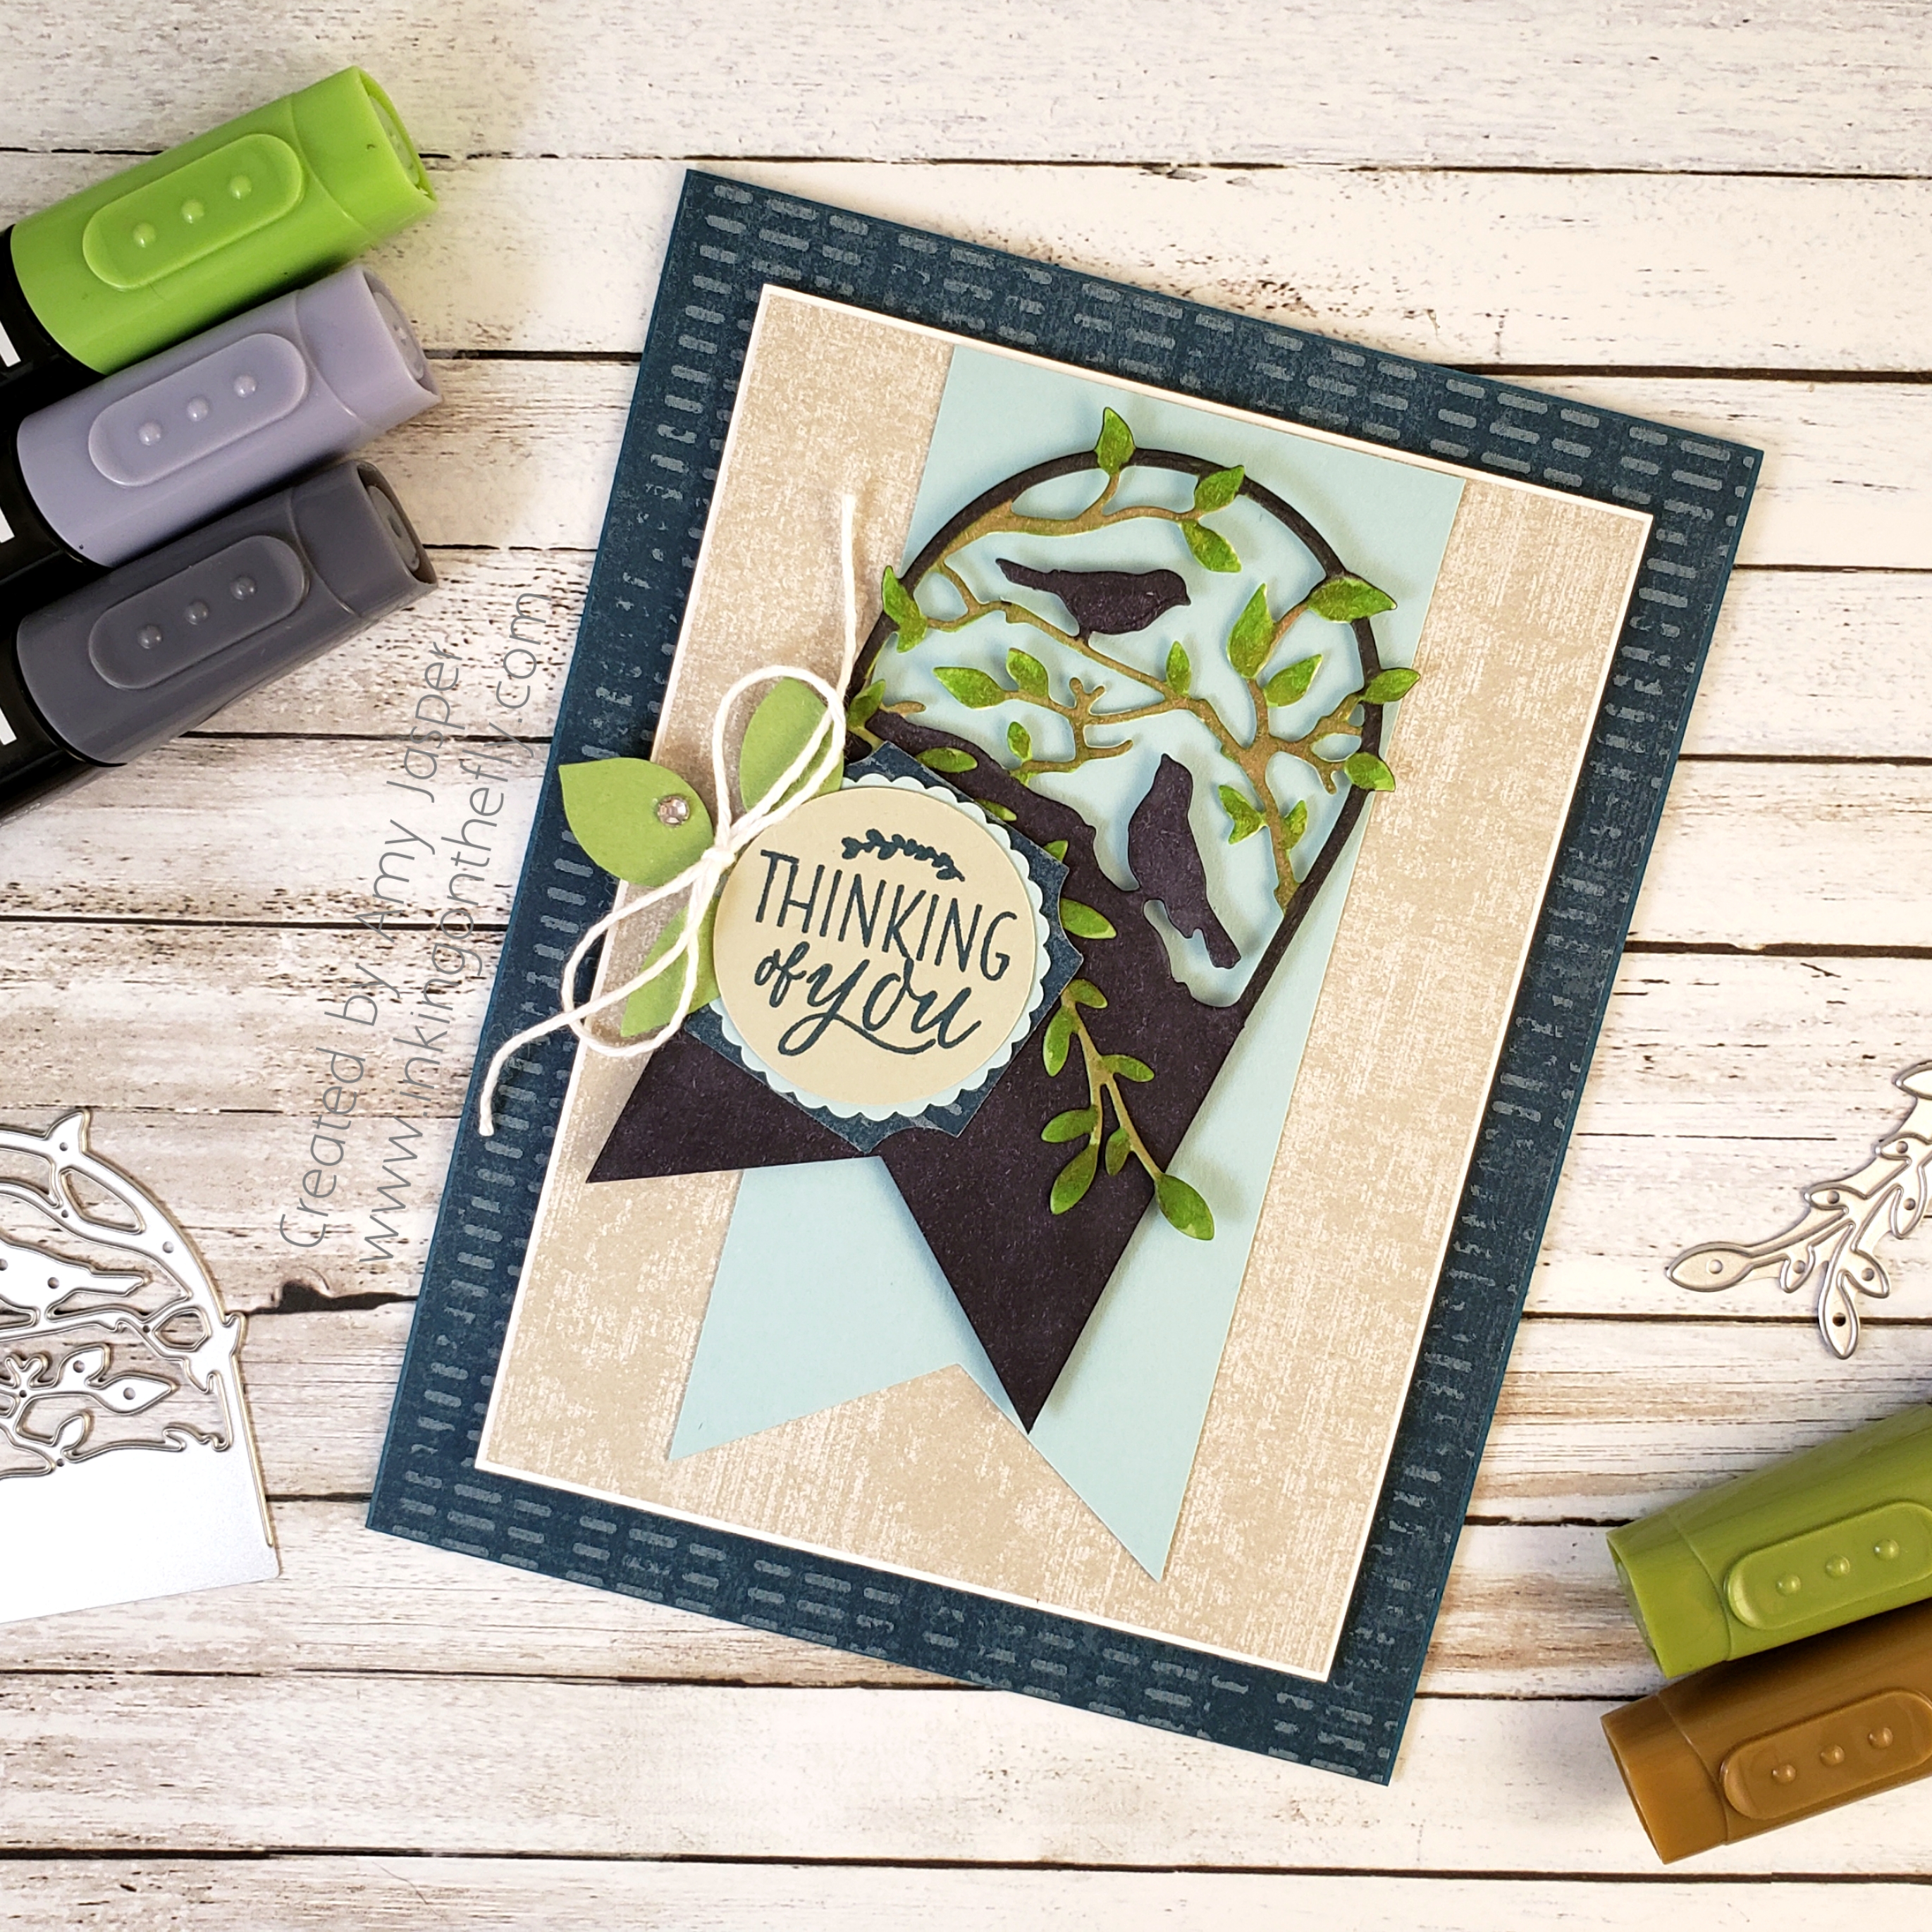
I made a card with a similar layout just the other day, so the basic measurements were fresh in my mind, even though it was different paper, stamps, and embellishments.

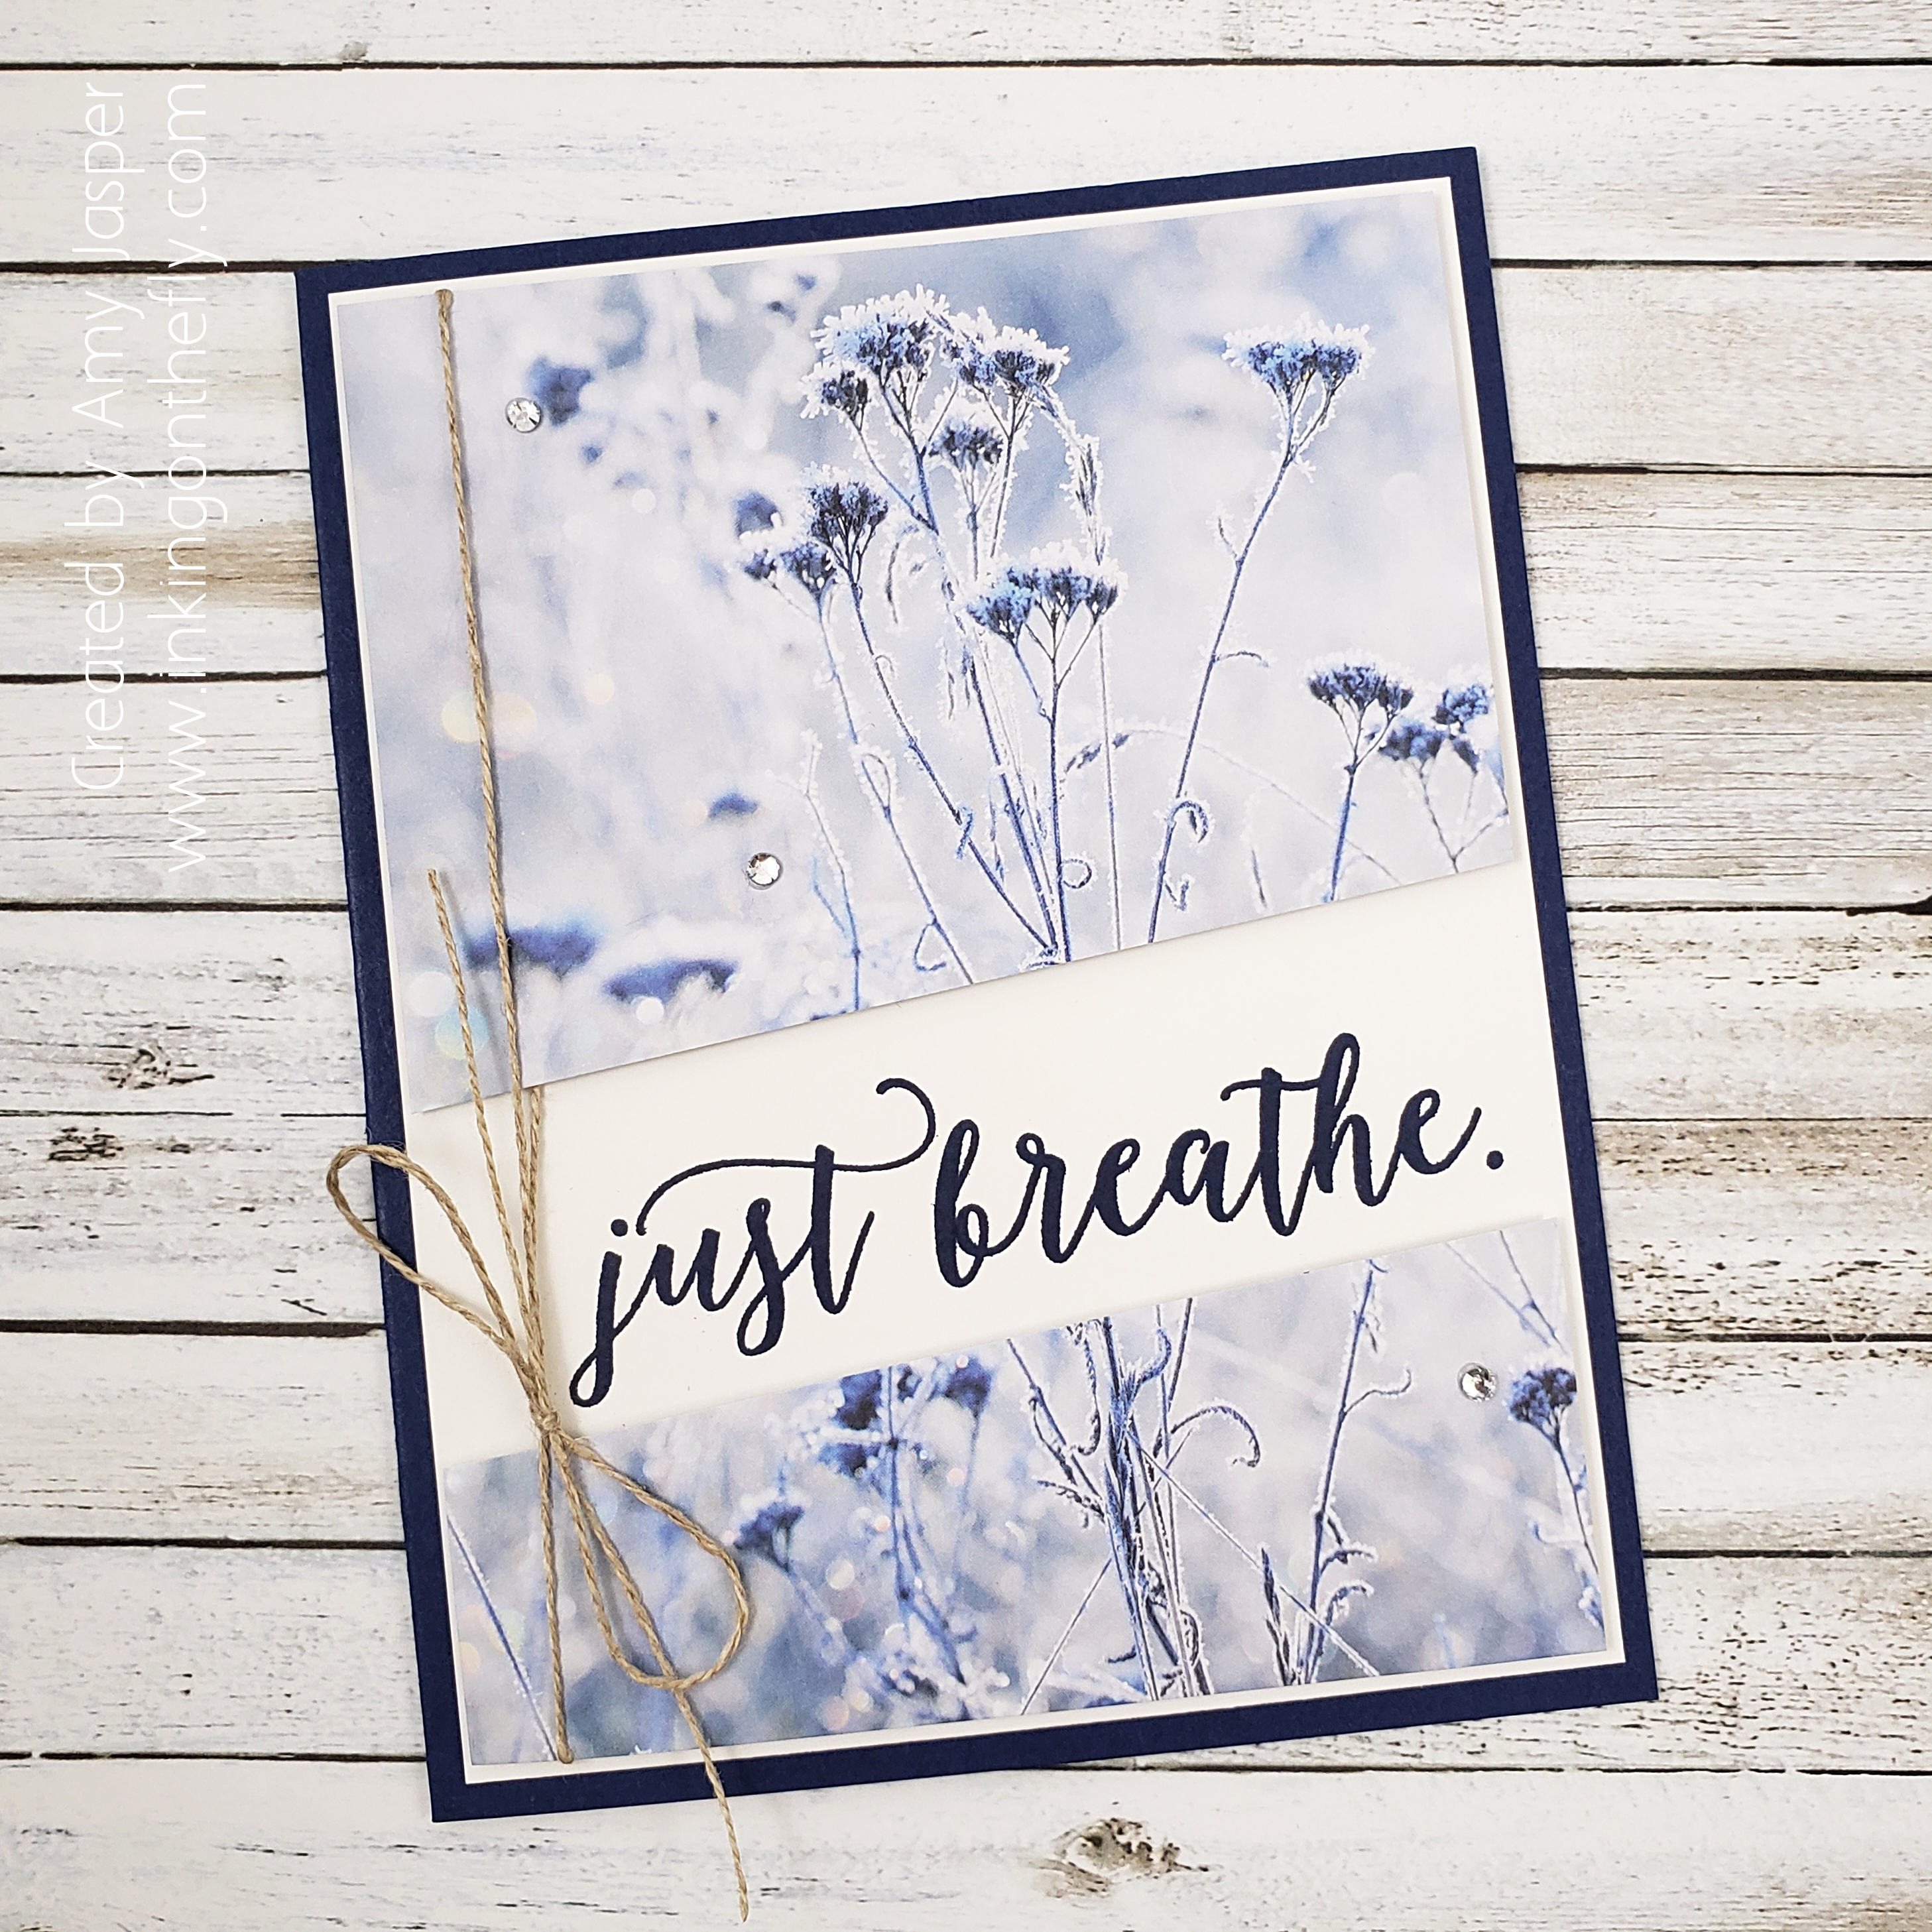
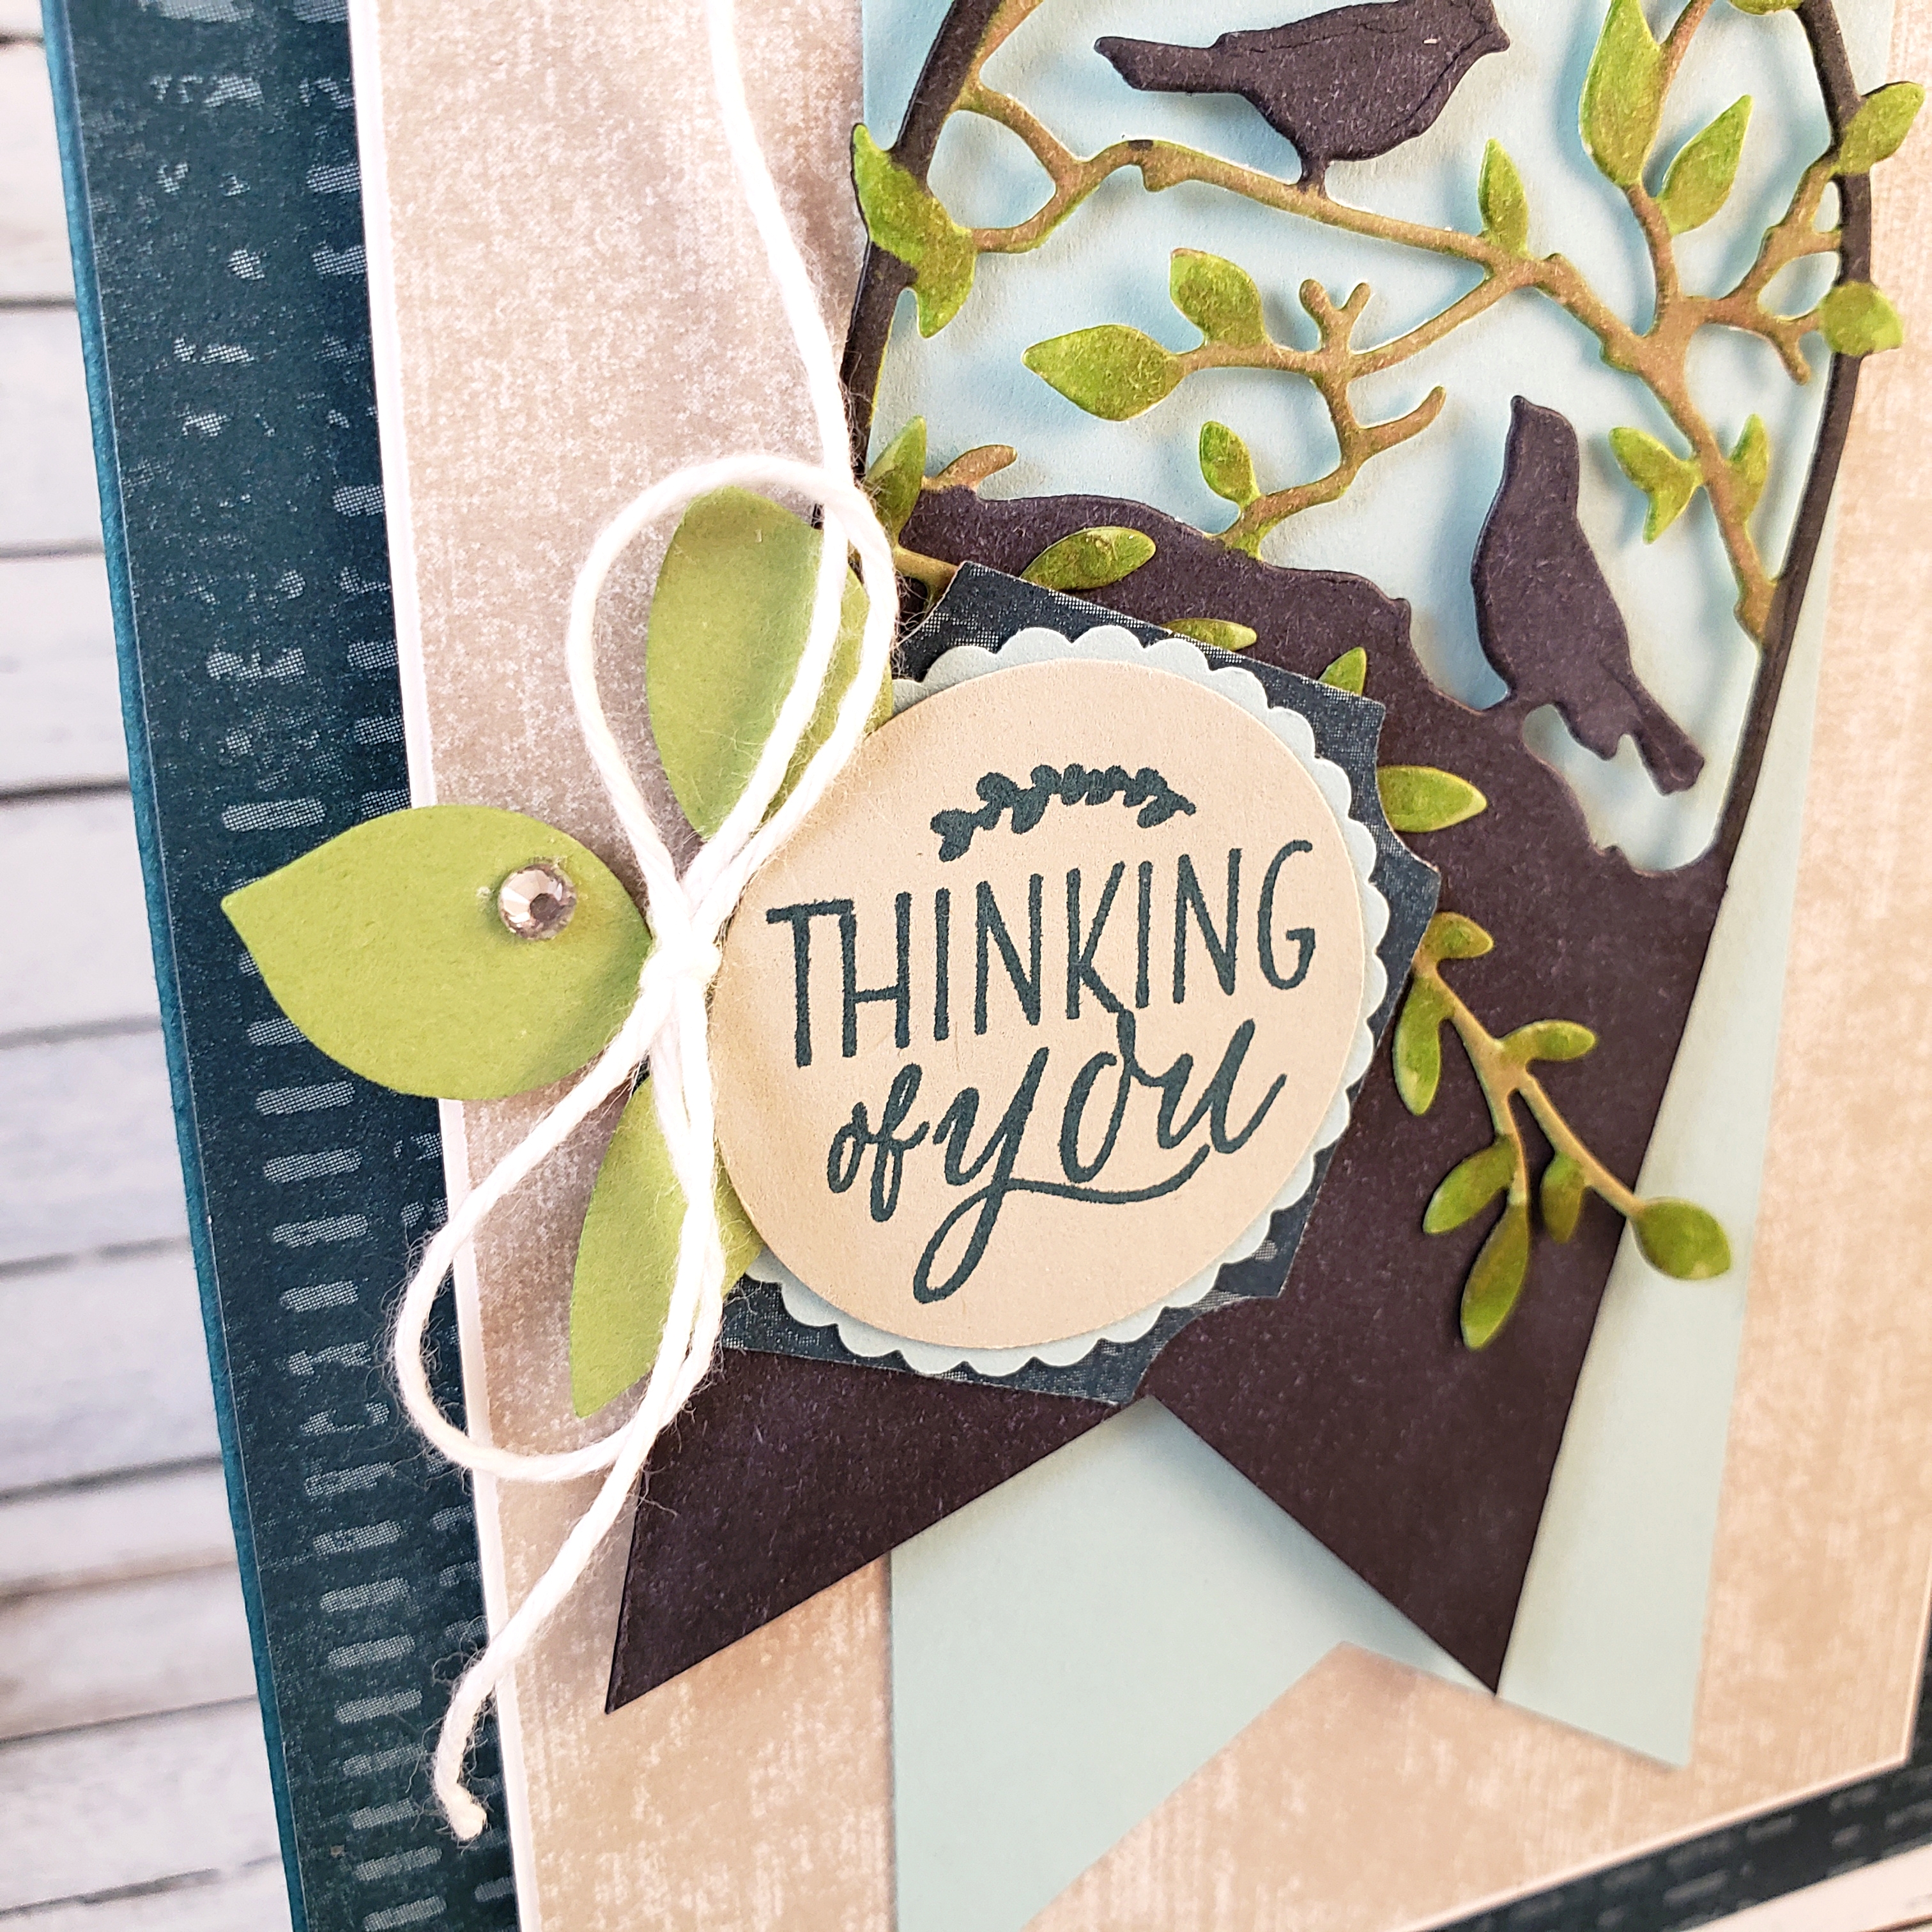
The Feels Like Frost Designer Series Paper makes anything look amazing, don’t you think! It feels like cheating! I cut mine to 3-7/8″ x 4″, then cut it on a diagonal so I could split it over the piece of 4″ x 5-1/4″ Whisper White cardstock. I laid the lower portion of the split dsp on the Whisper White cardstock so that I could use it as a guide to position my stamped words from the Colorful Seasons Photopolymer Stamp Set, which I stamped in Night of Navy ink.

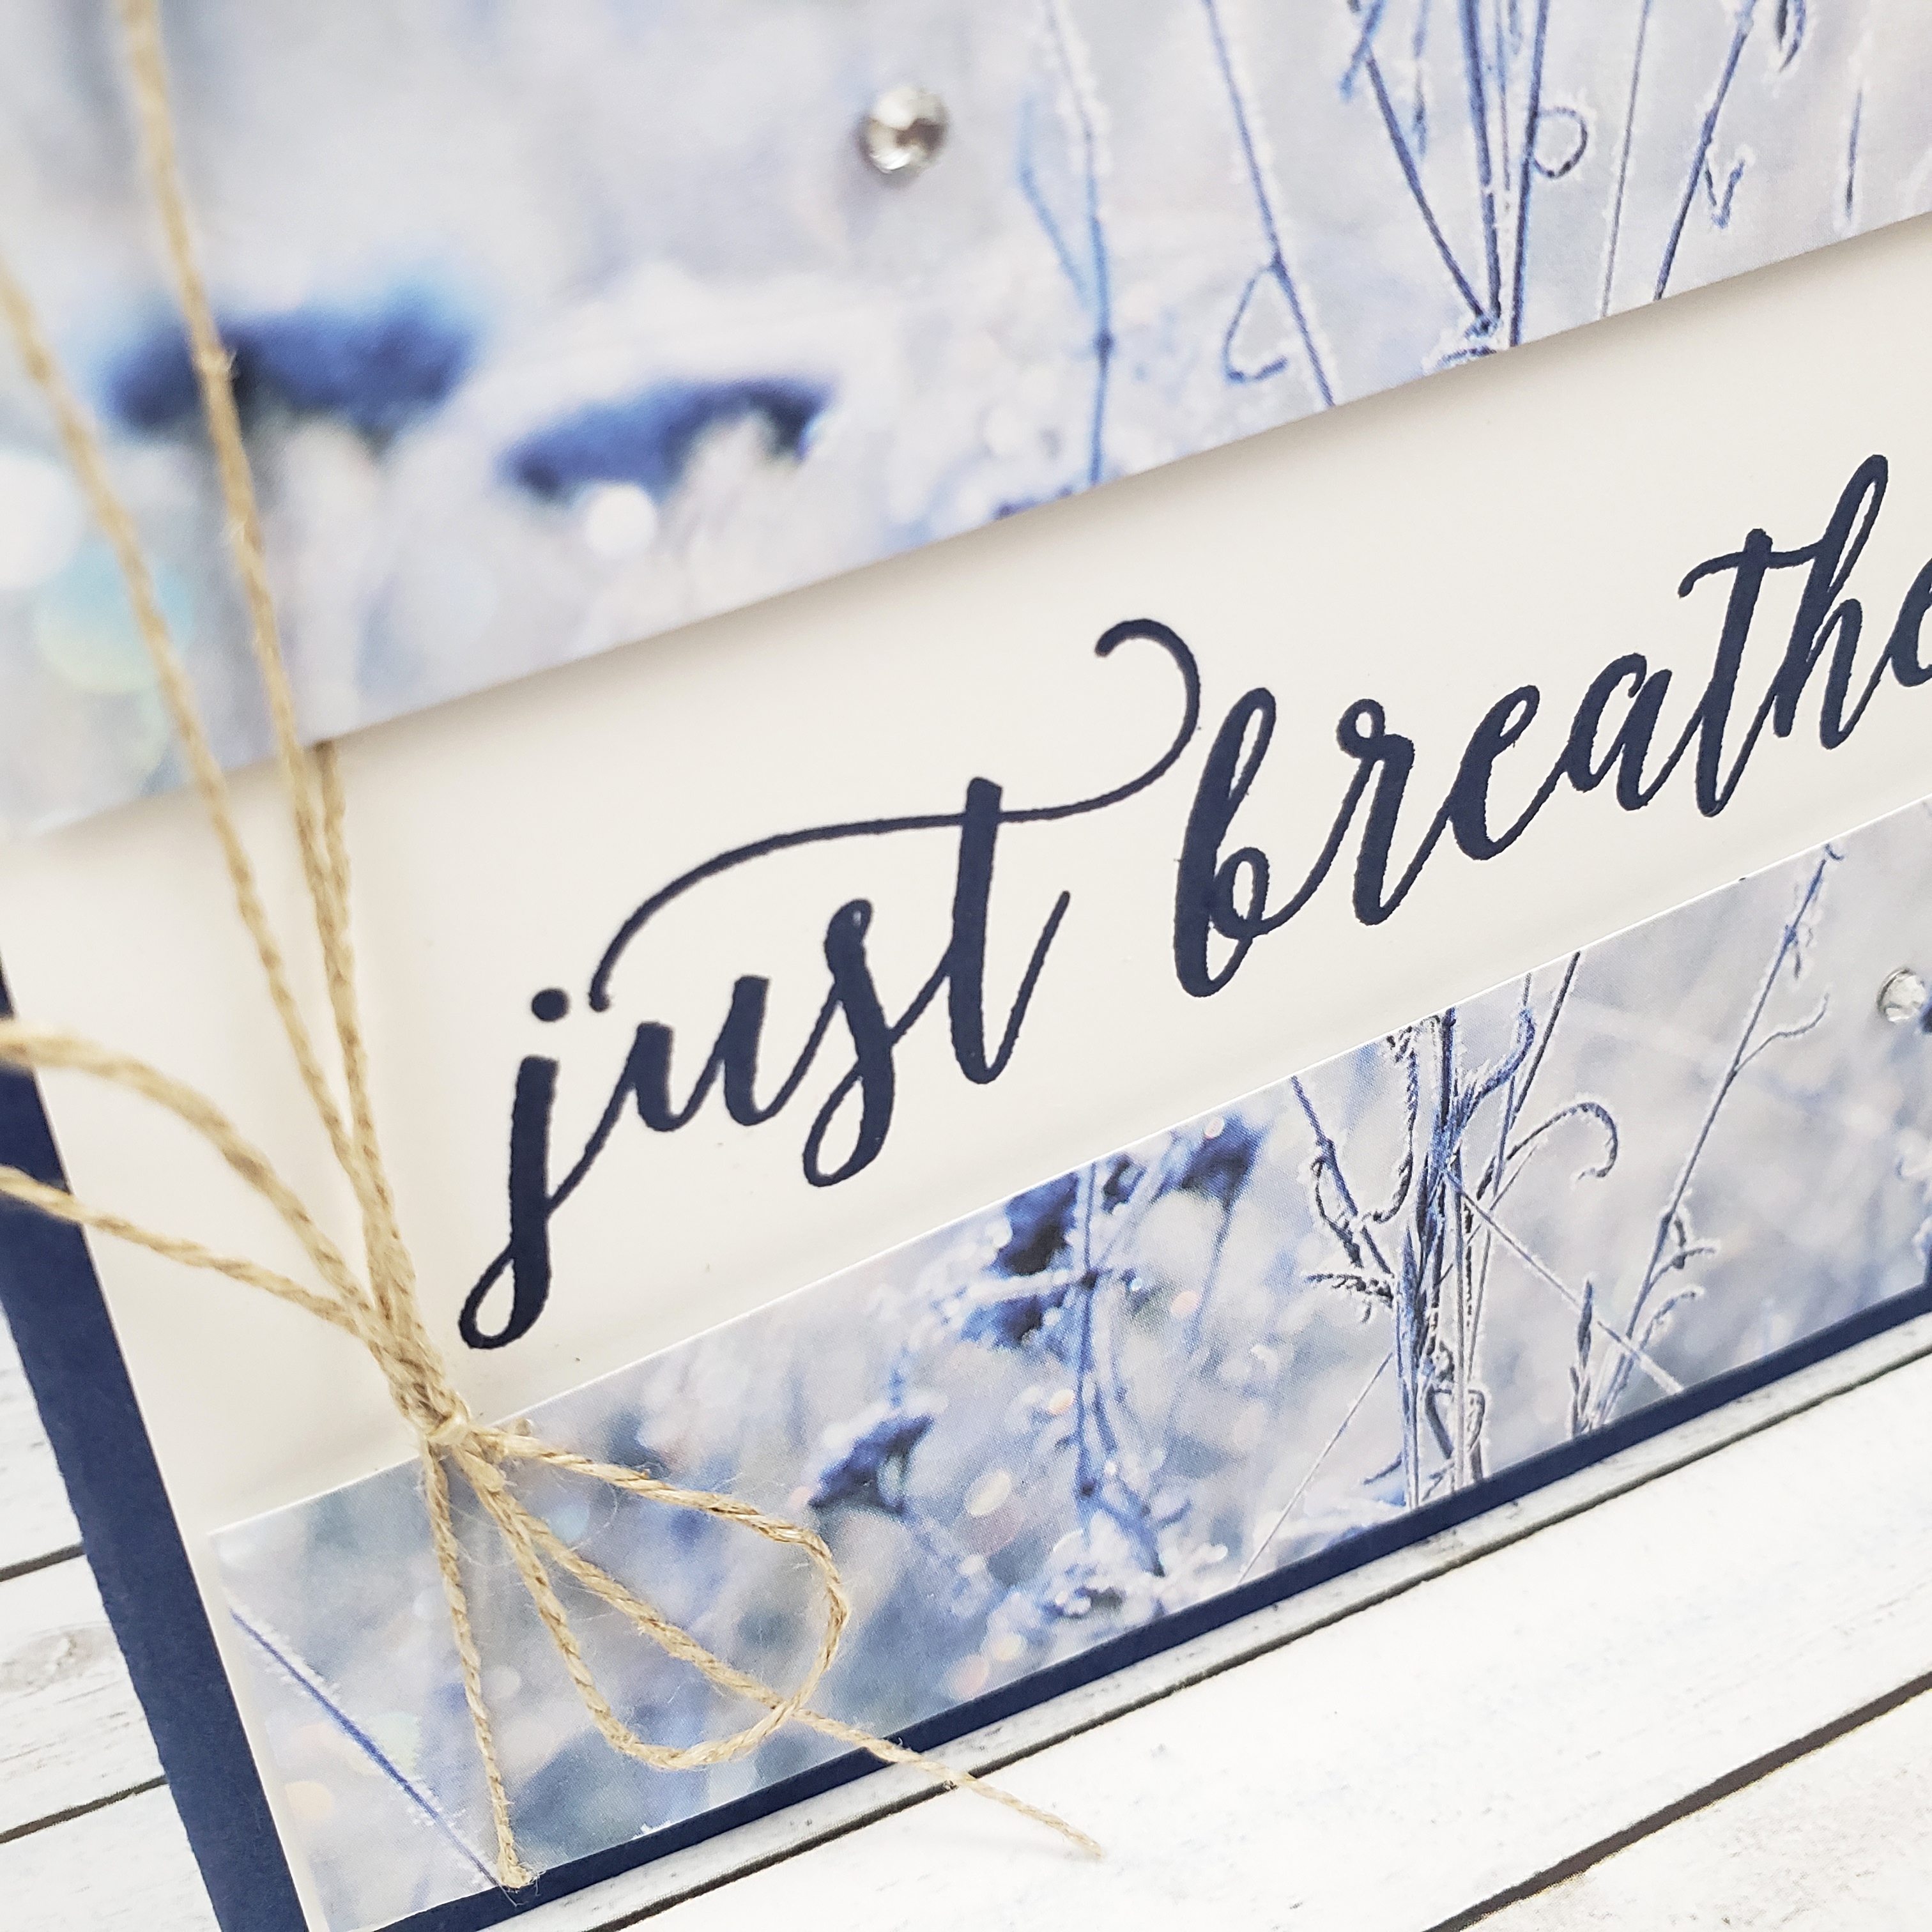
Before attaching the Feels Like Frost pieces with Dimensionals, I laid the length of Linen Thread down the left side of the Whisper White cardstock so I could tie it after the dsp was adhered.

The Whisper White is layered on a Night of Navy cardstock base. Clean and fresh. Breathe in. Breathe out.

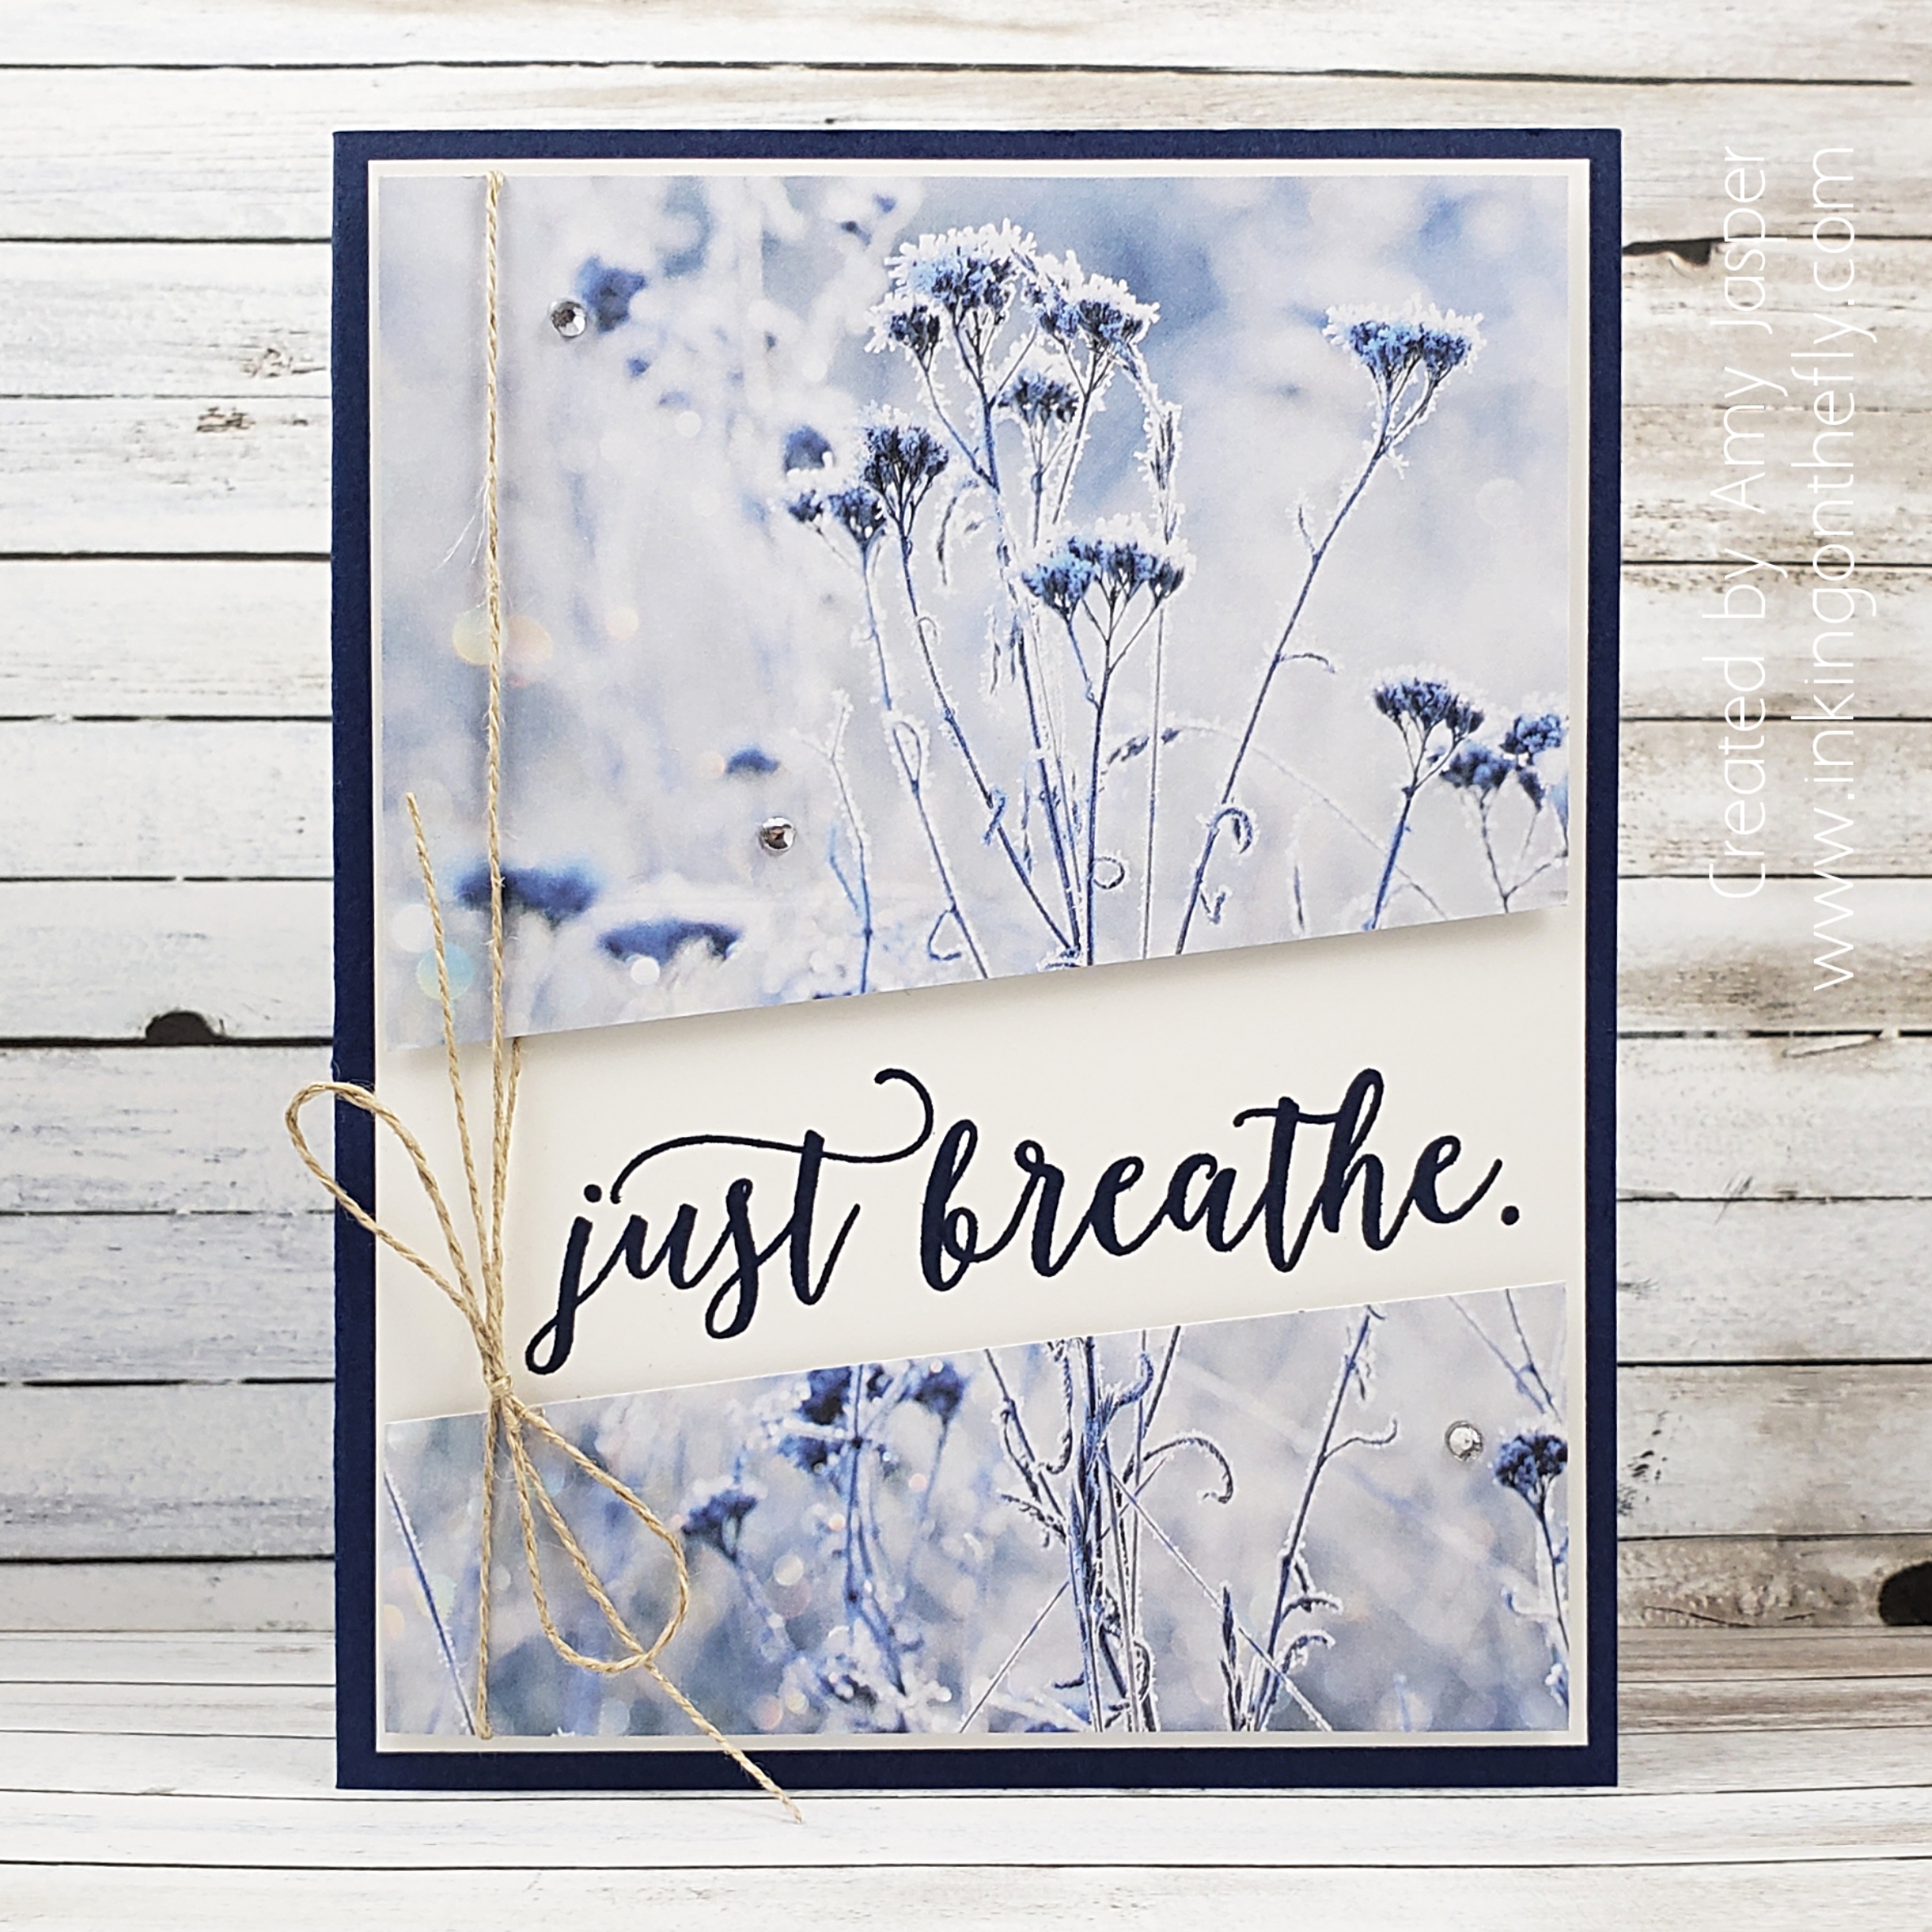
The finishing touch was to add the three Rhinestone Basic Jewels to the Feels Like Frost Designer Series Paper.

And the very last thing was to actually do what the card says, just breathe. Ahhhh. Feels good.

My day is behind me now and tomorrow will be better.

As always, you can order the products featured in my post, by going to SHOP in the menu at the top of the page, or click on the SHOP circle on the sidebar if you’re on your computer.

Now, go and try this speed challenge and share it with us at the As You See It Challenge blog. We want to see your creations!

Woven Threads and Botanical Tags

I have not used my Botanical Tags dies nearly enough. They are so beautiful!

The card I have to share with you today is inspired by the latest As You See It Challenge:

I love how this type of challenge is so open to your imagination. As long as your design includes all of the elements listed on the challenge, you are good to go! I knew that the Botanical Tags Dies would be part of this one because the die I used covers 3 of the elements required right away! It’s a tag. It’s a die cut. It has leaves! Whaaa!

I cut the tag out of Whisper White Cardstock and coloured it using the Stampin’ Blends. I ended up colouring the entire lower portion with my Black Stampin’ Blends! A bit colour happy, perhaps? LOL!

The Triple Banner Punch was used to cut the bottom of both the botanical tag die and the Pool Party banner. The branch/vine was cut using another of the dies from the Botanical Tags Dies and was also coloured with my Blends Markers.

The sentiment is from the stamp set in the Darling Label Punch Box by Stampin’ Up!. The Darling Label Punch was also used on this card as part of the layers on the tag. The sentiment was stamped on Sahara Sand cardstock using Pretty Peacock ink, then punched out with a circle punch to layer over the punched out Pool Party Scallop circle. I used yet another punch, the Leaf Punch, to cut the leaves that are tucked under the left side of the tag. The little Rhinestone Basic Jewel and the Whisper White Solid Baker’s Twine were just the right embellishments to complete the look I wanted for my tags.

All this is layered over the Woven Threads Designer Series Paper, matted with Whisper White cardstock. Stampin’ Dimensionals hold that onto the Pretty Peacock coloured Woven Threads Designer Series Paper layer on the Pretty Peacock cardstock base of the card.

Did you know that the Woven Threads Designer Series Paper is part of the BUY 3 GET 1 FREE DESIGNER SERIES PAPER SALE!?! Click on the link to go to my online store to see all the papers that are included in this deal!

Now it’s your turn. Give the challenge a try and share it with us at the As You See It Challenge Blog!

Rooted in Nature Sand Dollar

Have you ever looked at an image in a stamp set and thought, “That reminds me of a ______!”

Well, I keep looking at the cross cut wood image in the Rooted in Nature Stamp Set by Stampin’ Up! and am thinking exactly that! It reminds me so much of a sand dollar at the beach. I looked at a few images of sand dollars on Google and decided to try to create one using the stamp as a starting point.

My creative inspiration was from another As You See It Challenge – this one is a beach theme, which, of course, was the perfect opportunity to alter the wood image.

This card used some art skills beyond my usual application for my cards. I also used some supplies from the June Paper Pumpkin kit. If you don’t get Paper Pumpkin, I highly recommend it! If you don’t have a Demonstrator, feel free to use my name to sign up. You get wonderful stamping kits in the mail each month so you can create beautiful hand made cards or home decor with ease. It’s fun and a great escape from the stresses of the world!

Here’s my finished card:

I stamped the wood cut image on Whisper White Cardstock with Sahara Sand ink. Then I had to use some creative art skills to draw the centre image to make it look like the image in a sand dollar. I originally tried to find a stamp or a die that would fit the shape I was looking for, but with no success, I reached for a pencil.

I drew the image that looks like a five petal flower onto the centre of the wood cut stamped image. Then I used the pen end of my Gray Granite Stampin’ Write Marker to darken my pencil drawing. My Blender Pen also got involved to soften my marker lines and create a bit of shading and imperfections that you would find in nature. It took a couple of tries before I got it right, but it was a lot more successful than I thought it would be!

I used my pencil again to draw the long ovals that I wanted to cut with a craft knife. A punch would have been nice, but I didn’t have anything that would work. After carefully cutting these, I used my Gray Granite Stampin’ Write Marker again (this time, I used the brush tip) to darken the edge of the paper inside the holes to give the impression of depth. The colour bled more than I intended it to, but the effect ended up working for me. (Lucky!)

The rest of the card involves paper layering and some heat embossing with Gold Embossing powder on Vellum cardstock. I also sponged some Bermuda Bay ink over the upper portion of one of my Whisper White cardstock layers to create a sort of sky for my beach scene. This with the torn layers of Coastal Cabana, Sparkle Glimmer Paper, and a piece of patterned paper from the Woven Threads Designer Series Paper, along with some Linen Thread tied in a loopy bow, complete my beach-themed card.

Let me know what you think. Did I successfully turn a stamped image of a piece of wood into a sand dollar? Have you ever tried to alter a stamped image to make it look like something else?