heat embossing

How can you NOT love the Hand-Penned Suite!

The more I use it, the more I love it!

I shared a video in my last post, where I made a frame-able scrapbook page with elements from the Hand-Penned Suite. You can see that post HERE.

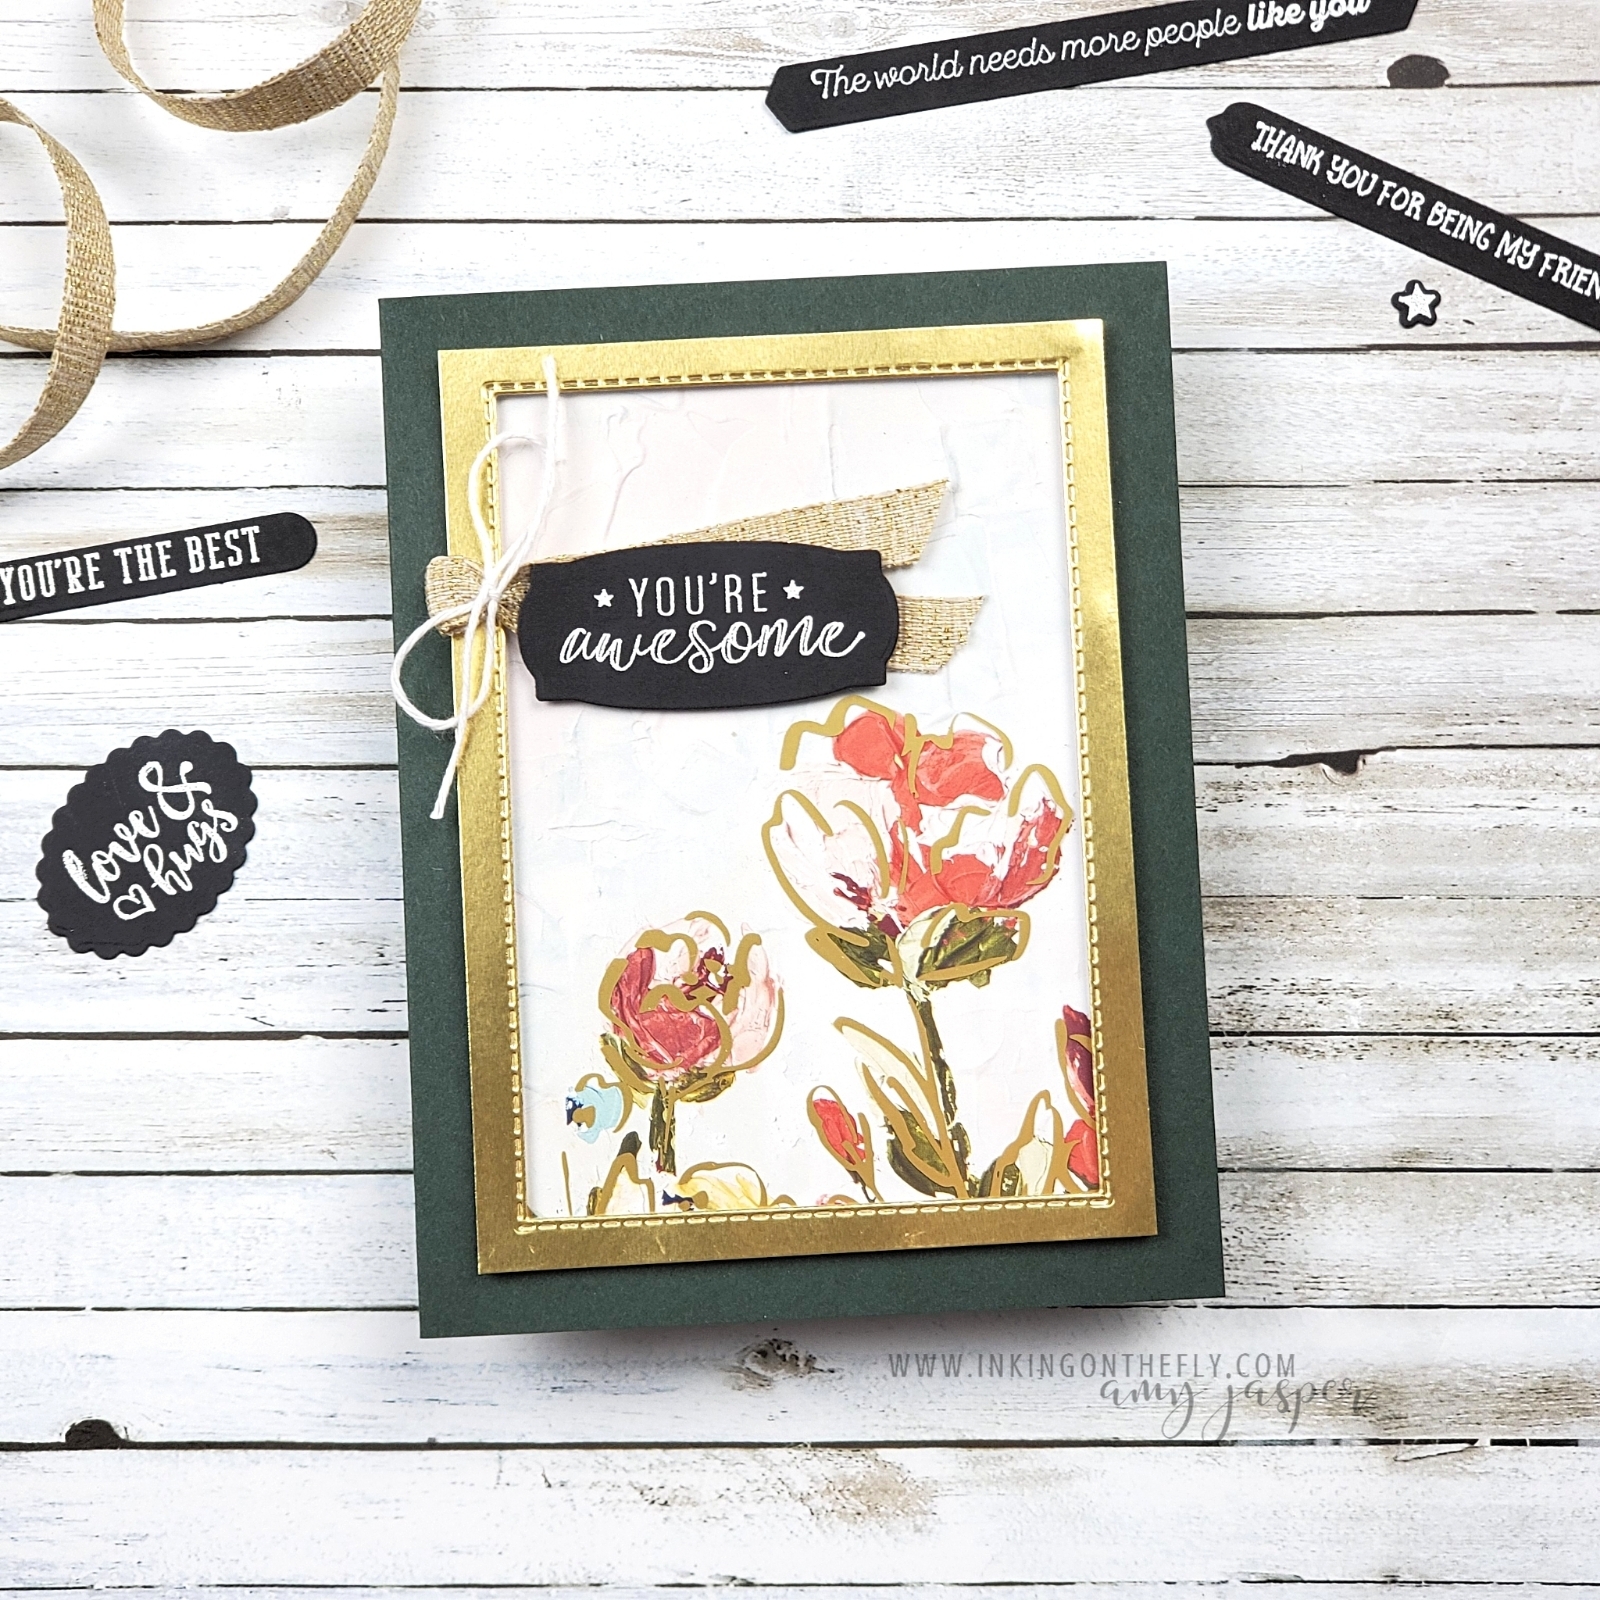
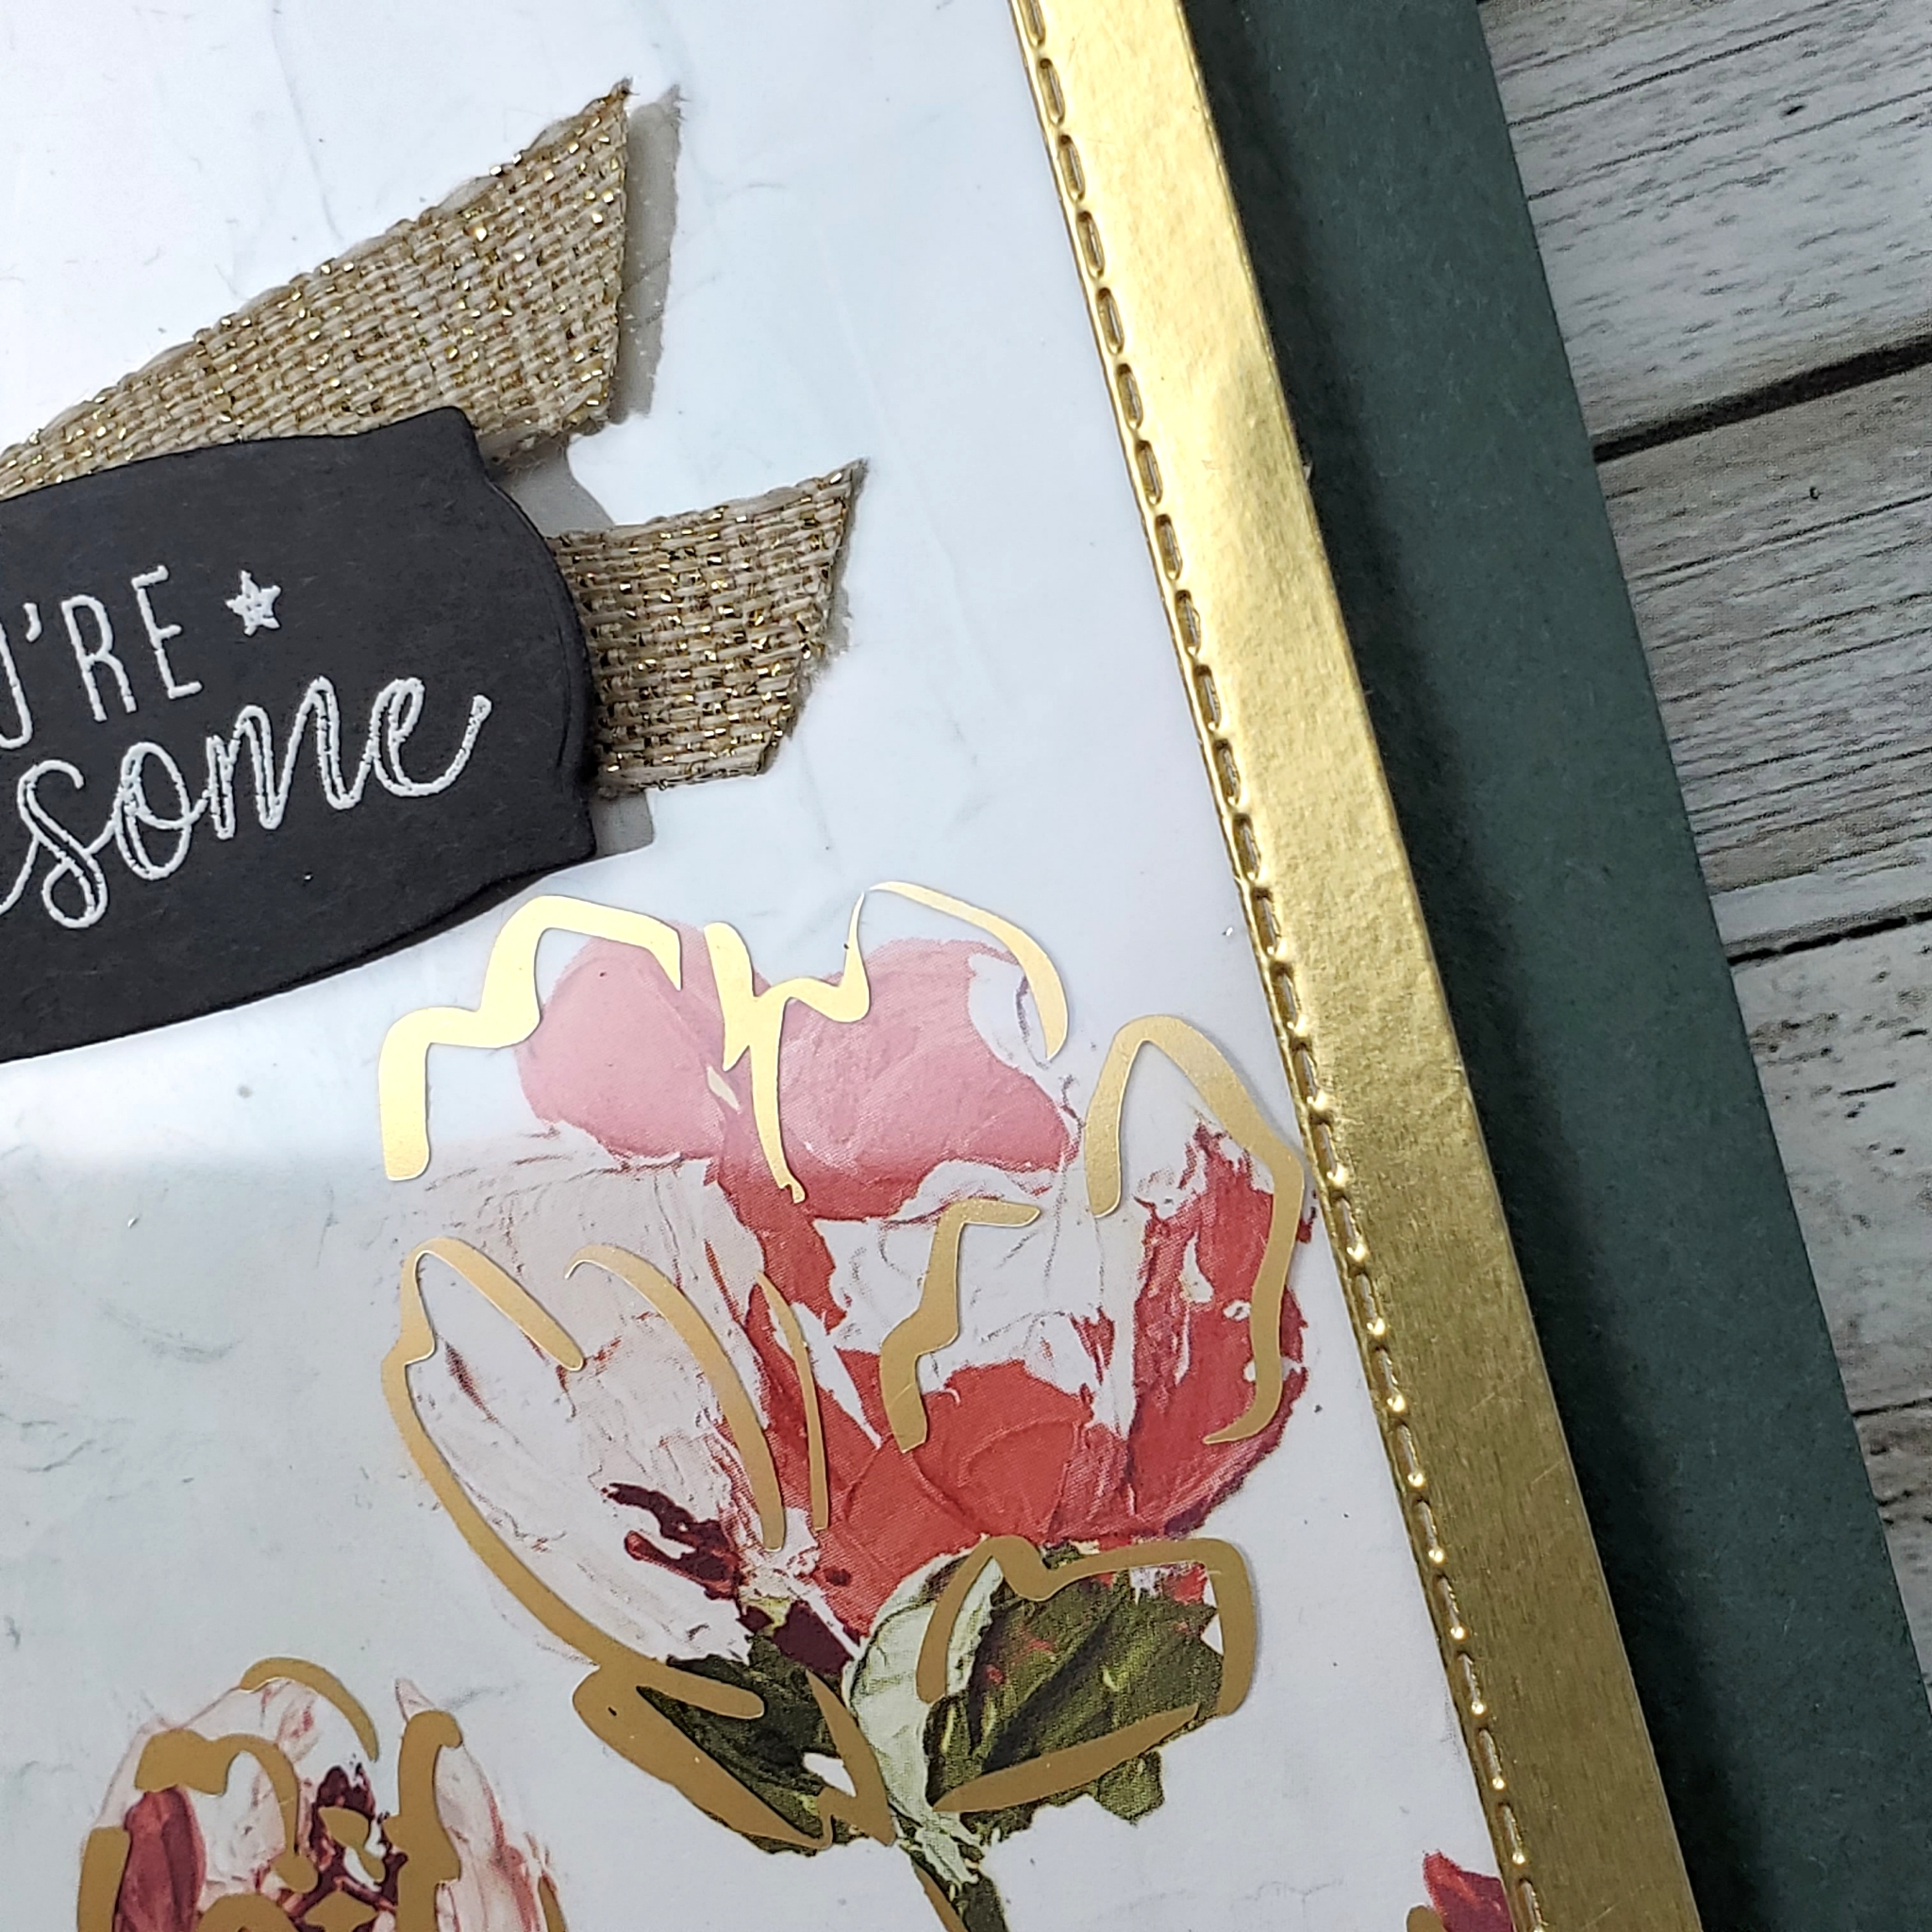
Today, I have another project featuring the gorgeous Hand-Penned Petals stamp set, coordinating dies, the Hand-Penned Designer Series Paper, and the Genial Gems. I created this card for the Virtual Stamp Camp event a couple months ago.

Because I loved this card so much, I used it as my inspiration for the sketch challenge over at the As You See It Challenge Blog. As designers for the challenge blog, we take turns coming up with the different ideas for the challenges, so why not create a sketch from my own card! LOL! For once, I was done my design in advance!

(okay, so I made one teeny-weensy alteration, but it was mostly done!)

Making the card

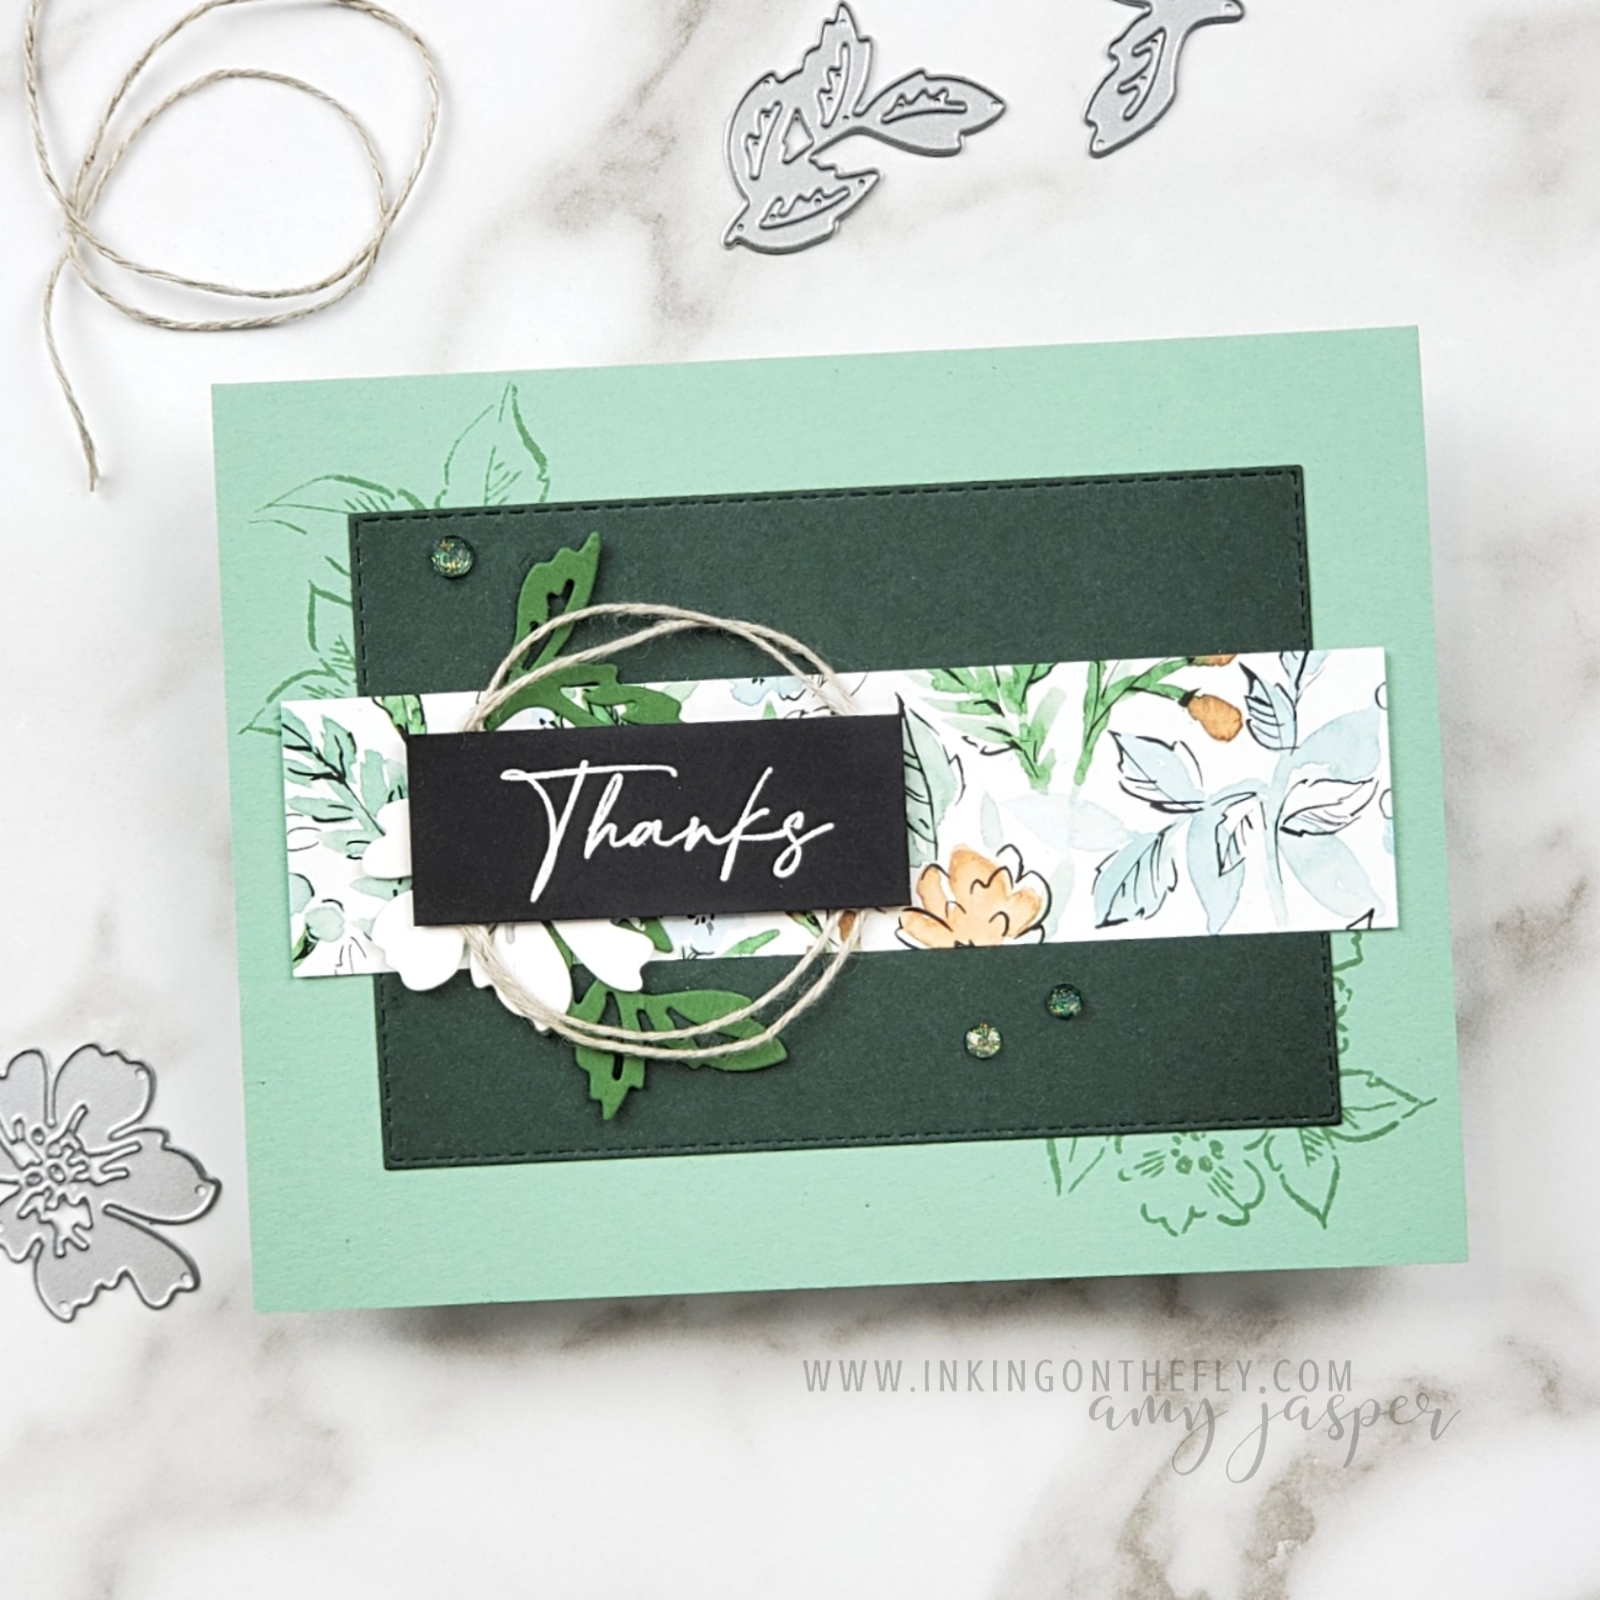
Mint Macaron looks great with the Evening Evergreen, don’t you think? I die-cut the evergreen cardstock with one of the Rectangle Stitched Dies. Those dies are a serious work-horse in my craft room! I use them A LOT!

Before adhering the stitched layer, I stamped the floral image with Mint Macaron ink on the base of the card. I love how this peek-a-boo effect can transform a plain card base into something much more interesting. Of course, the strip of Hand-Penned Designer Series Paper adds the flare, but this little bit of stamping helps pull everything together.

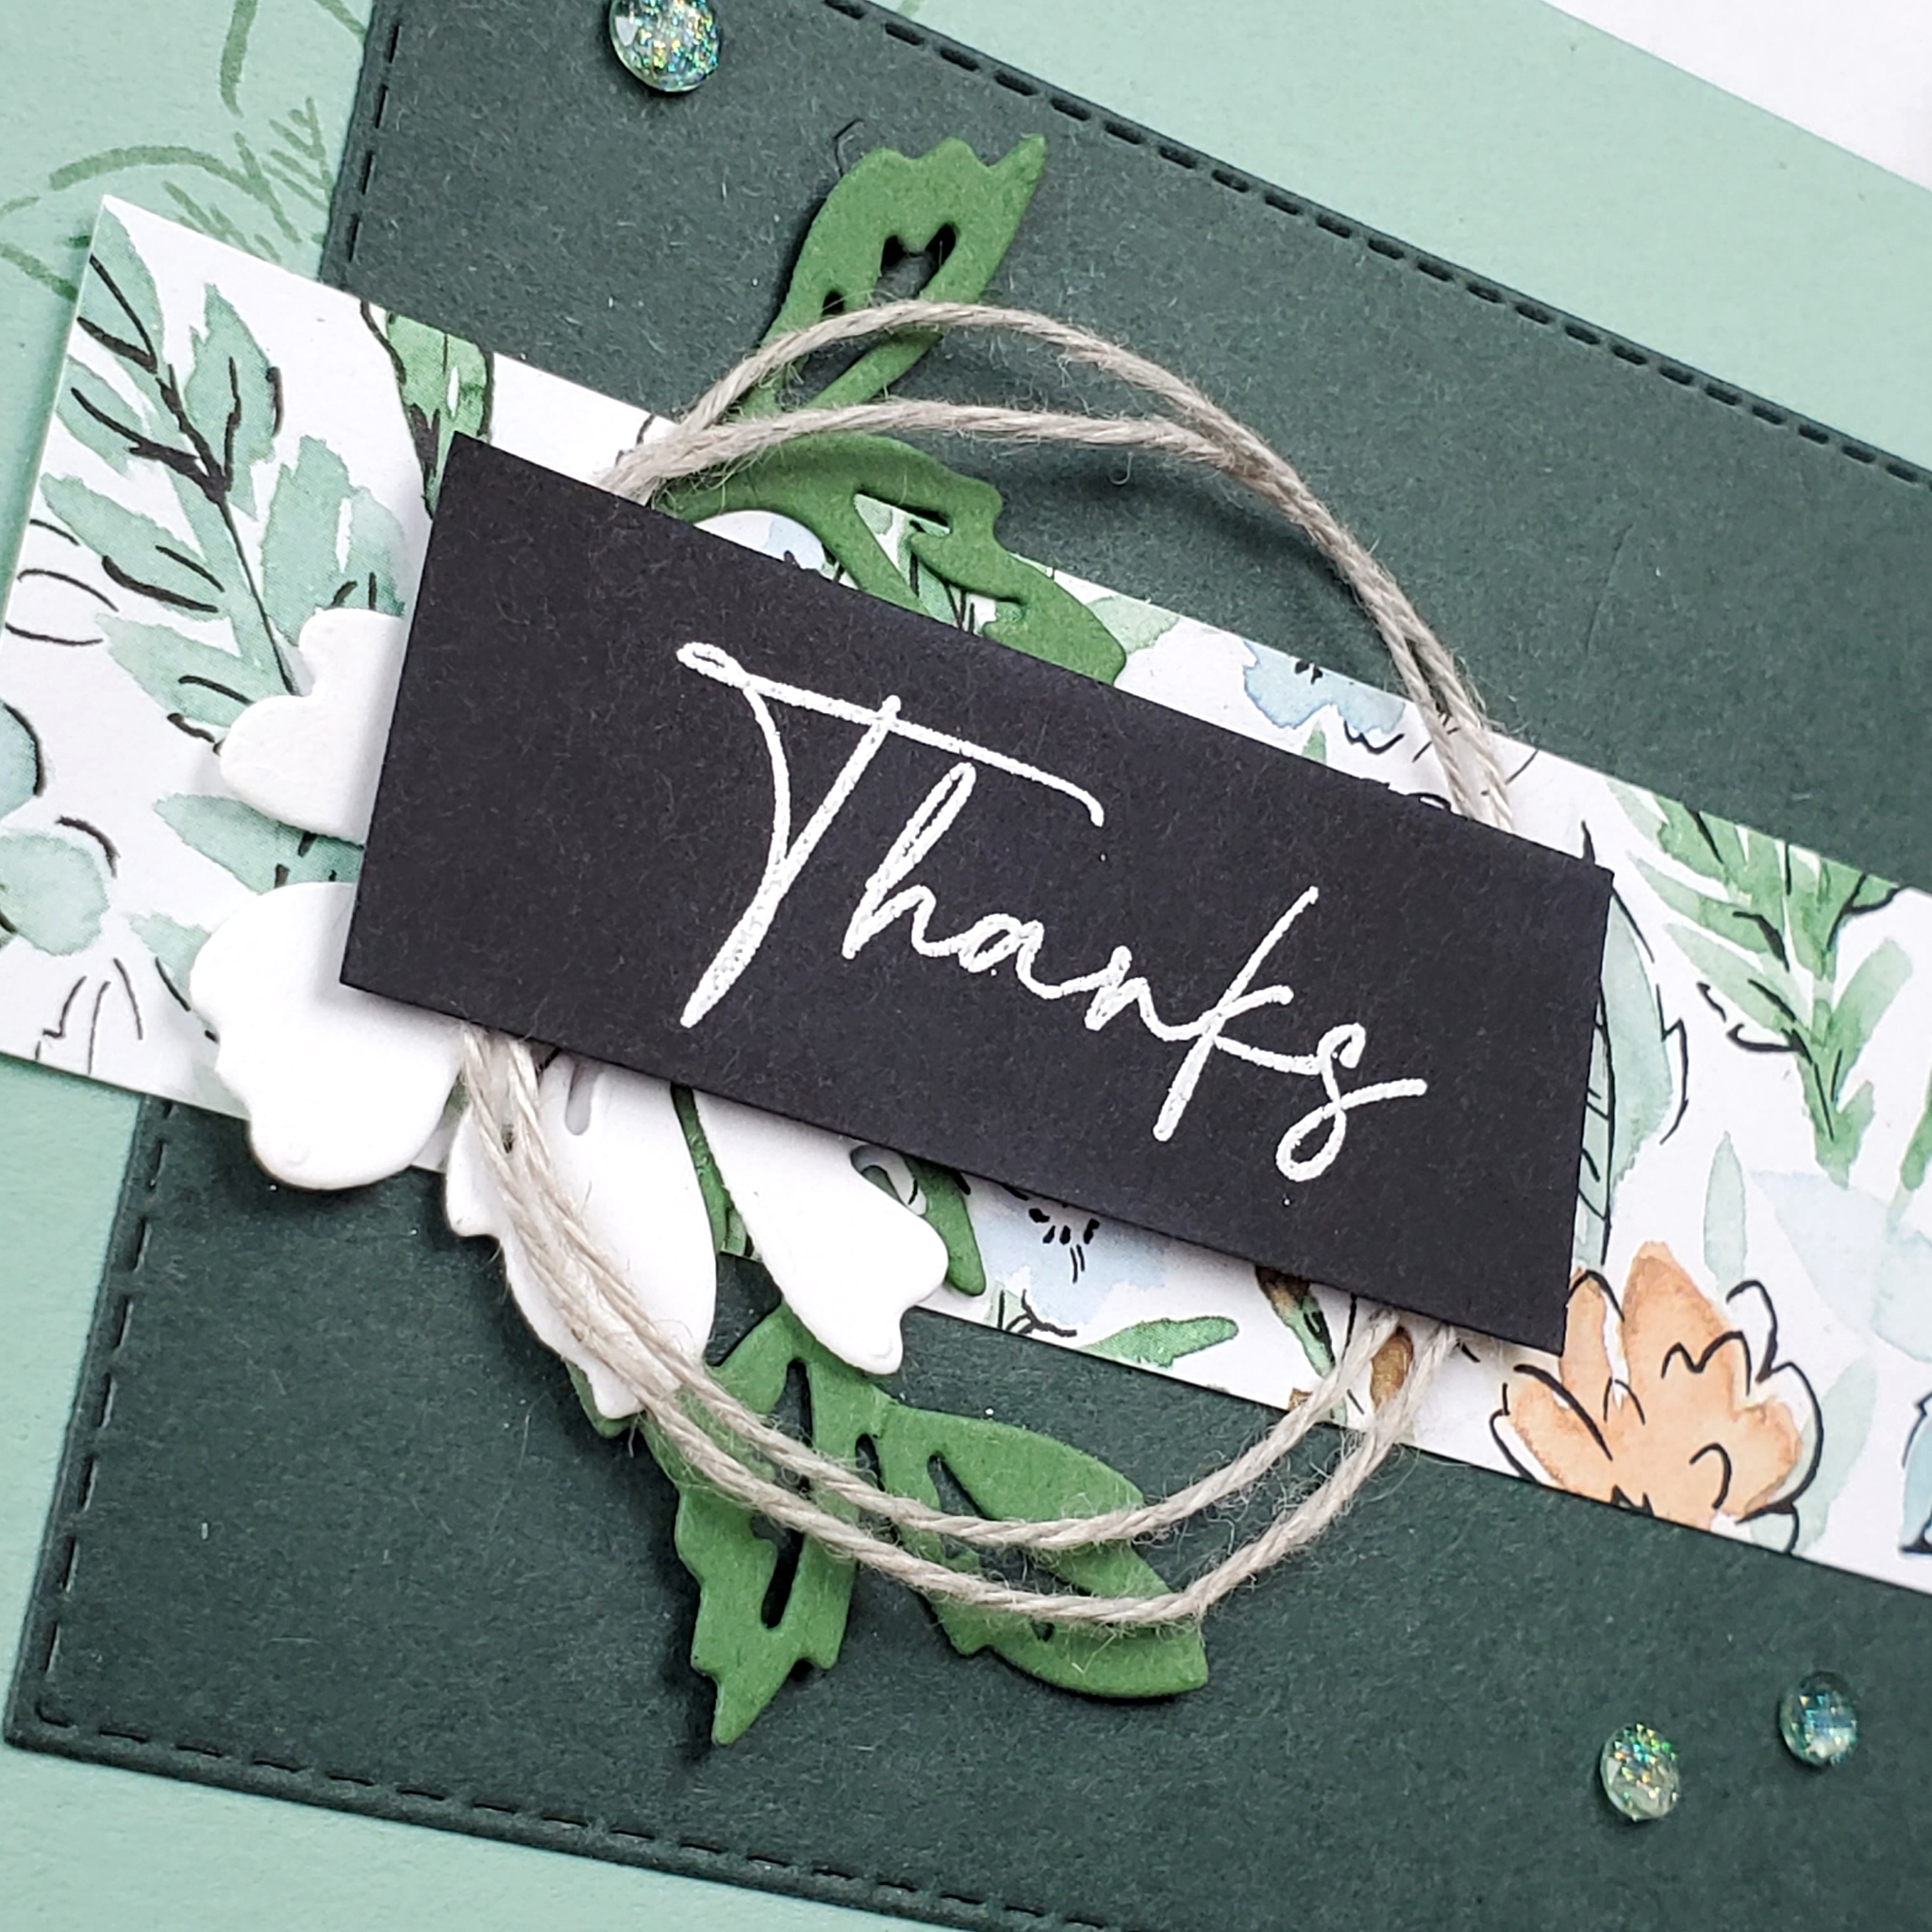
My favourite element on this card is the swirl of Linen Thread. This, with the die-cut flower and leaves creates a sweet little wreath for the heat embossed sentiment to nest in.

The Genial Gems are the final touch and are just as important on this card as everything else. They fill in the empty space without taking our attention off of the focal point of the design.

Now it’s your turn to give this sketch a try. Make a card and share it with us at the As You See It Challenge Blog. Your creativity is always a joy and an inspiration.

Make your design POP! with embossed layers

You can layer heat-embossed images with the right tools and a little bit of patience.

This is so cool! Watch the video below to find out exactly how I created this colourful sentiment on the black background.

It starts with a Joseph’s Coat technique

  1. Sponge multiple ink colours on cardstock.
  2. When completely dry, stamp bold image with Versamark ink
  3. Apply clear embossing powder and heat set until glossy.
  4. Apply Tuxedo Black Momento ink to completely cover cardstock. The embossing will resist the ink.
  5. Gently wipe ink residue off of embossed image to reveal all the glorious color!

Then the magic happens!

The next step is to carefully heat the embossed image and remove the embossing powder while it’s warm and melted. In my video, I used a heat and wipe technique with my heat tool and paper towel. This is a bit time consuming and requires moving quickly.

Another option is to take out your ironing board! Place the following layers on the ironing board: computer paper, embossed cardstock, paper towel, and a piece of computer paper on top. Use your iron on a low heat setting (without steam!) and apply to the layers. The embossing will melt and the paper towel will absorb it.

With both methods, it’s important to be careful that you don’t burn the paper.

Supplies used for this card

Watch my video to see this technique in action!

Floral Overlay Framed with Gold

Welcome to a send a card Sunday!

I wanted to show off the Fine Art Floral Designer Series Paper a few more times before it’s gone forever. I loved this paper and this entire suite of Stampin’ Up! products from the moment I saw it!

It’s always sad to see our favourite products retire. The January – June Mini Catalogue is coming to an end and many of the products will be selling out fast!

If you like this paper and the Golden Garden acetate, make sure you hurry over to my online store to grab some before it’s gone forever!

Look at how the acetate matches the patterned paper. So pretty! So Elegant!

I created a frame on this card by cutting out the center of the Gold Foil Paper with one of the Stitched Rectangle dies. The stitched edge adds a bit of texture and interest and is also a sneaky way to hide the adhesive beneath the clear acetate.

I think the gold is so striking with the Early Evergreen cardstock!

I stamped the Many Happenings stamp with Versamark ink on Basic Black cardstock and heat embossed it with White Embossing Powder before die-cutting. It’s so efficient to be able to use one stamp and one die to create a bunch of labels all at the same time!

Now I have a little collection of sentiments ready to use for my future projects.

Hello, time saver!