video

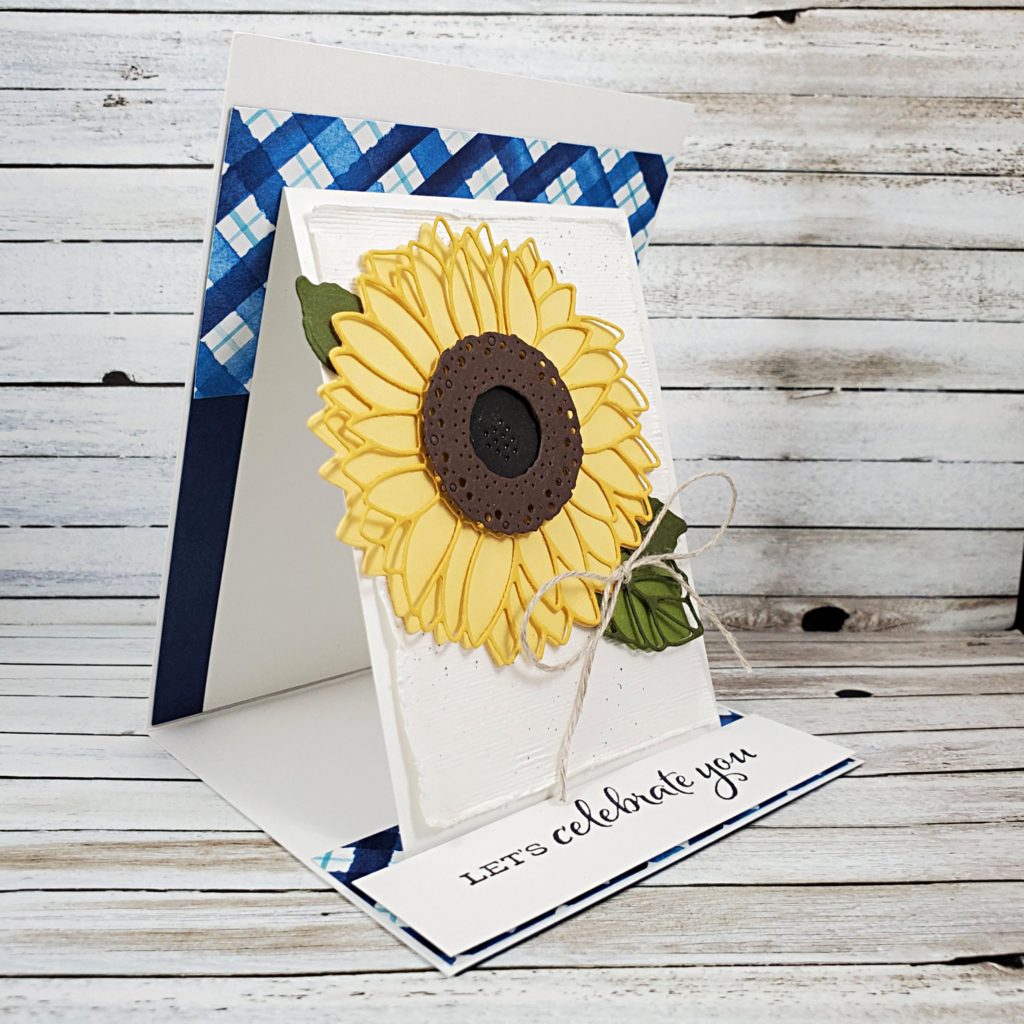
Sunflower Clam Shell Fancy Fold

Hello, from British Columbia, Canada!

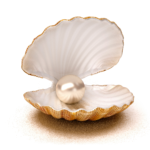
I created my own fancy fold card design so that it could stand on its own for display. I call it a clam shell fancy fold as it reminds me of the familiar image of an open seashell with a pearl resting inside. According to my very brief online search, clams don’t usually create pearls – did you know that? The common image that we see is likely a scallop rather than a clam. I wonder why the image isn’t commonly created with an oyster shell, since that’s where most pearls come from? I suppose oysters aren’t as aesthetically appealing as a scallop or clam. They sure taste good, though.
The Canadian west coast has some very large and tasty oysters. My dad would cook them in the shell on the barbecue, then we’d scoop them out of their shell and smother them in melted garlic butter. We had to eat them with a knife and fork because they were so big. I don’t enjoy the raw or breaded oysters nearly as much as I enjoy the ones that are steamed in their shell over the grill.  I haven’t had them for quite a while now. Ah! I might have to see if I can get my hands on some again soon.

Anyone who participated in my online technique class in February made this very card and now I get to share it with you! I offer my monthly technique class via Zoom, but I also provide everyone with a written tutorial and a video tutorial. That way, if they can’t attend the class, they can still receive the pre-cut supplies and follow the tutorials to make the cards at their convenience and, of course, access the tutorial as often as they like.

Check out the video below to find out how to make this Clam Shell Fancy Fold card.
Here’s to You Alternative

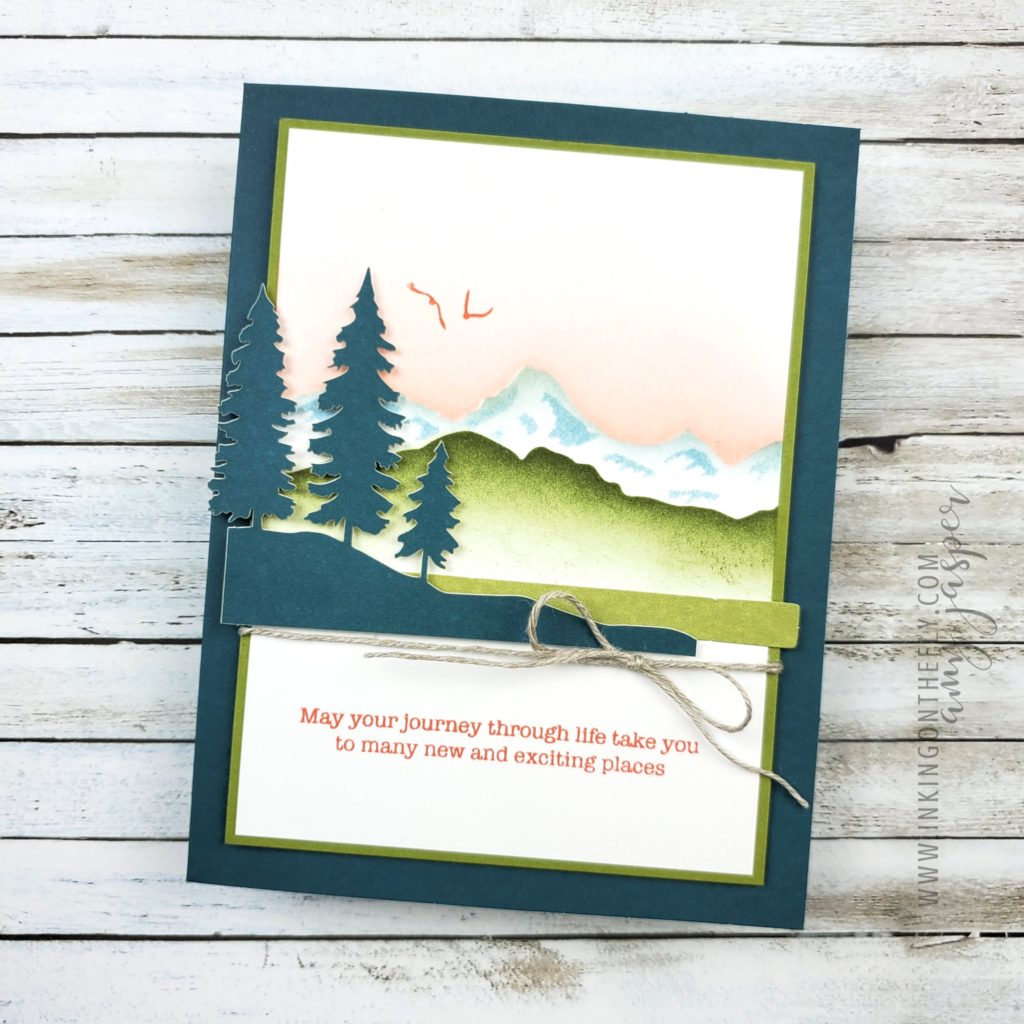
I loved the theme of the March Paper Pumpkin kit. Mountains and trees are some of my favourite things! The kit also had a little gift inside that wasn’t used in the making of the basic card designs: a set of 4 mini masks and a full sponge “round”.

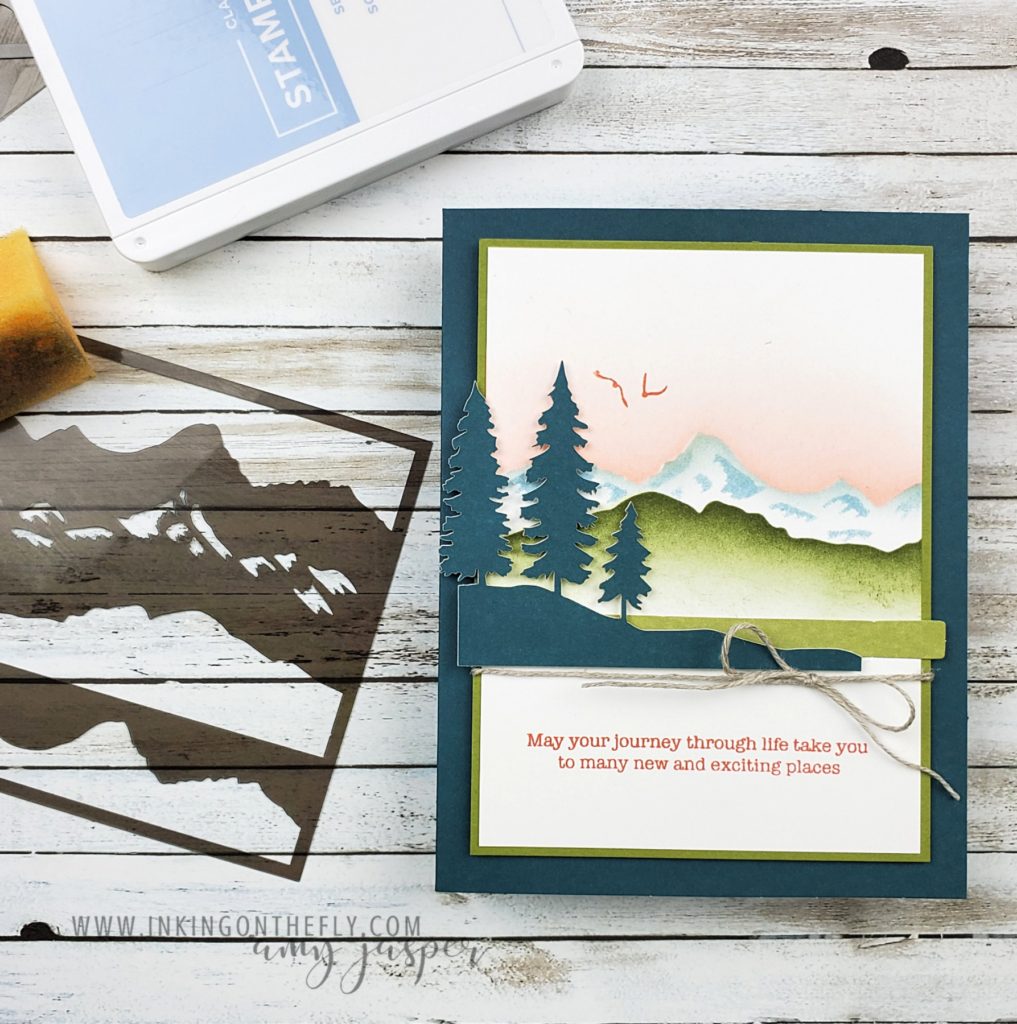
When you get an awesome bonus like that, you just HAVE to play with it! My alternative project for the kit only uses one of the masks, but I’ll definitely be playing with them some more!

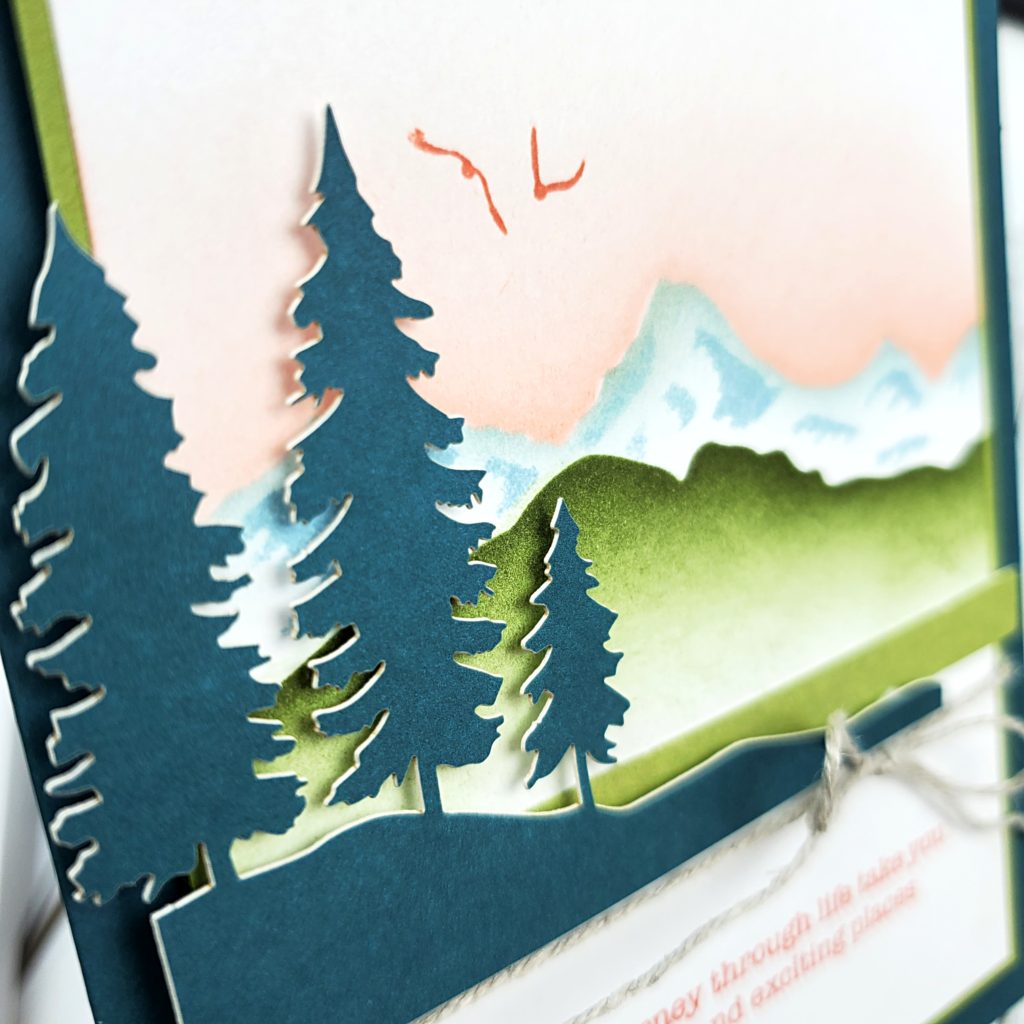
I used the mask that has the mountains on it. I sponged with Calypso Coral, Seaside Spray, and Mossy Meadow ink on Basic White cardstock.

I used Old Olive cardstock as behind my sponged Basic White, wrapped and tied my Linen Thread around them and used Stampin’ Dimensionals to adhere them to the Pretty Peacock card base that was provided in the Paper Pumpkin Kit. The die-cut trees and the narrow strip of Old Olive coloured paper are also from the supplies in the kit.

I shared this card during a Facebook Live video yesterday. If you’re on Facebook, you definitely should like and follow my Facebook Page so you don’t miss out on my posts, promotions, classes and events.

Watch the video below to see how I used the mask and sponges to create this card.

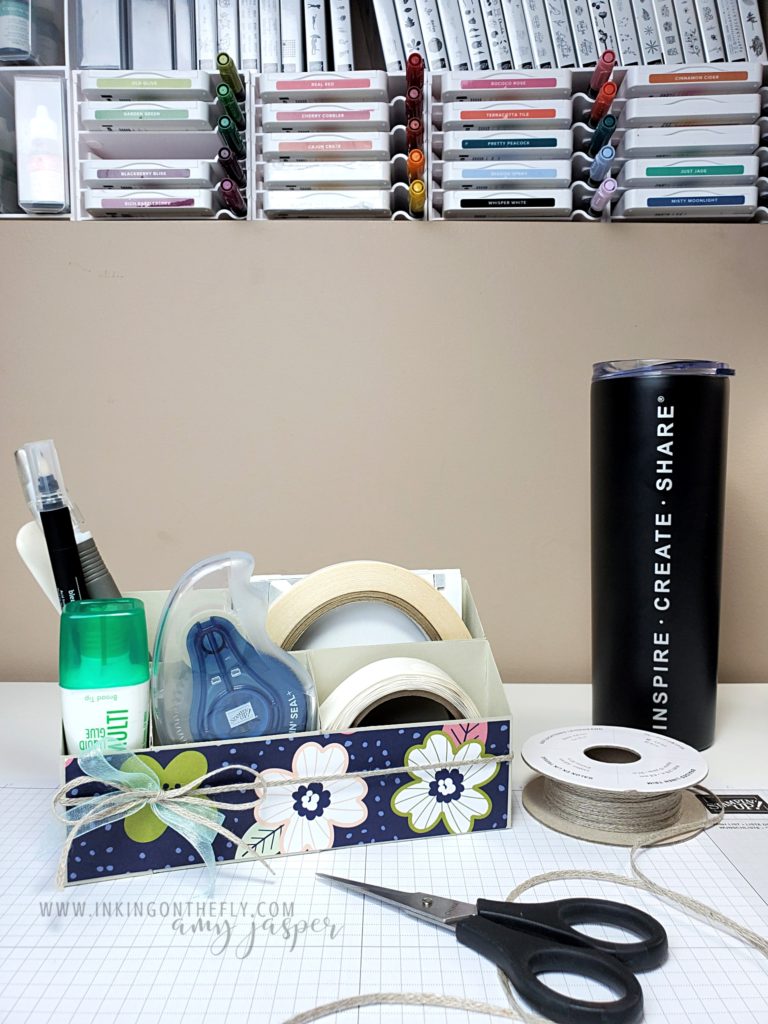
Desktop Adhesive Caddy

At the end of each year, I try to offer a special project for my customers.

Usually, I have a Christmas party in my home with goodies, prizes, and cheerful holiday music, while we craft together in our festive attire. It’s a wonderful time! The evening always ends with warmed hearts and a final Merry Christmas greeting to all, as each person bundles up against the snow and cold to make their way home again.

This year was a little bit different as we weren’t able to get together in person. Instead, we were able to meet together virtually on Zoom and enjoy each other’s company while we created the project that I prepared for everyone. The thing about virtual classes is that customers from out of town, who normally couldn’t attend my classes in person, were able to join in on the event. What a gift! We still had prizes and cheerful holiday music and we still ended with warmed hearts and a final Merry Christmas as we signed off and settled into our own space in our own homes. It was delightful! I feel incredibly blessed with the friends I’ve made because of my Stampin’ Up! business.

That said, I thought I would share the project with you as well, dear reader. We made a desktop adhesive  caddy that was inspired by the project shared on sallystampers.com. I made some changes to the individual boxes and added a couple more sections for the Stampin’ Seal and Stampin’ Seal Plus. The only adhesive that doesn’t fit in my caddy is the Fine-Tip Glue Pen (I might have to create an additional section and share that with you another day).

The designer series paper I used for this project will be available in January along with many more beautiful stamps, paper, and embellishments launch of the Sale-a-bration brochure and the January – June 2021 Mini Catalogue.

Follow along with my video tutorial to make this beautiful and functional desktop adhesive caddy.

I wish you a very warm heart and a safe and happy holiday! Merry Christmas!