Techniques

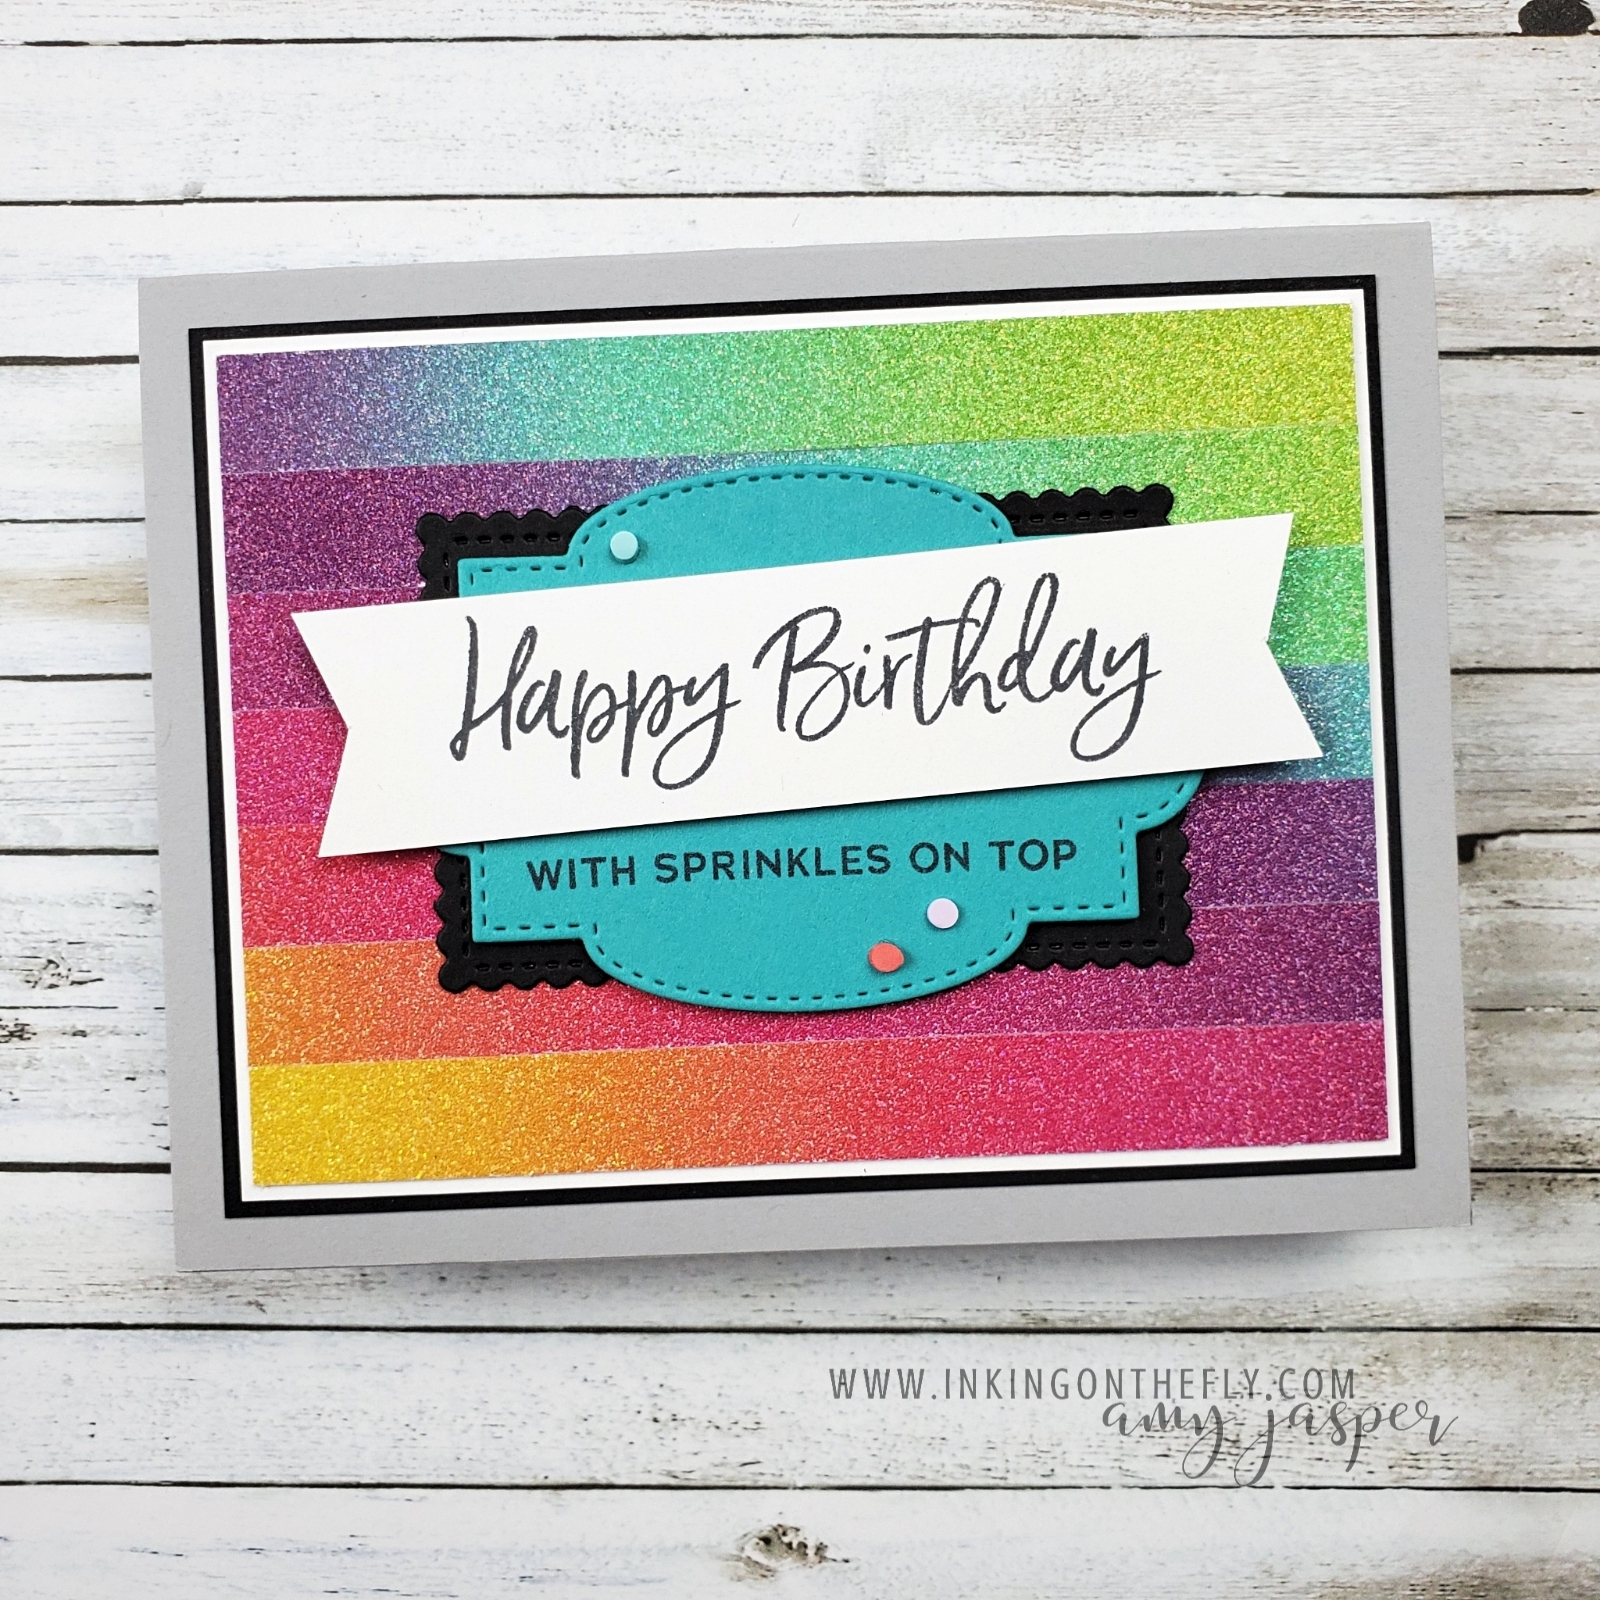
Make your design POP! with embossed layers

You can layer heat-embossed images with the right tools and a little bit of patience.

This is so cool! Watch the video below to find out exactly how I created this colourful sentiment on the black background.

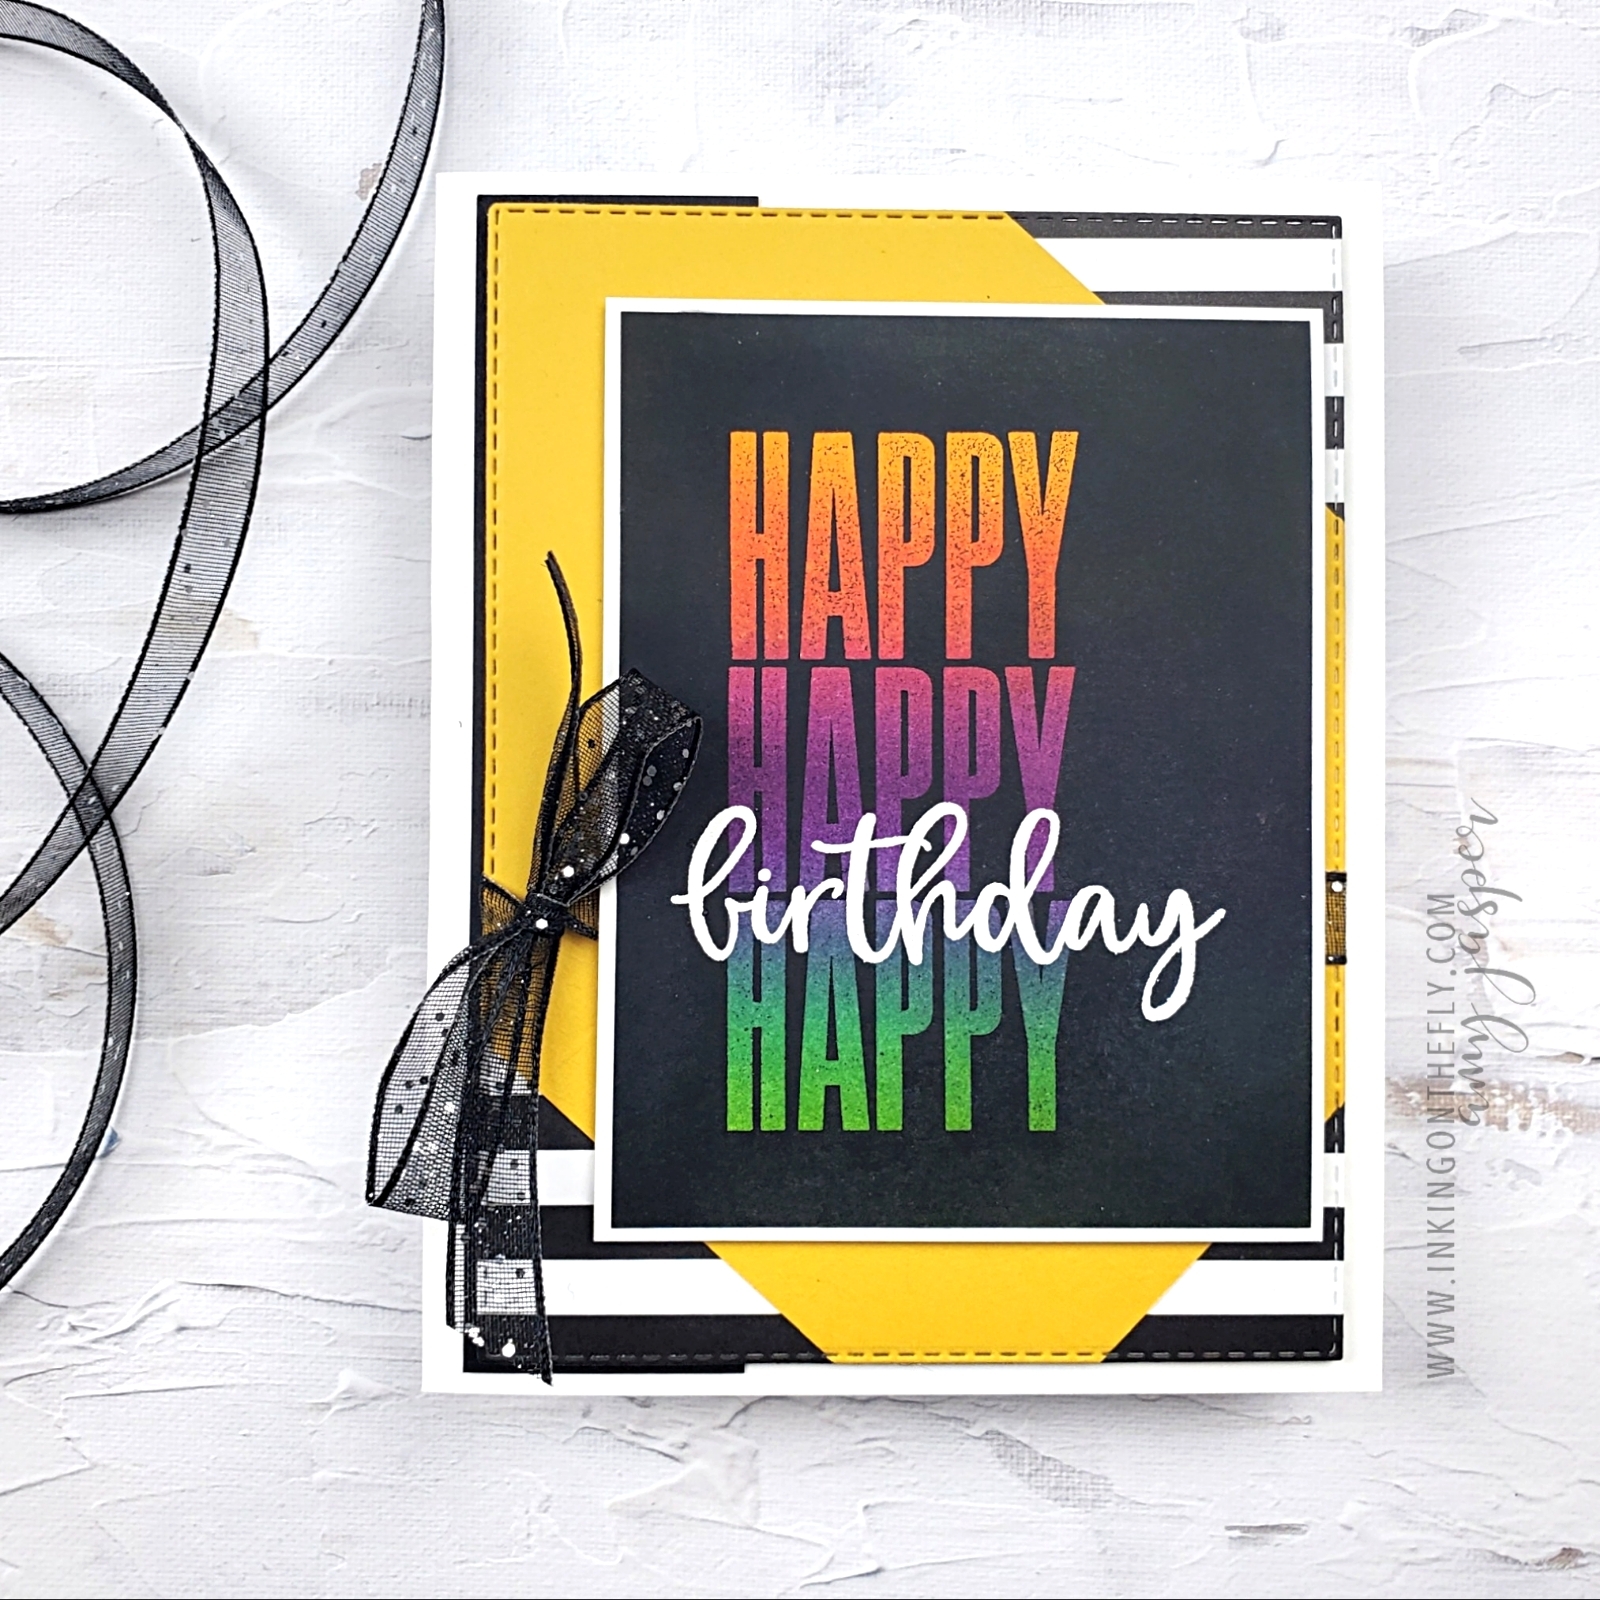
It starts with a Joseph’s Coat technique

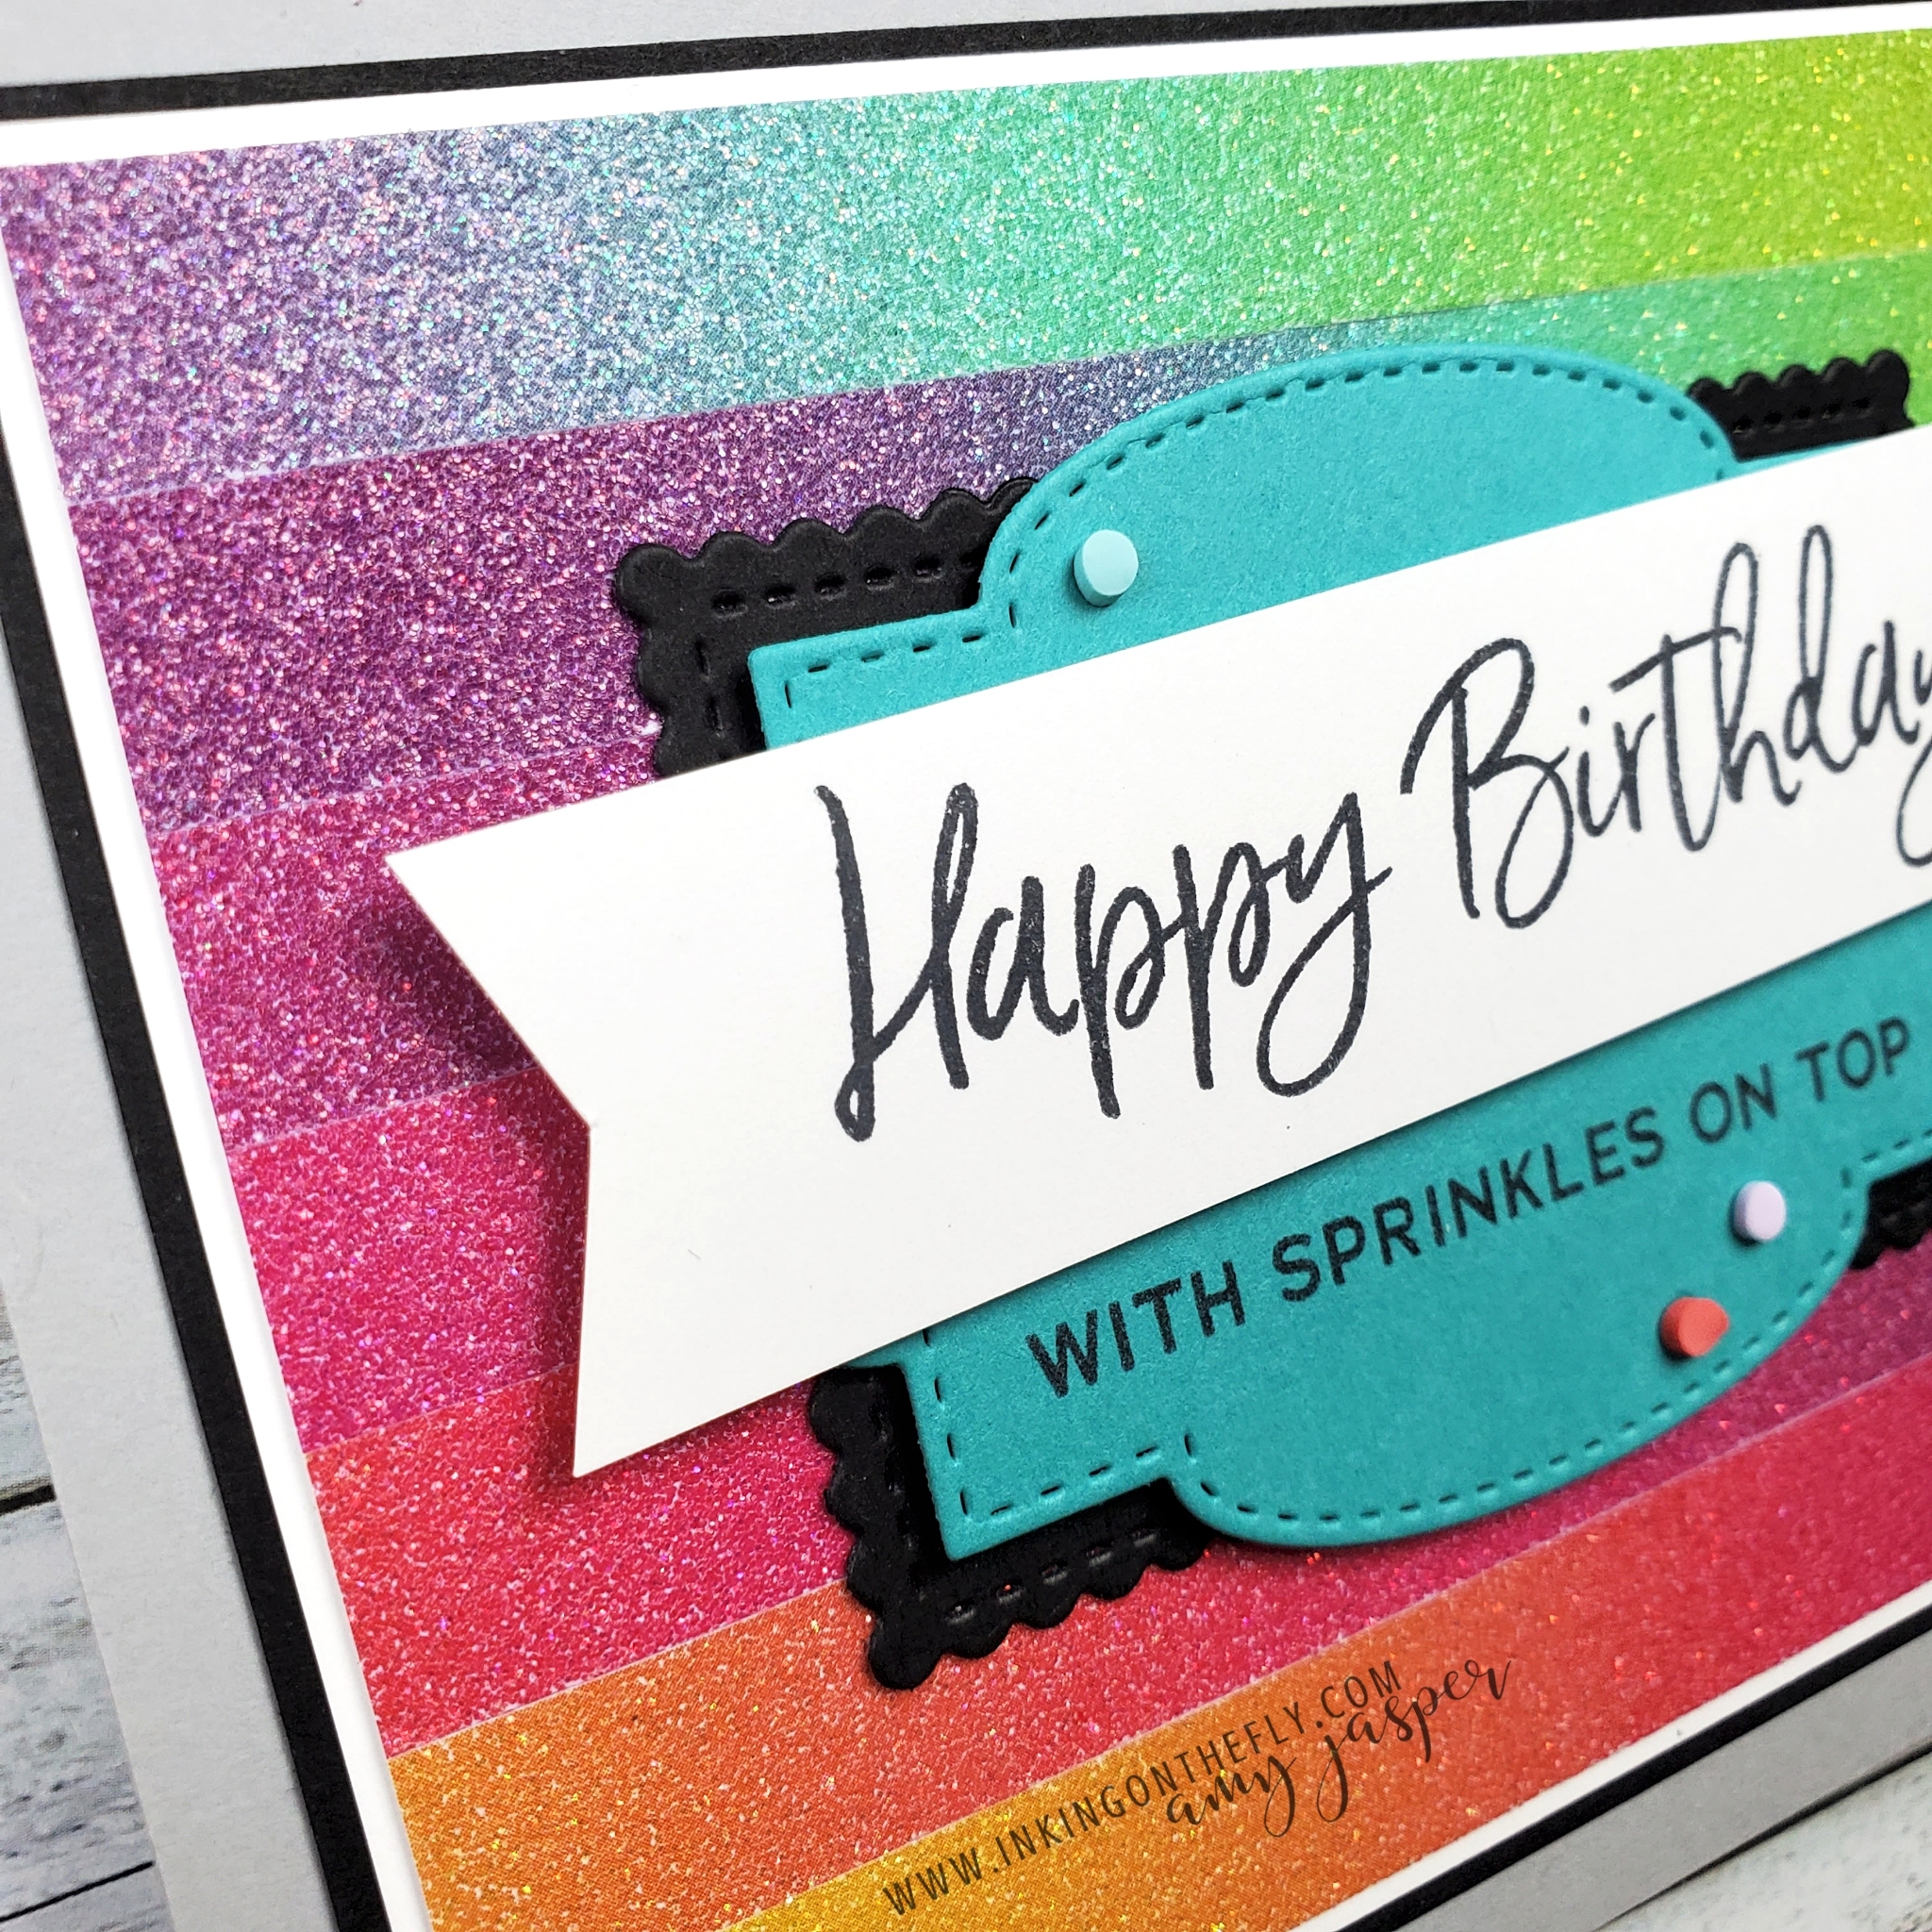
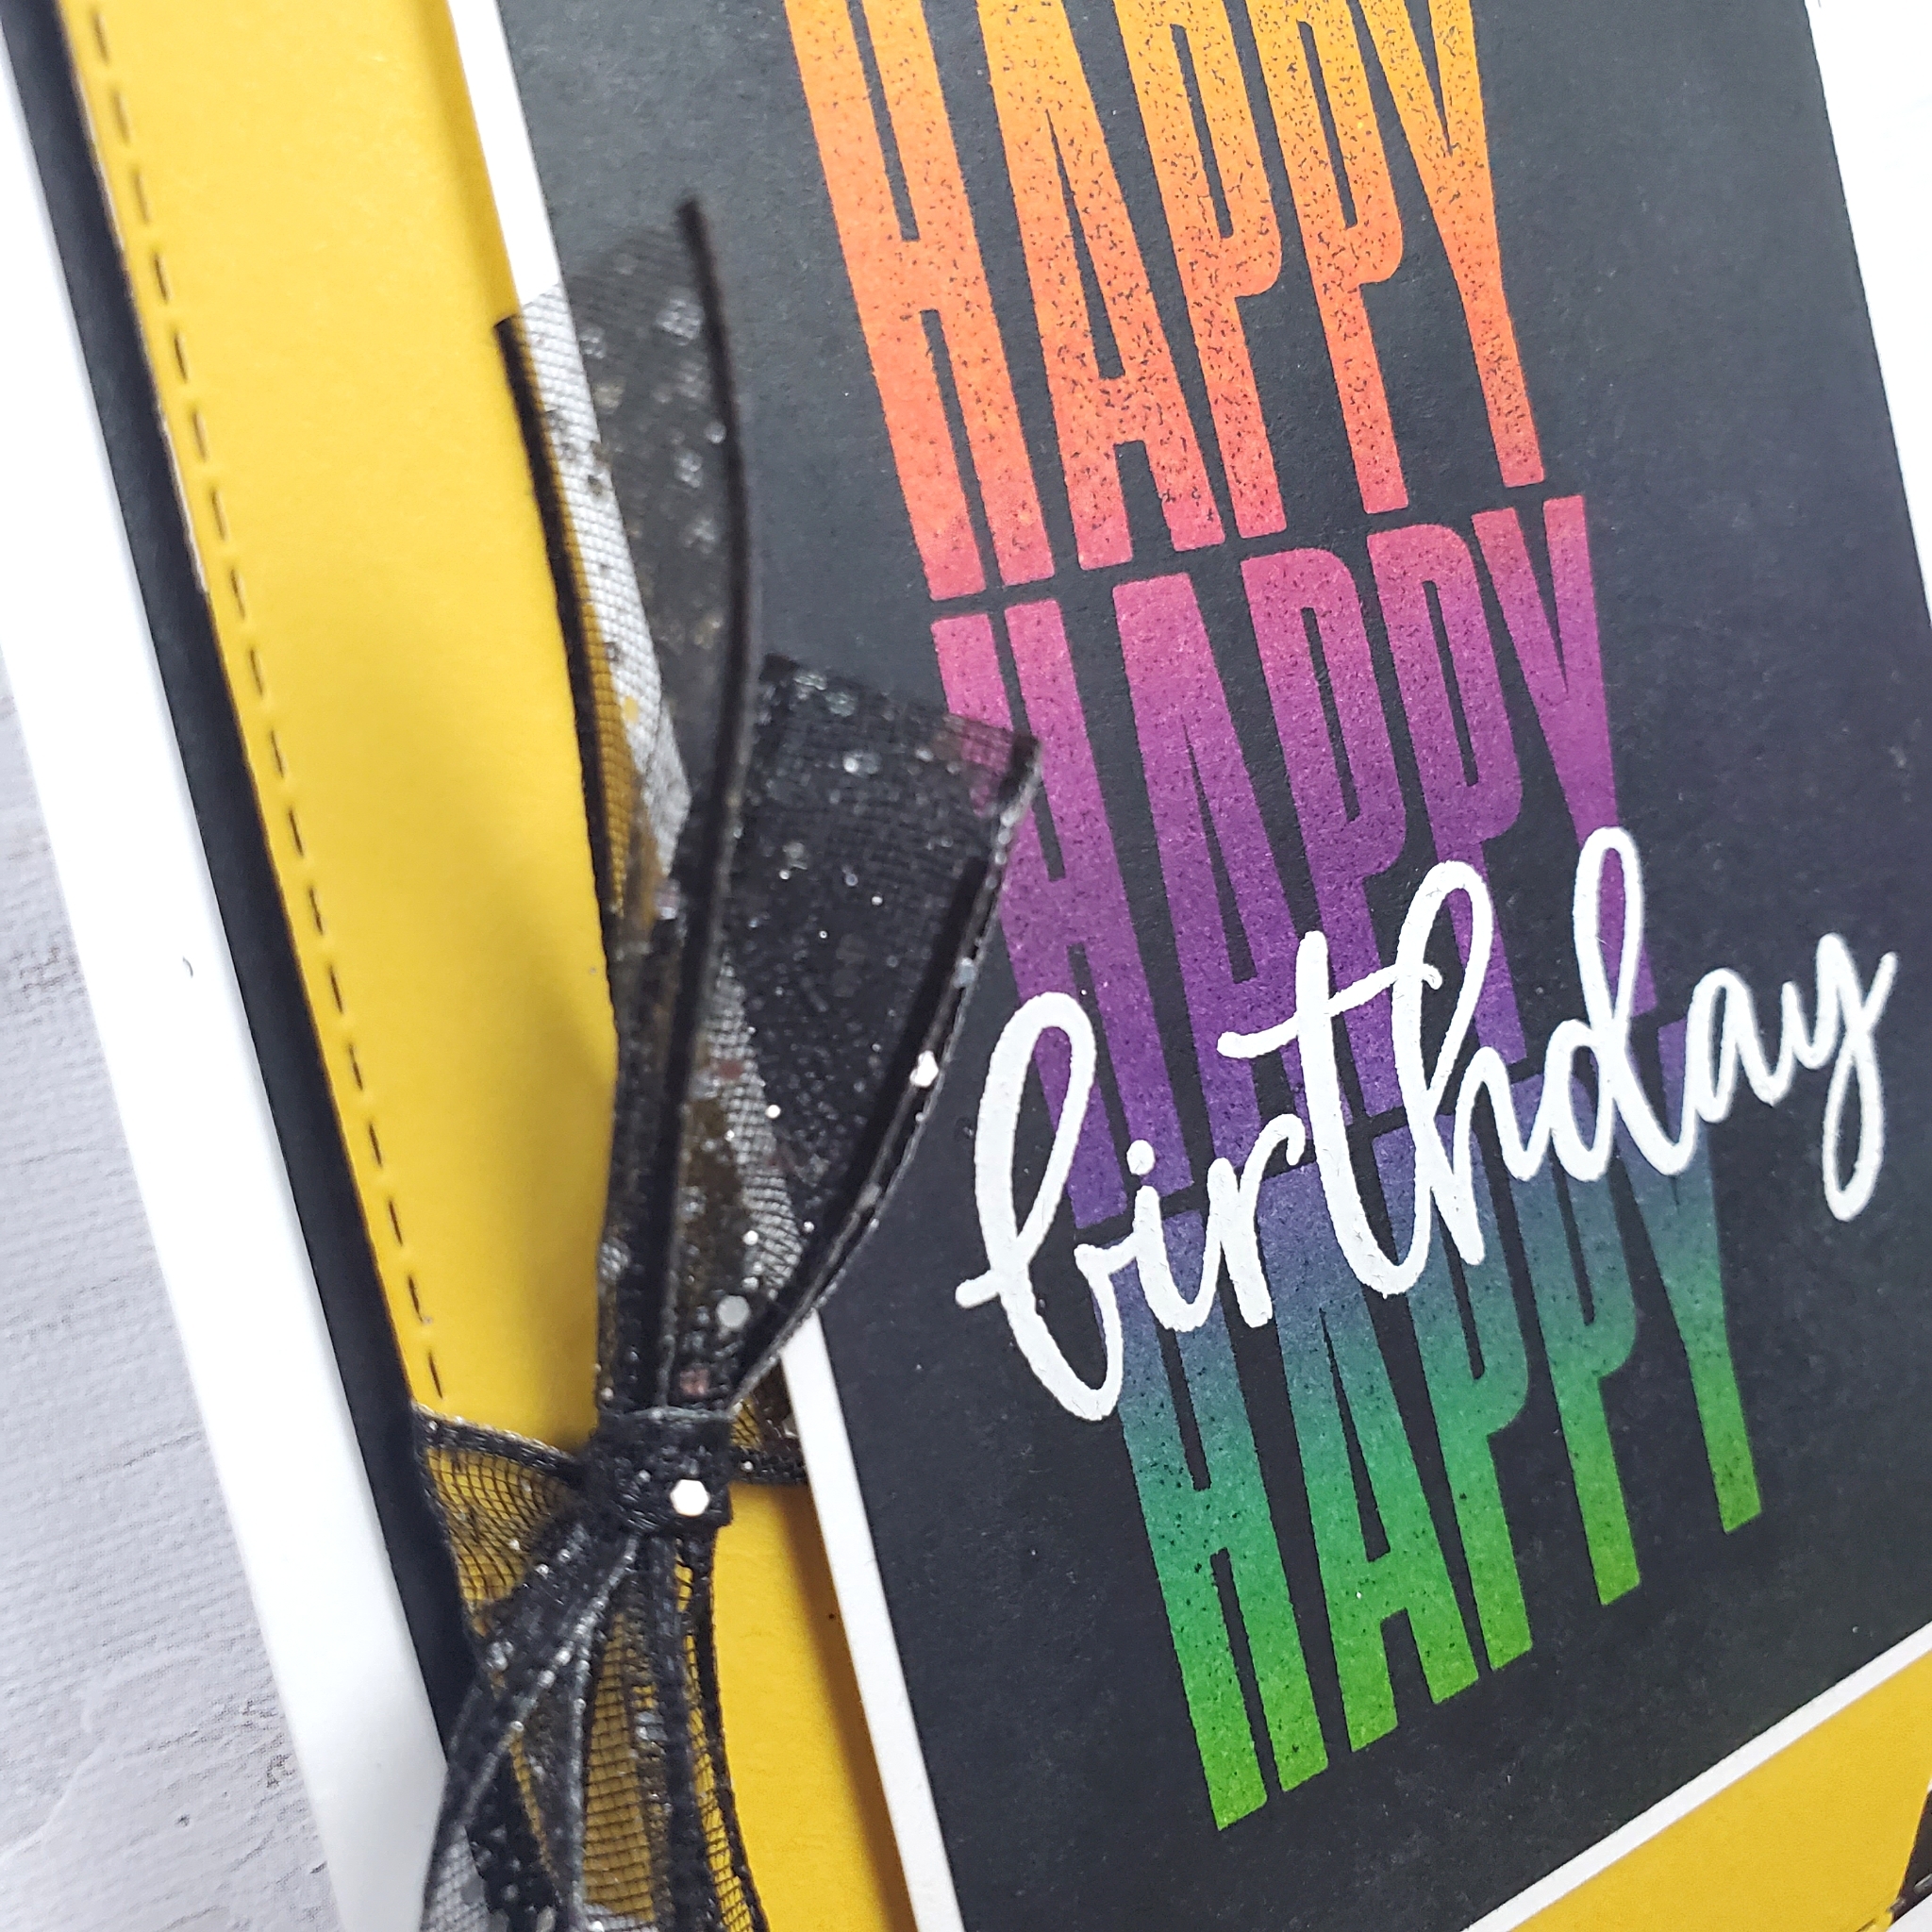
  1. Sponge multiple ink colours on cardstock.
  2. When completely dry, stamp bold image with Versamark ink
  3. Apply clear embossing powder and heat set until glossy.
  4. Apply Tuxedo Black Momento ink to completely cover cardstock. The embossing will resist the ink.
  5. Gently wipe ink residue off of embossed image to reveal all the glorious color!

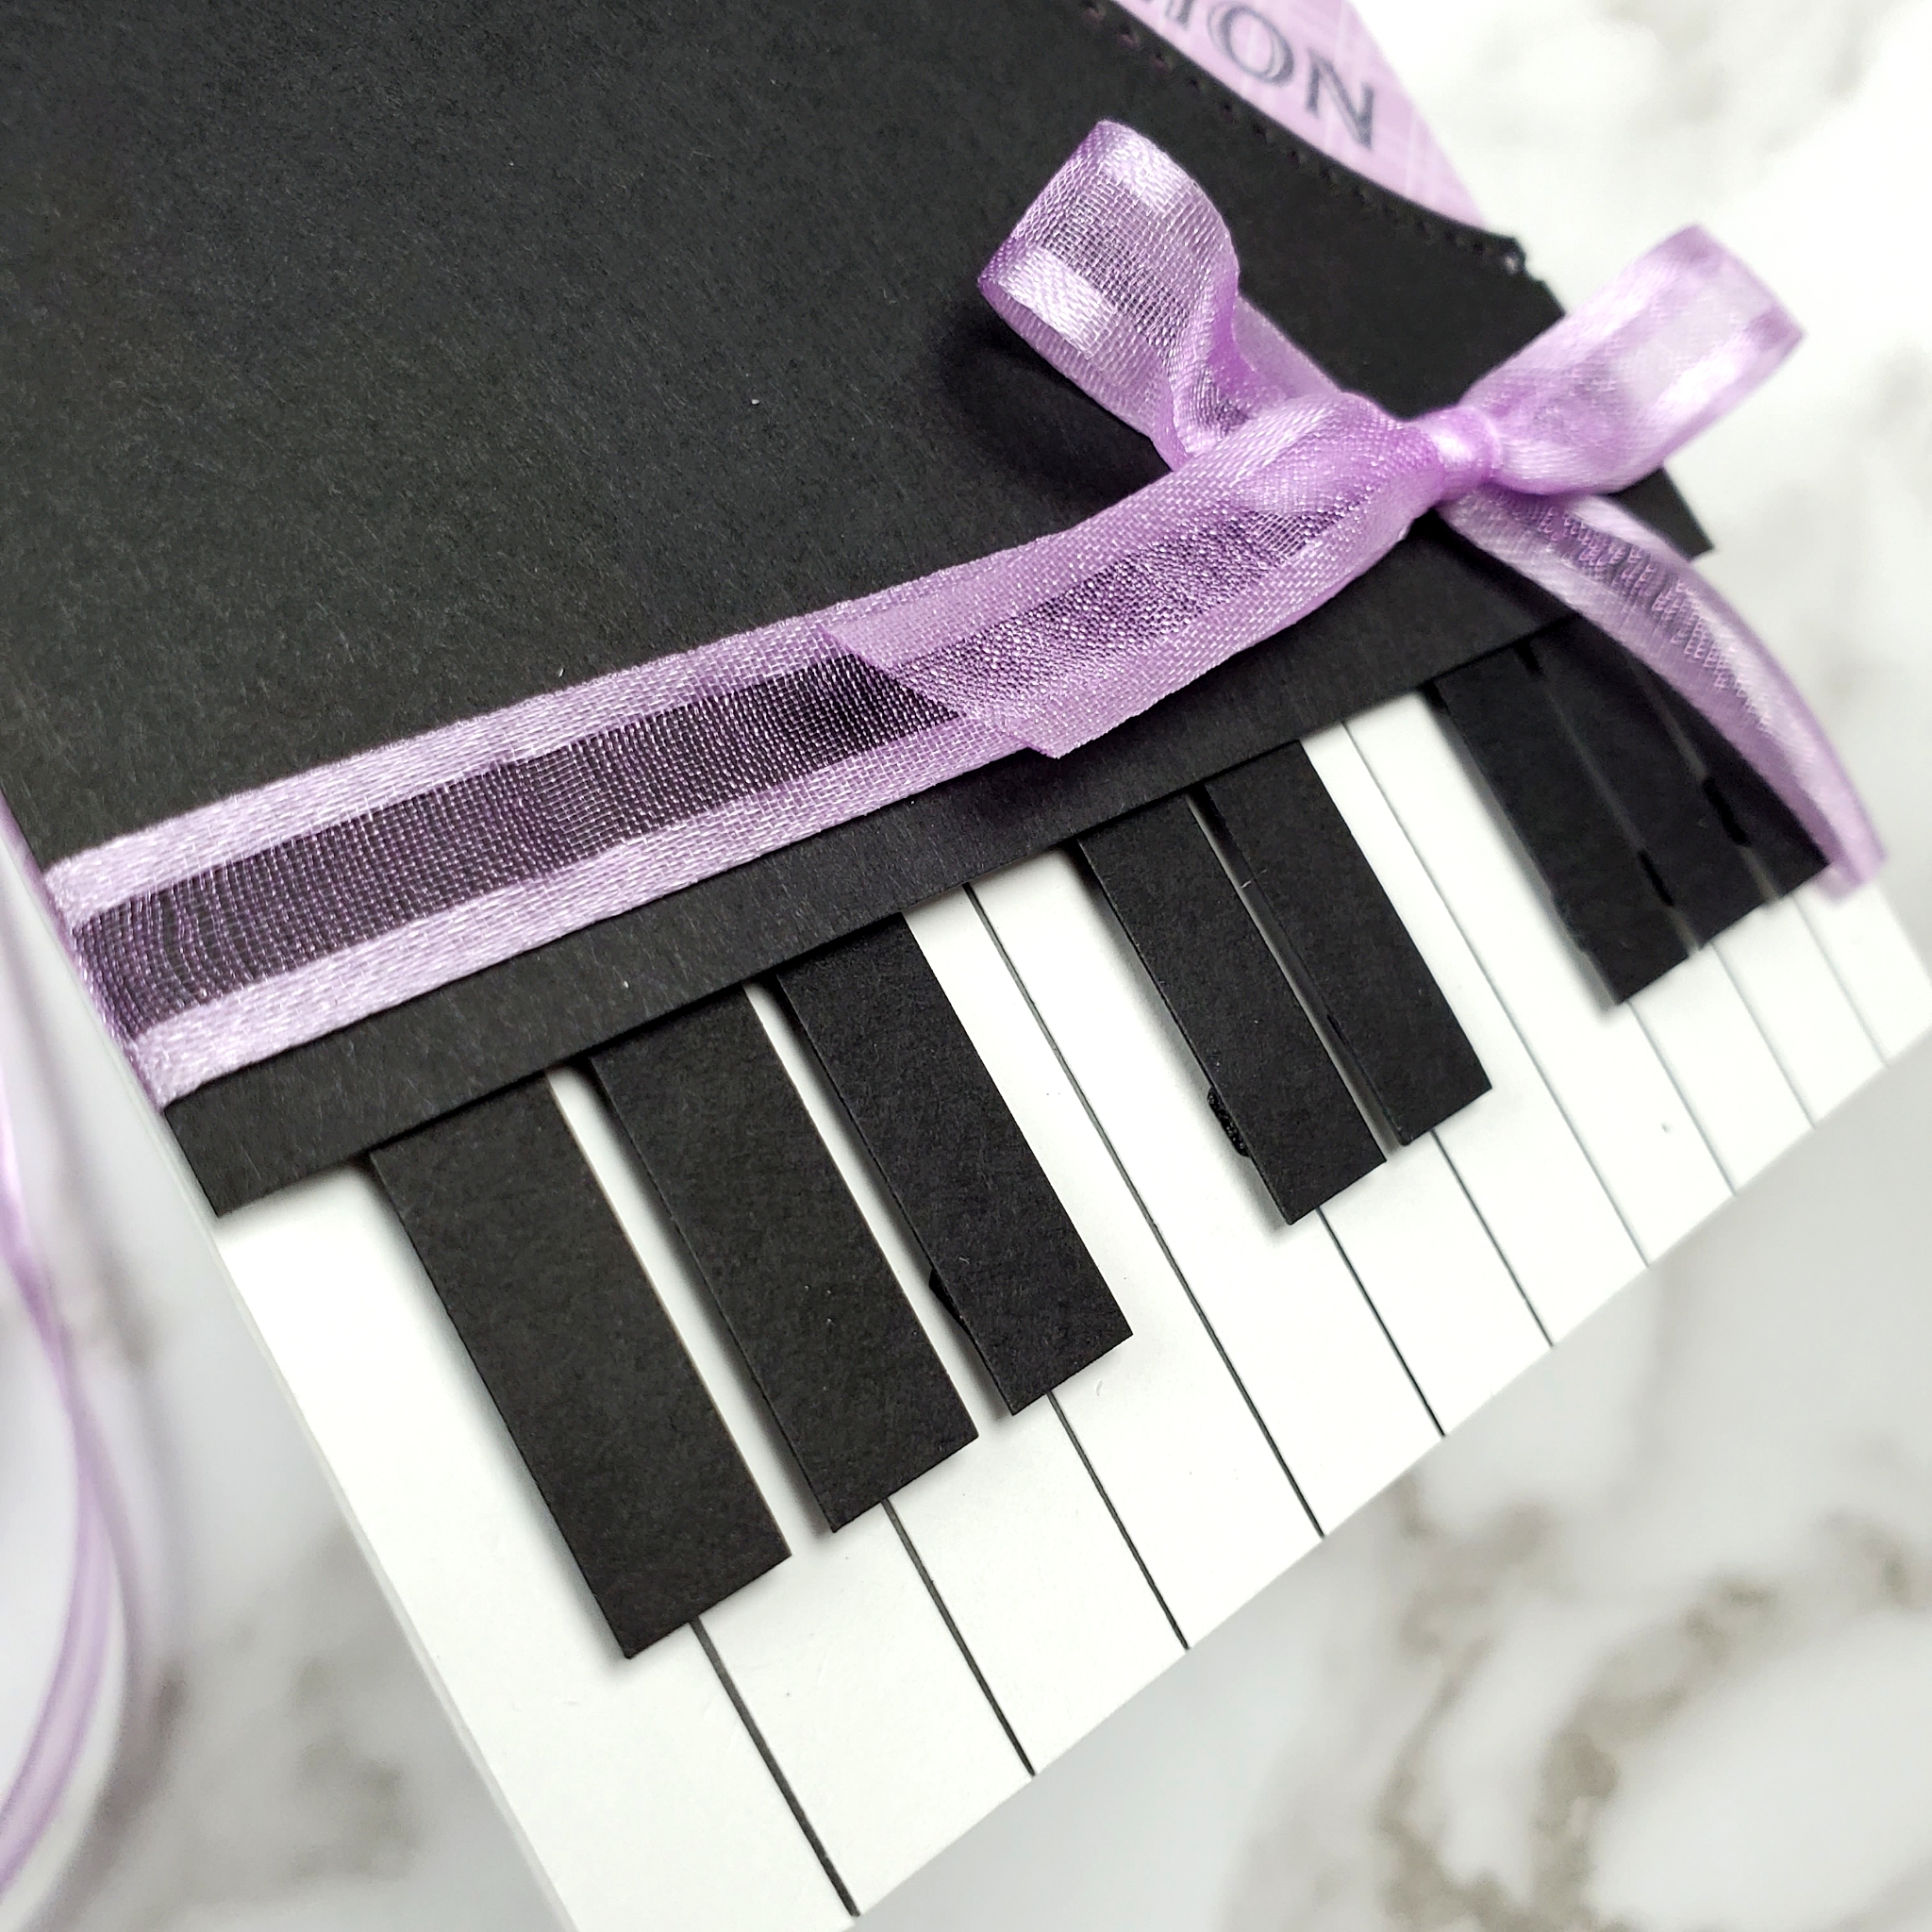
Then the magic happens!

The next step is to carefully heat the embossed image and remove the embossing powder while it’s warm and melted. In my video, I used a heat and wipe technique with my heat tool and paper towel. This is a bit time consuming and requires moving quickly.

Another option is to take out your ironing board! Place the following layers on the ironing board: computer paper, embossed cardstock, paper towel, and a piece of computer paper on top. Use your iron on a low heat setting (without steam!) and apply to the layers. The embossing will melt and the paper towel will absorb it.

With both methods, it’s important to be careful that you don’t burn the paper.

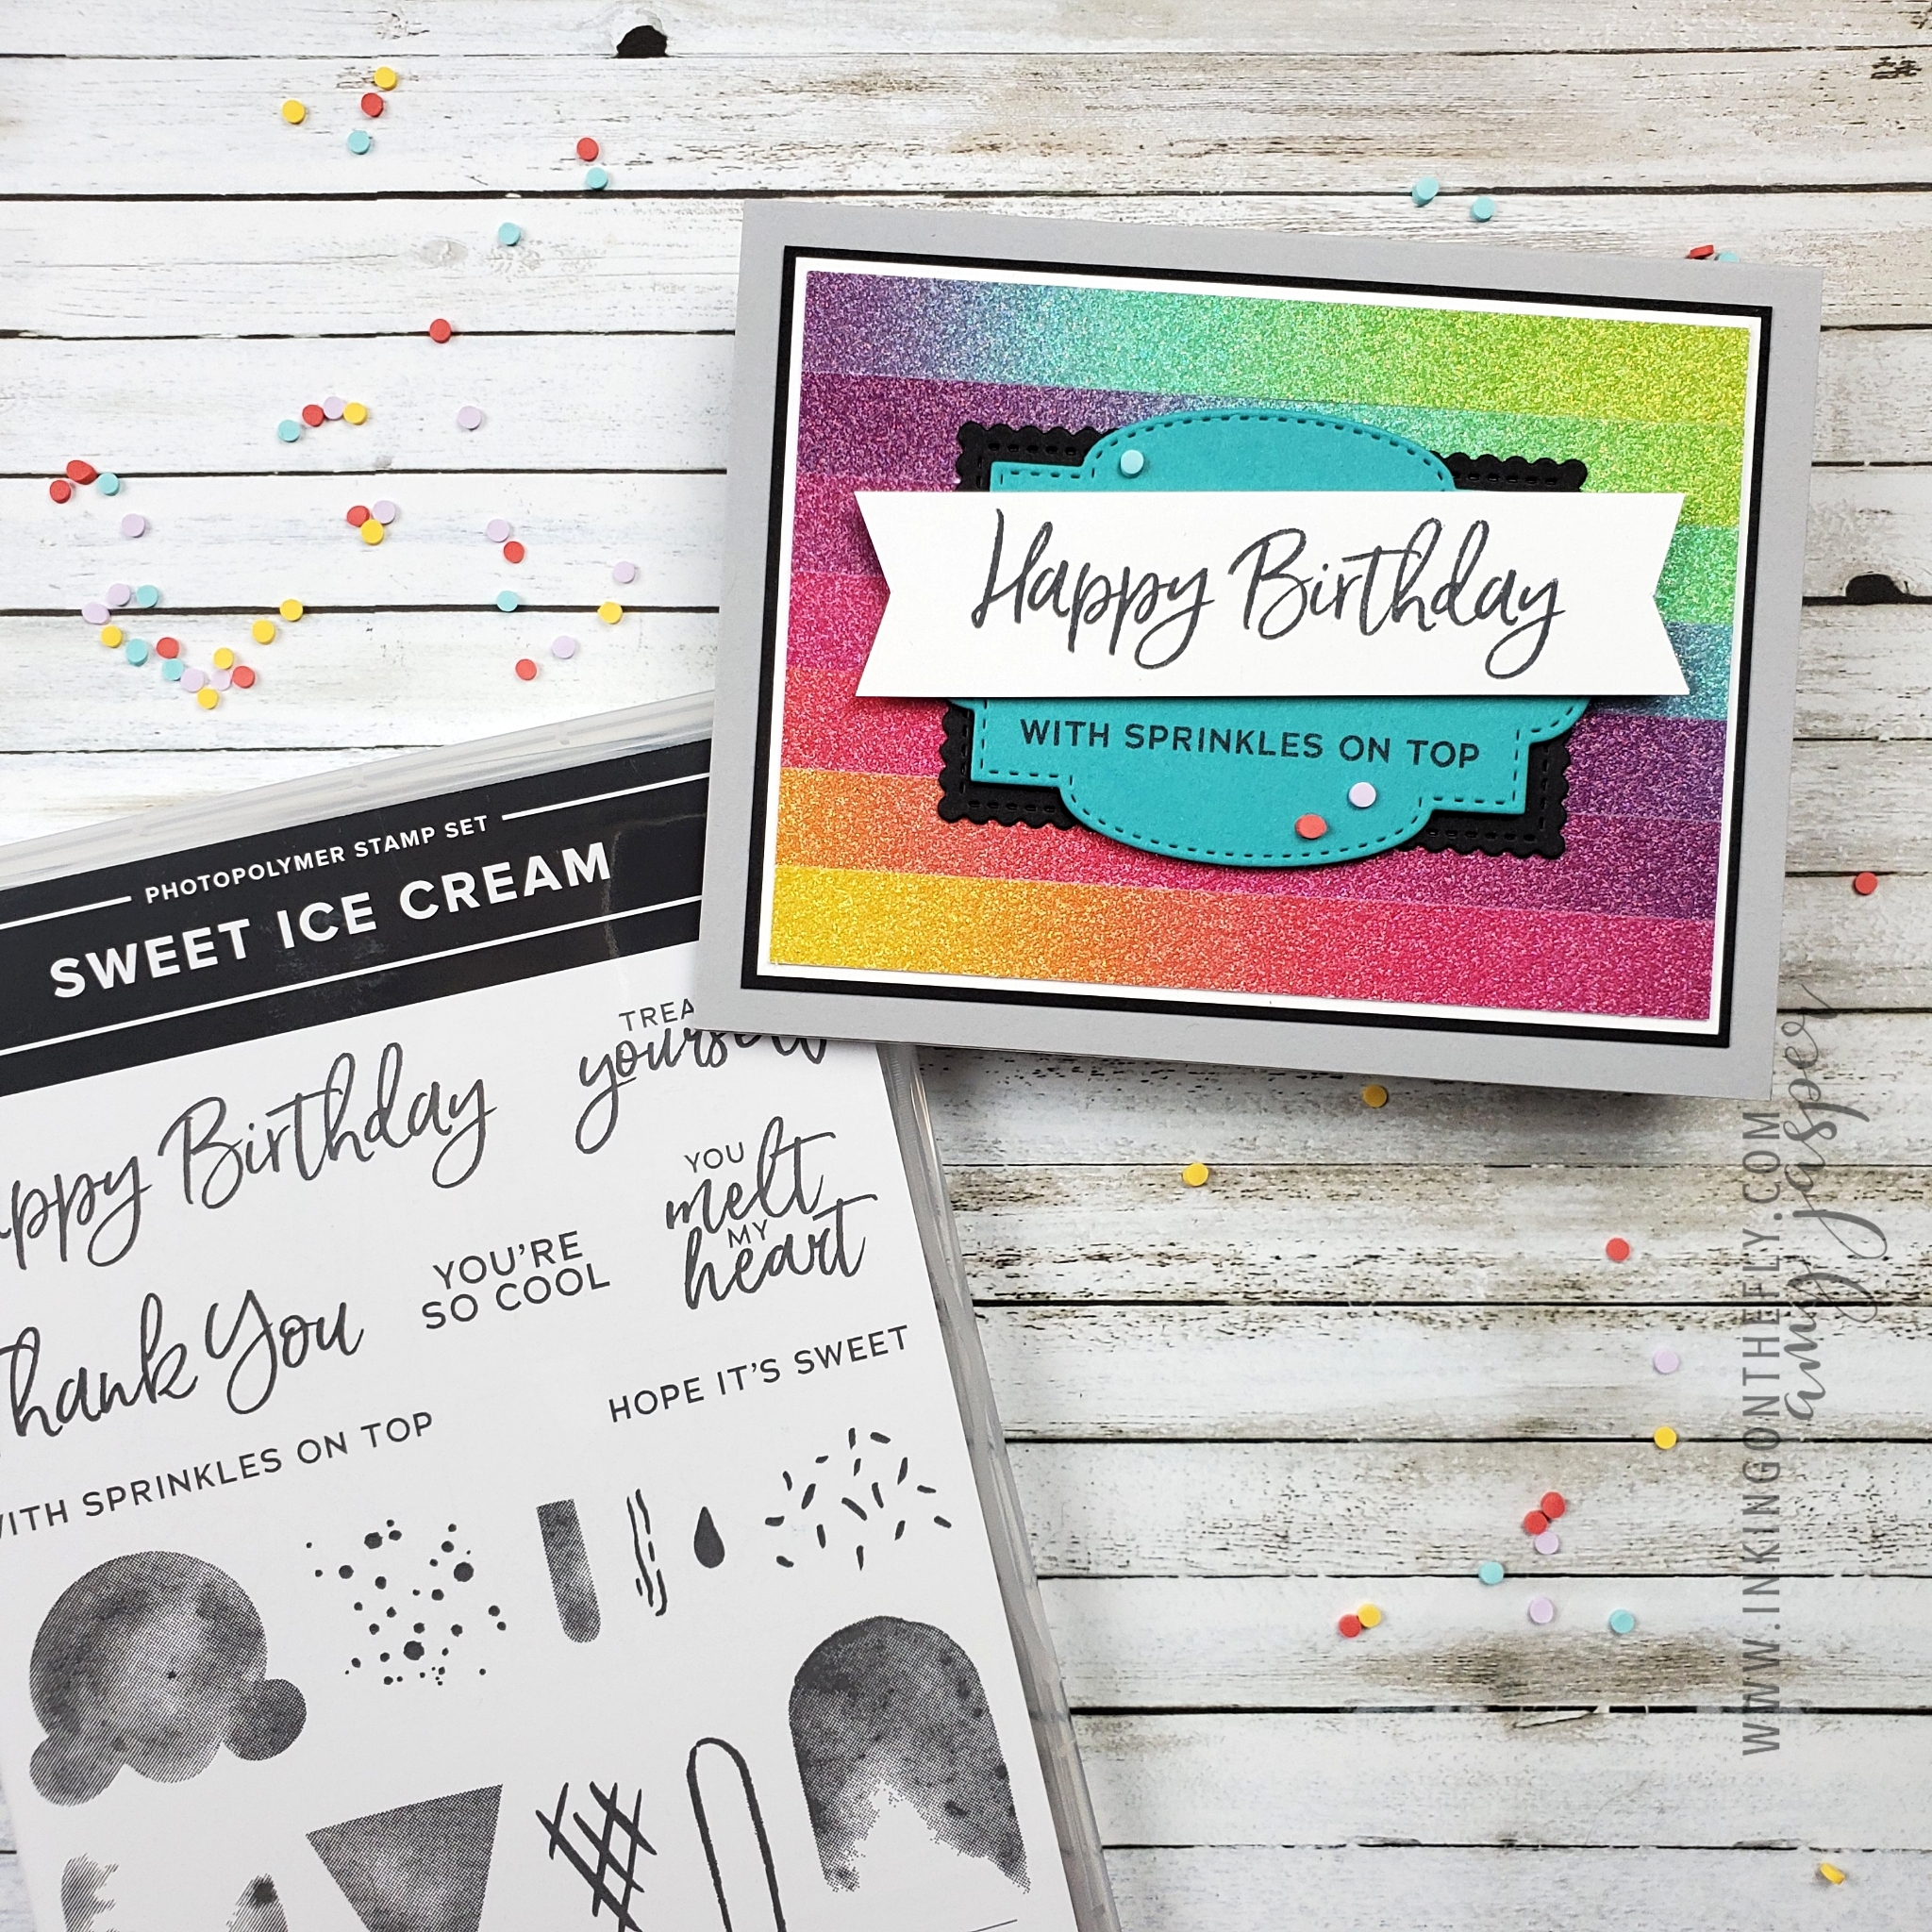
Supplies used for this card

Watch my video to see this technique in action!

An excellent time to share a rainbow card

This rainbow glimmer card was inspired by a card I saw online a while back. It uses strips of the Rainbow Glimmer Paper in such a way that you get to show off the entire colour spectrum of the paper.

I made this card as one of the projects offered at a Stamp Camp event a few months ago. The Ice Cream Corner Sprinkles are retiring at the end of this month, so if you like those sweet little candy dots, make sure you go and grab them before their gone.

Did you know that June is Pride Month! What a perfect time to share this rainbow card!

How it’s done.

You need to cut 7 strips of the Rainbow Glimmer Paper to make this background. Each strip needs to have the full spectrum of colour and be 12″ long and ½” wide. I used my Multipurpose Liquid Glue to adhere the Rainbow Glimmer strips to a 3 ½” 4 ¾” piece of Basic White cardstock. It can be very helpful to lay out your strips how you want them before committing them to the paper with your glue.

The first strip is adhered so that the yellow end is flush with the bottom left corner of the Basic White. Don’t worry about the long section of the strip on the right that isn’t attached to your paper. You’ll trim off the excess after all the strips are applied.

The second Strip is attached so that it’s flush against the upper edge of the first strip, but the yellow end is approximately 1 ⅛” (or more) to the left of the yellow end of the first strip. Continue to adhere each strip 1 ⅛” or so to the left of the previously applied strip, until you adhere the last strip so that the green end is flush with the upper right corner of the 3 ½” x 4 ¾” Basic White piece.

The white piece of cardstock will be completely covered with Glimmer Paper with loose ends sticking out on both sides at varying lengths. Trim off the excess Rainbow Glimmer from the 3 ½” x 4 ¾” Basic White with your paper trimmer. I find it helpful to turn the paper and use the white paper as a visual edge to line up in my trimmer. Trim it down to the size of the white cardstock.

Save the removed pieces for another project!

Supplies for This Card:

Curvy Piano Card

When I first saw the Curvy Dies from Stampin’ Up!, I knew that I wanted to use one of the curves to make a card like the one I have to share with you today.

I want to tell you more about this card, but I am suffering from a shoulder injury that is aggravated by typing on my keyboard and by using my phone to scroll or write. I’m currently pecking this out with only my right hand to protect my left shoulder from pain.

I just hope that I can still create this week! I have inspiration that I need to follow!

Below is the video tutorial of this cool piano card. You’ll just have to watch it if you want more info. I’m off now to Netflix and chill – and by chill, I mean with an ice pack on my shoulder! LOL!

The Curvy Dies and Quite Curvy stamp set are retiring soon, so head on over to my online store and get them before they’re gone.