Techniques

Video: Easy Alternative Cards with Expressions in Color

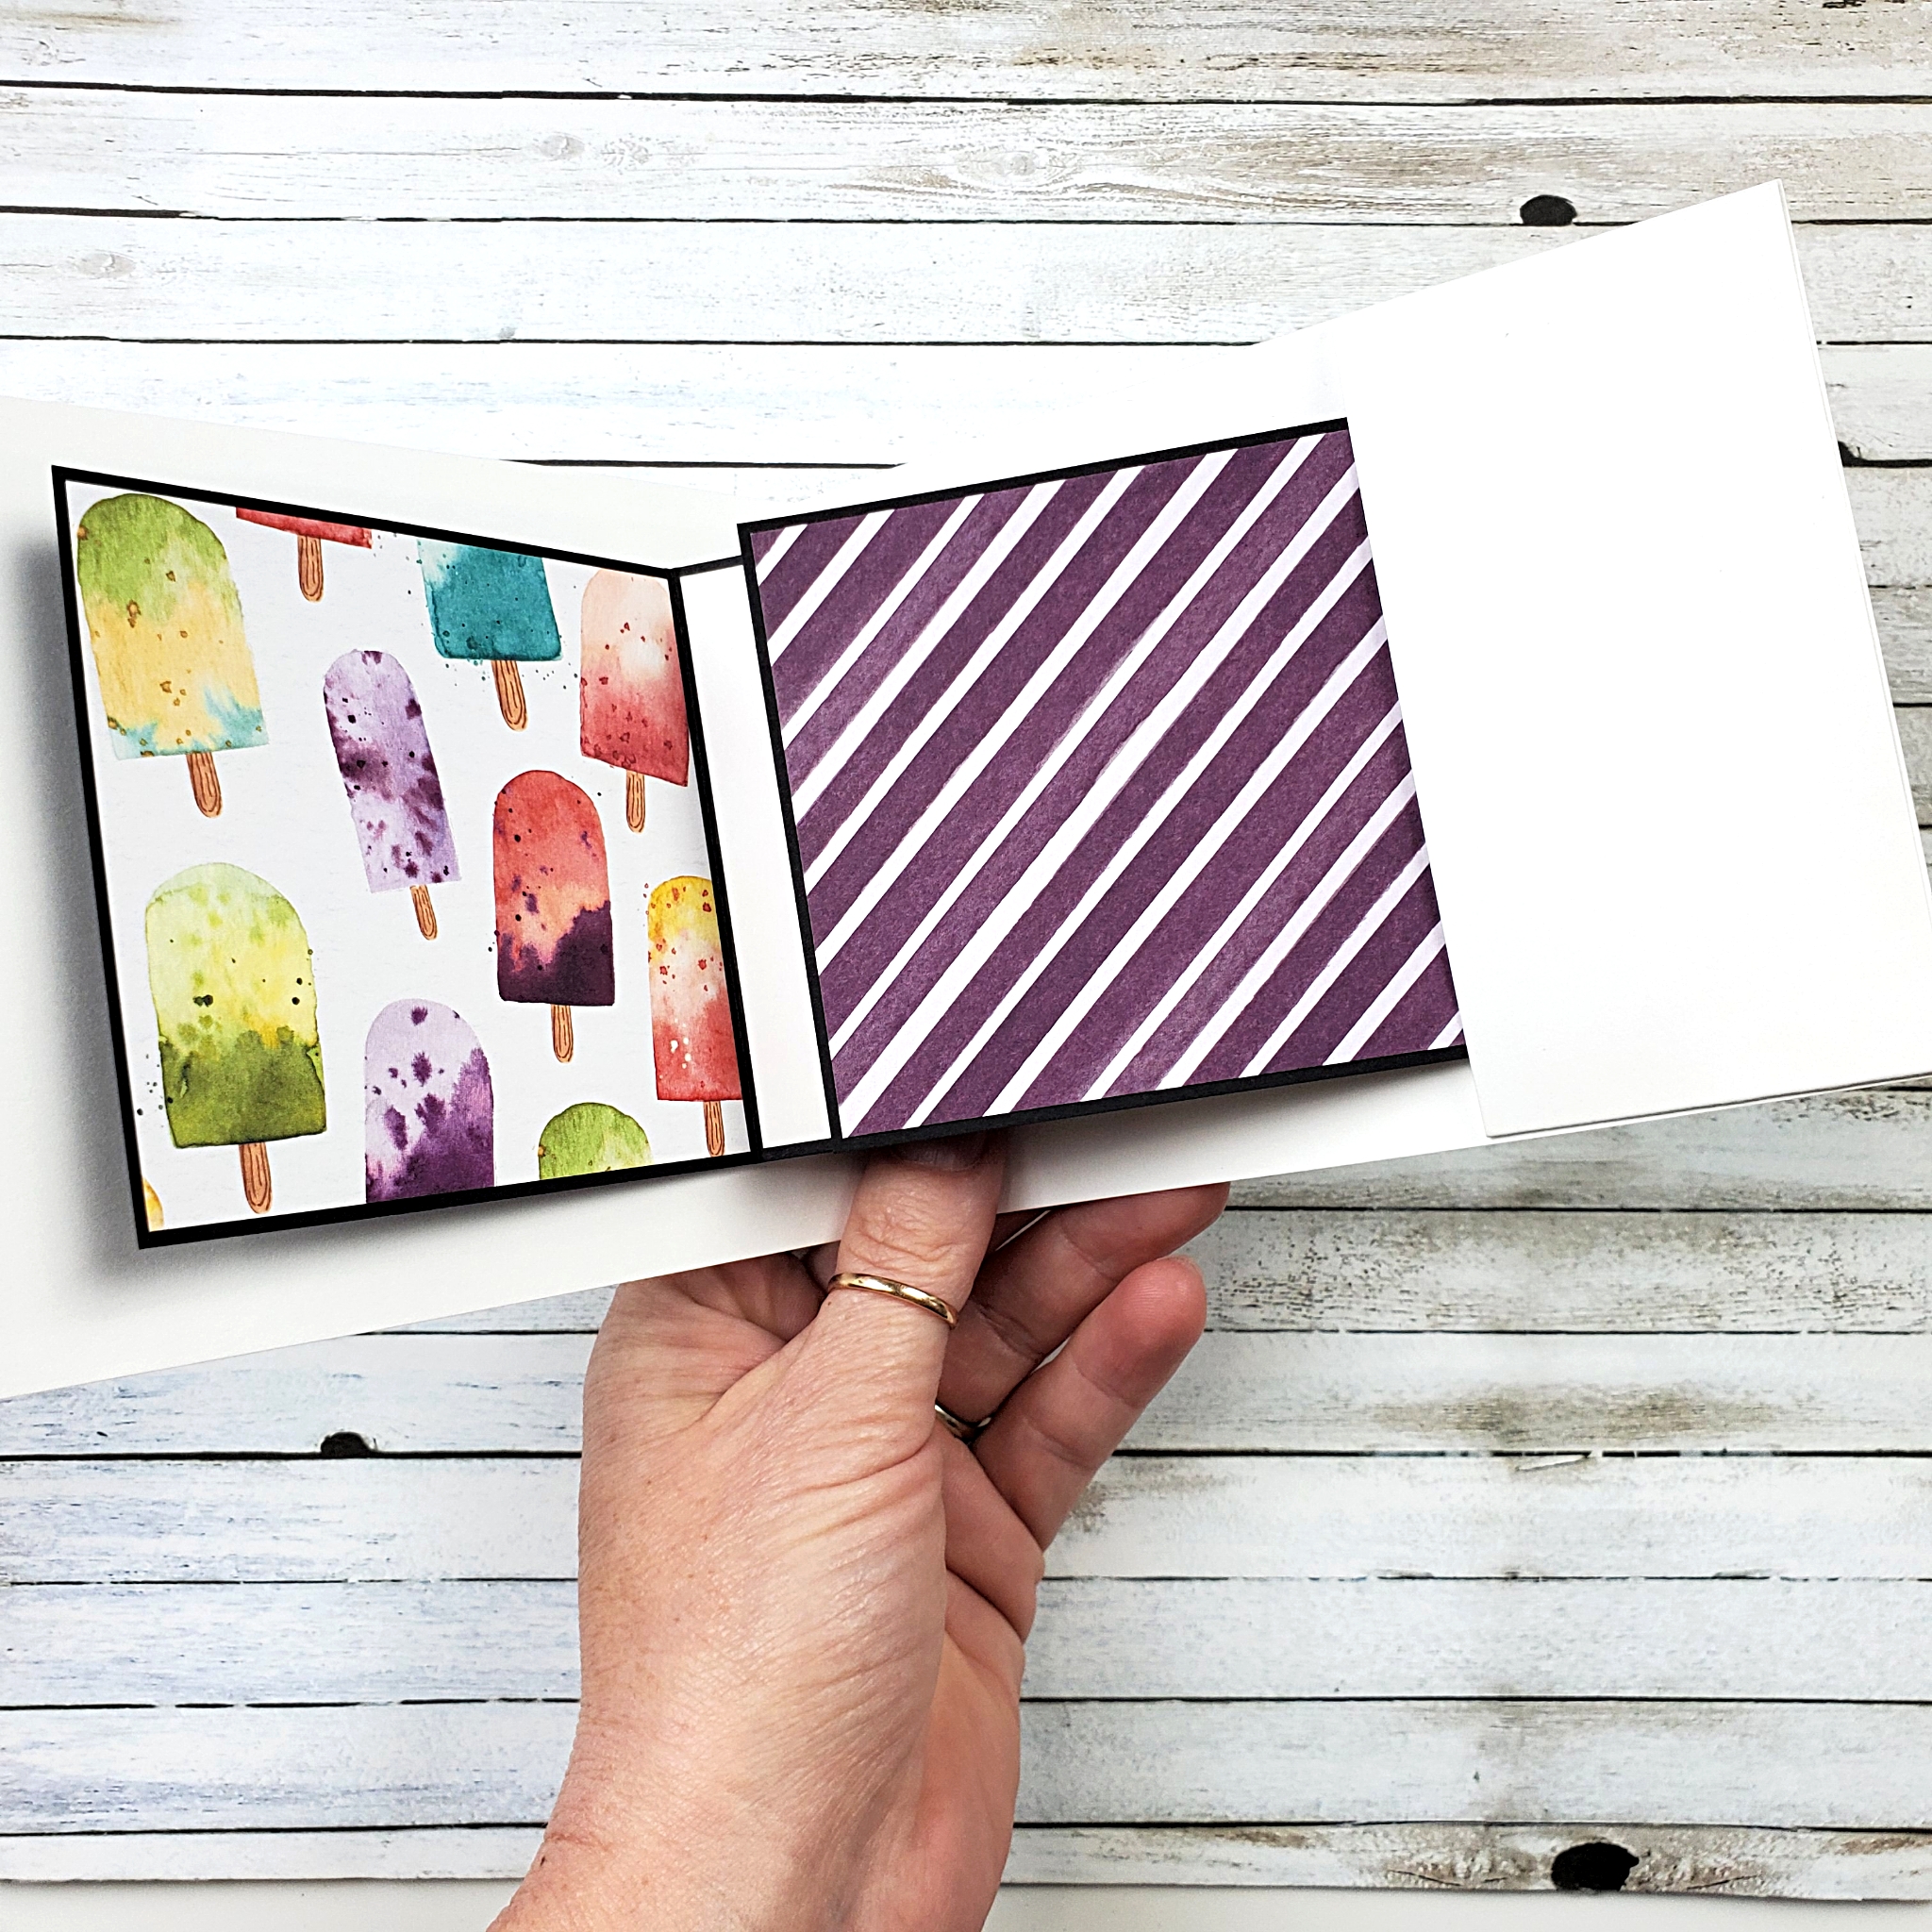
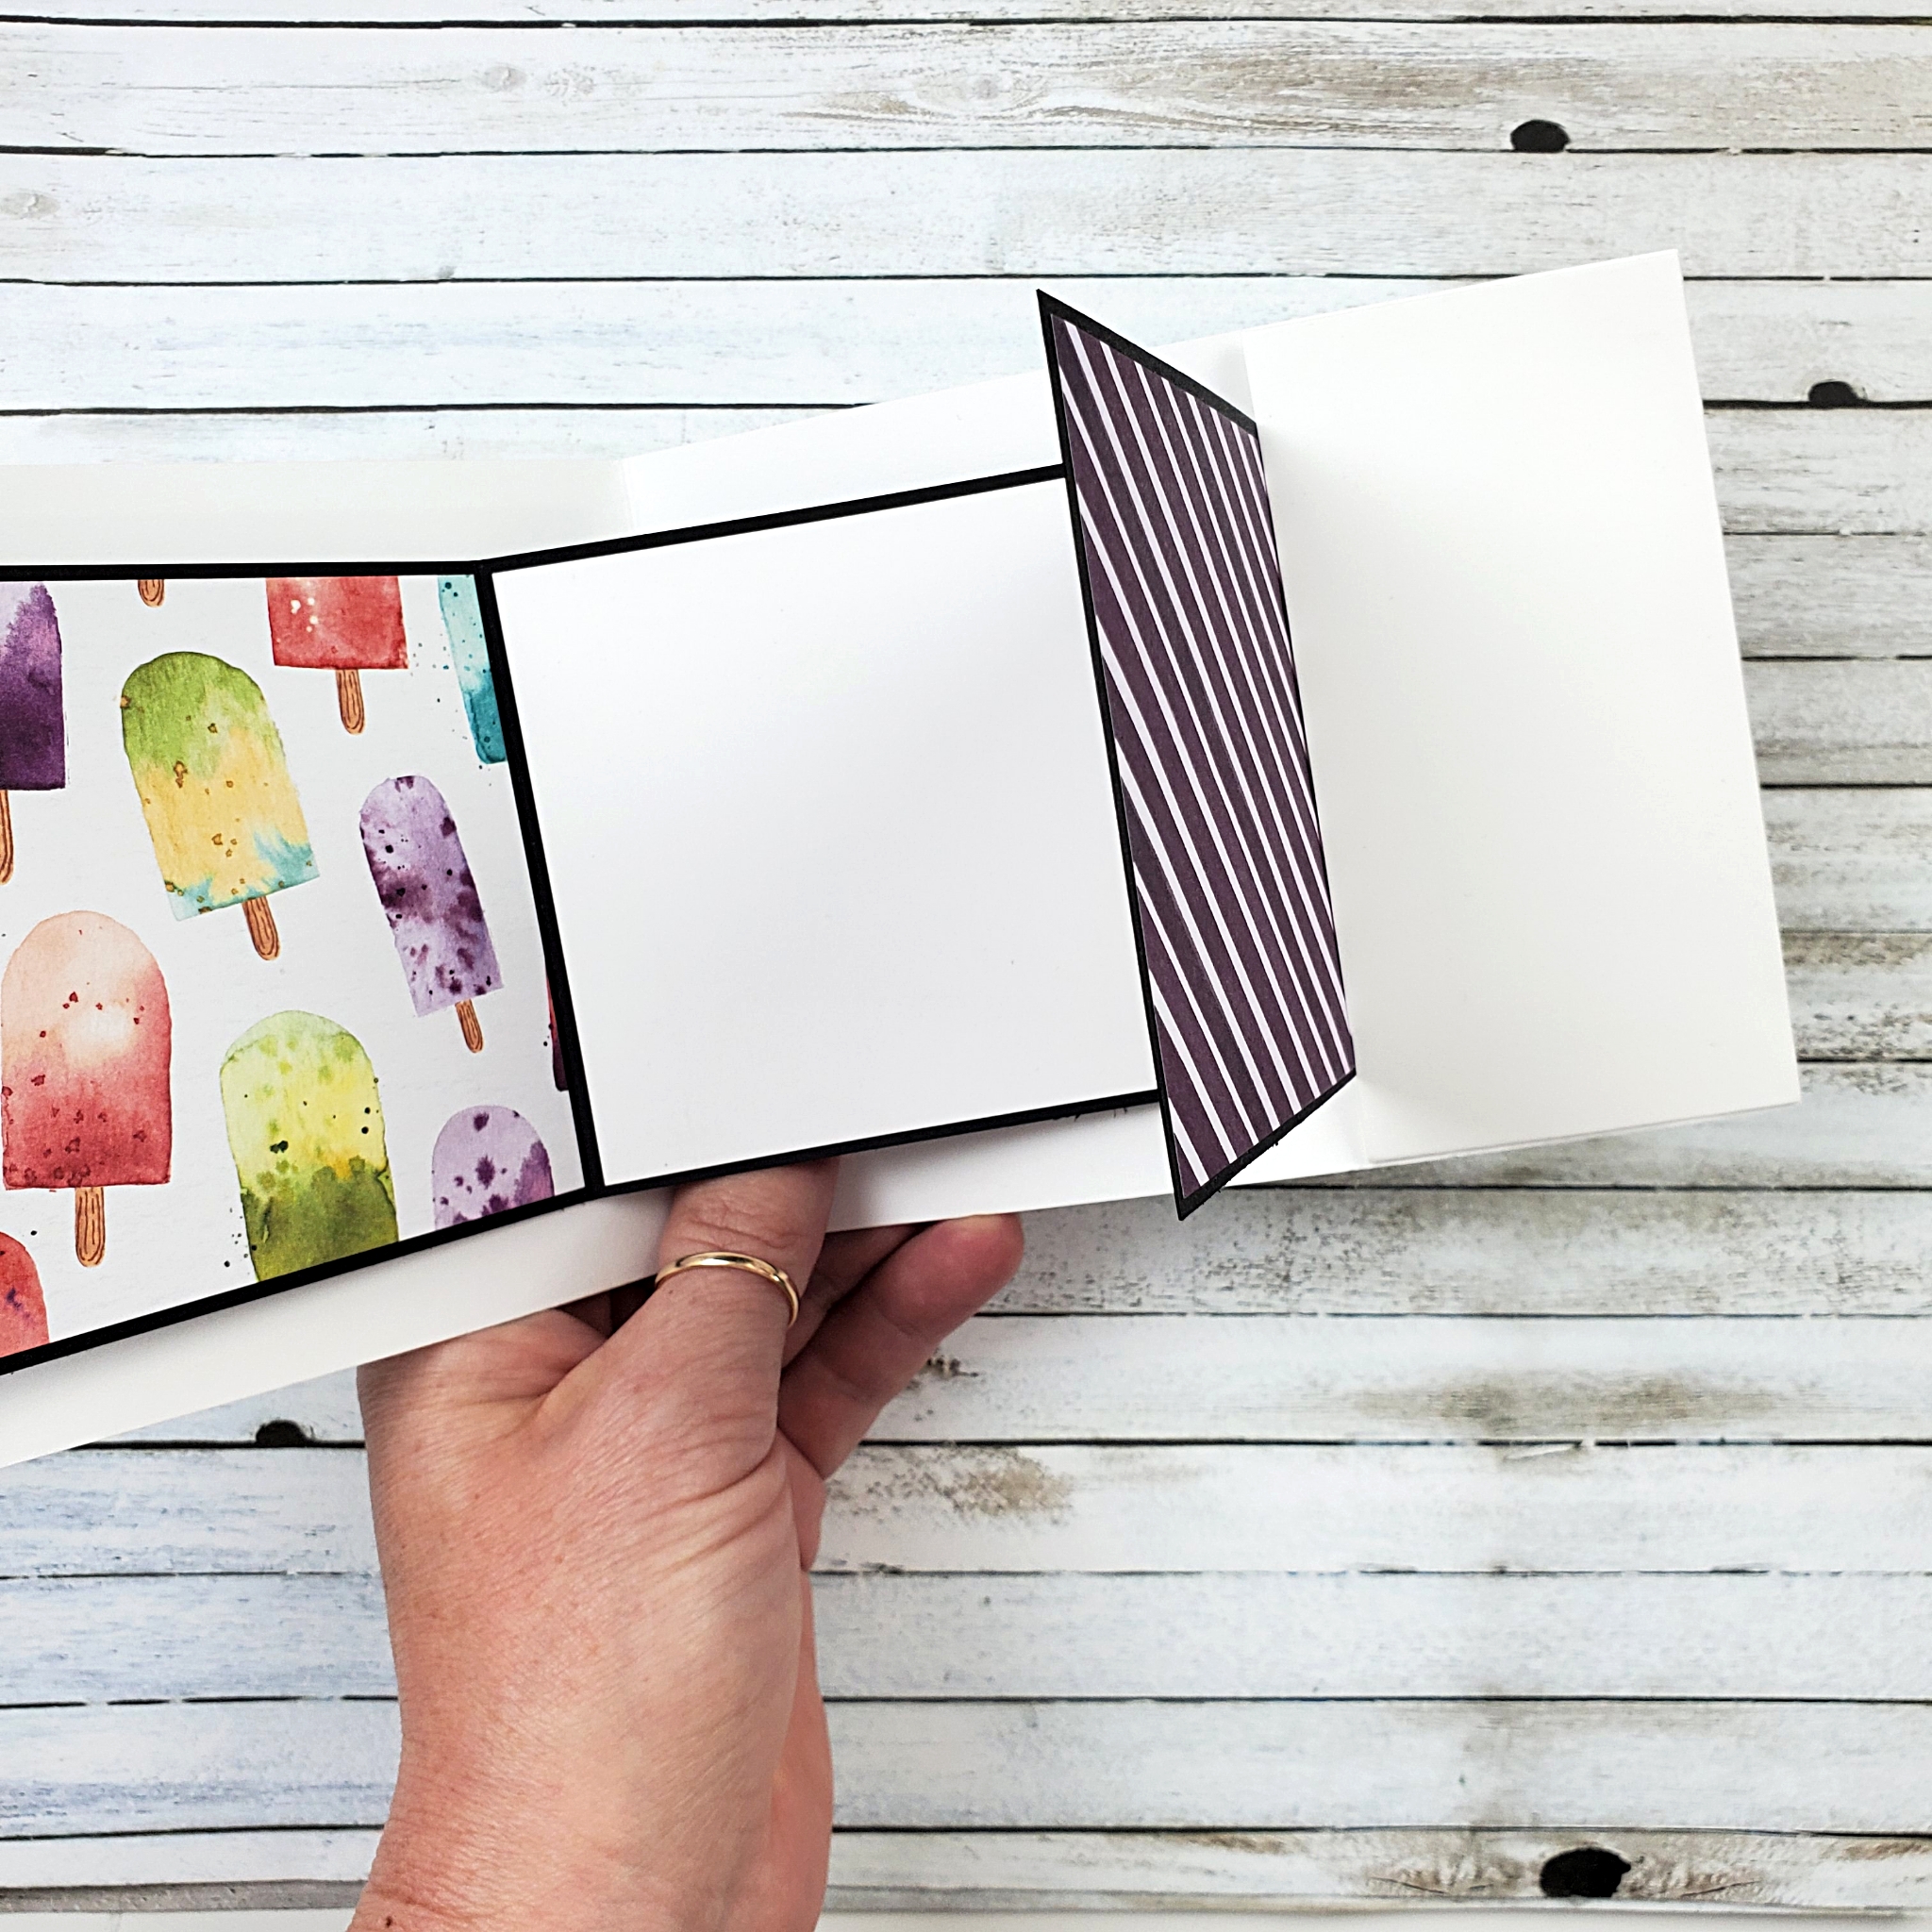
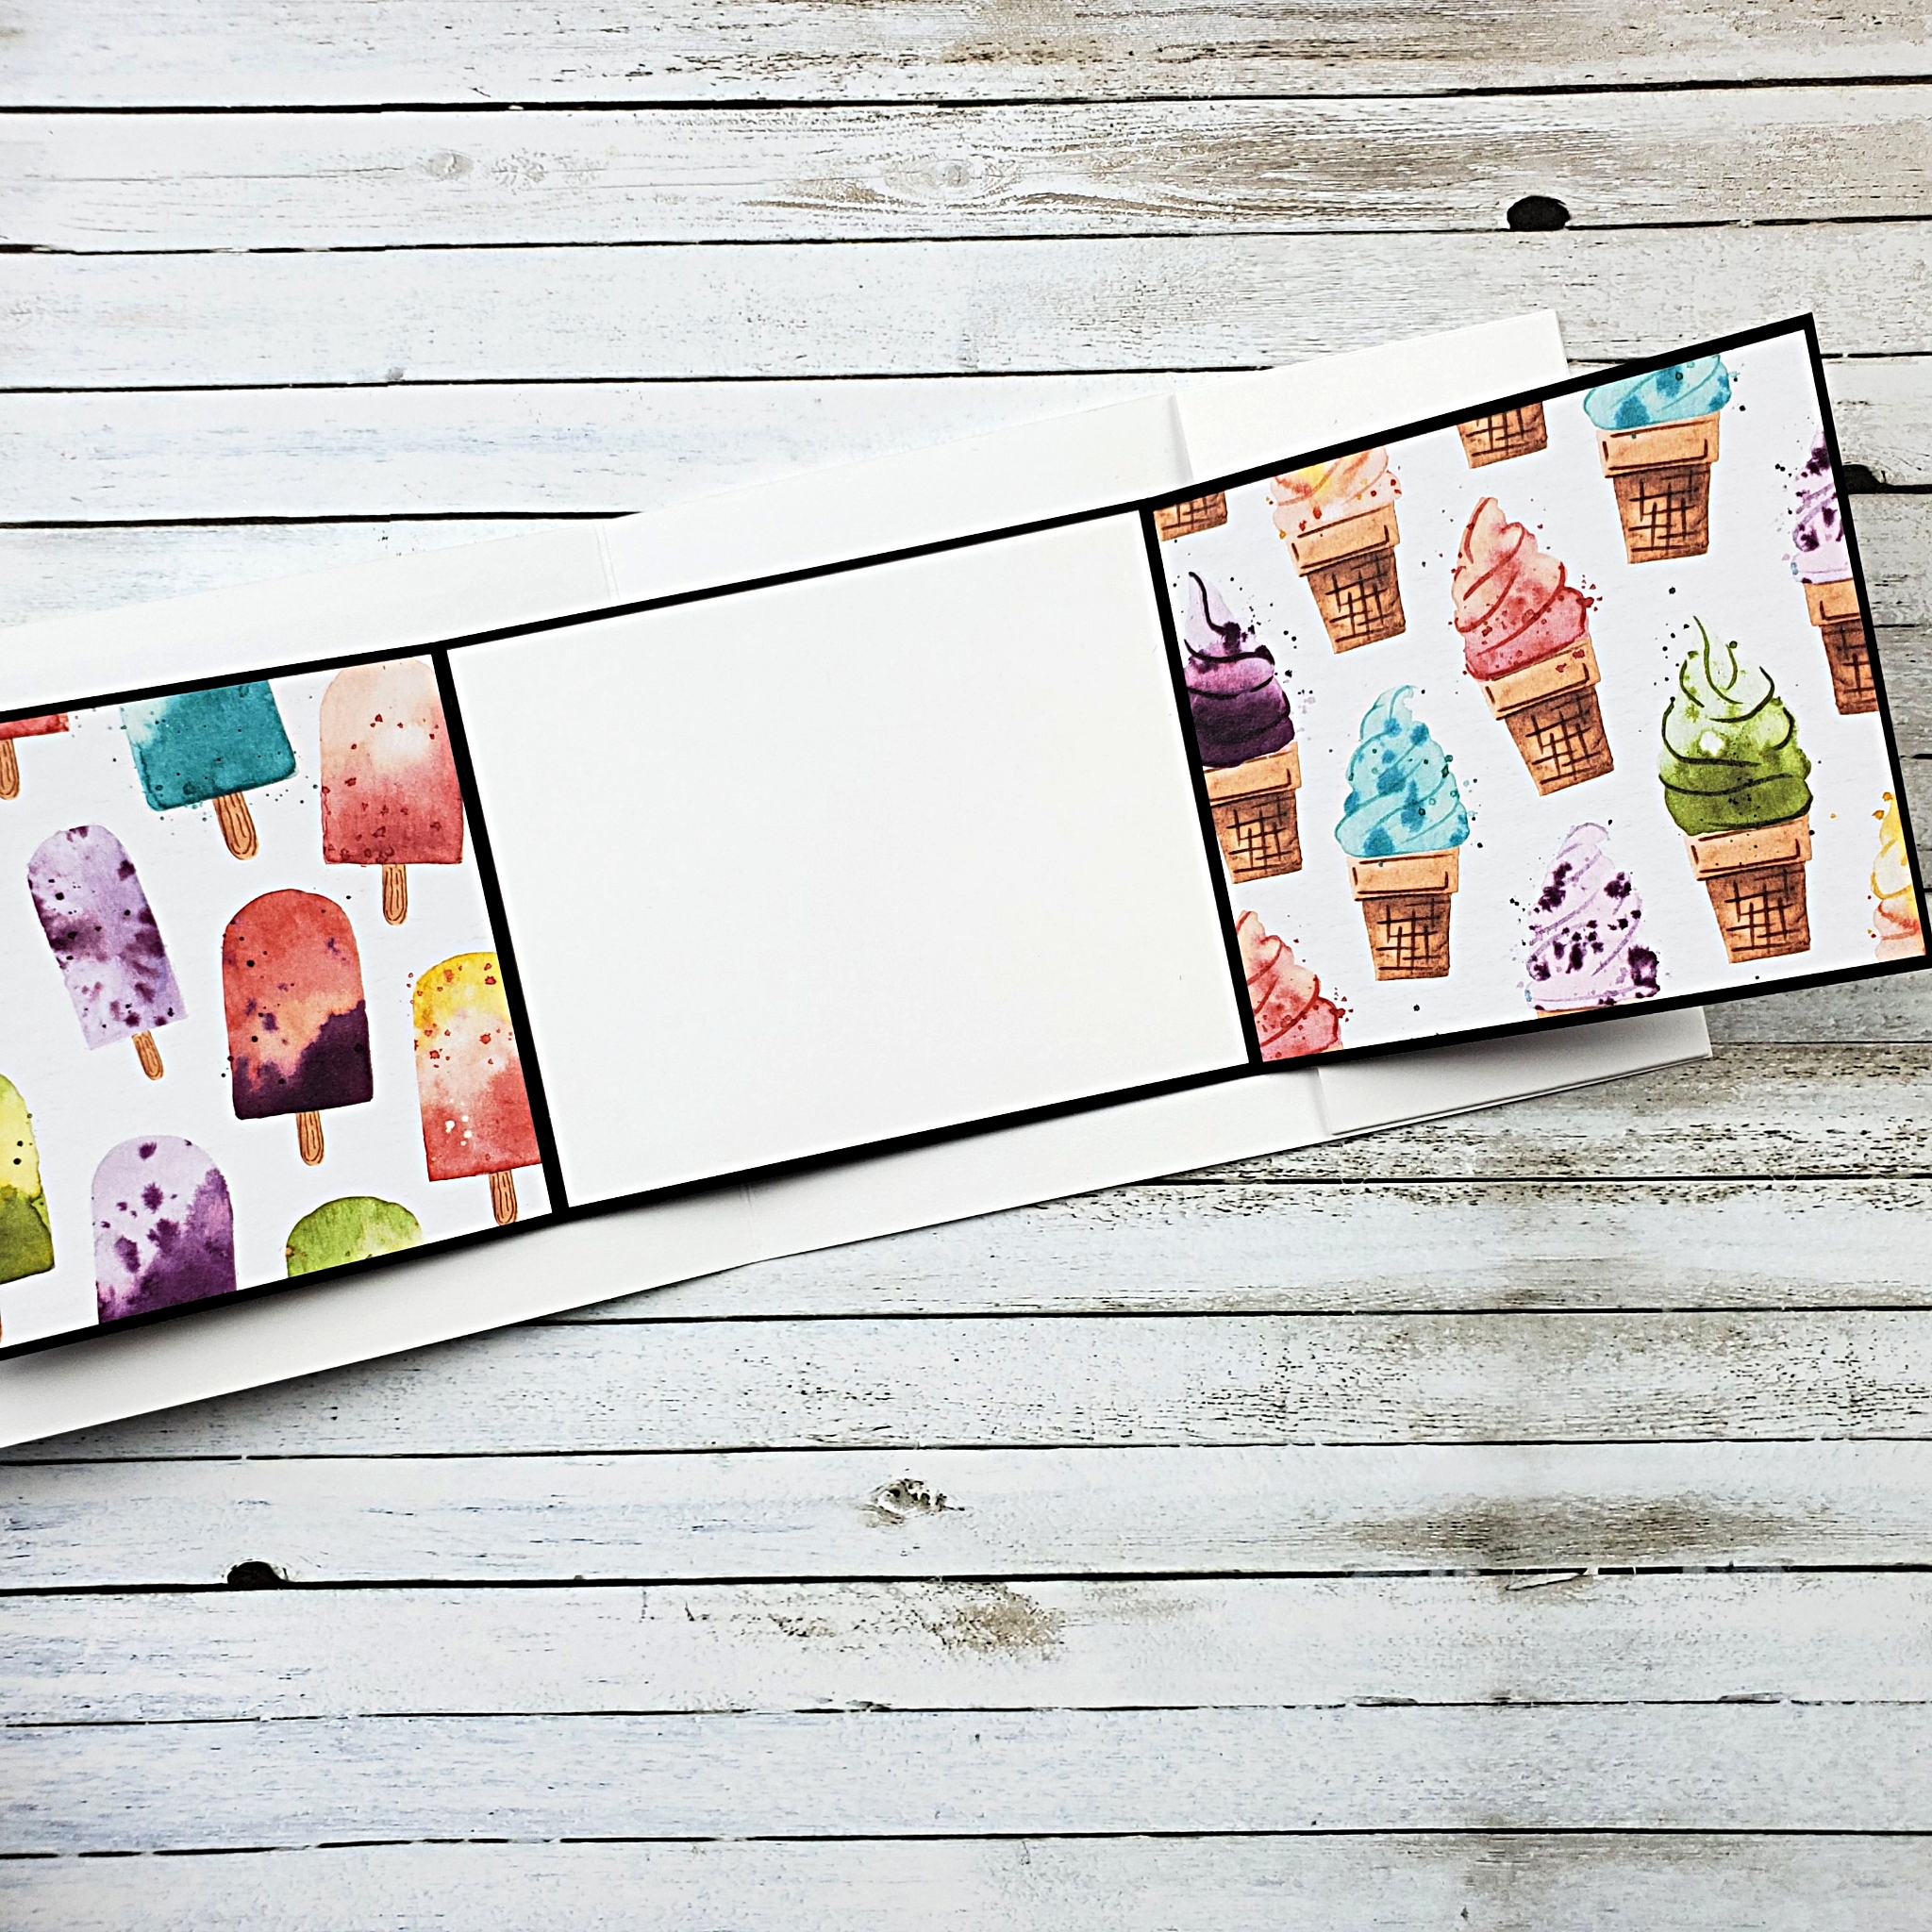
The June 2021 Paper Pumpkin Kit includes some beautiful paper with ink patterns. I have two alternative projects to share with you today that either show off the paper or use the stamps in the kit to make my own!

Paper Pumpkin Subscription

If you aren’t getting the little box of creative goodies each month, then go ahead and click here to get your subscription started! Your first kit will come with an acrylic block to use with each future kit that you receive. All the kits come with everything else that you need to make the projects that were exclusively designed for Paper Pumpkin.

I like to follow the instructions in the kits. No fuss. No thinking. Just easy and beautiful every time! It can also be fun to stretch your creativity and use the supplies to do your own thing.

Alternative Cards

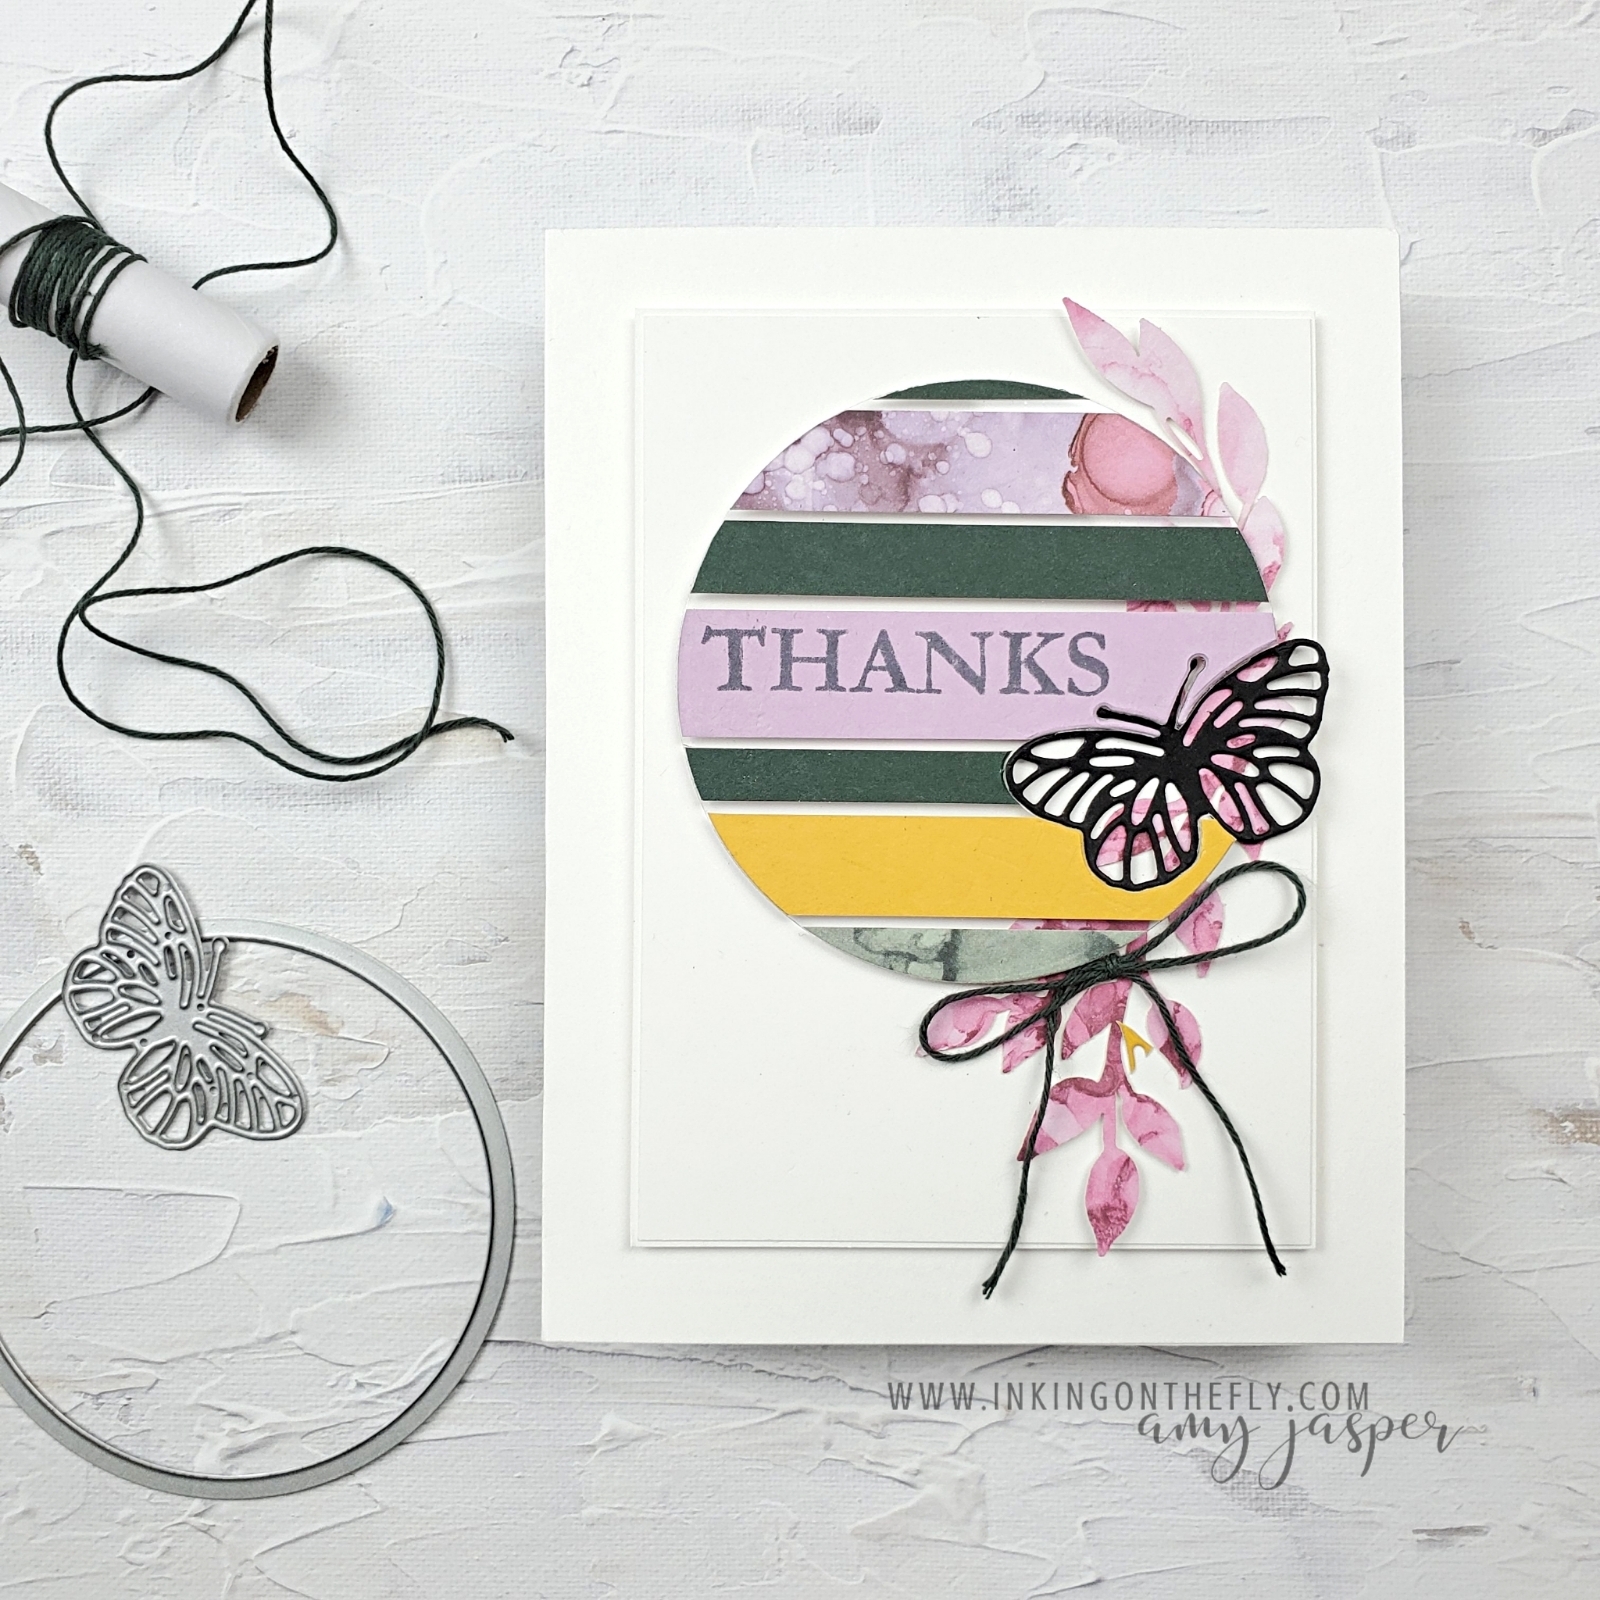
The butterfly on this card is die-cut using the Brilliant Wings dies from Stampin’ Up! I glued strips of the various papers in the kit to a piece of Window Sheet, then die cut the circle and the butterfly. The circle is raised on Stampin’ Dimensionals, while the butterfly is adhered directly to the cardfront. This gives it an interesting inlaid look.

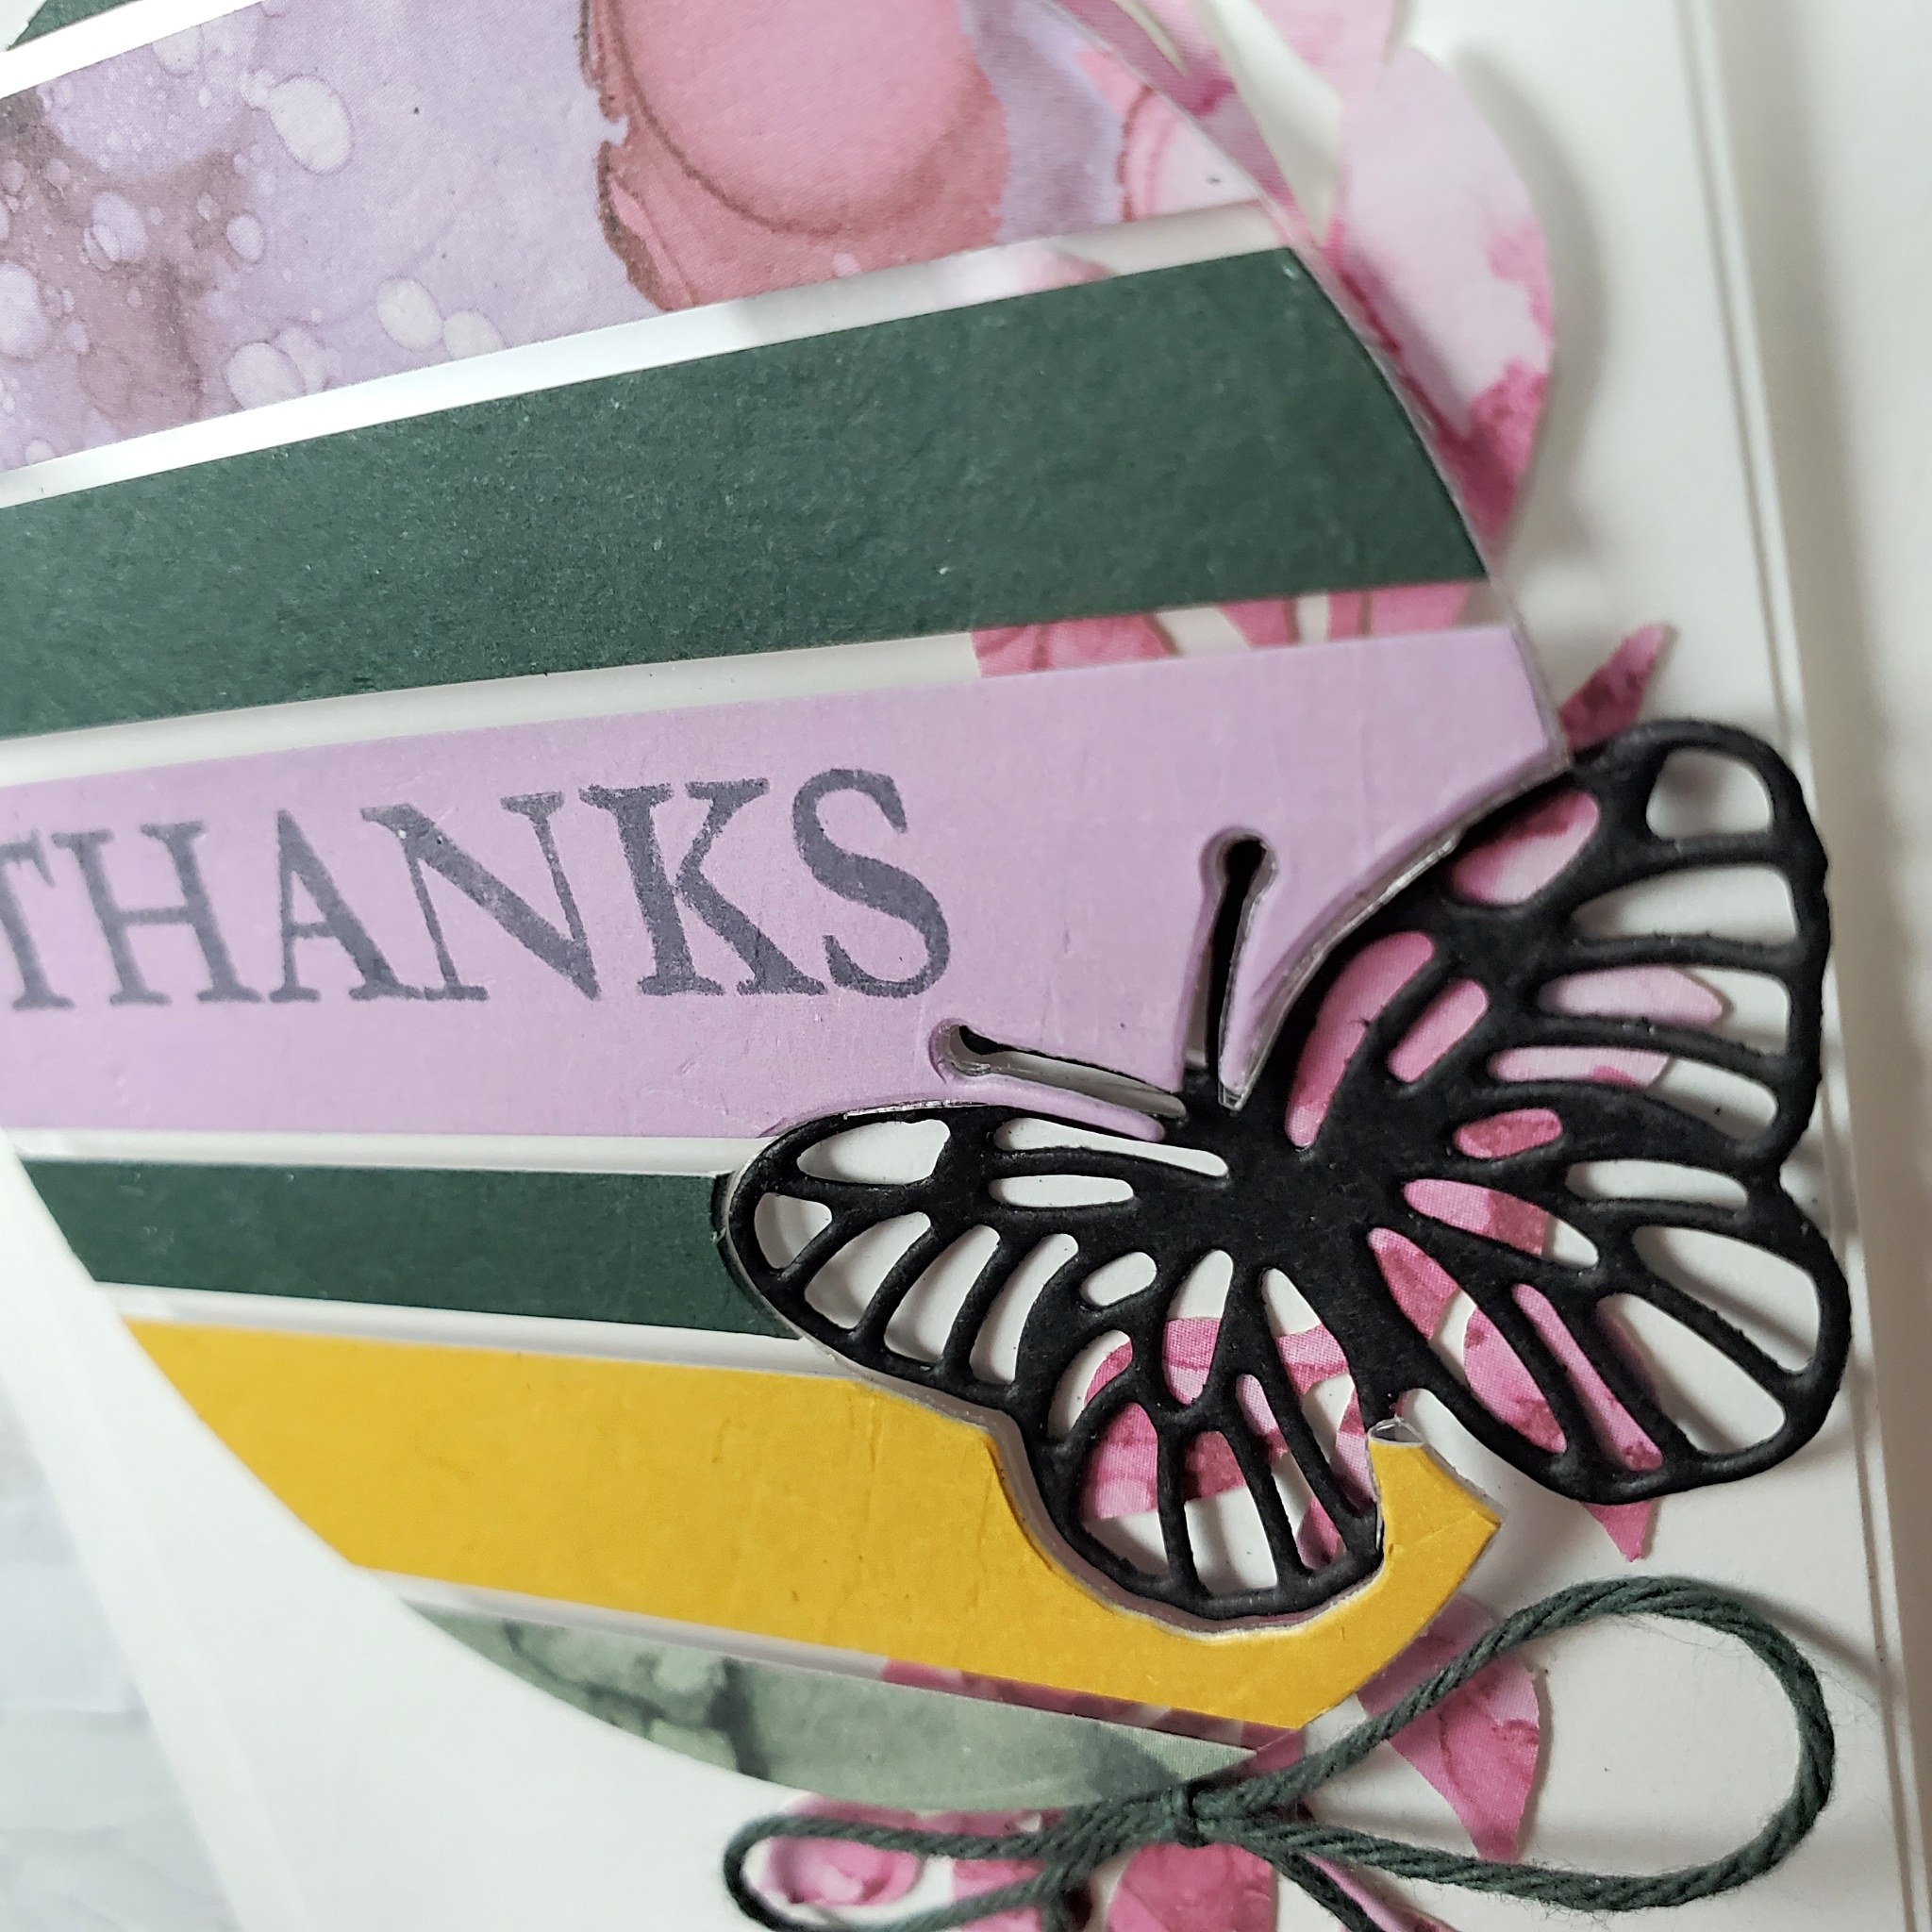
I stamped the sentiment on the circle with Evening Evergreen ink. I think it would look really great if it were stamped with Versamark ink and heat embossed with Black Embossing Powder. I’ll have to try that with my next card and see which one I like better.

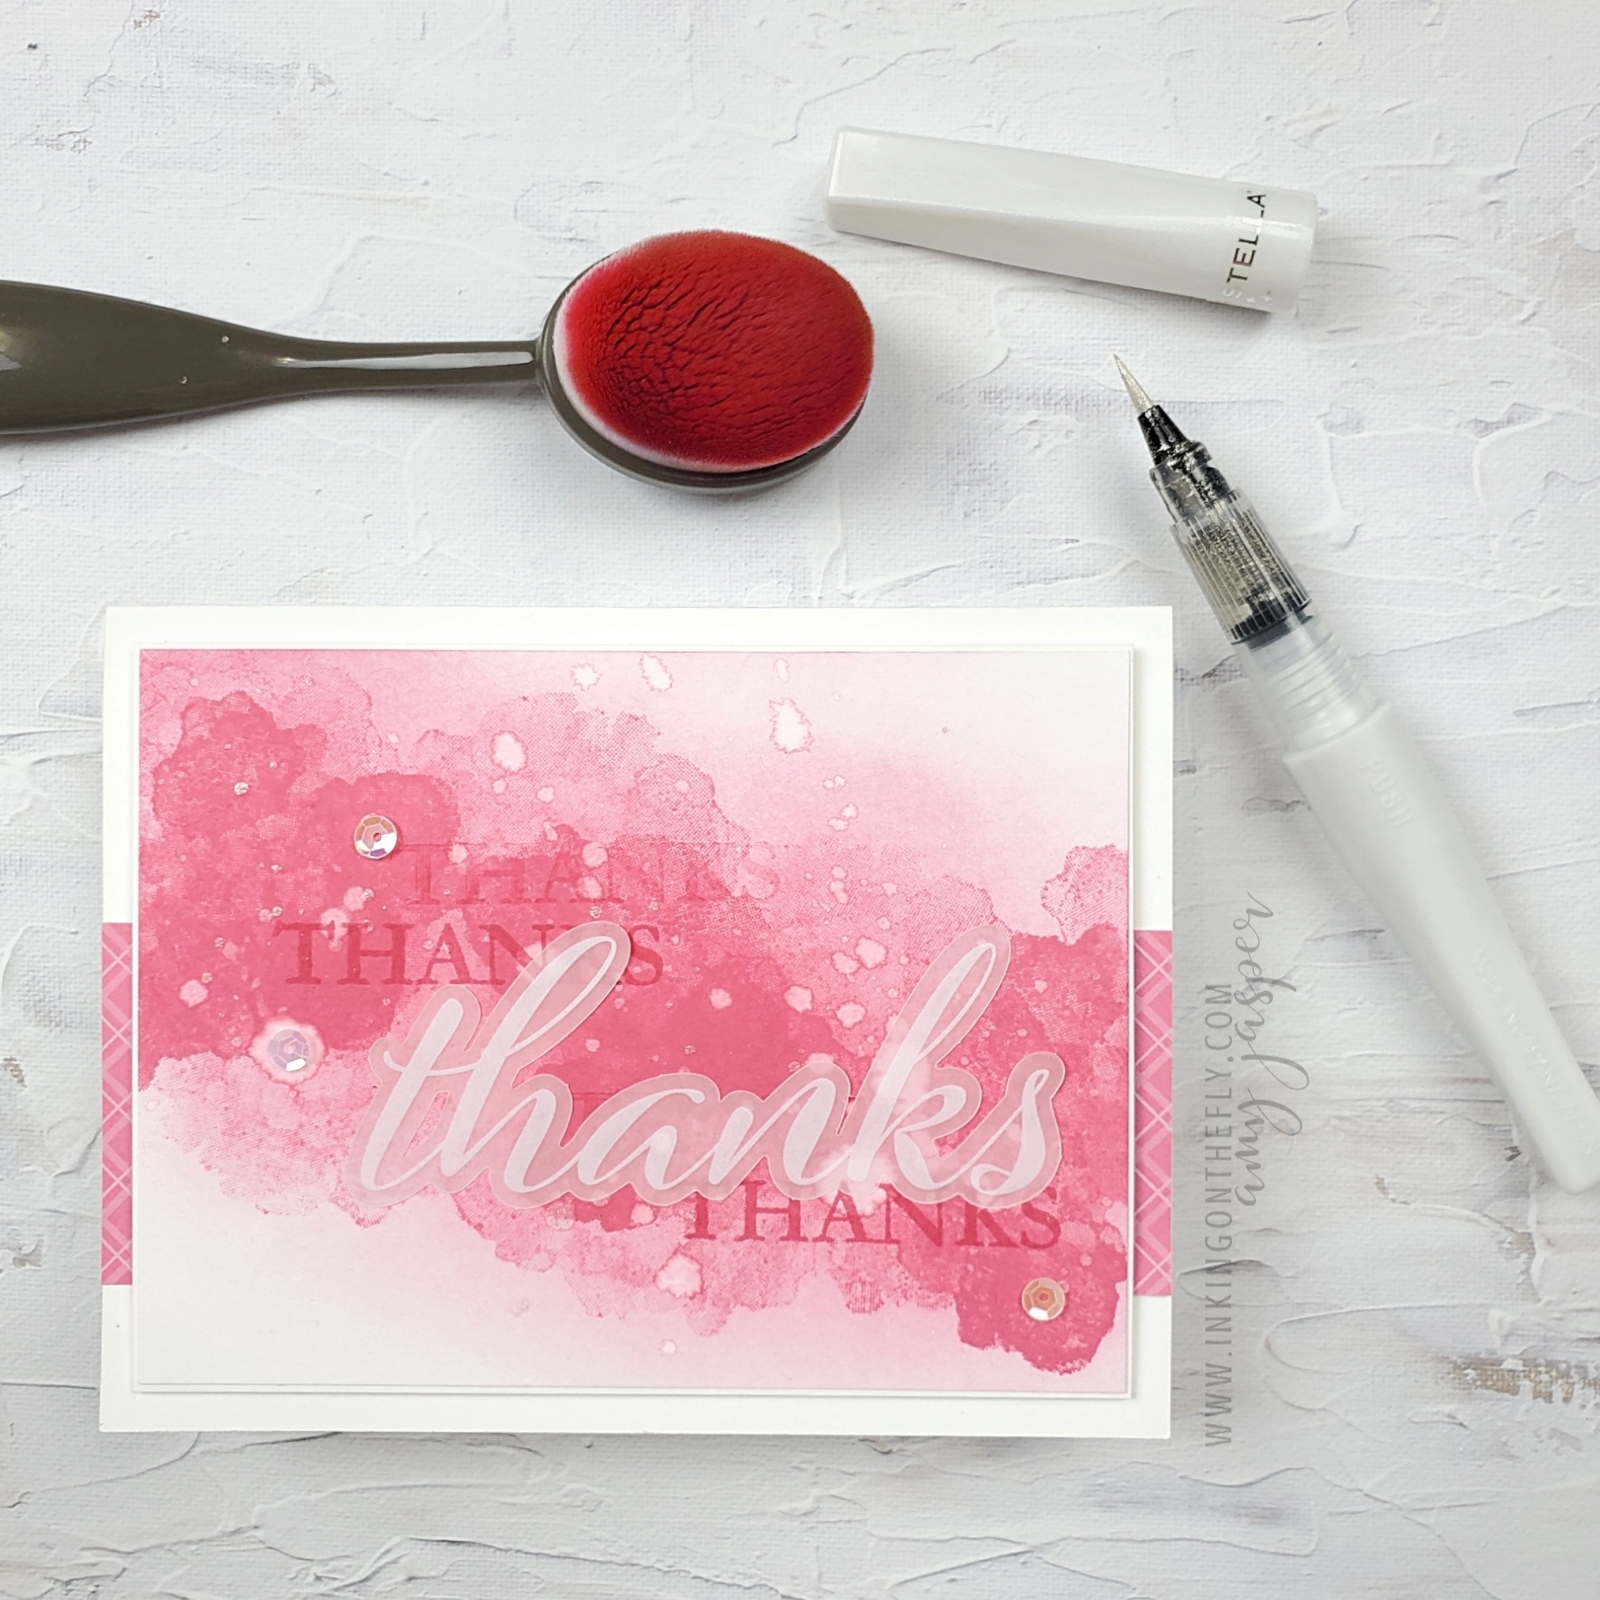
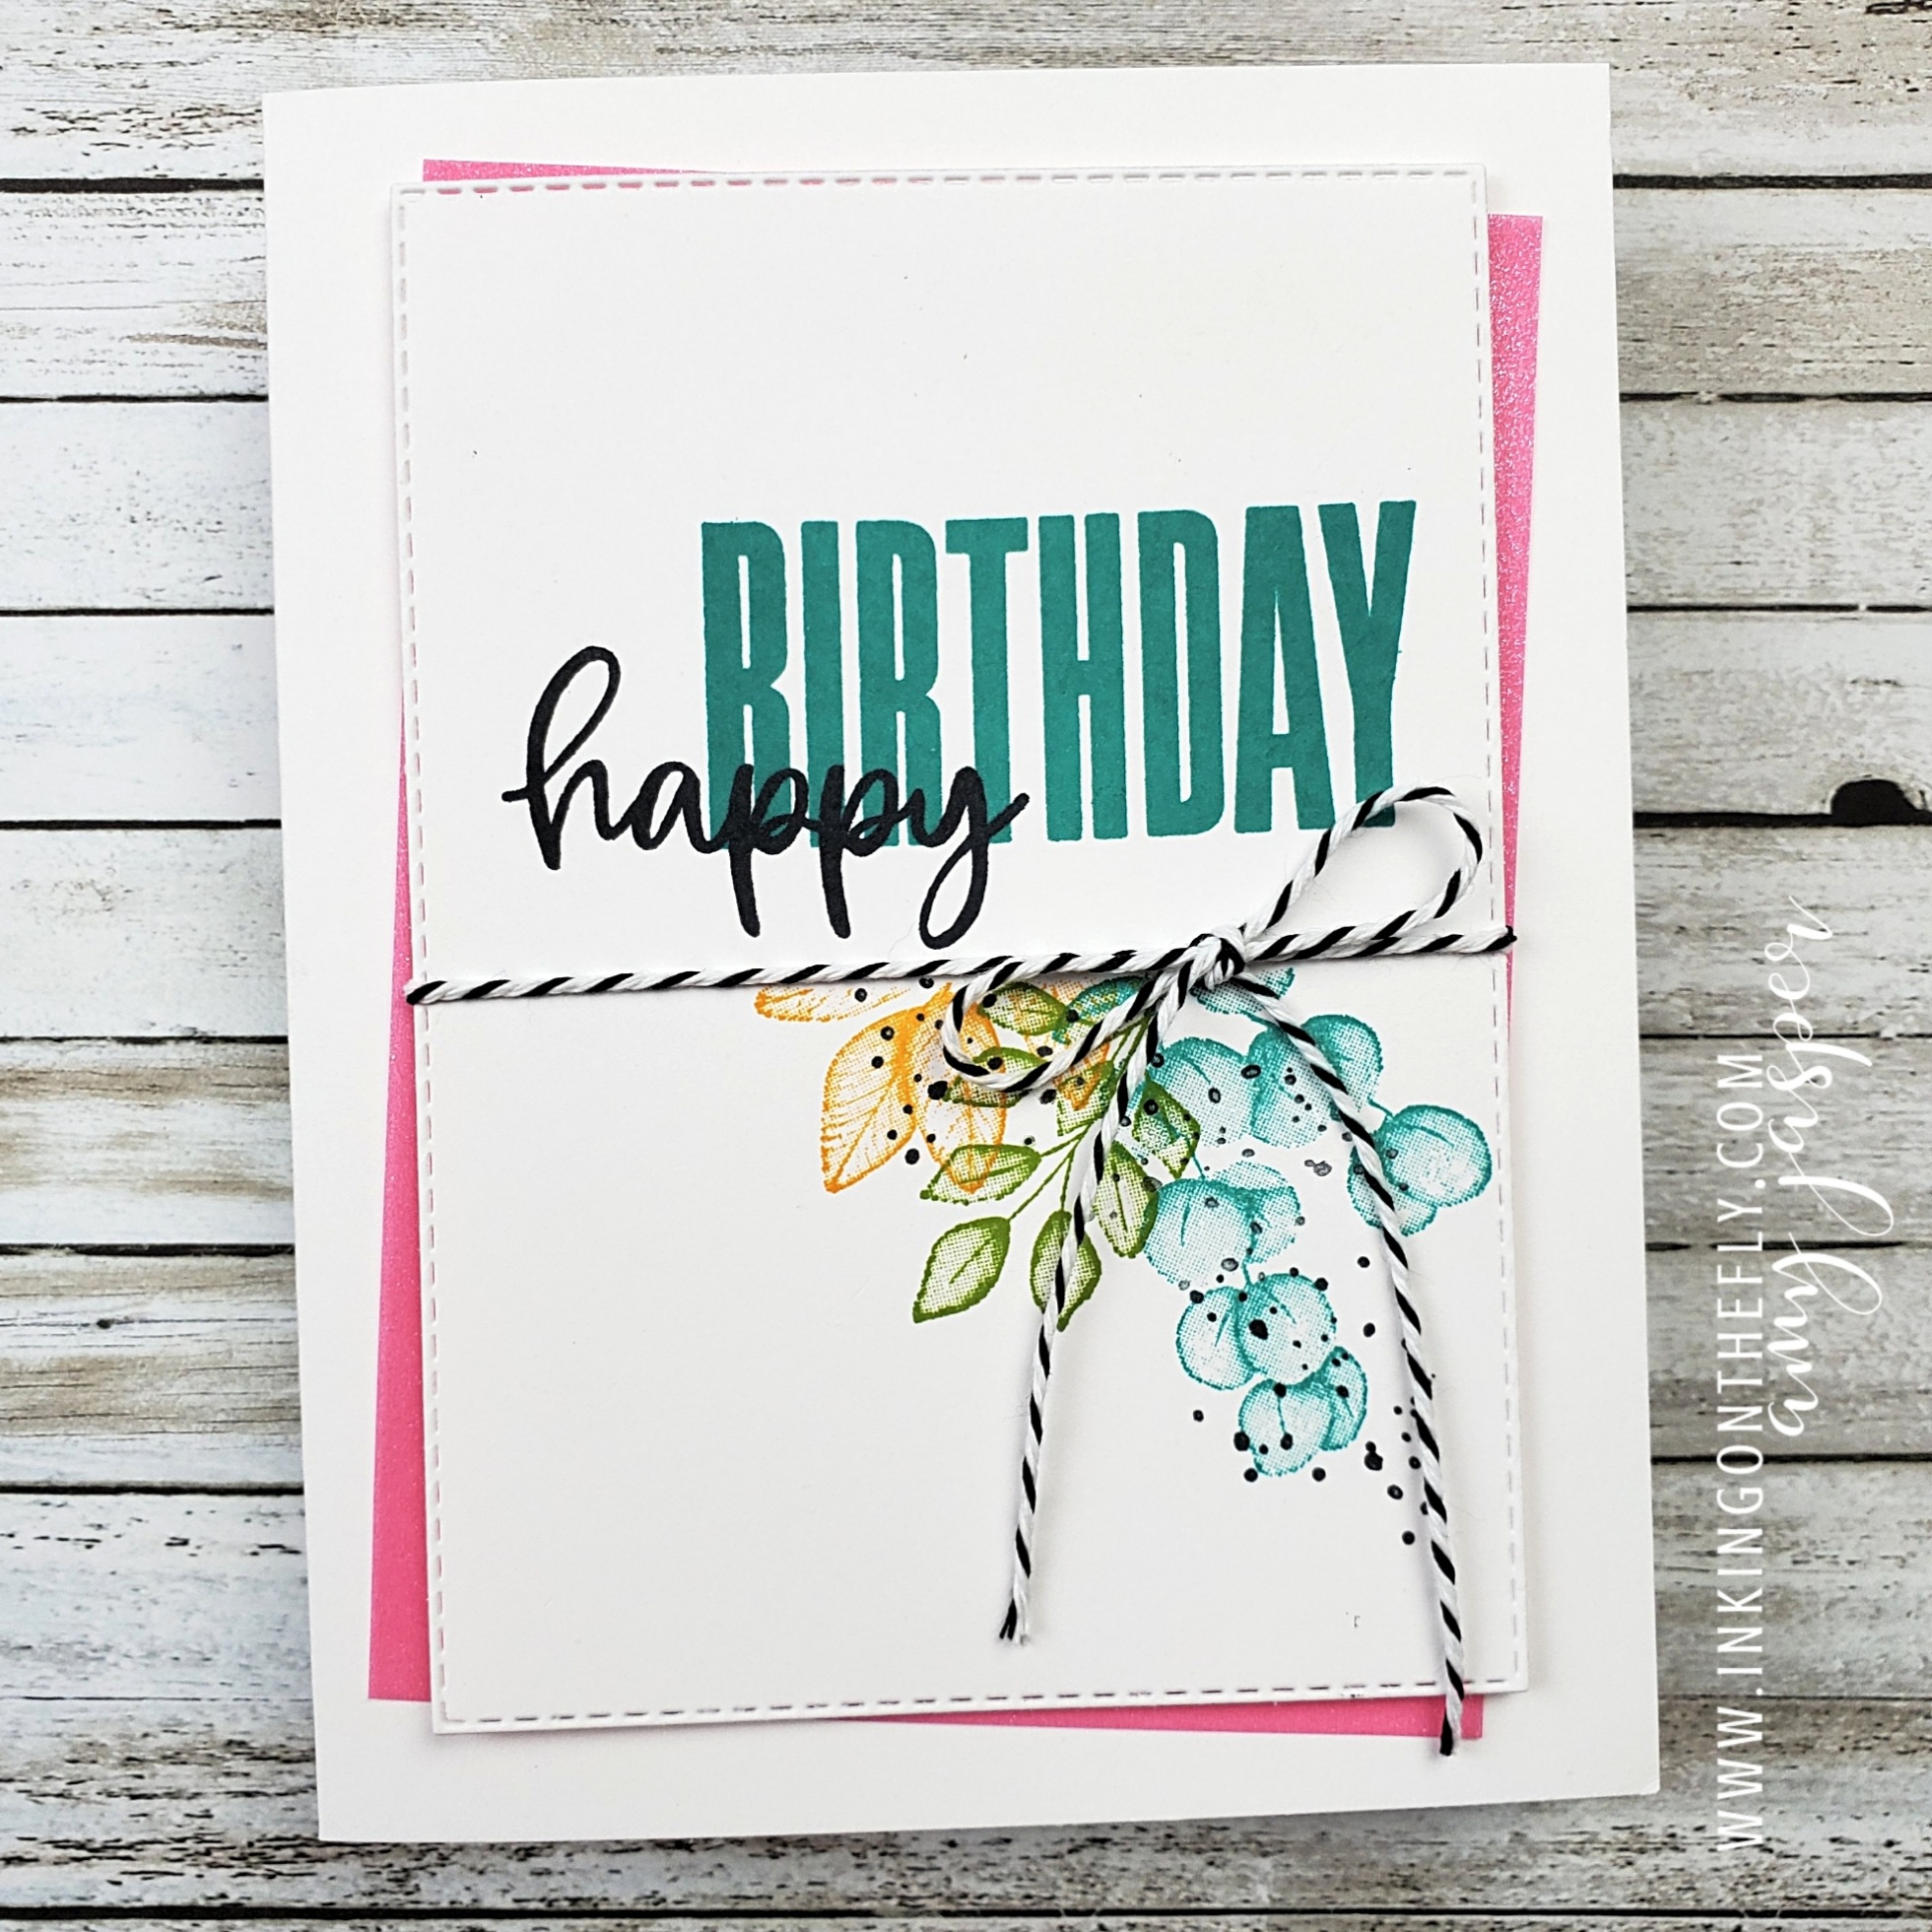
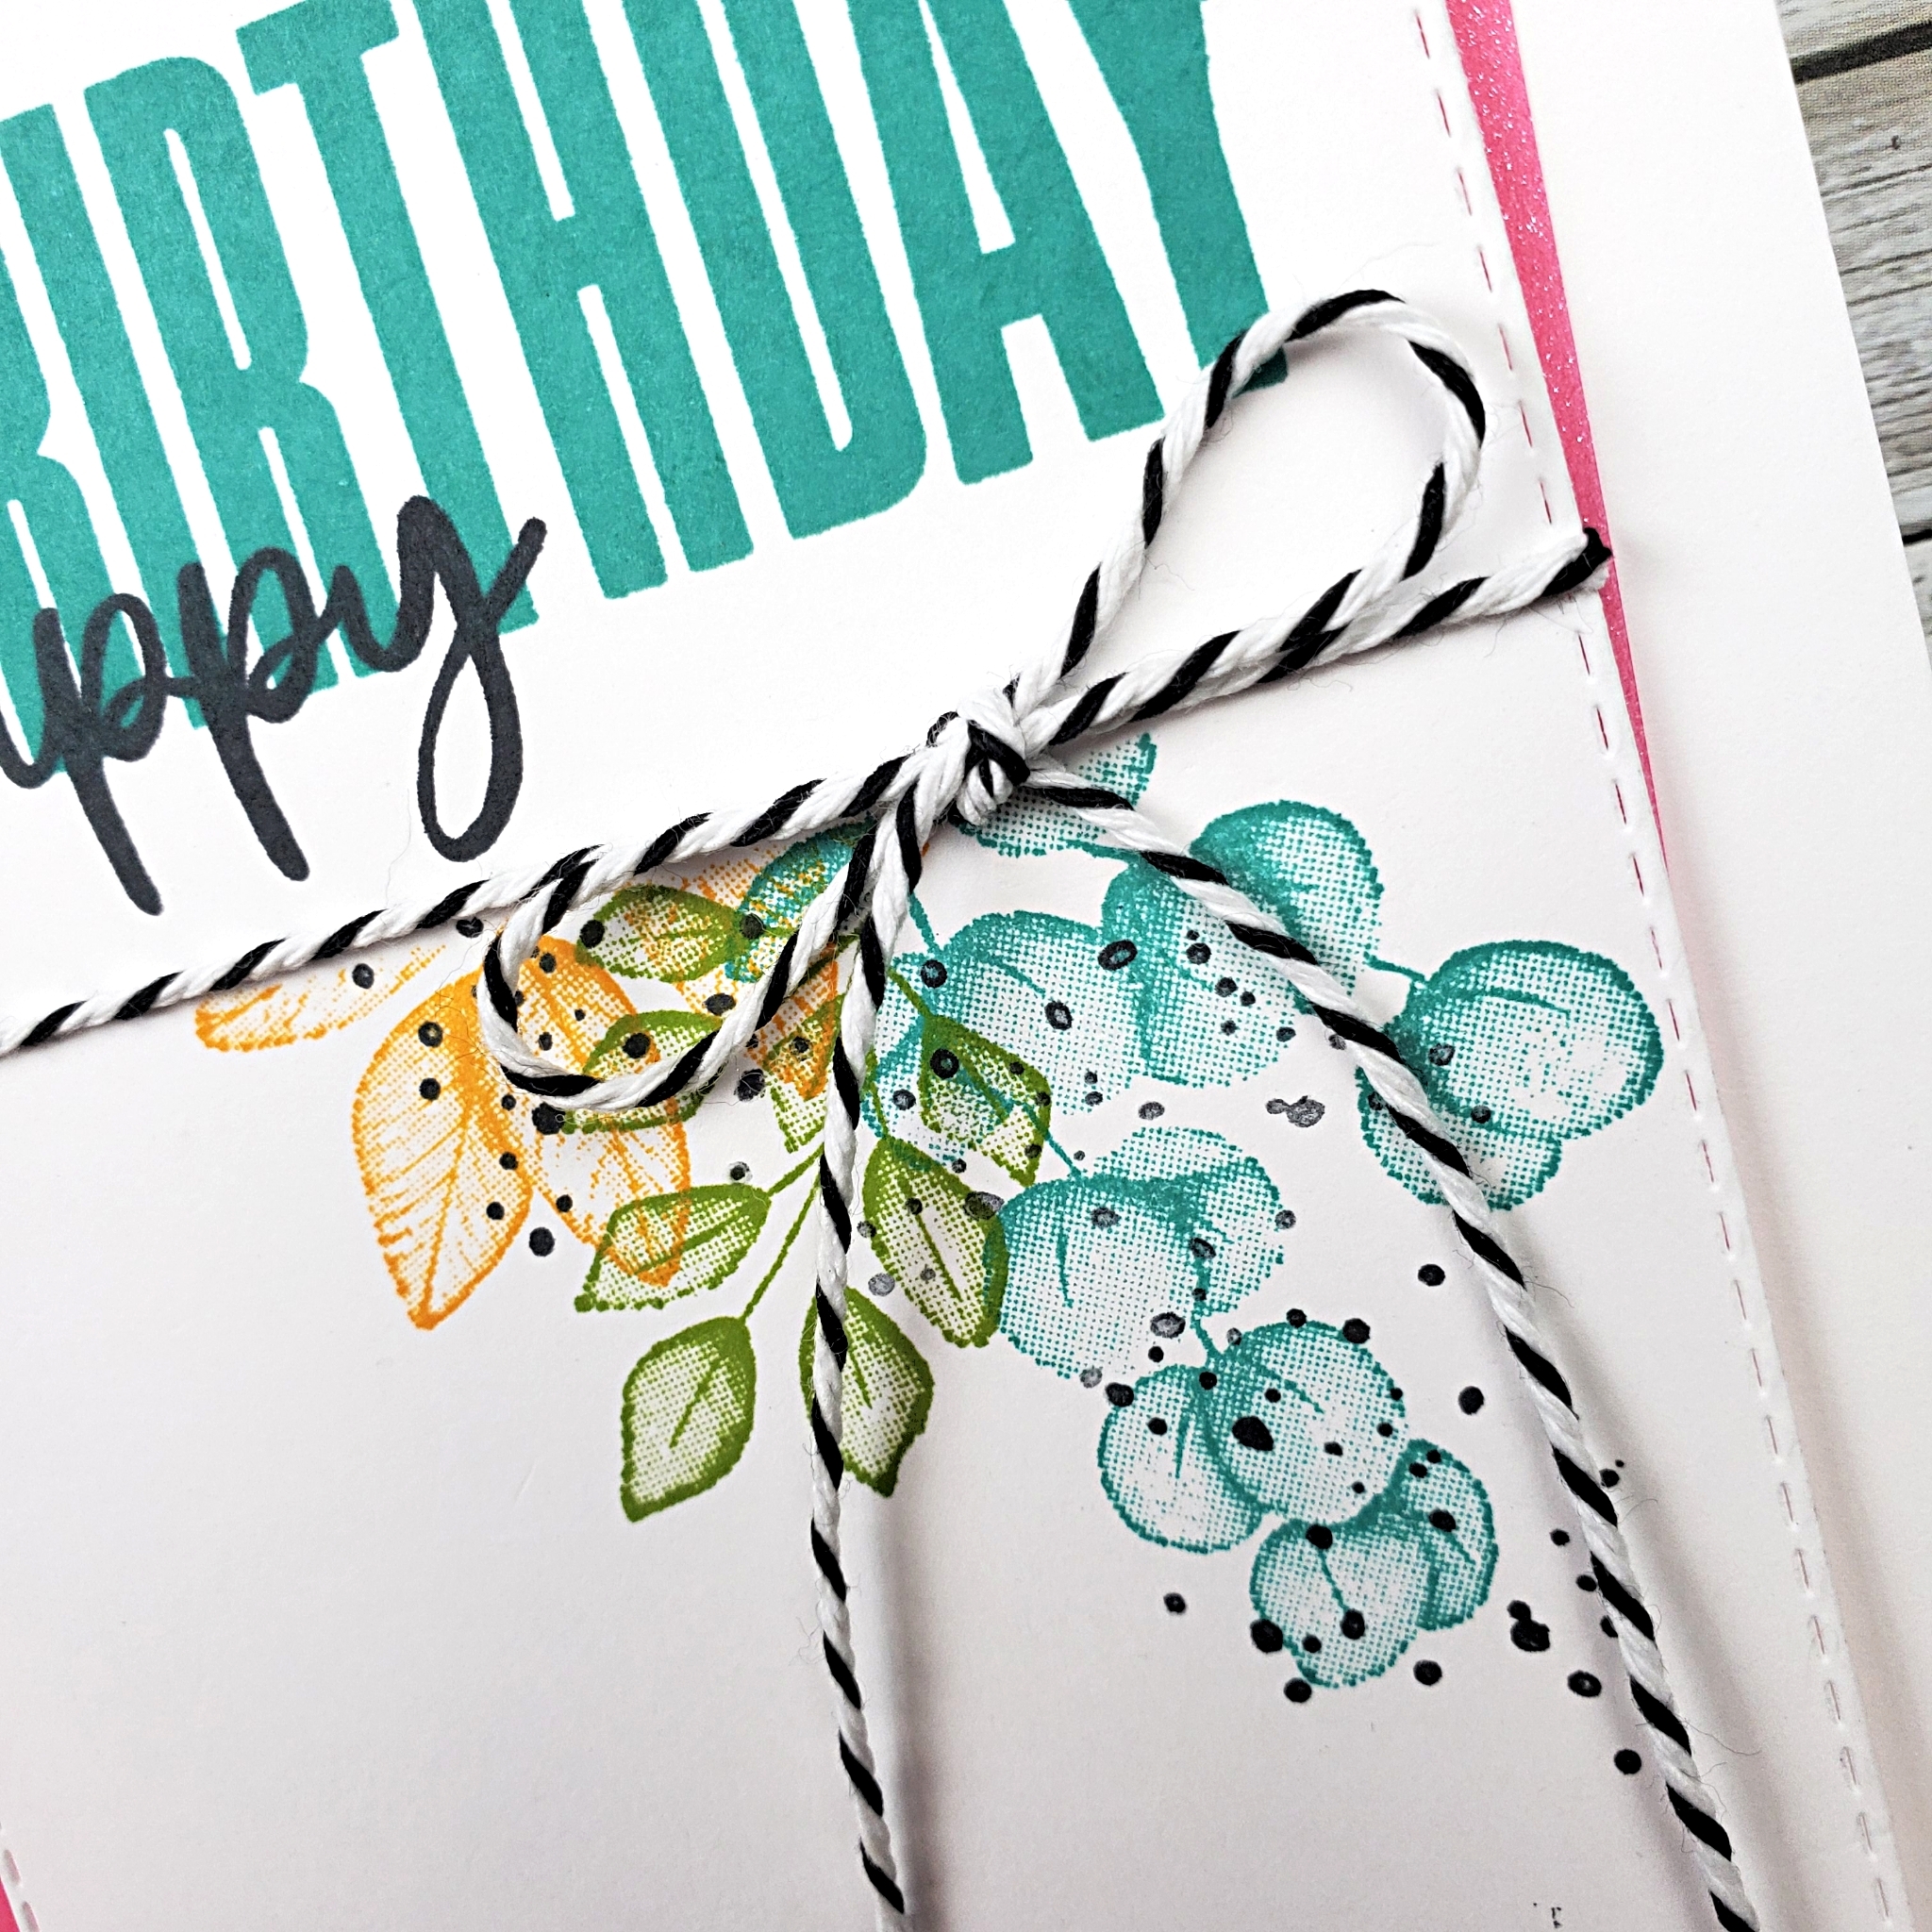
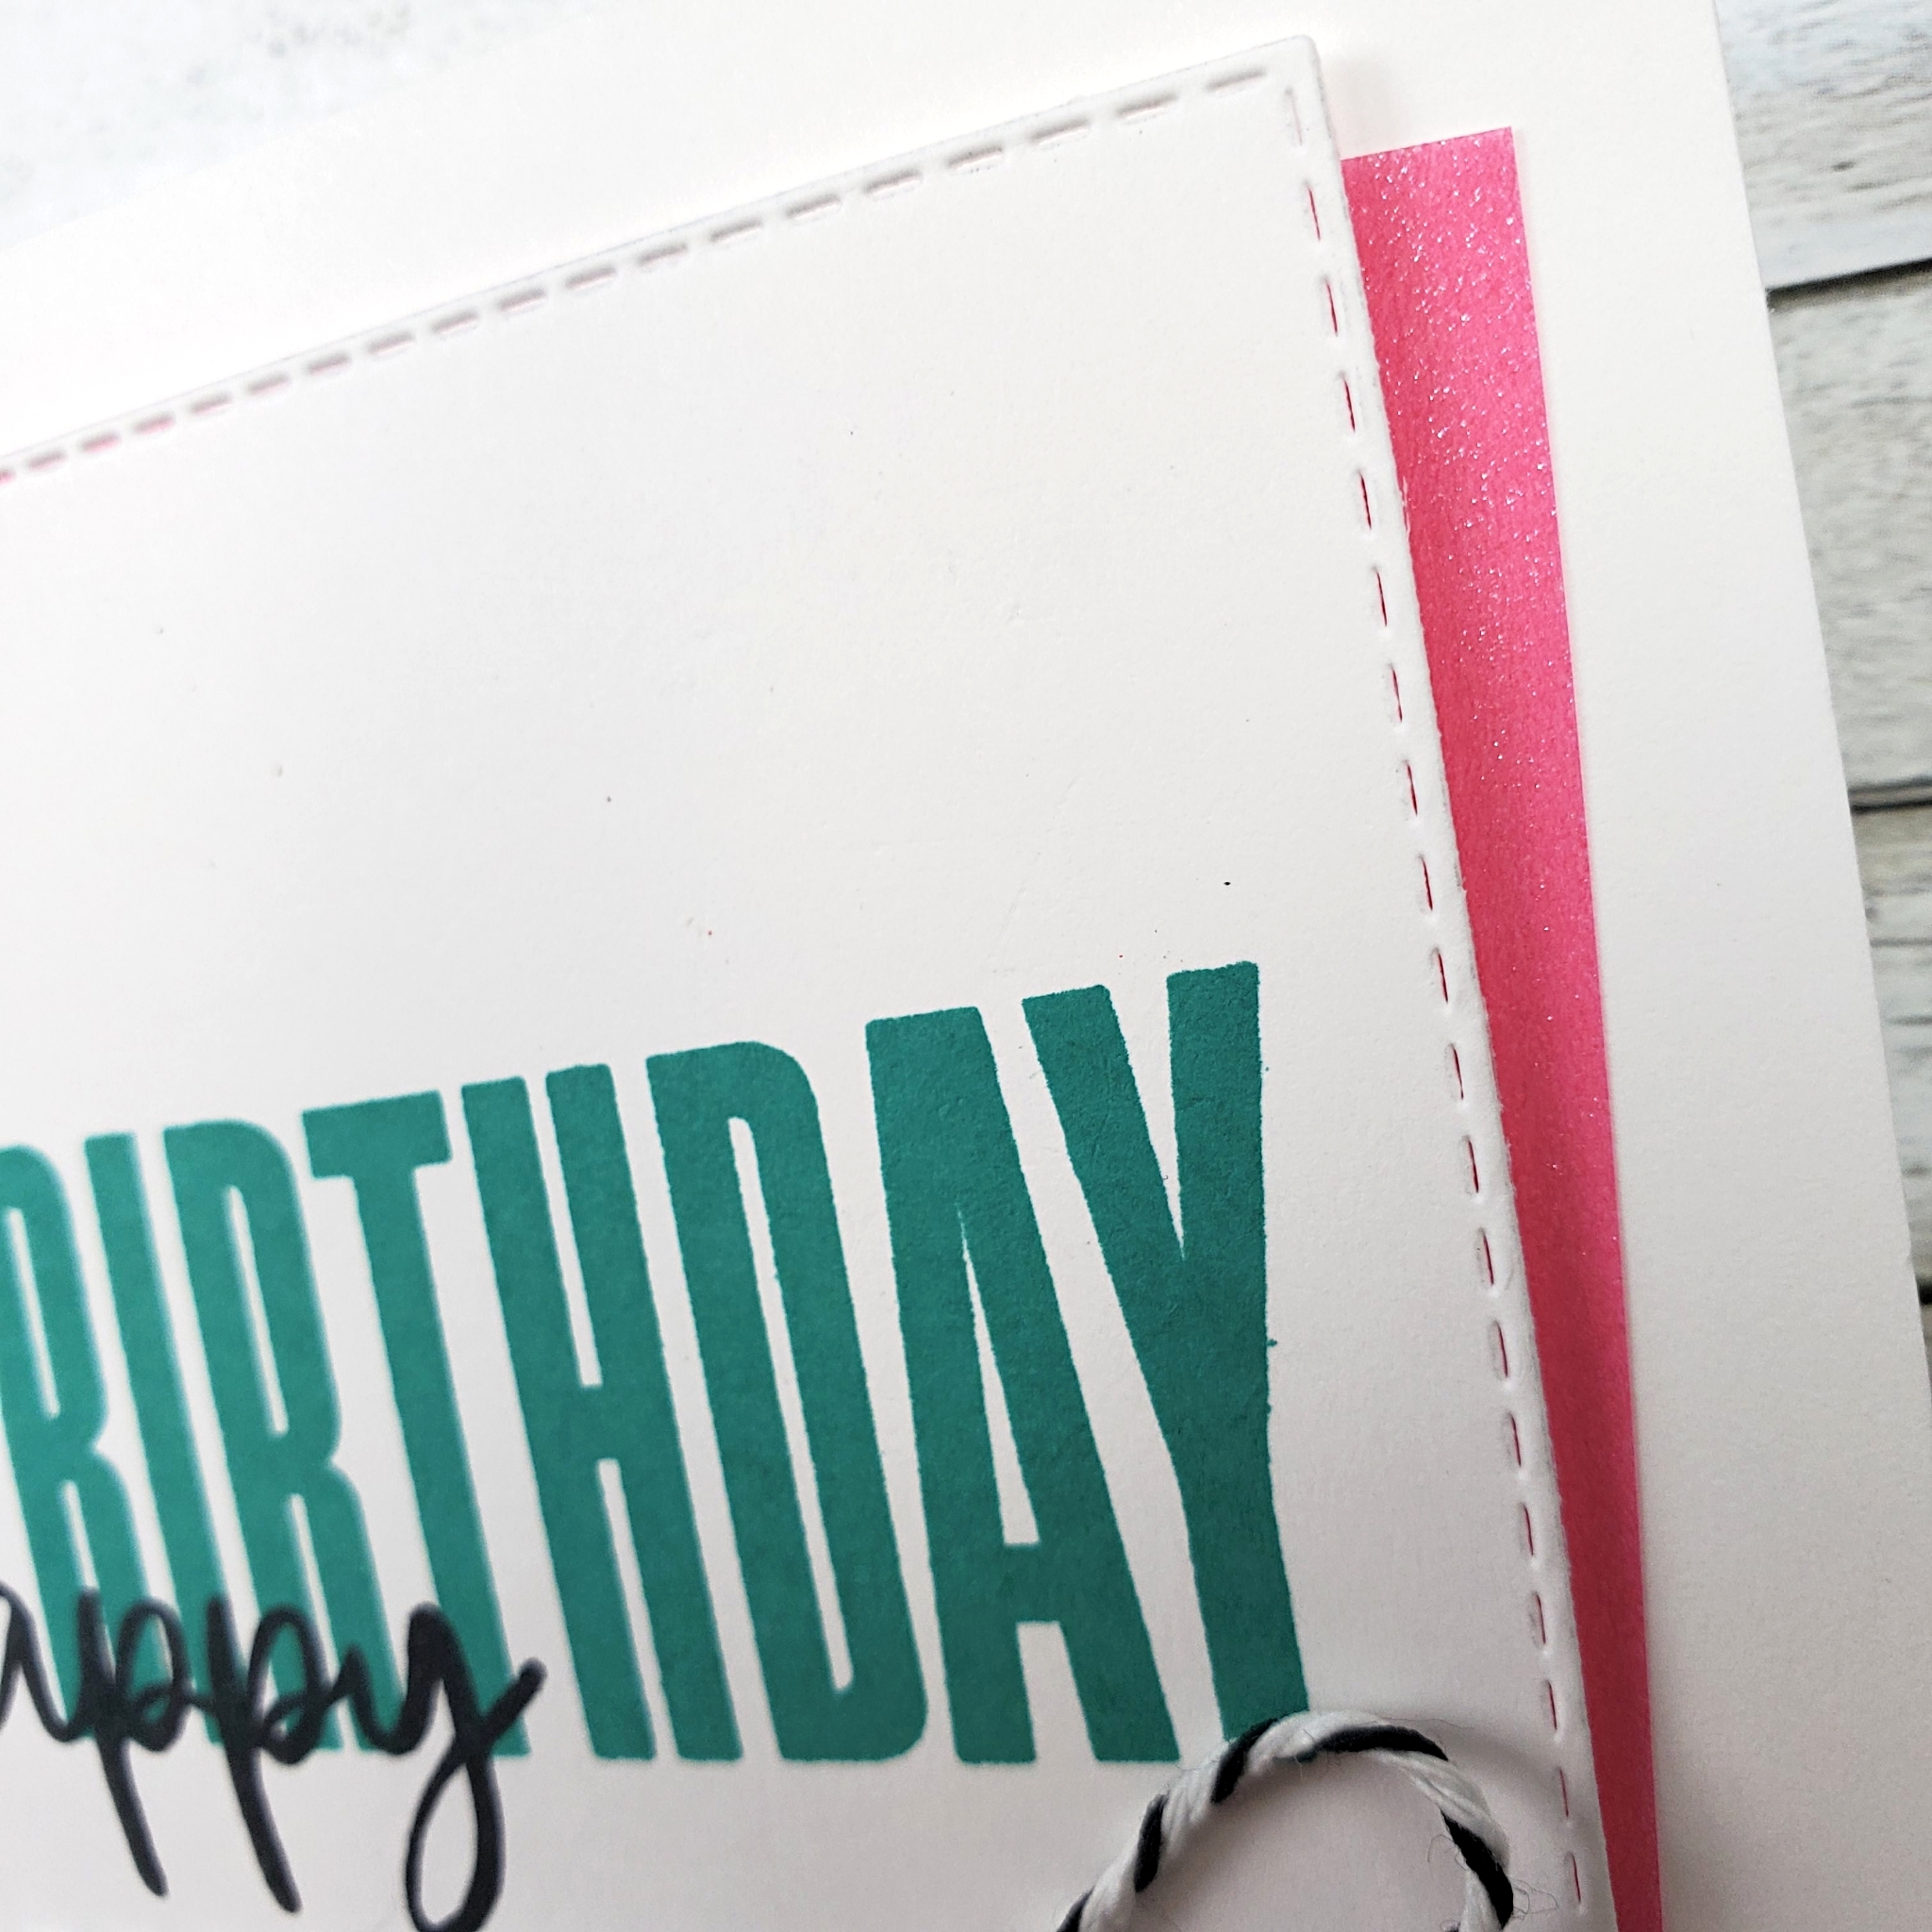
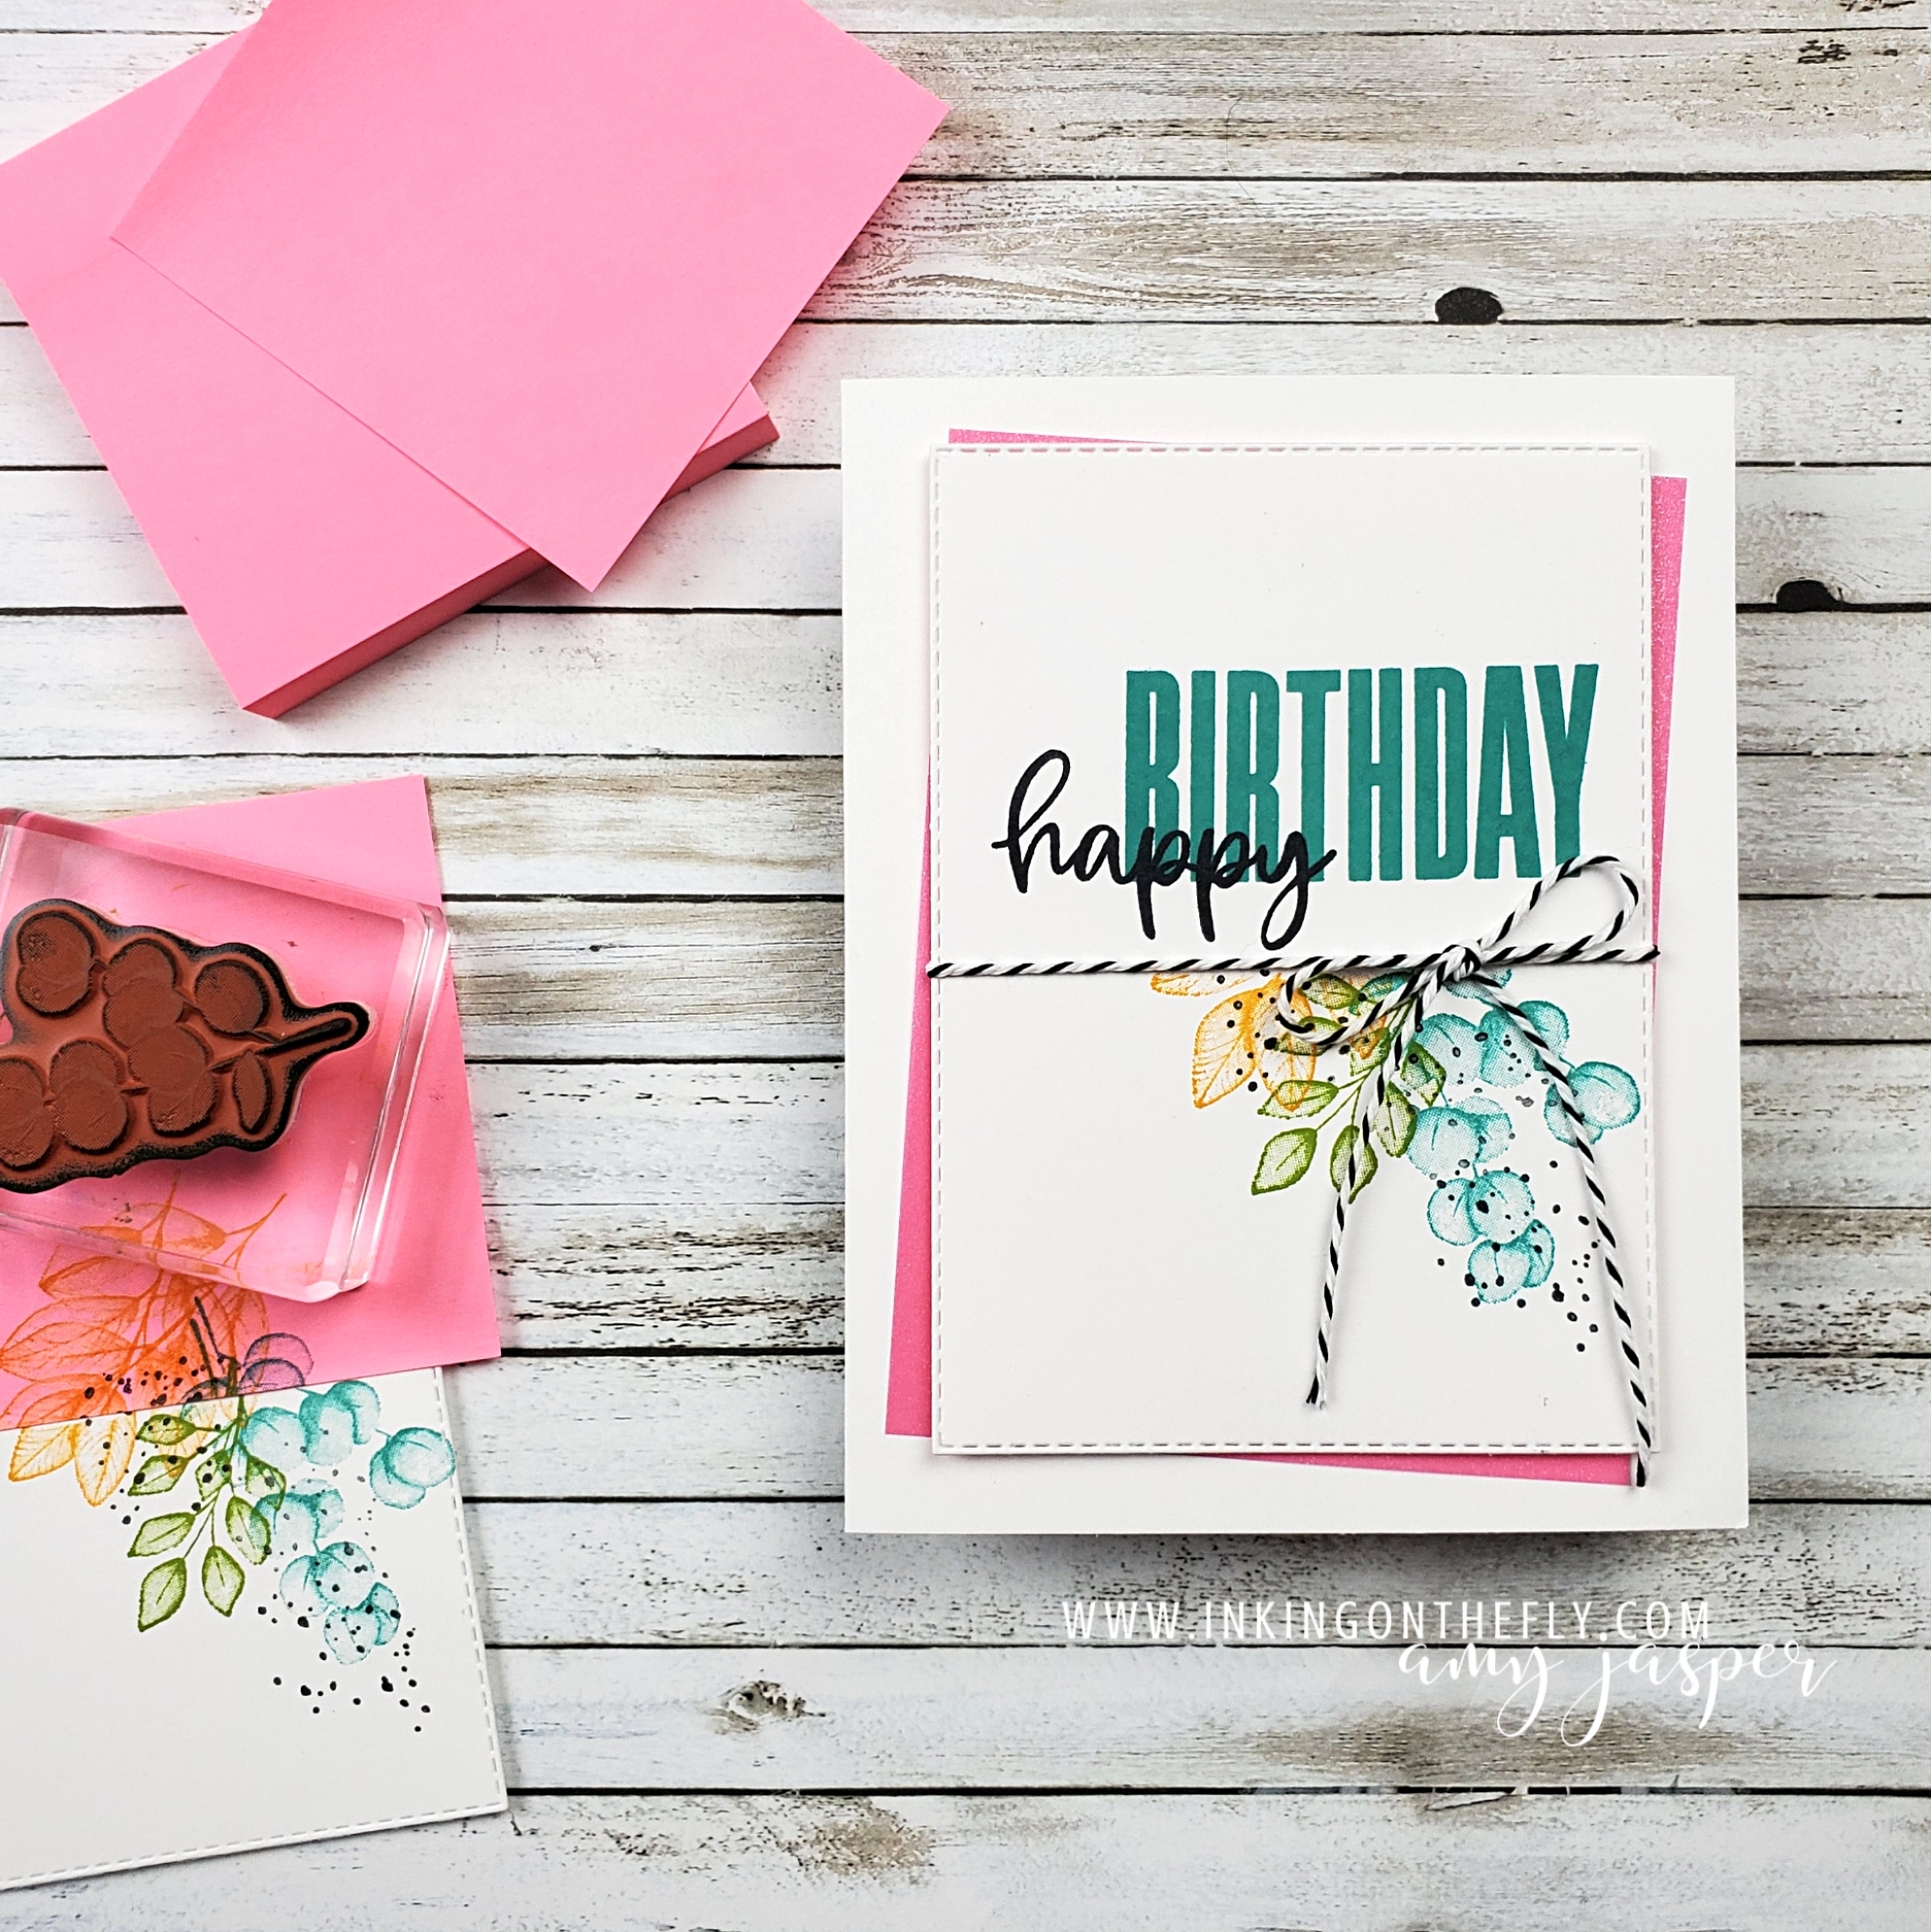
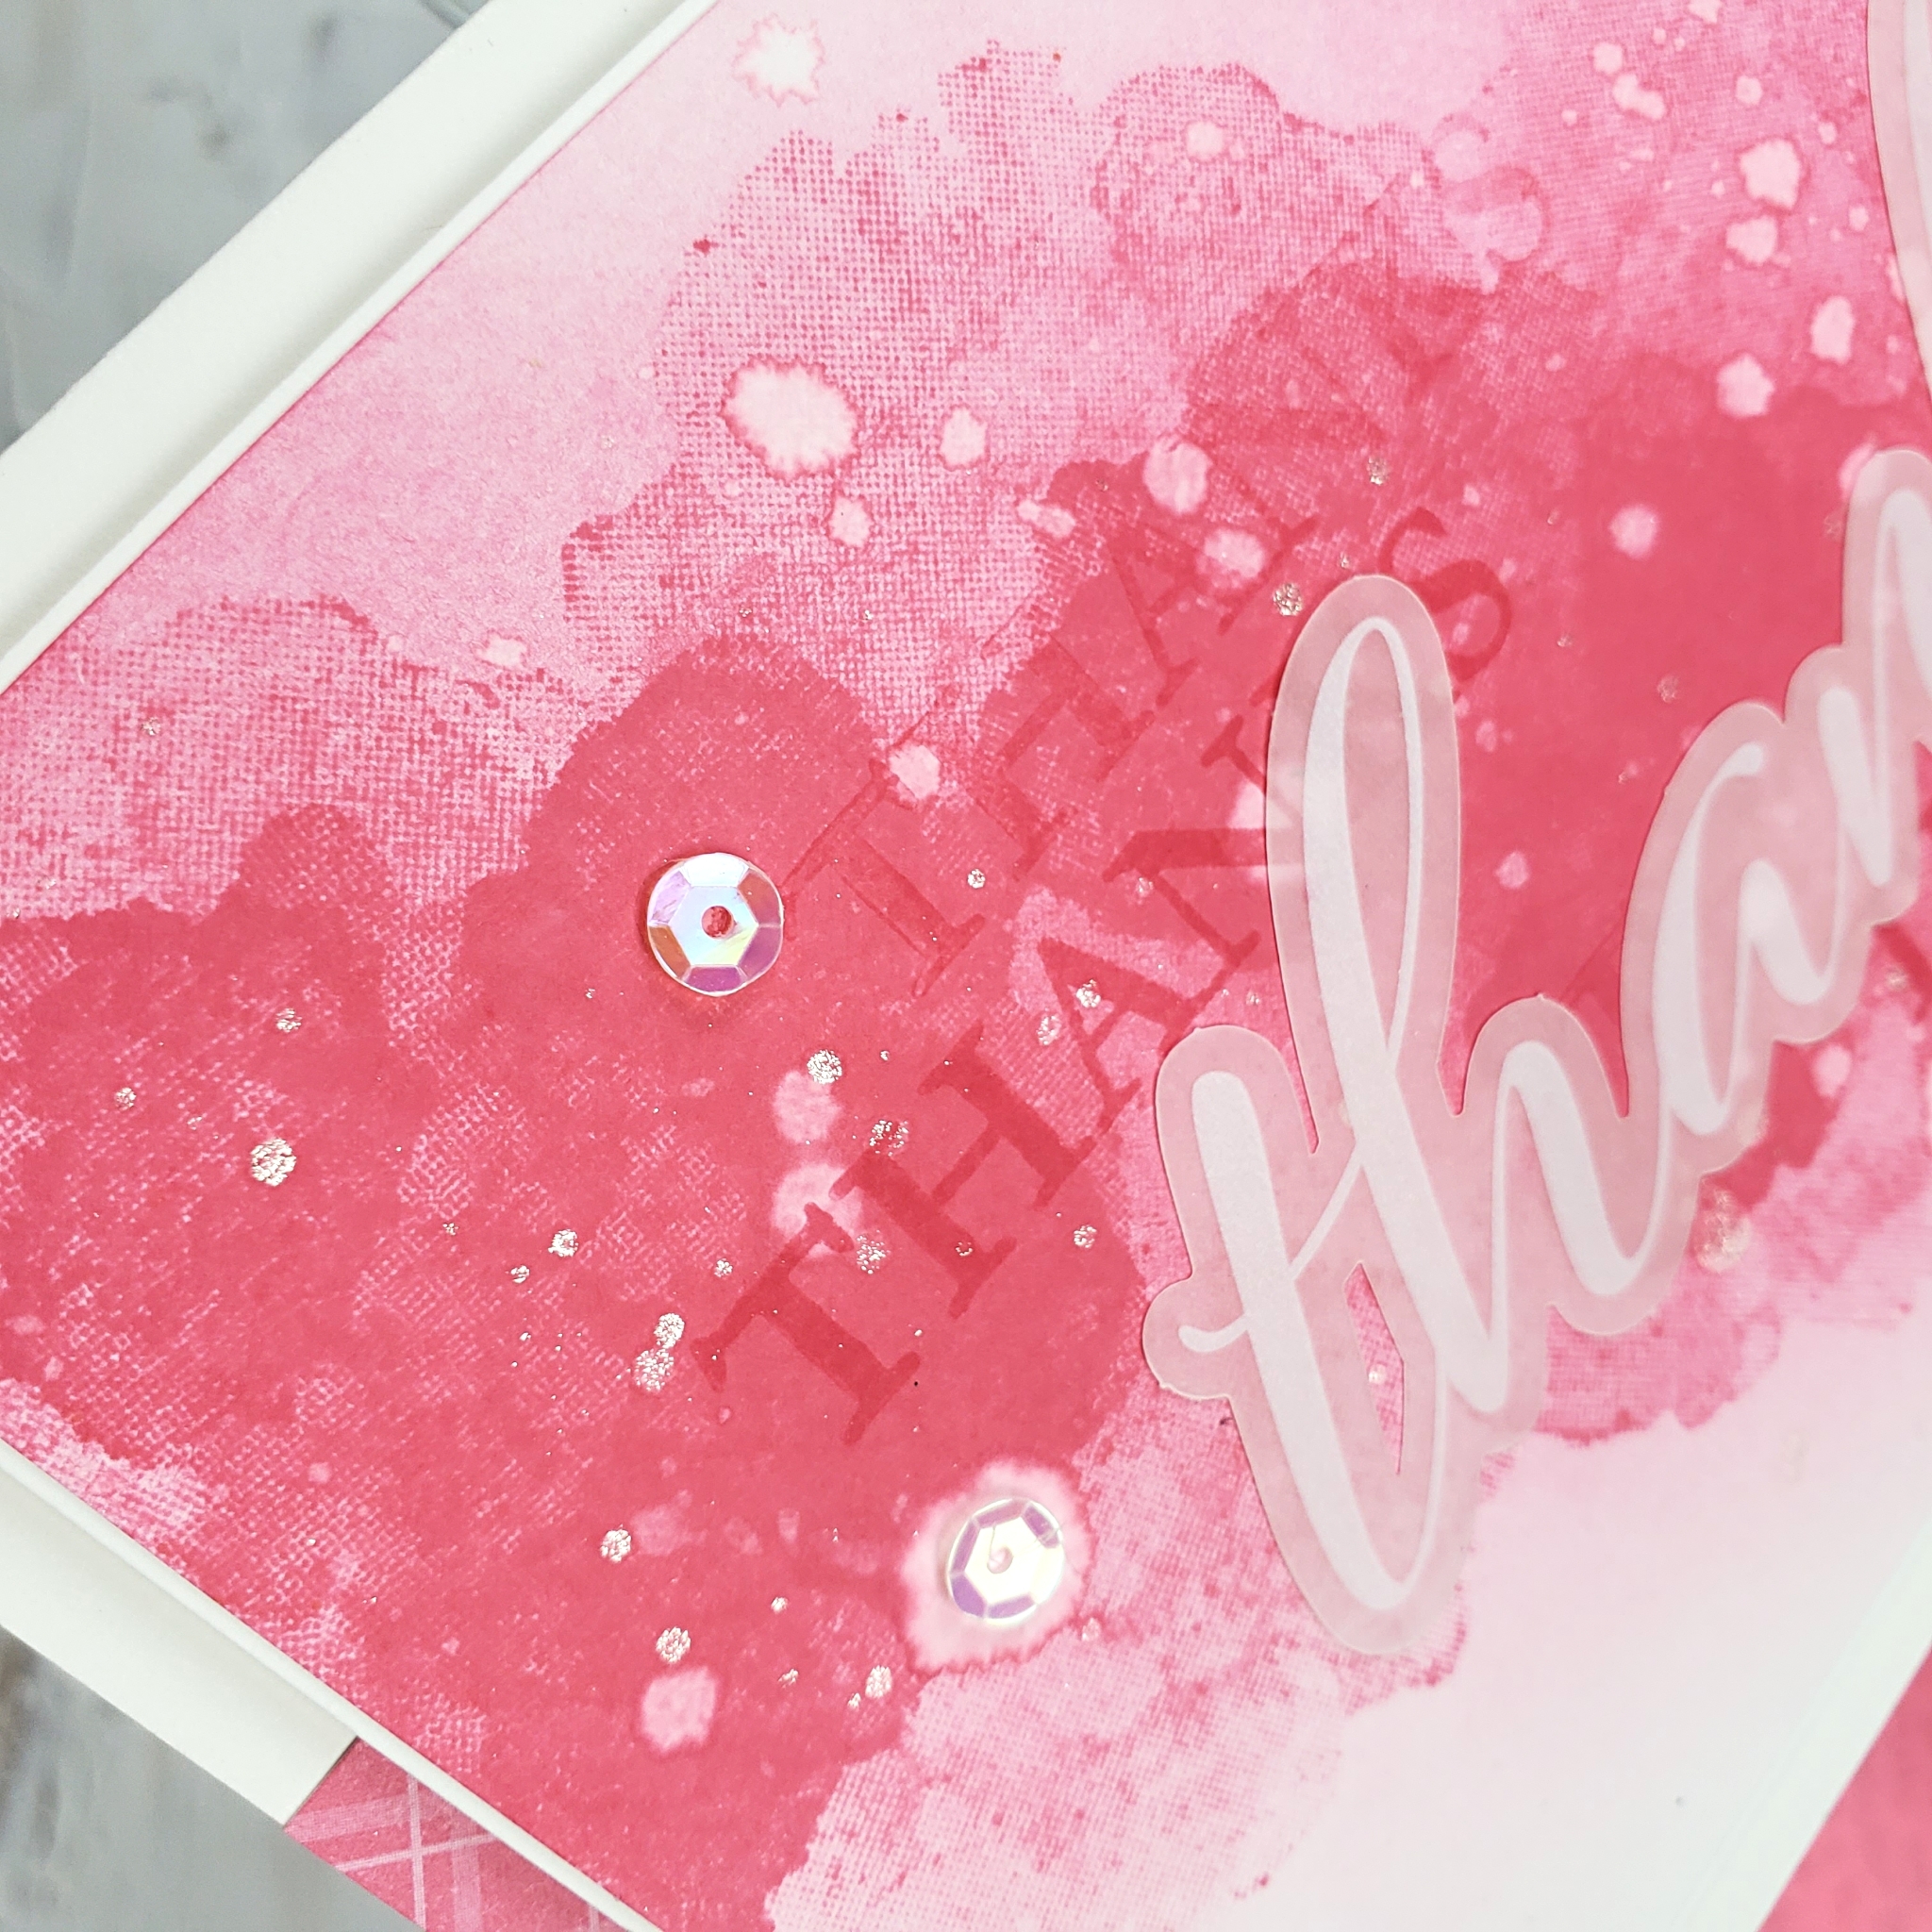
The pink card is created with the stamps in the kit. I used Polished Pink ink and included the wide strip of a piece of the 6″ x 6″ In Color DSP Assortment patterned paper peeking from the background. My Blending Brush and more pink ink soften the edges of the stamped images.

Water droplets create some spatter in the ink. I also added some Wink of Stella spatter for a hint of sparkle!

Watch the video below so you can see how these cards were made.

You can watch it in double time or skip to the best parts! If you like it, be sure to subscribe to my channel and help me to grow my business. Your support keeps me sharing!

Fast Masking with Foliage

Haha! What kind of title is THAT!! “Fast masking with foliage”! Ah well. I’m just going to run with it.

And run I did! Figuratively speaking, of course, because the card that I have to share with you today is for the As You See It Speed Challenge.

What is a Speed Challenge?

A speed challenge is when you make a plan for the card you want to make, gather all your supplies (no pre-cutting allowed!), set your stopwatch, and make a card in 10 minutes or less!

It used to be really difficult for me to do this challenge. If you’ve seen other cards I’ve made, you may have noticed that my designs tend to be … involved. However, I’ve had lots of practice and now feel quite confident. More often than not, I am very happy with my finished design!

8 minutes 29 seconds

Making the Card

For this card, I used the Biggest Wish stamp set. The sentiment is stamped in Bermuda Bay Ink and Tuxedo Black Momento Ink on the Basic White die-cut Stitched Rectangle.

To stamp the images from the Forever Fern stamp set so that they didn’t end up with a mess of stems on top of my sentiment, I used a sticky note (aka a Post-It Note). I place the sticky note and stamped the fern images. Bermuda Bay, Granny Apple Green, and Mango Melody are colours that make me so happy! The dots from the same stamp set were added using Tuxedo Momento Black Ink.

After stamping the ferns, I removed the sticky note. I wrapped the twine from the Playful Pets Trim Combo Pack around the stitched rectangle and tied it in a bow.

This layer was then applied with Stampin’ Up! Dimensionals over the Thick Basic White card stock and the layer of Polished Pink Shimmer Vellum from the 2021-2023 In Color Vellum pack.

Step It Up

I made another version of this design with a few extra elements to step it up a bit!

For this one, I added more foliage above the sentiment and applied some Mango Melody ink along the masked edge before removing the sticky notes. I also created an embossed line above the sentiment with my Simply Scored Tool.

And do you see the little Bee Embellishment! So cute!

I’m not sure which version I like better! Which one do you prefer?

Try out the speed challenge and share it with us at the As You See It Challenge Blog. We love to see your beautiful creations!

If you’re in Canada and are interested in purchasing the products I used for this card or if you want to see what else Stampin’ Up! has to offer, click on the SHOP circle on my blog anytime, or click HERE.

My How-to Video Makes this Fun Pop-up-flap Card Easy

I love pop-up cards and this design is one of my absolute favourites! I first discovered this style of pop-up by watching a video tutorial shared by Mitosu Crafts. You should definitely check out their great ideas on YouTube.

I didn’t follow their directions exactly. Instead, I made a few adaptations to the pop-up mechanism to make it a little less bulky and, hopefully, a little bit simpler.

The ice cream patterned paper pack is no longer available from Stampin’ Up! I don’t think that will be a problem for you because I know you’re very clever crafters and will be able to make a beautiful card with different paper. In fact, I’d like to make another card like this one and use some of the bright and cheerful paper from the Pattern Party Paper Pack. It has 48 sheets of 12″ x 12″ paper that you can only get with Host Rewards from hosting a workshop or placing an order for yourself that’s over $200 CAD.

The ice cream cones on the front of this design are also from the retired Ice Cream Corner paper, but can easily be replaced using the Ice Cream Cone Builder Punch and the Sweet Ice Cream stamp set from Stampin’ Up!.

Follow along with my video tutorial below and give this pop-up card a try. I think you’ll be pleasantly surprised to find that it’s easier to make than you think! You’ll fine the cutting measurements at the bottom of this post.

Measurements for the Card Front

4 ¼” x 11” Thick Basic White, score at 5 ½”
5” x 3 ¾” Pool Party
1 ½” x 4 ¼” Ice Cream Corner paper
Fussy-cut ice cream cone from Ice Cream Corner paper
3 ⅝” x 2 ⅜” Basic Black Stitched So Sweetly die-cut
3 ¾” x 1” Sahara Sand
21” Baker’s Twine

Measurements for the Inside

2 ⅛” x 5” Thick Basic White, score at ⅜”, 4 ⅝”
2” x 3” Thick Basic White, score at 1”, 2”, 2 ½”
11” x 3 ¼” Basic Black, score at 3 ½”, 7 ½”
3 ⅞” x 3 ⅛” Basic White
2” x 2 ½” Clear envelope (or plastic bag)
3 ⅜” x 3 ⅛” Ice Cream Corner DSP (x3)