Techniques

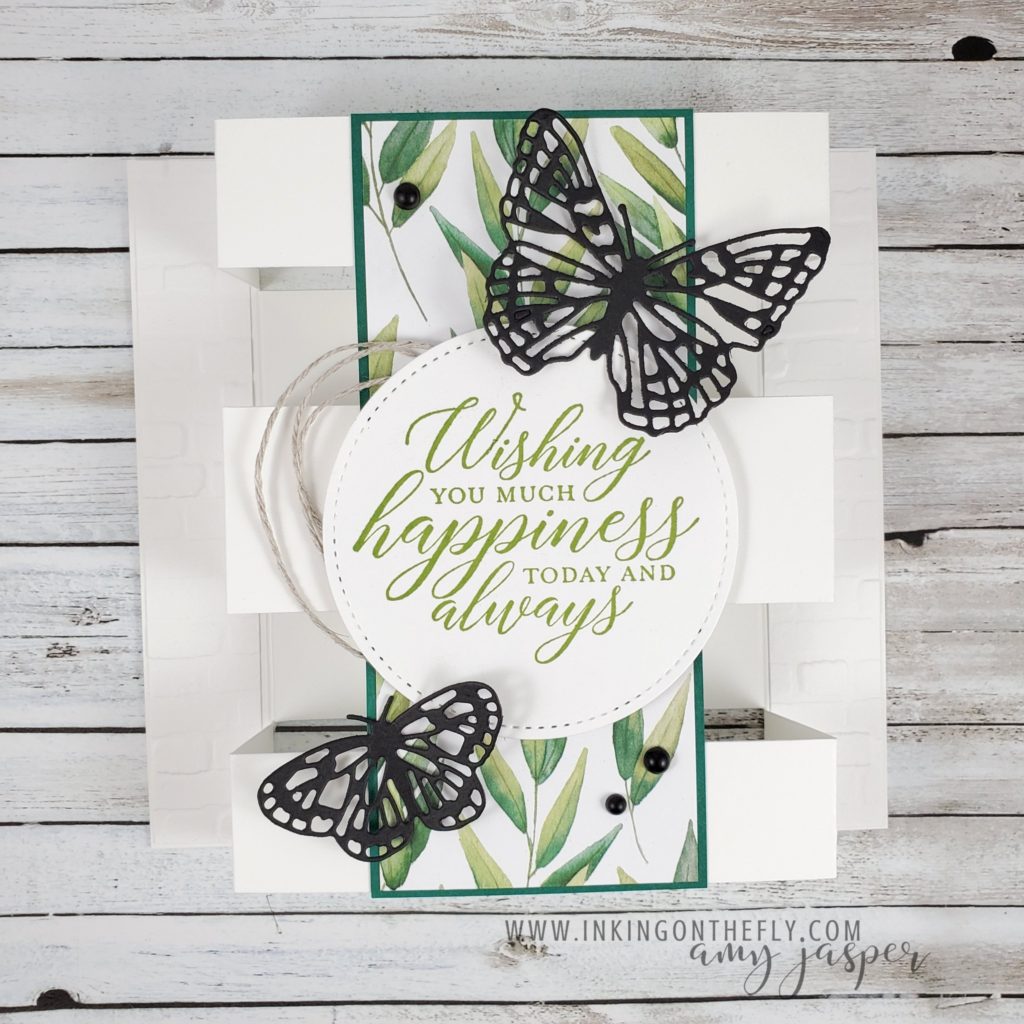
Butterfly Tower Fun Fold

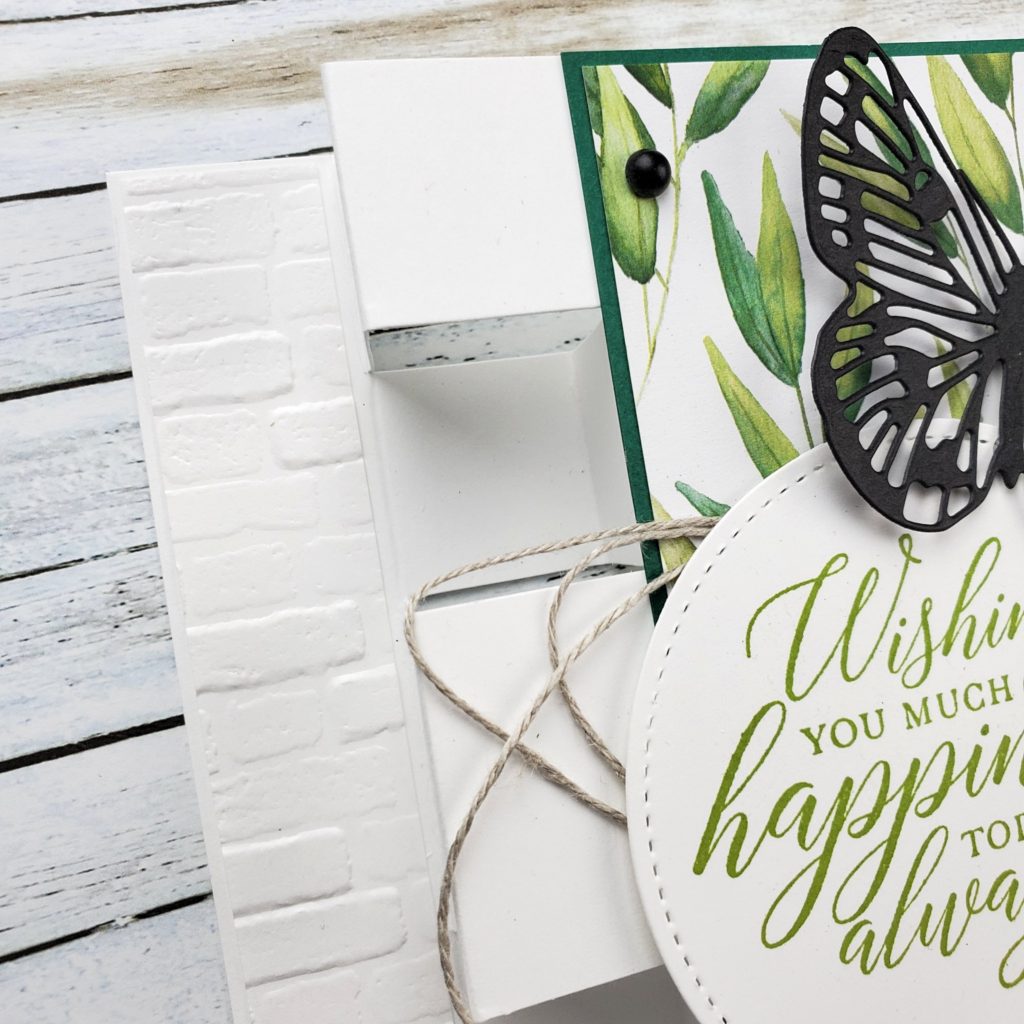
The tower fun fold card design is so unique and is actually very easy to make. You just need to know where to cut and where to fold!

Thankfully, there are amazing and generous people who share their talents online! I first saw the idea shared on one of my demonstrator groups on Facebook, then was directed to the tutorial shared by Julie Davidson, who simplified the concept that she saw from someone else. I think it’s very cool how we get to learn from each other and then make it our own!

My card is one that I offered in my technique class back in March. Those who attend my monthly technique class and those who have VIP Access to the tutorials are given sole viewing privileges for two months. After their private access has come to an end, the tutorial video is available for the general public. Since I designed this project two months ago, some of the supplies used may no longer be available for purchase.

On this particular design, there are three items that are no longer available to purchase from Stampin’ Up!. You can no longer order the stitched circle die, the stamp, or the patterned paper. I recommend using the Layering Circles Dies in place of the stitched circle. The new Expressions in Ink Specialty Designer Series Paper has some beautiful greens that may be a good replacement for the greenery patterned paper that is no longer available. You can use any sentiment that will fit in the circle.

Measurements and supplies used:

  • 8 1/4″ x 5 1/2″ Thick Basic White (cut and scored as explained in the video tutorial)
  • 7/8 x 5 3/8″ Basic White (x2) embossed with the Brick & Mortar 3D Embossing Folder
  • 2 3/8 x 5 1/2″ Shaded Spruce
  • 2 1/4″ x 5 3/8″ Forever Greenery Designer Series Paper (Try it with the new Expressions in Ink paper!)
  • Basic Black die cut butterflies using the Brilliant Wings Dies
  • 3″ Basic White die-cut circle from the Stitched Shapes Dies (Try it with the Layering Circles Dies)
  • 21″ Linen Thread
  • Granny Apple Green Ink
  • Black Matt Dots

Camping is in Tents

I have a lot of great memories of camping with my family. We never had a trailer or RV – always a tent.

When I was 12, we hiked the 78km West Coast trail. I complained a LOT, but what an amazing adventure! We would hike about 10km each day (my oldest brother carried my backpack for me for some of the trek), then pitch our tents and eat our meal by the open fire and dry out our clothes. In the morning, we’d pack everything up again and carry it to the next tenting spot.

The best camping ever is backpacking. No vehicles. Very few people. A minimalist experience where you can fully appreciate nature and all of its scary and beautiful glory!

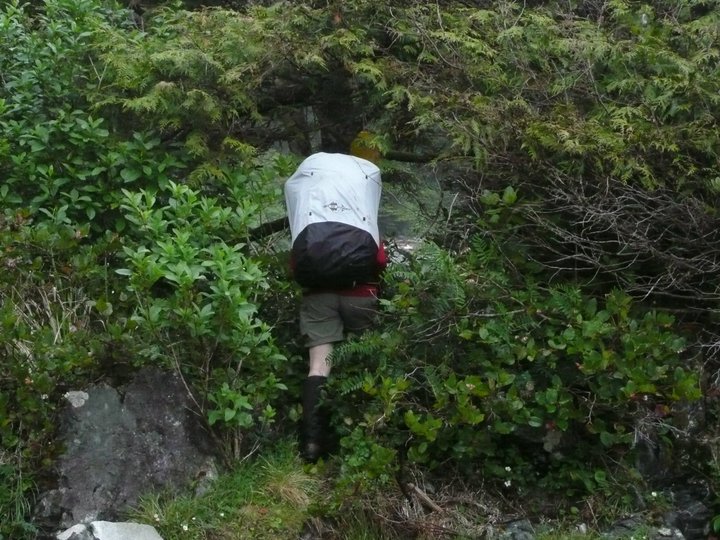
Hiking the Nootka Trail 2010.

I love camping, but I have to admit, I’m a bit of a snob. I get very annoyed at campers who play their music without any consideration of the other people in the area. Many campers prefer the sounds of the wind in the trees and soft buzzing of the busy insects as they maintain the balance of the ecosystem.

I’m also not a fan of big RV’s and their loud generators that are strategically placed far away from themselves because of the noise. Which, of course, means that the noise is closer to my tent. My tent! With its thin fabric walls that provide shelter from the wind and rain, but absolutely no protection from the noise pollution of a generator or music.

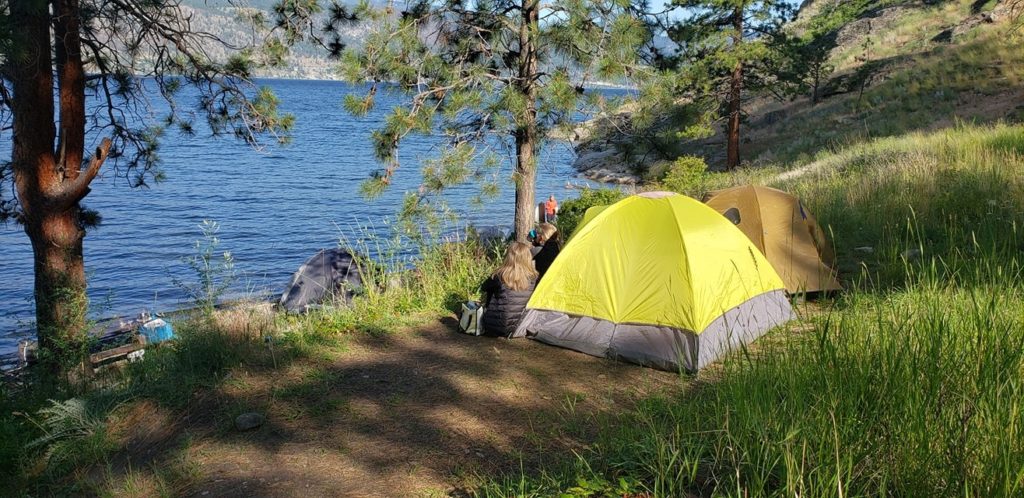
Wildhorse Canyon 2020

If you are someone who camps in an RV, offer me some of the ice cream from your freezer and I just might forgive you for stealing my peace and quiet. 🙂 Better yet, consider powering-up with solar panels, if you can. This is better for the environment, your camping neighbours, and your bank account.

But, enough about my camping snobbery. Let’s get to the card I want to show you!

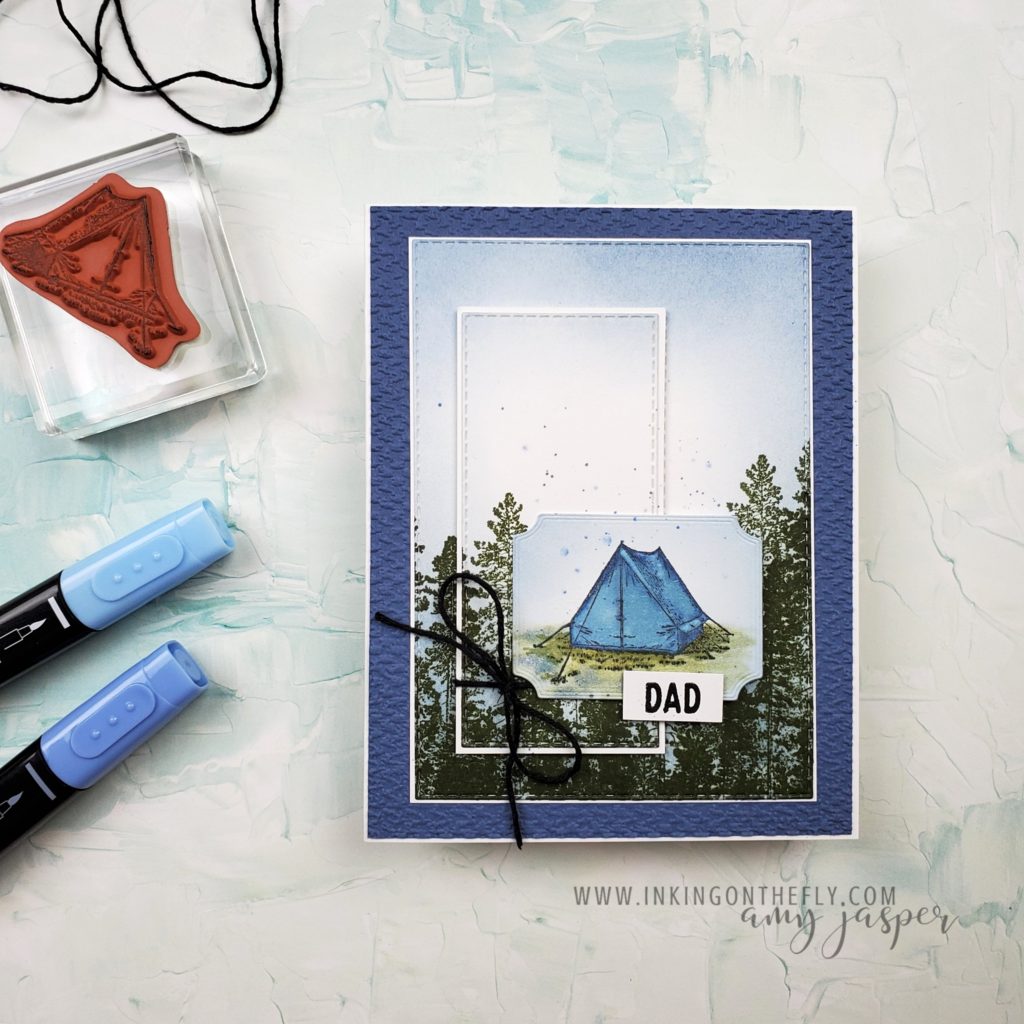
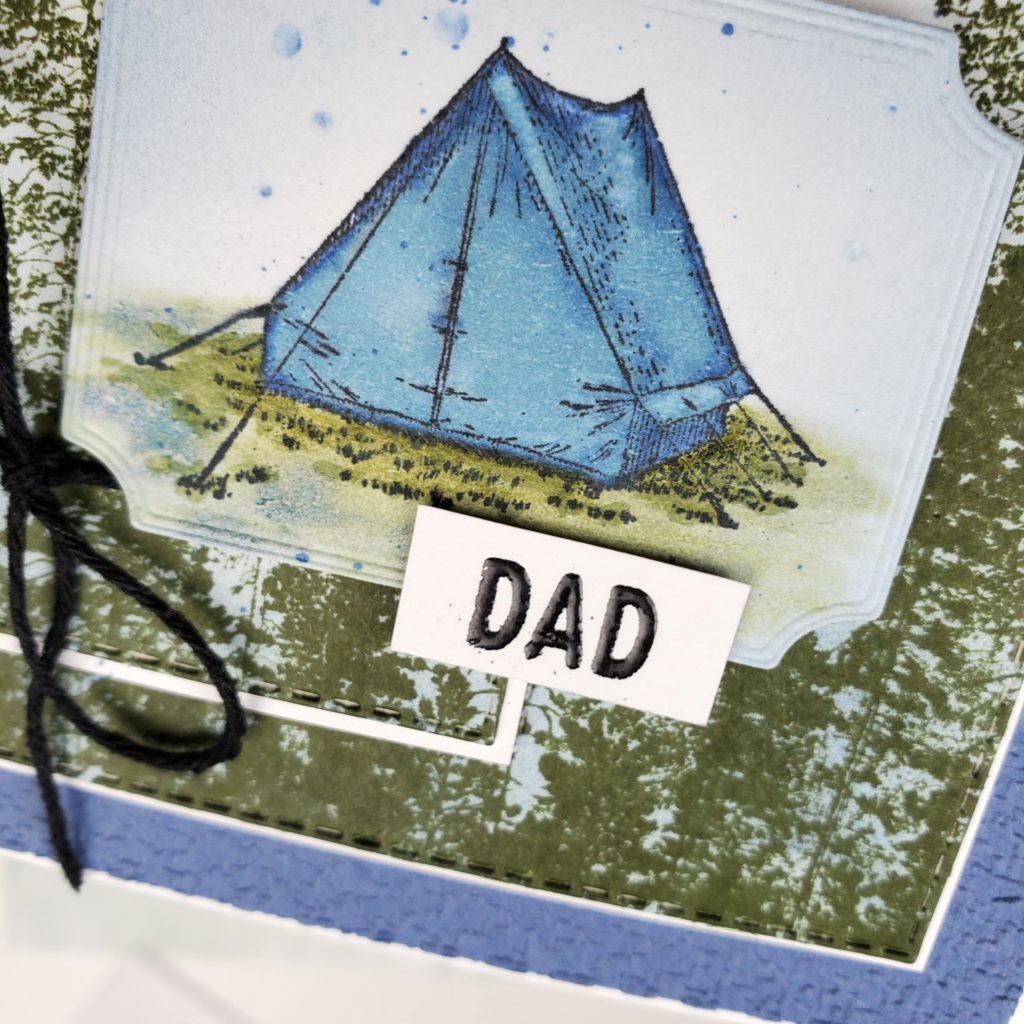
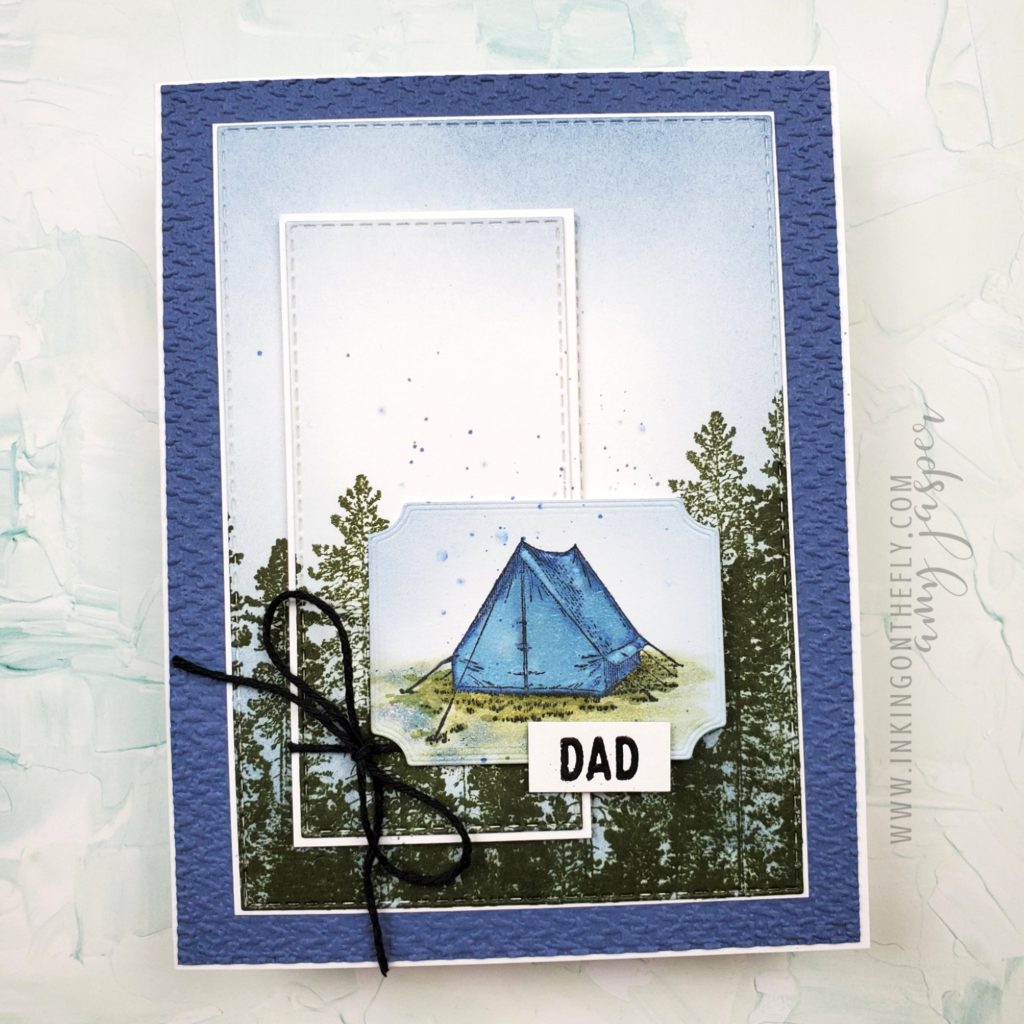
I created this one with the Campology stamp set from Stampin’ Up! and it will be the card that I give to my Dad this Father’s Day. He’s the one who passed on his love of nature and the outdoors to me. I feel incredibly blessed and privileged to have the positive experiences that I did.

Here are some of the products used:

After the card was completed, but before the DAD sentiment was attached, I used the Light Night of Navy Blends Marker to flick the spatter of colour over the card. Some of these I tapped with the Colour Lifter Blends Marker to soften them so they would appear out of focus.

Are you a tent camper or an RV camper? Maybe you’re in the middle somewhere and have a tent trailer or a camper van. What matters in the end, is that you’re getting out to enjoy nature and have a little break from the world!

Oh, and don’t forget, if you camp with an RV, offer some ice cream or freezies to your tenting neighbours on those hot summer days. They will love you for it!

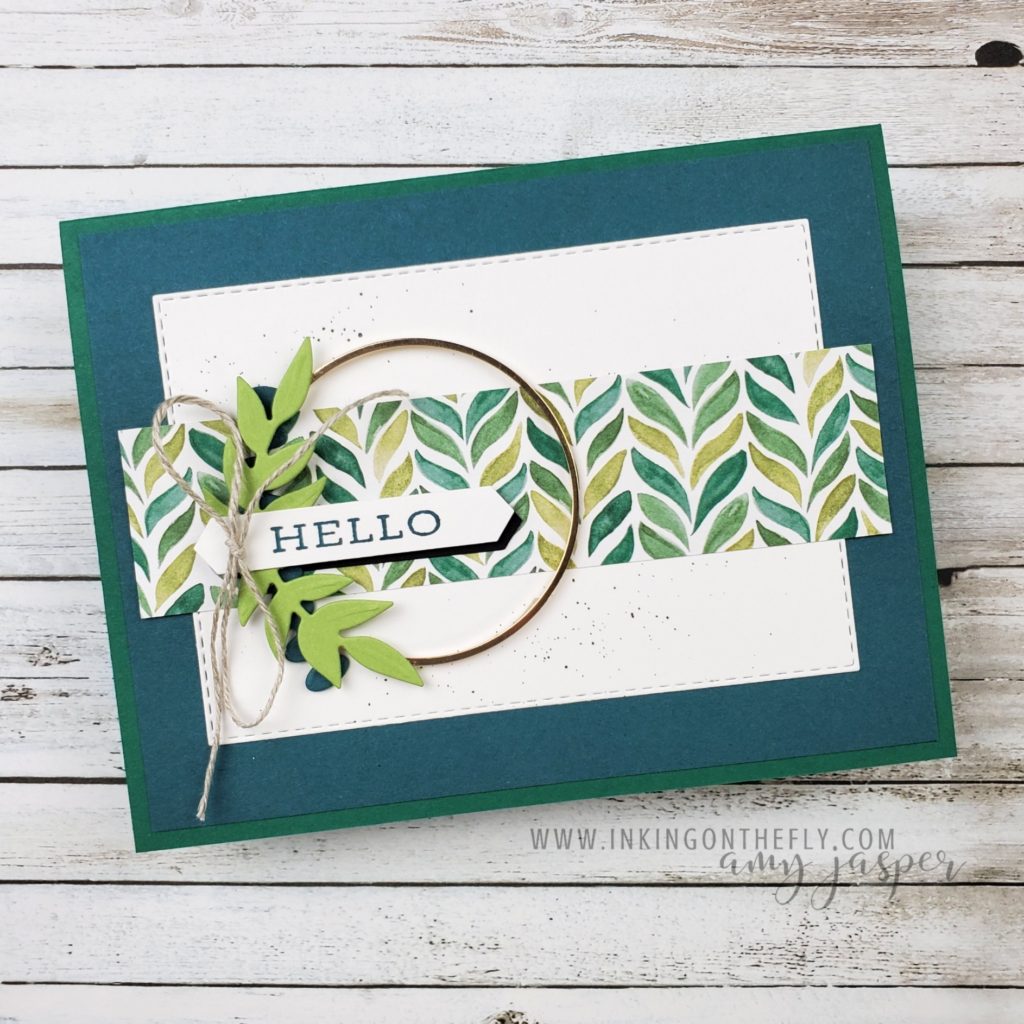
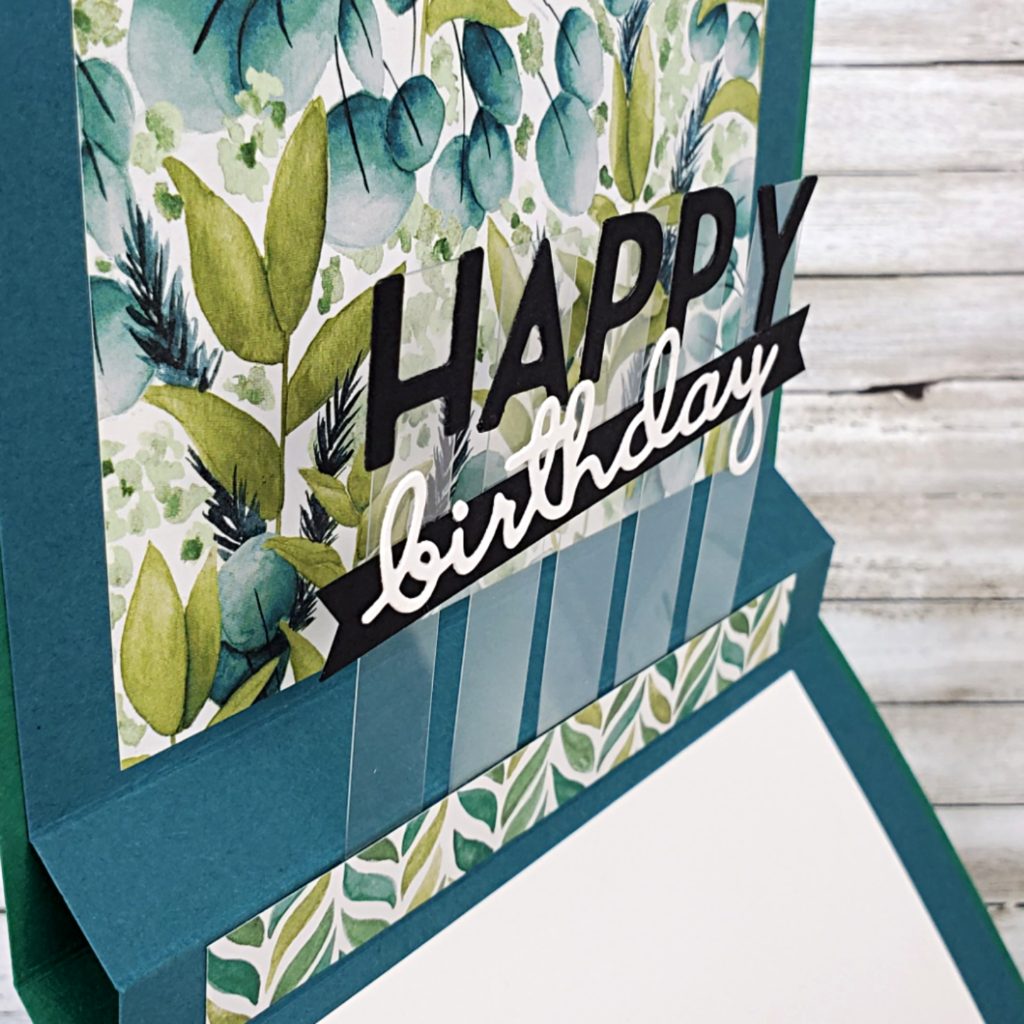
Pop-Up Forever Greenery Card

Hello and welcome back!

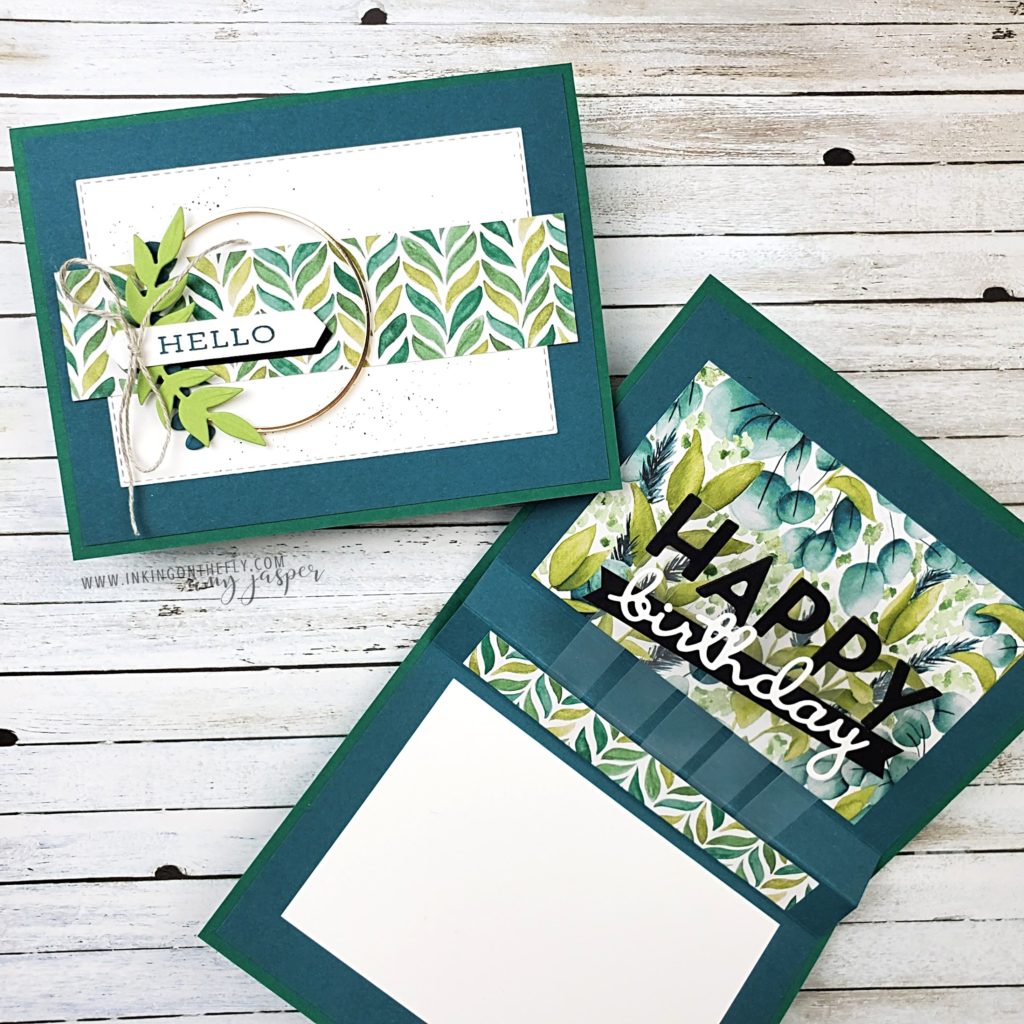
I have another card and tutorial video to share with you from my monthly technique class back in March. Some of the items on this card have retired since then, but I know you’re clever. You’ll be able to use the pop-up design with other products.

The Playful Alphabets Dies that you see on the inside of this card are a staple item in my craft room. They’re small enough to use on a card, but universal enough to use in scrapbooking and home decor projects as well. I’ve even used these dies to cut out iron-on vinyl to use on fabrics!

If you’re in Canada, you can join my technique classes on Zoom. As part of this class, you will receive all the pre-cut paper, the embellishments, and envelopes for two card designs. You will also receive an email with the link to join the Zoom class and the list of supplies you might need, such as stamps and ink.

During the virtual class, you follow along with me and we make the cards together. It’s very casually paced as I make sure each person has completed each step before I proceed to the next one. If anyone struggles with a step or make a mistake, we can work it through together right then and there! My attendees also receive a PDF with the instructions as well as private access to each of the video tutorials on YouTube. The videos remain private for two months so that those with special access can revisit them as needed.

Sometimes people who purchase the pre-cut supplies aren’t able to attend the Zoom class. They register for the class to get the pre-cut supplies, then wait until the tutorials are available and make the cards on their own at their convenience.

If you’re outside of Canada, I’m not able to send you any supplies, but for $10 CAD, you can receive VIP Access to the videos at the same time as those who attend the class. No waiting two months for the videos to post! You can access the video tutorials and receive the PDF written instructions while the products are still available to purchase through Stampin’ Up! Sadly, those of you who aren’t in Canada can’t order from my online store, but if you need help finding a demonstrator near you, I’m happy to recommend someone if I can.

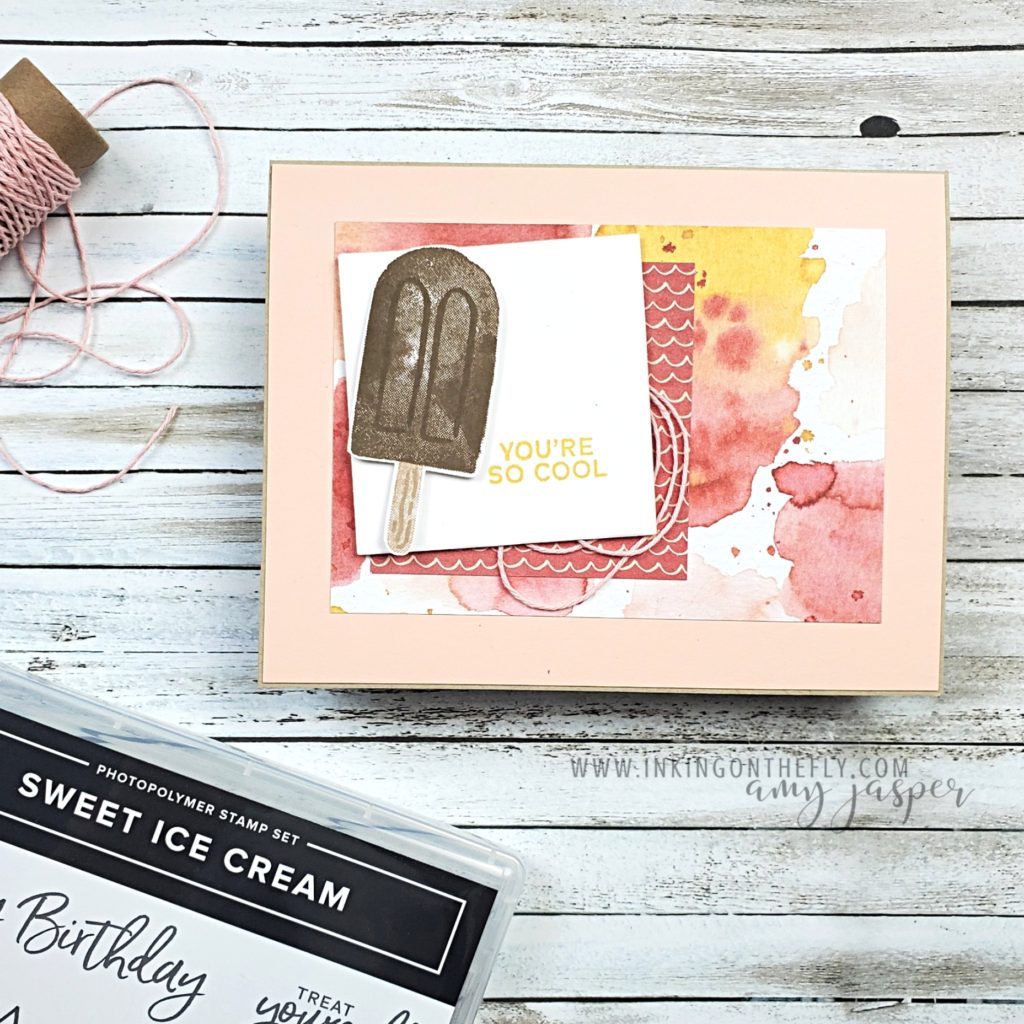
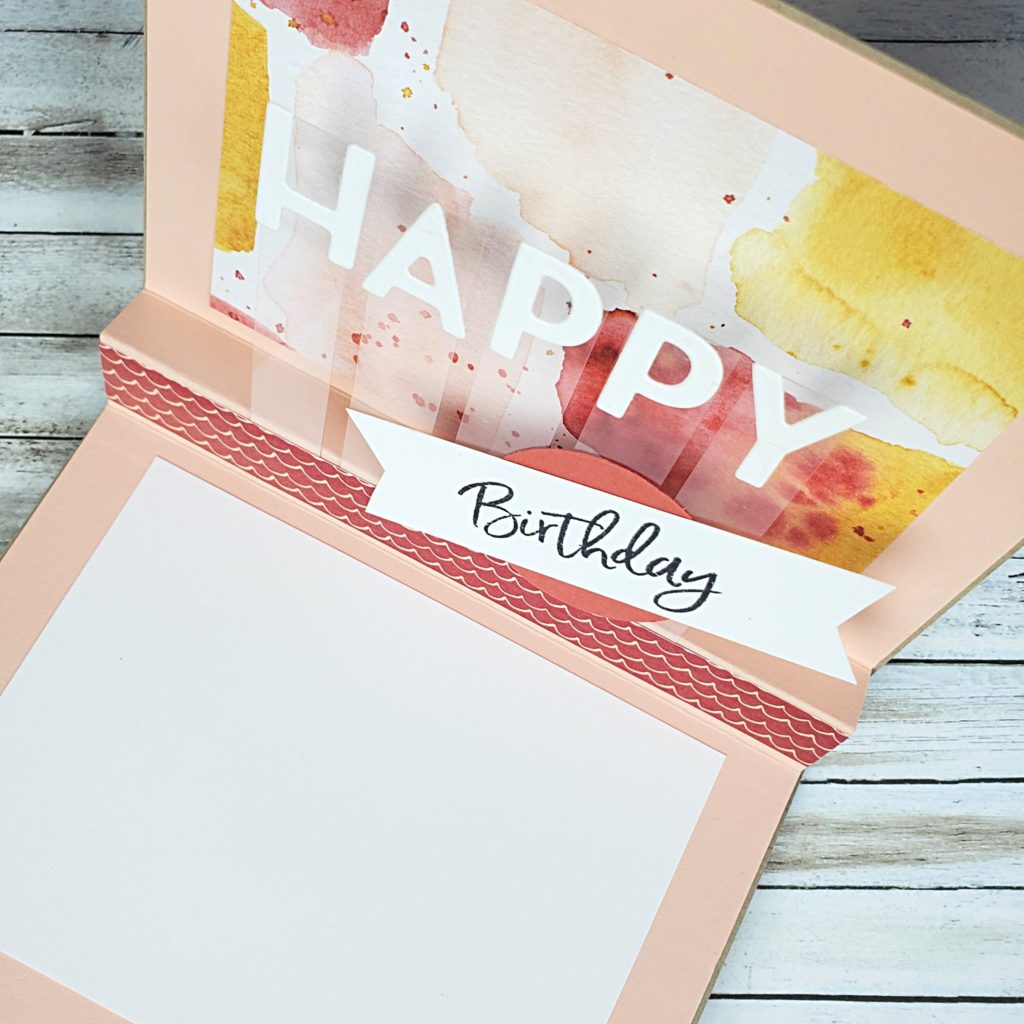
I originally shared this pop-up card design at a Stamp Camp event back in January using the Ice Cream Corner Designer Series Paper. This paper is still available in the January – June Stampin’ Up! Mini Catalogue.

The front of this card is a different layout, but the inside is very similar to the Forever Greenery version of this design. The only difference on the inside is that I used a stamp from the Sweet Ice Cream stamp set instead of a die-cut word.

To see how I made this pop-up design, follow along with the video tutorial. The measurements for the card on in the video description on YouTube if you need them! Go to my online store to see what beautiful options you have for patterned paper to use for cards like this!

Hey, why not take a moment to leave a comment and let me know that you stopped by. I love to hear from you!