watercolour

Playing Along with a Colour Challenge

I’ve felt as though something has been missing in my world of Stampin’ Up!® and I finally realized what it is!

I miss playing!

I’ve been completely focused on designing cards for others to make at events and classes, that I forgot to do the one thing that drew me into this art form in the first place. I need to create for the sake of creating!

When I make cards for a class, I have to consider the skill level, how many steps are involved, how to work within the time available for the class, and adhere to the limits of the supplies available to the number of people involved. However, when I create for the sake of creating, I can be free of limits and can let myself become absorbed in the joy of the moment. It’s delightful. It’s when I’m at my happiest in my craft room.

For those reasons, I thought, “What if you did a colour challenge?”. Of course, my first thought was to go to my favourite challenge blog: As You See It Challenge! I used to be a designer for them a couple years back, but I really love their challenges. I also like that theirs are posted every two weeks, giving you plenty of time to create a card and share it.

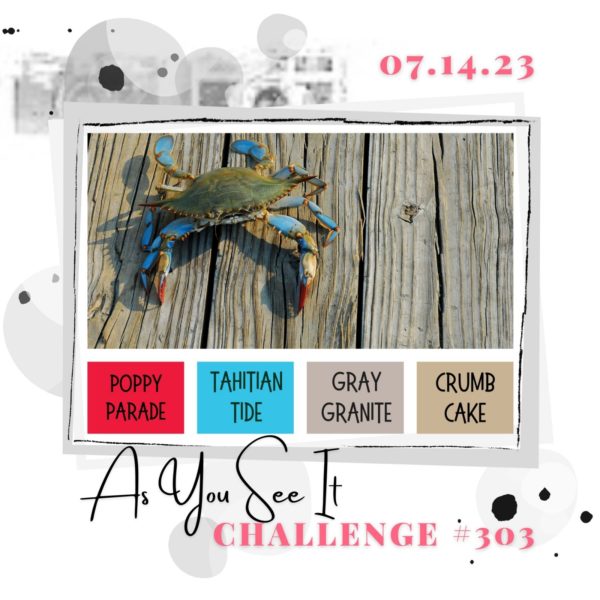
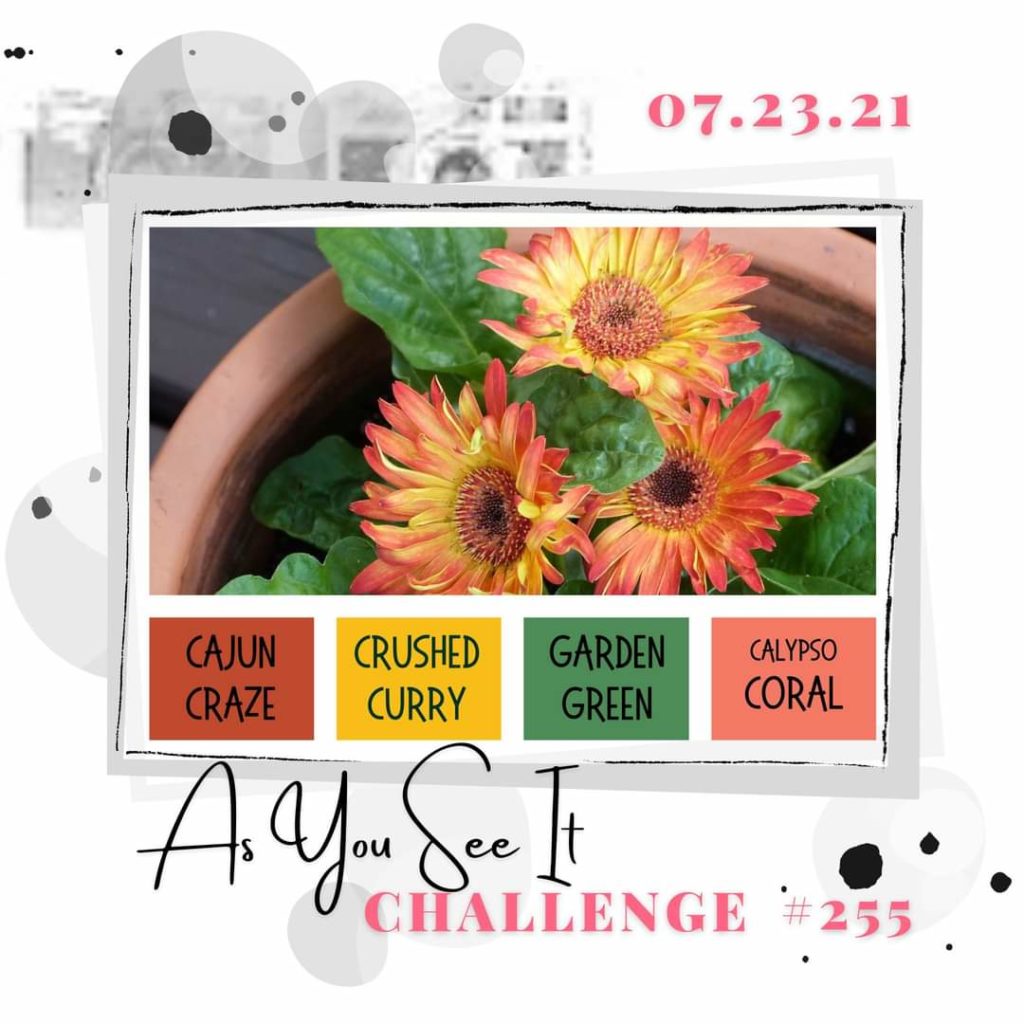
Here’s the colour challenge that they posted last Friday:
My Card

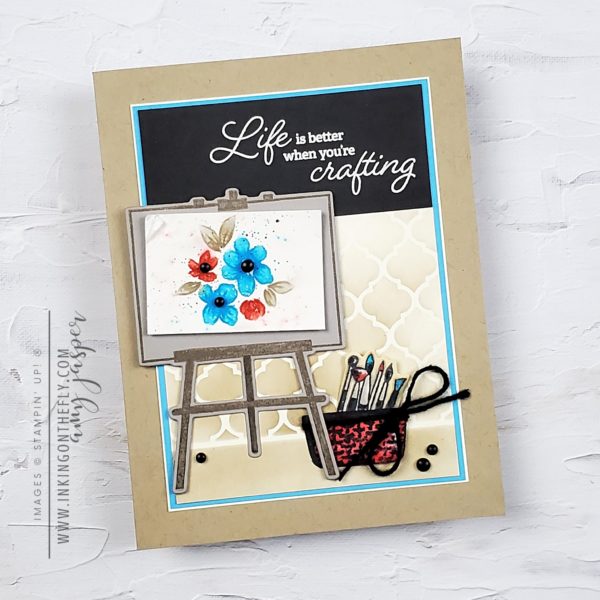
I chose to use the Crafting with You Bundle for my design. You can see that there’s a bit of everything on this one: A watercolour technique, some ink blending with a mask, die-cuts and heat embossing, OH MY!
Technique for the Floral Image

I think some of these methods are familiar to you. However, you may not be able to achieve the floral image without a bit of explanation. With the Poppy Parade, Tahitian Tide, and Crumb Cake Stampin’ Write Markers, I applied ink to the floral image stamp, than stamped it on the Fluid 100 Watercolor Paper. Little dots were applied around the image with the same coloured markers. I then very lightly misted the image with water from my Spritzer to soften the image and the dots.
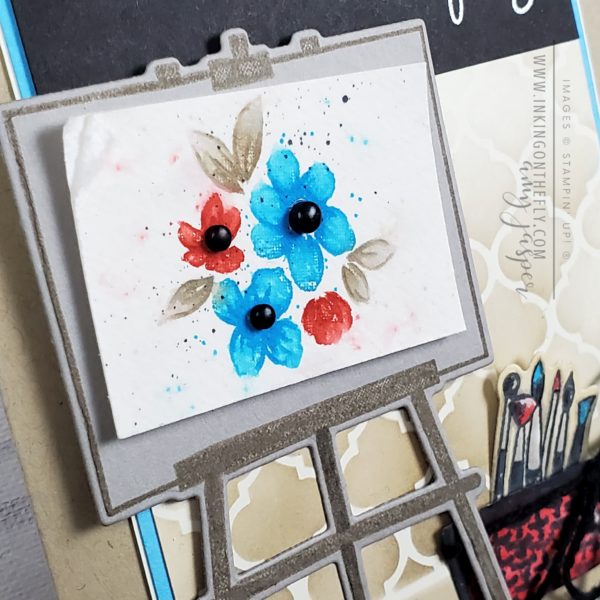
I let this dry while I worked on other aspects of the card. Once dry, the markers were used again to accentuate the outline of the flowers and leaves. This allowed the image to appear watercoloured, but still have some definition. The final touch was to add a bit on Basic Black splatter. To do this, I simply flicked the brush tip of my Basic Black Blends Marker across the lip of the marker lid (this frays the brush tip, so be warned!). A little curl of the watercolour paper in the upper left hand corner, some Classic Matt Dots, and it’s just as I hoped it would be!
Other Products Used for this Design

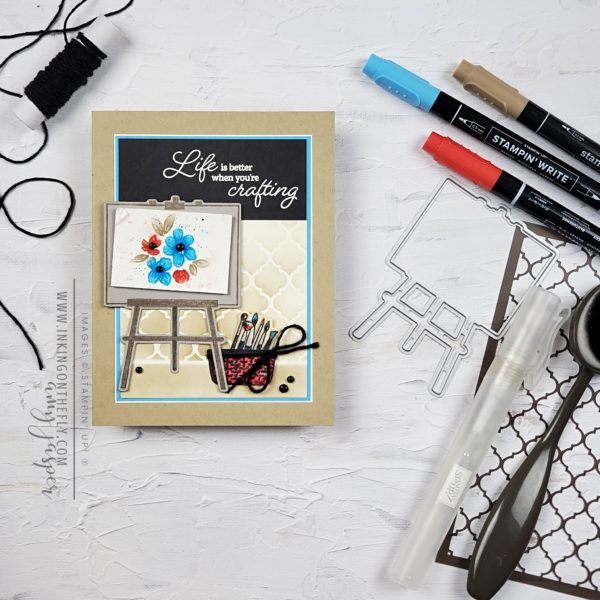
Artistic Mix Decorative Masks, Black Baker’s Twine, White Embossing Powder, Versamark Ink, Heat Tool, Mini Stampin’ Cut & Emboss Machine, Stampin’ Dimensionals, Blending Brush, Blends Markers (Poppy Parade, Crumb Cake, Gray Granite, Basic Black), Cardstock (Crumb Cake, Tahitian Tide, Basic Black, Very Vanilla, Gray Granite.

You can purchase all the elements that I used on this design by going to my Online Store or clicking on any of the specific links. And, hey, if you’re wondering who the heck I am, you can go to my About Page and find out. 🙂

Got questions? Ask me in the comments. I’m happy to help if I can.
Exciting New Product Sneak Peek with Watercolouring

It’s always exciting when we have a new catalogue coming out! As a Stampin’ Up! demonstrator, I have the privilege to order new products before they’re released to customers. That means that I have new products to share with you today!

As You See It

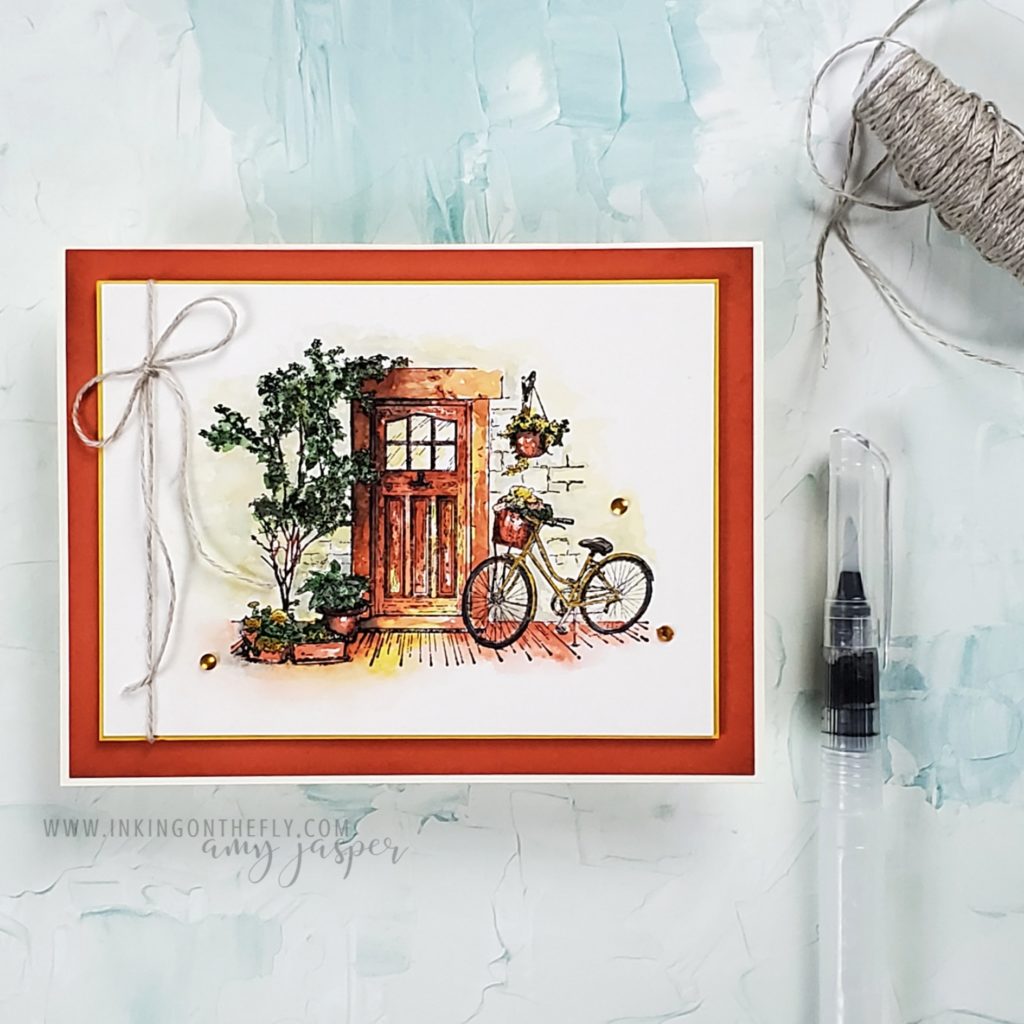
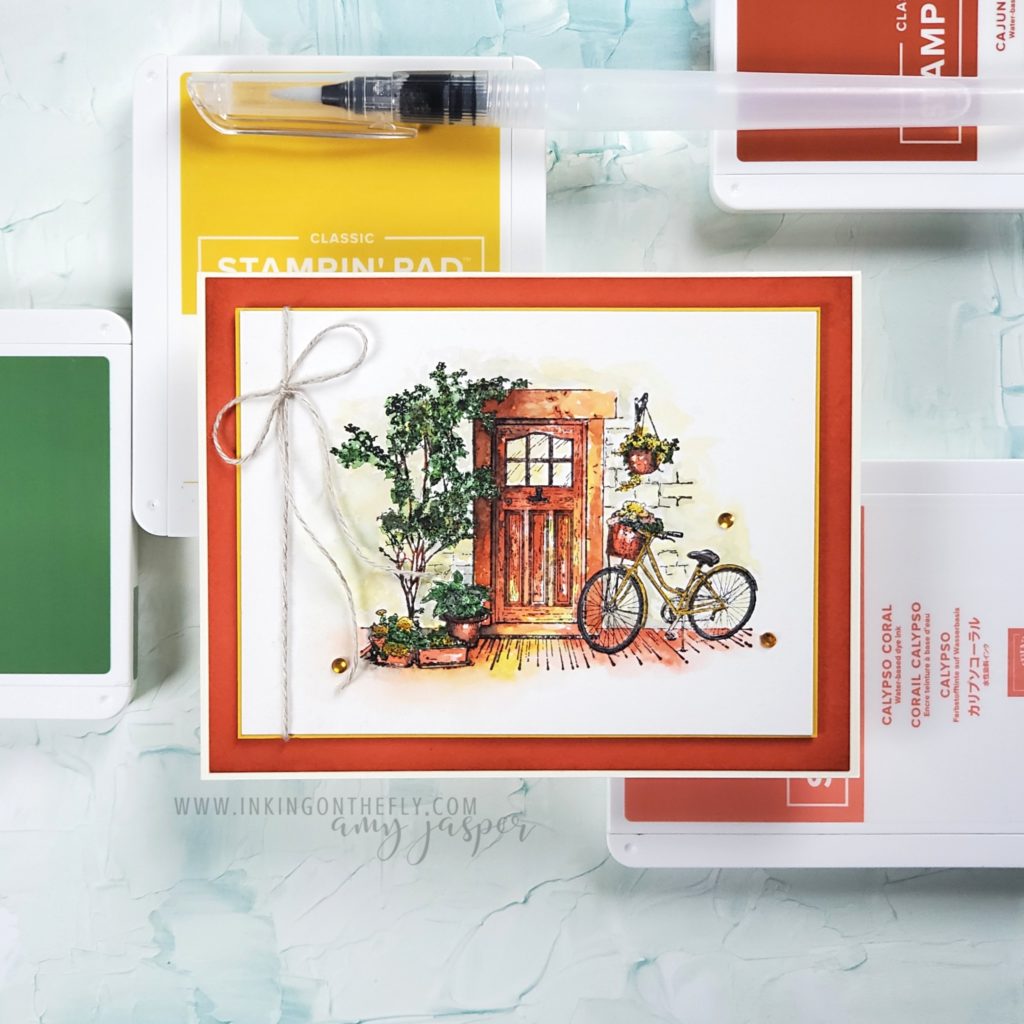
My card is inspired by the gorgeous fall colour combination in the As You See It colour challenge.

I have been on the As You See It Design Team for many years, which has helped to shape my creative skills. Each challenge invites me to push myself to work within the guidelines provided. You might think that working within limits would restrict creativity, but, in actual fact, it has helped me to learn how to use my creativity in different ways.

Challenging ourselves is how we grow and learn.

Free stuff!

The Feels Like Home stamp set is only available for free.

Yup, you read that right!

We have a summer Sale-a-bration starting August 3rd and running until September 30th. As you probably know, during that time, you choose a free item for every $60 CAD that you spend.

The process

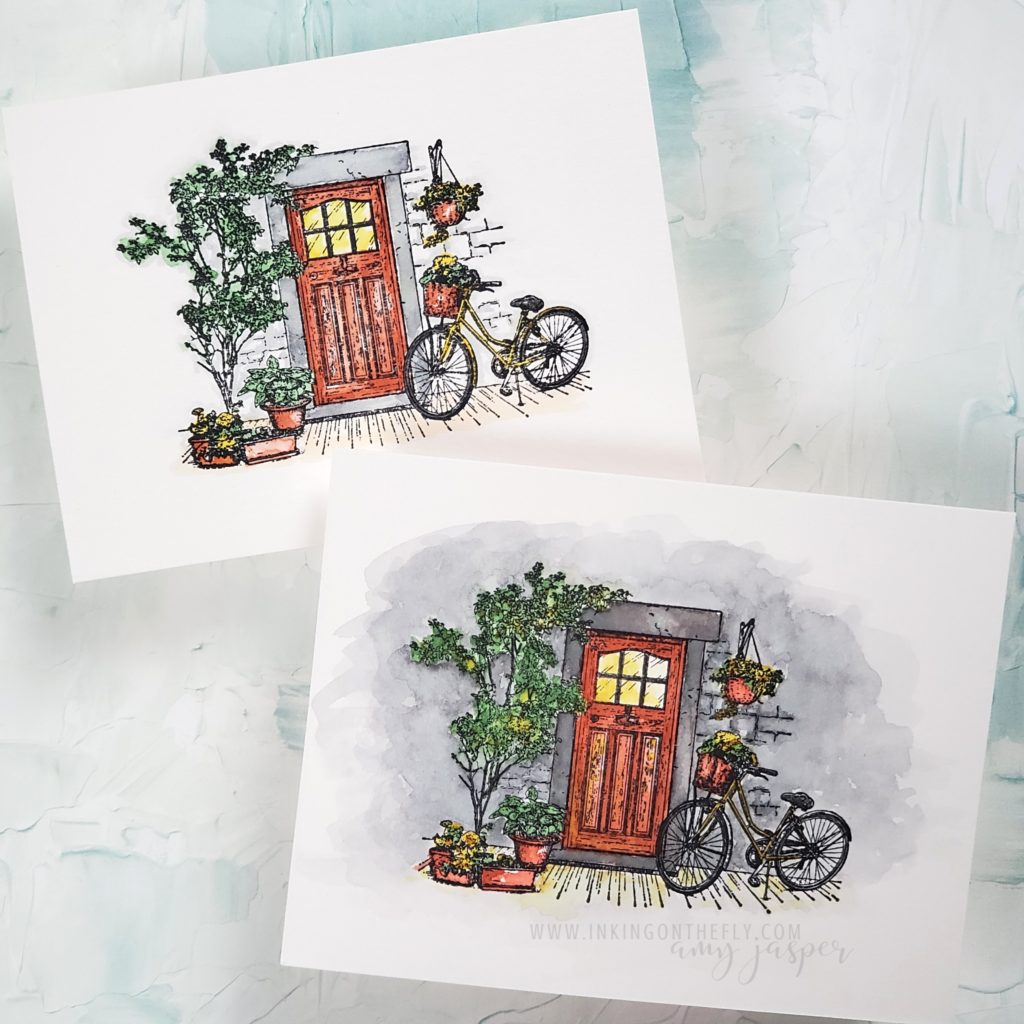
This Sale-a-bration stamp set just begs to be coloured, so I gave it a try. My first attempt looked a bit too “clean”, which didn’t meet my expectations. The second attempt looked a bit too dark, which also wasn’t what I was looking for.

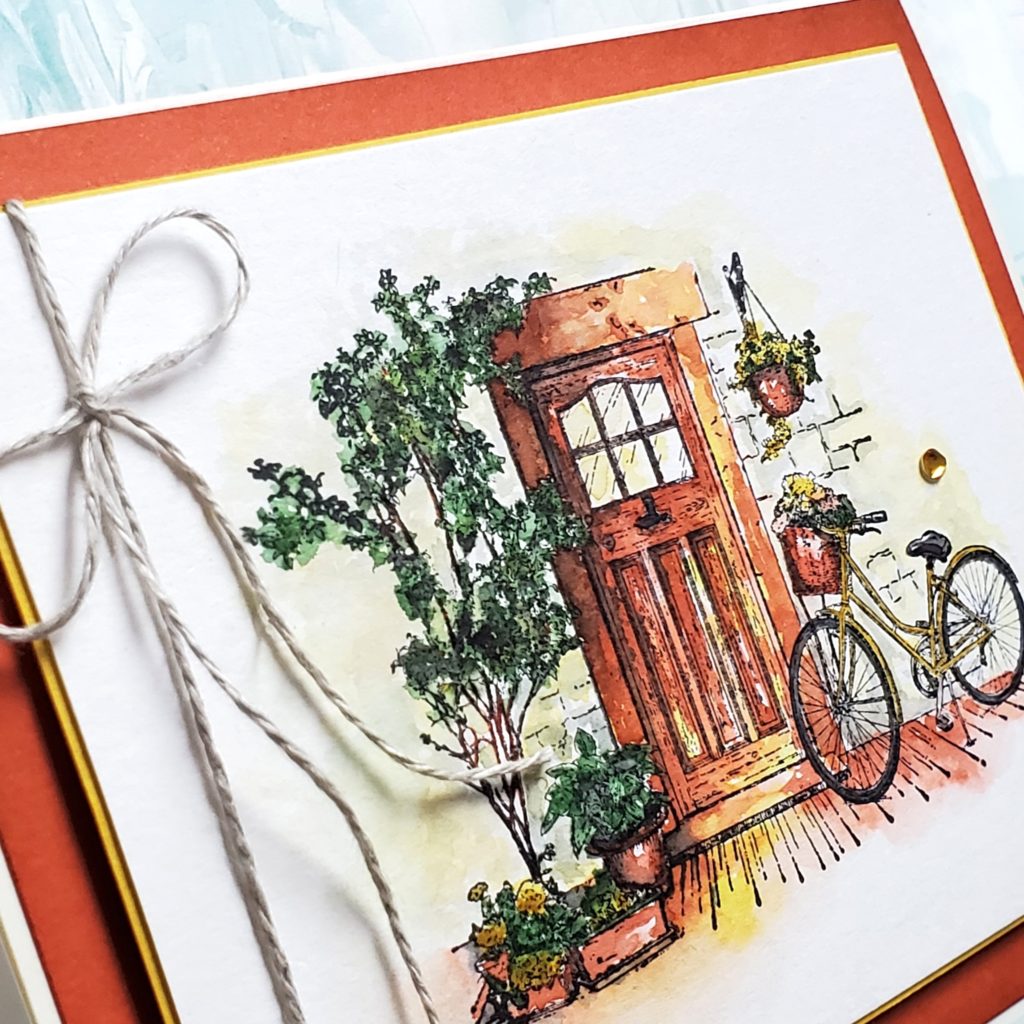
I looked at some water colour artwork and used what I found as a guide for my third attempt. Third time’s a charm! I’m so happy with how it turned out!

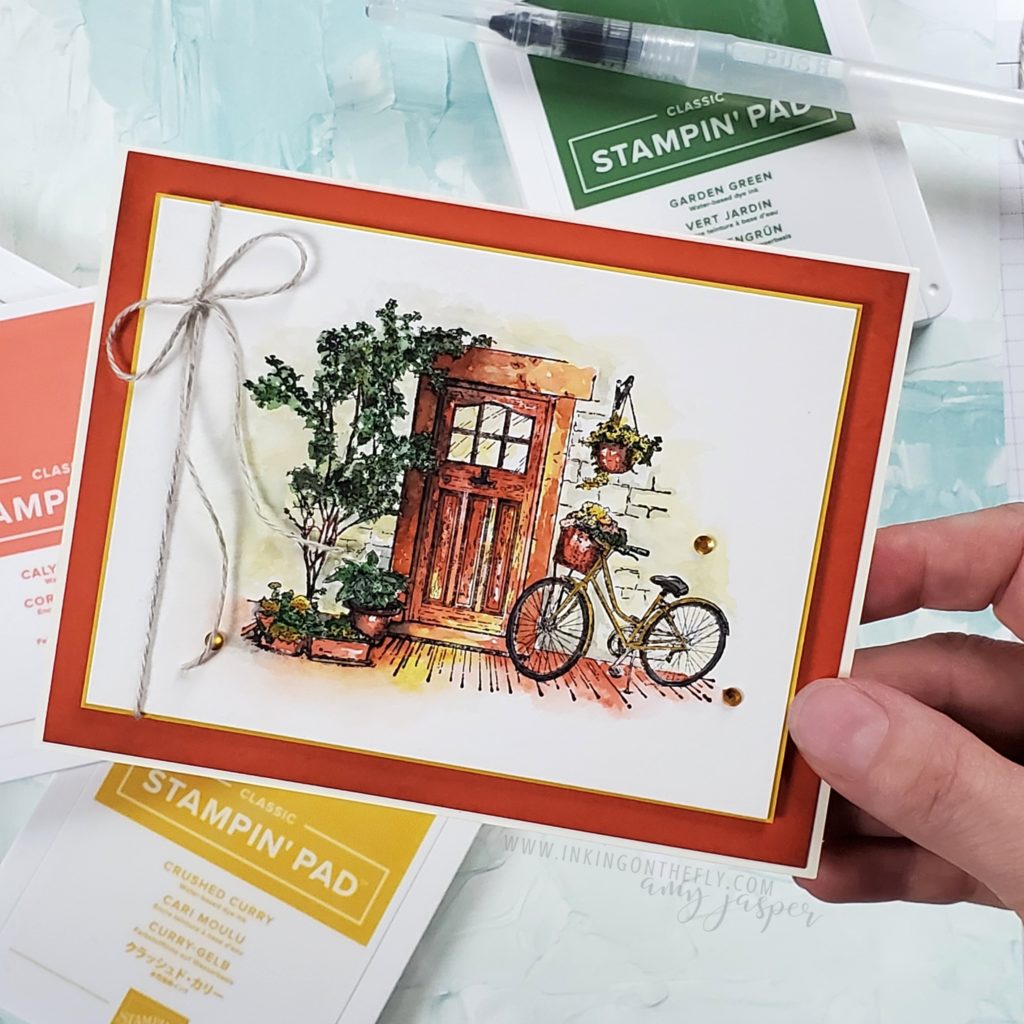
Once I was happy with my watercolouring, I added a thin matte of Crushed Curry cardstock behind the watercolor paper. Linen Thread is wrapped around the layers and tied in a bow.

Then, to keep things warm and bright, I used my Blending Brush to add some Cajun Craze ink to the edges of Calypso Coral cardstock. What a delightful effect!

I wanted to add a sentiment, but in the end decided I would let the image have all the attention. Instead of a sentiment, I placed some Holiday Rhinestones. As you can see, they give a sweet tickling of interest.

Join in!

Let me invite you to try this colour challenge, so as to exercise your creativity. The more you use it, the more easily your creativity flows!

Don’t forget to share it with us at the As You See It challenge blog. We love being inspired by your designs!

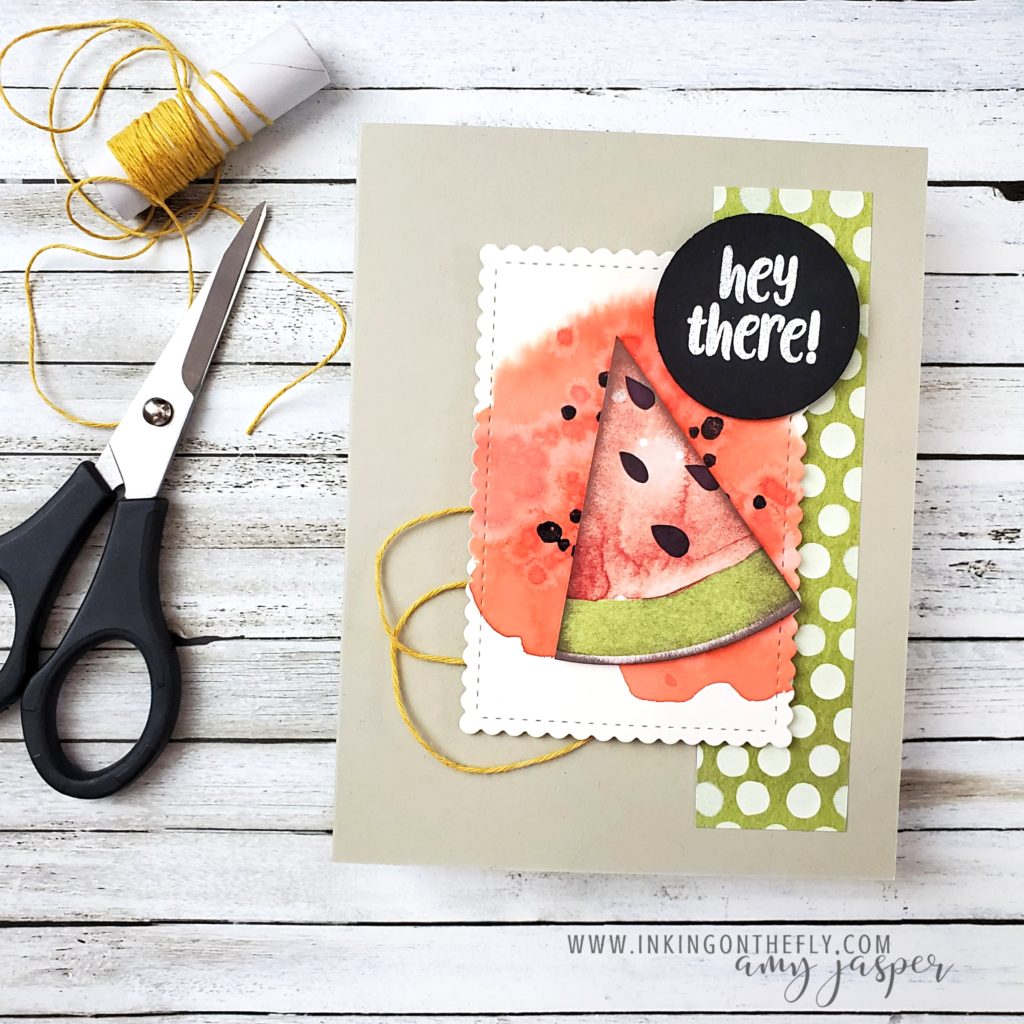
Watermelon Juice

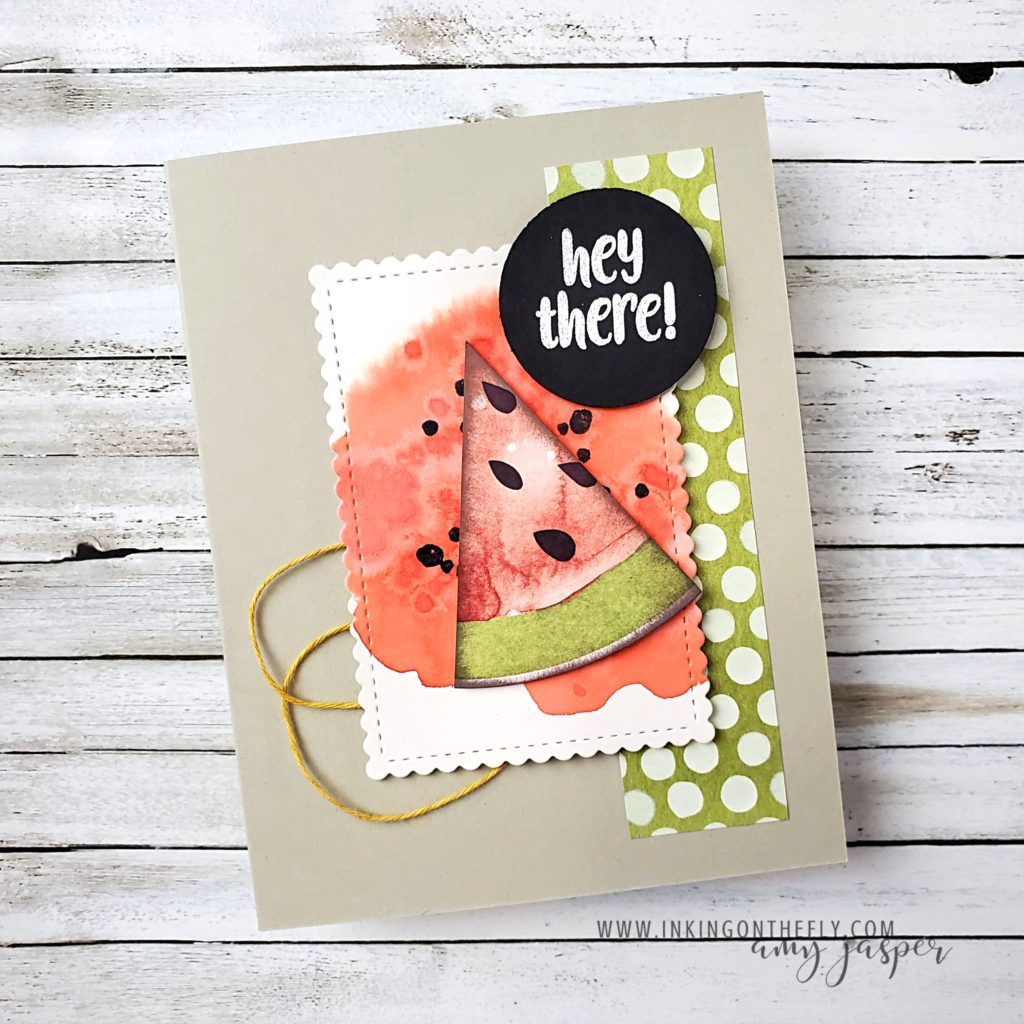
I have another card design to share with you that I made using some of the supplies in the April Paper Pumpkin kit – So Cool. This one involves a watercolour wash with Poppy Parade ink on Shimmery White cardstock.

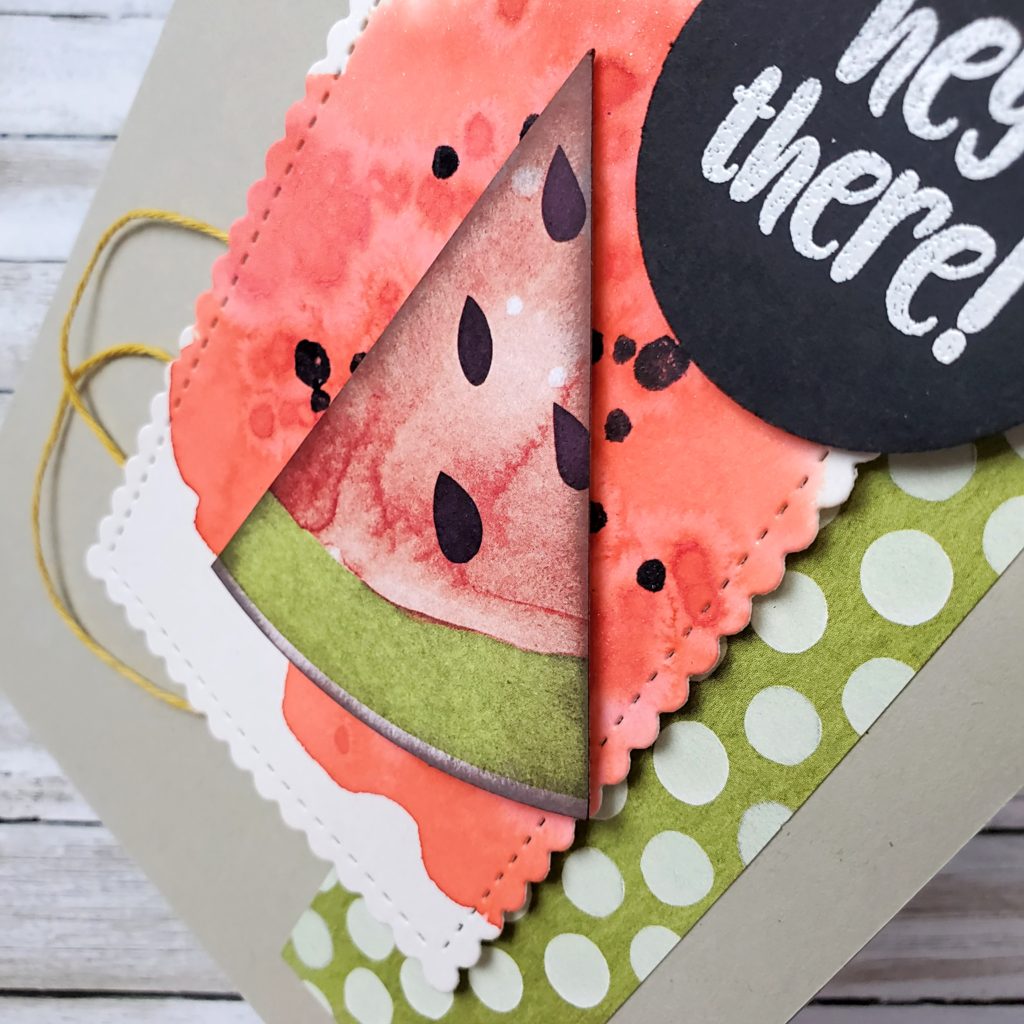
While the watercolour ink was still wet, I sprinkled on some pickling salt, resulting in that spotty background effect. Once the ink was dry, I die-cut the Shimmery White cardstock with the Stitched So Sweetly die (I’m really into that particular die lately). I used the “spotty” stamp in the kit to add some Tuxedo Black ink spots to the background, then added the slice of watermelon, which I had sponged on the edges with Basic Gray ink.

The sentiment is also from the kit. I stamped it on Basic Black cardstock with Versamark ink and heat set some White Embossing powder with my Heat Tool before using a circle punch and adhering it with Stampin’ Dimensionals to the card.

Find out more about Paper Pumpkin HERE.