Video

Video: Love the Hand-Penned Suite? Frame It!

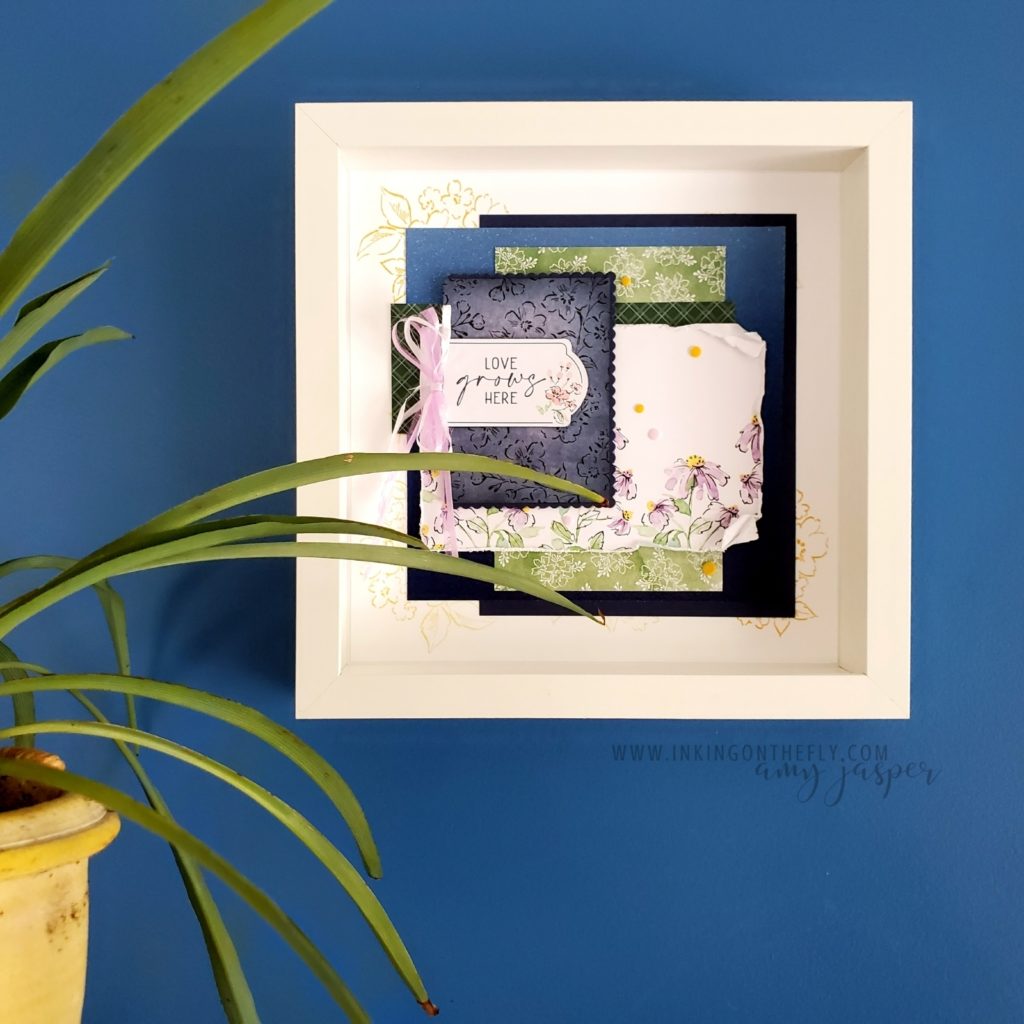
My goal was to create a home decor project using the Hand-Penned Memories & More Card Pack from Stampin’ Up!®. It did NOT disappoint! I absolutely love this art piece!

The card pack is part of the Hand-Penned Suite, which is collection of products intended to work well together. For my frameable art, I used only two of the elements in the suite: the Memories & More Pack and the Hand-Penned Petals stamp set.

This is basically a scrapbook page designed to be framed for display. You probably could even add a small photo on there somewhere.

I don’t do a lot of scrapbooking as I struggle with the extra planning and steps. When I make cards, I can sit down and make a card using the supplies in my craft room. With scrapbooking, I have to choose my photos and print them in the size I want. That’s two extra steps in my process! My brain just doesn’t work well with that. Kind of crazy, right?

I also find scrapbooking takes sooo much more time. It feels like forever to finish a book and I end up loosing focus and moving onto something else. I’m the kind of gal that is often moving on the the next “shiny” thing that grabs my interest.

In my 15 years as a demonstrator with Stampin’ Up!, I’ve probably completed two scrapbooks. One was digital and one was an 8″ x 8″ book with only about 10 pages. I love looking at the gorgeous ideas on Pinterest, so perhaps I will try again someday. Some of you preserve your memories so beautifully. Maybe you can share some of your tips to help me give it another go?

Making this project

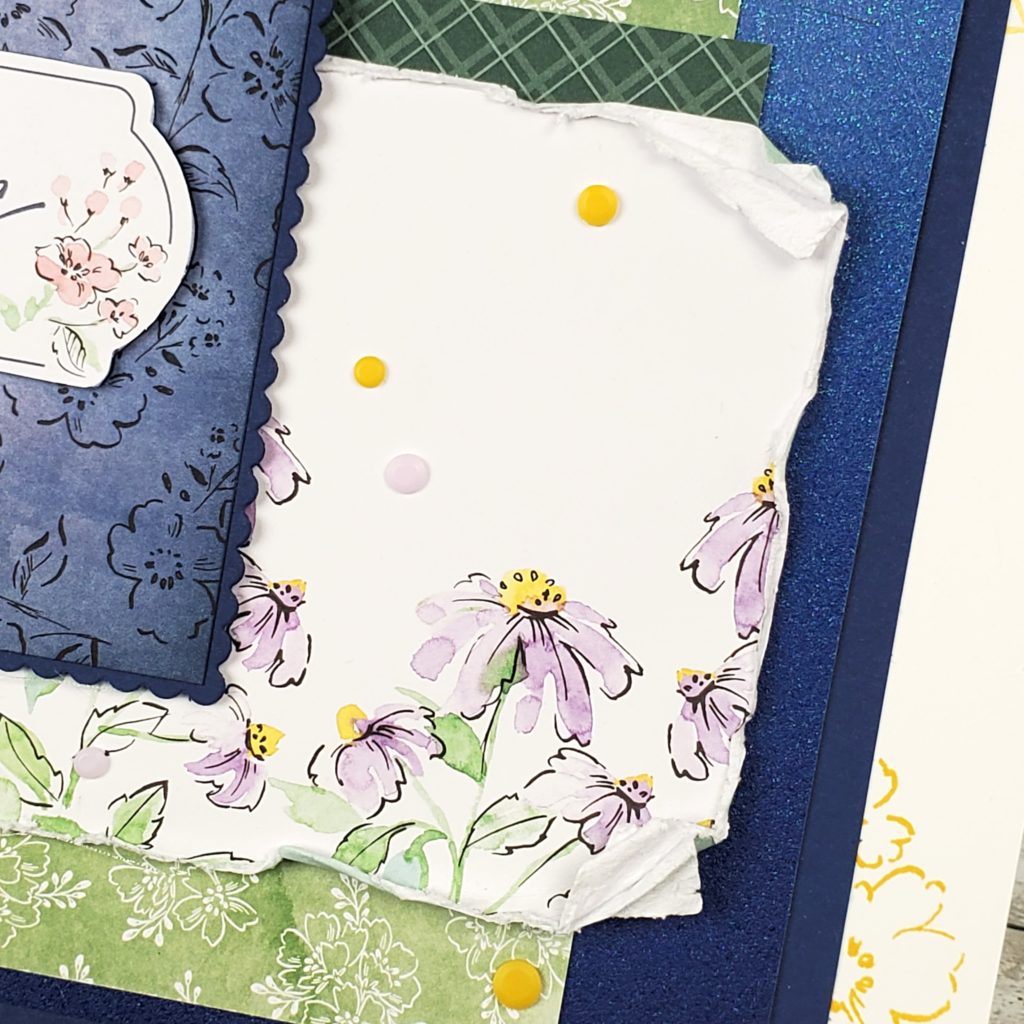
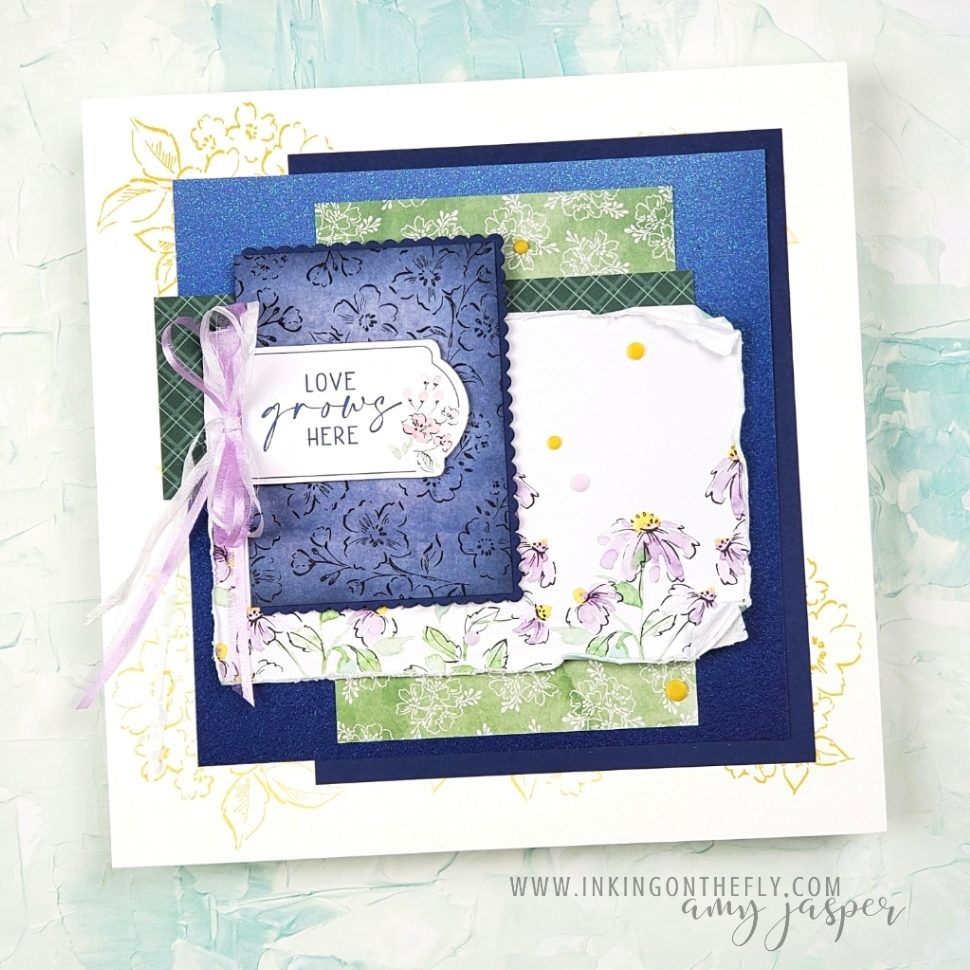
I used a variety of patterned papers for this design and used my Paper Snips to add a bit of a distressed look. The Ombré Specialty Paper adds a nice glimmer in the background for interest and texture.

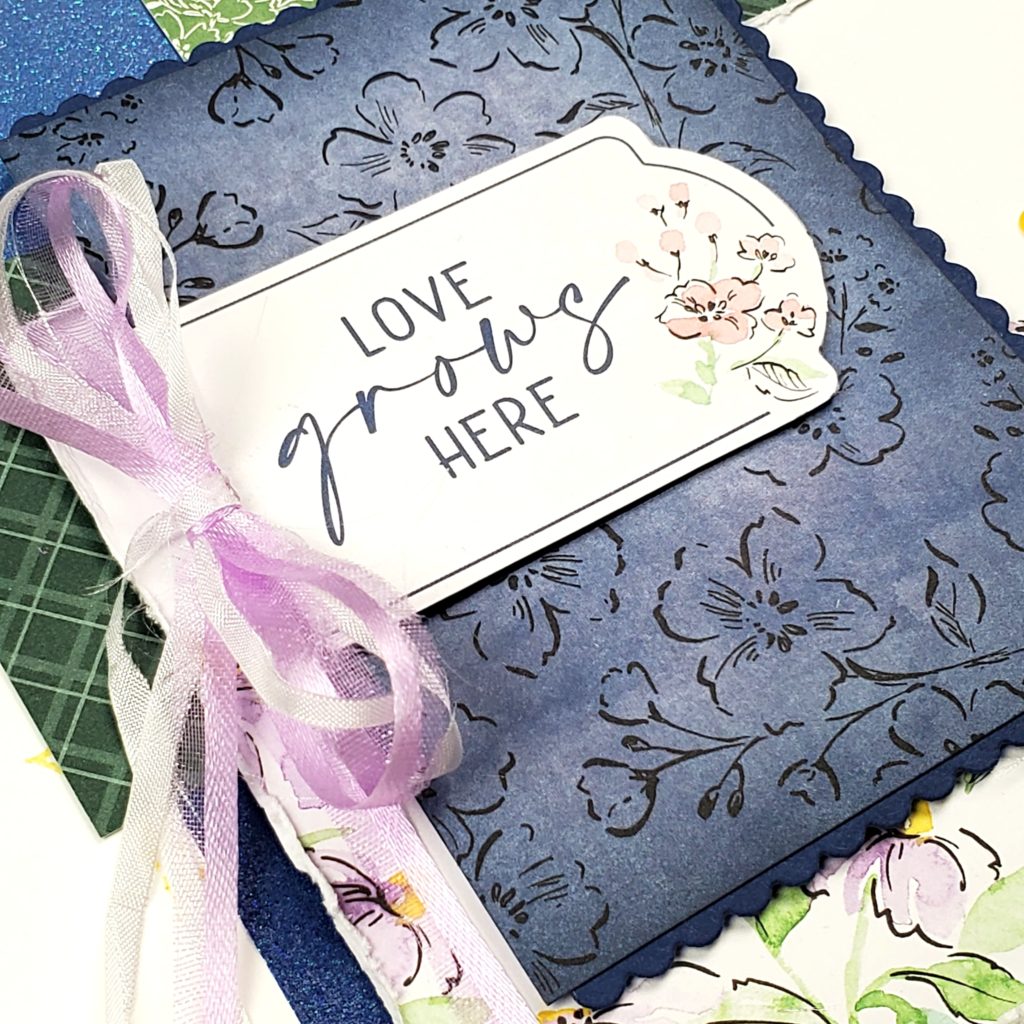
The label in the 3″ x 4″ card in the photo below was carefully cut with my Paper Snips to separate it from the blue patterned background. Cutting it out allowed me to put the label on Stampin’ Dimensionals. My Blending Brush with Misty Moonlight ink added some extra colour on the edges, deepening the colour and drawing the eye to the white label.

You can see that I stamped on the Basic White layer with Daffodil Delight ink using the coordinating Hand-Penned Petals Stamp Set. The yellow ink balances well with the yellow accents in the patterned design on the Memories & More cards.

Other supplies used

Oh, Stampin’ Up!, how I love that you make it so easy for us to coordinate the colours and patterns in our artwork! Ribbon, accents, paper, and ink! They are designed to work together so beautifully!

Watch the video for more!

If you’re interested in learning more about the elements and techniques used to make this project, watch the video below. Don’t forget to support my YouTube Channel by clicking that subscribe button!
https://youtu.be/KfGZec0XuXg

Video: Rainbow Ferns in a Stitched Rectangle Window

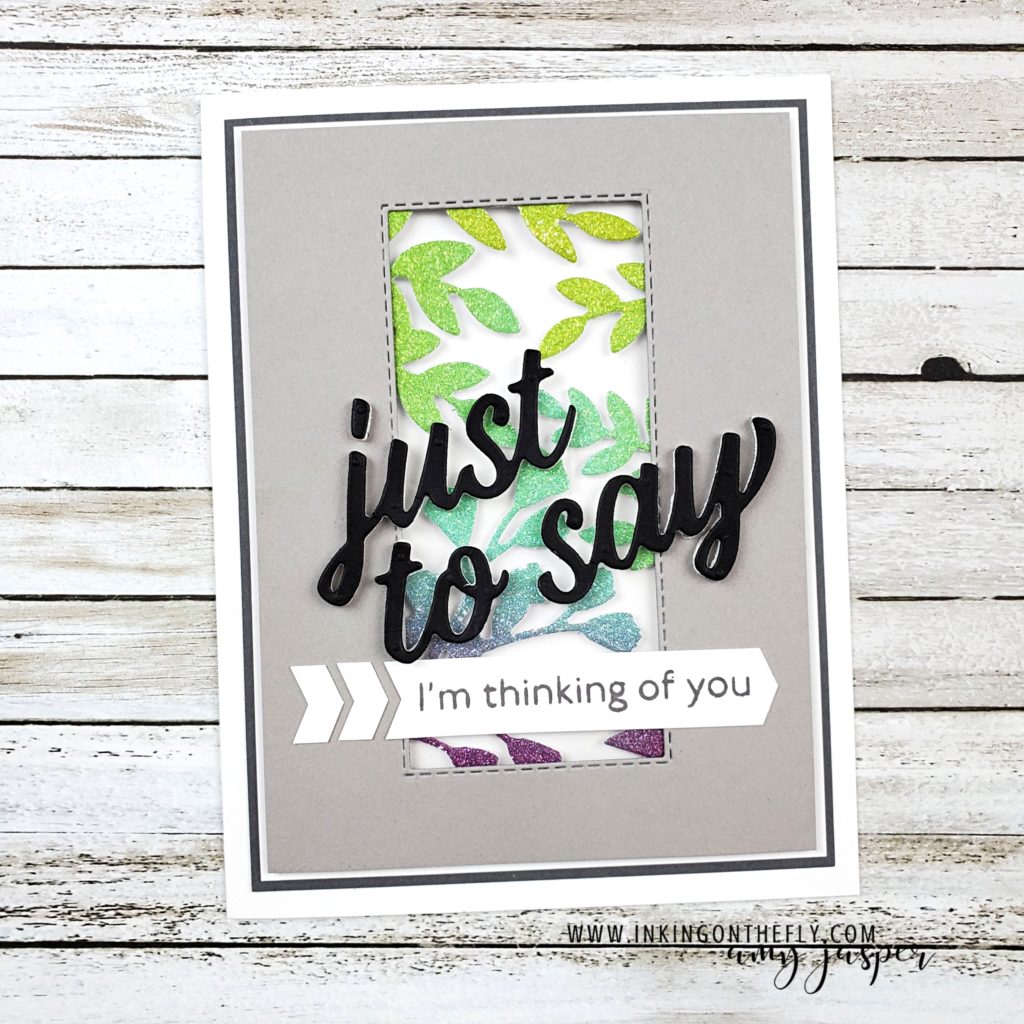
I’m all over the rainbow trend right now! I love seeing the cheerful spectrum of colour. The Rainbow Glimmer Paper from Stampin’ Up! not only give us the colours, but it also gives us some sparkle!

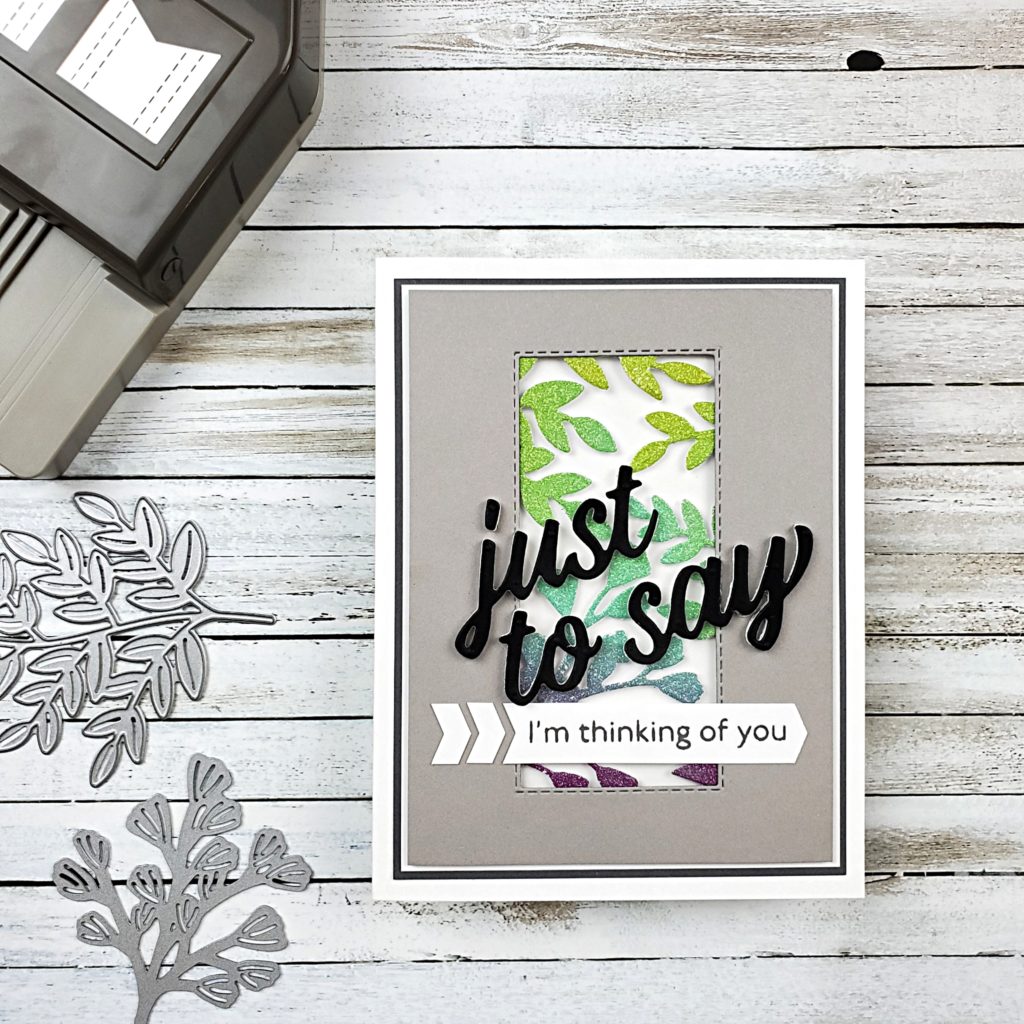
The card I have to share with you today shows off some of those colours nicely against the contrast of the Gray Granite cardstock.

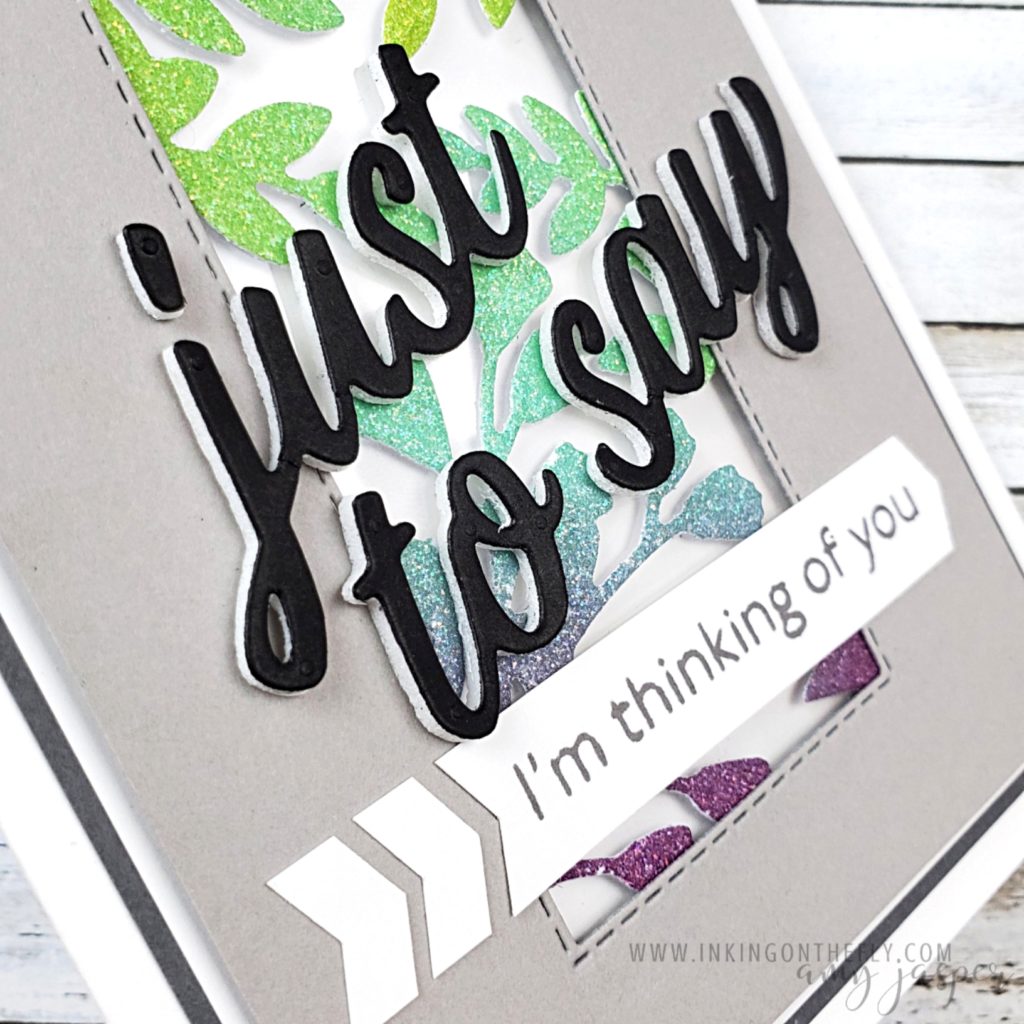
The sparkling leaves were die-cut using the Forever Flourishing Dies. They are adhered to the back of the Gray Granite so they can fill the window. A piece of Window Sheet behind them gives a little extra assurance that they’ll hold their position.

The Stitched Rectangle Dies are a major staple in my craft room. I use them for so many of my projects. That stitched edge adds texture and interest while still offering a minimalist and clean look.

Notice those fun chevron arrows on the card? You can make those with the Banners Pick a Punch!

Watch the video to see how it’s done!

I offered this video to those who attended my technique class or purchased VIP Access to the tutorial back in April. It provides detailed instructions on how to make this beautiful card.

Measurements and Supplies

If you like this project, let me know by leaving a comment and saying hello.

(Did that just rhyme? LOL!)

If you’re in Canada, like me, you can also go to my online store and order the supplies so you can make more cards just like this one!

Video: Easy Alternative Cards with Expressions in Color

The June 2021 Paper Pumpkin Kit includes some beautiful paper with ink patterns. I have two alternative projects to share with you today that either show off the paper or use the stamps in the kit to make my own!

Paper Pumpkin Subscription

If you aren’t getting the little box of creative goodies each month, then go ahead and click here to get your subscription started! Your first kit will come with an acrylic block to use with each future kit that you receive. All the kits come with everything else that you need to make the projects that were exclusively designed for Paper Pumpkin.

I like to follow the instructions in the kits. No fuss. No thinking. Just easy and beautiful every time! It can also be fun to stretch your creativity and use the supplies to do your own thing.

Alternative Cards

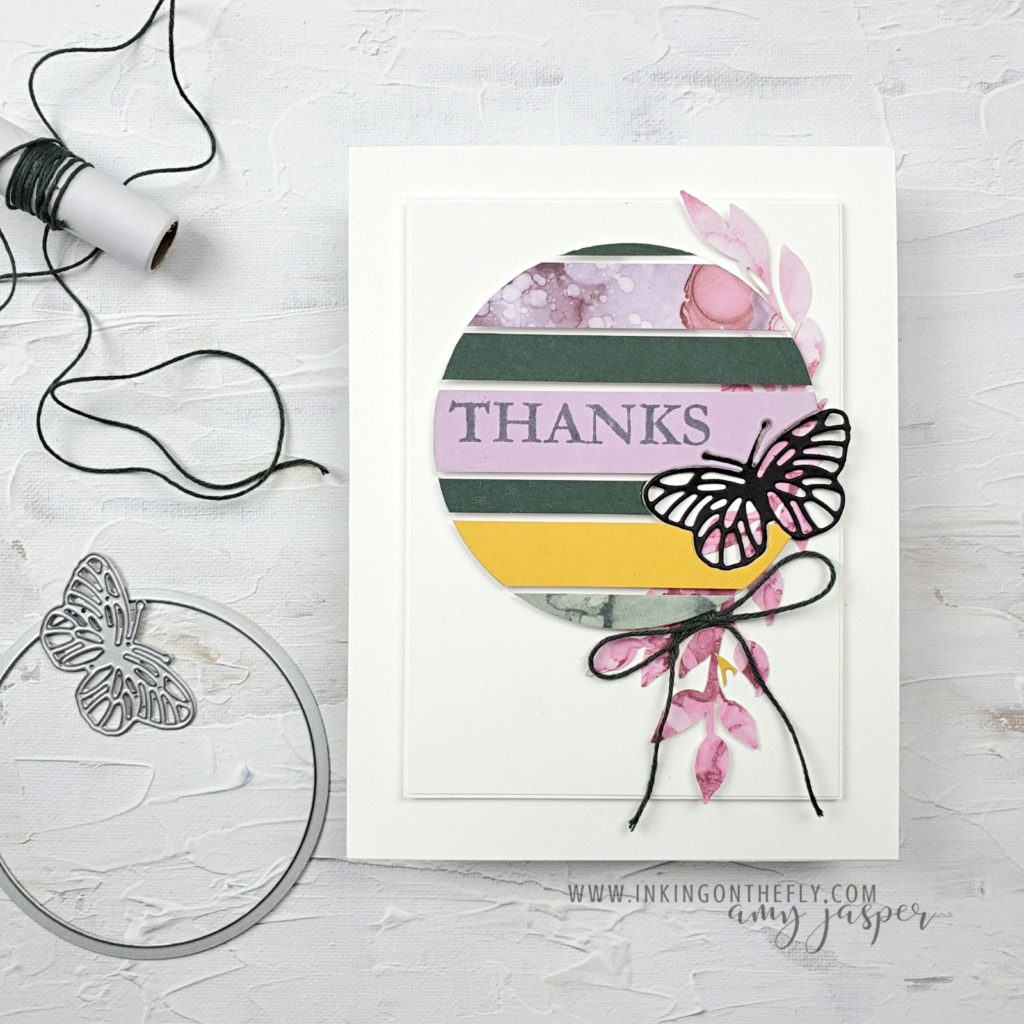
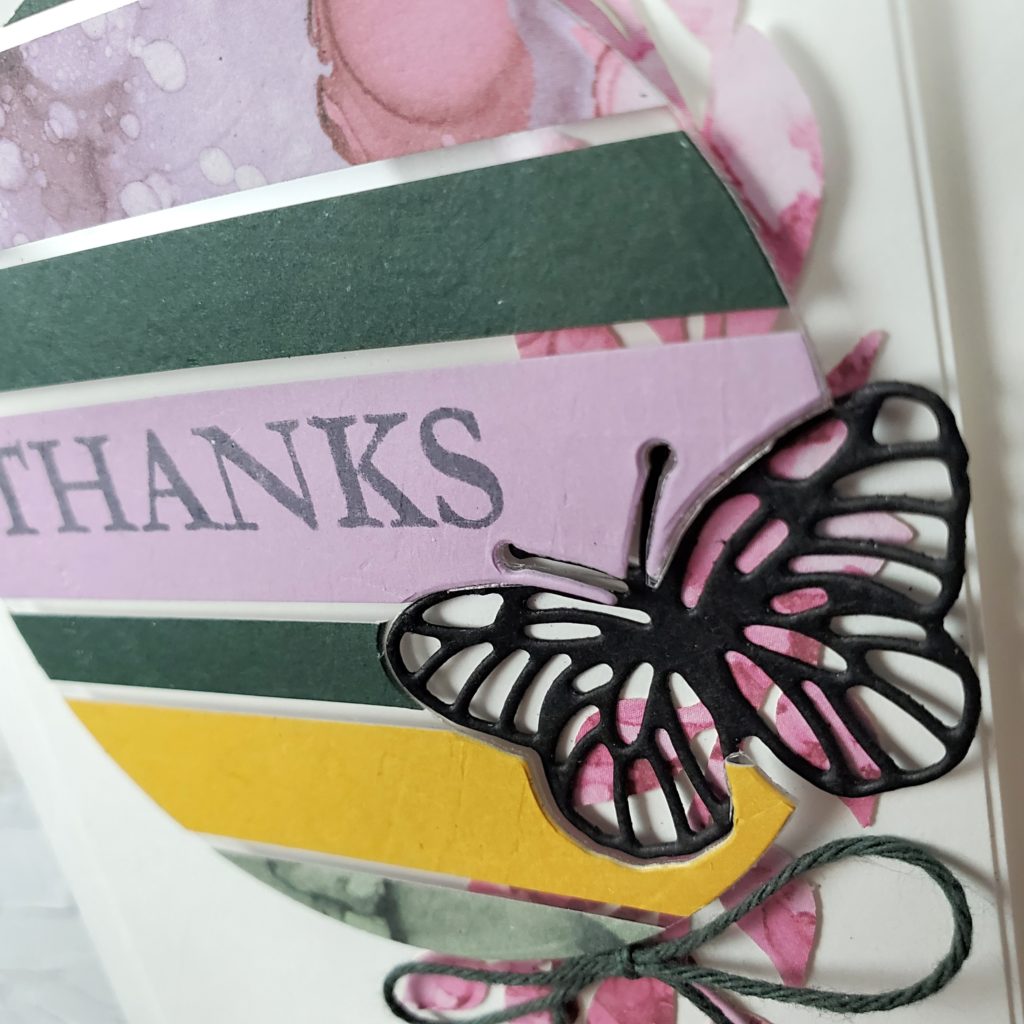
The butterfly on this card is die-cut using the Brilliant Wings dies from Stampin’ Up! I glued strips of the various papers in the kit to a piece of Window Sheet, then die cut the circle and the butterfly. The circle is raised on Stampin’ Dimensionals, while the butterfly is adhered directly to the cardfront. This gives it an interesting inlaid look.

I stamped the sentiment on the circle with Evening Evergreen ink. I think it would look really great if it were stamped with Versamark ink and heat embossed with Black Embossing Powder. I’ll have to try that with my next card and see which one I like better.

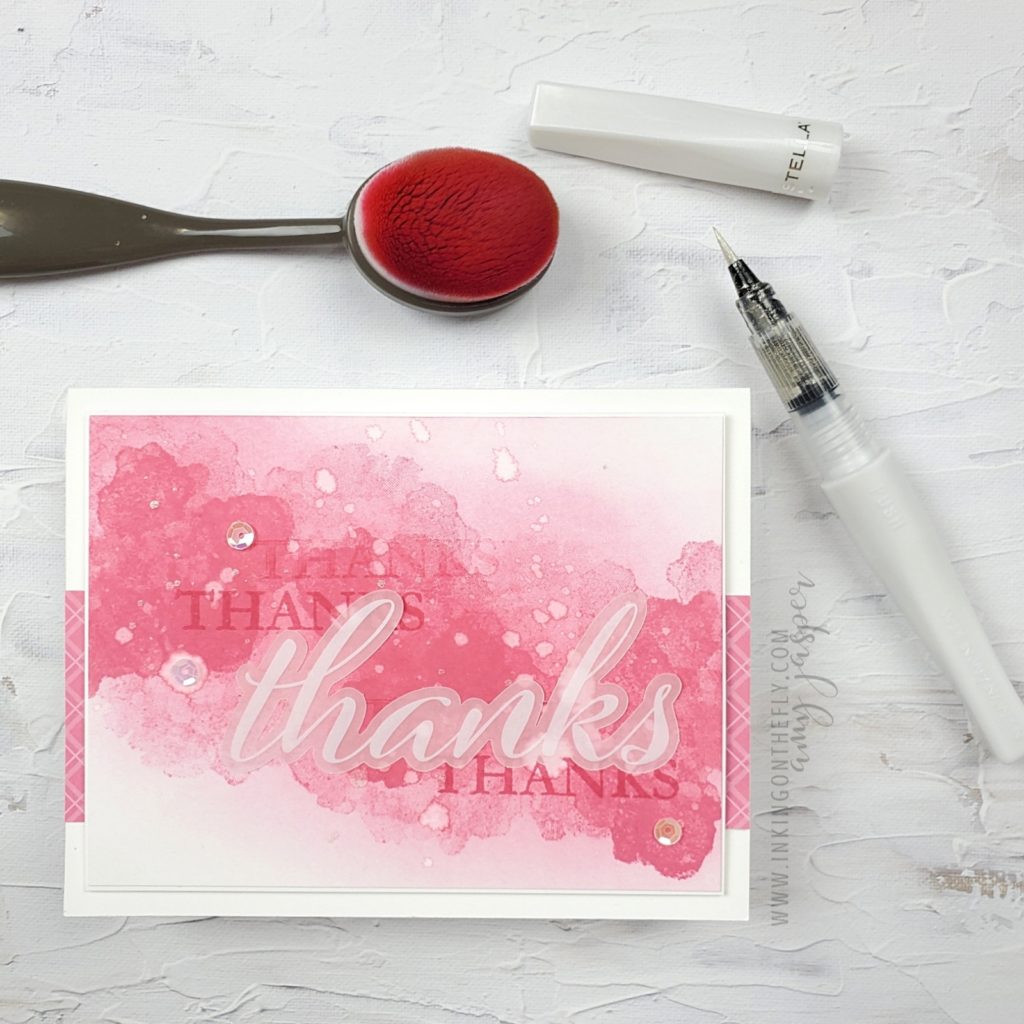
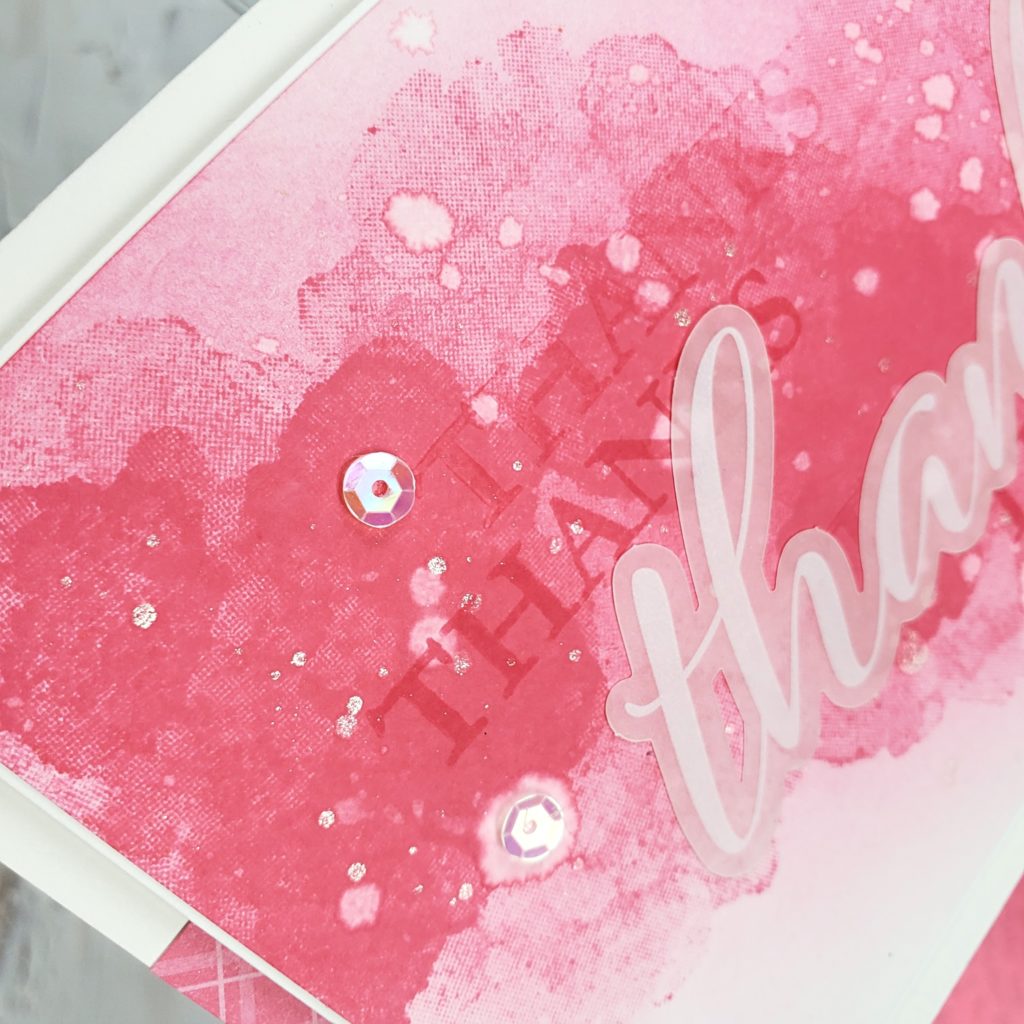
The pink card is created with the stamps in the kit. I used Polished Pink ink and included the wide strip of a piece of the 6″ x 6″ In Color DSP Assortment patterned paper peeking from the background. My Blending Brush and more pink ink soften the edges of the stamped images.

Water droplets create some spatter in the ink. I also added some Wink of Stella spatter for a hint of sparkle!

Watch the video below so you can see how these cards were made.

You can watch it in double time or skip to the best parts! If you like it, be sure to subscribe to my channel and help me to grow my business. Your support keeps me sharing!