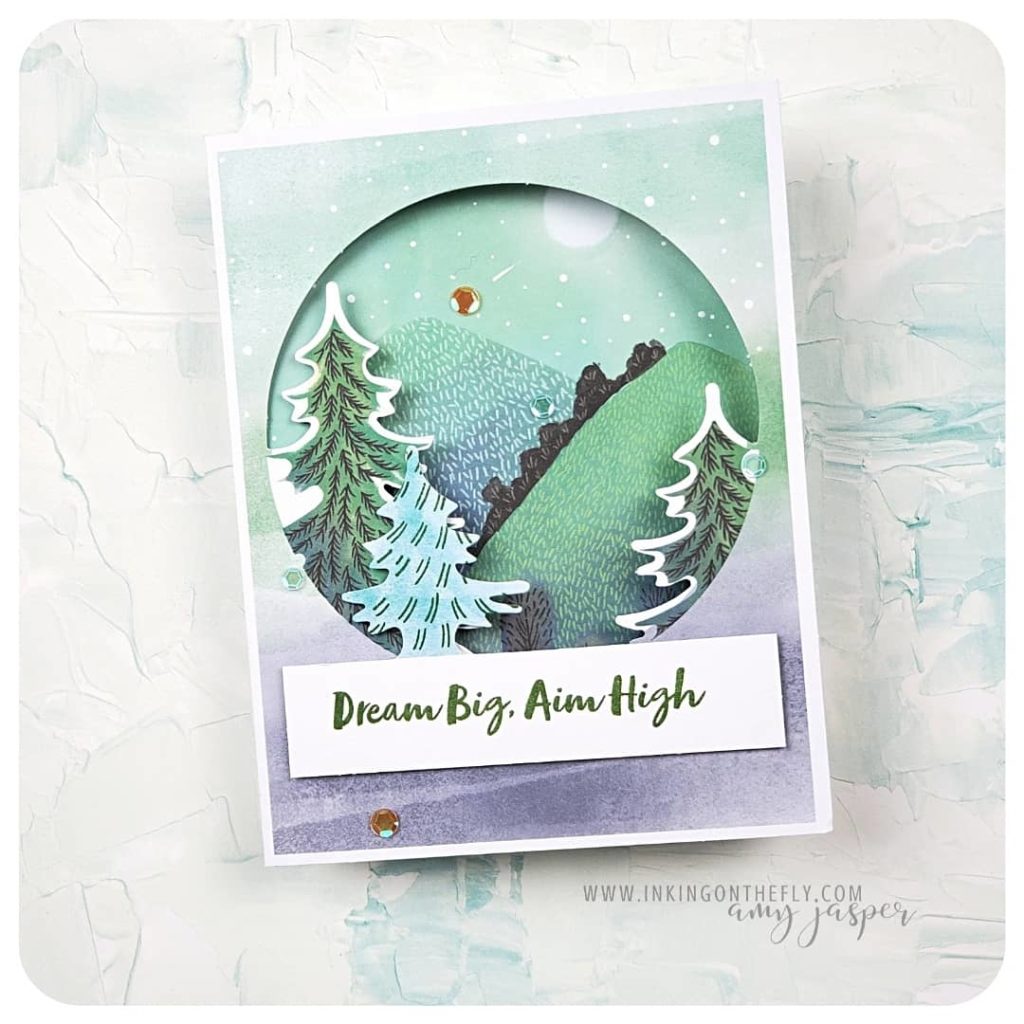
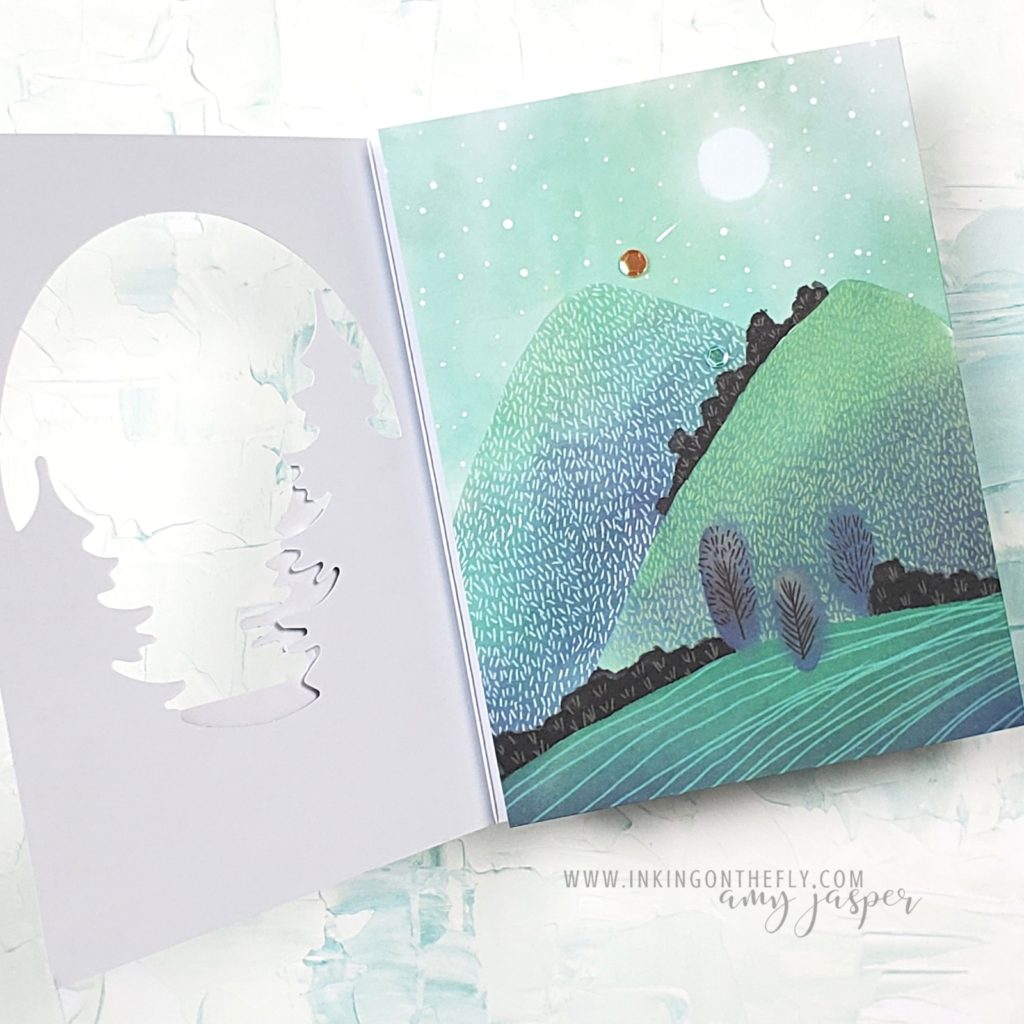
Arguably, The Best Paper Pumpkin Kit to date!

First, can I even say that? Is it fair for me to say that this is the best Paper Pumpkin kit of all time? Show me one that you liked better and prove me wrong!

I love everything about this kit. I love the colours, the theme, the tri-fold design, not to mention how quick and easy these are to make! With all that in mind, it will be hard to make alternative projects that I like more than the original!

Oh, but I’ll certainly try!!

This is the July Paper Pumpkin Kit. It’s perfect for folks who appreciate the beauty of nature. Especially those who love camping. Indeed, my friends, that is likely why I love this kit so much!

If Paper Pumpkin isn’t yet coming to your door each month, you can subscribe now to receive the August kit.

The co-founder of Stampin’ Up! helped design the August projects. That alone tells me that the August kit will be gorgeous! You won’t want to miss it!

Did you know that Paper Pumpkin subscribers have special perks? It’s true! They have the opportunity to purchase any available past kits, as well as refill supplies for past kits. So, if you like this kit, then you might be lucky enough that it will become available for purchase..

Just another reason to subscribe to Paper Pumpkin!

Watch the video

Step into my crafting process and see how easy these cards are to put together. Click to watch the video below.
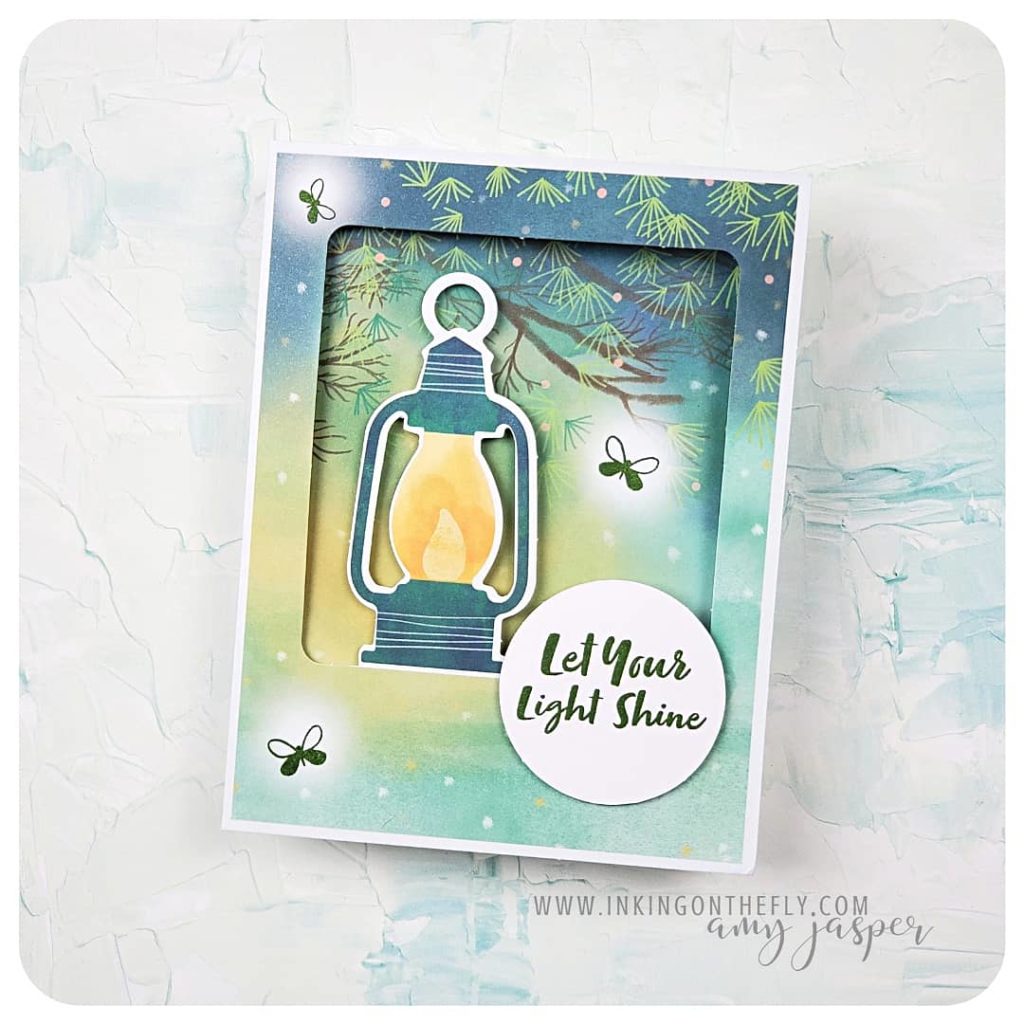
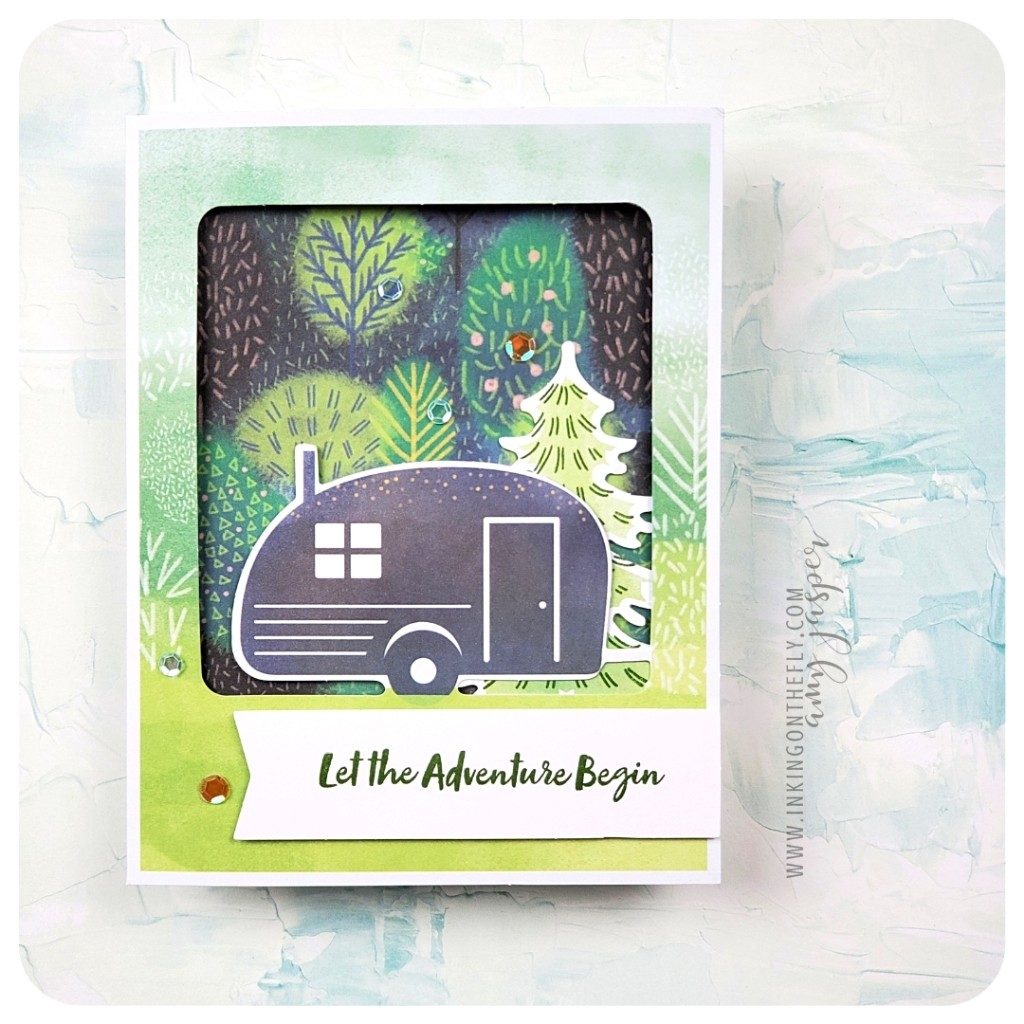
Easy and So Beautiful with Expressions in Ink

The Expressions in Ink Designer Series Paper is so beautiful that it can practically pull off a solo performance! In other words, it allows you to make a stunning card with hardly any effort!

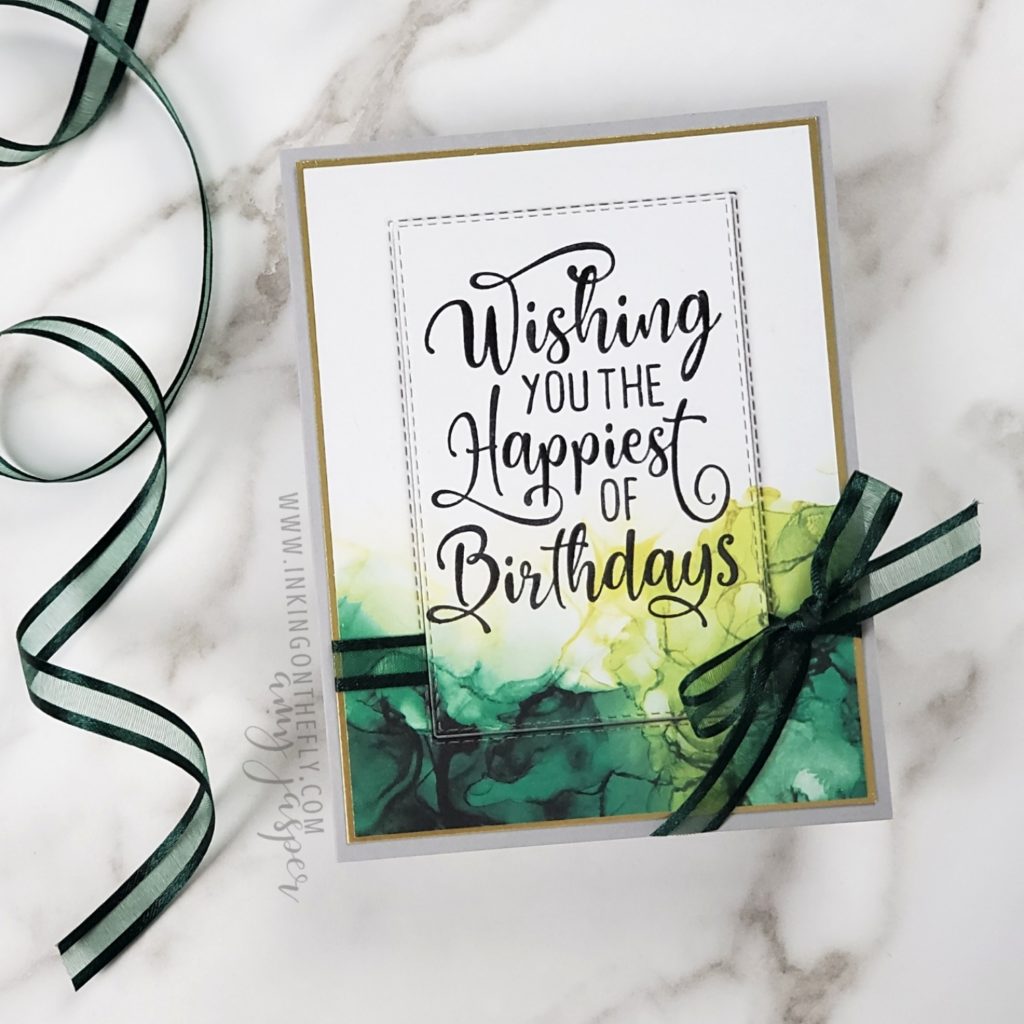
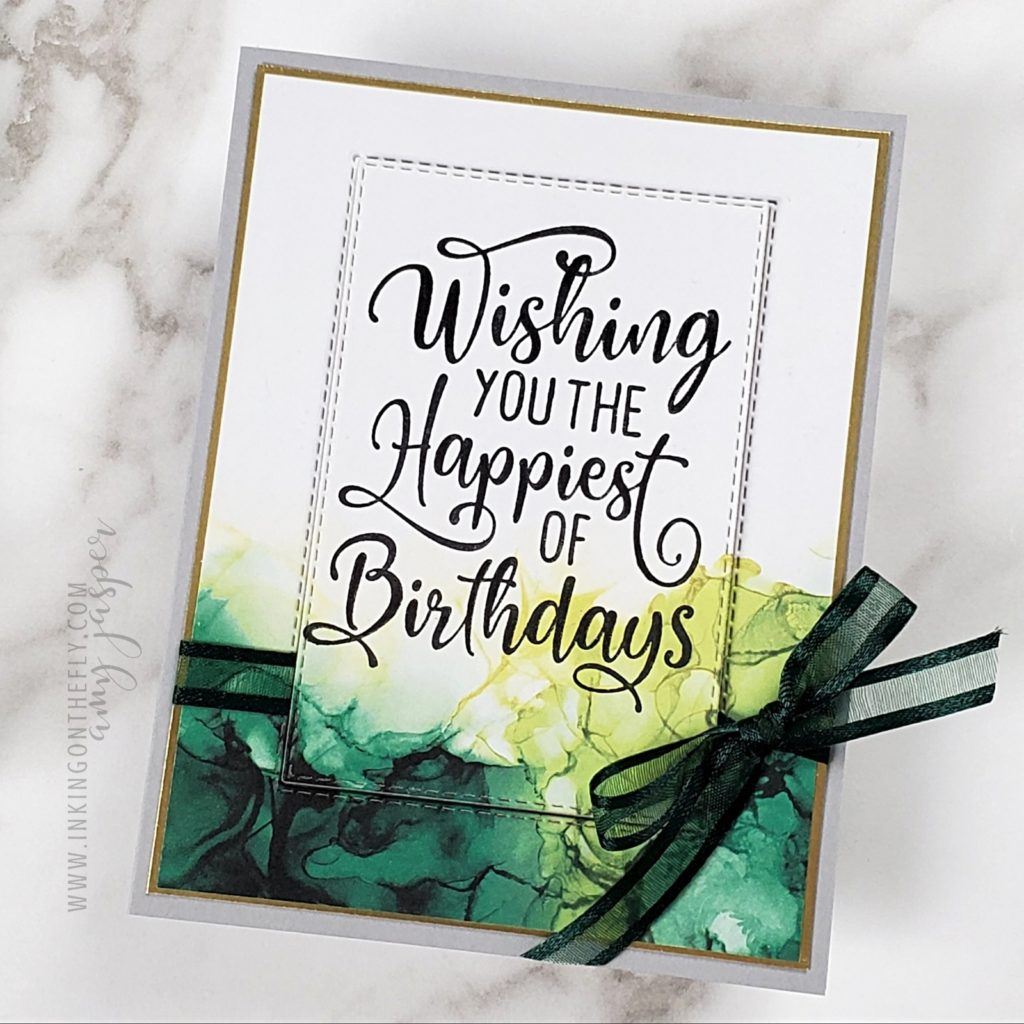
The card I have to share with you today looks fancy, but is actually very easy. It all began with a piece of the Expressions in Ink Designer Series Paper from Stampin’ Up! ®️.

Making the card

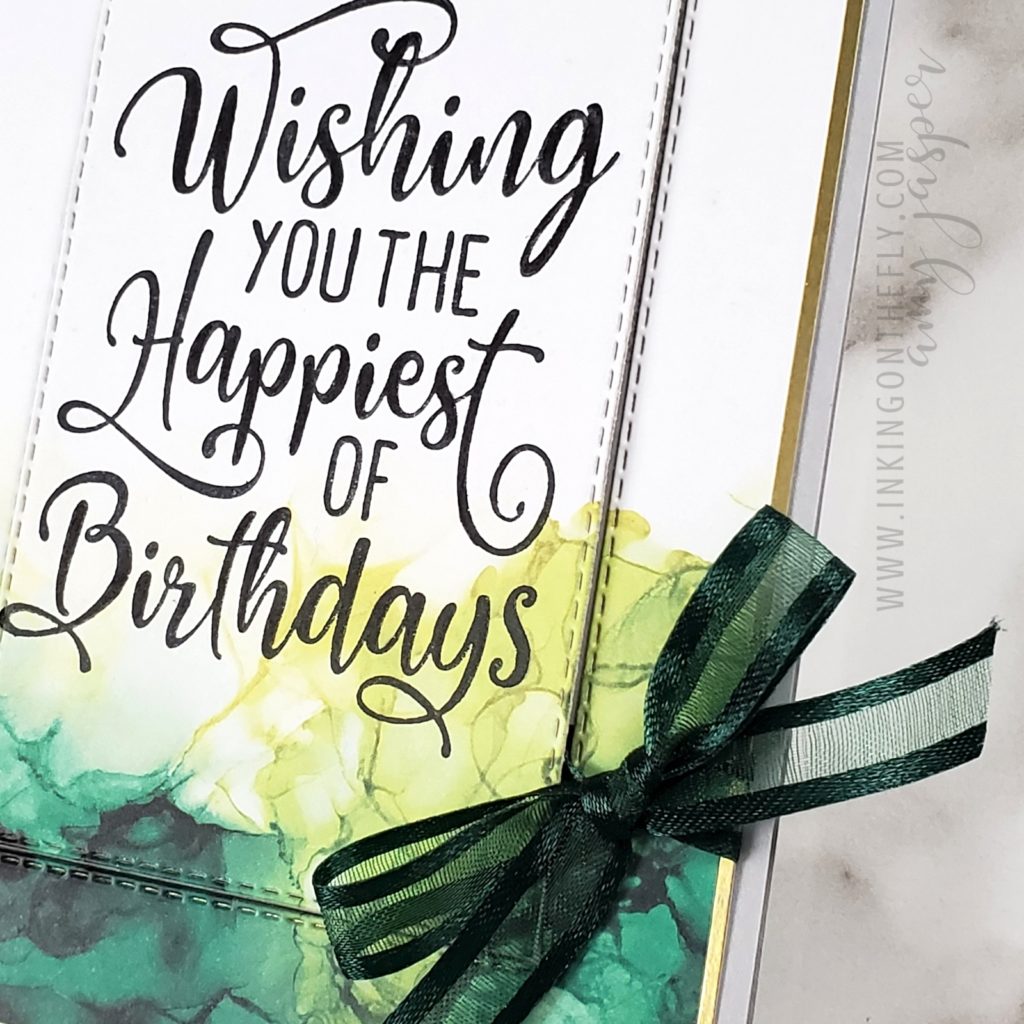
I stamped the sentiment on the patterned paper, then used a die to cut around the sentiment. Setting the centre cut piece to the side, I layered the outside frame over the Gold Foil.

Considering that the open weave ribbon is so pretty and ties very cleanly, you can probably guess that I have all the colours! How could I not!? I wrapped it around the two layers and tied a tidy little bow.

Once the ribbon was in place, I could then adhere these elements to the card base. Finally, the die-cut piece with the sentiment could be adhered to the card front with Stampin’ Dimensionals. I love how the lifted cut-out provides interest and texture, yet still allows the paper to be the main feature of the design.

This card was quick and simple. I feel like I cheated somehow by letting the patterned paper do all the work for me!

A few supplies

In the event that you might want to make this card (or assist it to make itself, as the case may be, LOL!), you will certainly want to get your hands on this gorgeous specialty paper. Unfortunately, (or fortunately, depending on how you look at it), this paper is so popular that it keeps going on backorder! Stampin’ Up! just can’t keep up with the demand.

If you find that’s its on backorder and can’t be ordered, keep checking back. The supply will be restocked. Alternatively, you can contact me and I can notify you when it comes available again.

Click on the links below to find each item easily on my online store.

When you use this paper, don’t let it make you feel like you cheated. Instead, be proud at the discovery of a more efficient way to make something beautiful!

It’s not cheating, it’s a life hack!

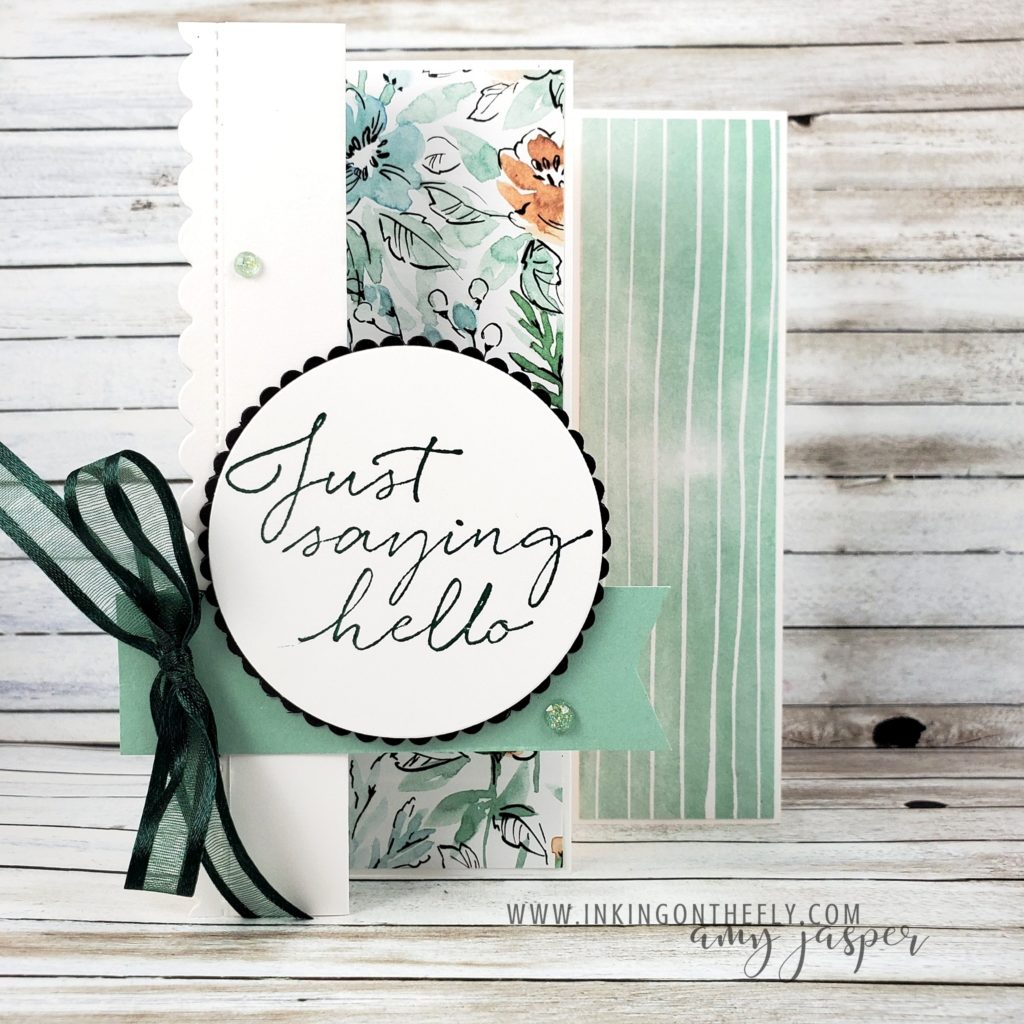
Video: How to Make a Triple Panel Fancy Fold

It’s time to share a Technique Class project with you! This one was offered in my May class. One of the perks of attending my class each month is to receive a written tutorial and to have exclusive access to the video tutorials.

Most people who purchase the class, attend the live, virtual, step-by-step class instruction for the designs as they follow along with the pre-cut supplies included with the class. However, some people aren’t able to attend the virtual class and some aren’t able to receive the class kit (due to out-of-country restrictions). Those people rely heavily on the tutorials to complete their projects.

The videos remain exclusive to the class participants for two months. After that, my friends, the video becomes accessible to the public. Often, that means there will be products used for the design that are no longer available for purchase. However, as I have said before, I know that you’re a very clever crafter and will be able to substitute other products as needed.

Designer Series Paper Sale

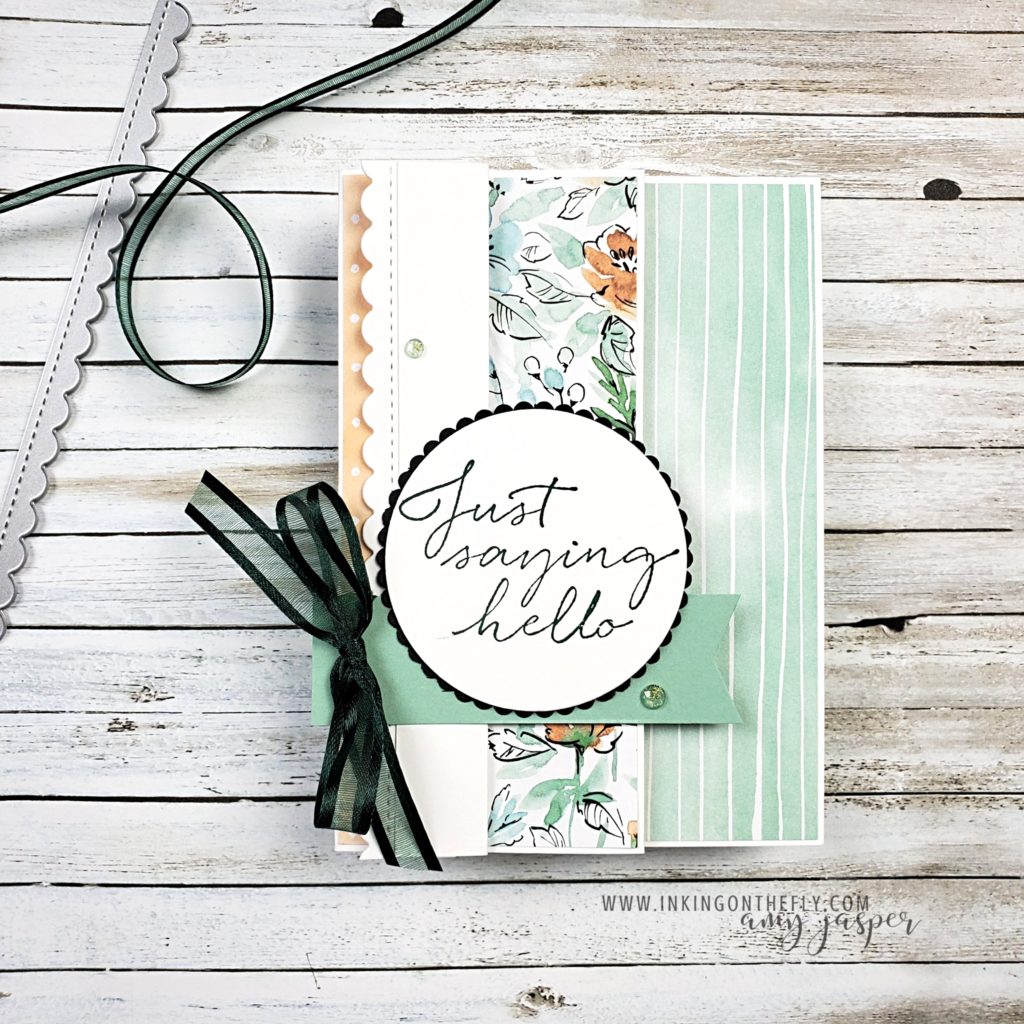
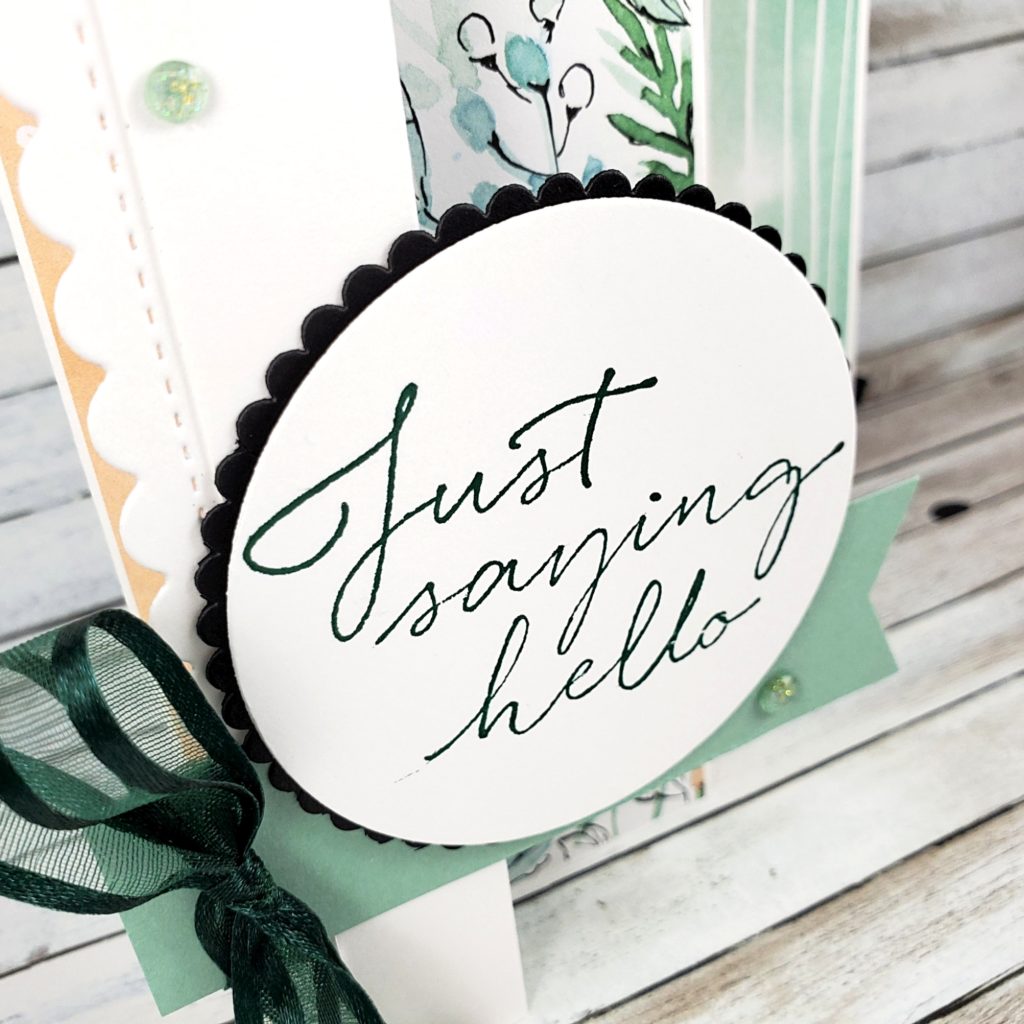
As you may have noticed, this fancy fold design features the beautiful Hand-Penned Designer Series Paper from Stampin’ Up!. I have been enjoying working with this paper so very much. In fact, I’m a little surprised that I keep reaching for it and haven’t become tired of it! I hope you haven’t either! Lucky for us, it’s included in the designer paper sale until August 2nd!

Watch the video tutorial below to get the details on this fancy fold design.

I will let the video do the explaining today. The product list and measurements can be found in the video description on YouTube.

Don’t forget to subscribe to my channel. Your support helps my videos to be seen by more people and, as a result, will help me to grow my business. Not to mention, that by subscribing you’lll be less likely to miss my videos as they’re posted!

Whether you have the products used for this card or not, give this fancy fold a try! At the risk of sounding like a broken record, you are a clever crafter. I’m more than confident you will make something beautiful!

Have fun and get creating!