2021

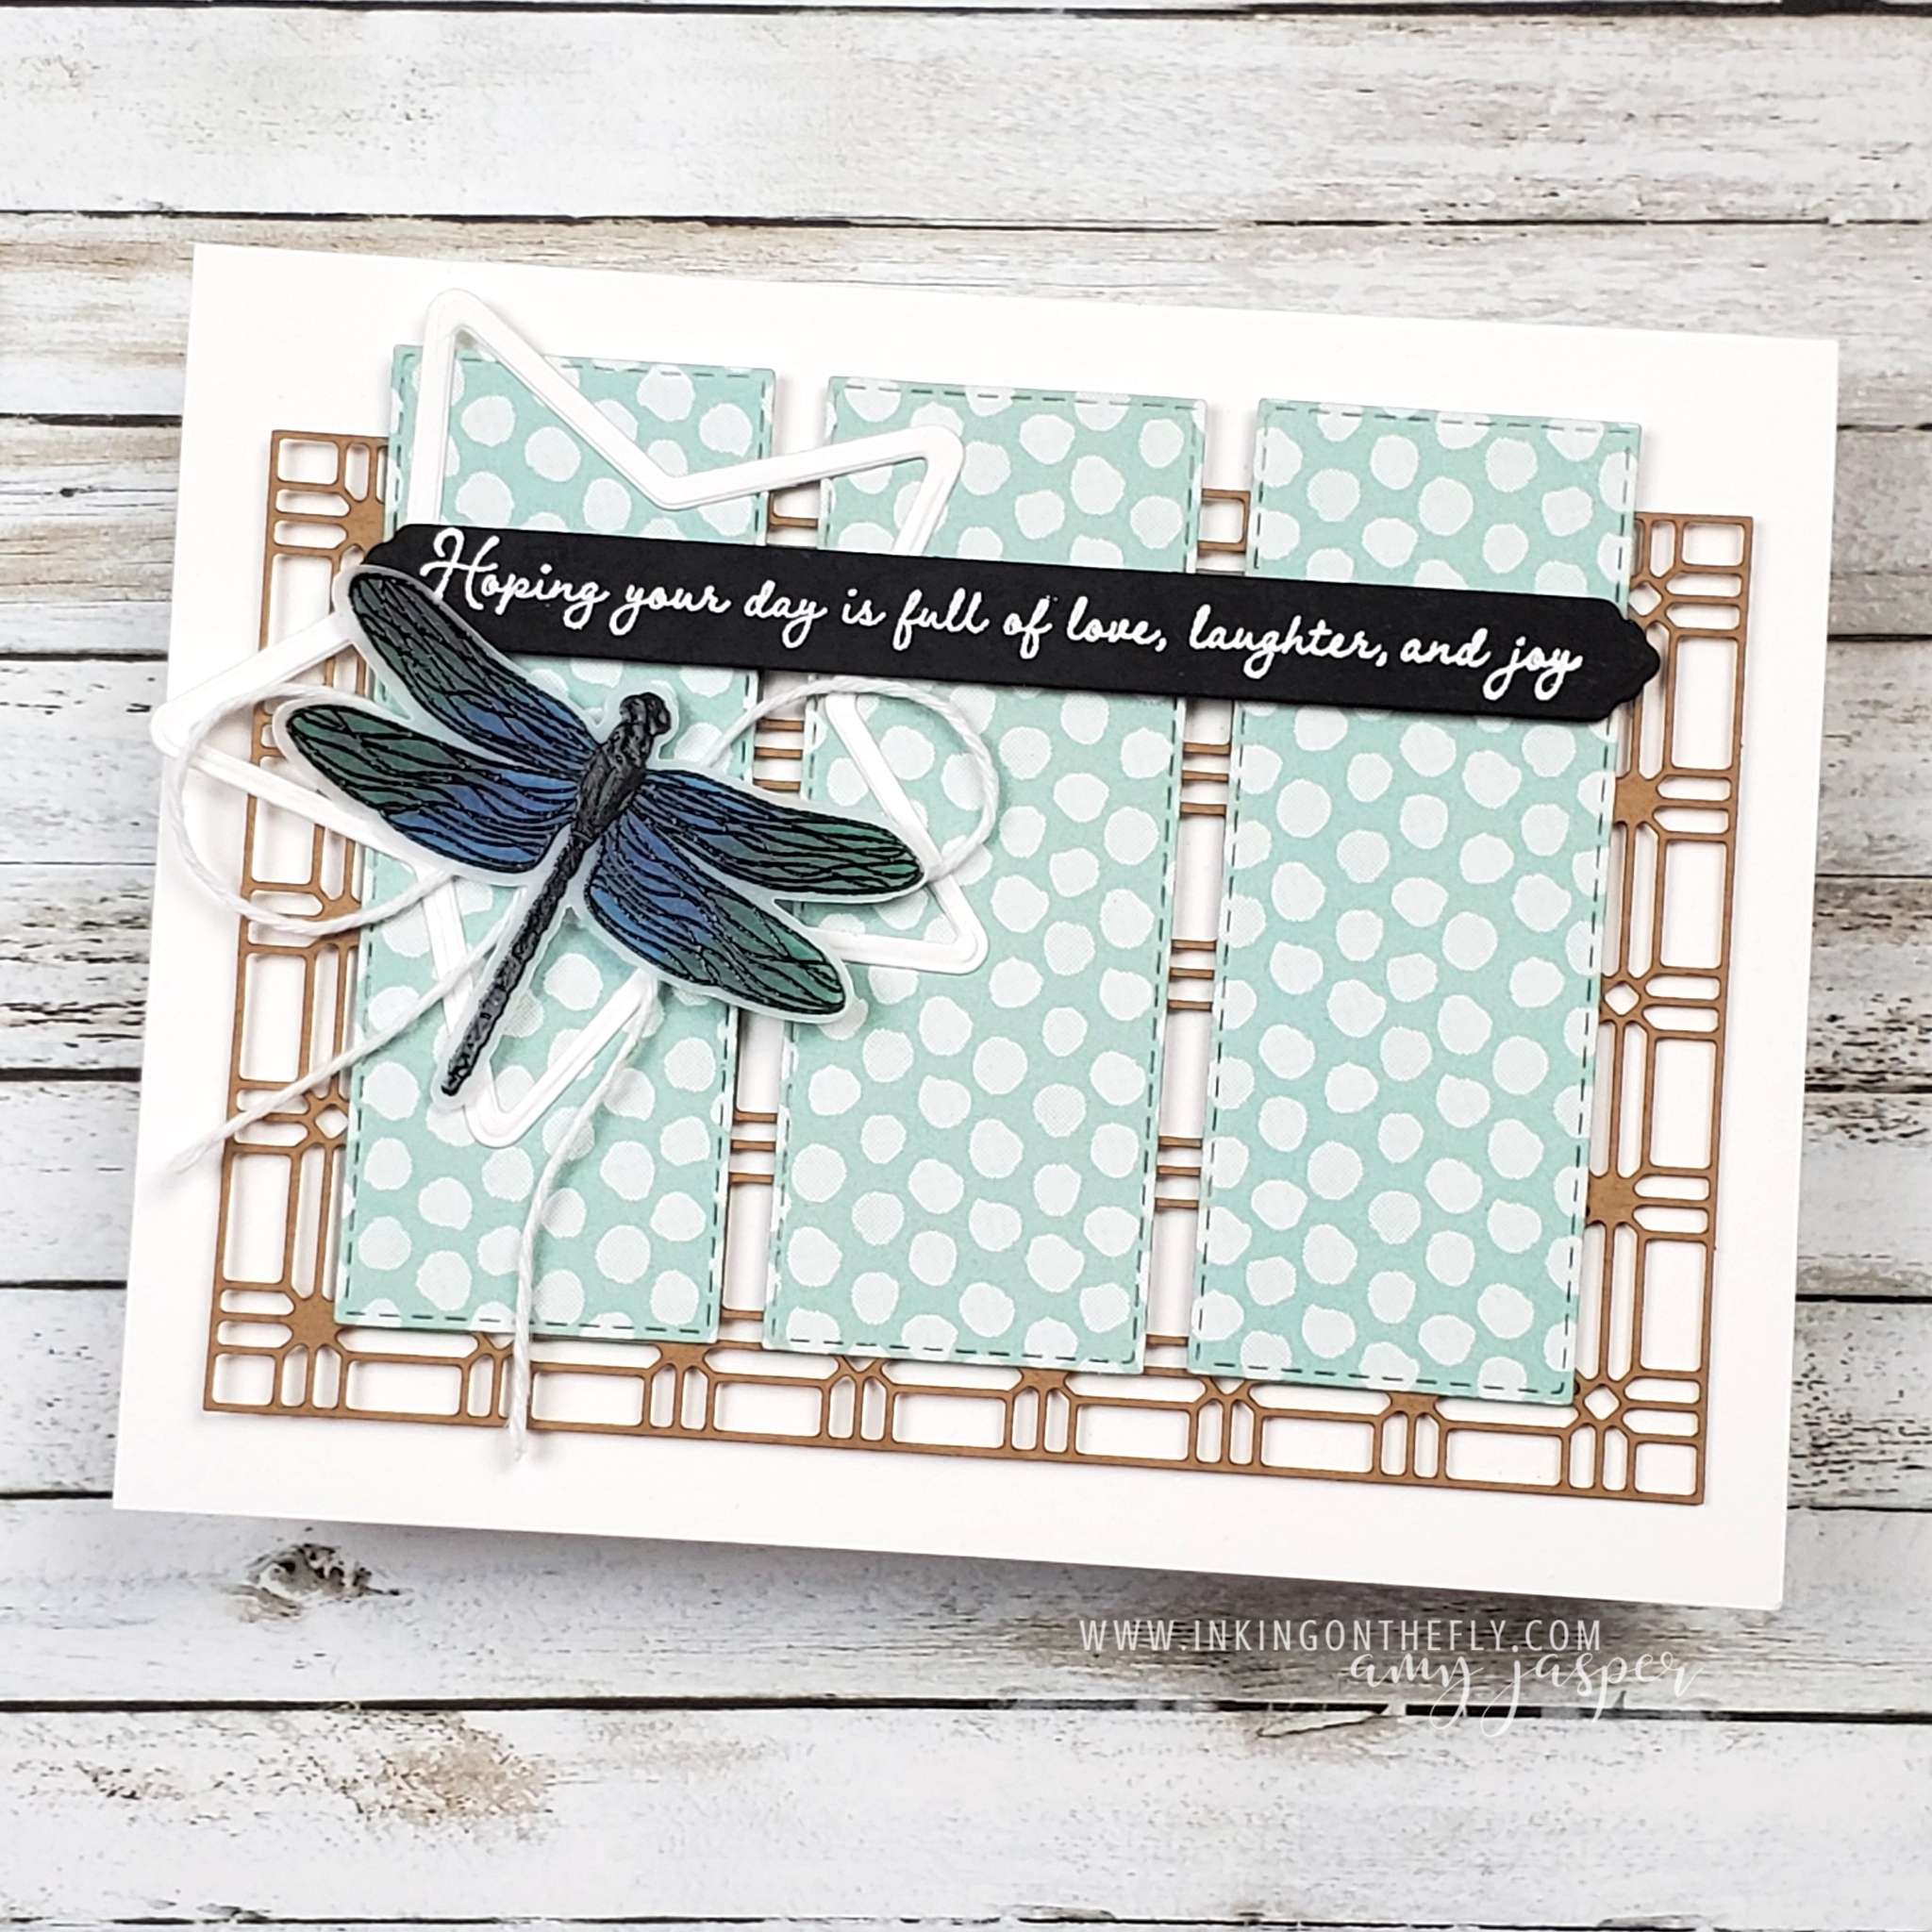
Video: How to Make a Triple Panel Fancy Fold

It’s time to share a Technique Class project with you! This one was offered in my May class. One of the perks of attending my class each month is to receive a written tutorial and to have exclusive access to the video tutorials.

Most people who purchase the class, attend the live, virtual, step-by-step class instruction for the designs as they follow along with the pre-cut supplies included with the class. However, some people aren’t able to attend the virtual class and some aren’t able to receive the class kit (due to out-of-country restrictions). Those people rely heavily on the tutorials to complete their projects.

The videos remain exclusive to the class participants for two months. After that, my friends, the video becomes accessible to the public. Often, that means there will be products used for the design that are no longer available for purchase. However, as I have said before, I know that you’re a very clever crafter and will be able to substitute other products as needed.

Designer Series Paper Sale

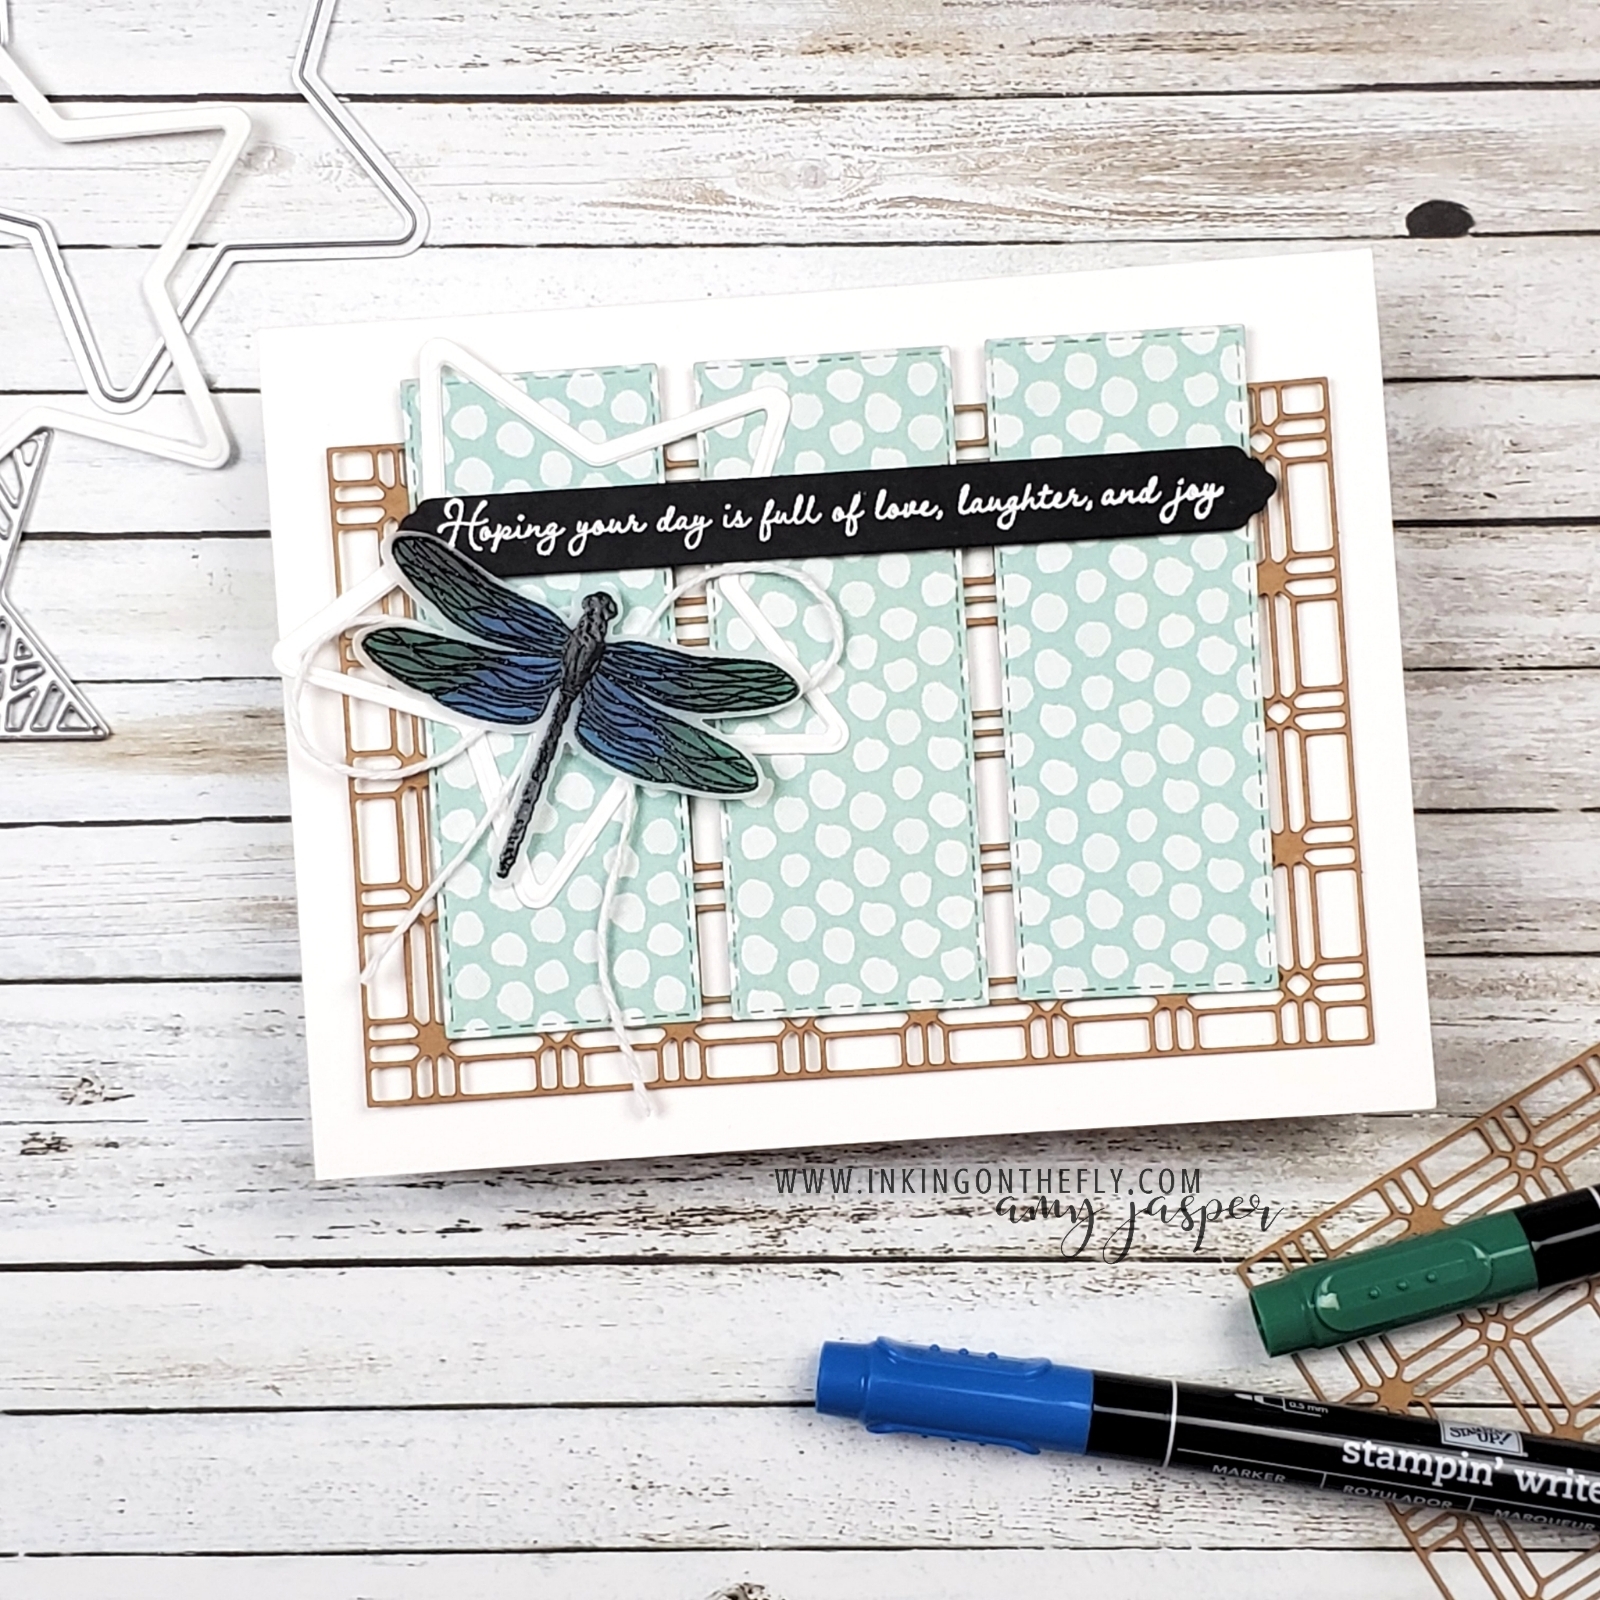
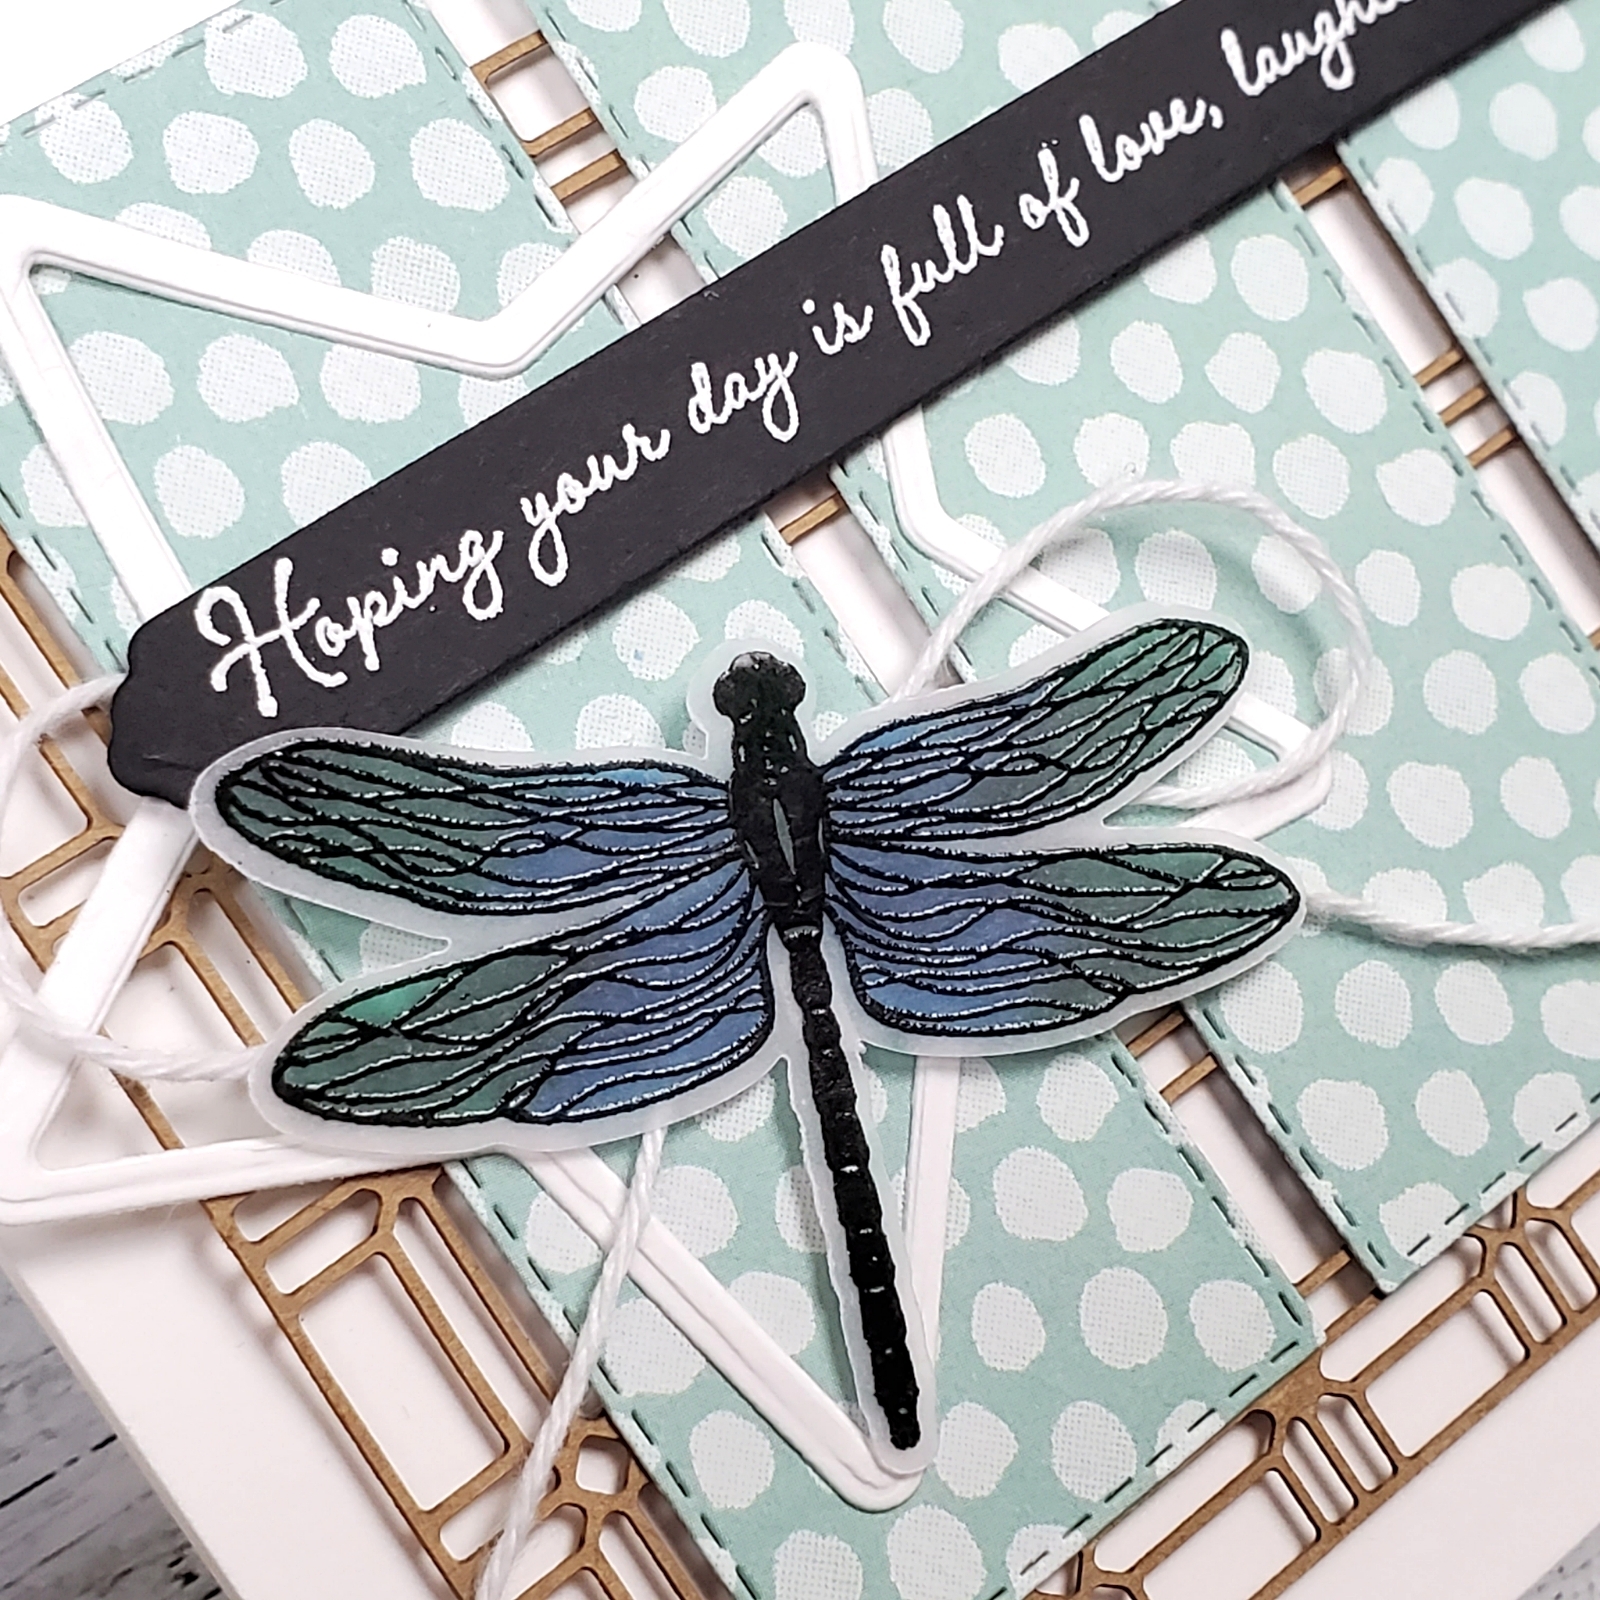
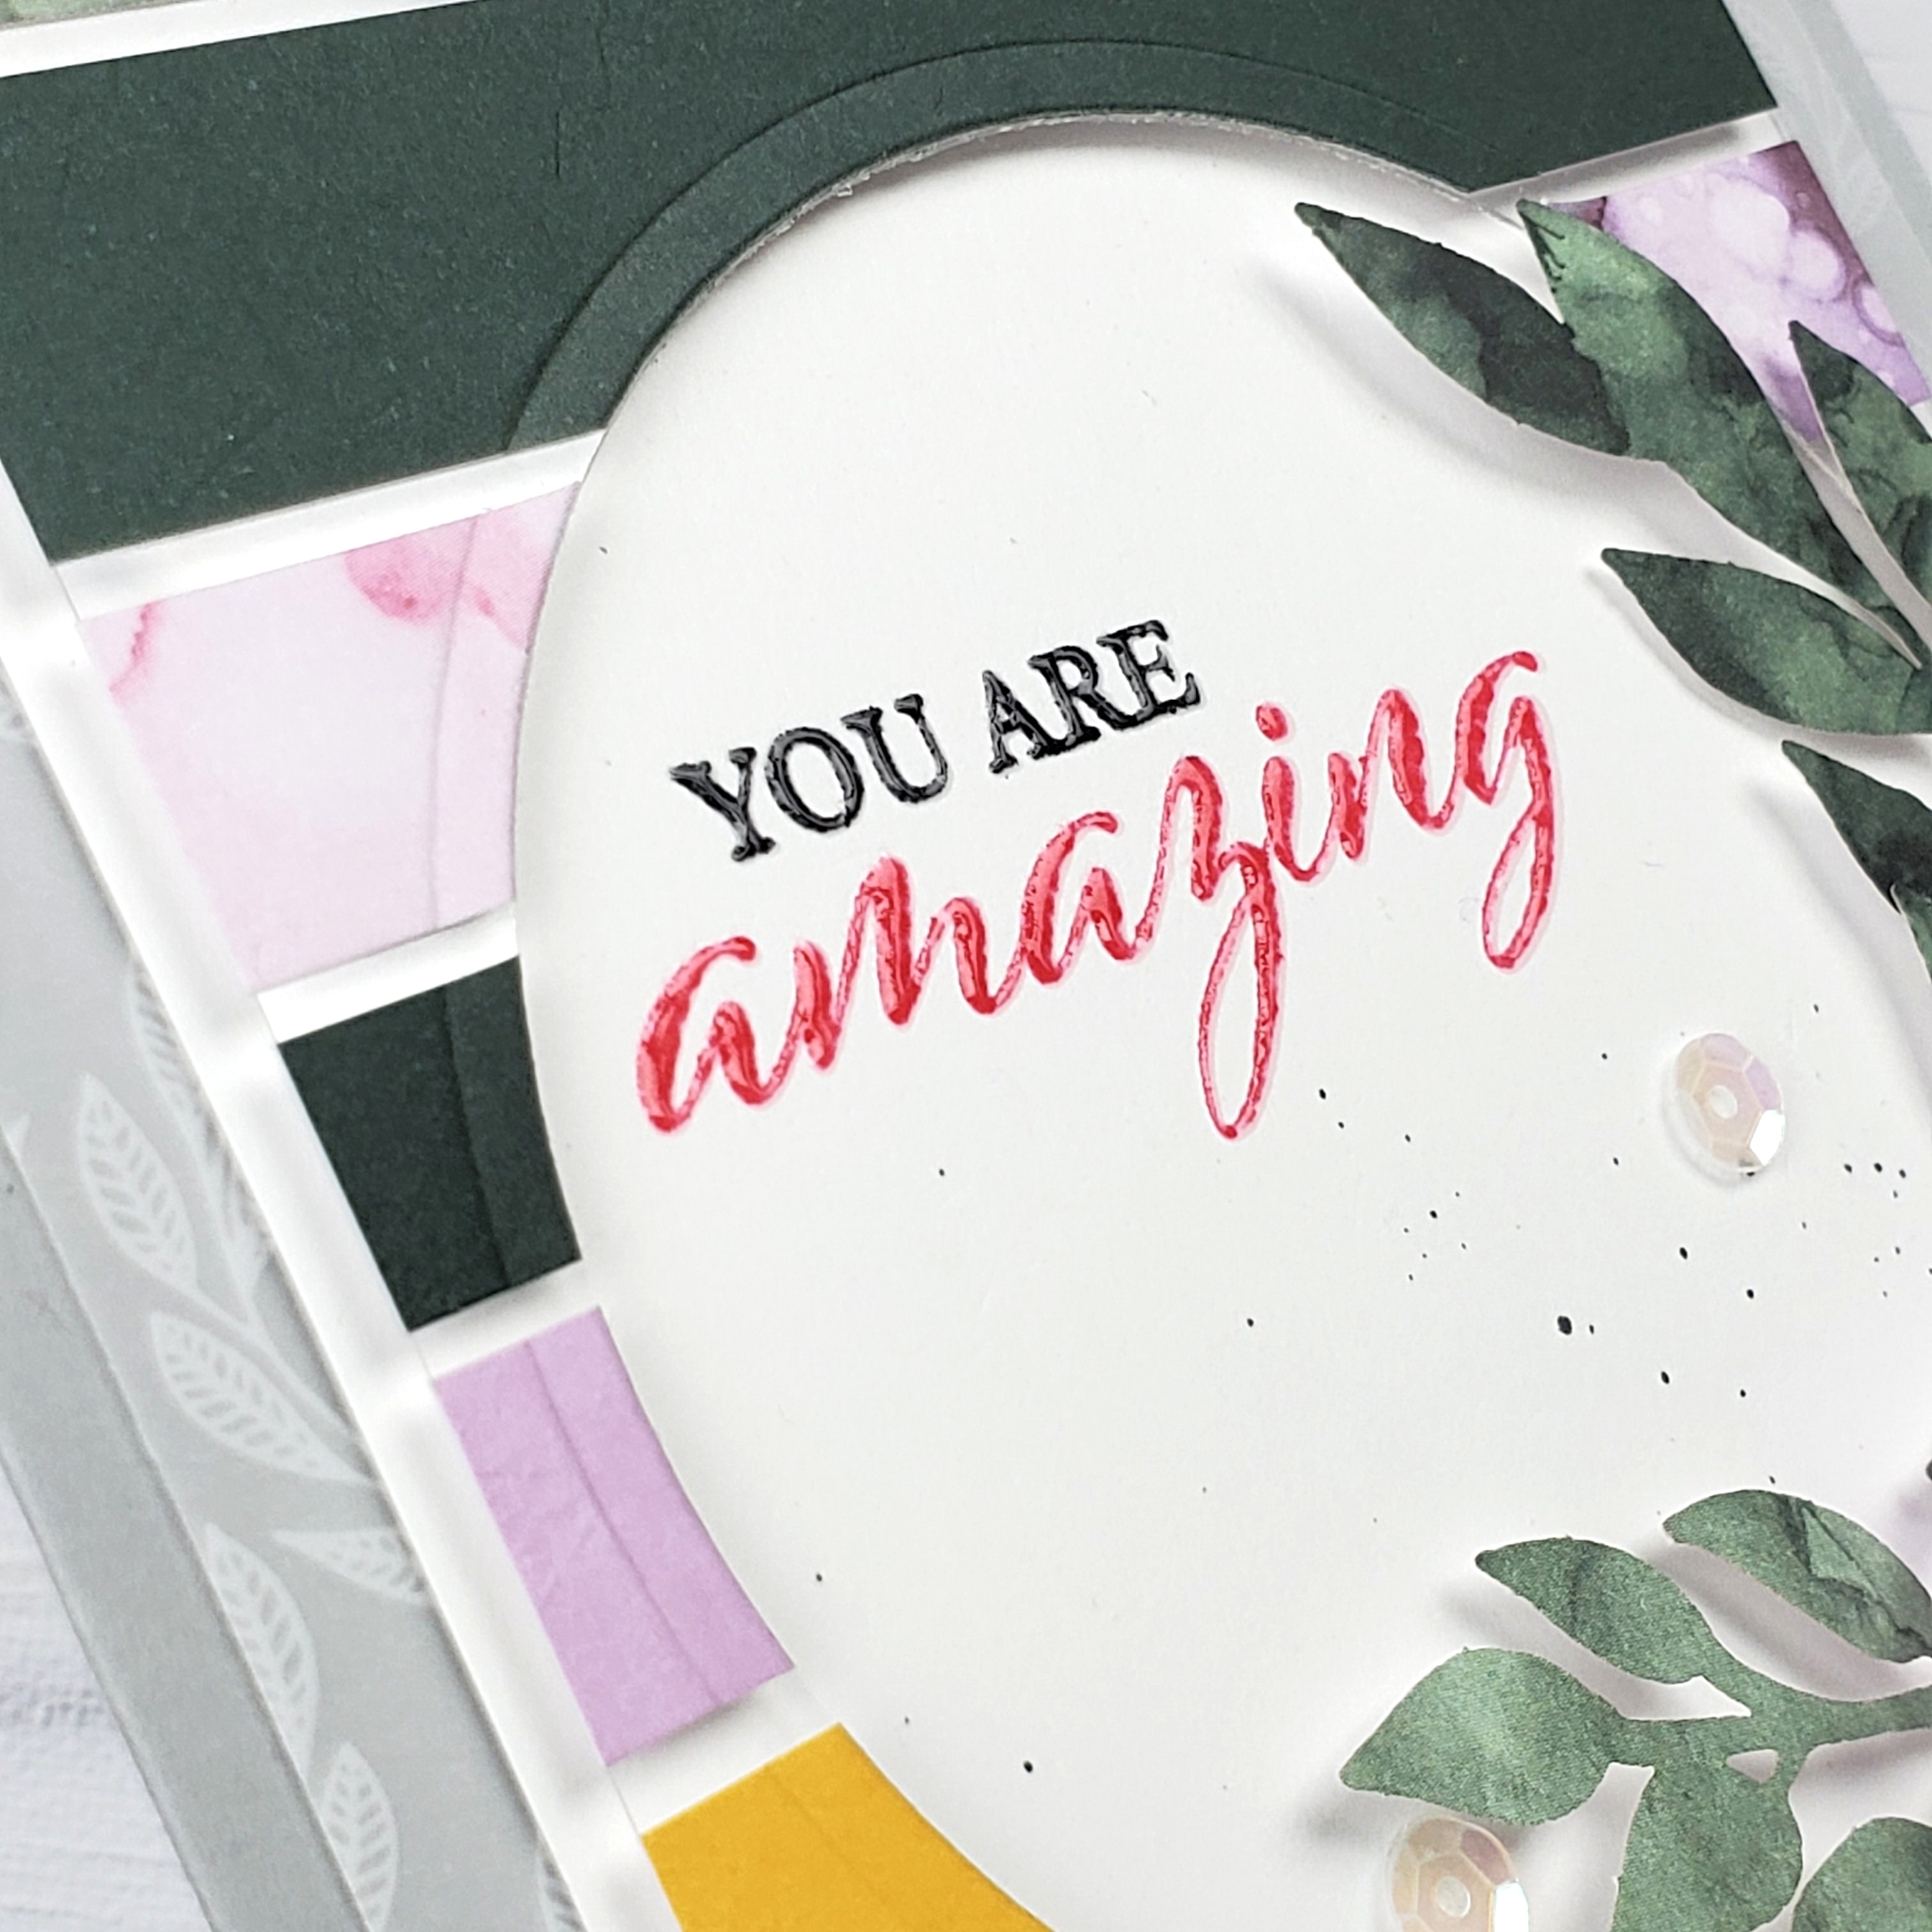
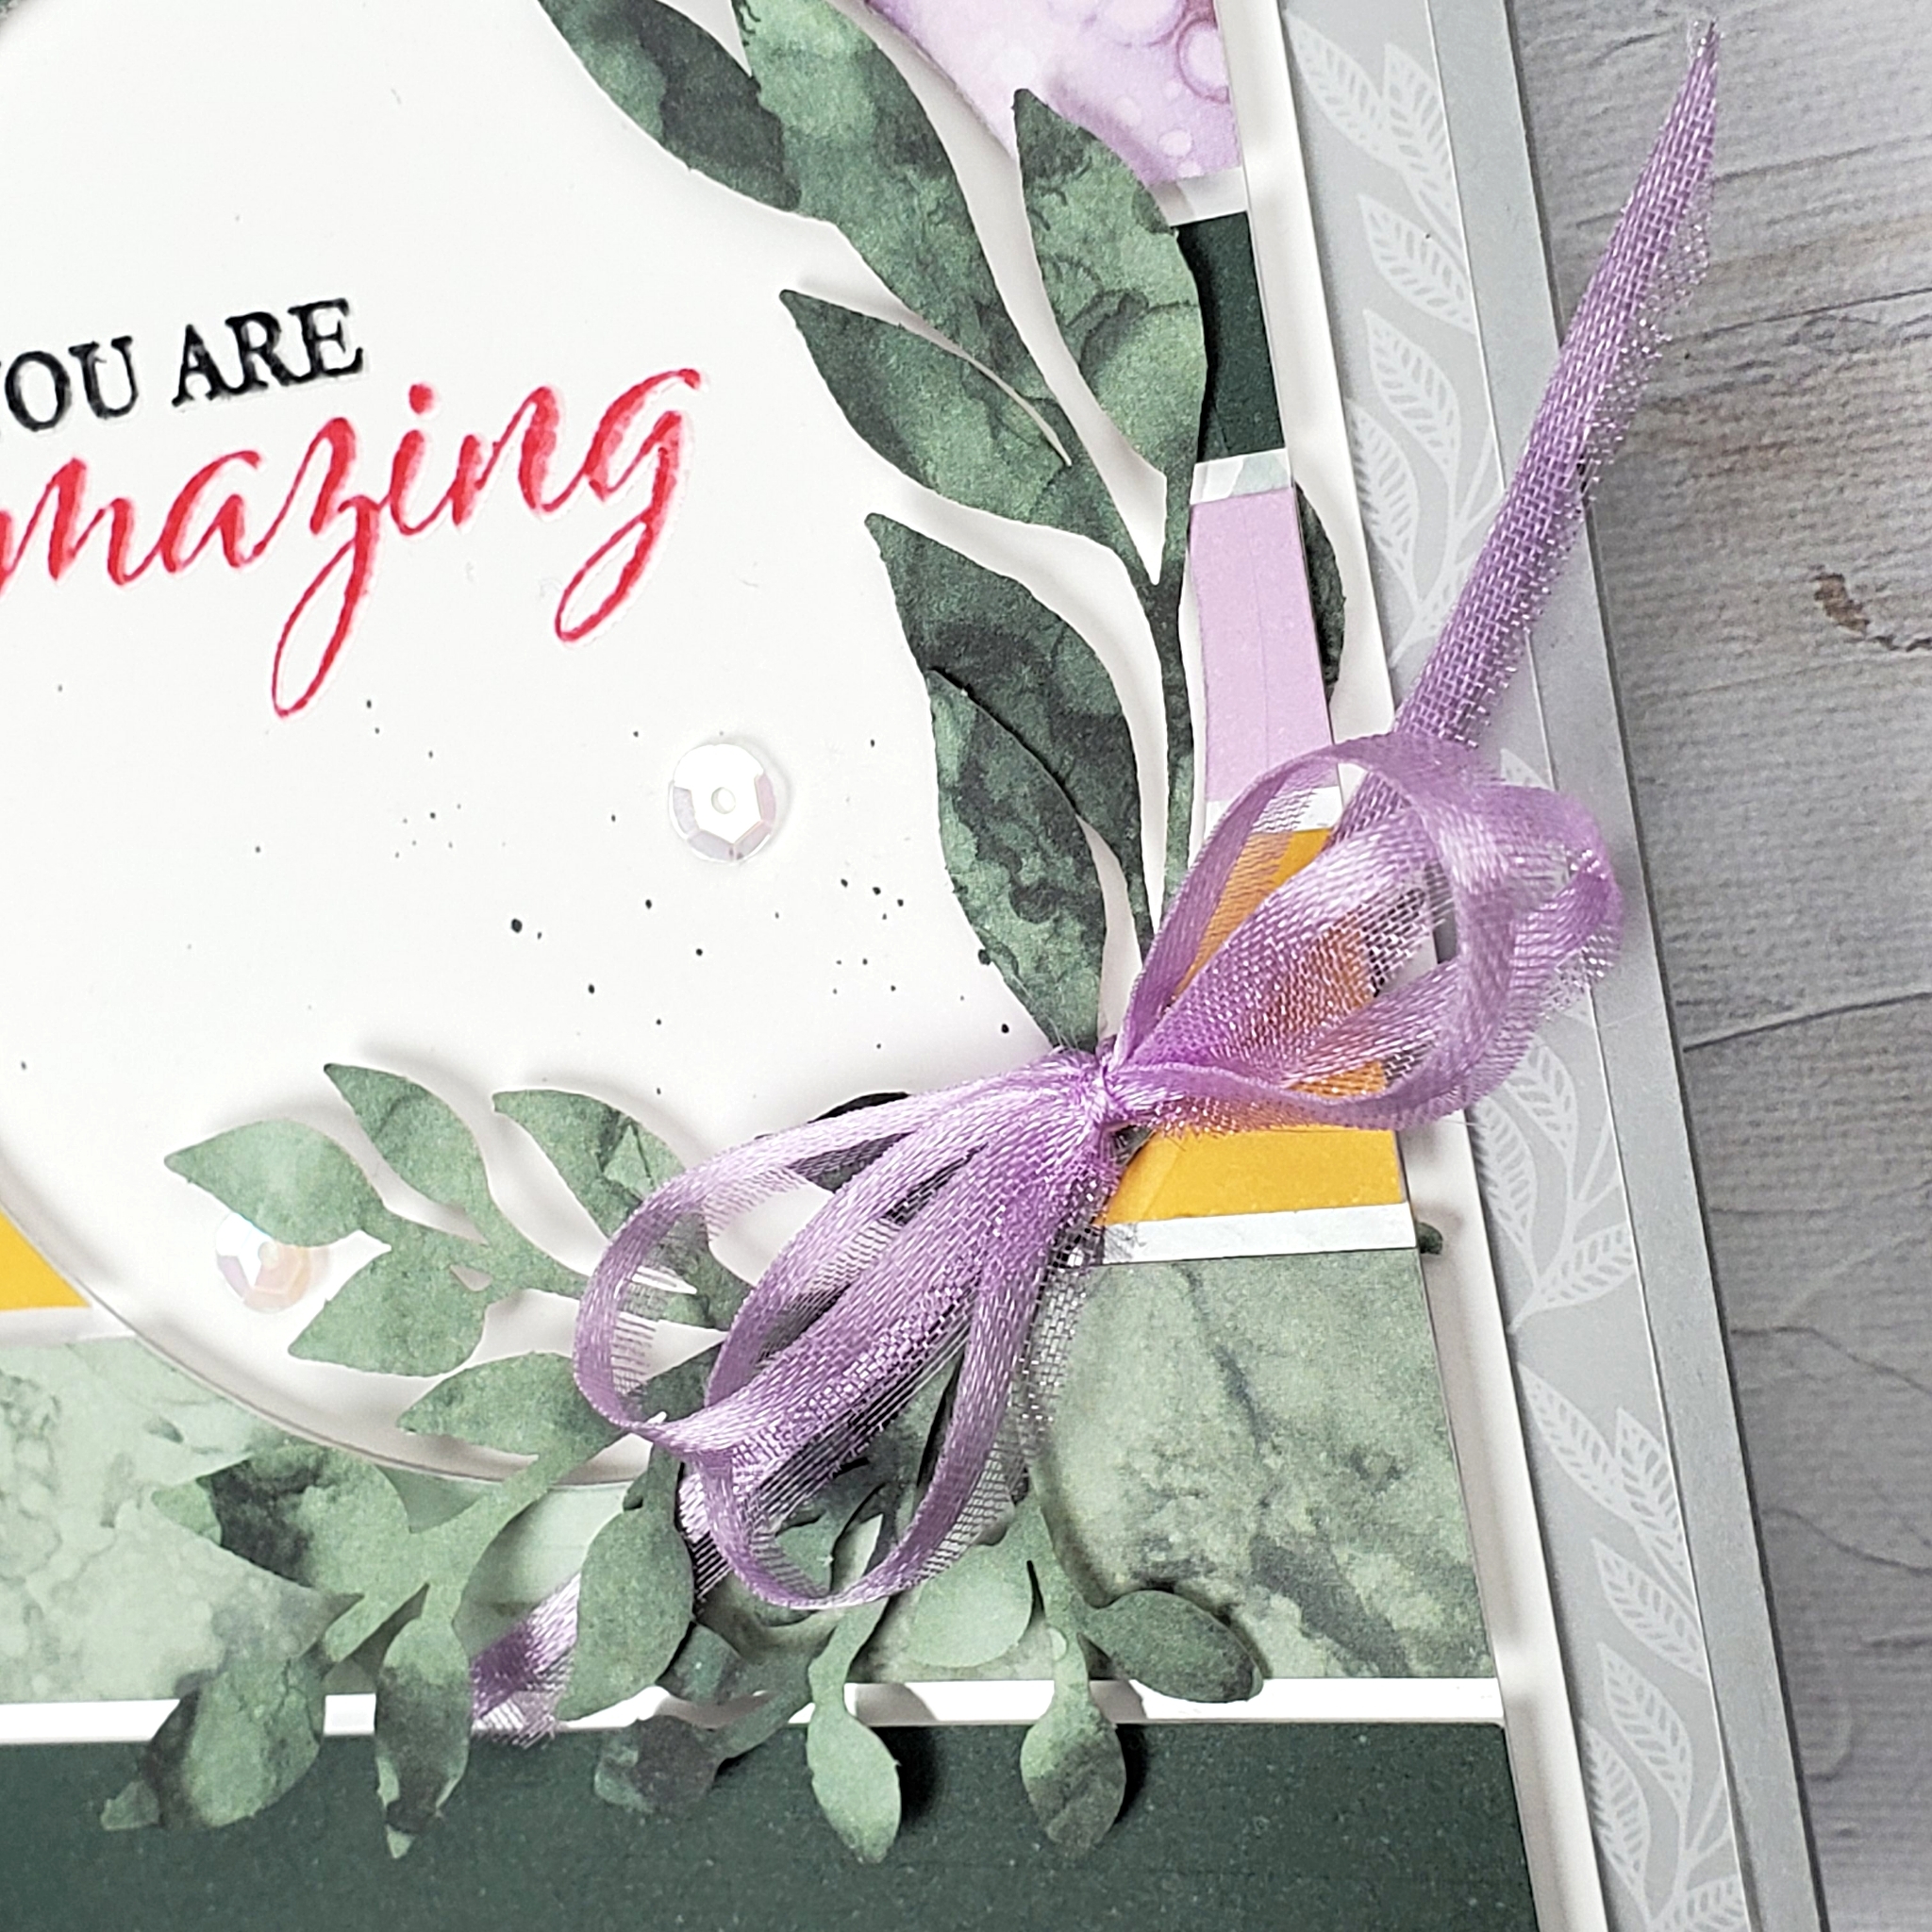
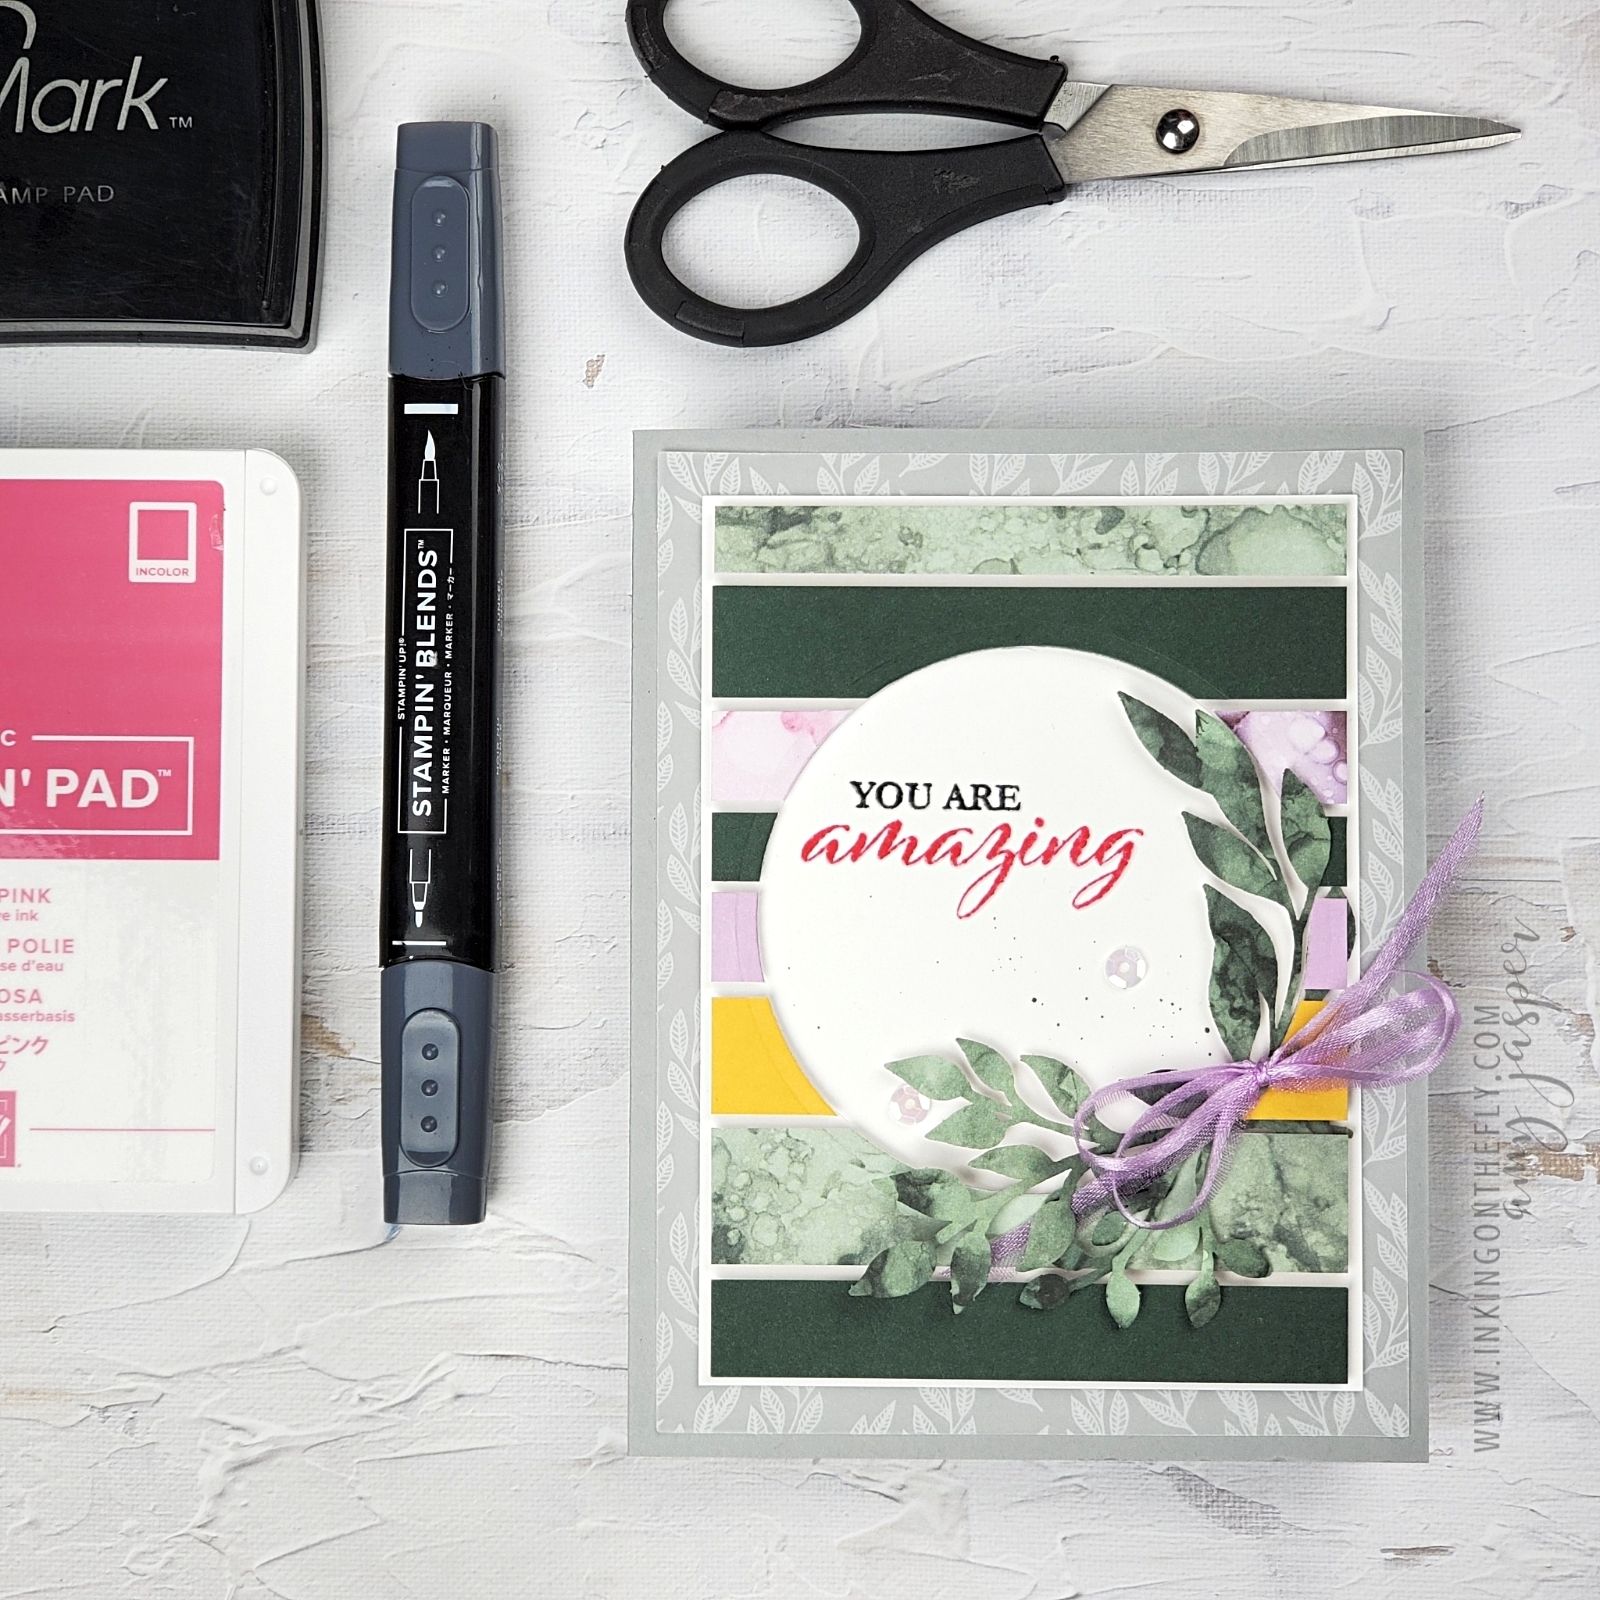
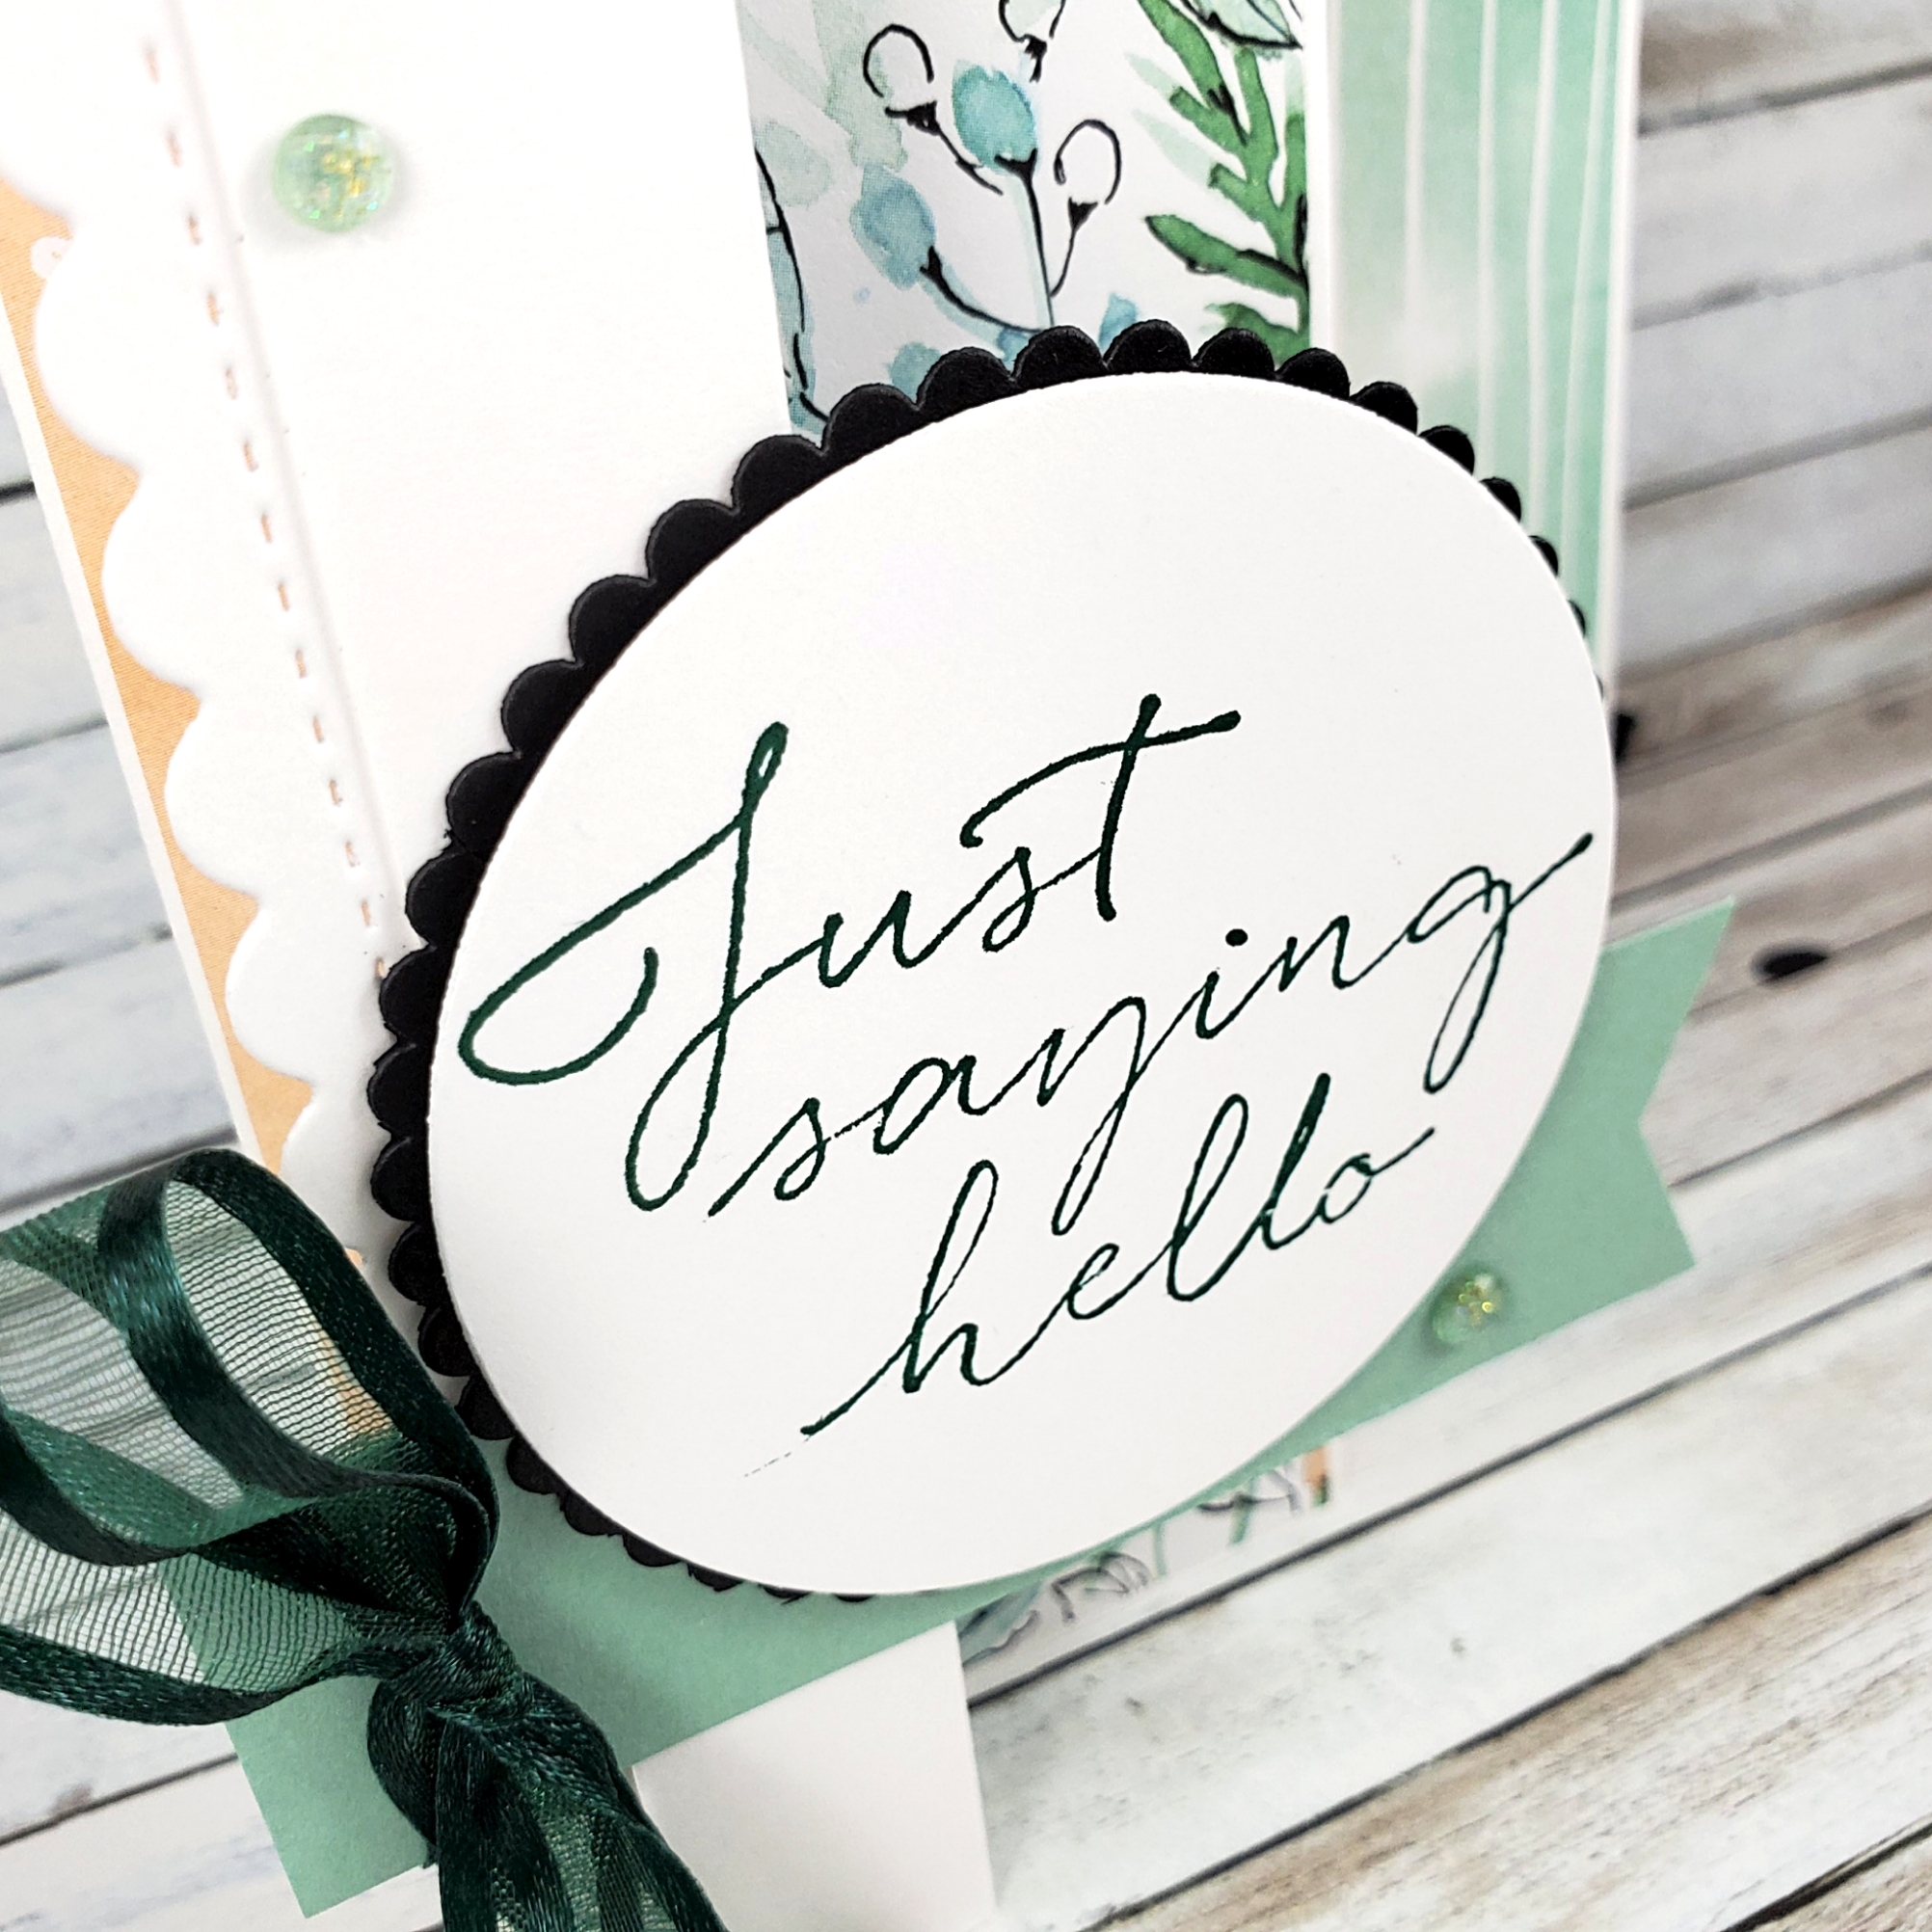
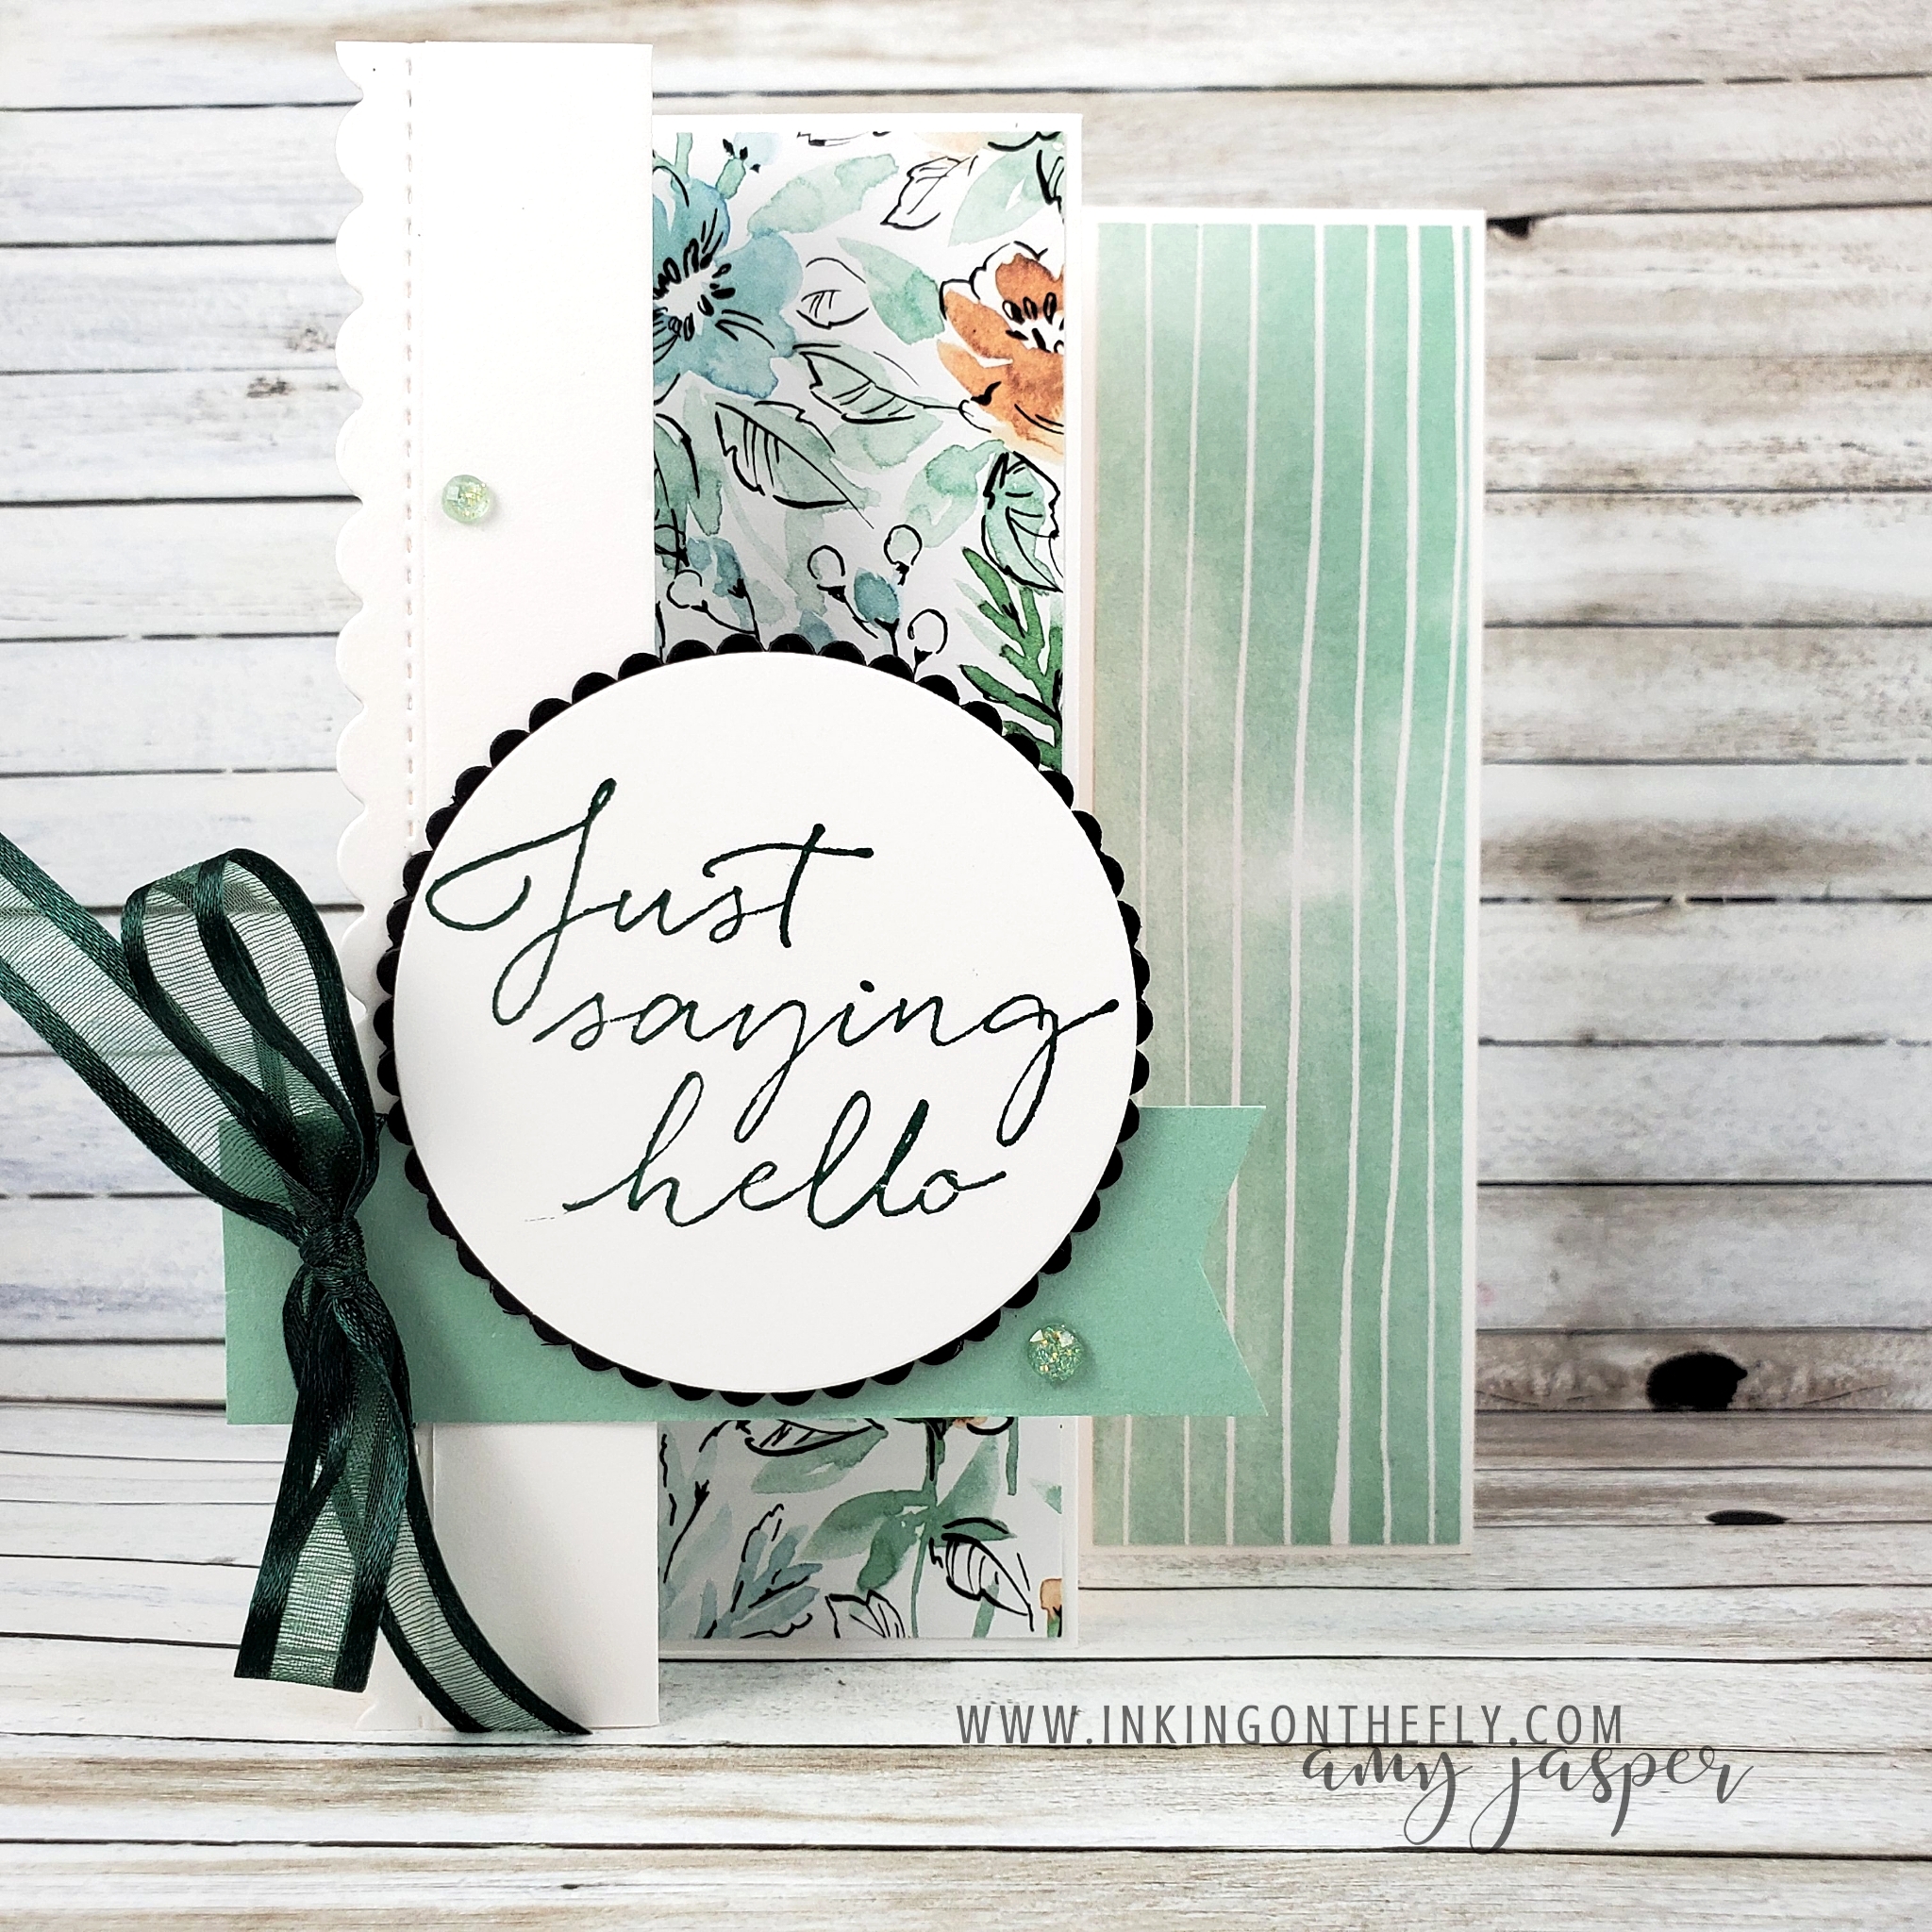
As you may have noticed, this fancy fold design features the beautiful Hand-Penned Designer Series Paper from Stampin’ Up!. I have been enjoying working with this paper so very much. In fact, I’m a little surprised that I keep reaching for it and haven’t become tired of it! I hope you haven’t either! Lucky for us, it’s included in the designer paper sale until August 2nd!

Watch the video tutorial below to get the details on this fancy fold design.

I will let the video do the explaining today. The product list and measurements can be found in the video description on YouTube.

Don’t forget to subscribe to my channel. Your support helps my videos to be seen by more people and, as a result, will help me to grow my business. Not to mention, that by subscribing you’lll be less likely to miss my videos as they’re posted!

Whether you have the products used for this card or not, give this fancy fold a try! At the risk of sounding like a broken record, you are a clever crafter. I’m more than confident you will make something beautiful!

Have fun and get creating!

Muddling through to Beautiful Results

Sometimes, when I do a live stream video, nothing seems to go right. It can be technical issues, clumsiness, stumbling over words, family interruptions, or any number of things that could go wrong. There have been a couple live videos in the past that I had to remove so I could either edit out the worst parts or do the entire project over again!

Most of the time, I leave-in the blunders and mishaps because … well, because they’re real. I make mistakes and fumble through in my videos, just like I do in my life! I know that some of my videos are better than others. You can always skip to the important parts. I don’t mind. (If only I could do that in my life, too!)

The video below was recorded live yesterday. I muddled through a few weird mishaps, but the final result is beautiful.

At least, I think so.

Making the card

This is the first time I’ve used the cool Paper Lattice die-cut. I like the natural fibre look. It adds such a nice texture and pattern to a project. I layered the die-cut pieces of Pattern party Designer Series Paper over the lattice and attached the them to the card base with Stampin’ Dimensionals.

I had a couple of items left over from previous projects, just waiting to be made useful.

One was a Basic White star outline, the remnants of die-cutting for the Christmas in July Stamp Camp event. That event features the Christmas Trimmings dies and coordinating stamp set.

The other was was a black label with a white, heat-embossed sentiment. This had been stamped and cut using the Many Messages stamp set and Messages dies. Because of the multi-sentiment nature of that stamp and die duo, I had sentiments at the ready!

After adhering the star and sentiment, it was time for the best part! I stamped the dragonfly image from the Dragonfly Garden stamp set on Vellum with Versamark ink. Then I could use my Black Embossing Powder and Heat Tool to make that image really pop!

Thankfully, no fussy-cutting was necessary for this dragonfly image. Instead, I pulled out the handy-dandy Dragonflies Punch for a perfect cut-out! Stampin’ Up! makes it easy, folks!

Now that the punch did all the work for me, I could colour the underside of the dragonfly wings. Pacific Point and Shaded Spruce Stampin’ Write Markers gave me just the right combination. This elegant insect is nearly the same colour as the ones we see here in my part of Canada. So pretty!

Watch the Video below to see the elements of this card come together.

Remember, if you like my videos, click on the subscribe button and help me to grow my business. I appreciate your support and encouragement so much!

Makes you feel good to be frugal

Remember my alternative projects for the June Paper Pumpkin Kit? One of those alternatives was made using strips of the various patterned and coloured paper that came in the kit. After making that card, I thought I’d create a third project, using the left-over paper-strip piece.

It so happens that every once in a while I create a project using left-overs or scraps. Whenever this is the case, I feel so good about myself, as though I conquered some big bad evil in the world! LOL! It feels like I should get to wear a little crown for the rest of the day!

Sadly, that’s probably a strong indicator that this is a rare occurrence and, in fact, leads me to realize that I should seek out more opportunities to be thrifty.

Making the card

This Paper Pumpkin alternative project has multiple strips of paper adhered to a piece of Window Sheet (acetate). The stripey acetate was run through the Cut & Emboss Machine with one of the Layered Circle Dies to cut out the centre. I made my first card using the circle piece. You can see the information on that card by clicking HERE.

The sentiment from the Expressions in Color kit is stamped on Basic White cardstock. I used my Stamparatus so I could stamp the sentiment more than once.

Clear Embossing over stamped sentiment

Why do I want to stamp it more than once, you ask? Well, my crafty friends, there are a couple reasons: First, if it doesn’t stamp evenly, I can easily re-ink my stamp and go for it again. Second, I can clean my stamp with my Simply Shammy and use Versamark ink to stamp it again in the same spot, so I can use Clear Embossing Powder. This gives me a beautiful, glossy, coloured sentiment!

Using your Stamparatus also allows you to do a second layer of embossing powder to get an even better finish. After heat-setting your powder, place your paper back into position in the Stamparatus and ink it a second time with Versamark ink. Stamp again over your previous image (in exactly the same place, because of this amazing stamp position tool!). At this point, you’re ready to add your Clear Embossing Powder again and heat-set it for a super glossy finish! No pitting or vacant areas. Just amazing!

Basic Black Blends Marker was used to create a bit of spatter on the Basic White

The rest of the design is pretty simple.

I layered the leaf patterned vellum from the kit over a Smoky Slate card base, following that with the Basic White stamped and spattered piece. The stripey acetate is adhered with Stampin’ Dimensionals to give it that cool floating paper-strips look.

Tucked in the lower right section of the circle, is a die-cut element (also from the June Paper Pumpkin kit) adorned with a delicate bow. This is a segment of Fresh Freesia Open Weave Ribbon that had been cut in half along its length before tying it into a double bow and adhering to the card with a Glue Dot.

Two adhesive-backed sequins give the final touch to this project.

How do you manage your paper scraps?

I don’t always use left-over pieces from cards that I’ve made. However, I do recycle the smaller scraps and I cut larger scraps to sizes so that I can use them more readily. Often, the remains of a card could be used with more intention, rather than being tossed aside and ending up in the recycle bin because of lack of imagination. Perhaps I could challenge myself to make a card with the scraps from the previous project every time? Then I could wear my do-good crown almost everyday! LOL!

(I guess I need to make myself a crown!)

If you have any good tips or tricks for managing your paper scraps and left-over card bits, please share your wisdom! I’m sure I’m not the only person who struggles with being frugal.