tutorial

Video: Learn how to make this locking gate fold

I love the look of paper strips and pieces on a card.

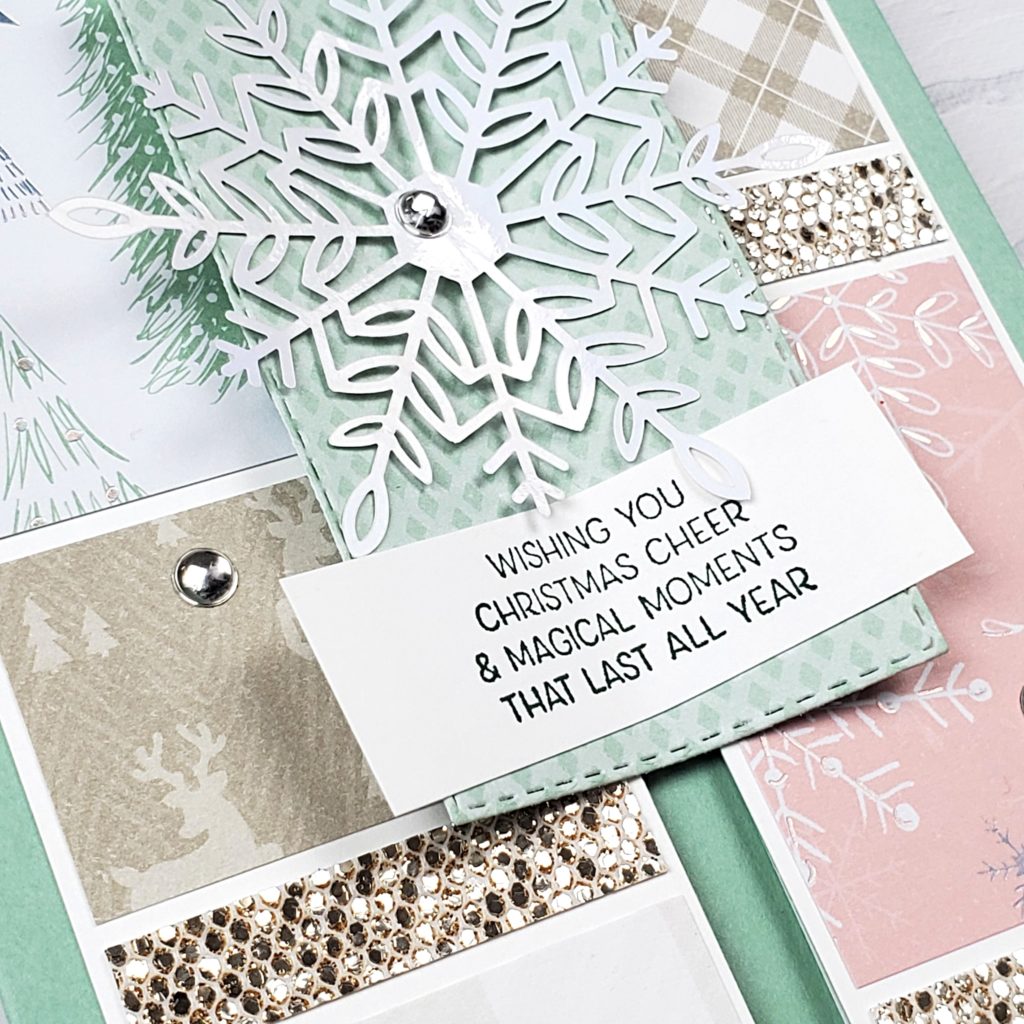
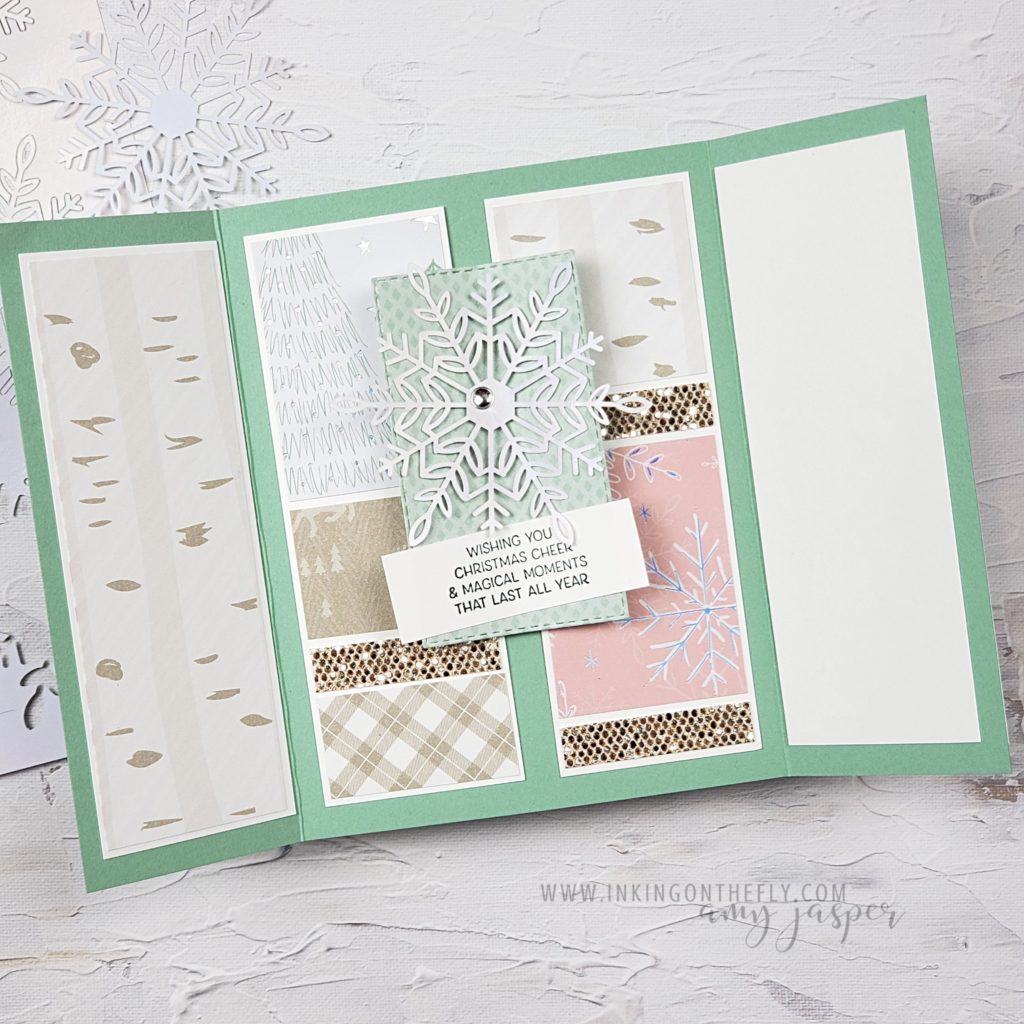
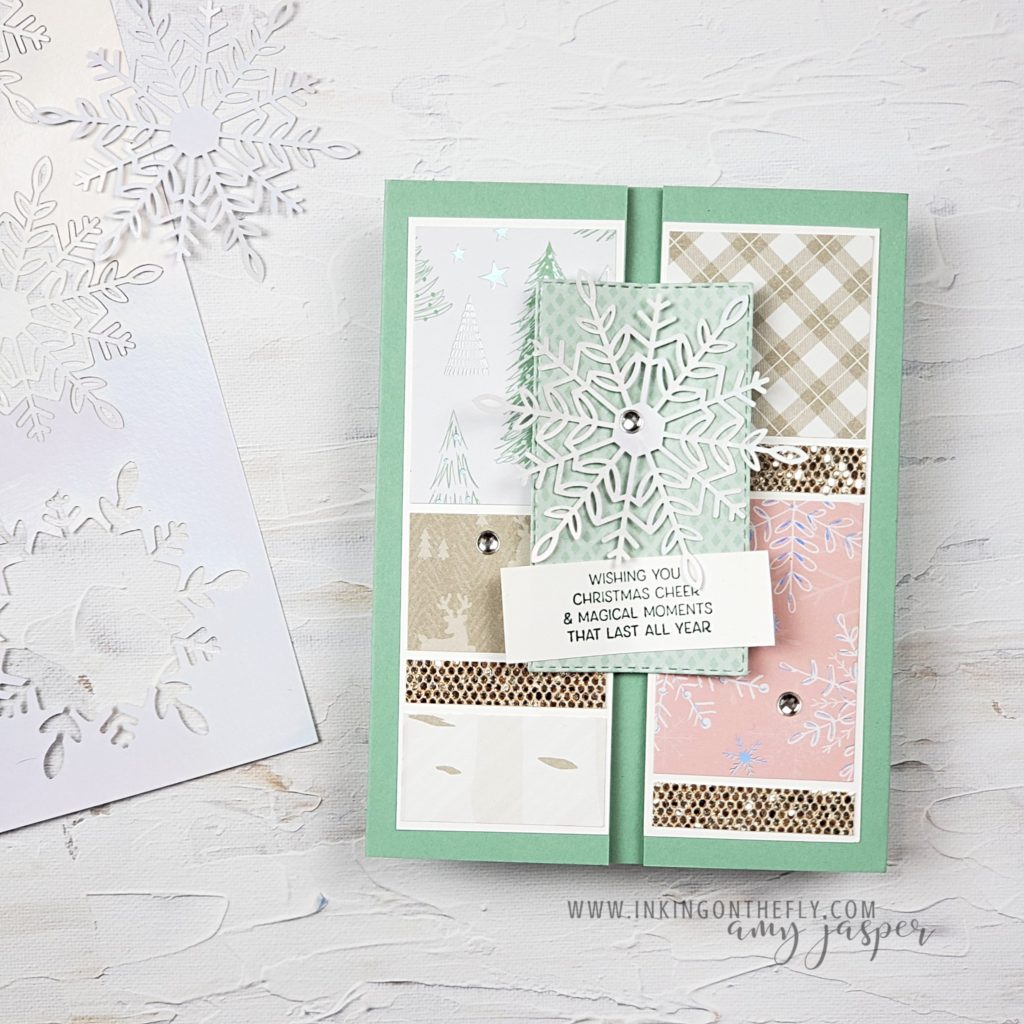
This locking gate fold design has multiple pieces of patterned paper for a sweet patchwork look. My original card was created for my technique class back in May. Since then, we’ve had some products retire and we have some new products coming available in August.

A fresh take with the Whimsy & Wonder DSP

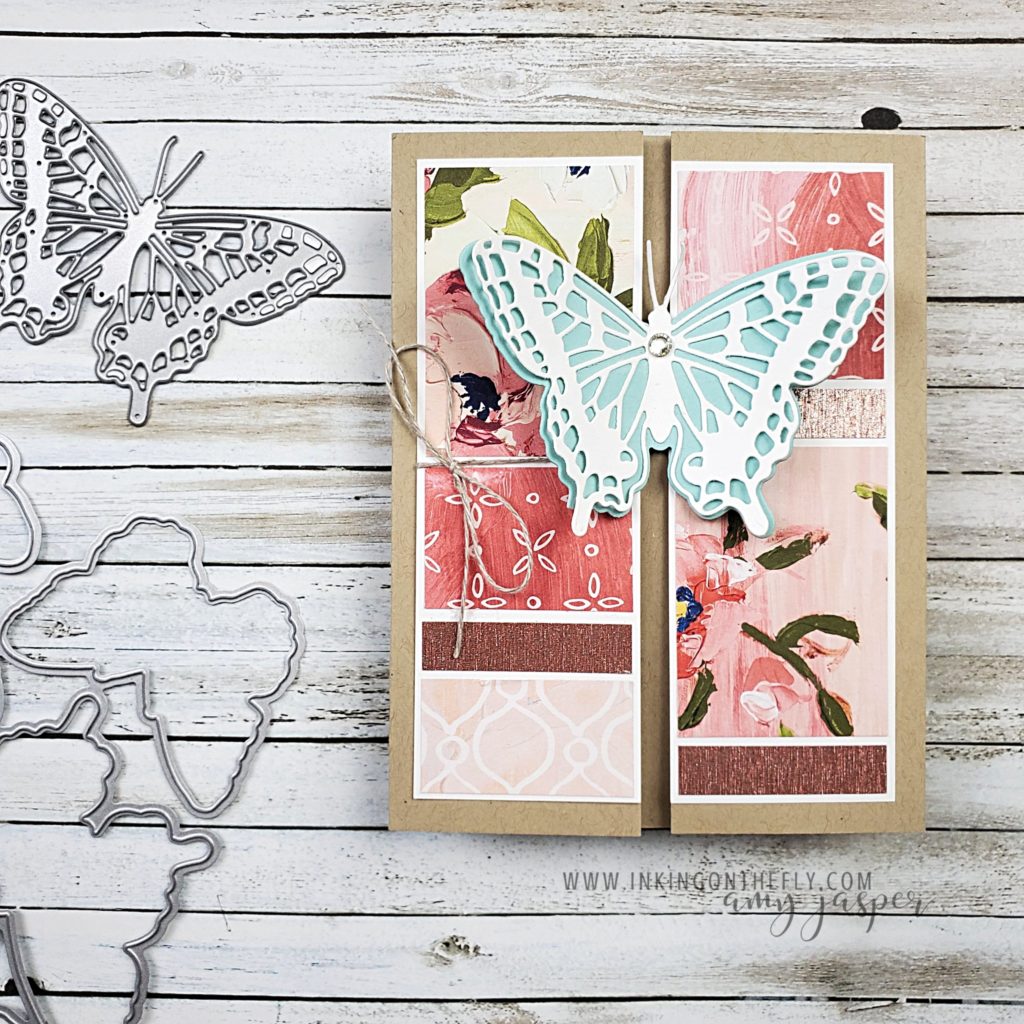
You will see that the video tutorial at the bottom of this post explains how to make the original card. Of course, that design features the retired Art Gallery Designer paper. It would be easy to adapt this design with other patterned papers, as you can see on my new design above.

The original design for my May technique class

Imagine the possibilities! Go over to my online store and have a look at some of the patterned paper options currently on sale. Be sure to check back on August 3rd to see the new fall products!

I decided to try this design using the Wonderful Snowflakes that will be available to purchase in August. Because the snowflakes are so detailed and delicate, I chose to use a rectangle stitched piece of paper as my centre locking mechanism. Only the top layer is die-cut with the Rectangle Stitched die. The two layers underneath are just cut to size, thereby saving me some time and effort.

My new design features the gorgeous Whimsy & Wonder Specialty paper in the August – December Mini Stampin’ Up! Catalogue. I also used the STUNNING Be Dazzling 6″ x 6″ paper for the narrow paper strips. These are so so so sparkly and have almost a mirror finish.

The inside of the card is just as pretty as the outside!

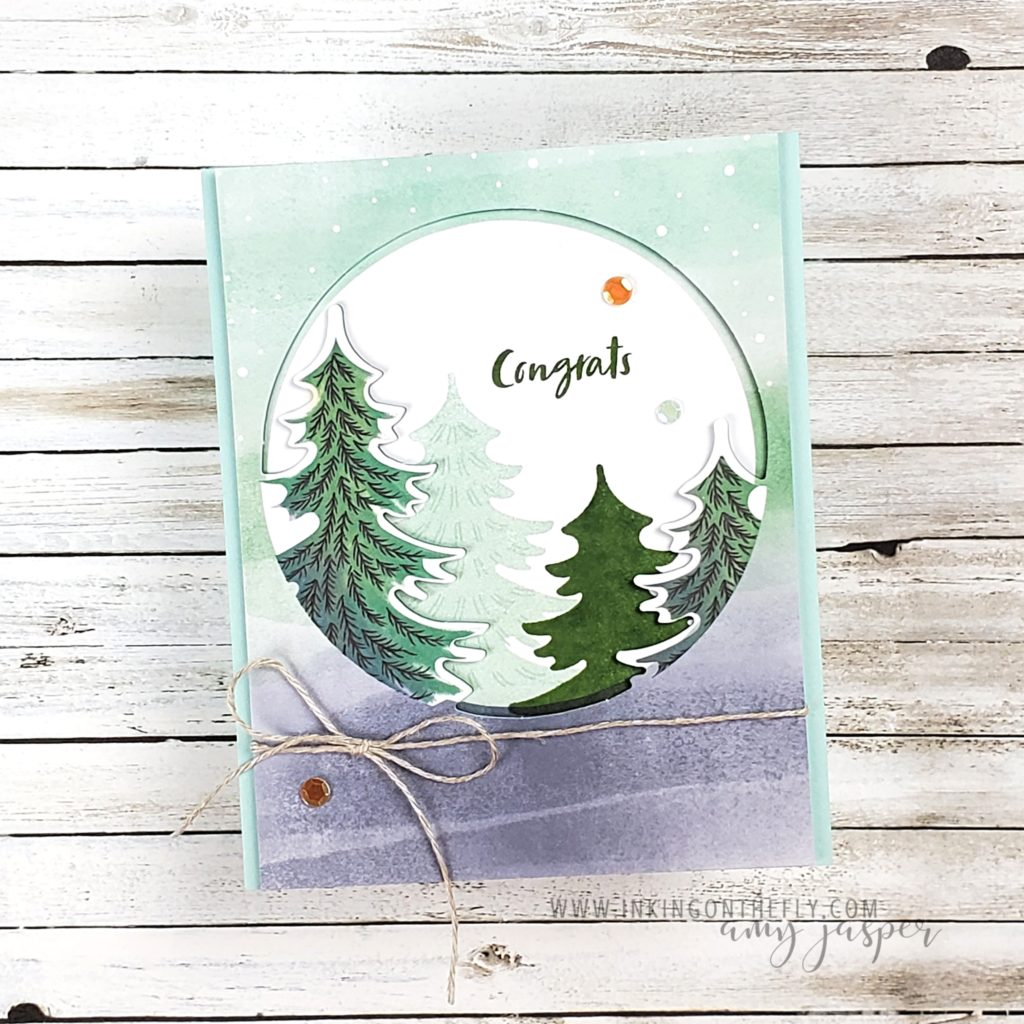
This card called for a sentiment on the front. The Whimsical Trees stamp set was created to coordinate with the paper, so I used Shaded Spruce ink on Basic White cardstock.

Watch the video to see how to make this cool locking card!

The video provides step by step instructions so you can make this at home. I share two different methods for the centre locking mechanism, so be sure to see the difference. If you watch the video on YouTube, you’ll also see that there are measurements and a supply list in the video description. While you’re there, don’t forget to subscribe to my channel!
How to Make a Pop-Up with Paper Pumpkin

Somehow I managed to do it!

I made an alternative project for this stellar Paper Pumpkin kit after already loving the design of the original cards.

If you saw my earlier post about the kit, you would know how much I love it! I didn’t think it would be possible to make an alternative project that I loved as much.

My 17 year old son tells me that this pop-up card is definitely a step up. (This, from the amazing kid who got the highest possible mark on his Advanced Placement Physics exam! So proud of him!)

I’m very happy with this design, but I have to admit that you just can’t beat the simplicity of the original tri-fold cards in the kit. For how simple they are, they look fantastic!

My design is certainly not as simple.

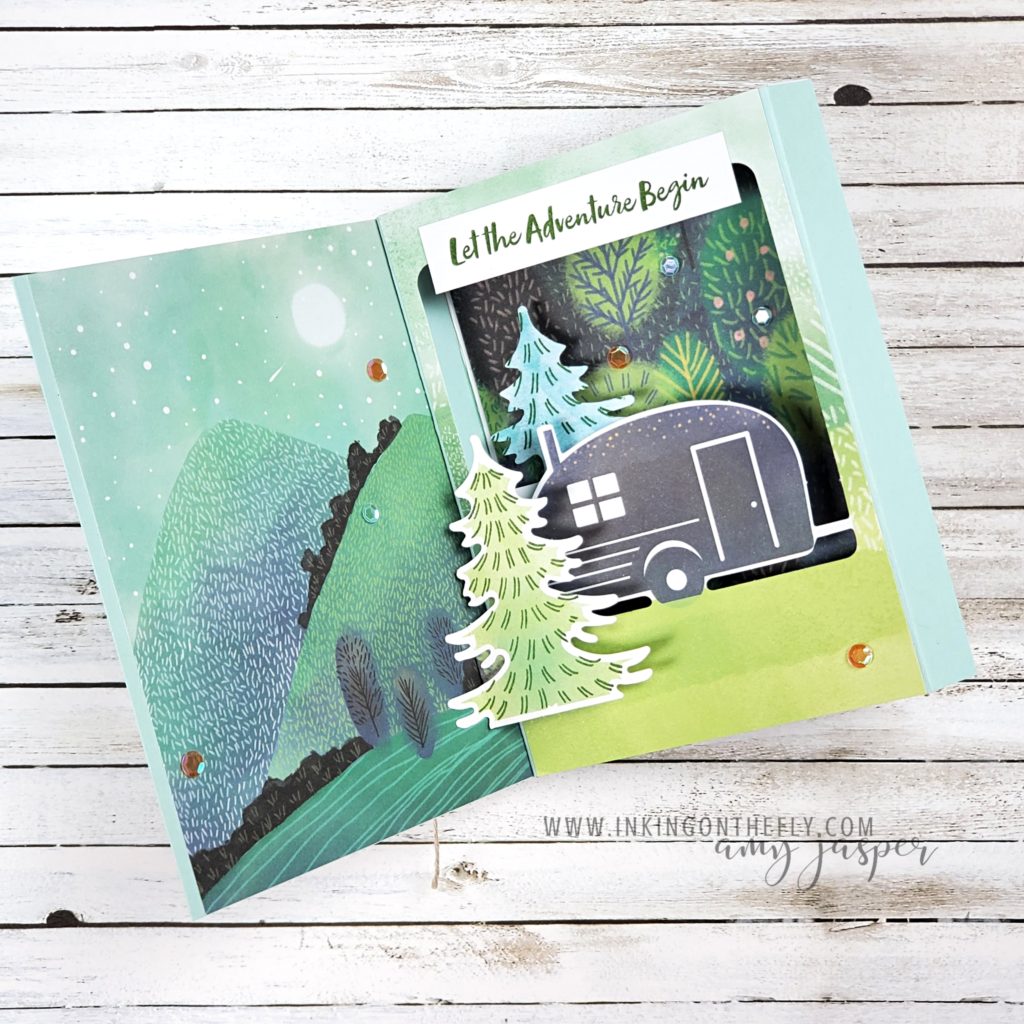
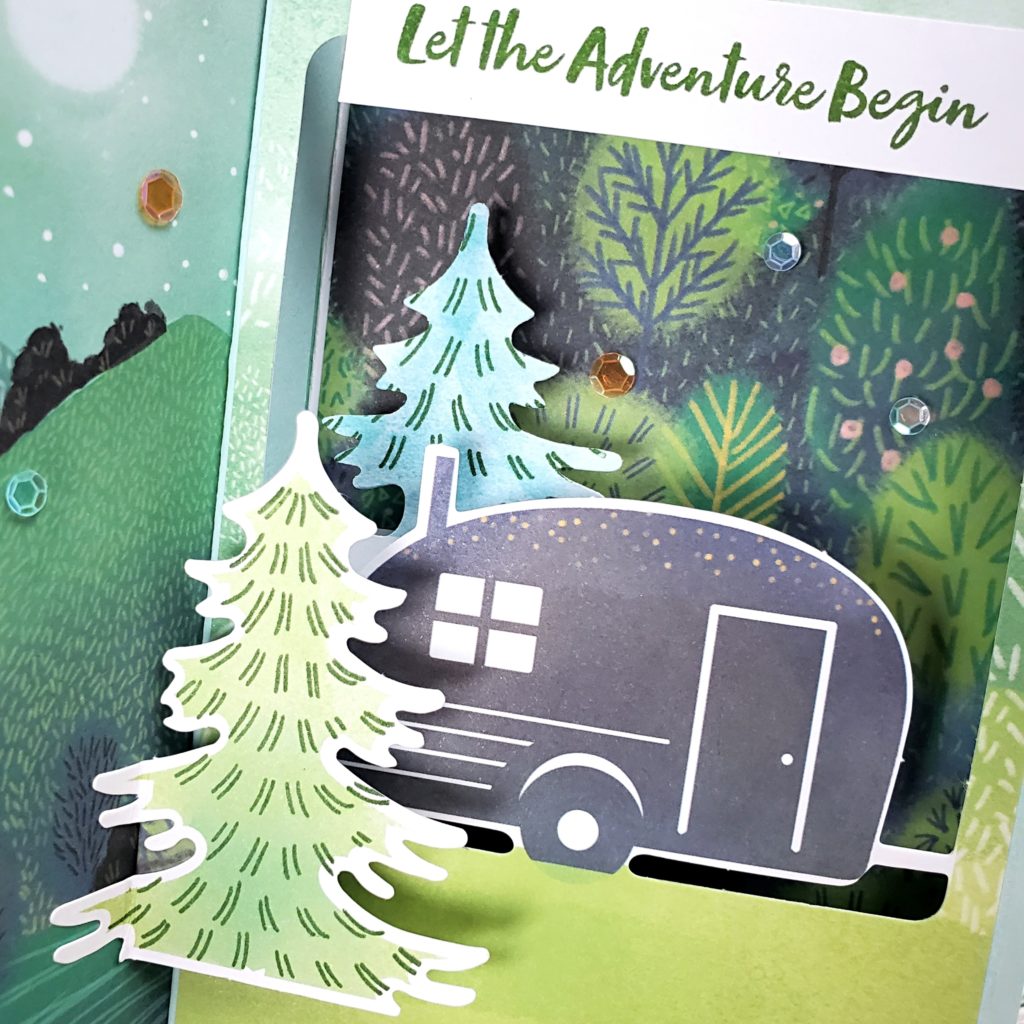
Two of the designs in the July Paper Pumpkin kit were used to create this diorama card. When you open the card, you can see that the inside is the best part with the printed scene on the left and the pop-up scene on the right. This shows off the printed parts of the cards.

How-to Video

Usually, I share my Paper Pumpkin projects in a live stream on Facebook. However, this week I’m taking a vacation, so I pre-recorded the video and scheduled it to post. (tech skills, don’t fail me now!)

Watch the video below to see how to make this fancy pop-up diorama card using the July 2021 Paper Pumpkin Kit – The Adventure Begins.

Start your Paper Pumpkin subscription today. You can choose to make the cards just as they are intended or you can stretch your creativity and make some alternatives. Either way, Paper Pumpkin is a fun escape!

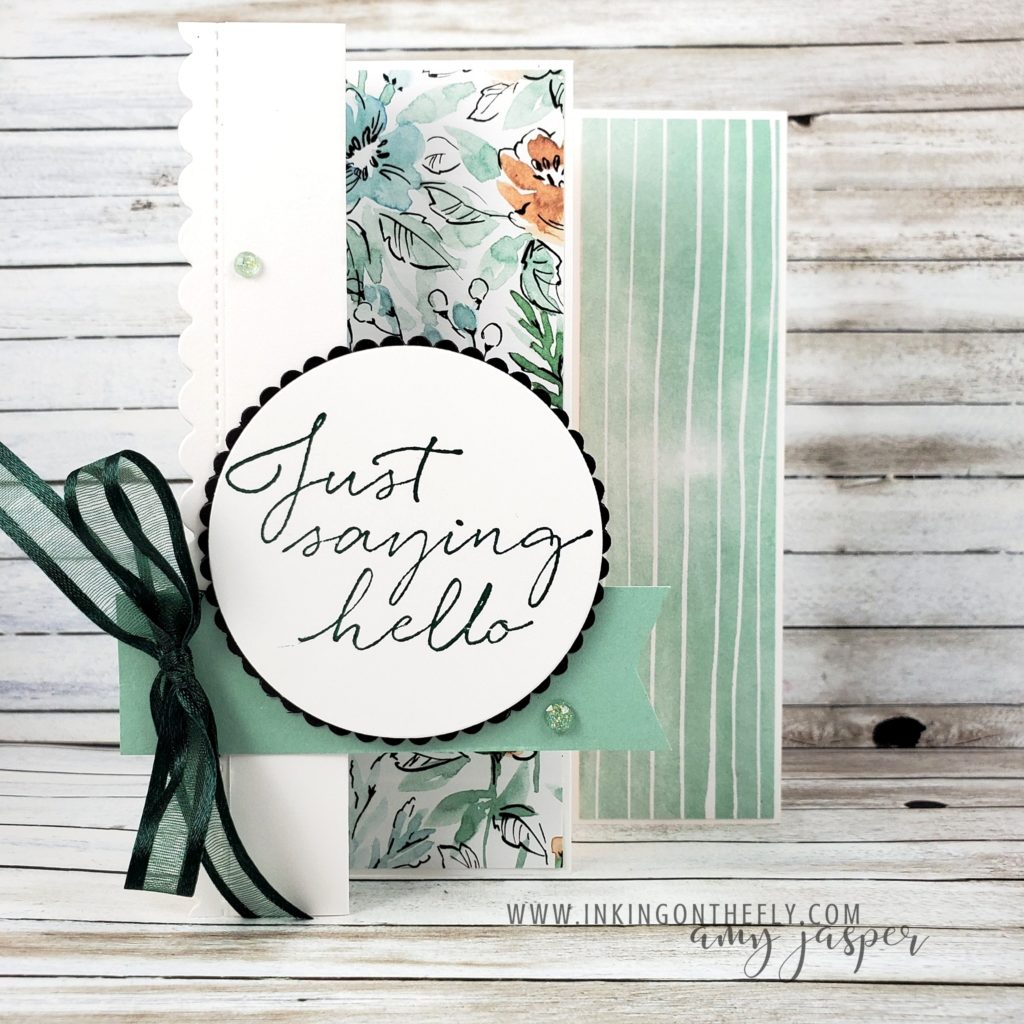
Video: How to Make a Triple Panel Fancy Fold

It’s time to share a Technique Class project with you! This one was offered in my May class. One of the perks of attending my class each month is to receive a written tutorial and to have exclusive access to the video tutorials.

Most people who purchase the class, attend the live, virtual, step-by-step class instruction for the designs as they follow along with the pre-cut supplies included with the class. However, some people aren’t able to attend the virtual class and some aren’t able to receive the class kit (due to out-of-country restrictions). Those people rely heavily on the tutorials to complete their projects.

The videos remain exclusive to the class participants for two months. After that, my friends, the video becomes accessible to the public. Often, that means there will be products used for the design that are no longer available for purchase. However, as I have said before, I know that you’re a very clever crafter and will be able to substitute other products as needed.

Designer Series Paper Sale

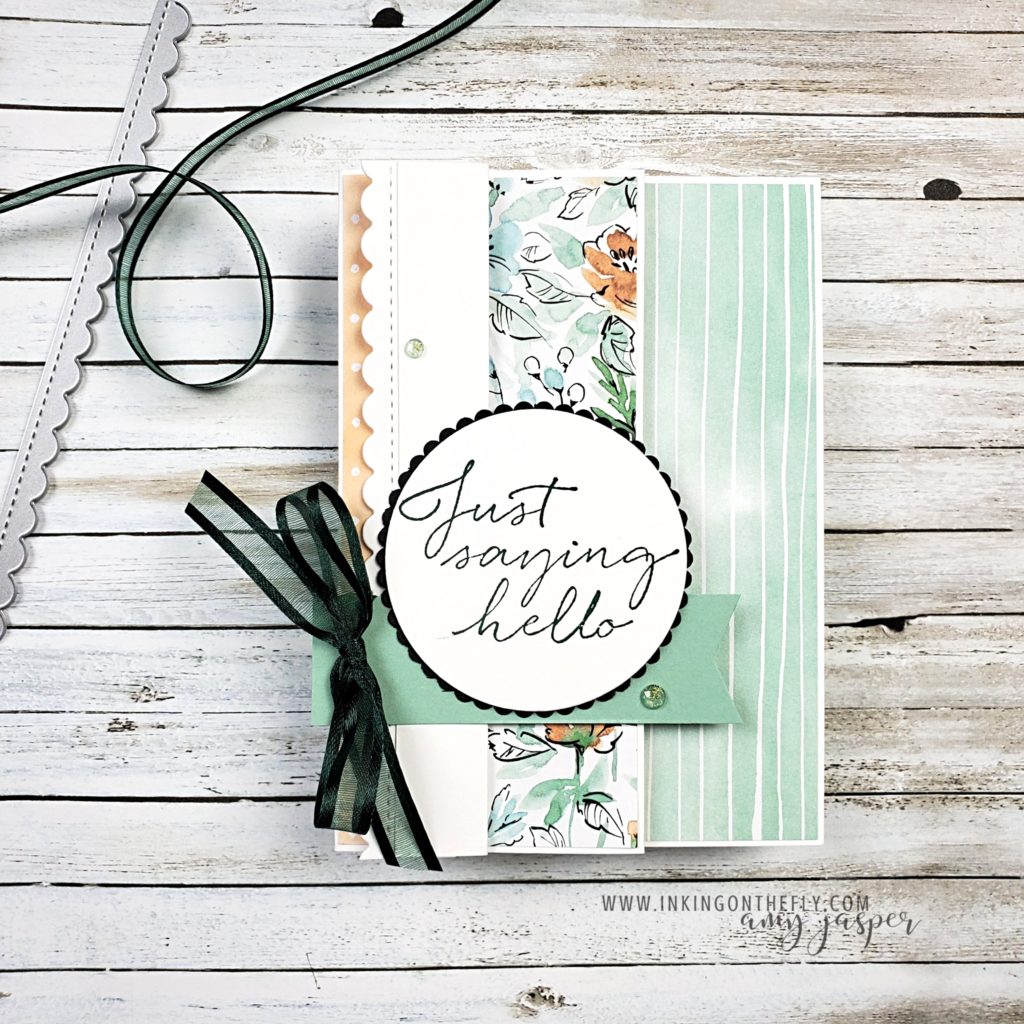
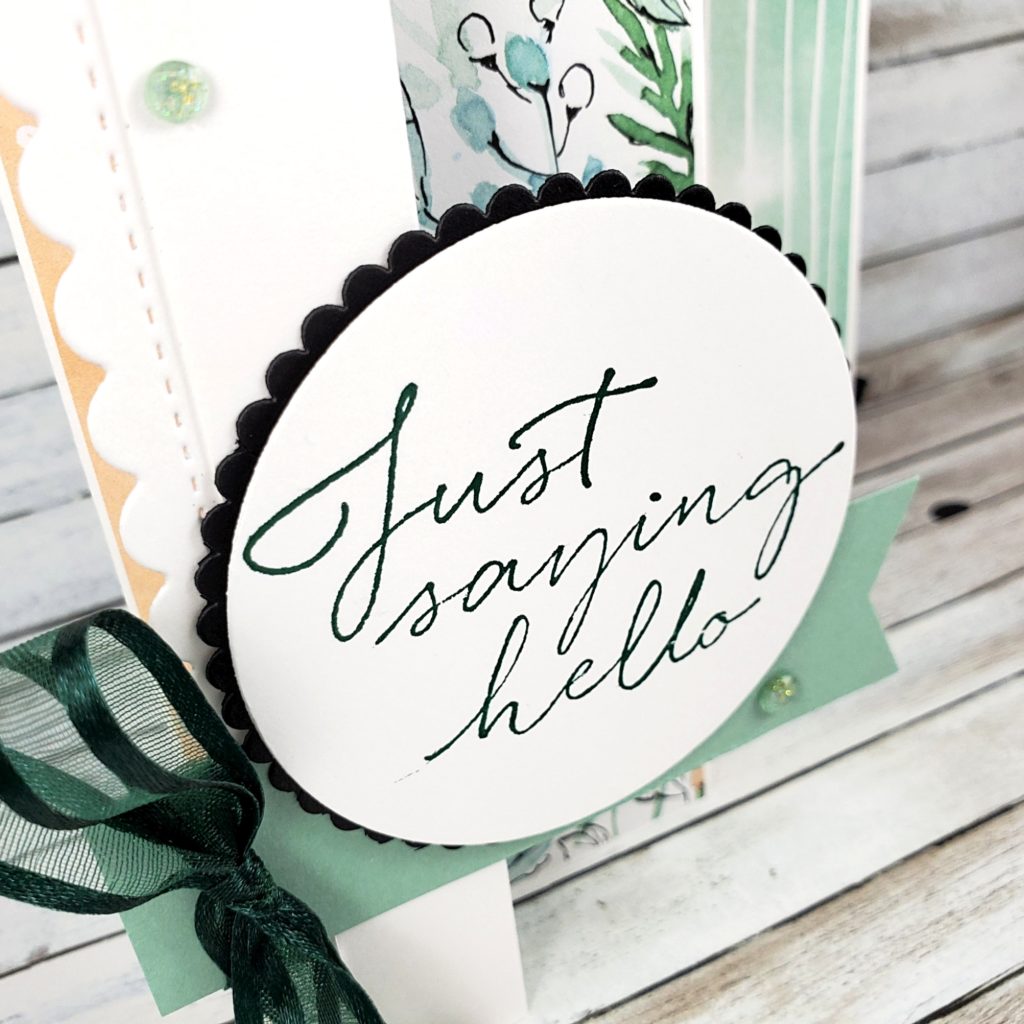
As you may have noticed, this fancy fold design features the beautiful Hand-Penned Designer Series Paper from Stampin’ Up!. I have been enjoying working with this paper so very much. In fact, I’m a little surprised that I keep reaching for it and haven’t become tired of it! I hope you haven’t either! Lucky for us, it’s included in the designer paper sale until August 2nd!

Watch the video tutorial below to get the details on this fancy fold design.

I will let the video do the explaining today. The product list and measurements can be found in the video description on YouTube.

Don’t forget to subscribe to my channel. Your support helps my videos to be seen by more people and, as a result, will help me to grow my business. Not to mention, that by subscribing you’lll be less likely to miss my videos as they’re posted!

Whether you have the products used for this card or not, give this fancy fold a try! At the risk of sounding like a broken record, you are a clever crafter. I’m more than confident you will make something beautiful!

Have fun and get creating!